Author: Jake Huolihan
Once I started paying attention to water chemistry and adapting mineral profiles for my homebrew, I quickly became convinced that water is far more important than I’d previously believed and an easy way to improve the quality of my beer. While I’ve made other changes to my brewing process that likely helped as well, nothing seemed to make nearly the difference as adding a few grams of gypsum and calcium chloride to my brewing liquor.
Perhaps the most commonly discussed minerals in brewing, sulfate and chloride are often referred to in terms of their ratio in the brewing liquor, higher amounts of the former producing a crisper beer with a sharper bitterness while greater amounts of the latter are said to lead to a softer bitterness with a more rounded malt character. Indeed, a recent xBmt showed tasters were able to reliably distinguish between beers made with opposite sulfate to chloride ratios, confirming that beliefs held by many, myself included.
As good as this felt, I became curious about the impact actual mineral amount, or what I refer to as mineral load, has on beer when the ratio is held constant. I’ve heard from people I view as brewing water experts that the ratio of sulfate to chloride, so long as overall amounts are reasonable, is what ought to be focused on as it has a greater impact on beer character. If this were in fact true, beers differing only in mineral amount while the ratios are identical could be presumed to taste the same, which is what I tested out for this xBmt!
| PURPOSE |
To evaluate the impact mineral load has on two beers of the same recipe and with the same ratio of minerals.
| METHODS |
The beer I made for this xBmt was a slightly tweaked version of my evolving British Bitter recipe.
Bees Knees Bitter
Recipe Details
| Batch Size | Boil Time | IBU | SRM | Est. OG | Est. FG | ABV |
|---|---|---|---|---|---|---|
| 5.5 gal | 60 min | 40.6 IBUs | 15.0 SRM | 1.052 | 1.012 | 5.3 % |
| Actuals | 1.052 | 1.011 | 5.4 % | |||
Fermentables
| Name | Amount | % |
|---|---|---|
| Maris Otter (Crisp) | 5 lbs | 41.88 |
| Pale Ale Malt (Rahr) | 5 lbs | 41.88 |
| Oats, Flaked | 1 lbs | 8.38 |
| Crystal, Medium (Simpsons) | 12 oz | 6.28 |
| Blackprinz | 3 oz | 1.57 |
Hops
| Name | Amount | Time | Use | Form | Alpha % |
|---|---|---|---|---|---|
| Magnum | 13 g | 60 min | Boil | Pellet | 12.5 |
| Citra | 13 g | 30 min | Boil | Pellet | 13.4 |
| Citra | 13 g | 5 min | Boil | Pellet | 13.4 |
Yeast
| Name | Lab | Attenuation | Temperature |
|---|---|---|---|
| English Special Bitter (1768) | Wyeast | 70% | 64°F - 72°F |
Download
| Download this recipe's BeerXML file |
I prepared a single large starter of Wyeast 1768-PC English Special Bitter a couple days prior to brewing.
The night before brewing, I weighed out the grains for both batches and began collect the RO water.
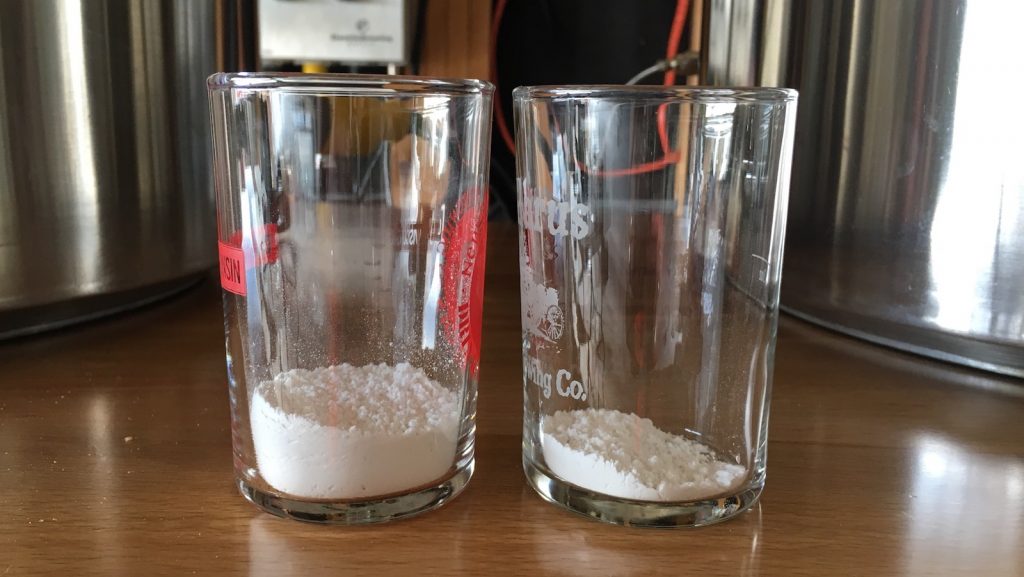
Using the Bru’n Water Spreadsheet early the next morning, I determined the amounts of gypsum and calcium chloride I would need to bring each full volume batch of water to their respective profiles, both the high and low load batches maintaining the same 1:2 chloride to sulfate ratio.
| Ca | Mg | Na | SO4 | Cl | Cl/SO4 | |
| High Load | 138 | 0 | 8 | 200 | 100 | 0.50 |
| Low Load | 35 | 0 | 8 | 51 | 27 | 0.53 |
The high load batch ended up receiving 15 grams more of the combined minerals than the low load water, which I had to dose with 4 mL of lactic acid in order to ensure both batches had the same mash pH.
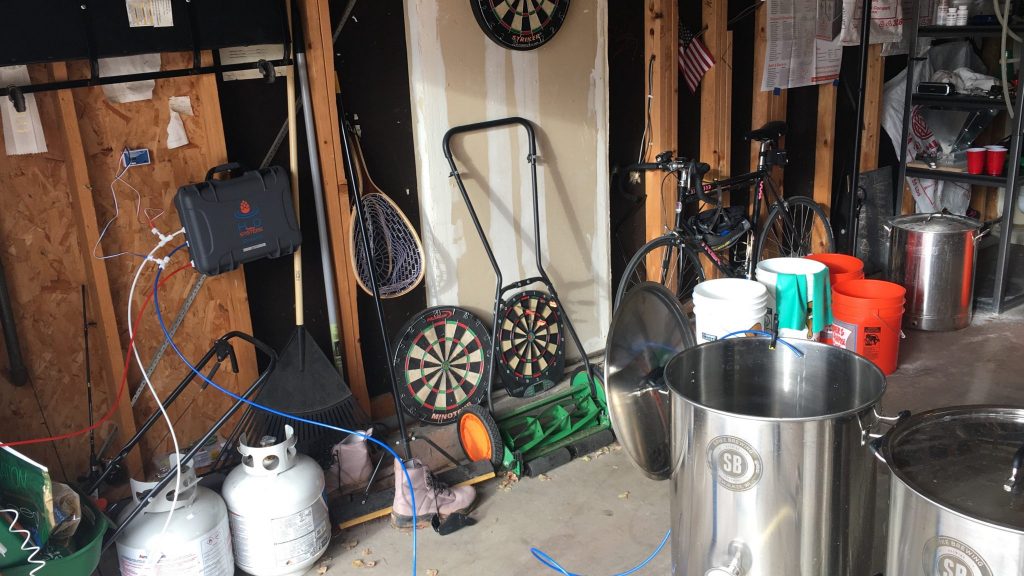
I turned the element for my new custom eBIAB system on and began recirculating the water in order to quickly bring it to strike temperature, delaying the start of the second mash by 20 minutes. As the water was heating, I milled the grains.
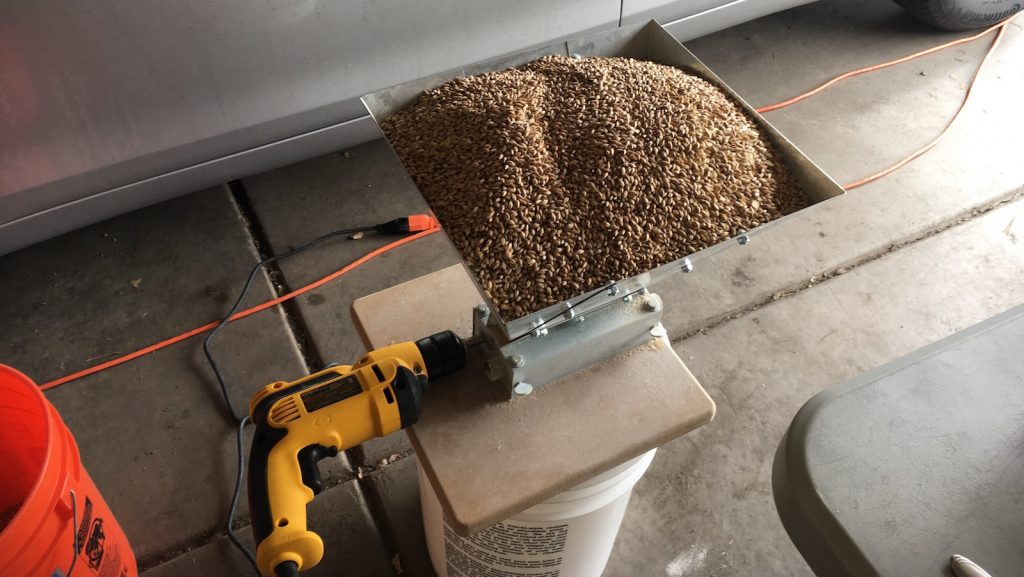 Once strike temperature was reached on either batch, I gently mixed in the grains before checking to make sure I’d hit my intended mash temperature.
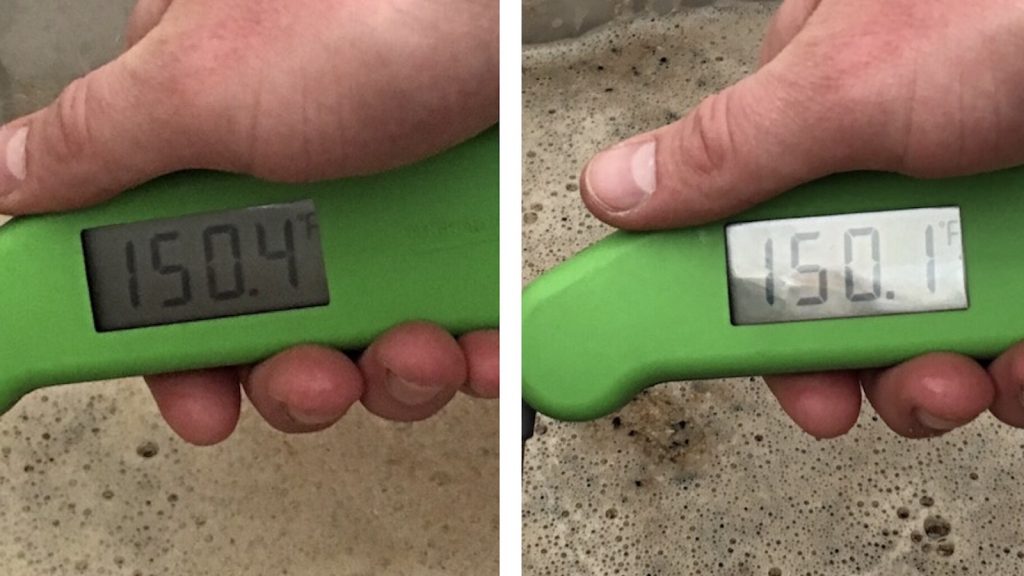
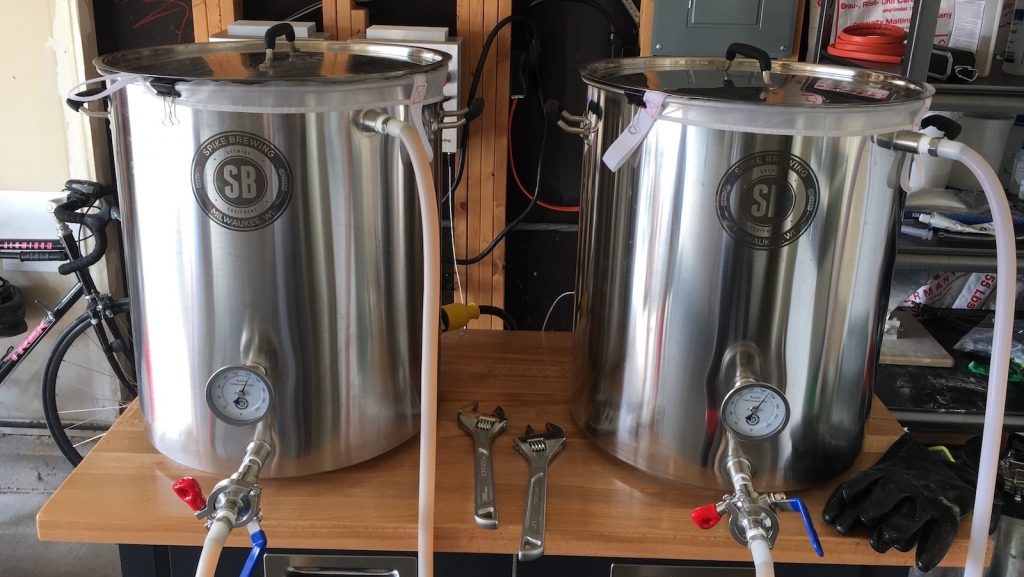
Both mashes was recirculated for a 60 minute saccharification rest.
A the end of each mash, I removed the bag of spent grains, cranked the element up to, and let the wort boil for 60 minutes, adding hops at the times noted in the recipe.
Following the boil, each wort was quickly chilled to slightly warmer than my groundwater temperature.
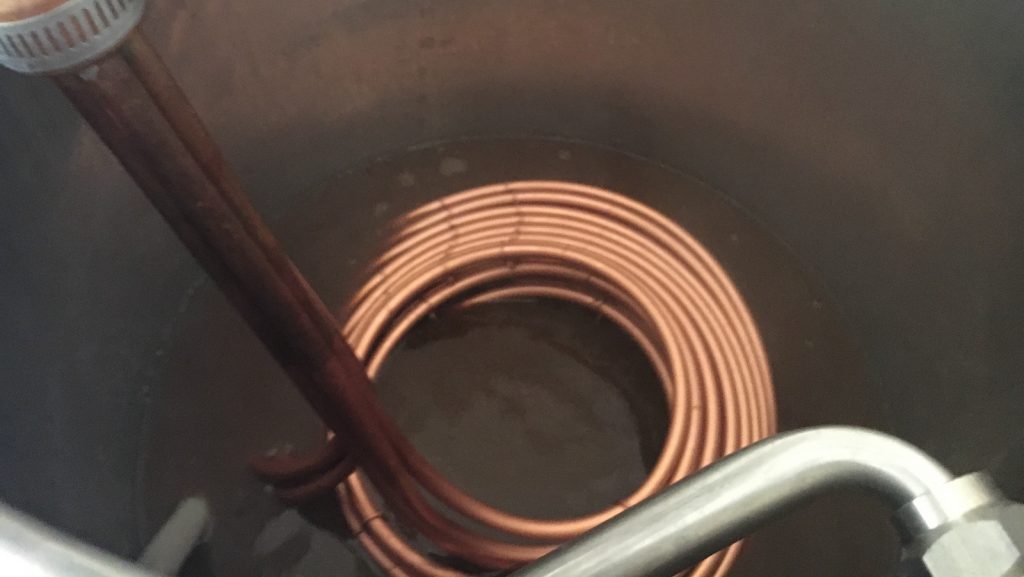
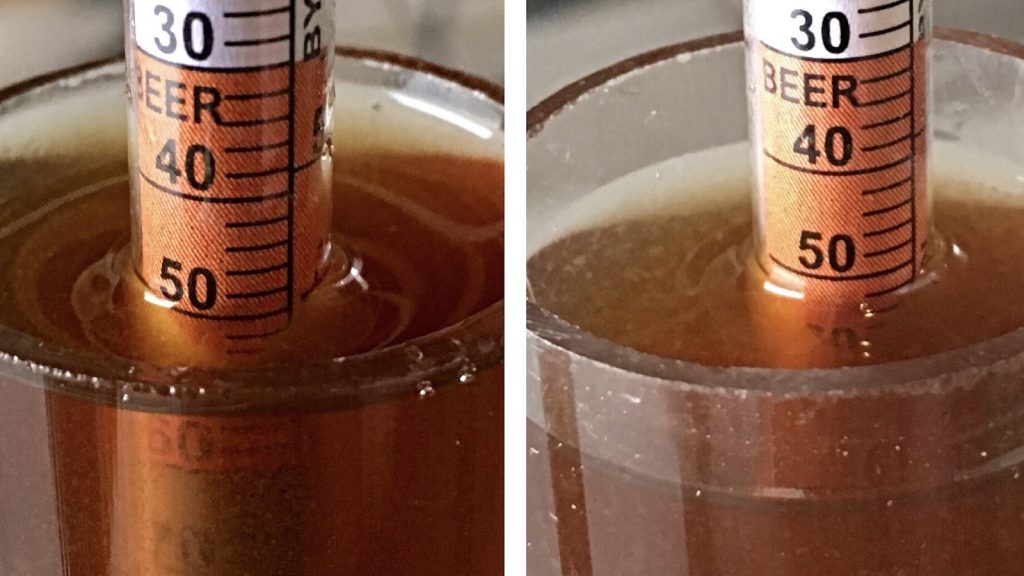
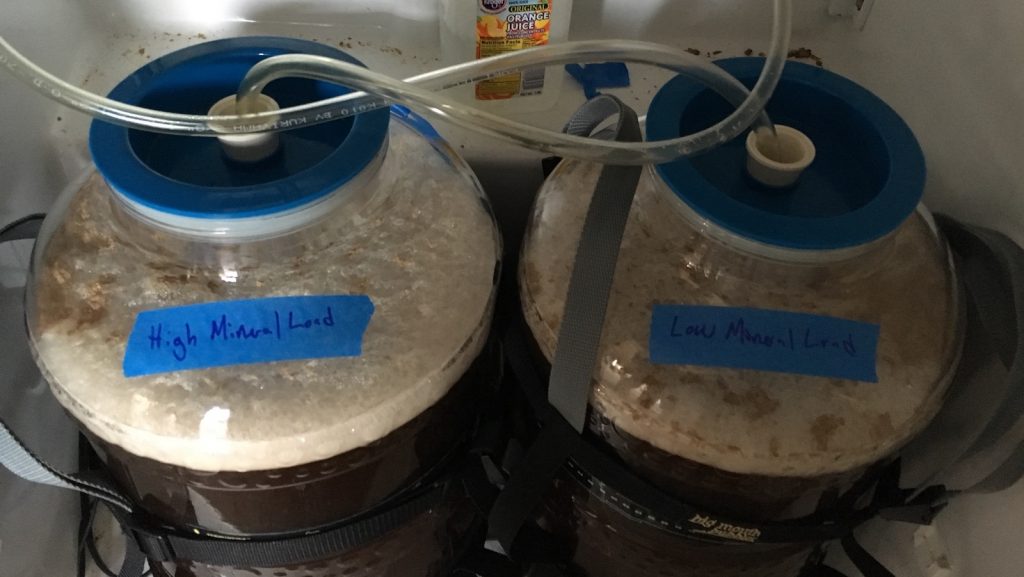
Equal amounts of wort from each batch were racked into identical fermentors and placed in my fermentation chamber to continue chilling to my target pitching temperature. Hydrometer measurements at this point revealed the high load wort to have an ever-so-slightly lower OG than the low load batch, nothing too disconcerting though.
Once both worts had stabilized at 64°F/18°C, I evenly split the decanted yeast starter between them then hit each with 90 seconds of pure O2 each. When I check on them 12 hours later, both were fermenting away.
With fermentation activity dwindling at 3 days post-pitch, I began nudging the temperature in the chamber up in order to encourage complete attenuation and clean-up of any undesirable flavors. After a few days in the warmer chamber, I took an initial hydrometer measurement that matched one taken a couple days later, indicating fermentation was complete.
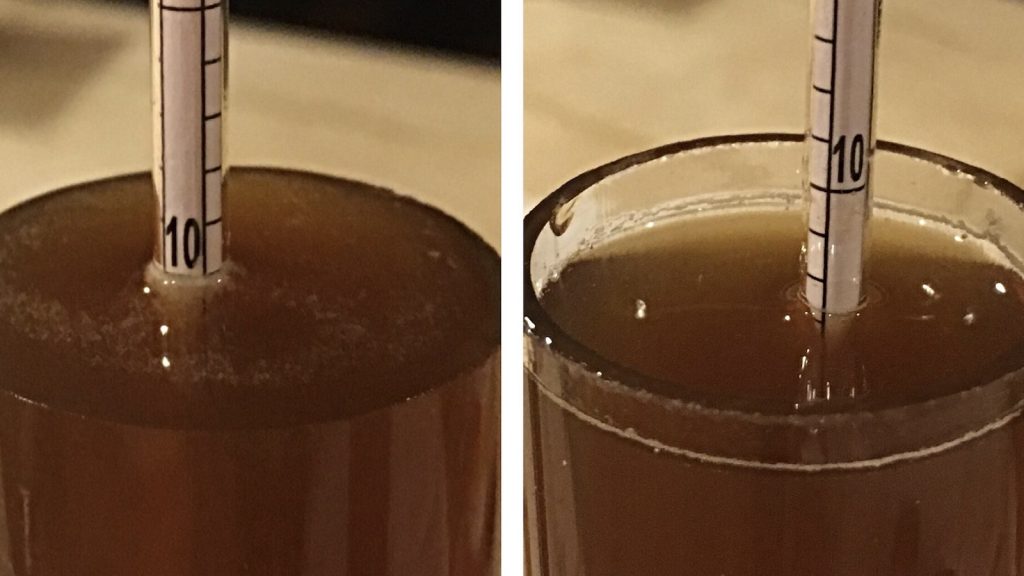
I let the beers sit a few more days before proceeding with cold crashing, fining with gelatin, and kegging.
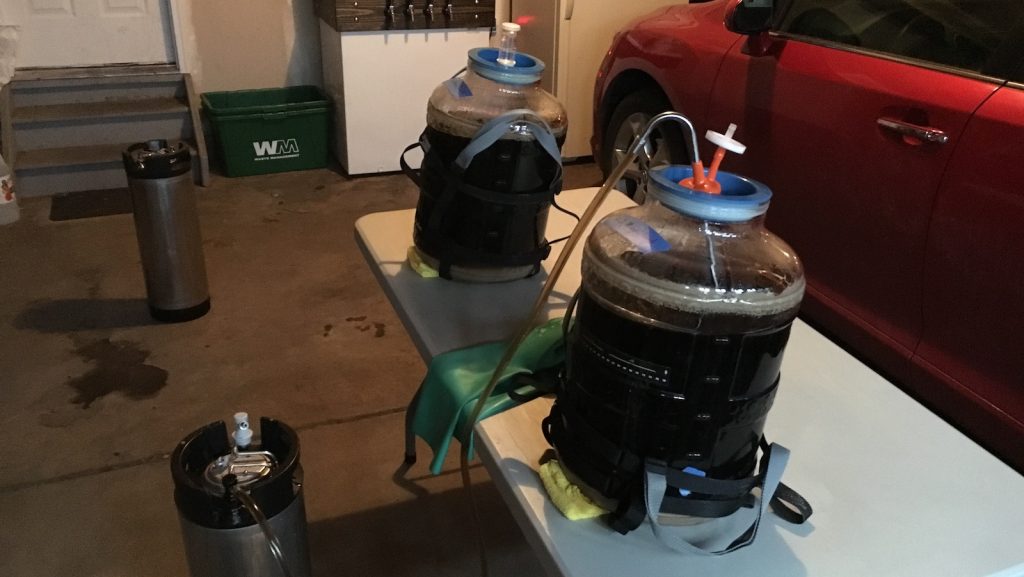
The filled kegs were placed in my cold keezer where they were briefly burst carbonated before being set to serving pressure. When I began collecting data the following week, both beers were equally clear and carbonated!
| RESULTS |
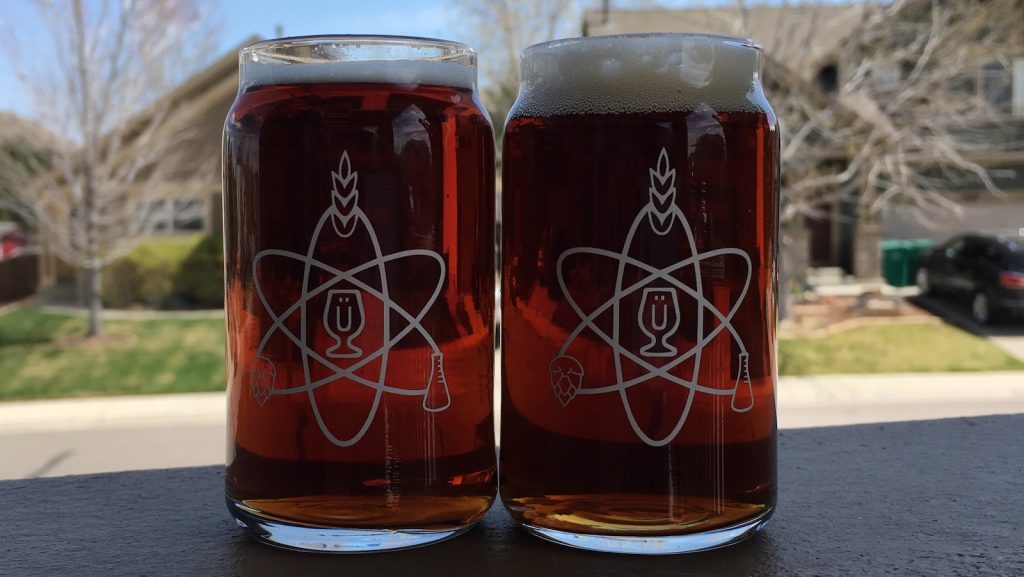
A panel of 22 Parker Hopaholics Homebrew Club members with varying levels of experience participated in this xBmt. Each taster, blind to the variable being investigated, was served 2 samples of the high mineral load beer and 1 sample of the low mineral load beer in different colored opaque cups then instructed to select the unique sample. While 12 correct selections would have been required to achieve statistical significance (p<0.05), only 8 tasters accurately identified the unique sample (p=0.46), indicating participants in this xBmt could not reliably distinguish a beer made with a greater amount of minerals from one made with less when the chloride to sulfate ratios were the same.
My Impressions: I was quite confident I’d be able to identify the odd-beer-out even before sampling, based mostly on my experience with previous water chemistry xBmts. Immediately following his own failed attempt, I had my friend Dave serve me a series of triangle tests where he randomized which beer was the unique sample. As expected, I noticed no difference in aroma, then I took an initial sip… crap, I’m not going to get this… tasting more, I focused intensely on the finish in hopes of identifying a mineral crispness… I’m definitely not getting this right… I guessed and I was wrong. My experience was the same with every attempt, I simply could not pick out any differences between these beers, which thankfully were both fantastic! My best Bitter to date, in fact, which I believe has much to do with the Wyeast 1768-PC yeast– light on the fruity esters, clean, and very drinkable.
| DISCUSSION |
Of the many tweaks brewers can make to improve the quality of their beer, adjusting water chemistry is the one I’ve found to have the biggest impact, to the point the water for every batch I make these days is adjusted to a specific profile. Despite what I’ve heard experts say about the ratio of chloride to sulfate mattering more than the actual amount, it seemed obvious to me that greater overall mineral load would have a noticeable impact on the flavor of beer. Hence my surprise when participants from this xBmt were unable to reliably distinguish a high mineral load beer from one made with a smaller load, which supports the notion that the ratio of chloride to sulfate is perhaps where our focus should be.
As someone who makes my own RO water for brewing then adjusts it to my desired profile, this xBmt has reminded me that trying to match a historical regional water profile may not be the most prudent approach, as it’s possible simply aiming for a similar mineral ratio will suffice. I’m not convinced this is the end of the story, particularly since the primary focus of this xBmt was on moderate levels of chloride and sulfate, though I admittedly plan to focus more on mineral ratios while trying to keep my total dissolved solids (TDS) in the 100-150 ppm range. And lastly, the results of this xBmt seem to suggest that brewers using tap water, assuming it’s free of chlorine or chloramine, can likely reap positive benefit by making minimal adjustments to achieve a specific mineral ratio.
If you have thoughts about this xBmt, please don’t hesitate to share them in the comments section below!
Support Brülosophy In Style!
All designs are available in various colors and sizes on Amazon!
Follow Brülosophy on:
FACEBOOK | TWITTER | INSTAGRAM
If you enjoy this stuff and feel compelled to support Brulosophy.com, please check out the Support Us page for details on how you can very easily do so. Thanks!




28 thoughts on “exBEERiment | Water Chemistry: Impact Of Mineral Load When The Ratio Is The Same On A Best Bitter”
I am particularly interested in bicarbonate levels. I have tasted some extremely “minerally” beers which I have attributed (admittedly without any research) to high bicarbonates in the boil.
Definitely on the list. I’m very interested in bicarbonate’s potential flavor carry over as well
Bicarbonate (HCO3) is hard to create with brewing salts. I have used chalk in my mash but not the same. My municipal water has an insane bicarbonate level 278. Very hard to brew beer with. The total alkalinity (CaCO3) is 229 so it is very hard to buffer with acids. You can make a decent export Stout with it, but that is about it.
Interesting stuff and a surprising result.
Speaking as a Brit, I would say neither beer has particularly high mineral load for bitter. Below are the recommended mineral levels for bitter from Murphy & Son, one of the main water analysis labs used by the UK brewing industry:
Calcium 170 ppm
Magnesium 15
Sulphate 400
Chloride 200
http://www.murphyandson.co.uk/water-water-everywhere/
I’m pretty sure American ales have much lower levels, especially sulphate. I wonder if you’d taste the difference at 400ppm sulphate or higher?
My original aim was to test 400 ppm sulfate. However when you plug that in it gives a pH in the fours so not wanting to add carbonate to one I opted for a lower load
You could also add them to the kettle so you don’t impact mash ph. I do this frequently.
That makes sense, though bicarbonate is present in most water supplies here so I think it would be ok to add it.
Tricky balancing everything else though. Calcium levels obviously very different, which could potentially affect yeast growth as well as mash pH, but as you found no sig result I guess the yeast had more than enough either way.
Great exbeeriment, thanks.
Great Xbmt. Thanks! I’m curios how you used the sterile starter siphon with the big mouth bubblers? I thought those orange caps only fit tightly over glass carboys? Thanks for the info.
I actually get this question a ton. You need to create a seal with your hand as you blow to start the siphon. Very simple and effective
I actually do the opposite…with a ball lock connected to the racking cane (as you do in the picture above) and a sealed keg, I attach the air filter to the gas post (with a gray ball lock) and suck rather than blow to get the siphon started.
It’s 6 one, half dozen the other but I started doing it back when I fermented in buckets and couldn’t get a good seal for the blowing method.
Another great Xbmt!
Cheers!
I’ve got Fermonster’s, but the same idea applies as the Big Mouth Bubbler. I actually use a #10 Universal Stopper (http://www.northernbrewer.com/universal-bung-medium-fits-better-bottles), those orange caps fit snugly over top of one of those. I drilled a small hole in the stopper to allow O2 or CO2 to flow into the carboy. Works like a charm.
I’ve got the 7 gallon fermonster as well. I ended up drilling it and putting a spigot on it so I don’t have to siphon anymore. Then when I put it in my ferm chamber I put a block of wood under the fermenter on the spigot side so that the trub/yeast settles away from the spigot. Keeps me from sucking out a quart of trub when I first open the valve. I fully disassemble and clean after each use and reassemble with keg lube on each washer. Love it!
Great xbmt. I have been using RO for a year or so and have played around with as well. I have come to the same conclusion that the ratio is the most important thing. I do suspect, though, that a higher or lower load could also be more appropriate on a style by style basis.
That Wyeast 1768 is my absolute favorite yeast ever. I just did an Xbeeriment comparing Wy 1768 to the Omega Yeast British Ale XII which says it is similar to 1768. I brewed a split 10 gallon batch of pale Mild. I initially did not think they were similar at all but the more I sample the more alike they get.
Water is the biggest raw ingredient in beer. IMO the most important element. Unfortunately I think a lot of home brewers don’t pay a lot of attention to it. My beers drastically improved when I stated paying attention to water profiles and pH.
I´d like to see the impact of a Sulfate/Chloride ratio of 4/1, one with lots of mineral and other with less, but with a high IBU IPA.
Does magnesium play any role in fermentation and yeast health? I have always used both gypsum and epsom salt together to get the sulfate level desired. I wonder the same about sodium necessity. Also, why would one want to keep total desolved solids between 100-150?
10 ppm Magnesium is said to be necessary for good yeast health, malt should contribute enough.
I too wonder about sodium but mainly as a flavor ion.
Certain ppm levels are said to be needed (mainly calcium) to promote good fermentation and yeast flocculation. Personally I aim for that range of ppm since I think it probably provides the necessary ions and at least based on this xbmt it doesn’t seem much is to be gained from going incrementally higher, who knows though?
I often wonder how much the mineral content of the grain affects the brewing water. Some rough math tells me there are approximately 7-8 grams of Magnesium in the grain bill for a 10 gallon batch (~ 0.44g Mg per pound of grain). I would imagine a good amount of that dissolves into the water. I used to add epsom salts to my brewing water for the Magnesium, but now I’m operating under the assumption that there is plenty in the grain.
https://www.nutritionvalue.org/Barley_malt_flour_nutritional_value.html
Just wondering with all these wet hop beer that are coming out maybe you could do a wet hop vs pellet vs whole hop test
Would love to see how higher loads affect things because i know many people are brewing with municipal water with much higher ion concentrations
I think many people have higher carbonate concentrations, not certain on the flavor ions tho
I apologize if this is a noob question. I will be trying to adjust my water for the first time in a week or so. I’ve been reading all the books scouring the web and may have missed it. Are the water adjustments made
prior to the strike or in the mash?
I’m using RO for the first time, paired with brewers friend and bru’n water calculators.
Any help Foote the new guy?
I make mine as I turn on the burner to heat the strike water. They can be made at anytime though fairly effectively. I do seem to recall hearing lactic should be added to room temp water, but I don’t really know the science behind it
You mention bumping the fermentation temp up after the first three days. Your article makes it look like you started at 18°C, but how high do you go after active fermentation is complete? I am following your recipe and concerned about getting this yeast to attenuate fully.
Thanks!
I don’t recall exactly what I ramped the temperature to but I would guess it was 68F.
What RO mechanism do you recommend? There are quite a few out there and I’m curious which one would work well on a home brew basis up to 25 gallons a batch.
Would be very interesting to know if folks can reliably distinguish a best bitter made with the Murphy & Son liquor profile… https://www.murphyandson.co.uk/resources/technical-articles/mashing-liquor/ …and which they prefer? Cheers!