
Author: Phil Rusher
The mash step involves steeping crushed grain in hot water for a certain amount of time, during which enzymes convert starches to fermentable sugars in a process referred to as saccharification. Depending on the temperature and, to some degree, duration of the mash, a brewer is able to create wort with a predictable profile of fermentable sugars, hence the effort many invest in overall mash management. One concern some brewers have has to do with the temperature drop that occurs during the lautering step, as enzymes remain active and thus can influence one’s intended wort profile.
A simple solution employed by those worried about this involves raising the temperature of the mash to around 170°F/77°C prior to lautering in a process referred to as the mashout. In addition to rendering enzymes impotent and curtailing any further activity, essentially locking in the wort profile, this step also reduces wort viscosity, making for smoother lautering.
On the commercial scale, employing a mashout is important for the purposes of consistency, predictability, and yield. As it is with many brewing processes, some homebrewers have adopted the method and use it as a matter of course, while others ignore it under the belief it has no impact. Interested to see for myself, I put it to the test!
| PURPOSE |
To evaluate the differences between two beers of the same recipe made either with or without the using a mashout step.
| METHODS |
I thought a nice pale lager would emphasize any impact of this variable well and designed a recipe inspired by Czech Premium Lager with a slightly higher OG.
Over The Fence
Recipe Details
| Batch Size | Boil Time | IBU | SRM | Est. OG | Est. FG | ABV |
|---|---|---|---|---|---|---|
| 5.5 gal | 60 min | 39.6 | 4.8 SRM | 1.061 | 1.01 | 6.69 % |
| Actuals | 1.061 | 1.01 | 6.69 % | |||
Fermentables
| Name | Amount | % |
|---|---|---|
| Mecca Grade Pelton: Pilsner-style Barley Malt | 10.5 lbs | 89.36 |
| Mecca Grade Metolius: Munich-style Barley Malt | 1.25 lbs | 10.64 |
Hops
| Name | Amount | Time | Use | Form | Alpha % |
|---|---|---|---|---|---|
| Saaz | 35 g | 60 min | Boil | Pellet | 2.4 |
| Hallertau Magnum | 10 g | 60 min | Boil | Pellet | 11 |
| Saaz | 35 g | 30 min | Boil | Pellet | 2.4 |
| Saaz | 35 g | 10 min | Boil | Pellet | 2.4 |
| Saaz | 35 g | 60 min | Aroma | Pellet | 2.4 |
Yeast
| Name | Lab | Attenuation | Temperature |
|---|---|---|---|
| Urkel (L28) | Imperial Yeast | 73% | 32°F - 32°F |
Notes
| Water Profile: Ca 20 | Mg 0 | Na 13 | SO4 15 | Cl 35 |
Download
| Download this recipe's BeerXML file |

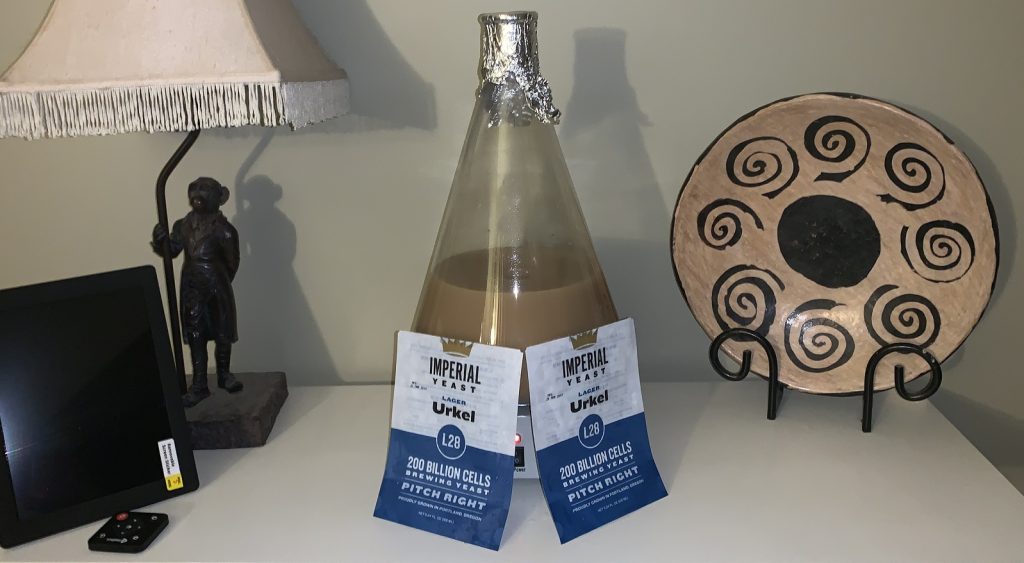
A couple days before brewing, I made a single large starter using two pouches of Imperial Yeast L28 Urkel.
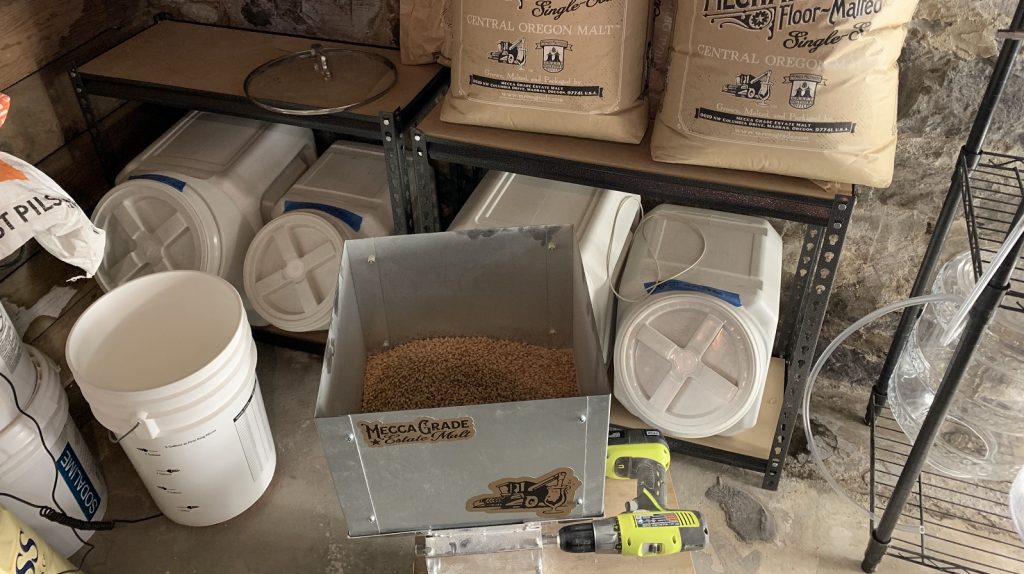
I then started collecting the proper volume of RO water for both batches.

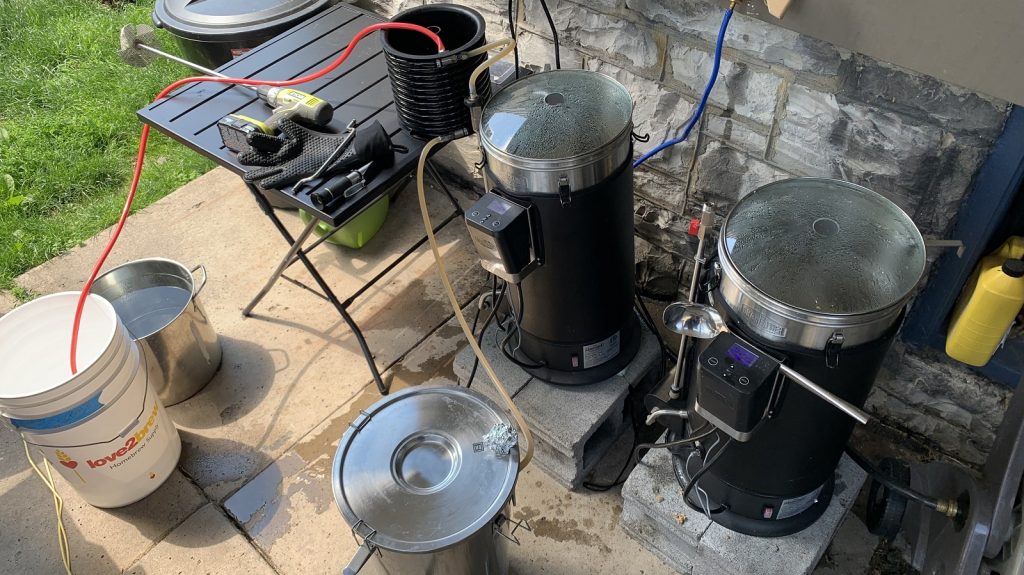
After adjusting both sets of water to my desired profile and hitting the switch on my Grainfathers on brew day, I weighed out and milled two identical sets of grain.
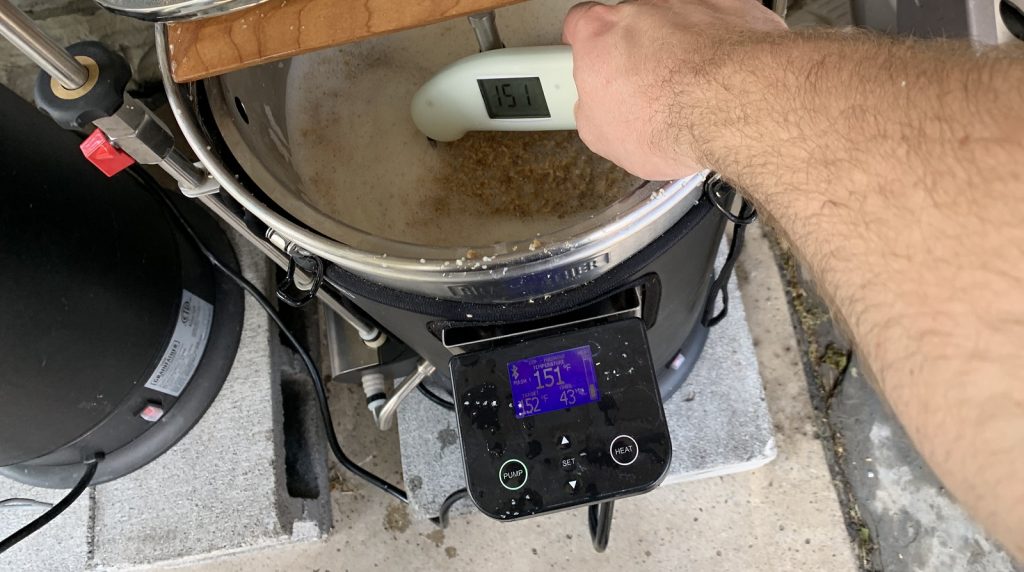
When each volume of water was properly heating, I stirred the grains in then checked to ensure both hit my target mash temperature.
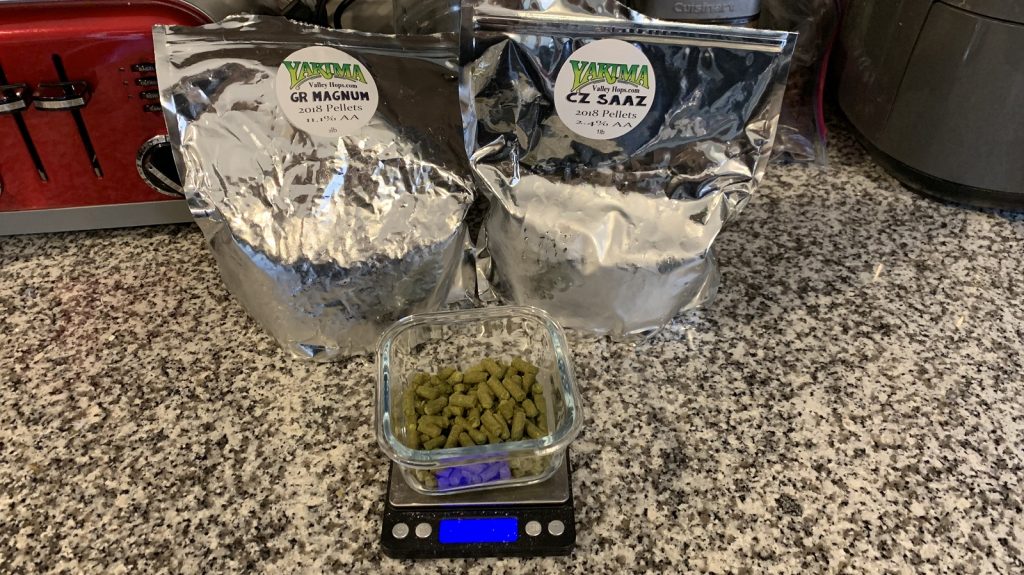
While waiting on the mashes to finish, I weighed out the kettle hop additions for each batch.
At the end of 60 minute mash rests, I immediately removed the grains from one batch and sparged while I began raising the temperature of the other mash.
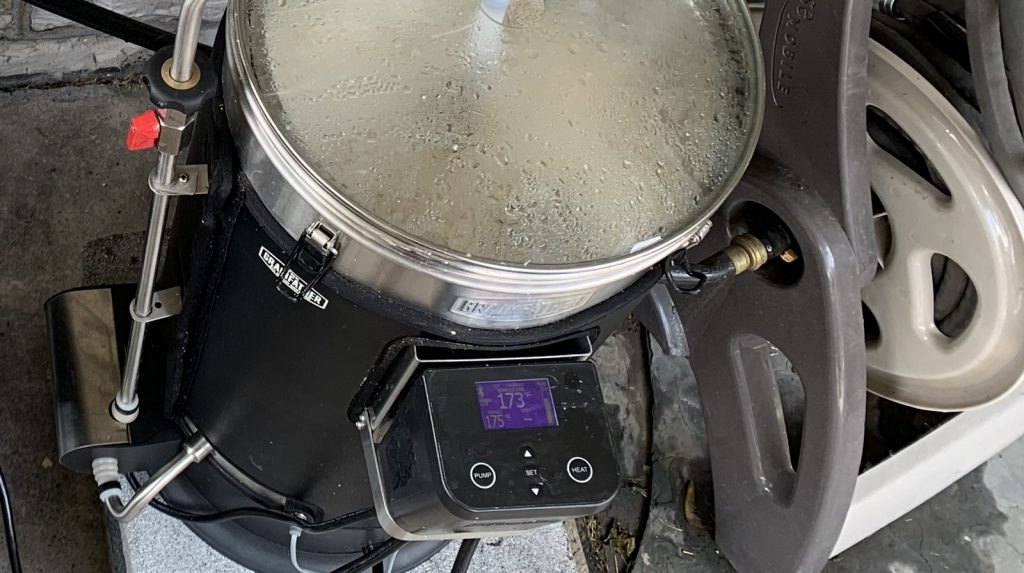
Once the mashout mash reached 175°F/79°C, I removed the grains, sparged, and proceeded to boil both worts for 60 minutes. At the completion of each boil, the worts were passed through a CFC on the way to sanitized Brew Buckets.
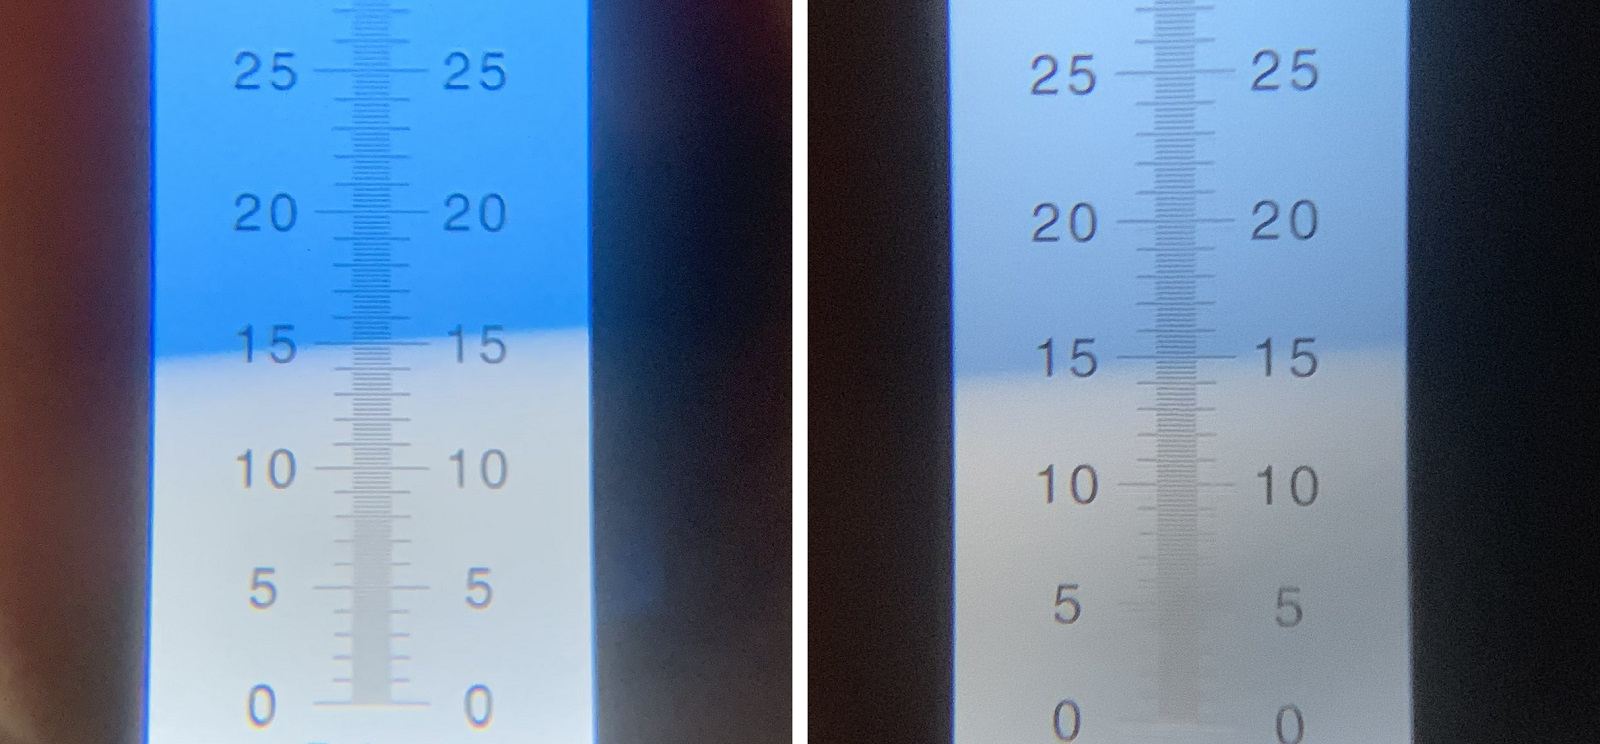
Refractometer readings showed both worts achieved the same OG.
The filled fermenters were placed next to each other in my chamber and allowed to finish cooling to my desired fermentation temperature of 66°F/19°C. Once the worts were cool, I split the yeast starter evenly between them. Activity was observed a few hours later and proceeded similarly over the next 6 days, at which point fermentation appeared to be completed. Hydrometer measurements confirmed both beers reached the same FG.
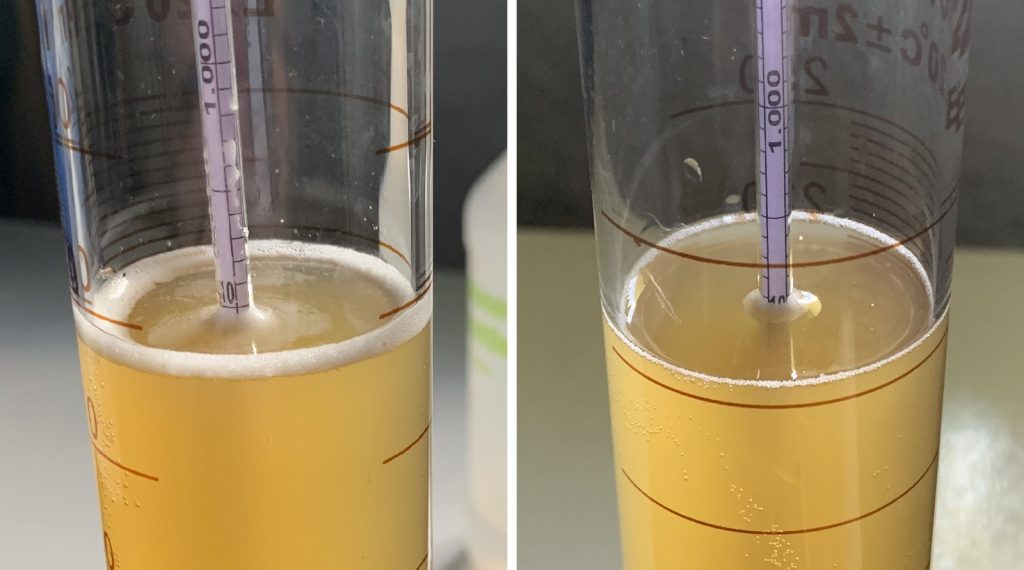
I let the beers sit a few more days then took a second set of hydrometer measurements confirming no change in FG before racking them to CO2 purged kegs.
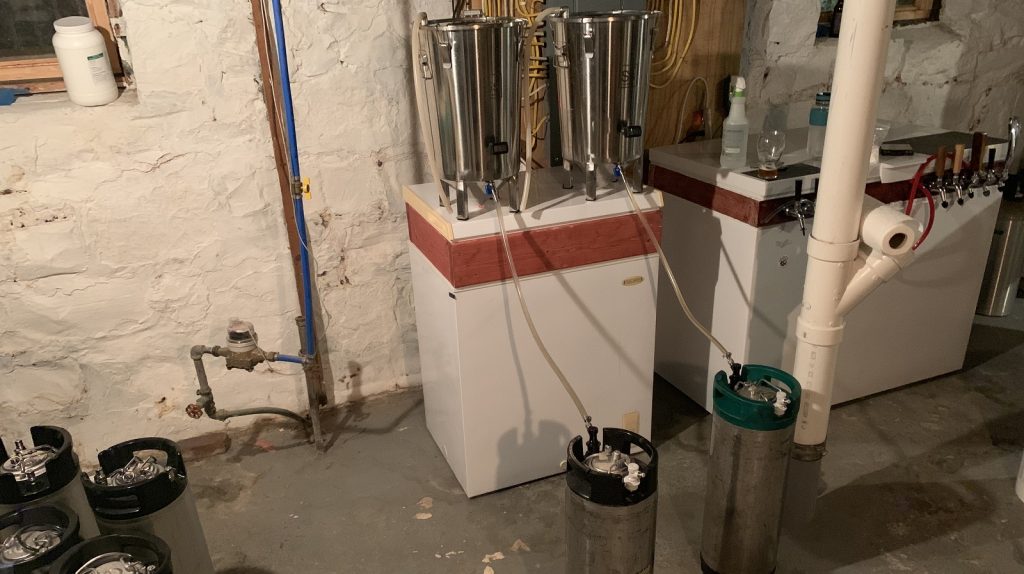
The filled kegs were placed in my cool keezer, burst carbonated them overnight, then reduced the gas to serving pressure and let them condition for a week before serving to tasters. The beers looked identical at this point (despite shitty lighting in the pic below).

| RESULTS |
A total of 23 people of varying levels of experience participated in this xBmt. Each participant was served 2 samples of the standard mas beer and 1 sample of the mashout beer in different colored opaque cups then asked to identify the unique sample. While 12 tasters (p<0.05) would have had to identify the unique sample in order to reach statistical significance, only 9 (p=0.35) made the accurate selection, indicating participants in this xBmt could not reliably distinguish a beer made using a mashout step from one made without a mashout step.
My Impressions: Out of the 7 semi-blind triangle tests I attempted, I correctly identify the odd-beer-out twice, which aligns nicely with random chance. To me, these beers were indistinguishable from one another– solid malt flavor with supportive herbal Saazer hop character, and the bitterness was firm yet not distracting or harsh despite the somewhat generous hopping rate. The fermentation character was very clean, exactly what I expect from a pale lager, no off-flavors associated with the warm fermentation temperature at all.

| DISCUSSION |
The primary purpose of a the mashout step is twofold– in addition to halting enzymatic activity and locking in the intended wort profile, raising the temperature at the end of the mash also reduces viscosity to make for easier lautering. This step is appealing on the commercial scale where maximizing efficiency is a major focus, and until recently, it was viewed as a standard homebrewing practice as well. While there are conflicting opinions as to the perceptible impact a mashout has on beer, the fact tasters in this xBmt were unable to tell apart pale lagers produced with or without this step suggests it’s rather small.
Additionally, a commonly touted risk of the mashout step is tannin extraction from the grain, leading to increased risk of astringency. Considering the findings of this xBmt, it would appears astringency levels in both beers were similar, which according to participant reports following completion of the survey, was very low. As for the more objectively measurable claims made about the mashout step, I neither saw better extraction nor a difference in lautering between the beers in this xBmt, which suggests to me a lack of necessity on the homebrew scale.
The act of honoring the traditional step mashes can be satisfying, especially when one is able to program mash steps with electric brewing rigs. I’ve performed many mashouts over the years using various brewing setups and I can say I never noticed it having much of an impact. For commercial breweries who need to reduce as much risk as possible, performing a mashout step makes sense, but I’m not personally convinced it has any benefit on the homebrew scale. At the same time, for those who prefer to emulate the pros or simply honor tradition, it also doesn’t seem to have a negative impact. My main goal being to keep the brew day as simple as possible, I’ll be skipping the mashout step henceforth.
If you have any thoughts about this xBmt, please do not hesitate to share in the comments section below!
Support Brülosophy In Style!

All designs are available in various colors and sizes on Amazon!
Follow Brülosophy on:
FACEBOOK | TWITTER | INSTAGRAM

If you enjoy this stuff and feel compelled to support Brulosophy.com, please check out the Support page for details on how you can very easily do so. Thanks!


46 thoughts on “exBEERiment | Impact A Mashout Has On A Czech Premium Pale Lager”
Was there an impact to the head and foam stability?
Negative.
Thanks, Phil, for the straightforward answer. What is forgotten is home brewing became what we enjoy not by determining the exact temp to mash, mash out, ferment, or store but by brewing. We are experimenters as was our forebears because we all stand on the shoulders of giants. Emulating the macros or the craft brewers is folly. They are pros whose livelihood depends on repeatability aka consistency over decades. I am told that there are many engineers in home brewing. I assume they are attracted to the science.That is not the final answer. Indeed, there is art. This is demonstrated by the rise of NEIPA. Creativity goes beyond the accepted science.
Did I miss what the sparge water temp was? Seems like if it was in the 170 range there would be minimal difference in the overall grain temps. Is the Grainfather big enough to do a full volume, no mash out and no sparge brew?
No, you didn’t miss it! I should have mentioned it in the article, but for the sake of consistency the sparge water temp was 175F. Grainfather is not big enough for most beers to do full volume/no sparge etc. but if doing small beers then yes, it might do fine for that.
what was the temperature of the sparge?
175F
ok thanks. presumably that will denature some of the enzyme activity thereby complicating the answer to the question asked in this experiment? a) I learned a few exbeeriments ago that many people store their mash overnight (or longer) and then boil etc the following day because of work commitments etc. I wonder if a detectable difference would be seen under those “long and shoddy” conditions. Designing an experiment like that would be “real world” and might be able to ask if mashing out does affect enzymatic activity b) I’d second what everyone is saying about how things would work with higher gravity/larger grain bills.
I always wondered if the mashout step was necessary but performed it anyway, because of the reasons you stated. I had concerns about the 200F water needed to bring the overall temp to 170F leaching tannins from the grain husks, but astringency has not been an issue. I mainly wanted to tweak a better end product. I am sold, my brew day just became simpler. Thank you!
Happy to oblige! 🙂
In my experience, the mashout step seems to make a positive difference in mash efficiency when doing BIAB.
Yeah, idk man. If it’s working for you and if it ain’t broke then don’t fix it.
I’ve never really understood the logic of the mash-out step. The difference in viscosity going from ~152 to ~170 is so trivial that it doesn’t matter. It’s not like the wort goes from thick syrup to free-flowing, watery liquid. As for consistency at either the homebrew or commercial scale, brewers can achieve the same consistency by not mashing out, as long as all brews go through the same no-mash-out process. Anyway, good experiment, as always.
Thanks man. I was wondering about how those might be affected by bigger grain bills and higher mash temps, but you know, we do things one thing at a time here.
The difference in viscosity of water between 65 and 78 C is 18% relative. Since filtration rate is inversely proportional to viscosity that means that the sparge stage of the process can take 18% less time. When that’s 18% of 5-10 min at home it’s a non -issue, but when you are sparging for 45 min at production scale it is as difference that adds up over a week to something worth having.
But that 18% less time will have been used up, possibly more time, raising the temp ~15 degrees.
“My main goal being to keep the brew day as simple as possible, I’ll be skipping the mashout step henceforth.”
These insights to home brewing are priceless! Thanks so much for sharing.
As with all things homebrew, we try to emulate the necessary things a professional business is doing and transpose that to small batch work in a garage. Consider the time it takes a homebrew-scale to heat up 7-8 gallons of wort. 20 minutes or less. 30 minutes if your burner sucks or your electrical element is undersized? Now consider commercial. Where its an hour or more.
What I’m saying is “locking in your wort profile” is nonsensical on a homebrew scale, unless your process is the slowest sparge known to the homebrew world. It simply is not going to matter significantly, and also considering the majority of the conversion that matters has already happened.
This is also completely why you can brew on a 3 vessel, 2 vessel, or 1 vessel system. The only thing you’re missing is an extra “grab” of sugar-water that sparging provides, but is so easily offset by extra grain. Again, on the homebrew scale, it is trivial. Brewing as a corporate system requires yield that scales with size and that matters because money.
To this experiment: if you sparged with 170* water, or another gallon or 2 of distilled water at room temp, the results would be the same by perception.
My moral of the story is: don’t sweat it, don’t worry about it, don’t waste time, don’t waste propane (or electricity) unless emulating a brewery business matters more than what the final product ultimately will be.
My ultimate analogy will be picking apples. If you ate an apple at peak ripeness, and ate an apple that was 1-day past peak ripeness, are you going to know? you won’t. Treat brewing the same way.
Fucking yes. You and I could not be more on the same page, my friend.
Locking on the wort profile is not nonsensical. It can result in much lower ABV if you mash very warm and then do a mashout.
What type of sparge did you perform? Supposedly the benefits of the mashout mostly apply to a “fly” sparge, which takes an extensive amount of time (while the enzymes would otherwise remain active) and wort viscosity is more critical. I read somewhere that doing a “batch” sparge eliminates these advantages.
Yeah mashing out isn’t really applicable to batch sparging–another win for batch sparging! But again, there aren’t really any benefits of mashing out in modern brewing. The technique is a hold-over from the days of undermodified base malts, where there could be still a lot of beta-glucans in the malt, which may have thickened the runoff a bit. And so runoff viscosity may have been an important variable back then. Runoff viscosity is a non-issue with today’s fully modified grains, whether batch or fly sparging.
The time”required” of fly sparging is suspect at best, but these beers had 3.5ish gallons of 175F water slowly poured stop the grain basket. I’d need to check my notes to verify all the numbers (just got home from a trip to the mountains) but all in all it took about 5-6 minutes to sparge.
Interesting exbeeriment but I disagree that it’s been standard home brew practice until recently. I tried it a couple times when I first started 12+ years ago but haven’t since. Never thought the small if any, increase in efficiency to be worth it and IMHO there’s many other things that will have a much greater impact on the finished beer. Of all the times I’ve co-brewed and “helped” others brew I can only recall one time that it was done. Thanks for confirming my thoughts. Keep up the good work guys!
Well yeah, the word “required” is used liberally ;). But my point is that it’s been very common advice that the “right way” to make beer was to do a mash out and fly sparge with most it strategies being inferior.
I think this experiment would do better with a bigger beer that would increase the risk for astringency extraction and increase the wort viscosity.
Maybe! That avenue of testing this variable crossed my mind as well. We’ll see if we can incorporate that into further testing!
Interesting, I usually make a parti gyle beer especially brewing big beers, with this info, I will refrain from rising the temp and doing a mashout. As far as sparging, I will sparge with 150 + or – .
Great write-up. This doesn’t really have to do with the experiment, but what crush size do you use on your grain with the grainfather?
Thankee. Every time I’ve used a crush size that’s not super coarse I’ve had issues with the Grainfather so I tend to keep my mill gap pretty wide, probably in the 0.045 range.
Thankee. Every time I’ve used a crush size that’s not super coarse I’ve had issues with the Grainfather, so basically I open up the gap as much as possible that would still allow me crack open the husks.
I usually get a very small increase in conversion efficiency with a mashout, less than 5%, so not really a big deal. The main reason I use it is so that I can get less attenuation in my beers. If I don’t mash out, I get a lot higher attenuation, but I also mash at 160-165F most of the time, so it makes sense I would see a bigger difference in attenuation.
I’m of the opinion that with modern malts, a 60-minute mash is unnecessary. After 30(?) minutes, you shine pretty locked-in. I’d be interested in (someone other than me spending time and money on) a short mash and optional mashout experiment.
In the past I religiously incorporated a mashout into every brew day (Biab) until recently changing tact from information I’ve read on the interwebs. I’ve found no differnce in conversion Efficiency from this or any other differences in my beers for that matter. Different Horses for different courses i suppose.
One batch does not an assessment of consistency make…
I think the point you’re trying to make here is that this is one data point and more data/evidence is needed? That I agree with because with respect to data more is always better. In fact, I think we’d do well to repeat most any of our experiments because reproducible results are meaningful. If you think similarly then you should take it up with management 😉
All that said, the reason that I answered my own rhetorical question with an unequivocal no is because I was considering all of past my experiences with mashing out in addition to my experiences with these beers. So to that end, while this post is about one data set comparing two beers, my general assessment is not based on a single batch of beer.
Yep come to think of it if my beer soaked memory serves me right I’ve not seen any brulosophy recipies incorporate a mash out step?
Is it a typo that 35g Saaz was added twice at 10 minutes? 70g total at 10 minutes?
That’s weird. The last hop addition was made at flameout and it was a 35 g 10 minute hop stand.
It always struck me funny—the whole extracting tannins over 170 degrees thing. You’d think, if that were the case, that beers made with a decoction mash regime would be the most tannic beers ever.
I’ve performed the fly sparge with 200 degree water. Recently I performed my own experiment with two batches, one fly sparge with 200 degree water, started the boil with wort right around 165. The other batch was with water straight from my garden hose @ 55 degrees, started the boil with the wort right around 98 degrees. Besides the amount of time to bring each to a boil after the sparge was complete, no difference in taste that I or all of my friends could distinguish. I have since used the cold sparge method since in four different batches and all taste amazing.
any difference in attenuation?
No, hit my projected numbers dead on
you didn’t get a stuck mash with the cold sparge?
No change, last batch was a 11 gallon two Hearted clone, fly sparge took about 45 minutes to get my 12 gallons through 25 lbs of grain
Thanks for sharing