
Author: Marshall Schott
Back in December 2016, we published an xBmt article on post-fermentation oxidation with results showing participants could not reliably distinguish between a Pale Ale kegged using either high or low oxidation methods. These findings surprised many, present company included, and naturally led to speculation as to why the beers weren’t more disparate in character. While some claimed the damage had already been done to both beers since low oxygen (LODO) methods weren’t used to brew them, the fact oxidation is a commonly cited issue in beer that isn’t brewed using said methods suggested something else may be at play.
The most common critiques of the aforementioned xBmt were that the 4 weeks I allowed the beers to age wasn’t enough and the temperature at which they were stored was too cool. The argument was that oxidation is a function of both time and temperature, namely that beer left in a warm environment over a long period of time runs a higher risk of developing the stale characteristics of oxidized beer. Could it be that the results would have been different had I stored the beers warmer and longer? Curious like a cat, I devised a plan to test it out for myself!
| PURPOSE |
To evaluate the differences between a beer packaged under conditions promoting high oxidation and the same beer packaged under relatively low oxidation conditions after both were aged at room temperature for 100 days.
| METHODS |
Given reports of oxidation having a strong impact on hop character, I brewed a relatively hoppy Pale Ale for this xBmt.
2 Birds, 1 Stone, & 4 Months Pale Ale
Recipe Details
| Batch Size | Boil Time | IBU | SRM | Est. OG | Est. FG | ABV |
|---|---|---|---|---|---|---|
| 11 gal | 60 min | 37.0 IBUs | 5.3 SRM | 1.057 | 1.012 | 5.9 % |
| Actuals | 1.057 | 1.012 | 5.9 % | |||
Fermentables
| Name | Amount | % |
|---|---|---|
| ESB Pale Malt (Gambrinus) | 15.25 lbs | 68.54 |
| Pilsner (Weyermann) | 7 lbs | 31.46 |
Hops
| Name | Amount | Time | Use | Form | Alpha % |
|---|---|---|---|---|---|
| Centennial | 30 g | 60 min | Boil | Pellet | 7.3 |
| Centennial | 20 g | 30 min | Boil | Pellet | 7.3 |
| Centennial | 60 g | 15 min | Boil | Pellet | 7.3 |
| Centennial | 60 g | 5 min | Boil | Pellet | 7.3 |
| Centennial | 104 g | 3 days | Dry Hop | Pellet | 7.3 |
Yeast
| Name | Lab | Attenuation | Temperature |
|---|---|---|---|
| Safale American (US-05) | DCL/Fermentis | 77% | 59°F - 75°F |
Notes
| Water Profile: Ca 87 | Mg 1 | Na 10 | SO4 125 | Cl 62 | HCO3 200 |
Download
| Download this recipe's BeerXML file |
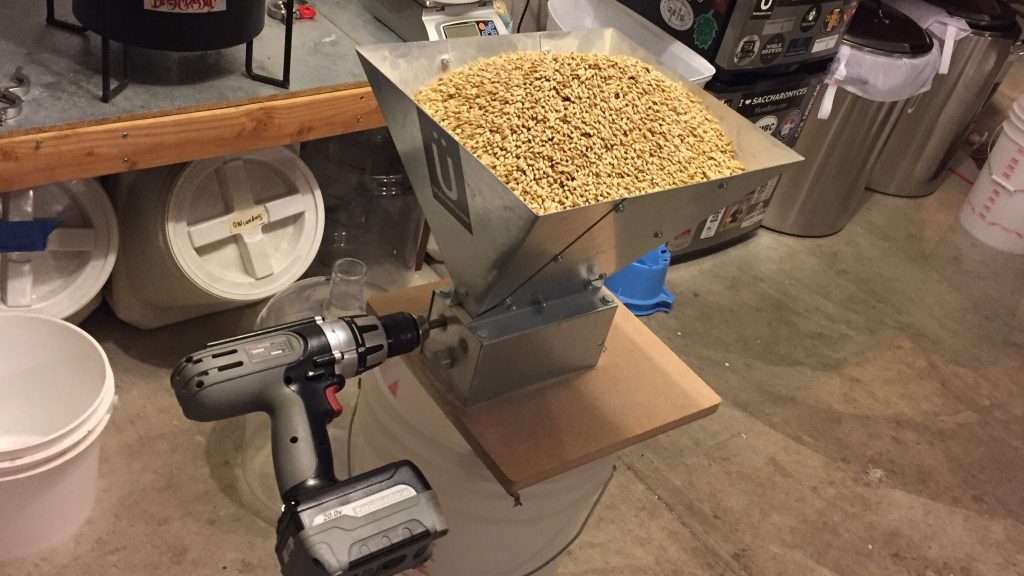
The night before brewing, I collected the water for this full volume no sparge batch, adjusting it with minerals and acid to my target profile, then weighed out and milled the grain.
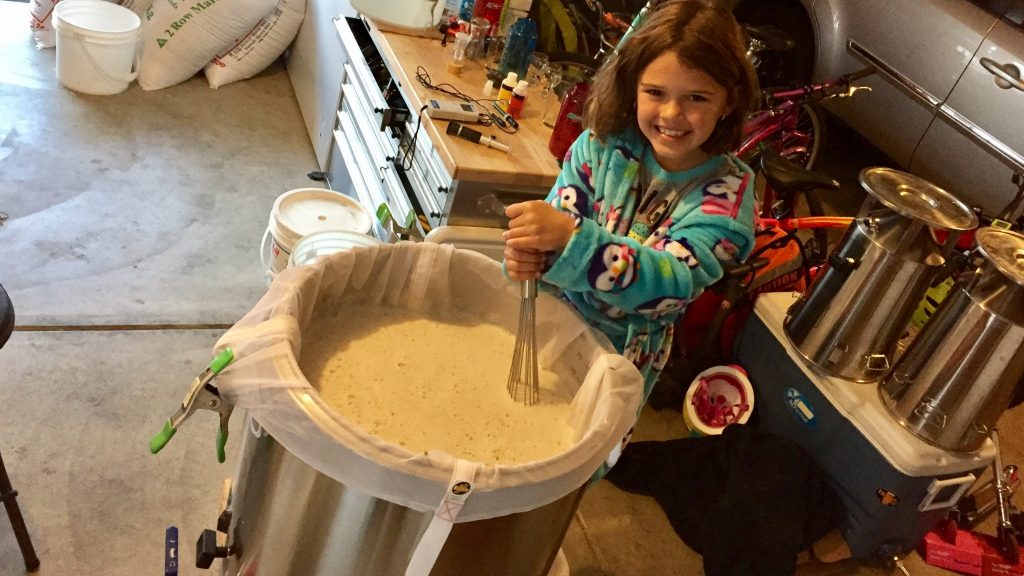
I hit the flame under my kettle first thing the next morning, adding the slightly overheated liquor to my mash tun for a 5 minute preheat, then mashed in with some help from my adorable assistant, Hazel.
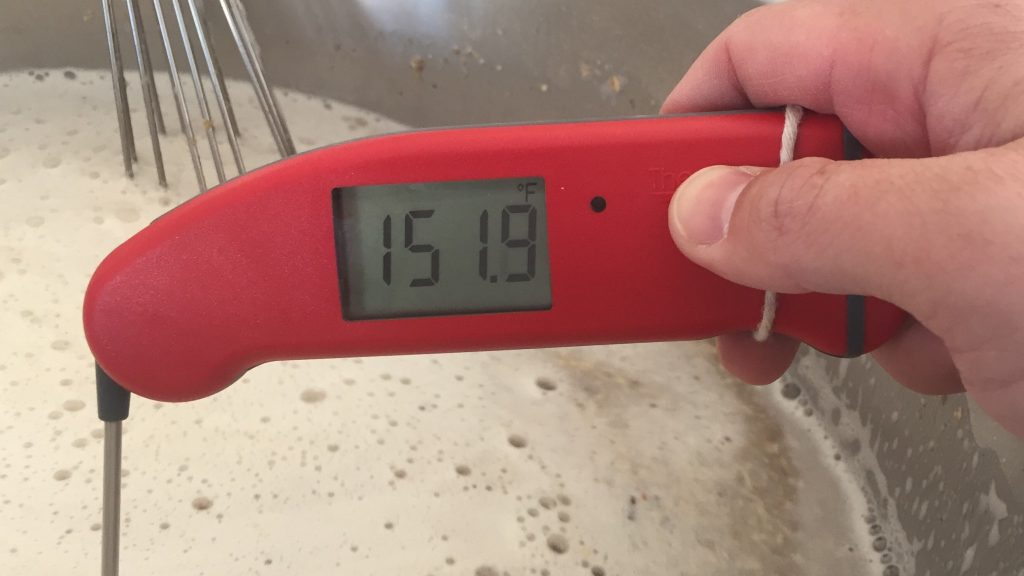
With the grain fully incorporated into the brewing liquor, I measured the temperature and found I was right about where I wanted to be.
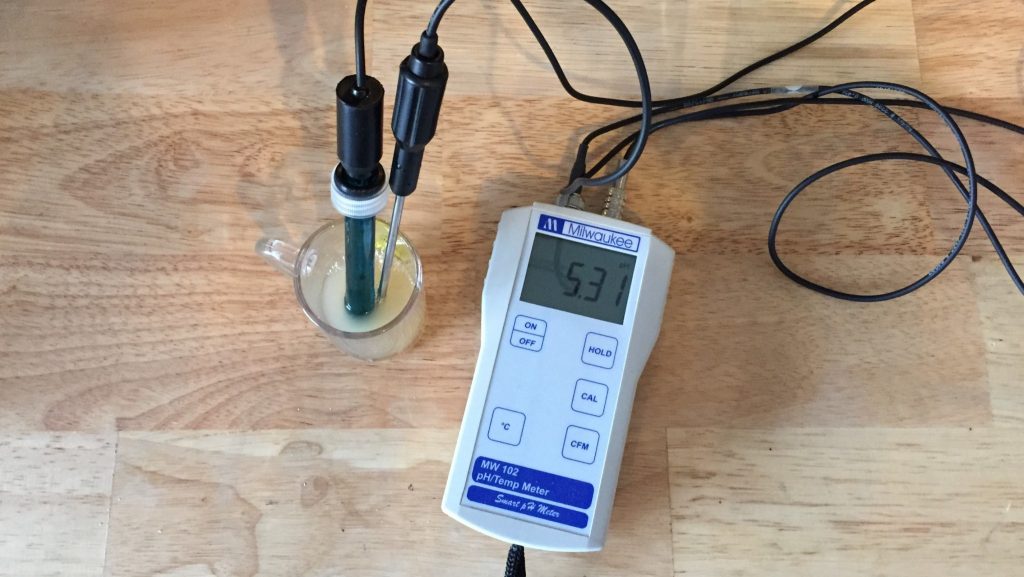
About 15 minutes into the mash, I pulled a small sample for a mash pH reading, it was precisely where Bru’n Water predicted.
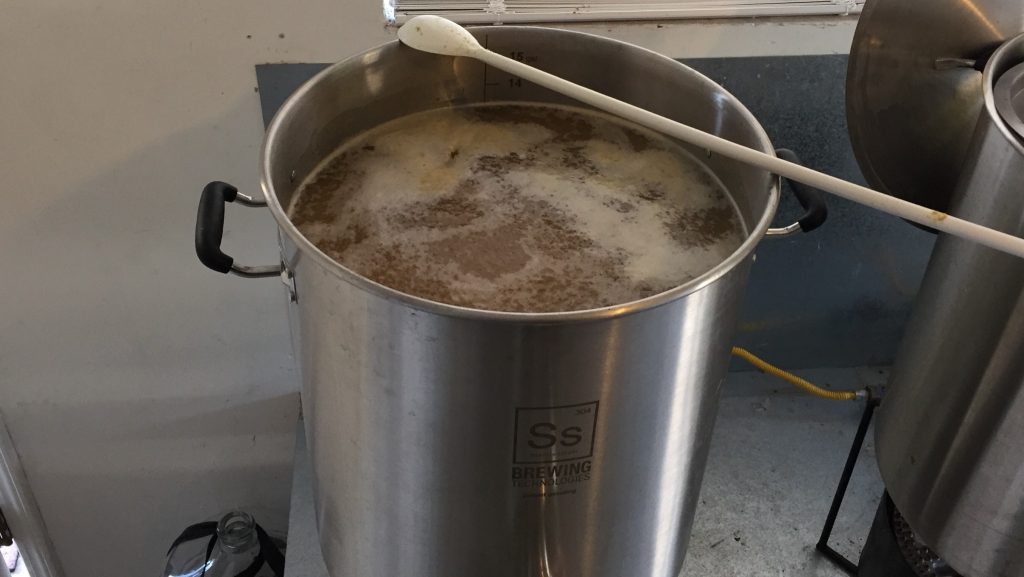
After a 60 minute rest, I collected the full volume of sweet wort in my trusty graduated bucket then transferred it to the kettle.
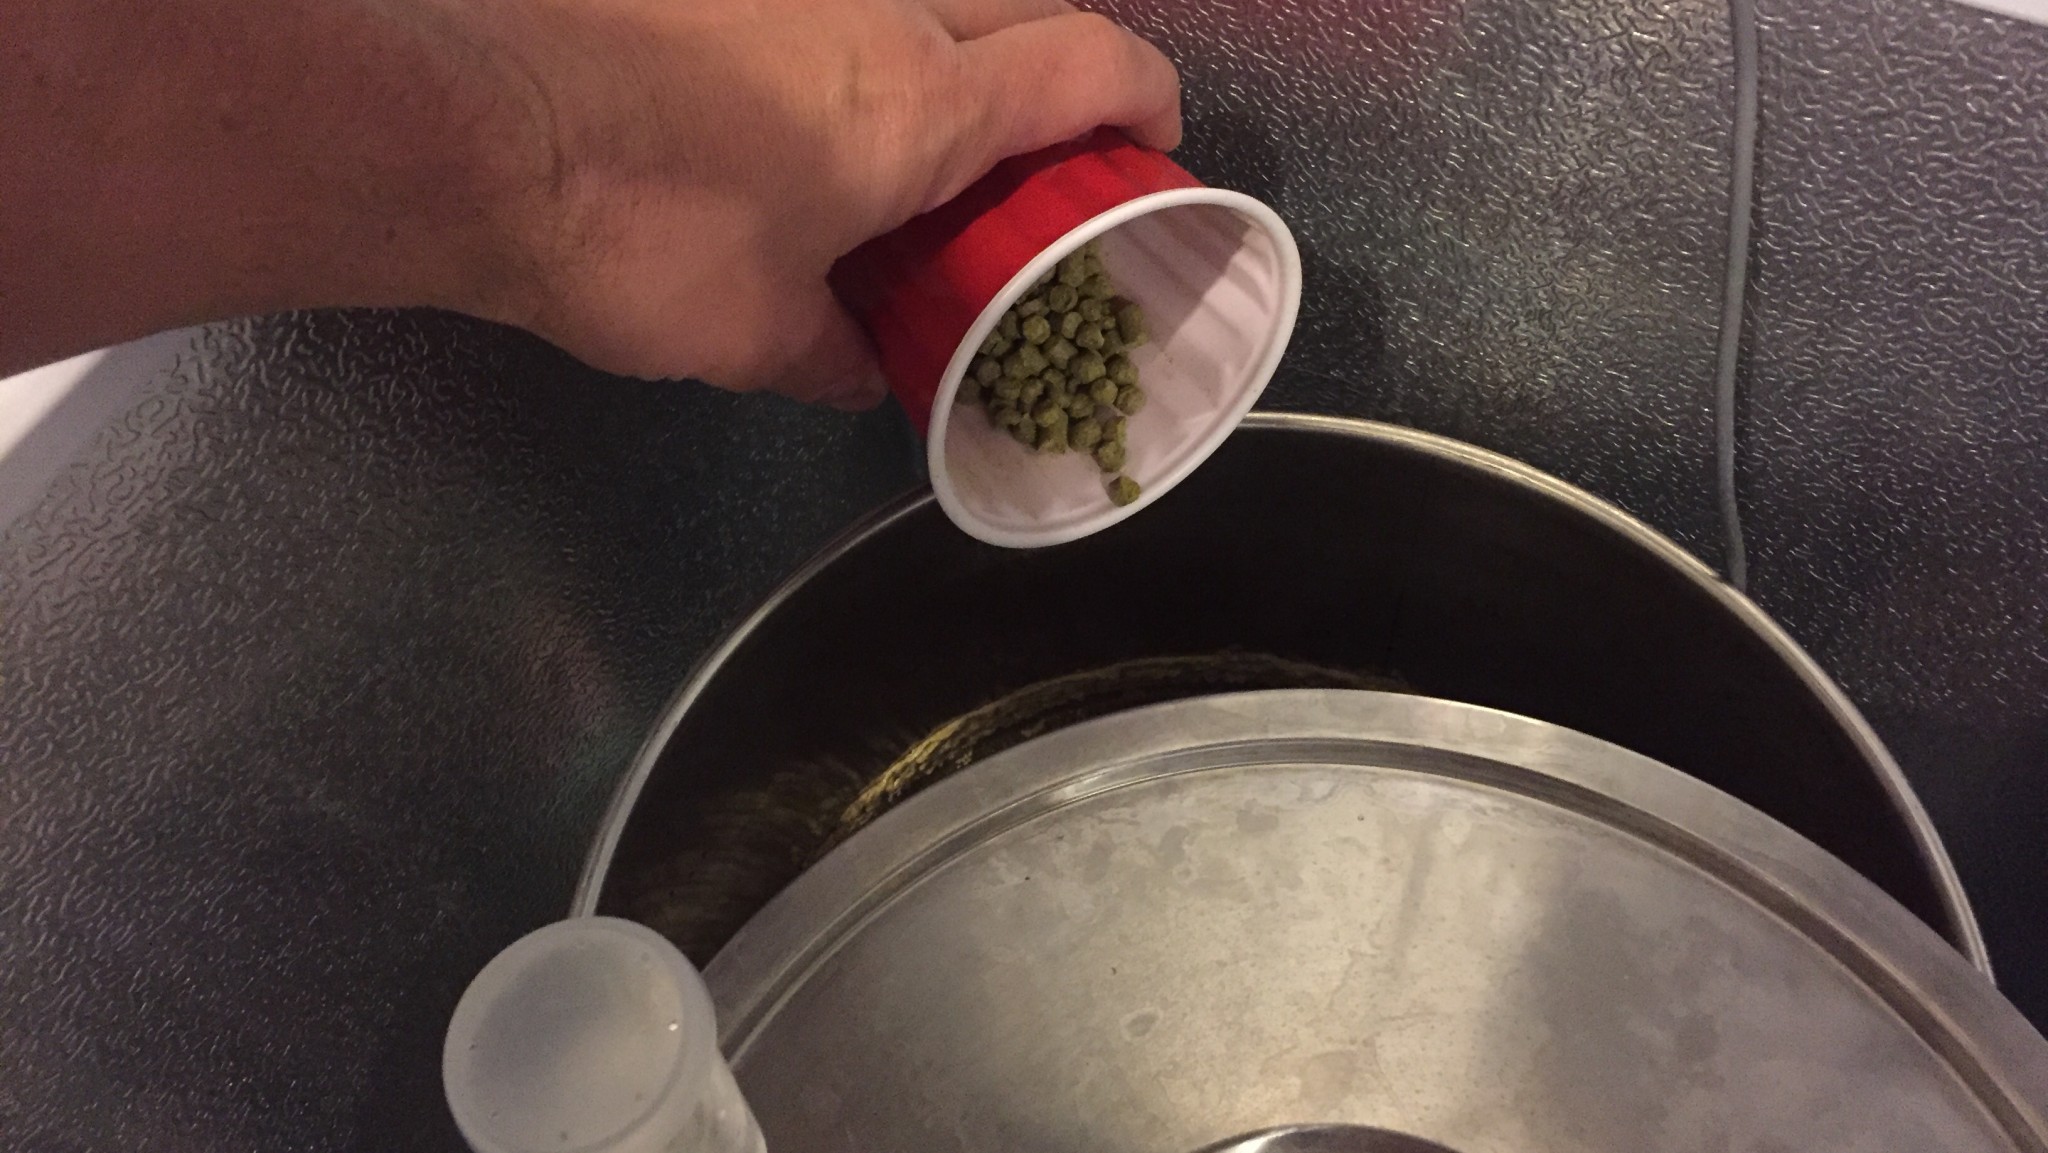
When the wort reached a rolling boil, I set a timer for 60 minutes and made hop additions according to the recipe.
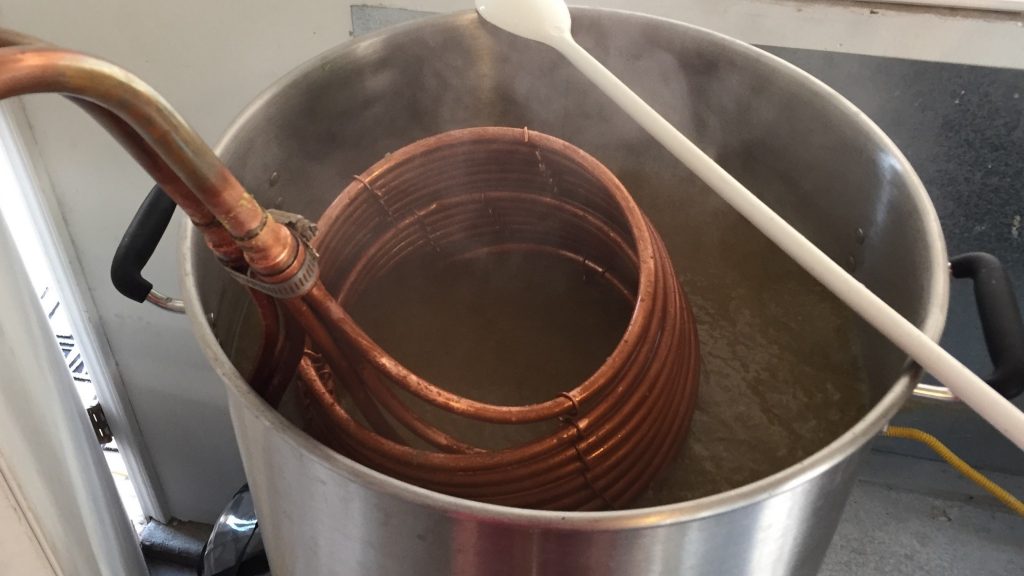
At the conclusion of the boil, I quickly chilled the wort to a few degrees warmer than my groundwater temperature, which was a bit warmer than my desired fermentation temperature.
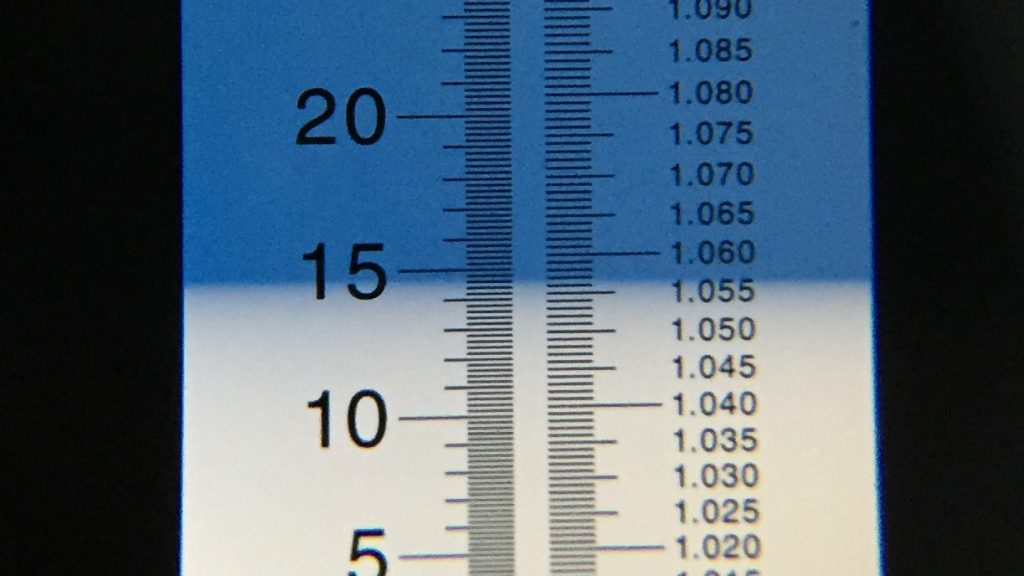
A refractometer measurement showed I’d hit my target OG.
The chilled wort was evenly split between two fermentors and placed in my cool chamber to finish chilling to my target fermentation temperature of 66°F/19°F.
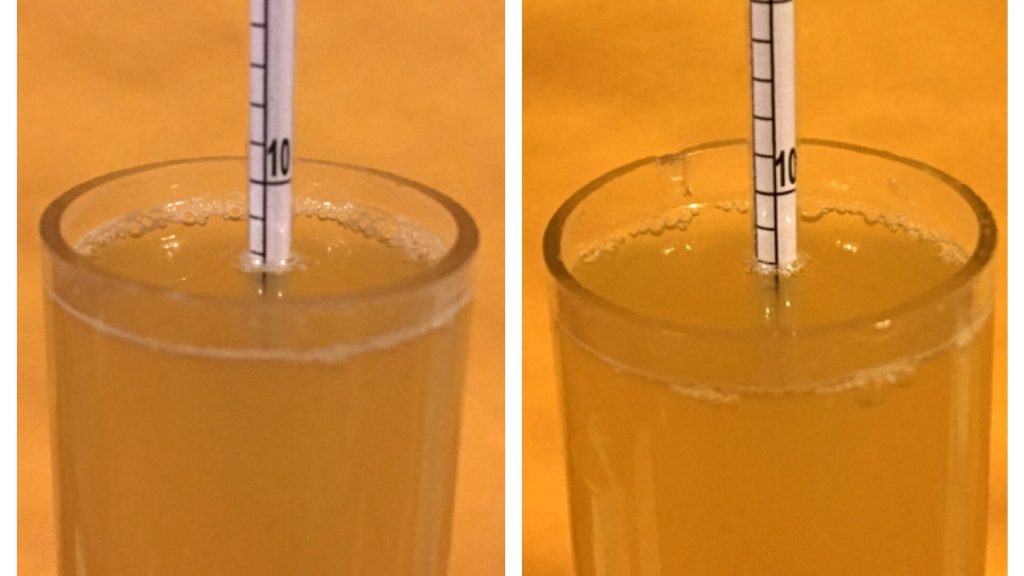
I returned about 4 hours later to pitch vitality starters I’d made earlier with Safale US-05 dry yeast. The following morning, about 12 hours later, I noticed airlock activity indicating active fermentation in both fermentors. I allowed the beers to ferment for 3 days before bumping the temperature up to 72°F/22°C. With signs of active fermentation absent after another 3 days, 6 days total, I took preliminary hydrometer measurements and added the dry hop charge.
After 3 days on the dry hops, I took a second hydrometer measurement that matched the first, confirming fermentation was indeed complete.
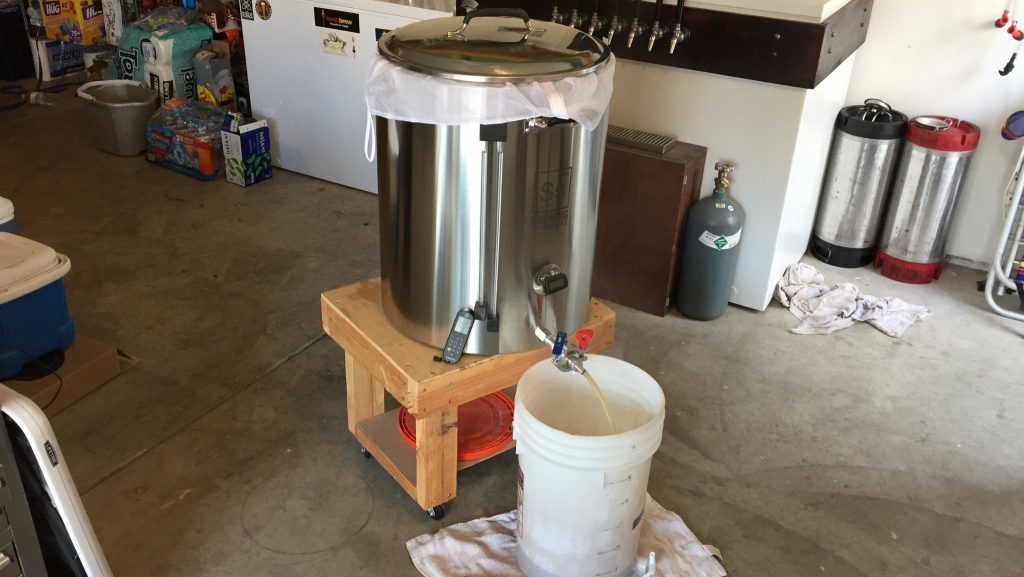
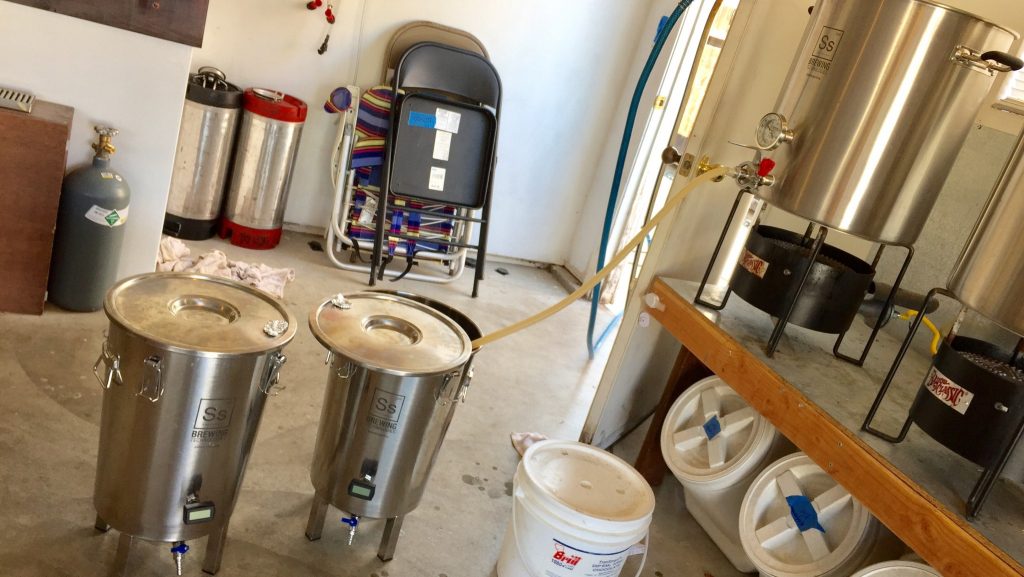
The beers were cold crashed overnight then fined with gelatin before I proceeded to the packaging phase where the variable was introduced. For the normal batch, I used my typical method of transferring the beer from the fermentor to a sealed and non-purged keg through the liquid-out post, a depressor on the gas post to allow air out as the beer fills the keg.

In order to maximize oxidation in the experimental batch, I cut a small length of vinyl tubing, attached one end to the spout on my Brew Bucket, dangled the other end in the unsealed keg, opened the valve, and let the beer splash into the keg.
https://youtu.be/v1u-Qpz2Z8I
The filled kegs were placed in my keezer where they underwent a brief period of burst carbonation before I reduced the gas to serving pressure. I let them sit for 4 full weeks before collecting data for the initial xBmt, at which point both were clear and carbonated.
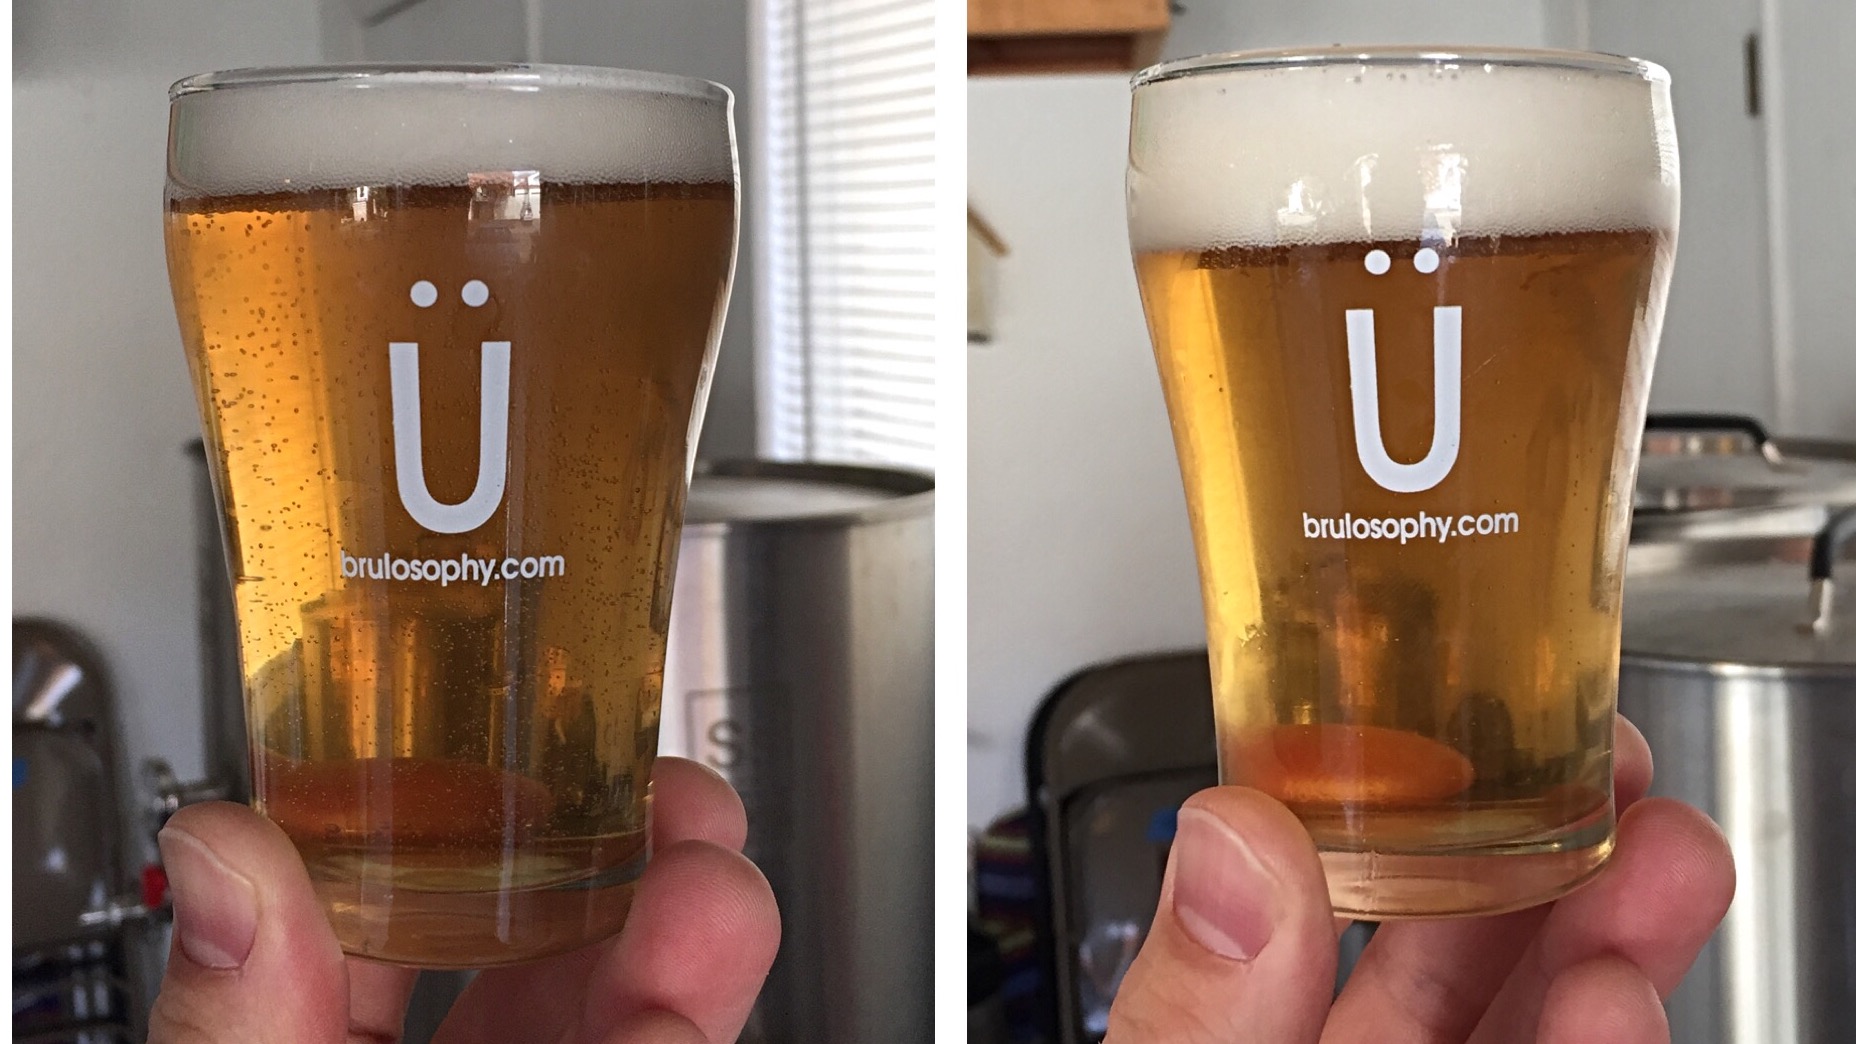
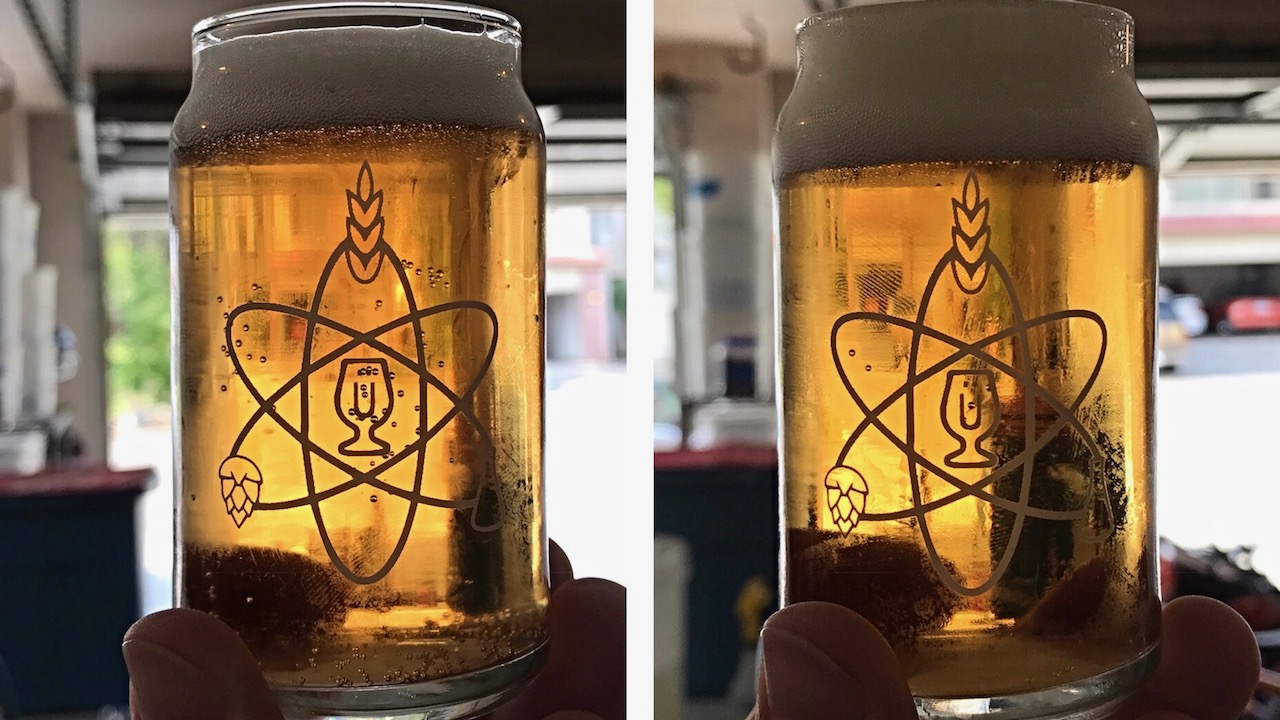
The evening that xBmt article was published, inspired by some comments it received, I removed the approximately half-full kegs from my keezer and placed them in my spare shower where the temperature was a consistent 68-72°F/20-22°C. I let them age in this warm environment for precisely 100 days (12/19/16 to 3/29/17) before moving them back to the keezer. After another 10 days in the keezer to allow for settling of anything that got jostled into solution, the beers were clear and ready to present to tasters, both looking nearly identical.
| RESULTS |
A panel of 20 people with varying levels of experience participated in this xBmt. Each taster, blind to the variable being investigated, was served 1 sample of the low oxidation beer and 2 samples of the high oxidation beer in different colored opaque cups then instructed to select the unique sample. While a total of 11 correct selections (p<0.05) would have been required to achieve statistical significance, only 9 tasters (p=0.19) accurately identified the unique sample, suggesting participants in this xBmt were unable to reliably distinguish a Pale Ale packaged under presumably high oxidation conditions from the same beer kegged using a method to reduce oxidation after an extended period of aging.
Given the fact significance was not reached, the subsequent preference data collected is essentially meaningless, but for the sake of fellow curious brewers, I figured I’d share it anyway. The 9 participants who made the correct selection in the triangle test were instructed to compare only the 2 different beers, still blind to the variable in question, and asked about their preference. In all, 4 tasters reported preferring the beer kegged using low oxidation methods, 3 said they liked the high oxidation beer more, 1 person had no preference despite noticing a difference, and a single taster felt there was no difference between the beers.
My Impressions: My first attempt at a triangle test on these beers came after witnessing 3 people in a row make the correct selection, which obviously meant more to me at the time than the fact the next 5 people got it wrong. Either way, I was curious to see how different the beers were and had intentionally held off on sampling so as to save the surprise. Not only did the beers taste exactly the same as each other to my palate, but based on my sensory recollection, they didn’t really taste any different than when I sampled them in the first go-round of this xBmt. Neither had what I’d describe as quintessential oxidation character, at least the wet cardboard or sherry characters often discussed, but rather both were pretty much how I remember them being a few months earlier. Over a total of 6 attempts, I chose the unique sample twice, exactly what you’d expect from my random guessing.
| DISCUSSION |
Warm temperature and age– two things I trust most brewers agree are to be avoided for the majority of beer styles. Despite believing 4 weeks was enough time for any negative effects of kegging with high oxidation to show in the first iteration of this xBmt, I have to admit I was downright convinced the similarities between the beers would diminish after an additional 100 days of warm storage, the high oxidation sample tasting of stale grain and wet cardboard. But that’s not how things panned out. In addition to the beers tasting largely similar to each other, not a single taster, in follow-up conversations, described either in a way that would indicate oxidation as being an issue. The mind boggling thing is that at least one of the beers was arguably highly oxidized– just watch the video, if you can bear to get through it. Moreover, oxidation has been noted to have a darkening effect on beer color, yet both looked the same and, to my eyes, neither looked terribly different than the image from the first xBmt.
I don’t really know how to convey with words how surprised I am with these results. Oxidation is real and I’ve zero doubt it occurred on some level, but the fact it wasn’t drastic enough to make these beers taste different from each other or different from the time data was first collected has me scratching my head. Perhaps its true what some claim that oxidation occurs much earlier in the process and that the “damage” is done long before packaging, though if this is the case, where the hell were the expected oxidized flavors? While I’ve absolutely no plans to embrace such lazy kegging practices, I can’t help but question about the impact oxygen during packaging really has on beer. Would I recommend people intentionally engage in splashy racking? Of course not, that’s stupid, but perhaps an accidental bump of the tubing when kegging or racking to a bottling bucket isn’t worth fretting over all that much.
If you have thoughts on this xBmt, please feel free to share in the comments section below!
Support Brülosophy In Style!

All designs are available in various colors and sizes on Amazon!
Follow Brülosophy on:
FACEBOOK | TWITTER | INSTAGRAM

If you enjoy this stuff and feel compelled to support Brulosophy.com, please check out the Support Us page for details on how you can very easily do so. Thanks!


40 thoughts on “exBEERiment | Cold-Side Oxidation: Impact Warm Storage Over Time Has On An American Pale Ale”
Interesting that these beers are still fine after 100 days of warm storage & oxygen exposure. Was there still a strong hop aroma or had that faded over time?
I’m just gonna quit assuming anything I “know” about beer is correct until proven to be so. Gees I thought for certain this one would give a positive.
Interesting…. what would you think about a comparison between bottled beer and kegged beer? I sometimes wonder if light/UV is the biggest culprit. I haven’t had what I consider to be an oxidized beer since a stopped bottling. Might be a little harder to compare the other variables in such and experiment.
i have never had a beer turn out oxidized, and I mostly bottle. I do however store beer in cardboard boxes in dark places, and i put tshirts over the fermenters (fermonsters, or previously glass carboys) to keep out the light.
Maybe bottling has more of an effect, something to do with the smaller volume in each bottle, and the extra steps in bottling, being more vulnerable than bulk storing in a keg.
Am I happy with these results! I’m a poor, first-year, home brewer. I use a bottling bucket, corn sugar, and bottles. I have no high-speed ways of avoiding oxygen exposure to my beer. I store my filled beer bottles in their cases, in a room in our house that reaches 70+ degrees, during the summer. Somehow, people still like my beer (because it’s free, or tastes good… nobody’s willing to admit their primary motivation 🙂 ) I strive to be oxygen aware, post fermentation, but there’s only so much I can do. If home brewing tasty beers gets to be an arduous process of managing nano-issues (at the 5-6 gallon scale), then I’m out. Fortunately, like many other exbeeriments, here is another variable that I should be “aware” of, and attempt to mitigate, but don’t have to be overly concerned about. Thanks! My kind of results! Phew!
Hey, since you’re carbing in the bottle you’ll actually be a lot better off than you’d think. Yeast are incredibly good at scavenging oxygen to the point where places like New Belgium will actually add a measured dose of yeast to most of their cans / bottles to help with any O2 pickup that they have. While it’s great that a lot of people keg, there are advantages to bottling. So keep trying to keep it down and don’t worry, have a homebrew!
Source: Just went to the oxygen seminar at homebrew con.
Hypothesis: live yeast metabolizes oxygen.
Exactly whatever In was thinking.
My thought also
Thanks for this and all the other interesting exBeeriments!
I have one experience where I believe my beer quickly went stale due to oxygen. I live in Norway but have a farm in Sweden, just 1,5 hours drive away, and do all my brewing there. So I bought a small keg (6L) to legally take some of it back across the border, without having to bottle. I filled this keg with 2-3 L of Wit from a larger 19L keg, for consumption during the upcoming week. I did not purge with CO2, thus there was 3-4 L of air before I added CO2 to 1 bar pressure. This was put in the car and thoroughly shaken on the way back (1,5 hour drive, partly on dirt roads). The beer staled in a few days, lost most of its aroma and ended up quite boring. The Wit that remained in the larger keg is still fresh. Thus, in my experience 4L of air shaken into 2L of beer do leave an impact, in just a few days. I can think of no other reason why this beer staled, but it this is true, I must have managed to get much more oxygen into the beer than you achieve with splashing.
Perhaps that is the issue the “big boys” are trying to avoid on oxidation? They have trouble controlling the beer’s conditions once it leaves the brewery. Movement of cases from truck to truck, bumpy roads, the hazards of transit, heat, light, etc. so they try to create conditions to minimize the impact of poor care and handling? One time I had to move a carboy to a friend’s to lager in his fridge. Concerned about oxidation, I created a bowl of baking soda and vinegar, let the reaction take place, then poured the CO2 generated over the top of the beer in the carboy (while not pouring the vinegar in). The beer seemed to survive the transit well. I was dealing with 6 gallons of beer in a 6.5 gallon carboy, so only about 2L of headspace, not quite as extreme as your’s Kjell.
I think kjell is on the right track. Even a little air in his keg at 16% O2 is way more O2 than the amount of O2 picked up during Marshalls splashy transfer at ~10 ppm O2 solubility. (Assuming the beer had time to equilibrate with the air during Marshalls transfer, which it almost certainly did not). If both of Marshalls kegs were topped off with beer, there shouldn’t be much difference in O2 exposure. However, the O2 in the head space of Kjells keg would continually dissolve into solution as it reacted with the beer, resulting in orders of magnitude more milliequivalents of e-.
I had some serious issues with oxidation recently which I managed to correct – so I know that it’s a real “thing”.
I had upgraded to a chest freezer for fermentation in the fall. During that time I did 4 batches, 2 of which were dumpers. I ferment in 7 gallon fermonsters with 3 piece airlocks. On completion of fermentation I was cold crashing over a period of three days or so. What I found is that a lot of suckback into the fermenter was happening as the liquid cooled and completely ruining the batch – vinous papery gross character.
To fix this, I added a blowoff tube into a jar of sanitizer to fill the tube with C02. This way, for cooling, the suckback was all C02 – and I was surprised how much sanitizer sucked back into the tube, which was previously all oxygenated air. This solved my problem and I just recently started winning awards again, phew! Otherwise, my kegging practice minimizes oxygen by transferring to out post into a sanitized and C02 purged keg.
I would agree with the comment above that potentially storing warm with active yeast scrubbed the O2 out. In my case, this was cold beer that sat with oxygen for a few days. My theory is that oxygen just doesn’t get absorbed and go away, the longer it’s in there the more damage it can do.
Cheers,
Justin
What do you mean by “I added a blowoff tube into a jar of sanitizer to fill the tube with C02” ?
You mean you inject CO2 in the hose before soak it in the sanitizer ? The CO2 doesn’t leak after the injection ?
I’m interested by your approach since I had several issues with post-fermentation oxidation.
What I meant is that I attach a blowoff tube to my fermenter (terminating into a jar of sanitizer) while fermentation is still active and working away at fermentation temps. At this time, the C02 from fermentation is filling the tube and bubbling away.
As fermentation slows/finishes, I slowly ramp the temperature down while the tube is still attached. While cooling, the liquid cools and sucks back the C02 and the sanitizer rises in the tube. Sometimes it may fill half of the tubing by the time I’m ready to keg.
What this shows me, is that if I didn’t use this approach, I would be sucking back oxygen. In previous experience when I cold crash without this, I got terrible oxidation results so anytime I need to cold crash I take this approach.
Hope this helps.
Cheers,
Justin
Philosofool has the right idea and is absolutely on the right track. #secretprotechnique
I have a feeling that your transfer method is not introducing as much Oxygen as you think. In the video you can see the beer foaming, so whatever CO2 is still in solution and probably blanketing the beer. Maybe transfer through a funnel first or do a double transfer.
Exactly my thoughts: only first couple of litres may have been on Oxygen, the rest was “safe” due to eliminated O2. The foam at the bottom is proof.
I think you’re gonna have to take a Mythbuster’s approach where make shit explode with dynamite when it otherwise would not. Add some pure O2 to some remnant and see what happens!
I usually grab a can for my shower beers, but to each their own!
How full were the kegs? I think my rough estimates are correct, but I usually end up with a 1/4 gallon of headspace for a 5 gallon keg. Without purging before or after, I believe that’d be about 160 mL per 1/3 liter of air. That should be enough to stale beer in the 100 days. Some testing Wyeast show you might be able to pick up ~ 4 ppm using this method, although I’m guessing that’s around room temperature. Oxygen is more soluble in water at lower temperatures and lower specific gravities, so that could be higher. It would be interesting knowing how much yeast is still in suspension, maybe that is sucking up any DO you’re picking up.
http://www.wyeastlab.com/oxygenation
Baker, C. D. and Morton, S. (1977), OXYGEN LEVELS IN AIR-SATURATED WORTS. Journal of the Institute of Brewing,
https://www.morebeer.com/articles/oxidation_in_beer
Yeah, I usually rack a hair over 5 gallons to each keg.
Too funny that you busted the myth and still say “lazy and stupid” regarding the “approved” technique.
Do you think it has anything to do with how quickly you keg after fermentation has finished as I would imagine that there is a lot of residual CO2 in the beer compared to brewers who just leave their beer to sit for two to three weeks and then keg
I agree with above, if after the month you opened one keg for a couple days then closed it and waited about couple weeks, then recarbed and served, I bet you’d notice it. I had a keg that lost pressure and the beer staled pretty quickly, a sad day for my delicious mango sour!!
Marshall, did you go to the seminar on oxidation? The difference between the two Fat Tires that were poured there was startling, but they were pasteurized.
I didn’t make that one, unfortunately, but my understanding is both were kegged by New Belgium under standard conditions, which I have to believe is quite oxygen-low. Because of this, I’m left questioning if the differences people claimed to experience, which I trust were indeed real, weren’t more an issue of age than oxygen, or at the very least a combo of both.
I highly recommend checking the talk out. There was some really great stuff presented. Intriguing data, but presented in a very approachable way. I think there are a lot of implications for past and ppotentially future exbeeriments. Would be worth catching once the talks were available on the website.
Absolutely plan to!
I think the problem here is that even if there is a small amount of fermentation still going on it’s going to quickly scrub the oxygen from the beer in the keg. I think if you were to do this again, I would run this through a .45u filter to sterile filter it to make sure there is no more fermentation going on.
another option is to add potasium sorbate which will “kill” the remaining yeast (it doesn’t really kill them, but thats not the point). this is a common tactic in home wine making so you don’t actually restart fermentation after bottling. real wineries do the filter
and while i’m at it, a lot of breweries use filters too. so maybe commercial breweries who do not bottle condition are at more risk to small amounts of oxygen because no yeast left over to do some simple “scrubbing”
I post in a homebrewing forum and I’ve long suspected that the complaints many newish brewers have about “oxidation flavors” might actually be attributable to other elements of their process. Unfortunately the threads in question are often filled with long and detailed recounting of the processes other brewers use to avoid oxidation rather than an attempt to get at the real reason. Honestly I don’t know what the real reason is in most cases, but in a beer you just brewed 3-4 weeks ago using a process that at least doesn’t introduce as much oxygen as this XBMT did, I seriously doubt it’s oxidation. Even if the beer was severely exposed to oxygen you wouldn’t be able to tell it that early and, if this xbmt is to be believed, at any point before you will likely finish drinking the beer.
The guys that are seriously into LODO are now brewing using soured wort to lower their mash and sparge pH. I would love to see a brulosophy experiment on the difference between using say food grade lactic acid/phosphoric acid and salts and a soured wort.
I believe they’ve been advocating for the use of sourgut for awhile. We definitely have some xBmts planned to test out different mash pH adjustments methods!
Hey Marshall,
You mention a “Keg depressor” to release pressure on the gas post while transferring beer from fermenter to keg. Where do I get a depressor like that?
I remember learning that if you want to introduce oxygen into the wort pre-fermentation, splashing only helps a little bit. Using techniques to measure dissolved oxygen, it was shown that if you really want to give the yeast a boost in the O2 department you should inject it from a tank through a stone. So why am I so worried about a little splashing post-fermentation? To really get past the subtleties in this experiment I propose PT3 – The O2 Blast. Post fermentation, hit one of the beers with 90 seconds of oxygen from a tank. Hach makes a colorimeter test kit for dissolved oxygen that could be used to measure the difference between low oxygen and high oxygen batches.
Any beverage, just fermented, wine, cider or beer has dissolved CO2. If I get a wine or cider sample and run a TA on it,even if I suspect it has only fermented a little or started, I put the 10ml beaker into a vacuum and remove the dissolved CO2 or else it will affect the acid test, (TA). There is a co-relation to oxidation regarding pH. Wine that has a pH of 3.00 or 3.50 even 3.6 is a whole different bird than beer that has a pH of 4.4 Wine and ciders have had KMBS added (SO2) and as such it is not only a preservative, but also an anti-oxidant. Beer has no Sulfur Dioxide added nor Ascorbic acid (also an anti-oxidant) and has a different profile of amino acids, sugars, etc that can and do get affected by some oxygen.
However, I purge my kegs with CO2 and just fill them from bottom to top. As they fill, the CO2 being heavier than air “overflow” while filling the keg, and if I immediately purge the last of the headspace with CO2 after locking down the “hatch”, then I feel comfortable that there is little DO in there to deal with later. Once you start chilling and burst carbonate, it forces Carbon Dioxide into the beer, and any O2 will have to be displaced to do so.
Hi Marshall, good couple of articles!!
I had an involuntary experience which confirms your results. While brewing a blonde saison, i splitted my batch in threee jarrycans for cold crashing and dry hopping only two of them for 2 weeks:
1 jarrycan of beer not dryhopped, with a big headspace, so very exposed to O2.
1 jarrycan of dryhopped beer, unluckily the cap wasn’t airtight, -so O2 exposure-
1 jerrycan of dryhopped beer, airtight
Then i bottle-conditioned all the three of them, in 3 different batches, same method.
Results after 2 months of bottle refermenting
the oxidized dry hopped beer turned darker
the non oxidized dry hopped beer came out very bright yellow
the oxidized ale came out also very bright yellow
So, looking at the results of your two experiments, i agree on the fact that the impact of oxidation on color is related to dry hopping, so to hop oil degradation, while a normal ale doesn’t show a visible darkening even though exposed to o2.
This is reassuring that I don’t need to stress quite so much. One more time on the NEIPA but with a recipe that has wheat and oats!