Author: Jake Huolihan
Significant results from recent xBmts comparing different types of fermentation vessels have left many scratching their heads in bemusement and hypothesizing possible explanations. Some have posited the perceivable differences between beers fermented in different vessels is a function of the material they’re constructed from, with most arguments seeming to revolve around oxygen permeability and the impact increased exposure to oxygen has on beer. Given the fact every significant fermentation vessel xBmt has compared a notably impermeable fermentor to one made of plastic or PET, this argument certainly seems to hold some water.
However, as I pondered these surprising findings, I began to wonder if maybe the differences weren’t so much caused by oxygen permeability as it was vessel dimension. So far, we’ve compared an 8 gallon plastic bucket to a 6 gallon PET carboy, a 6 gallon PET carboy to a 6.5 gallon glass carboy6 gallon PET carboy to a 6.5 gallon glass carboy, a 7 gallon stainless bucket to a 6.5 gallon glass carboy, and a 5 gallon corny keg to a 5 gallon glass carboy, all of which vary in terms of dimension and, consequently, amount of headspace. Presuming identical wort volumes, a tall slender vessel will necessarily produce more hydrostatic pressure than a shorter fermentor with a larger diameter, which is said to influence yeast performance. Then there’s the idea that greater headspace creates a vector for increased exposure to oxygen, which some are convinced leads to rapid changes in beer character.
We make it a point when performing xBmts to rack equal amounts of wort to identical fermentors in order to eliminate headspace as a confounding variable, but perhaps this practice is responsible for the aforementioned results, as trivial as it seems on the homebrew scale. Trivial or not, I wasn’t prepared to settle on conjecture and decided to test it out for myself!
| PURPOSE |
To evaluate the differences between a beer fermented with a minimal (normal) amount of headspace and the same beer fermented with a large amount of headspace.
| METHODS |
For the new year, I committed to learning more about English Bitter through experience brewing the style often and designed a recipe I thought might work well for the variable being explored.
Getting Better Bitter
Recipe Details
| Batch Size | Boil Time | IBU | SRM | Est. OG | Est. FG | ABV |
|---|---|---|---|---|---|---|
| 5.5 gal | 60 min | 49.4 IBUs | 8.3 SRM | 1.053 | 1.015 | 4.9 % |
| Actuals | 1.053 | 1.01 | 5.6 % | |||
Fermentables
| Name | Amount | % |
|---|---|---|
| Pale Malt, Maris Otter | 10.375 lbs | 93.79 |
| CaraMunich I | 5 oz | 2.82 |
| Corn, Flaked | 5 oz | 2.82 |
| BlackPrinz | 1 oz | 0.56 |
Hops
| Name | Amount | Time | Use | Form | Alpha % |
|---|---|---|---|---|---|
| Magnum | 20 g | 60 min | Boil | Pellet | 11.2 |
| Chinook | 15 g | 30 min | Boil | Pellet | 11 |
| Chinook | 15 g | 10 min | Boil | Pellet | 11 |
Yeast
| Name | Lab | Attenuation | Temperature |
|---|---|---|---|
| West Yorkshire Ale (1469) | Wyeast Labs | 69% | 64°F - 72°F |
Notes
| Water profile: Ca 107 | Mg 0 | Na 8 | SO4 134 | Cl 93 | HCO3 16 |
Download
| Download this recipe's BeerXML file |
I made a large starter of Wyeast 1469 West Yorkshire yeast, a strain I’ve been excited to play with for some time now, a couple days ahead of time.
I made my RO water the day prior to brewing and adjusted the entire volume to my desired profile.
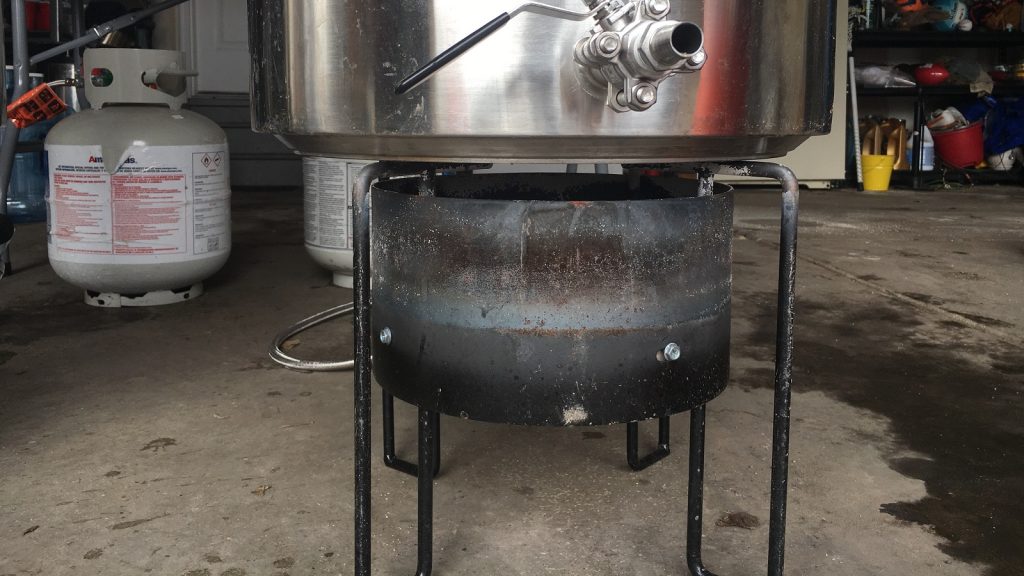
The following morning started with me lighting my burner’s flame to heat the strike water to the appropriate temperature.
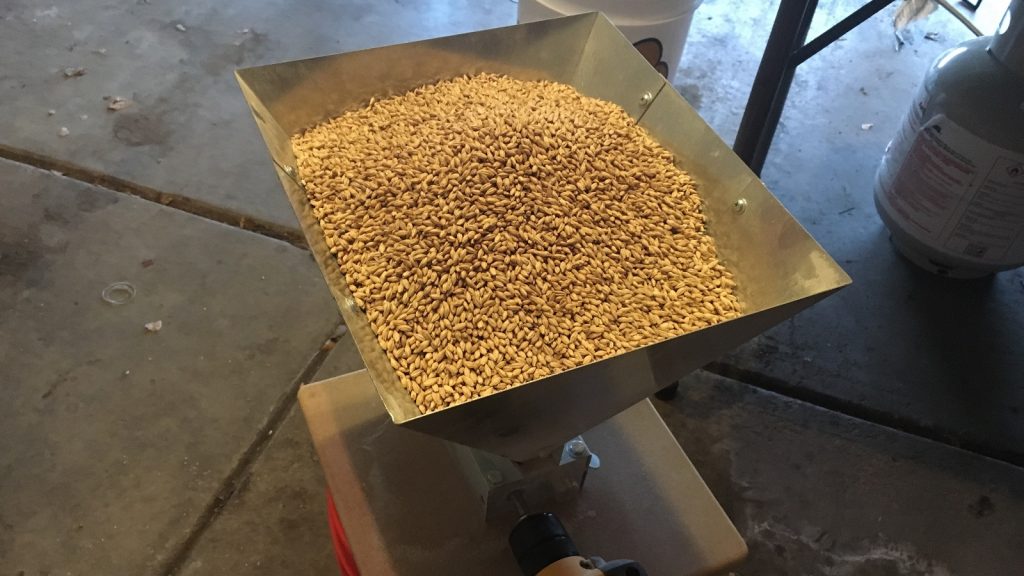
It was during this time I weighed out and milled the grain.
With the water heated, I mashed in to hit my target rest temperature.
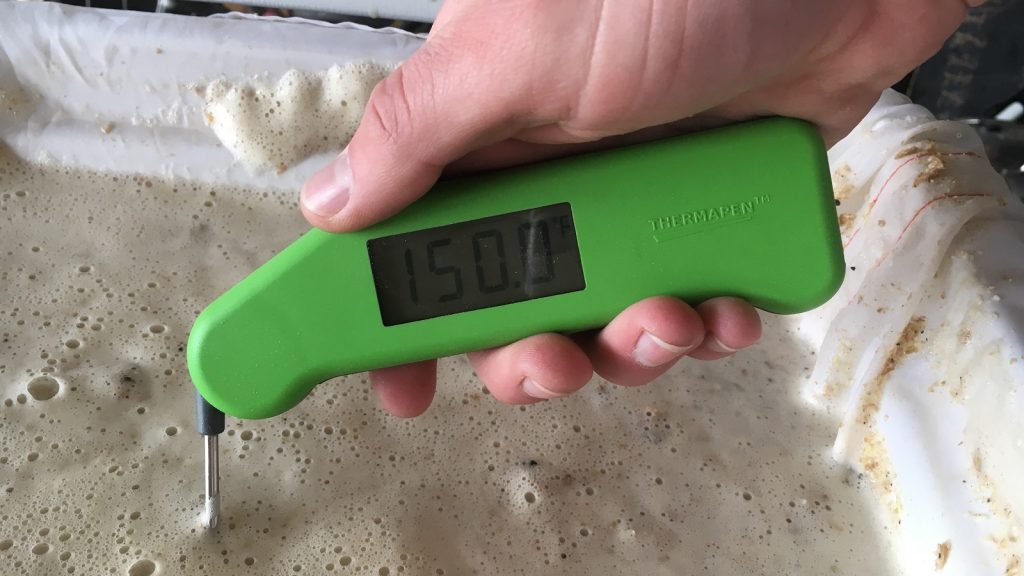
I wasn’t quite able to perform the no sparge I’d intended with my converted cooler MLT and had to use a very small amount of sparge water to get to my pre-boil volume, which I added as soon as there was room in my tun while collecting the sweet wort.
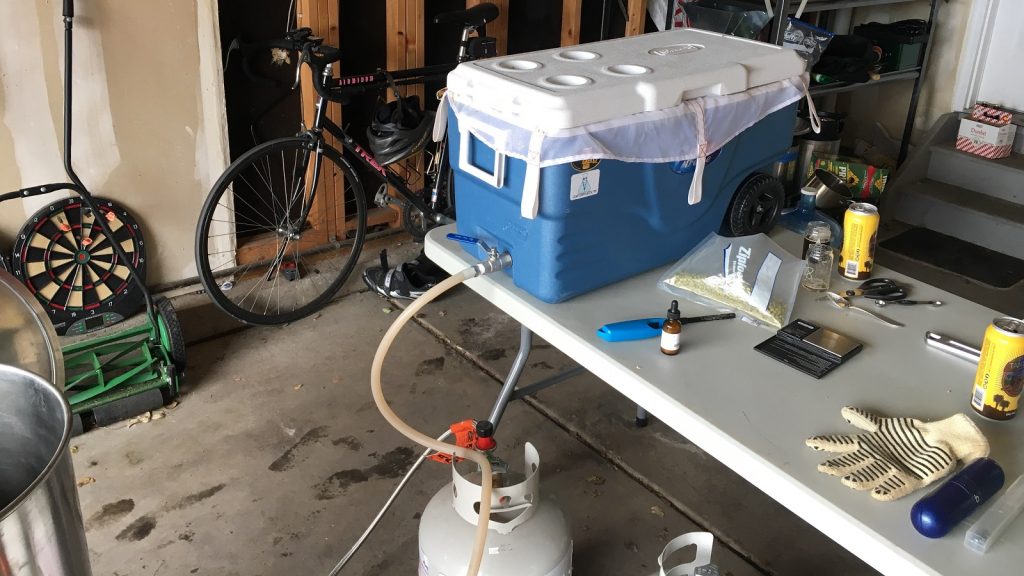
The wort was boiled for 60 minutes with hop additions made at the times noted in the recipe.
After the boil was complete, I very quickly chilled the wort.
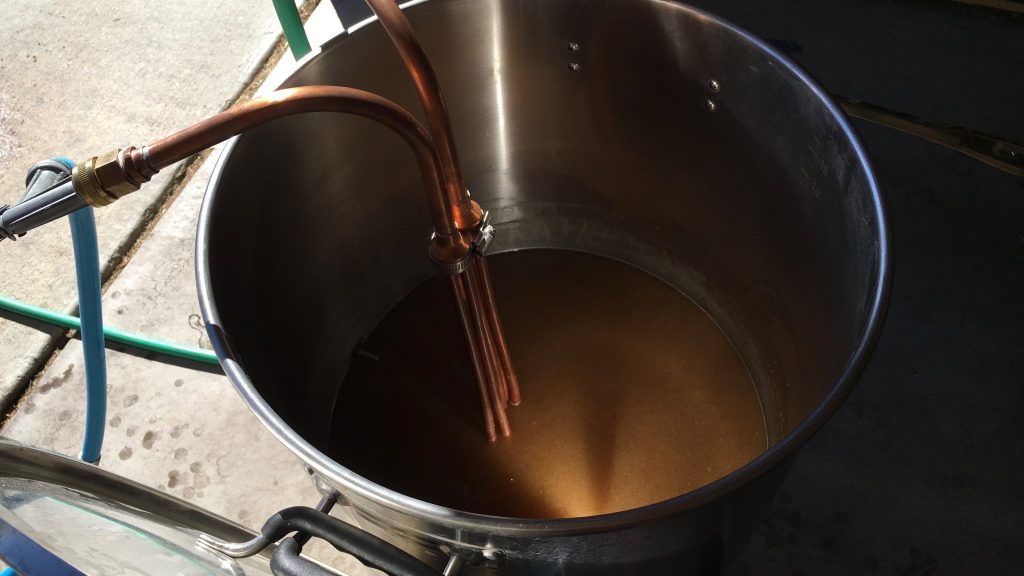
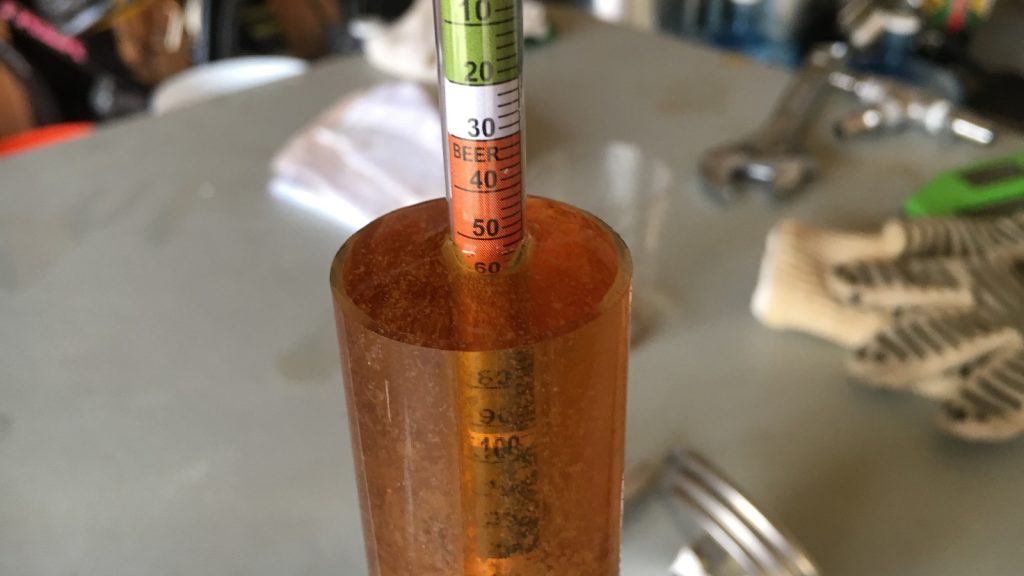
A hydrometer measurement showed I’d not only hit my target of 1.053 OG but achieved a gorgeous color.
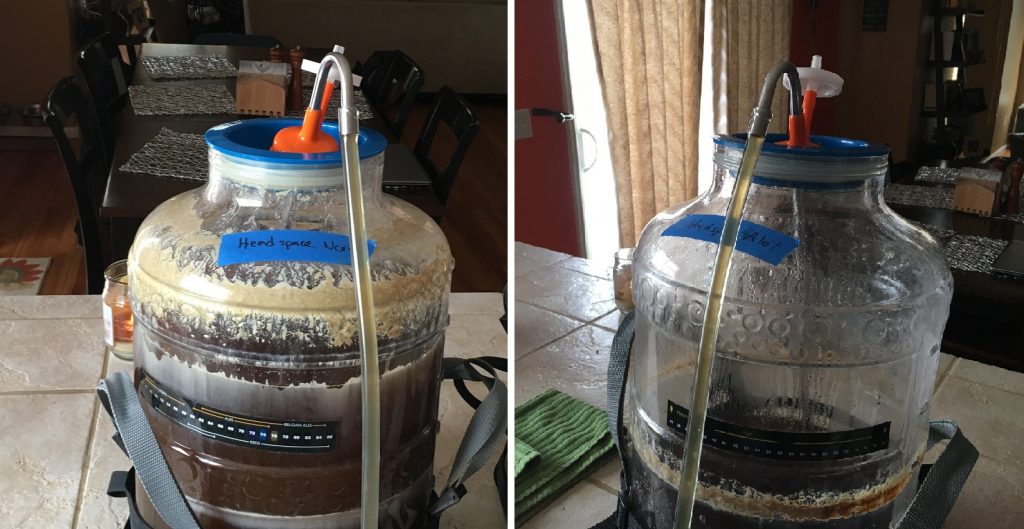
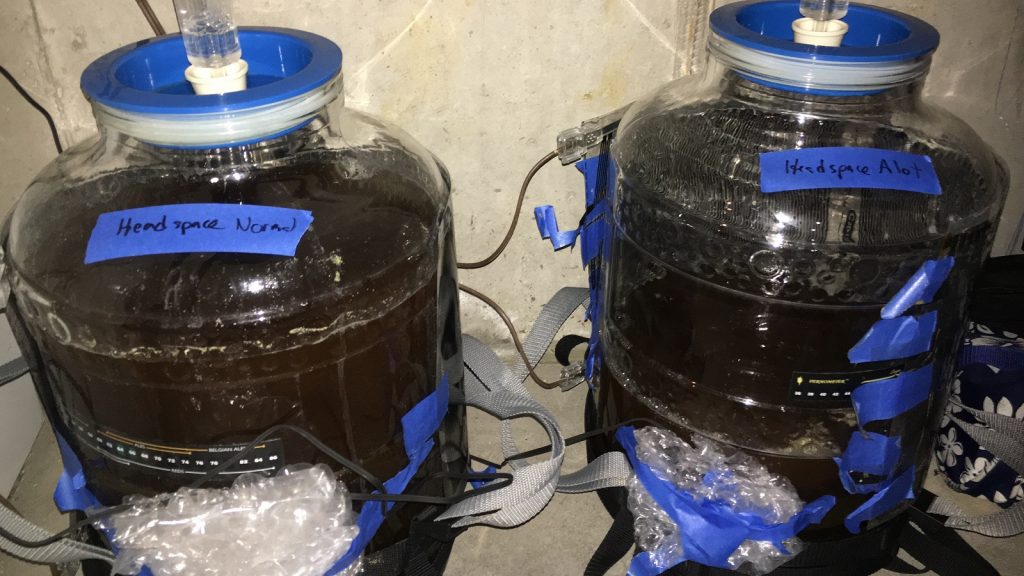
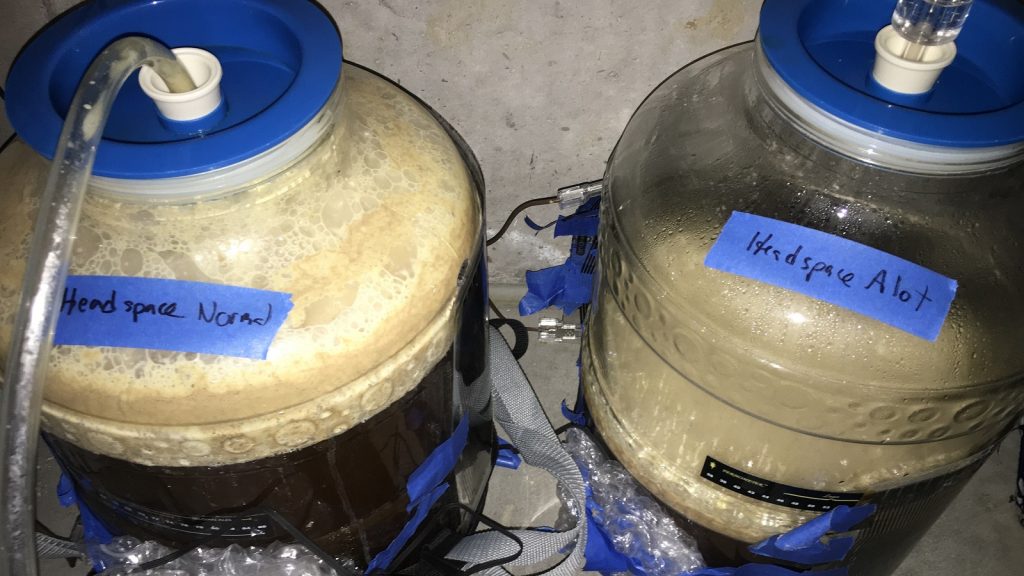
After giving the wort a homogenizing stir, I used a splitter to fill identical fermentors simultaneously, cutting off the flow to one when it reached the 2.5 gallon/9.5 liter mark while the other received a more normal 5.5 gallons/21 liters. The fermentors were then placed in my temperature controlled chamber.
At this point, I split the slurry from my decanted starter into separate flasks such that the normal headspace batch received approximately 200 billion yeast cells while the batch with a lot of headspace was pitched with a calculated cell count of 100 billion. Both beers were observed to be bubbling away when I checked on them 36 hours after pitching.
Activity was dwindling by 5 days in, so I bumped the temperature up to 72°F/22°C to encourage complete attenuation and clean-up of any undesirable fermentation byproducts. With signs indicating fermentation was complete, I took hydrometer measurements confirming FG had been reached on both batches.
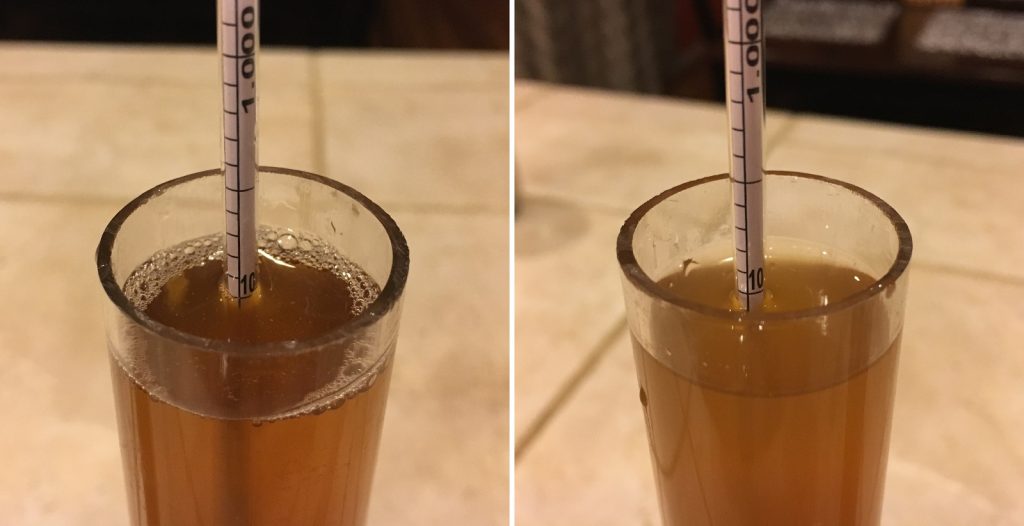
I transferred both beers to serving kegs before cold crashing and fining with gelatin.
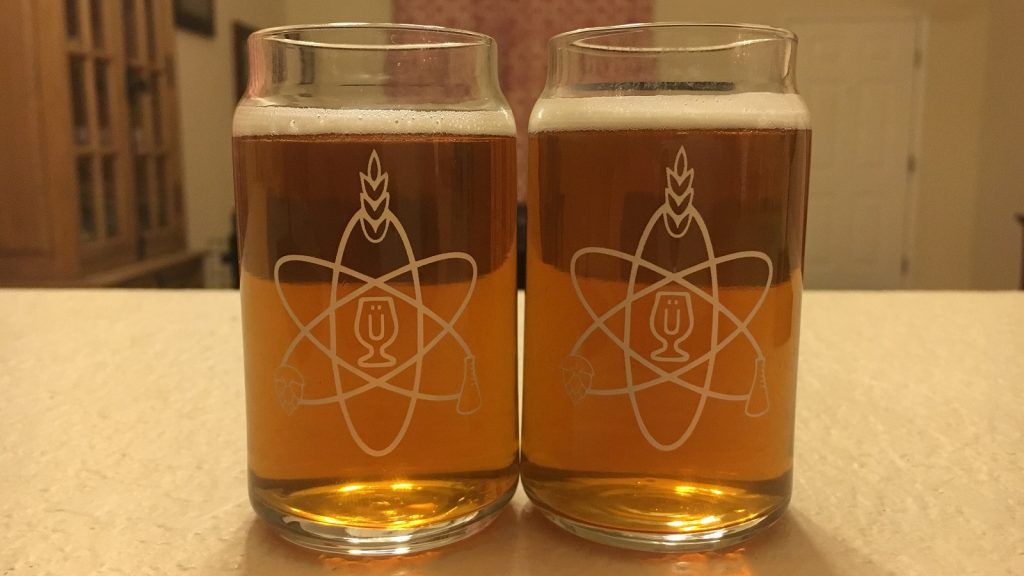
Following a brief period of burst carbonation, I reduced the CO2 to serving pressure and let the beers condition a few more days before serving them to tasters, at which point they both look great!
| RESULTS |
A panel of 20 people with varying levels of experience including hosts of The Session on The Brewing Network participated in this xBmt. Each taster, blind to the variable being investigated, was served 2 samples of the beer fermented with a normal amount of headspace and 1 sample of the beer fermented with a large amount of headspace in different colored opaque cups then instructed to select the unique sample. In order to achieve statistical significance, a total of 11 tasters would have had to accurately identify the unique sample (p>0.05), which is exactly the number who did (p=0.038), indicating participants in this xBmt could reliably distinguish a beer fermented with a lot of headspace from the same beer fermented with less headspace.
The 11 participants who were correct on the triangle test were subsequently instructed to complete a brief preference survey comparing only the different beers while remaining blind to the variable of investigation. A rather notable majority 8 tasters endorsed the beer fermented under a normal/low amount of headspace as most preferred, while only 2 preferred the high headspace beer and 1 felt there was no difference.
My Impressions: In multiple blind triangle attempts, I admittedly relied on the fine art of random guessing, which panned out beautifully in my performance. I simply could not tell these beers apart, they tasted exactly the same to me, which surprised me given the results. As for the beer, it was alright. While I initially perceived a character I’ve come to expect from beers hopped with Chinook, not necessarily pleasant given the style of beer I was aiming for, things seemed to mellow out after a few weeks in the keg, which made it more pleasant. Still, I won’t be brewing this recipe again in the future.
| DISCUSSION |
The results of this xBmt not only provides evidence that headspace likely matters, but it also supports the hypothesis some have posited in response to past fermentation vessel xBmts that fermentor dimension may also play a role in beer quality. Of the various possible reasons participants were able to detect a difference between beers fermented with different levels of headspace, it’s difficult for me not to presume oxygen wasn’t a primary culprit. Considering the beer fermented with a lot of headspace had a much greater surface-to-volume ratio, it seems reasonable that it was at increased risk for oxygen exposure. With British brewing methods on my mind, I was reminded of the use of Yorkshire square fermentors and wondered if maybe this shallow environment causes yeast to express itself differently.
Interesting as I found the triangle test results to be, it was the preference ratings from those participants who correctly identified that odd-beer-out that I was really surprised by. While preference ratings are commonly split fairly evenly, such was not the case in this xBmt where 8 of 11 tasters endorsed the normal/low headspace beer as their preferred. Almost enough to influence my own beliefs about the impact headspace has on beer quality despite my inability to reliably tell them apart. Almost…
I’ve always assumed active fermentation produced a blanket of CO2 adequate enough to protect the underlying beer from oxygen, an assumption these results have certainly forced me to question. My brew days rarely consist of batches small enough to be of concern, but when I do venture down that path, I’ll be sticking with appropriately sized fermentors that reduce the likelihood of headspace affecting my beer.
If you have any experience fermenting beers with lots of headspace or just have thoughts about this xBmt, please share in the comments section below!
Support Brülosophy In Style!
All designs are available in various colors and sizes on Amazon!
Follow Brülosophy on:
FACEBOOK | TWITTER | INSTAGRAM
If you enjoy this stuff and feel compelled to support Brulosophy.com, please check out the Support Us page for details on how you can very easily do so. Thanks!




54 thoughts on “exBEERiment | Impact Increased Headspace During Fermentation Has On A Strong Bitter”
Dude, Chinook in a bitter? ha ha. what did people say they found different about them? Why did they prefer the lower head-space beer?
It was more of a restrained attempt to use up back stock of hops. I was wrong it came through much more than I hoped actually making me reconsider hop contribution in my lightly hopped lagers.
Tl:dr I’m not a fan of chinook haha
I’ve found chinook to blend with Willamette to create some nice British hop character with a resinous edge. I’m planning on a British IPA with those two. Perhaps the West Yorkshire yeast isn’t suited for hops. I’ve only had Landlord ale.
Hi Evan
WY1469, is great with hops. It’s not great with certain hops like chinook etc, but fruitier style hops riuwaka, mosaic etc.
either that or the traditional EKG fuggles.
I planted hops last year. The Chinook took off like they’d been there for years. The other varieties did fine, but not fantastic. My hops harvest was 90+% Chinook so I didn’t see any reason to split out the Fuggles or the Cascade as there just wasn’t all that much to contribute. I got all excited about brewing my own, home grown hopped beer (I used pellet Chinook hops for the 60 min addition as I’d heard that the whole leaf might be too grassy if in there for 60 min). At any rate, IMO the initial tasting of the chinook beer was less than desirable. A month or two later, the beer was much easier to drink. From that experience, I’m planning any late hop additions of Chinook to be for beers that will condition for an extended period of time.
I have been wondering about using Chinook in my black ipa. I want that piney character. anyone know how to achieve that best? hop burst, dry hop? i haven’t used Chinook much at all.
Both, get it late in the kettle (< 15m to flameout) and at flameout in a whirlpool/steep, then dry hop with it, all in moderation. I've used it in a number of super citrusy pale ales to add some pine/dankness to balance it out.
When cold crashing in the keg, are any special steps needed, or is it just fill with beer,purge oxygen and drop temperature?
I keg, put in my freezer on gas, and that’s it.
What gas pressure do you have on it while crashing? Trying to dial in the cold crash here…
I think it really depends on how quickly you want it carbonated. Usually I put it on ~30 psi for a day and then drop it 10 psi until the keg kicks. I’ve experimented with 50 psi for 12 hours which works, but have found 30 for a day easier for me.
Was there significant blowoff from the normal volume fermentation? Perhaps the lack of blowoff in the high headspace batch is a confounder?
There was not significant yeast loss, just enough to need a tube, made sure the water in the blowoff vessel was the same depth as the airlock to keep pressure on the batches equal.
What was the perceived difference by the tasters?
I have always thought as you have that the blanket of CO2 would be enough to prevent any potentially negative O2 issues after fermentation. I have always thought that the wort might benefit from a larger head space prior to fermentation though – providing a little more oxygen for the growth process.
So what sort of kegs were used? It occurs to me for example that An approximately 2.5 gal batch in a standard corny keg would suffer a similar surface area to volume issue during carbonation and storage. Perhaps this would be minimized by, but maybe not entirely solved by attempting to purge the keg with CO2 first. Now if they were both racked into two Scotties (2.5 gal kegs)….
Normal ball lock kegs were used. Increased o2 in the keg for the smaller batch could definitely be a contributing factor.
Wait, the smaller batch went into a 5 gallon keg? Did you rack into fully purged kegs or just go in through the main keg hole? If there was not a full purge, then I would be very interested in seeing an XBMT in which the same beer is racked to fill one keg and only half-fill one keg (through the lid) to see if it impacts beer flavor. I can’t imagine it wouldn’t impact beer flavor, even with a “purge” after filling the kegs, as there is a ton of O2 left in the headspace.
I totally agree with what Aaron is saying. This exbeeriment didn’t only test the effects of fermentation headspace, it also tested the effects of unpurged kegging headspace.
I think this exbeeriment needs a redo.
If you’re airlocks are working, neither beer should have significant oxten exposure. I suspect the significant result is a false positive.
Since you obviously have C02, round 2 of this one should be identical to this one EXCEPT you flood the surface of both fermenters with CO2 after pitching the yeast. I think all of us presume the yeast will quickly establish a surface layer of CO2 and push out the lighter oxygen, first.
Sorry, in two parts… In the original xbeeriment, we presume there will be a bed of CO2 established early on, regardless of headspace. So the amount of headspace seems like it would not have much of an impact on the final product, yet… something did. Fill each carboy’s headspace with CO2 to begin with… then you can see if it’s an “oxygen thing” or something else.
“Flooding” a vessel with CO2 doesn’t purge it. The best purge method is to fill the container with Starsan, then use CO2 to push it out. Then you could pump in the oxygenated wort.
It seems to me that there are too many variables with this exbeeriment. Yes, you have headspace, but you also have a 5.5 gallon batch vs. a 3.5 gallon batch. You also have them in the same fermentation chamber, one has higher mass than the other, the larger is producing more heat, and the smaller batch could have wider temperature swings as the system tried to remove the heat from the larger. It would make more sense if you had 2 5.5 or 3.5 gallon batches in fermentors that had the same diameter but one had more headspace (or same depth of wort, but I think that’s already been shown to not matter at least at homebrew scale.)
Each fermentor had a dedicated controller to hold temps. Fermentation was very stable with each.
i wonder if the results would be similar if wort volume was the same, instead of also being a variable. in other words, 2 different size fermenters, but only difference is height of fermenter – maybe difficult to find the fermenters for that experiment though. or maybe 2 similar shape but different size fermenters where wort volume to space is proportional. i.e. a 3g PET versus a 6g PET.
love the site. keep up the great work!
This is exactly what I was wondering too. Right now I see at least two more variables that could have potently caused a difference. One, static head was different because the same size fermenter was used. Two, the same size keg was used for both the large and small batch.
In my view, it cannot be concluded that headspace had anything to do with the difference between the beers.
Check out the third part on this PDF: http://www.barthhaasgroup.com/images/mediacenter/downloads/pdfs/743/hopscience-feb17-bhg-1.pdf
Would be interesting to know if there was a difference once these were kept for a little while, see if the extra head space made them taste oxidised quicker
Interesting results. My mind immediately went to “open fermentation” beers. Other than the wild yeast effect for some styles, I’ve read snippets of information about brewers who do open fermentation with their wheat beers. Could the difference be due to the volatility of the hops? Wonder how this would go with a beer with a lower hop charge such as a wit or weisen?
Lots of British breweries use open fermentors. It’s nice seeing flies perish in your favourite bitter.
Yeah, I think English hops would be the way to go. Also, why the 5 oz. flaked corn?
Flaked maize is allowed in the style and used by some English brewers
Hey Jake, nice write-up. I don’t mean to be overly critical, but I wanted to mention a few things I noticed. Scott touched on this above, but this experiment design doesn’t really support the conclusions you are making. There are so many variables to the point that you’re not actually testing what you think you’re testing. The volume of fermenting wort needs to be the same, and the amount of yeast in each wort needs to be the same.
Additionally, you had your fermentation vessels sealed with different airlocks. You said it wasn’t a significant loss of material – and maybe it wasn’t – but what we do know is that back pressure definitely has an effect on fermentation. The blow-off tube would certainly have a different back pressure than the bung bubbler in the other vessel.
As Scott mentioned, a better way to test the head space variable would be to use two same-material fermenters of different heights but same diameter so that the surface area of the wort exposed to air during fermentation is the same. Mix yeast into the wort, then divide the wort evenly between the two vessels. Use the same airlock.
Also, instead of just saying “normal” or “a lot” why not test EXACTLY how much head space – perhaps with even more fermenters? The volume can easily be measured. Maybe we would find that there is a diminishing returns effect on increasing head space.
Back pressure was the same on these, the level of water in the blow off device was equal to that of the airlock on purpose to exclude pressure as a variable.
Both were pitched with yeast at the same rate.
I understand you concerns about volume being an added variable. We discussed this one quite a bit and determined that since there really aren’t any vessels of equal surface area and differing headspace we were limited by equipment in that respect. I personally see three variables in this test: headspace, wort volume, surface to volume ratio. Could any of those affected this test and caused significance? Potentially, I’m inclined to think it’s worthy of additional testing, thanks for the input.
“We discussed this one quite a bit and determined that since there really aren’t any vessels of equal surface area and differing headspace we were limited by equipment in that respect.”
Wouldn’t a 3 gallon and 5 gallon corny keg work? Put 2.5 gallons in each, attach a single spunding valve via a manifold, and you’re done.
Love the experiment. Great to see the scientific method in action and addressing the important questions!
As a peer review comment, it would be nice to know the statistical test you used if you are going to report p-values.
It’s been mentioned in previous xBmts that they’re using a single-tailed Student’s t-test.
It would be interesting to see if you could calculate a way to differentiate between the VOLUME of head space vs. the SURFACE AREA of head space. If you could use a 5 gallon big mouth filled to 4 gallons and a 6.5 gallon filled to 5.5 gallons they would have the same volume of head space, but would have different surface areas (as they have different diameters).
Hi Jake,
Thank you for this experiment. I have often pondered on this matter to myself as I ferment 5 gallons in a 8 gallon fermenter. When I dry hop I often wonder how much of that aroma is off gassing into the headspace. I am no scientist but it just feels like it’s common sense that the more headspace present, and the bigger the surface area/volume ratio, the more chance that all those aroma/taste compounds will off gas into it. With less surface area/volume ratio and less head space all those compounds remain encapsulated in the beer. Everybody blames oxidation but I don’t agree. It’s the same when the half full keg of super hoppy IPA loses it’s life after just a week. People blame oxidation though I believe it’s the compounds off gassing.
How did you use the sterile siphon with that fermentor?
Pinch the orange cap against the opening to create a seal and blow as normal
i would like to test the effect of a too small head space, i tend to fill a lot my fermenter
Unless both werts are prepared under the exact same conditions and volume, this test doesn’t hold merit, unfortunately.
Head space is almost never an issue in primary fermentation. But many of the variables in your test would be.
It’s worth doing again under more exact conditions.
The wort was prepared in the same kettle and split into fermentors from the kettle with one receiving more headspace. I’d say it’s about as exact as we can get on this specific one though I’d be open to suggestions on improving it
jd, you speak to strongly for your lack of knowledge, sorry dude.
Through this, and throughout the comments, I still don’t see any comments regarding the preference results or what the 11 of 20 identified as the difference in the two. Am I missing these points?
I, also, would like to know what the perceived difference between the two beers is. If the testers cite oxidation defects, that would indicate one thing, whereas if the cite something like, say, increased or decreased ester formation, or hot alcohol defects, that would indicate something in the environment affecting yeast performance. Or, other defects would point the way to other variables.
And I would be interested in the results of a follow-up test where the fermenters were purged with CO2 prior to transfer, as that would potentially eliminate that variable from the equation.
Just listened to the podcast on this. I ferment in oversized fermenters and use an undersized kettle. Something I hope to rectify in the future…
But I was thinking that bottling each batch might be a way to avoid the asymmetrical packaging problem you have. I know you all hate bottling but it would solve this issue at least.
As to the varied fermenter size/shape I think the way you did it was right. It’s trying to ask the question if I brew a smaller batch with the equipment I have will there be a difference when it comes to head space in the fermenter.
I guess the same could be said about the differences in head space in the keg too but that’s testing two variables at once which is very difficult… Bottling would narrow the focus to fermenter head space.
Just wanted to say thanks from a new brewer. Recently brewed my third batch and decided on 2 rather than 5 gallons this time. Siphoned it into a 6 gallon carboy and haven’t seen much activity in the airlock, so I was wondering about this very subject.
There should have been zero head space in both of the receiving kegs. Both filled with water or starsan and pushed out with Co2. Any remaining O2 in the head space of the keg will have a significant impact on beer flavor as the O2 dissolves into the finished product.
Jake, I’m trying to decide what size Fermonster to purchase for a Russian River Consecration clone that will require up to a year in the fermenters. I will brew 10 gallons. I’m very concerned about the head space and O2 for such a long period of time. What would suggest?
Would purging the fermenter with CO2 fix the oxygen in the headspace issue?
I wonder whether adding some vitamin C(an antioxydant) would help with oxydation? Some people do this and the reason stated is exactly this.