Author: Marshall Schott
One of the many fun things about the hobby of brewing is building cool shit. While there are those homebrewers that would prefer to purchase all their stuff and “just have it work,” some of us prefer to plan, design, and construct our equipment, becoming one with our masculinity, and ultimately reveling in the glory of our own craftsmanship. ARRRGGHH!
Seriously, though, it’s often quite a bit cheaper to build stuff than to buy it from a store. And let’s not kid ourselves, homebrewers are a relatively frugal lot, no?
A great friend that I introduced to homebrewing a few years back, Chris, has been wanting to start kegging for awhile, he just hasn’t wanted to invest the time or money into building a keezer. Since I built mine and it came out at least decent, I offered to build one for him as payment for a job he did for me. I made him a fairly simple 2 faucet keezer using a 5 cu. ft. chest freezer I found for $170, he plans to keep it in his apartment.
The first step is removing the lid from the body of the chest freezer. This is easy, just be careful with the spring loaded hinges, fuckers can easily break noses. I removed the hinge screws with the lid up to avoid getting hurt.
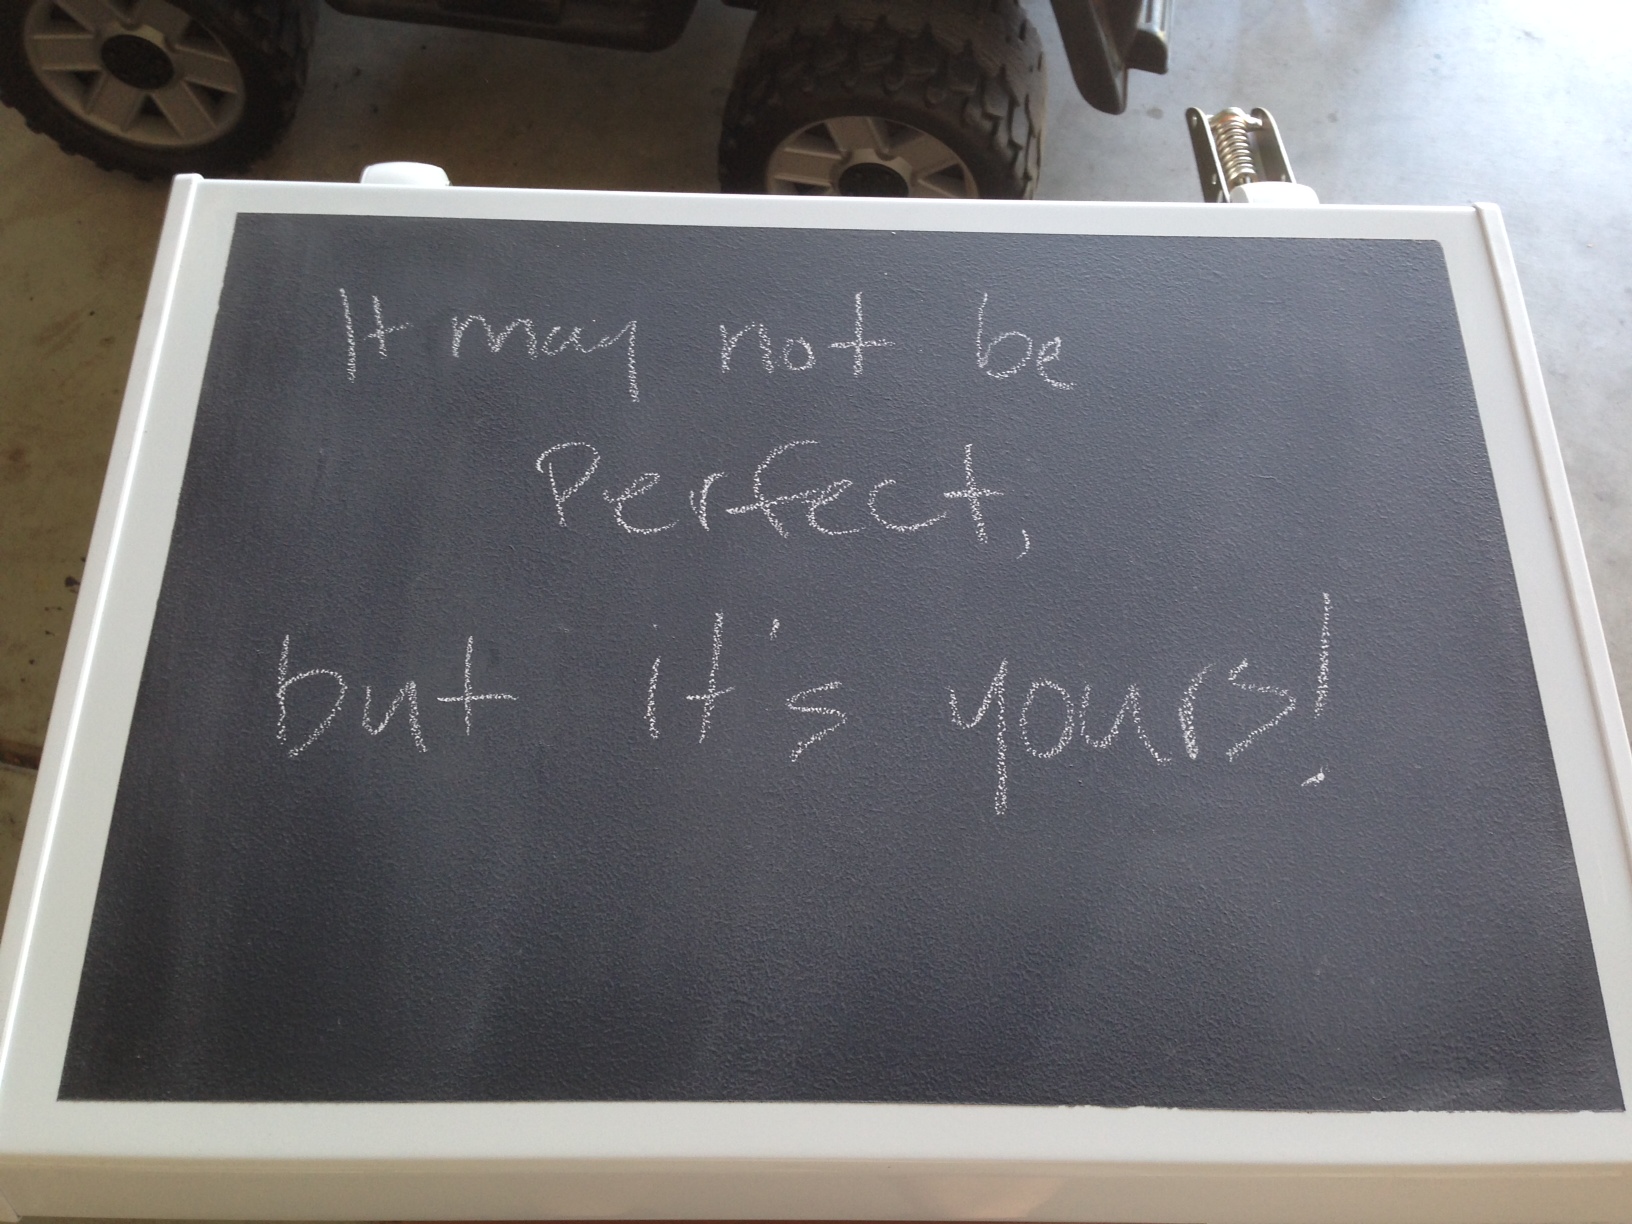
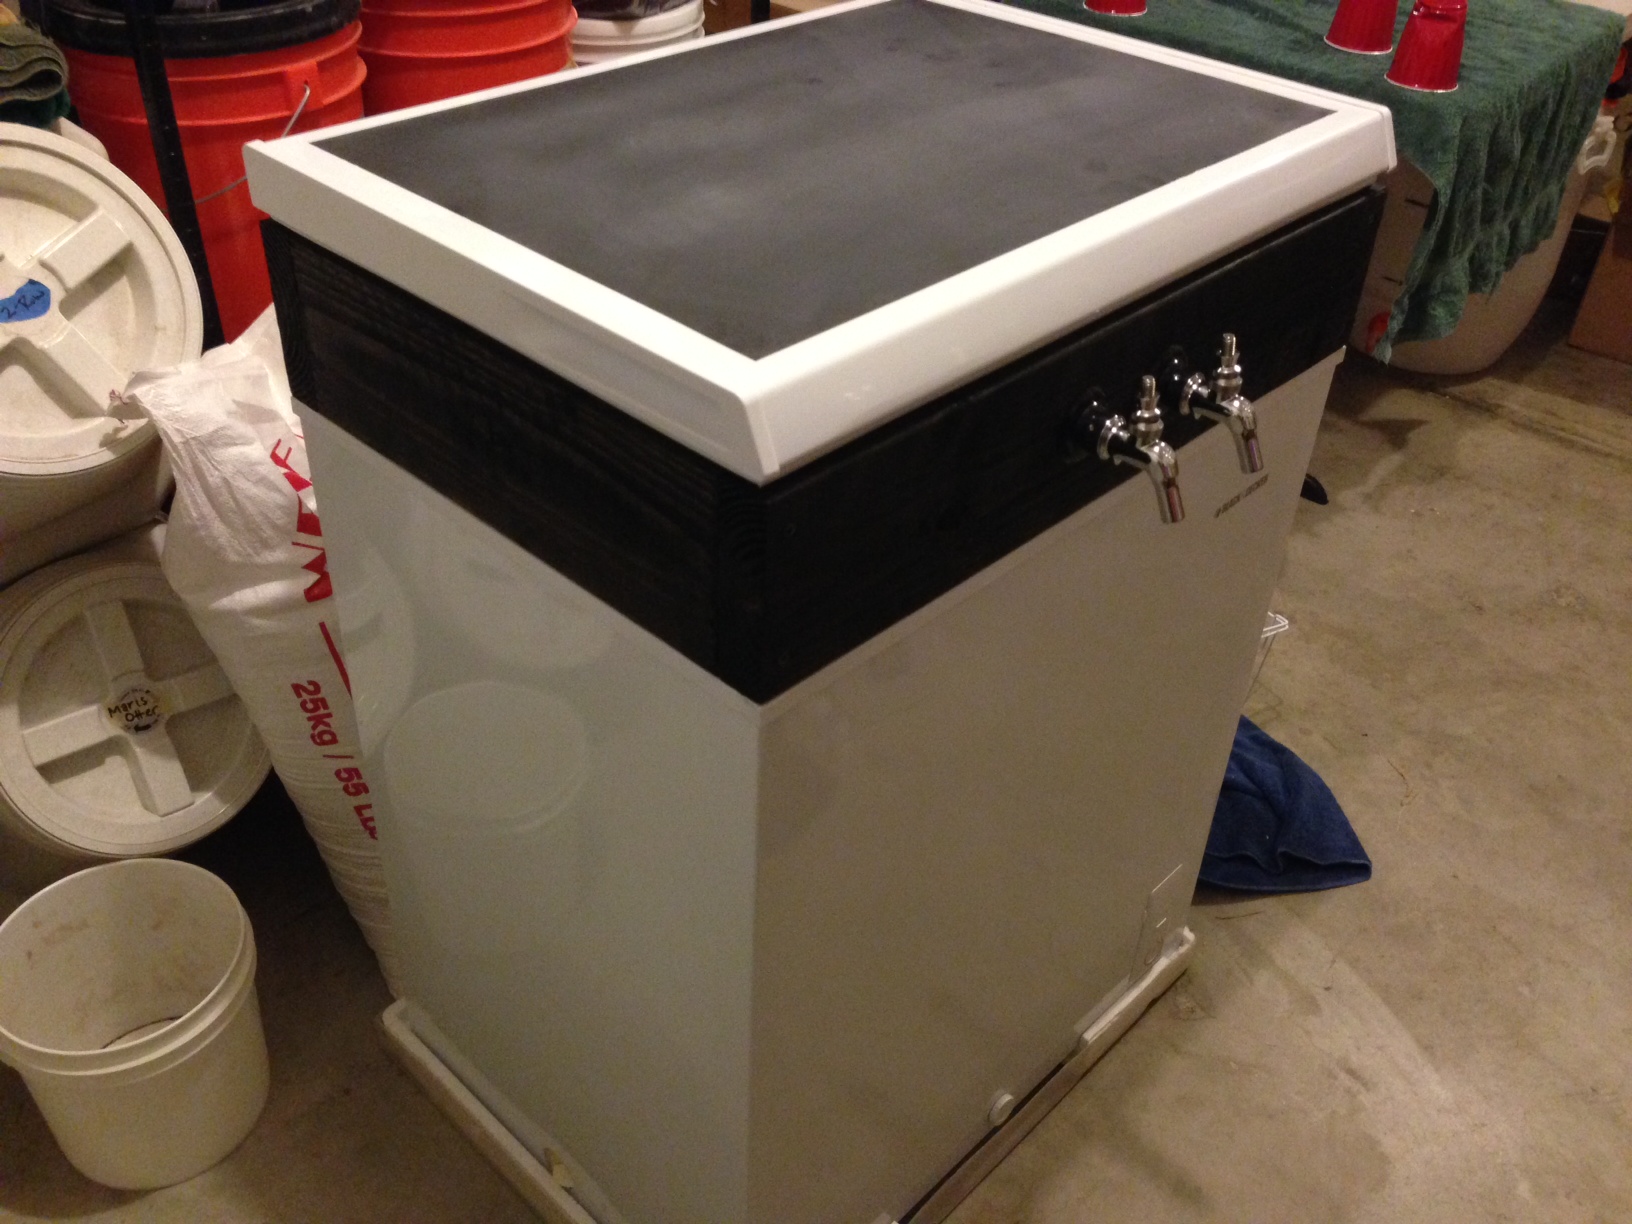
Chris said he wanted chalkboard paint on the top of the lid. That’s what he got.
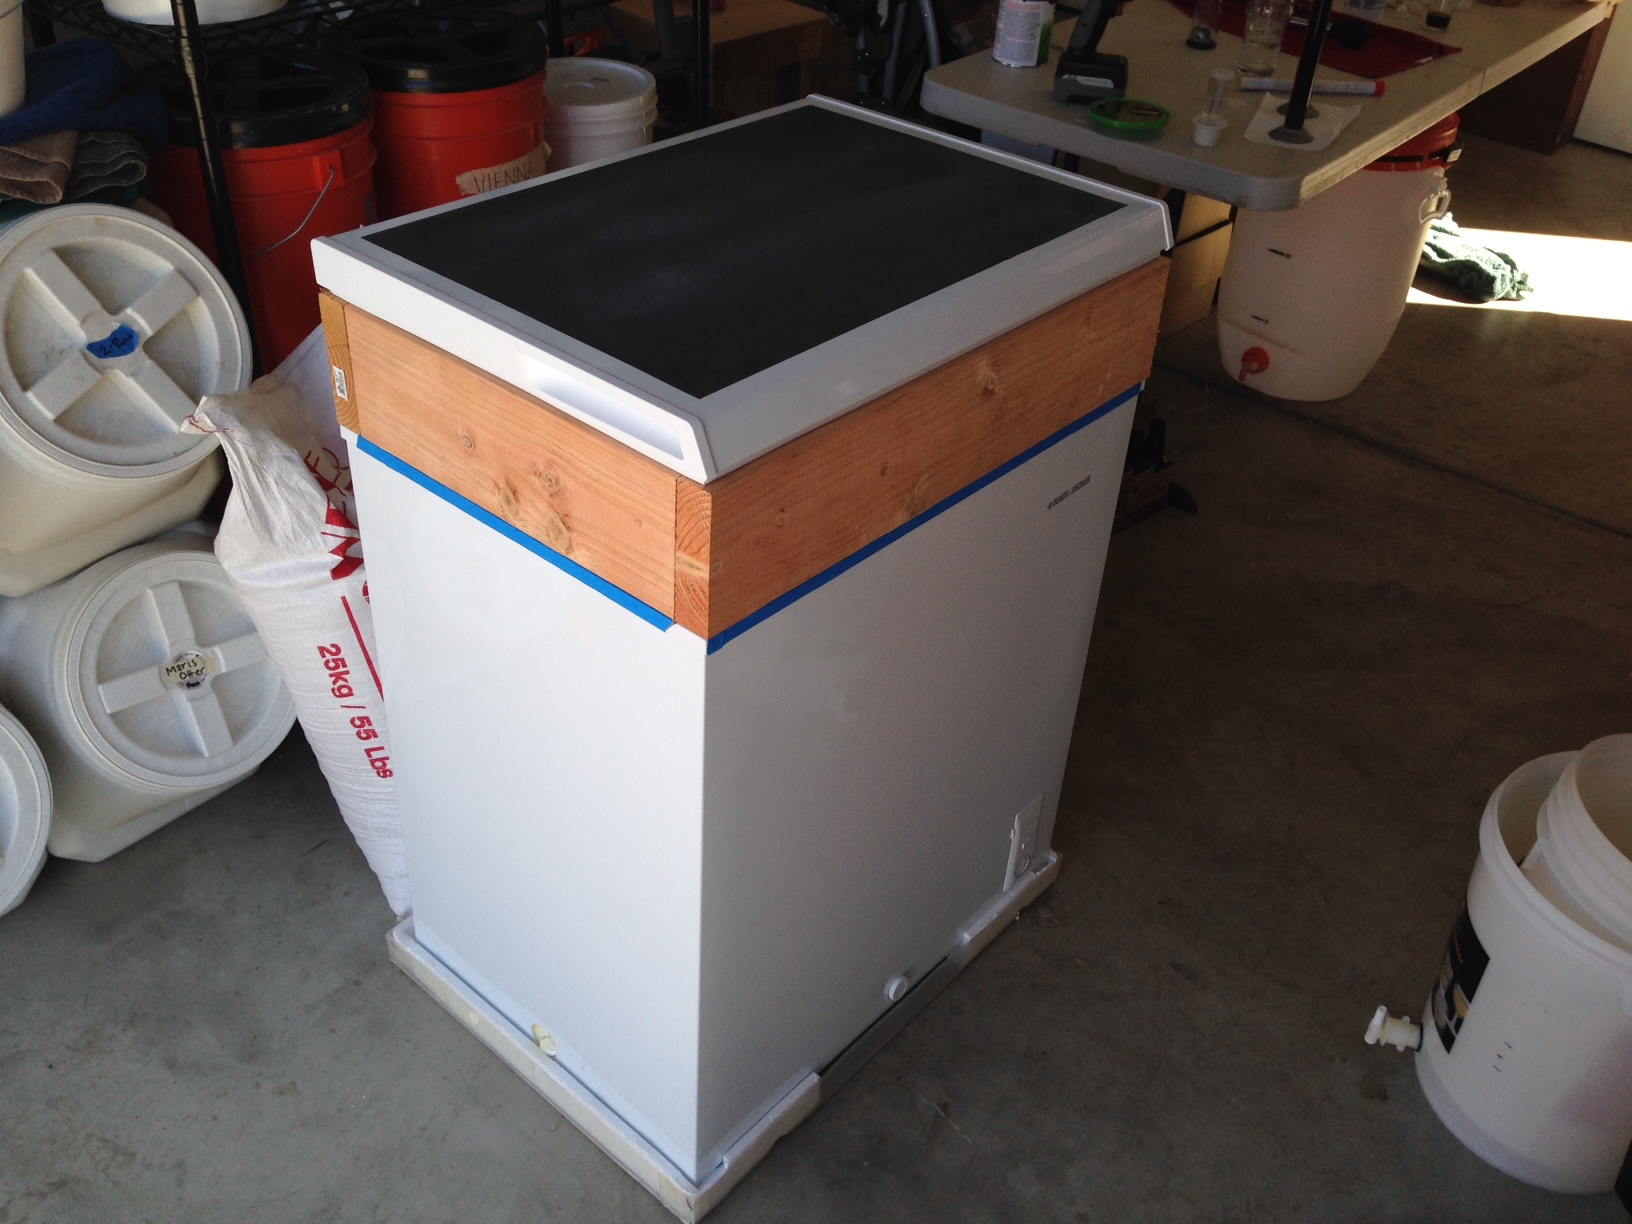
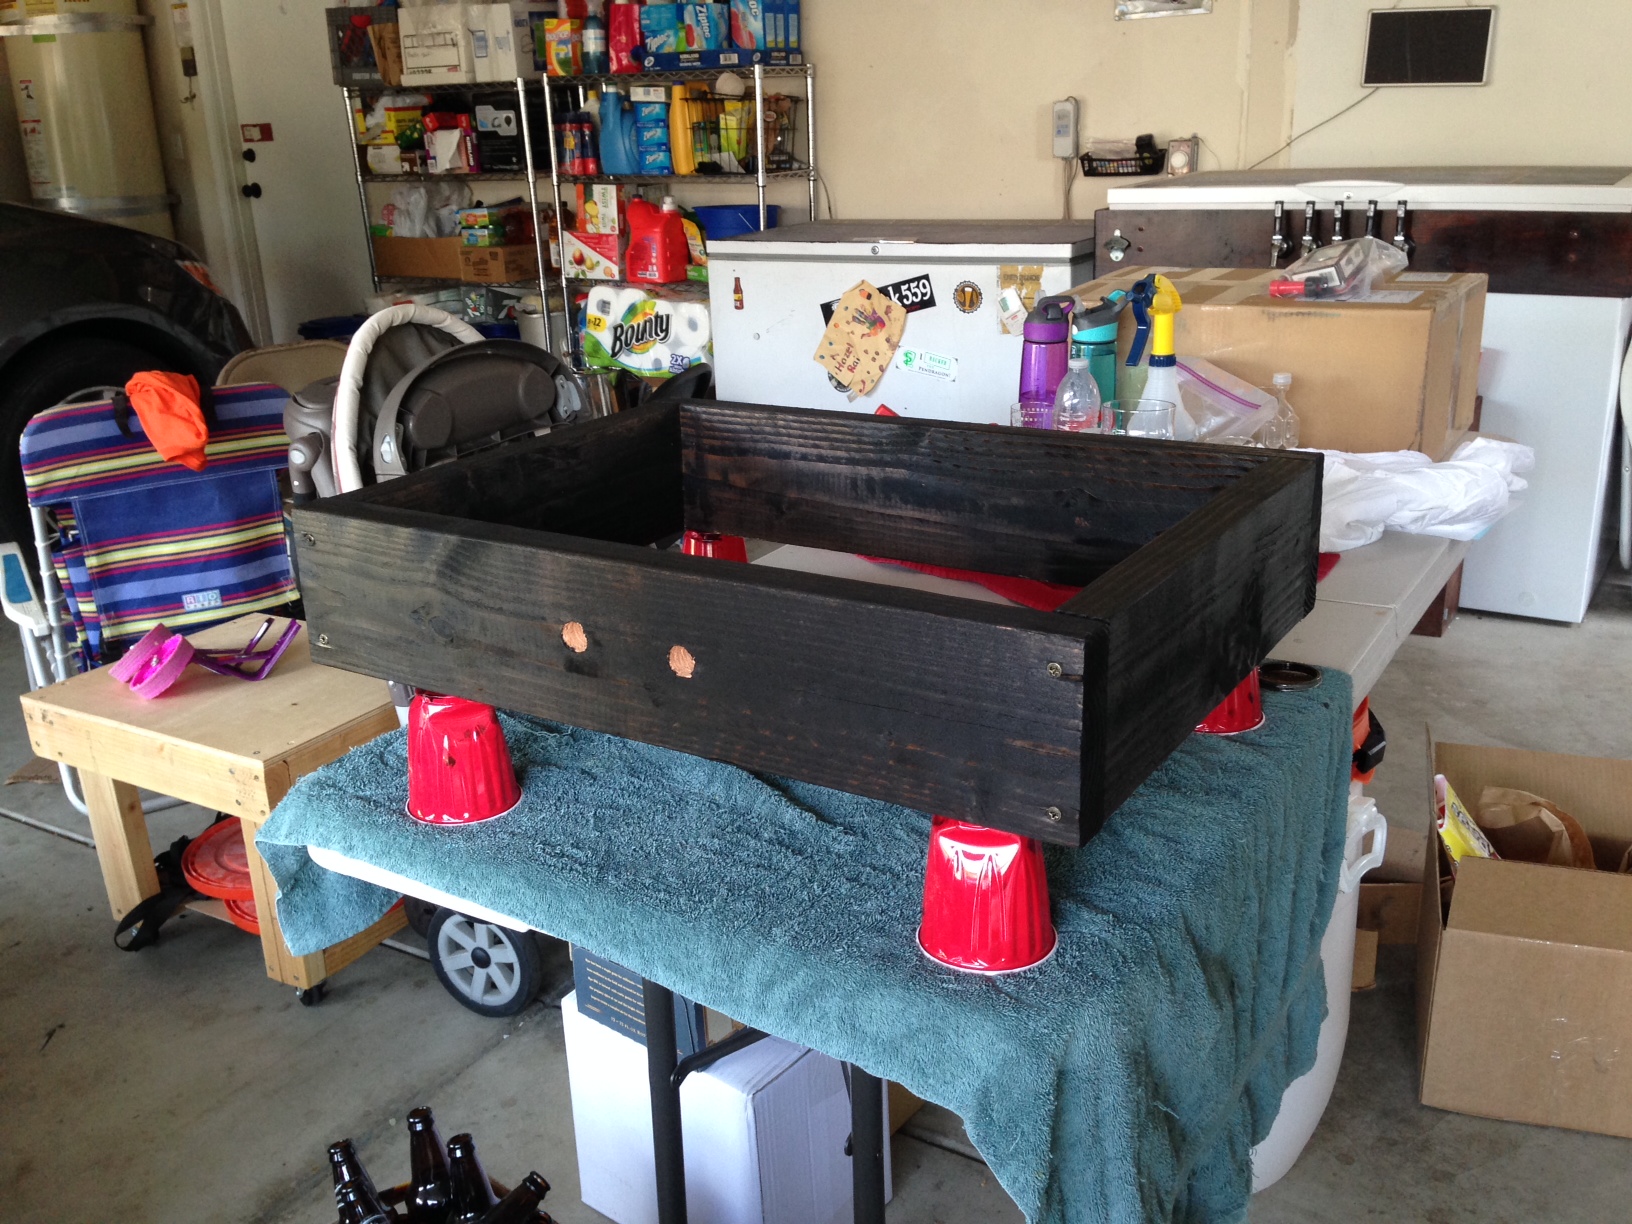
We decided to use 2 x 6 lumber for the collar without the popular facade many folks install. After the wood was cut, I put it in place just to make sure it all fit.
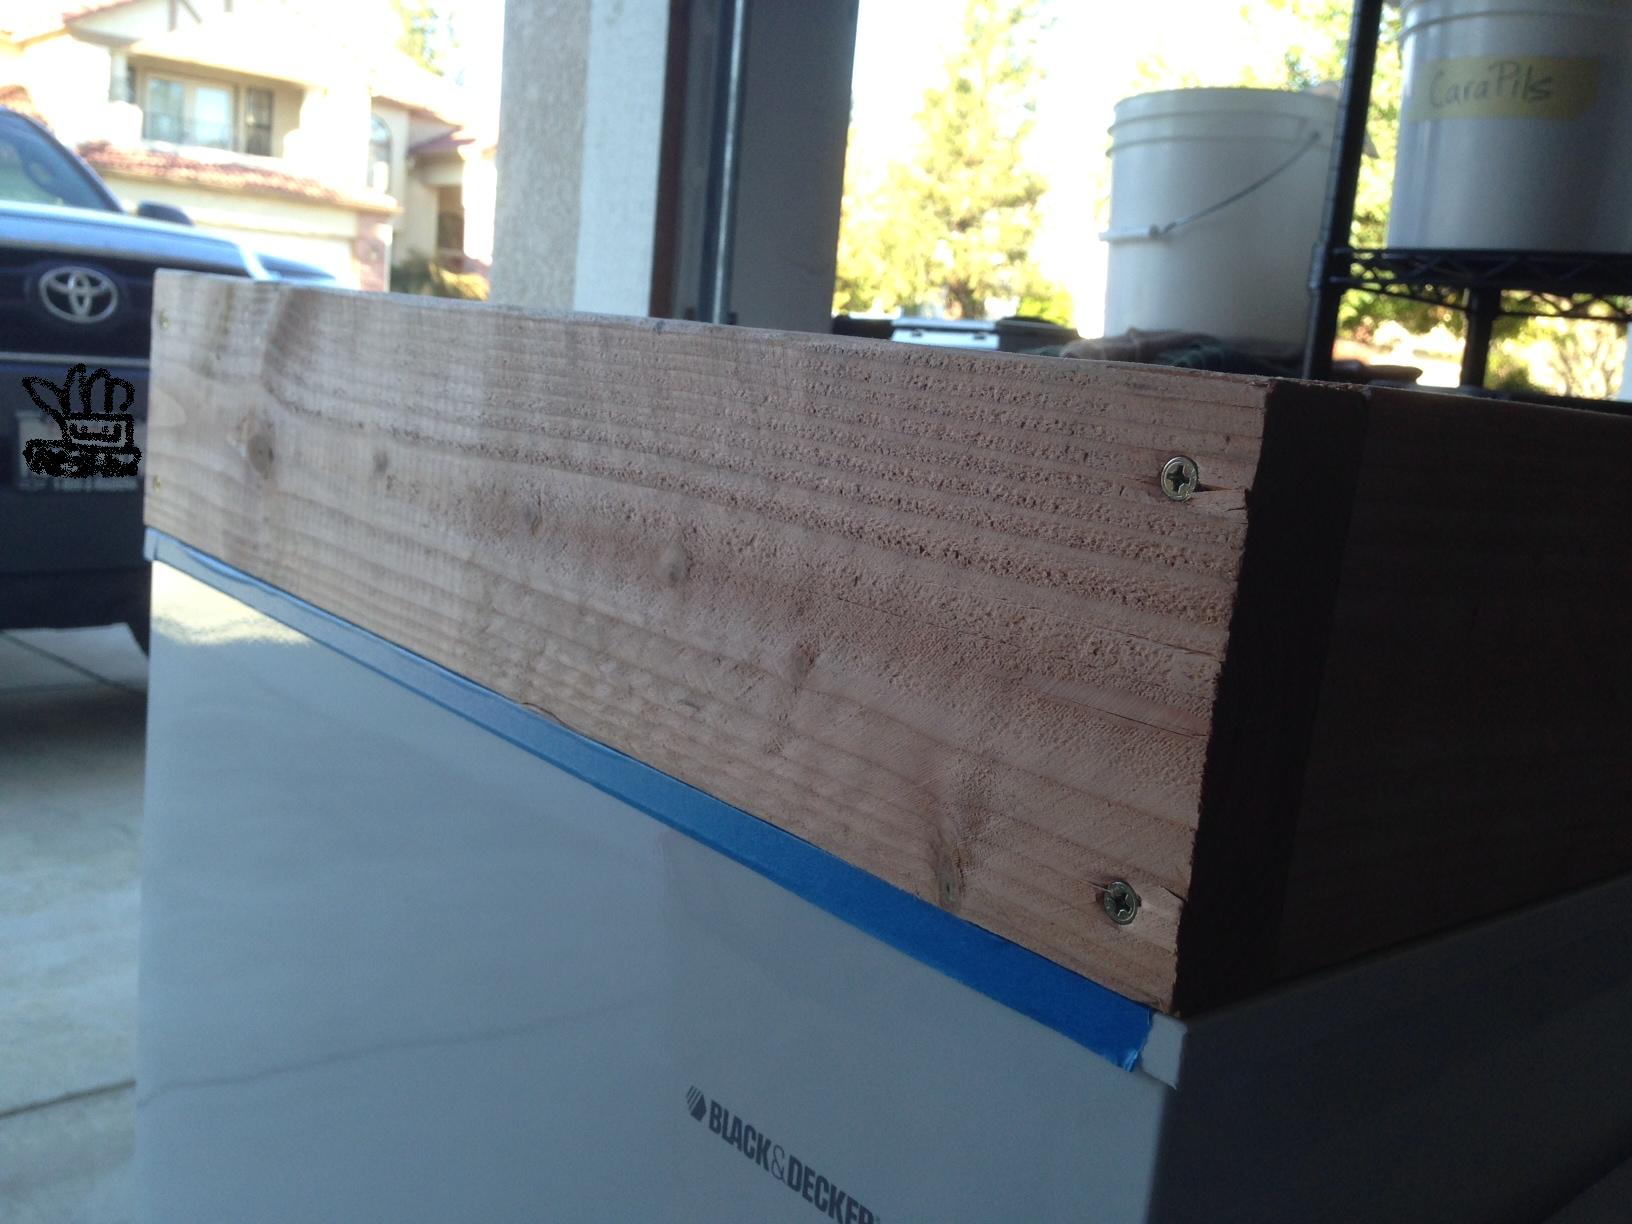
In keeping with the simple design, I used 2.5″ screws to attach the collar. I actually quite like the way it looks, a little more rustic compared to the hidden angle brackets I used on my keezer.
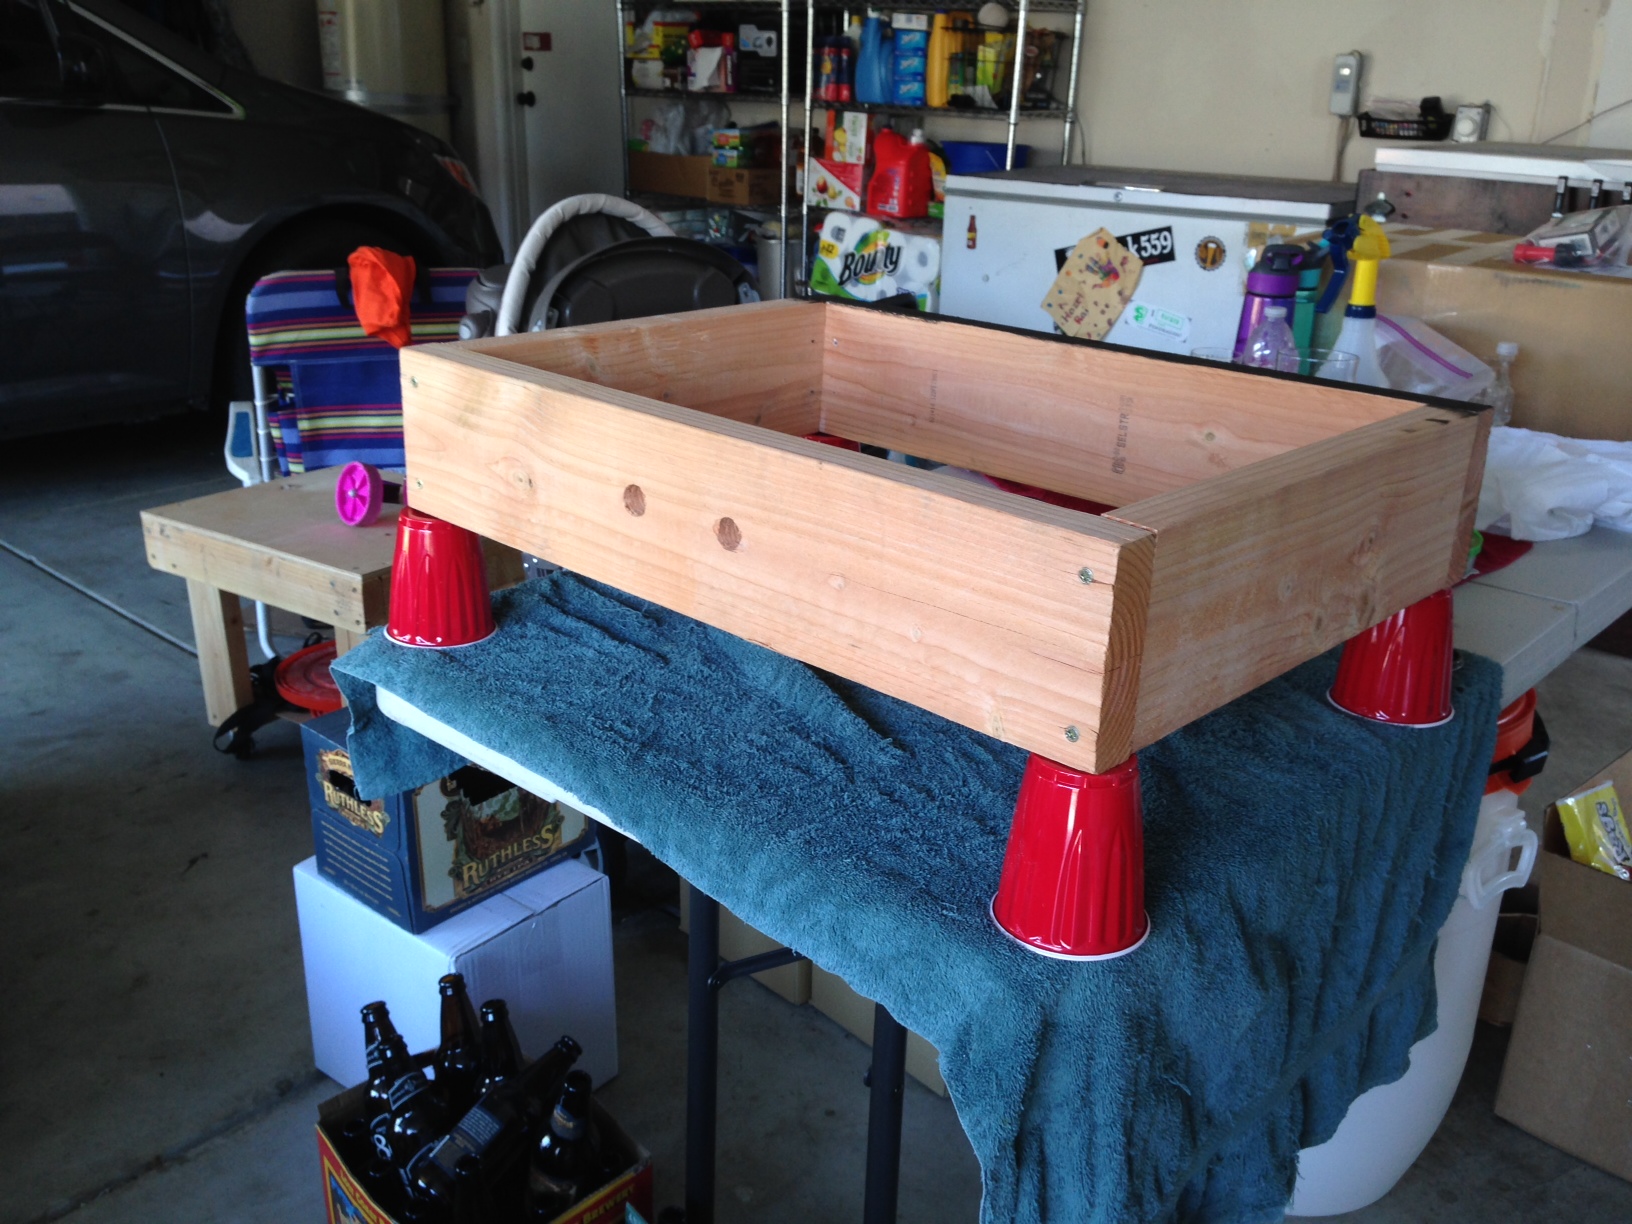
The next step was drilling the holes for the shanks using a 15/16″ spade bit. The grain of the wood creates the illusion they’re not even, but they are, at least according to my crooked level.
Chris chose to go with Ebony stain. I think it was a damn good choice.
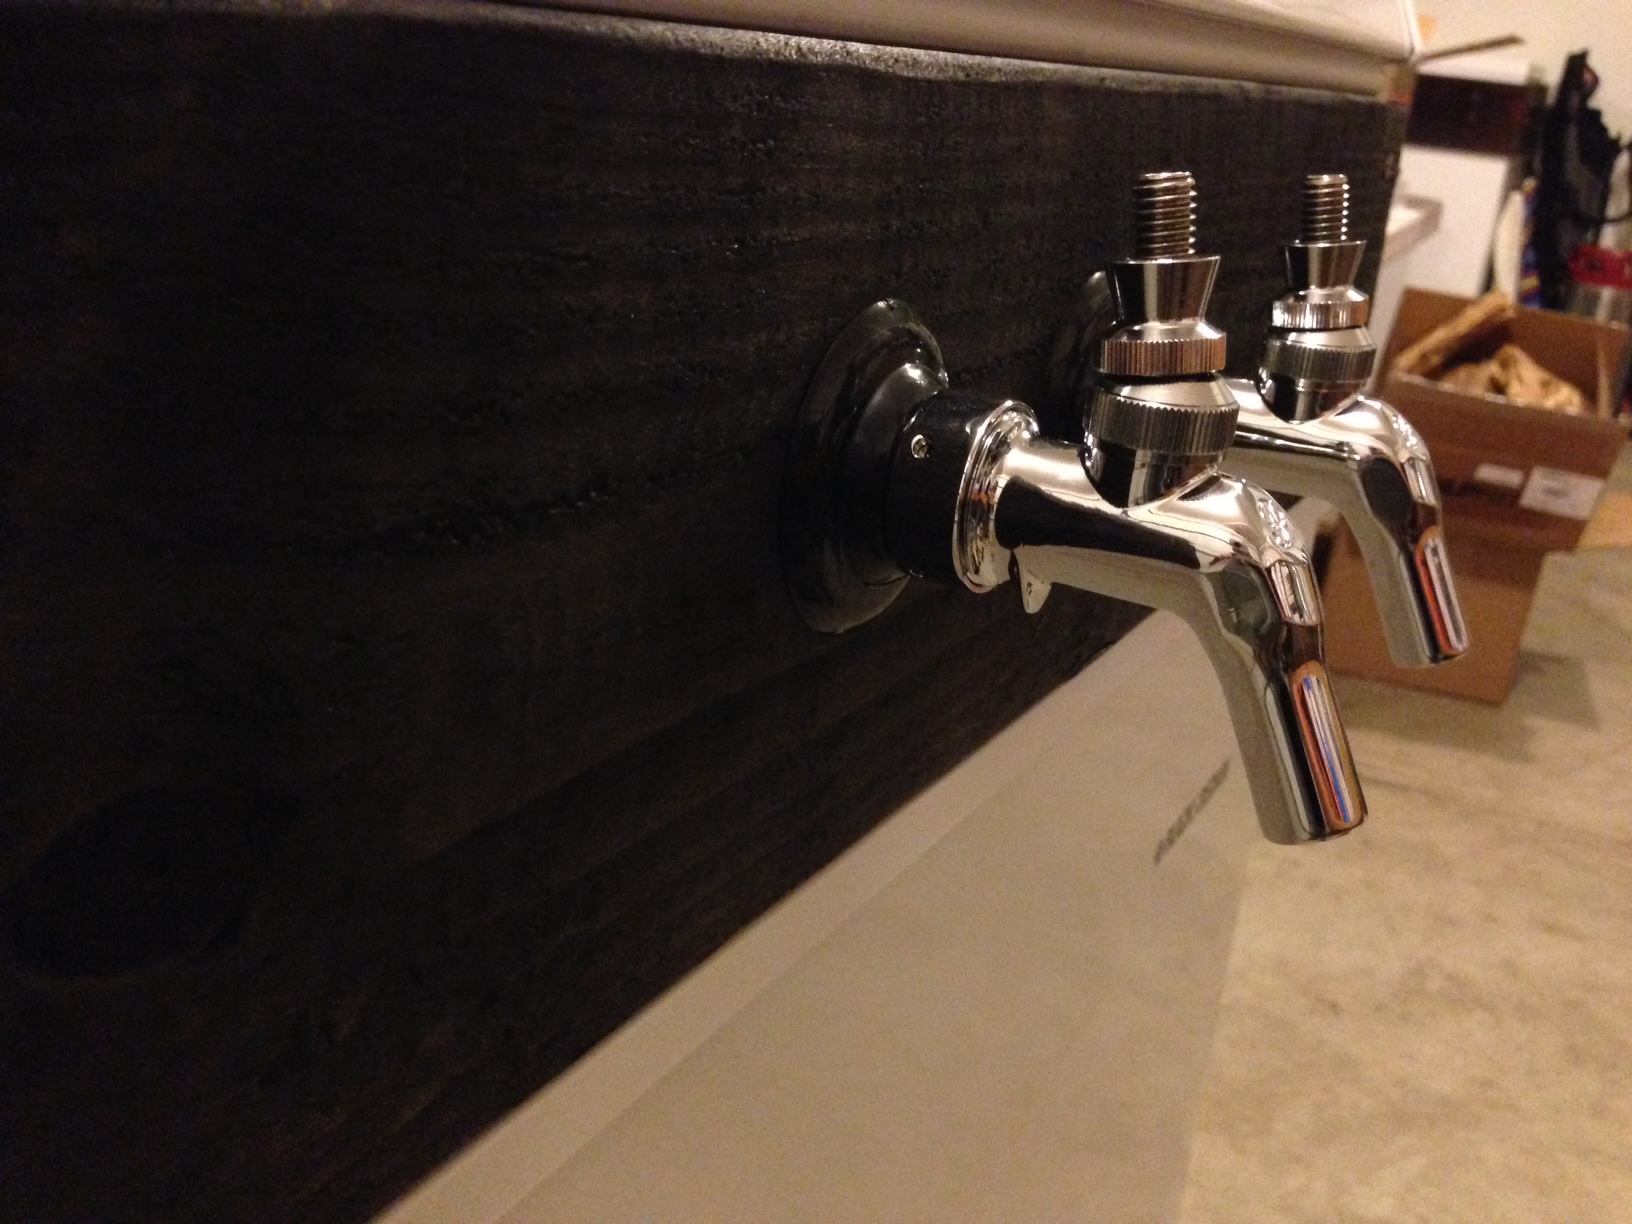
After letting the stain set for about 36 hours, I decided to attach the Perlick 525SS faucets (don’t skimp, go with Perlick, you won’t regret it).
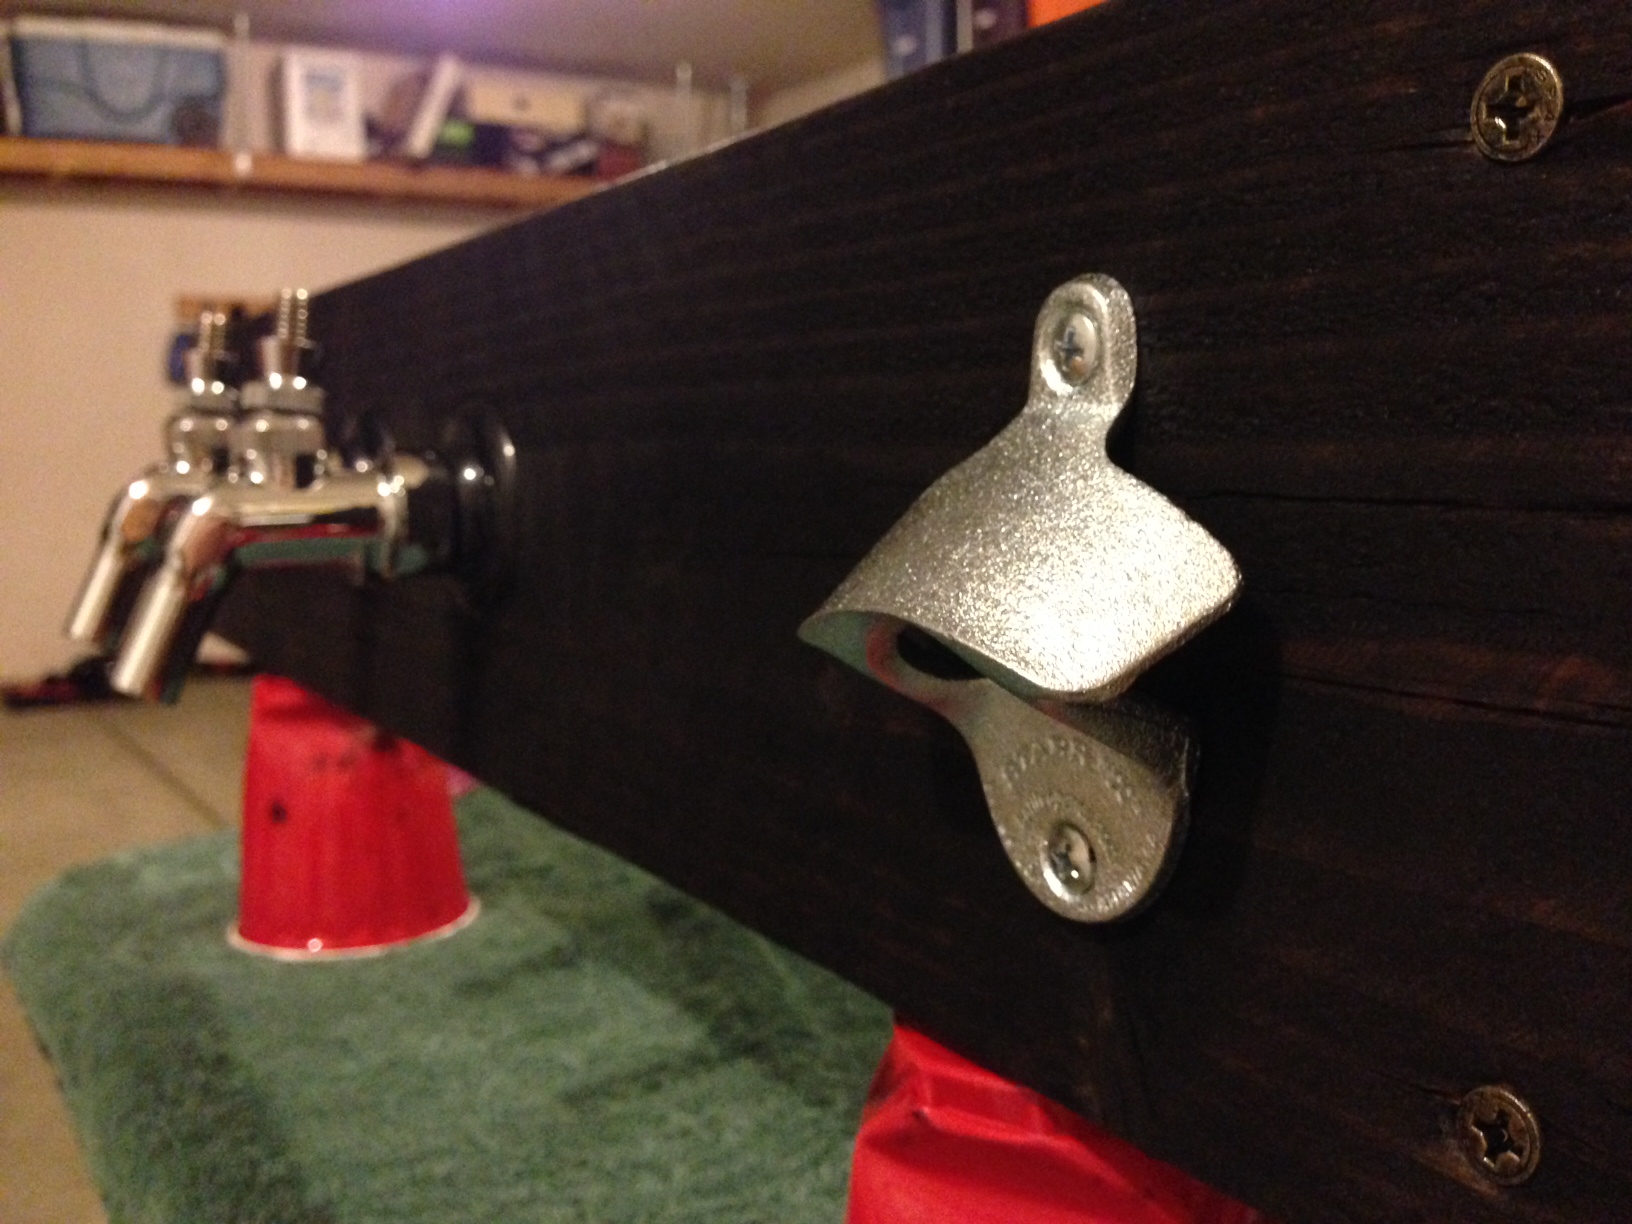
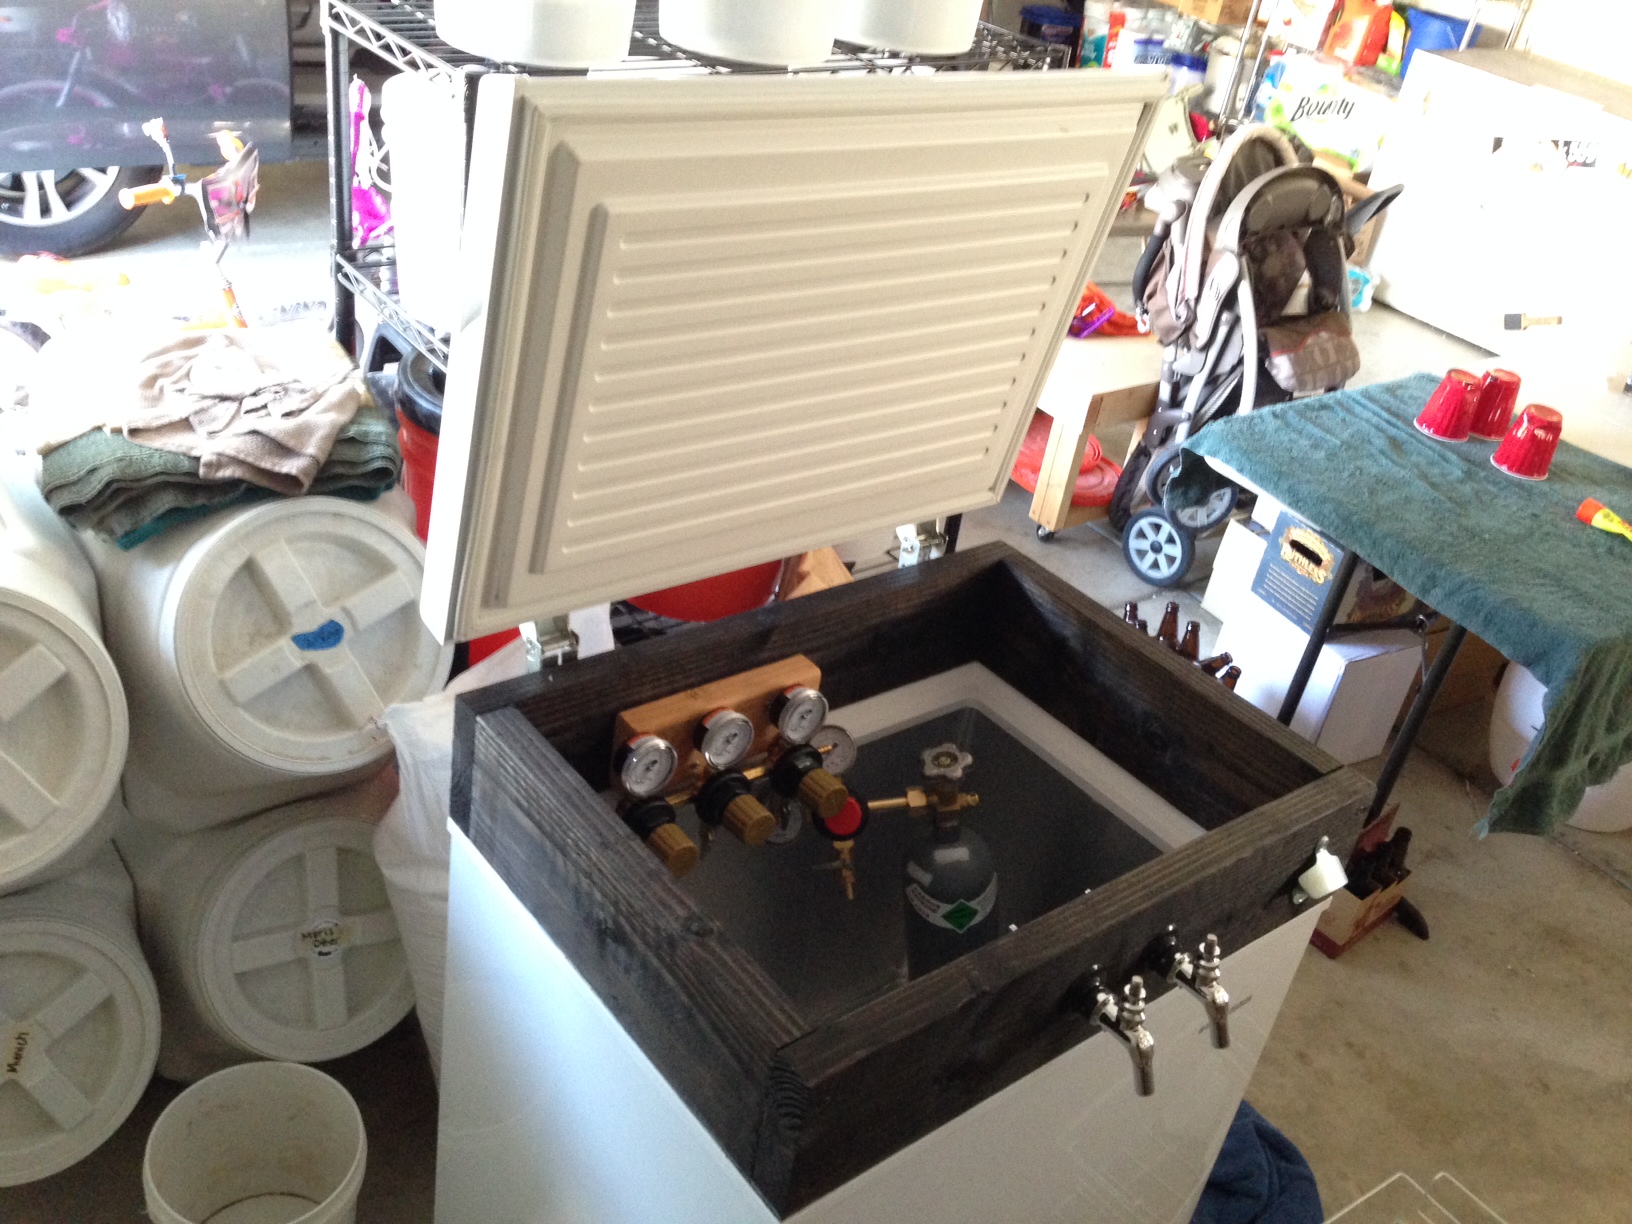
No true keezer comes without a bottle opener.
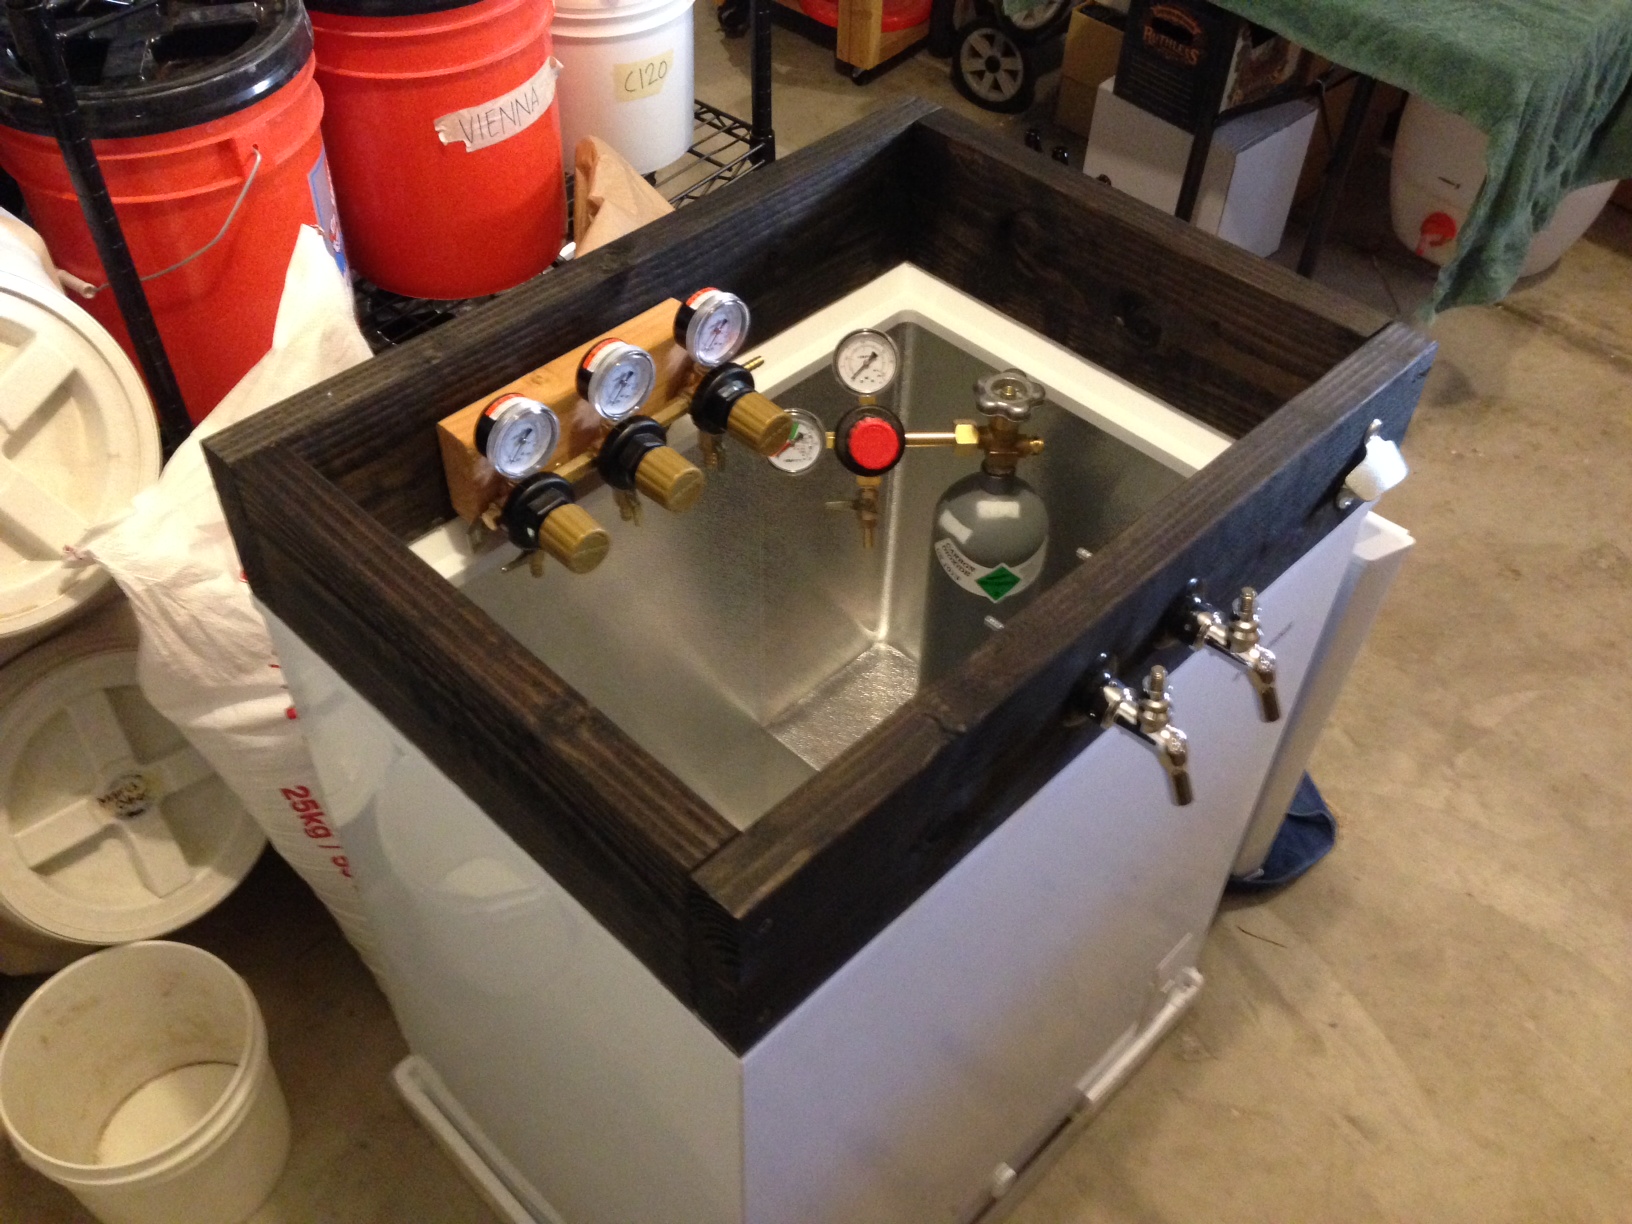
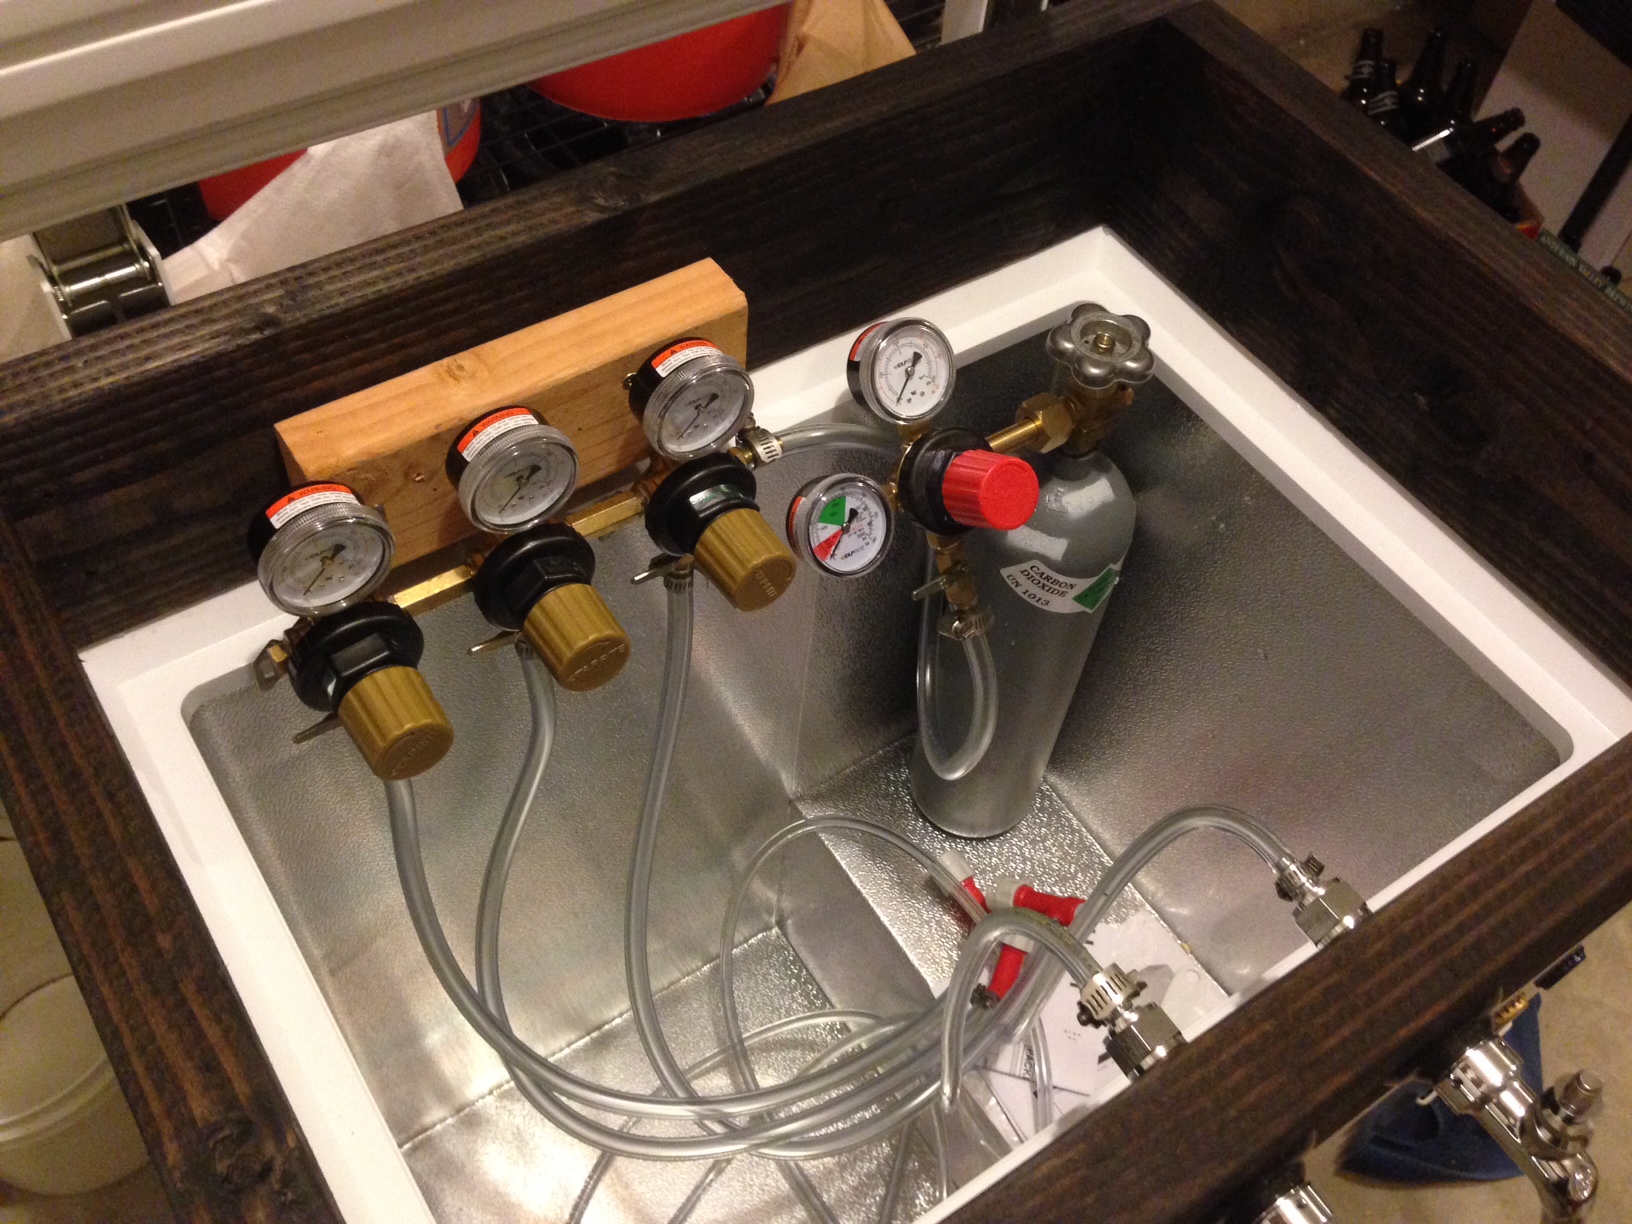
While quite a bit more expensive than a standard CO2 manifold/distributor, Chris chose to go with a 3-way secondary regulator, which will allow him to independently control the psi going to each keg. He’ll also be able to serve 2 beers while carbonating a third.
It was finally time to put everything together. I used a strong adhesive to secure the collar to the chest freezer and let it set overnight. I then attached all the hoses (8 ft for the beer lines) and put the lid back on.
The finished product:
All said and done, this keezer (without the kegs) cost just over $600 to build. Chris purchased three 3 gallon kegs from Adventures in Homebrewing for $50 apiece, he plans to continue brewing smaller batches.
If you have any questions about this build, how to do it cheaper, or anything else, don’t hesitate to ask. Cheers!




19 thoughts on “A Simple Keezer Build”
I really like how the chalkboard paint and ebony stain look together. I am jealous haha. Is the bulk of the cost from the CO2 tank and regulators. I would love to build a keezer/kegerator but the $600 price tag would put it a little out of reach for me. Thanks for sharing!
Perlick faucets, tank, and secondary regulator are the most expensive components.
hey! been eyeing this for a while and finally got my hands on some of the stuff needed. i noticed you dont have a parts list though. besides a regulator, co2 tank, corny kegs, tubing, the freezer, and the wood/screw for the collar, what is needed?
There is sort of a parts list on my Brewing Gear page under Packaging & Serving. Let me know if that doesn’t help!
When you say “strong adhesive” to connect collar to chest, what did you go with? Is there something special to look for that creates a better seal to prevent cold air from escaping?
It’s all gone, but it came in a yellow and red tube… the substance was grey.
What about a temperature regulator?
Ah, yes, my buddy actually purchased this STC-1000 unit and hooked that up himself. Hope that helps!
Where did you put the temp controller? I didn’t want to just leave it on top.
Attached to a full water bottle sitting in the compressor hump.
Wow, this looks fantastic.
You mentioned he was going to use the 3 gallon pin locks from Adventures in Homebrewing? I was looking at those too and wondering how many I could fit in this size chest freezer. A 5.0 cf right?
Any new pics with the kegs in there?
He can fit 2 on the floor and 1 on the hump. No new pics 🙁
Thanks for the reply! I love the choices. That regulator is sweet – no regrets there I bet. Smaller kegs for more small batch variety over the year. And not being a hulking beast of a freezer, this build could be a great fit for apartment dwellers too. I think I’ll start collecting the pieces for my own build.
Any reason why it would difficult to add that third tap?
None that i can think, i just like having 1 keg carbing/conditioning while others are being served.
Would this work if I wanted to just buy small kegs already filled with beer? Would the connections need to be different?
Also if I was to want to attach a full wooden surround on the outside of the freezer to make it look more like a piece of furniture, how would I do that?
You’d need Sanke couplers for commercial kegs.
I’ve never done that, so I’m not really sure.
Sankey connections are available from many online retailers.
Use your favorite search engine for “Keezer builds”. Look on Homebrewtalk, AHA site, or google images etc and click on one.
http://www.homebrewersassociation.org/pimp-my-system/brandons-apartment-friendly-keezer-build/
Is there a good rule of thumb for cubic feet and number of 5 gallon kegs it can hold?
It depends on whether you go with ball or people n lock kegs. I know there are plenty of forum posts about this, but using pin lock, I’ve been able to fit the following:
7 kegs in 14 cu.ft.
4 kegs in 8 cu.ft.
3 kegs in 7 cu.ft
2 kegs in 5 cu.ft.