Author: Greg Foster
Hop stand. Whirlpool. Steeping. Flameout. Hop bursting. Aroma hops. Finishing hops. Hopsploding. Hopception…
Ok, I may have made those last two up, but you get the point– there are a bunch of terms regarding how hops can be used at the end of the boil. This isn’t all that surprising considering IPA is one of the most popular styles and no one has conclusively proven which method best unlocks the maximum flavor and aroma of hops. As a self-proclaimed hop-head, I’ve done my share of futzing around with these techniques to varying degrees of success. A method I frequently use is the hop stand, or at least that’s what I call it. Since these terms can be kind of confusing and are often used to describe similar though slightly different processes, we figured it best to provide an operational definition for the purposes of this article:
Hop stand refers to a method whereby hops are added at the conclusion of the boil, once the flame has been turned off, and allowed to steep for a given amount of time with the goal of extracting flavor and aroma while limiting the isomerization of alpha acids (bitterness).
Some sources claim a “real” hop stand requires the reduction of wort temperature prior to adding the hops, but our research into the topic revealed most seem to view it more as a flameout addition where the hops are left to steep for 10+ minutes. Whatever you call it, I’ve used both techniques in my brewing. Theoretically, reducing wort temp prior to adding hops ought to lead to more hop character since many hop oils have flashpoints lower than boiling. This reasoning makes sense to me and is the primary reason my standard practice when brewing IPA is to chill the wort to 170°F/77°C before adding the hops for a 20-30 minute soak. It takes a bit more time and effort to pull off, which my anecdotal experience combined with the advise of respected brewers has led me to believe it’s been worth it. But is it really impacting my beer in an appreciable way? Only one way to find out!
| PURPOSE |
To investigate the differences hop stand temperature has on the character of 2 beers of the same exact recipe.
| METHODS |
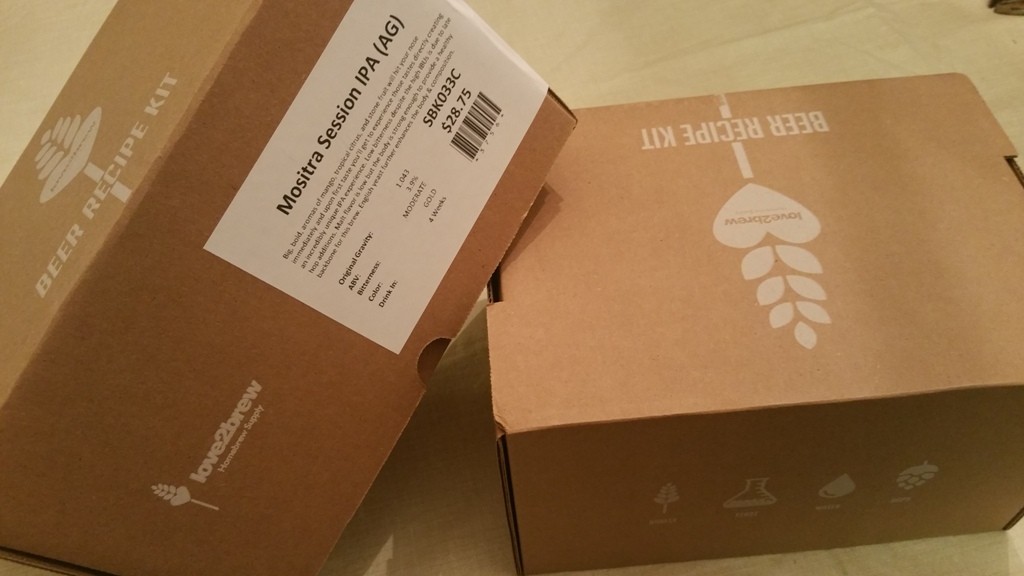
I was in the mood for a hoppy beer without a ton of malt character that I could drink pint after pint, and given the variable of investigation, I thought Love2Brew’s well reviewed and rather affordable Mositra Session IPA would be a perfect fit. This was my first time using a Love2Brew kit and I was immediately impressed by the packaging, better than any kit I’d ever seen.
The grains smelled fresh and the pre-measured hops were vacuum sealed, something I appreciate greatly.
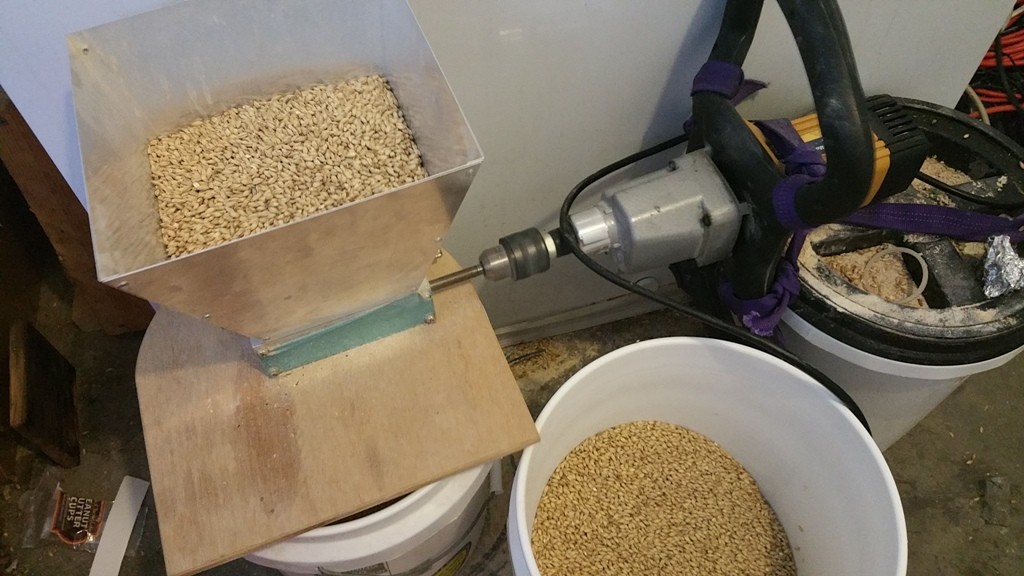
Brew day began as usual with the milling of the grain.
I heated RO water in my mash tun, added some minerals and acid to achieve my target profile, then finally mashed in the grain. The recipe recommended a 156°F/69°F mash temp, which I hit just about perfectly.

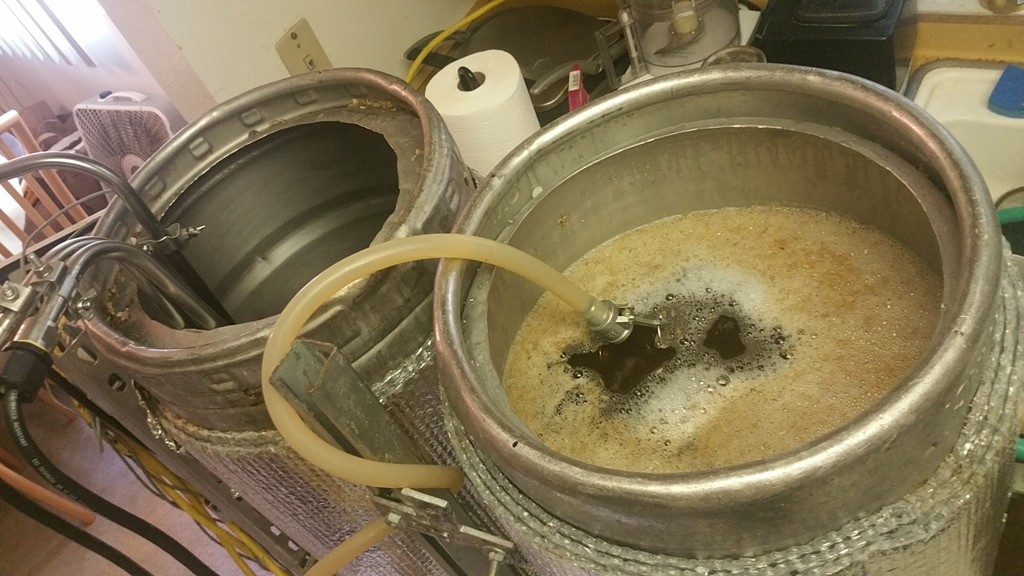
My RIMS system maintained the target mash temp by recirculating for 1 hour, after which I transferred the sweet wort to the kettle and performed a quick batch sparge.
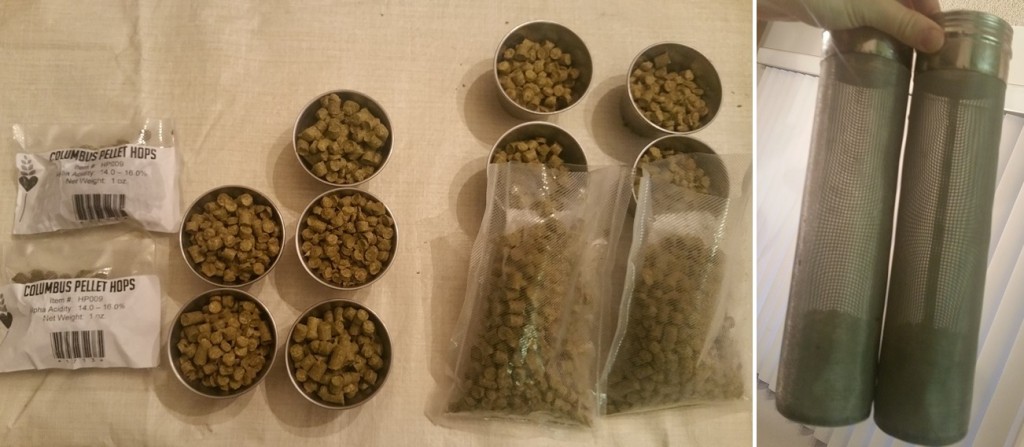
I performed a 1 hour boil and added hops according to the recipe. It was at this point I decided it might be better to use all of the remaining hops, including those intended for the dry hop, in the hop stand in order to reduce the chances of covering up any differences. In preparation, I portioned out my truckload of final hops and split them between two stainless steel mesh hoppers.
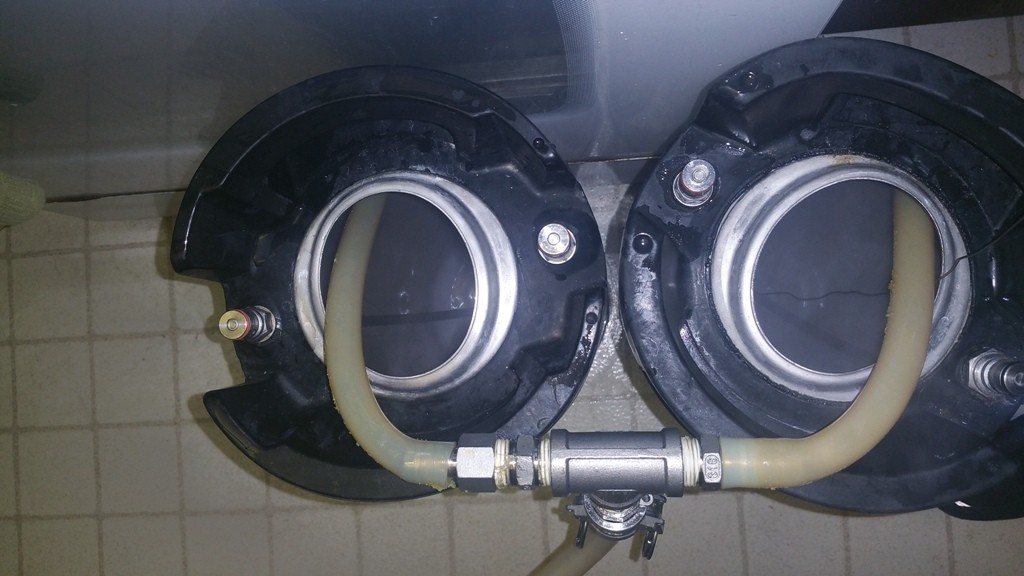
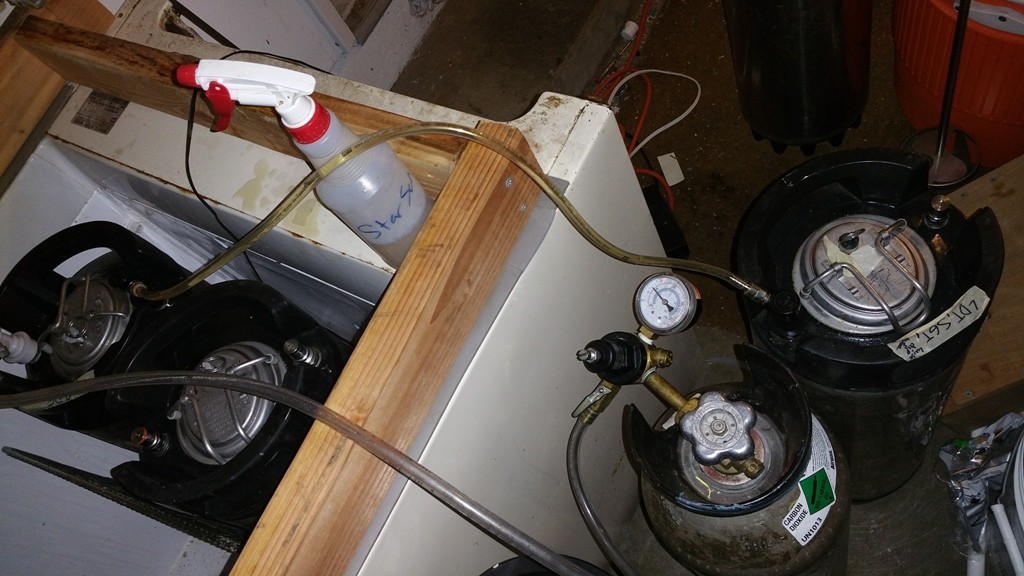
In an effort to isolate the variable as much as possible, I concocted a nifty way to perform the hop stand in 2 identical corny kegs that involved partially filling the kegs with boiling water to get them warmed up, then after removing the water, tossing in the hops for the hot hop stand batch before splitting the still boiling wort between the kegs.
Once filled, I set the timer for 25 minutes then experienced my first slight conundrum– should I immediately chill the chilled hop stand wort or chill both at the same time? For this iteration of the xBmt, I decided against immediate chilling in order to equalize any additional isomerization of alpha acids from the boil addition hops. I understood this could potentially create issues of its own, but felt this was the best way to minimize the impact of other variables. About 23 minutes into the hot hop stand, with both kegs sitting at 192°F/89°C, I quickly chilled the second keg to 172°F/78°F and added the mesh hopper to begin the chilled hop stand. It was about this time the timer for the hot hop stand batch went off, so I removed the hops and chilled to my target fermentation temperature, which I repeated for the chilled hop stand batch once the hops had steeped for 25 minutes. Whew!
The only thing left to do was pitch the yeast. Since this was such a low OG beer, I didn’t even bother making a starter and pitched a single pack of WLP002 English Ale yeast into each keg, giving them a good shake before tossing them in my crowded chamber regulated to 66°F/19°C.
Five days into fermentation, I began increasing the temperature by 1°F/0.5°C per day until it reached 72°F/22°C. At 2 weeks post-pitch, with fermentation observably complete, I took a confirmatory hydrometer reading.

With the beers finished, I cold crashed for a couple days before pressure transferring to serving kegs.
For whatever reason, I decided to forego fining with gelatin for these beers, but that didn’t stop them from clearing up nicely after a couple weeks in the keezer.
| RESULTS |
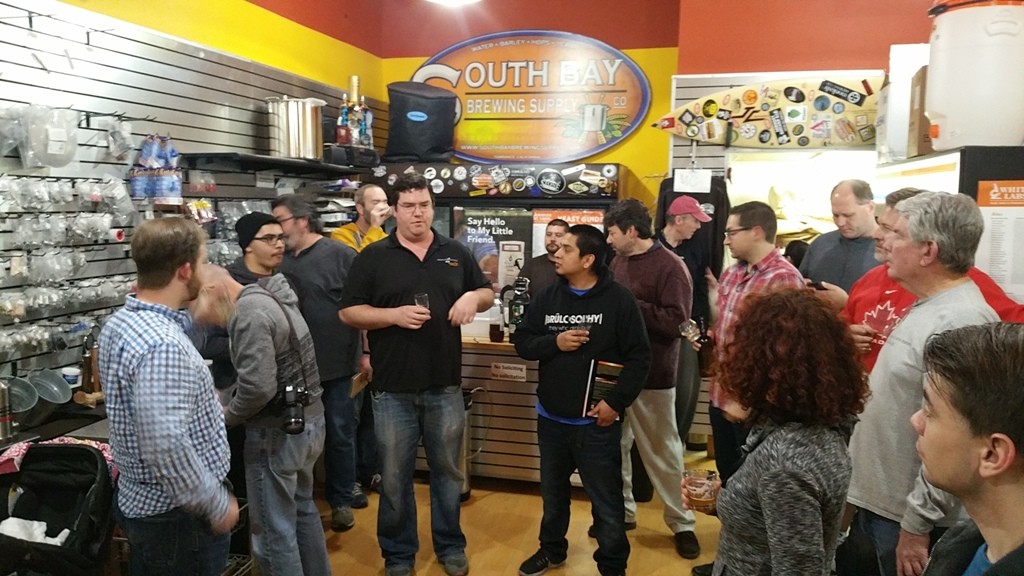
The data for this xBmt was gathered at a recent Strand Brewers Club monthly meeting in Torrance, CA where 25 awesome brewers, judges, and craft beer enthusiasts participated in the evaluation.
Each taster, all who remained blind to the nature of the xBmt, was served 2 samples of the hot hop stand beer and 1 sample of the chilled hop stand beer then asked to identify the one that was different. In order to reach statistical significance with the given sample size, 12 participants (p<0.05) would have had to accurately select the chilled hop stand beer as being unique; however, in this trial, only 6 people (p=0.807) made the proper selection, which is actually lower than what might be expected if tasters were choosing randomly. These findings imply participants were unable to reliably distinguish between a beer that received a hop stand addition at flameout temp (~212°F/100°C) and one where the hops were added at 170°F/77°C.
My Impressions: My experience with these beers followed the results, I simply could not tell a difference. I triangle tested myself with larger glasses, did multiple side by side comparisons, attempted to isolate only the aromatic differences, all to no avail despite knowing everything about the variable being looked at. Some may be expecting me to say something about how surprised I was by this result, but actually I wasn’t. It just so happens I did a very similar experiment awhile back on a much smaller scale. I won’t go into great detail, but suffice to say I was unable to tell much of a difference between multiple small batches of the same beer varying only in hop stand temperature, which surprised me then, to be sure. While I thought maybe a larger batch size might yield different results, my prior experience certainly biased my expectations a bit.
| DISCUSSION |
The low temperature hop stand has been my go-to technique for years now. While they are more time consuming than a simple flameout addition sans steeping, the method’s scientifically sound rationale had me convinced it was key to making fantastically aromatic IPA. The fact the results of this xBmt don’t support this idea leaves me wondering if the time I spend performing low temp hop stands has really made a perceptible difference at all.
Obviously, there’s still a lot to learn about hop stands and other methods for increasing hop aroma in beer. Would an even lower temperature help preserve more of the volatile hop aromas? Our own Malcolm Frazer seems to think so, targeting a hop stand temp of 160°F/71°C for his hoppy beers. Or maybe reducing the amount of steeping time would help? I have no clue, but you better believe there will be more xBmts to come as I continue down my path to IPA perfection!
Do you hop stand warm, cool, or at all? Please feel free to share your experiences and thoughts in the comments section below. Cheers!
Support for this xBmt comes from Love2Brew Homebrew Supply, a national home brewing ingredient/supply distributor carrying everything you need to homebrew beer, wine, and/or cider. Offering a huge selection of items at great prices, check out Love2Brew for your next homebrew purchase!
Support Brülosophy In Style!
All designs are available in various colors and sizes on Amazon!
Follow Brülosophy on:
FACEBOOK | TWITTER | INSTAGRAM
| Read More |
18 Ideas to Help Simplify Your Brew Day
7 Considerations for Making Better Homebrew
List of completed exBEERiments
How-to: Harvest yeast from starters
How-to: Make a lager in less than a month
| Good Deals |
Brand New 5 gallon ball lock kegs discounted to $75 at Adventures in Homebrewing
ThermoWorks Super-Fast Pocket Thermometer On Sale for $19 – $10 discount
Sale and Clearance Items at MoreBeer.com
If you enjoy this stuff and feel compelled to support Brulosophy.com, please check out the Support Us page for details on how you can very easily do so. Thanks!





49 thoughts on “exBEERiment | Hop Stand Temperature: 192°F/89°C vs. 172˚F/78˚C In An American IPA”
Any difference in bitterness?
Not perceived. We weren’t able to get these samples tested in a lab. Next time!
FTA, they were asked about differences generally, so maybe it is covered.
Yeah I figured if anything might be different it would be perceived bitterness. I feel like I have been lied to about isomerization my whole life…
Lol, no kidding! I definitely expected a bitterness difference in these 2 beers. I’ve been chilling to 170, 30-45 min hopstand then finish chilling to pitch temp. Its a pain in the ass & makes for a long brew day. If I can hopstand immediately after the boil with no bitterness difference that would be nice. I think its great someone is actually testing these ‘rules’ we brew by. Thanks Marshall!
One model in sensory sciences for the ability of people to notice differences says that ratios, not quantities, are what matter to the “just noticable differences” and that the ratio remains fixed. (Different sensory modalities have different ratios, even across different phenomena those modalities detect.) Hence, if you need a 4% increase in actual lumens before people are able to tell which of two lights is brighter, people can tell a 10.4 lumen light from a 10.0 lumen light, but if you have a 100 lumen light, you need a 4 lumen increase to perceive the difference.
If this model is accurate for isoalpha acid bitterness and the ratio is high, then we wouldn’t be able to tell the difference in a relatively bitter beer. I’ve heard that budweizer has an IBU variablity of as much as 4 IBUs and that this is undetectable by taste. This suggests that the ratio for isoalpha acids in such a model would be 40% or so!
By the way, none of this has been tested to my knowledge. I just wanted to pass on a little of the theoretical side of sensory psychology.
I will 100% buy that. Makes a lot of sense. I mean I have made hoppy beers with only hopstand hops and they were definitely bitter so I know isomerization happens below boiling. One day we will figure out how to quantify relative bitterness.
I enjoy the flame out, I am glad you did this XBMT. As now I can say since you have tired this I feel like I have tired this too. I have been gravitating to flame out additions for flavor/aroma and wanted to try a hop stand. I Think I will continue in my practice for now. Thanks you Brulosopy!
Loved this one. I make a lot of IPA’s, so it was of particular interest. I do not chill to 170 before adding my flameout addition. Goes right in at knockout and sits for 20-30 minutes. A single data point, I know, but it’s always nice to know that your process is sound.
I’ve done FO additions and chilled the wort immediately routinely for a while now. Recently after discovering the Pliny brew sheet from RR I thought I would do a hop stand. After reading and reading info on the different methods I came to the conclusion no one really knows. I put the last addition in at FO and let it sit for 30 minutes. I have yet to sample my attempt at the recipe. This exbeeriment makes me feel comfortable about my decision to do FO rather than chill and steep at 170. Keep up the great work!
I do both a flameout and a chilled wort hop stand. Seems I might be able to just throw them all in the flameout from reading this.
Greg, this was an interesting and timely read. I’m not an IPA fan, but I do like hops.
I don’t have a fancy hop stand (looks like a cool addition), and I actually haven’t even dry hopped a beer.
I recently tweaked my wheat free version of Brulosopher’s Best Blonde Ale (My buddy can’t handle the wheat).
For 2 batches now, I have taken the 5 minute addition and pushed it to the chill, once I get below 180, I just toss them in as I am cooling down. I don’t filter the hops, but my false bottom catches a lot. The rest will follow the trub, which is mostly into the carboy.
My biased perception is that these two batches still had a subtle, yet increased hop aroma and flavor.
So….. I wonder if a similar xBmt performed on a recipe that is not an IPA would yield different results.
Like many brewing issues and customs that have an effect on aroma/flavor, it could all be in my head.
Awesome xBmt, as usual! I’d love to see ‘dry hop or knockout and dry hop’. I get nervous about letting my freshly boiled wort set for thirty minutes before cooling, and cutting thirty minutes out of my brew day wouldn’t be all bad either. Does a substantial dry hop give them same characteristics as a knockout and a dry hop?
I’m also very interested in comparing dry hops and knockout hops and plan to do an xBmt on it in the near future
Interesting. I wonder if the length of the steep would matter more. Most pros run a half hour or so whirlpool and rest, plus a good half-hour to hour cast out. So the pro “stand” is really more like 70 minutes.
What contraption/tool/device did you use to chill in the keg (did you even chill in the keg)? How long did it take to chill each keg after you started applying cold water?
I’m testing out an unreleased product that is great for chilling corny kegs. Once the product is released I can give it a full review, but for now I can tell you that chilling the kegs only took a few minutes.
Can’t wait to hear about this product.
Sound like an interesting product – I’m looking forward to learning more as well!
+1
I wonder if the length of time left in the keg before serving had any impact. I will nice a big hop flavor/aroma in the first pour, but after 2-3 weeks it is fairly insignificant.
The beers were served about 3.5 weeks after they were brewed. I don’t have any data to back this up, but I didn’t notice any significant drop in aroma for this batch. They were still quite aromatic during the triangle test.
Just on the point some are saying that its a PITA to do a hop stand, it should be minimum time/ effort to chill to 77c or 71c or whatever with your chiller, do your hop stand and then chill to pitching temp. Where’s the hassle in that?
Just for example, I often start brewing at 6:30pm, when it’s not my night to put my son to bed. On a good brew session (“day” is a little bit of a stretch here), I’m finished at 11:30. On a bad one, it’s like 12:30. I’m pretty much in the PITA crowd when it comes to hop stands.
Wow as always. I’m doing no boil session IPAs and hopstand at 170. What this did make me wonder even more, is doing a REALLY chilled hopstand, like at 100 degrees. Lots of times I chill to about 100, then either let it finish cooling in the kettle overnight, or transfer and finish the cooling in the fermenter. I’m now thinking about a multiple hour 100 degree hopstand while it finishing chilling. Thanks for the inspiration!
Wow, the failure to perceive a difference in bitterness is much more surpising than failure to detect hop aroma difference.
Did you calculate the predicted final IBU for each beer? Brewersfriend has a tool to calculate IBU from post-boil steep. Alpha acids supposedly keep isomerizing down to 80C.
Also, I’d love to see an experiment comparing a hop stand/steep with no dry hopping to dry hopping with no hop stand/steep.
Would be interesting to compare No Hopstand vs. Hopstand.
I also hopstand, and generally use a layered approach. I’ll add half of my steeping addition at flameout and quickly chill to 170, then add the other half and steep for 30 minutes. Not sure what exactly I’m getting from it, but maybe it’s something noticeable. Maybe not.
http://www.port66.co.uk/whirlpool-hopping-80c-vs-100c/ from former Thornbridge and Buxton brewer is a similar experiment although with a much smaller sample size.
FLAVOUR: 100% of the tasters choose the 100°C whirlpooling sample stating it had superior hop flavour.
AROMA: 100% of the tasters choose the 100°C whirlpooling sample to be aromatically superior.
PREFERENCE: Overall preference was split but comments collected showed that those who preferred the 80°C sample liked the mellow bitterness and weren’t fans of high IBU beers i.e. they preferred it as it had less bitterness
IBU 100°C whirlpooling: 45.5
IBU 80°C Whirlpooling: 30.8
Very interesting! I hadn’t seen that experiment before, thank you for sharing!
Thanks for pointing this out! I was also shocked by the end result of the IBU! It makes me think that more flavor has to come with more IBU.
Really interesting. Another I thought for sure “this will reach statistical significance” and then it didn’t.
I’d be interested in a higher OG and higher IBU recipe with the same variable being tested. I assume it wouldn’t reach significance but it would be interesting if it was a closer result.
I often employ a whirlpool/hop stand, I will shut off the flame and carry the kettle inside and down stairs, usually it’s about 10 minutes before I start the IC. I don’t like taking temp after flame is off so I assume I am around 200-205F when my chiller starts and I will add the hop stand hops when my chiller starts going.
We’re there any results from the survey of the people that got it right? I’d be interested in the split in preference since the 170F hop stand presumably should have a higher IBU rating. I like the chilled hop stand simply because I can control my post flame out IBUs (guessing utilization for hop stand is a pain).
I always thought hop stands were an odd practice for home brewers. It makes sense for professionals, where it can take 45 minutes plus to chill a batch of beer. It might also make sense for a homebrewer with out a chiller, but with the ability to chill a batch to pitching temperature in less than 20 minutes, does it still make sense? I’d like to see an xbmt for a hop stand versus flame out hops and immediate chilling. This might have be my March brewing session.
It looked like that is what they did on this. The basically still boiling wort was placed in the keg with the hop stand hops. Yes, it probably dropped a couple degrees before hitting the hops, but essentially it looks like it was a FO hop stand addition.
If the FO addition was instead added to or changed to the 1 minute mark where there’s a good 60 second of full boil, then we’d have another experiment. Same amount of hops in both beers, no dry hop, one beer gets the FO hop stand hops, the other beer all hops are “traditional” boil hops.
The main difference would be contact time, instead of 20 minutes at elevated temperatures you’d chill it under 140 in a few minutes. I’d rather not add a half hour to my brew day if I can avoid it.
Looking at evaporative temperatures for hop oils, it seems like most boil off above 200 F. You’d probably see a bigger difference doing a hop stand at 140, as myrcene boils off at 147.
Please let us know what you discover!
“Flash point”: The temperature at which a particular organic compound gives off sufficient vapor to ignite in air.
I’ve seemed to have better hop flavor and aroma after implementing a hopstand @170F on all my hoppy beers. It worked even better after implementing a pump and whirlpool arm for me.
I wonder if there is any science to “locking in” the flavor/aroma with something like a hop rocket after flame-out. I am intrigued by the method of sending hot wort going through the hop rocket, immediately into a plate chiller, and then into the fermentor. Thoughts?
I’ve never used a hop rocket and I’m not really sure what I think about that process… hmm… I’ll have to give it more thought!
Out of interest, when was the last hop addition prior to FO? I wonder if for example a 10min addition would continues to isomerize (during the hot steep) and provide additional bitterness more so than the steep addition itself (regardless of steep temperature?) I assume isomerization isn’t a linear process?
So let’s get to the basics here, oil and water don’t mix. That is the big issue, oils and resins are hydrophobic. Isomerization improves the solubility of the resins in water. After flame out Isomerization stops, it requires the intense heat to change the shape of the molecule. Next aroma is made up of Terpenes and hydrocarbons. Hydrocarbons are very volatile and can only survive into beer by dry hopping. Terpenes are also volatile but can survive the boil and fermentation. Terpenes actually benefit from a short boiling period. An oxidized Terpenes becomes larger and more complex, making it more likely it won’t be driven off by heat our scrubbed out by CO2 during the ferment. The best thing you can do is keep your DO low when you transfer your finished beer and reduce surface area that the beer touches. Again because these compounds are hydrophobic and will leave the water to attach to anything they can, stainless steel, yeast and any finning agents.
I currently have made my first scotch ale and have added Willamette hops to the fermenter, unlike other beers that I’ve added steeped hops too by adding to boiled water and let stand for 10 mins then tip it into my fermenter. This time I boiled 1 litre of water to 70C and added my 50g of Willamette and steeped for 15mins at a constant 70C. I added this first to my fermenter and topped up to 3 litres with cold water then added my brew and stirred the hell out of it and slowly bringing up to final volume of 21 litres, allowed to cool and pitched my yeast. Has anyone else tried this method?
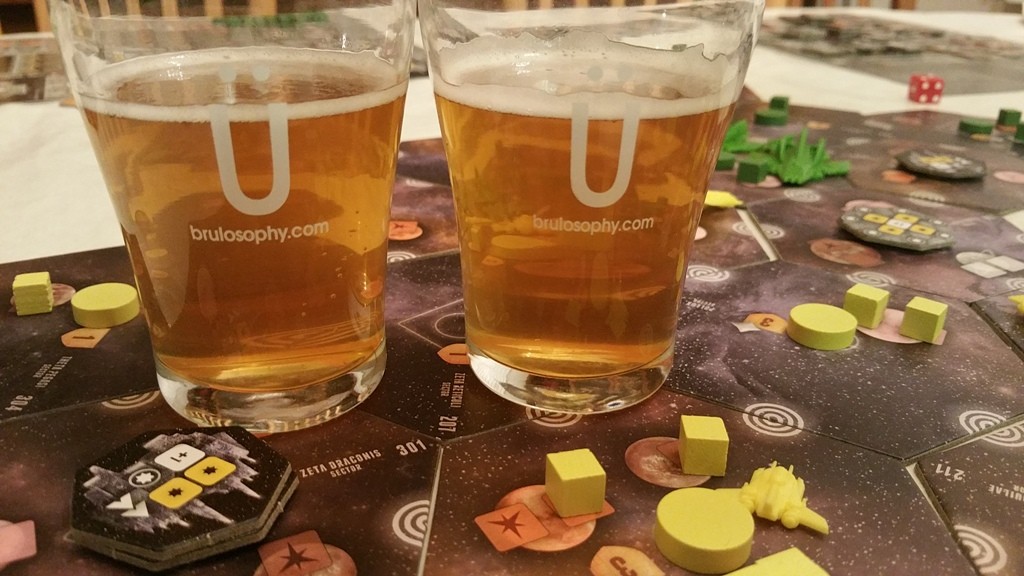
Off topic I know, but I would like to know which game are you playing in the penultimate photo?
Eclipse! Awesome game
Long timer listener, first time poster. Thanks for sharing all of this info on brulosophy. It’s a great resource. I’d like to contribute some research that I’ve found about hop addition temperature, duration, and biotransformation.
Havig, V 2010, “Maximizing Hop Aroma and Flavor”
Longer post-boil residence of kettle hop additions led to more hop flavor and aroma. We can conclude that longer post-boil residence, approaching 90 min, is far better than times shorter than 60 min.
Kaltner, D 2000, “Untersuchungen zur Ausbildung des Hopfenaromas und technologische Maßnahmen zur Erzeugung hopfenaromatischer Biere”
(Dutch study translated to English using ‘Google Translate’)
“Studies on the formation of the hop aroma and technological measures for producing aromatic hop beers”
Linalool concentration is greater with flame out and whirlpool additions compared to boil additions.
A 60C whirlpool produces a finished beer with 12.5% more linalool than a 90C whirlpool.
Linalool concentration in wort increases during fermentation as yeast release glycosidically bound linalool.
Rettberg, N 2014, “Hop aroma in beer – Origin and analysis in a nutshell”
Table 1: Compilation of results from the analysis of kettle hopped, late hopped, and dry hopped beers
https://drive.google.com/file/d/0B5VFGHvJeoSlb0VzbjJLMW1jTTg/view?usp=sharing
King, A & Dickinson, R 2003, “Biotransformation of hop aroma terpenoids by ale and lager yeasts”
We have shown that brewing yeasts have the ability to transform terpenoids found in hops under simulated brewing conditions. Geraniol was converted mainly into citronellol; linalool and nerol were also detected. This linalool and nerol was further converted into K-terpineol
Praet, T et al. 2015, Changes in the hop-derived volatile profile upon lab scale boiling
Most of the hop-derived compounds found in beer are oxygenated terpenoids. Chemical oxidations of terpene hydrocarbons occur during kettle boiling and these changes in the hop-derived volatile profile would be a major cause for flavor differences between ‘dry’ and ‘kettle’ ‘hoppy’ aroma. Unboiled samples are characterized by higher levels of α-humulene, β-caryophyllene, β-myrcene and β-farnesene, whereas boiled samples are characterized by higher levels of oxygenated sesquiterpenoids. Basically, it can be concluded that boiling of hop oil leads to significant changes in the hop oil composition, and that lower amounts of terpene hydrocarbons and higher amounts of oxygenated terpenoids are typical for boiled hop essential oil, compared to unboiled hop oil.
What I derive from this is that when hops are added, and wort temperature, seem to be important for kettle extraction. But hoppy wort doesn’t necessarily make hoppy beer due to biotransformation by yeast. There’s a lot of complex biological and chemical reactions happening and there still hasn’t been enough research conducted to fully explain everything yet. Some brewers seemed to have nailed hop extraction though, and I’ll be adding hops in cooled wort for extended durations for my next pale ale in search of that juicy drenched hop character that I’m looking for.
There’s some interesting reading, especially the Rettberg article. From reading that article it seems these are different commercial beers that were analyzed, but it adds credence to the “Dry Hop vs. Hop Stand” taste test.
https://brulosophy.com/2016/02/29/hop-stand-vs-dry-hop-exbeeriment-results/
Thanks for the info!
I guess the only risk is that the lower you go in temperature, the more you risk infection of the wort before pitching. There may also be a difference in the effectiveness of the cold break if you begin chilling from a lower starting point?
You should have made the experiment without any prior boil hop addition.
I’d also like to see this experiment re done with a decently hoppy beer with 100% whirlpool hops.