Travel vlogs are not mere tours: they are histories, stories, and travel experiences that are visualized. However, no matter how good the footage may be, the spell can be broken when the image becomes grainy or blurred, as is often the case in low light or with older equipment. It is something that homebrewers and commercial brewers can relate to, both of which have experienced the same frustration of attempting to demonstrate a gorgeous pour, a flawless boil, or all the complexities of a day spent setting up a brew with video that just is not up to the task.
CapCut PC is a textbook example of how to transform a crumby recording of brewing into a high-quality video by utilizing AI-based video enhancement tools and an intuitive interface. Even if it’s a recipe trial, content aimed at brewery clients, or a homebrew experiment showcased to fellow craft beer enthusiasts. The upside of CapCut is that it enables one to sort out challenging editing. It ensures the usage of such powerful tools as background removal, AI color effects, and even voiceover.
In case you are a vlogger who wants to improve the material in the shortest terms and in the most efficient way, it is proposed in the editor to utilize the possibilities of audio voice generators so that your story could become more pleasant and engaging.
How To Upscale Your Travel Videos In CapCut – 5 Simple Steps
By following these simple steps in the CapCut Desktop Video Editor, a vlogger can easily upscale their travel video.
Step 1: Open Your Travel Footage In CapCut
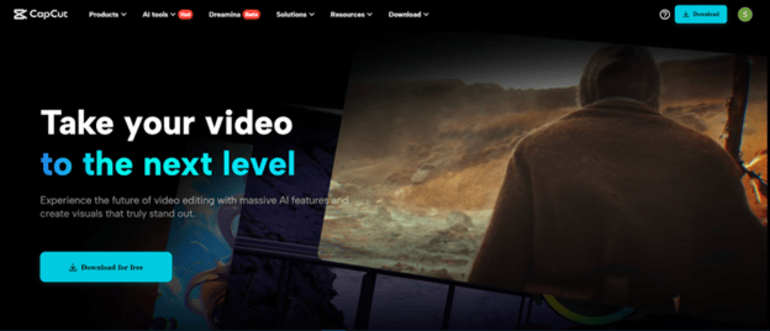
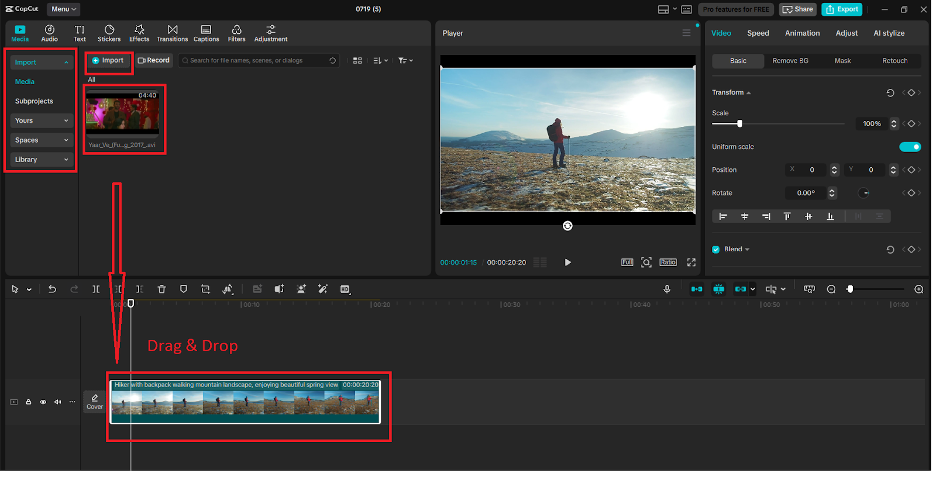
The initial thing you need to do is to open CapCut Desktop Video Editor on your computer. To start with, click on the “New project” option on the welcome screen. It will send you to the edit screen. By going to the left panel, choose the option of “Import” to fetch your travel video footage.
After importing it, drag the video to the bottom timeline. This will enable you to edit, chop, and augment your video with full control. The player window in the right corner of the page enables you to preview the content in real time. The step predetermines the use of AI improvements at the following stage.
Step 2: Employ The Enhanced Image Tool Of AI Upscaling
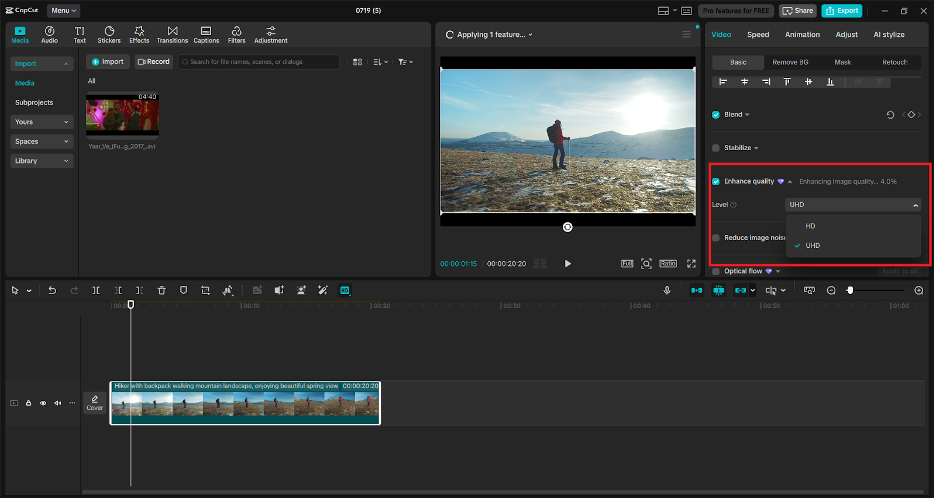
The magic now comes. CapCut has an AI-based Enhance image that clears visibility, sharpness, and details. To open the editing features, click on your video segment on the timeline. Next, access the panel on the right-hand side and scroll down until you come across the list of settings with the name “Basic”.
In Basic, locate the toggle for “Enhance quality”. Highlight it, and CapCut will analyze your video with the help of its smart algorithm. It will apply enhancement in real time and sharpen fuzzy images, restore lighting irregularities, and, through this, increase overall resolution.
This aspect serves as an AI video upscale, and this is where you resample standard quality videos to high-definition videos, especially when your vlogs need a better touch of quality.
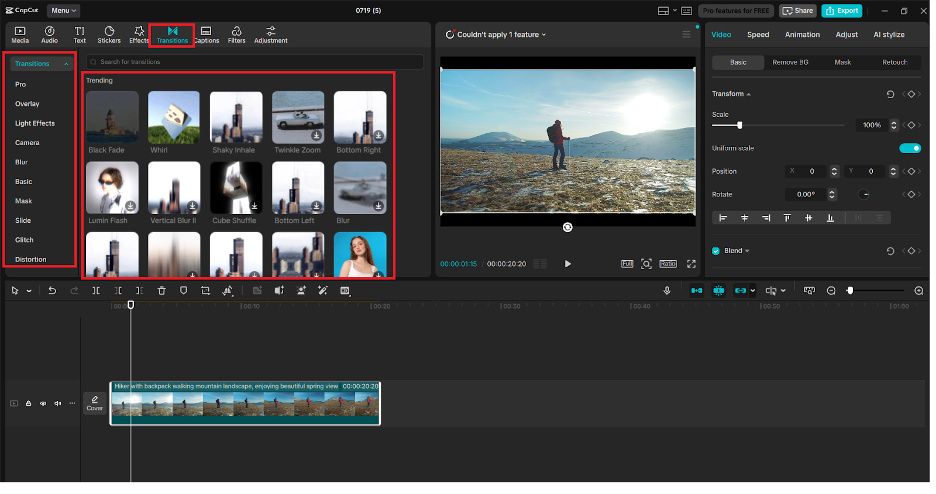
Step 3: Trim, Add Transitions, And Set The Mood
Now, when the video quality has been upgraded, it is time to give the narrative a form. With the use of the timeline functions, you can cut out unneeded parts, separate clips, or resample scenes to your storyline. On the left panel, one may drag and drop the smooth transition between clips with the “Transitions” tab, like dissolve, slide, or zoom, on the left panel.
You can also use this step to experiment with overlays, stickers, and filters. Experiment with the option “Effects” and edit effects or “Filters” to differentiate your video by creating a particular style with it, as if it is retro patches of a journey or colorful, catchy editing. The user interface of CapCut is not complicated in order to help you pay more attention to creativity rather than the learning curve.
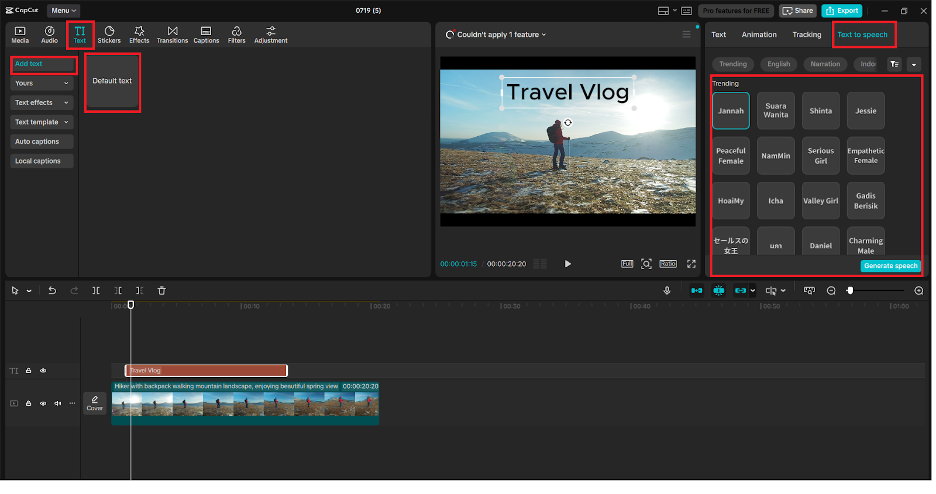
Step 4: Add Voiceovers Or Background Audio
Wish to describe your trip and tell why every scene means so much to you? CapCut is ready to take care of that with text-to-speech. On the left-hand side menu, click on the “Text” option and choose the “Text to speech” option.
In this case, you can enter your script and select many options of realistic voice style, language, and tone. Once you have chosen your favorite voice, press the generate button, and your voiceover will be in your timeline in the form of an audio track.
The text to speech AI is a user-friendly tool when it comes to those producing content that do not want to record their voice or those who don’t want every video to use the same voice. Vary the timing, fade, or volume to match the visual content.
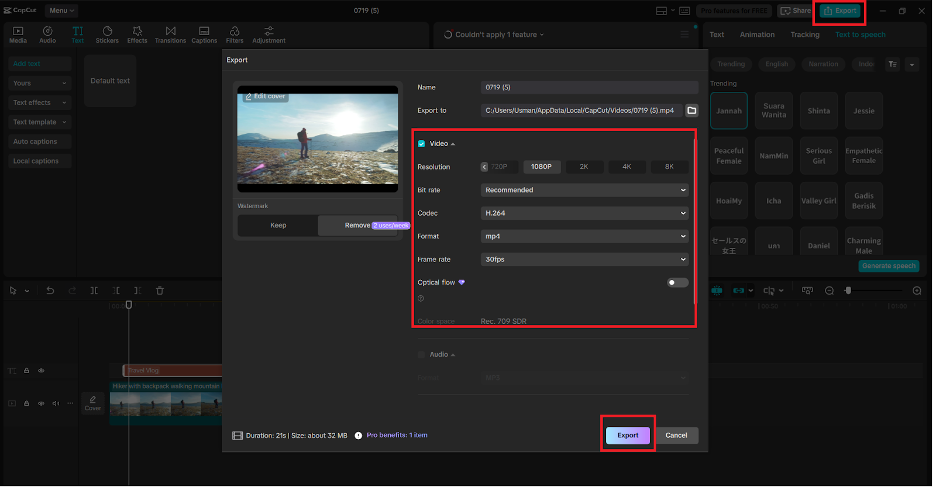
Step 5: Export And Share Your Upscaled Vlog
The last component involves exporting when your video is enhanced, edited, and narrated. There is a button labeled Export, on the upper right of your screen- here you can select what resolution (up to 4K) to export at, file type, and bitrate.
The video is going to be treated quickly in CapCut, after which a file that can be downloaded will be made available to you would enabling you to post it on the platform of your choice. It may be YouTube, Facebook, Instagram, or TikTok, but your travel vlog is now visually sleek, high-definition, and active as it must be.
Why CapCut Is The Ideal Choice For Travel Vloggers
CapCut is a free editor with a superior performance boosted by AI capabilities that will allow anyone to become a professional video editor. It does not require any other upscale software as it is incorporated in its Enhance image feature, and tools such as Text to Speech and the voice-over setting allow creators to have full options during the post-production process.
To vloggers who are also traveling, time and quality mean everything. CapCut has integrated the two in the least demanding way so that you can zoom, record voice-overs, as well as edit your videos in an economical manner. If you rely on an external application, such as an AI voice generator or editing software, the transition to CapCut will make your life much easier. It has everything on a single interface, which is simple, including upscale narration.
Bringing Your Brew Day Footage To Life
Filming your home brew day is one thing, showing it in its utmost appearance is another. CapCut allows generating clean, high-quality content with minimum effort with the assistance of smart AI editing tools, even the amateur homebrewers and small brewery teams. Is it the bustling action of a brew house, the hush of a mash rest, or a last-minute pour into a tasting glass? No matter what the scene, a clear, sharp visual record of what made a visual moment so visual can be both inspirational to other brewers and customers alike.
Now, the next time you press record, as if on a test run or a collaboration brew, or a backstage tour, remember that CapCut can assist you with bringing your vision to life, and it is only one tap away.