Author: Alex Shanks-Abel
Living organism that it is, yeast operates most efficiently under certain conditions, and one of the most important factors for ensuring a healthy fermentation involves pitching the yeast into properly chilled wort. Unfortunately, the process of chilling wort with traditional immersion or counterflow chillers results in a decent amount of wasted water, posing issues for brewers in drought-stricken areas.
It was precisely this conundrum that led some clever Australian homebrewers to experiment with skipping the chilling process altogether. Instead, the hot wort gets transferred to a heat-safe plastic “cube” that’s left alone for many hours, often overnight, to naturally chill on its own, at which point the yeast is pitched. While the reports from those who regularly employ this method tend to be strikingly positive, some have voiced concerns about this method leading to undesirable outcomes, for example excessive bitterness due to the extended contact time of hops in the hot wort.
As someone who appreciates awareness of the impact my behaviors have on the environment, the no-chill method is pretty appealing to me. However, given the mixed reports I’ve heard from brewers who have tried it, I’ve yet to fully incorporate into to my brewing process. Curiously, while a past xBmt showed tasters could reliably tell apart a no-chill Helles from one where the wort was chilled quickly, tasters were split on their preferences. Wanting to learn more about the impact this method has on a light lager, I designed an xBmt to test it out for myself!
| PURPOSE |
To evaluate the differences between an American Light Lager where the wort was chilled using the no-chill method and one chilled quickly with a counterflow chiller.
| METHODS |
My goal being to emphasize any perceptible differences caused by the different chilling methods, I went with a lower strength American Light Lager recipe for this xBmt.
Low Life Lager
Recipe Details
| Batch Size | Boil Time | IBU | SRM | Est. OG | Est. FG | ABV |
|---|---|---|---|---|---|---|
| 5.5 gal | 90 min | 9.1 | 2.2 SRM | 1.028 | 1.007 | 2.76 % |
| Actuals | 1.028 | 1.007 | 2.76 % | |||
Fermentables
| Name | Amount | % |
|---|---|---|
| Pilsner | 4 lbs | 80 |
| Flaked Maize | 1 lbs | 20 |
Hops
| Name | Amount | Time | Use | Form | Alpha % |
|---|---|---|---|---|---|
| Summit | 3 g | 90 min | First Wort | Pellet | 16.7 |
Yeast
| Name | Lab | Attenuation | Temperature |
|---|---|---|---|
| Harvest (L17) | Imperial Yeast | 74% | 50°F - 60.1°F |
Notes
| Water Profile: Ca 20 | Mg 0 | Na 0 | SO4 22 | Cl 19 |
Download
| Download this recipe's BeerXML file |
After collecting two identical volumes of water in separate BrewZilla units, adjusting each to the same desired profile, then setting the controllers to heat them up, I weighed out and milled the grain.
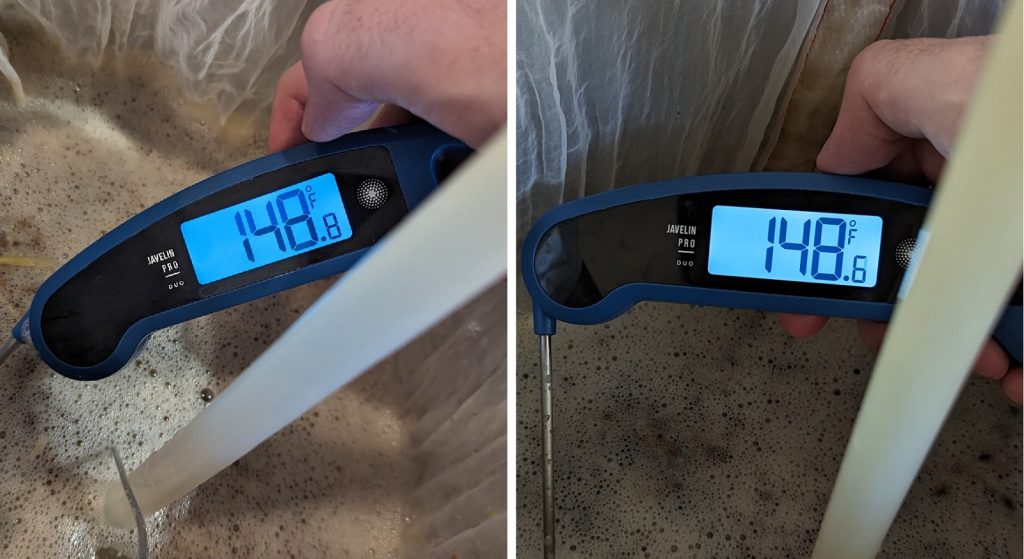
Once the water for each batch was adequately heated, I incorporated the grains then checked to make sure both were at the same target mash temperature.
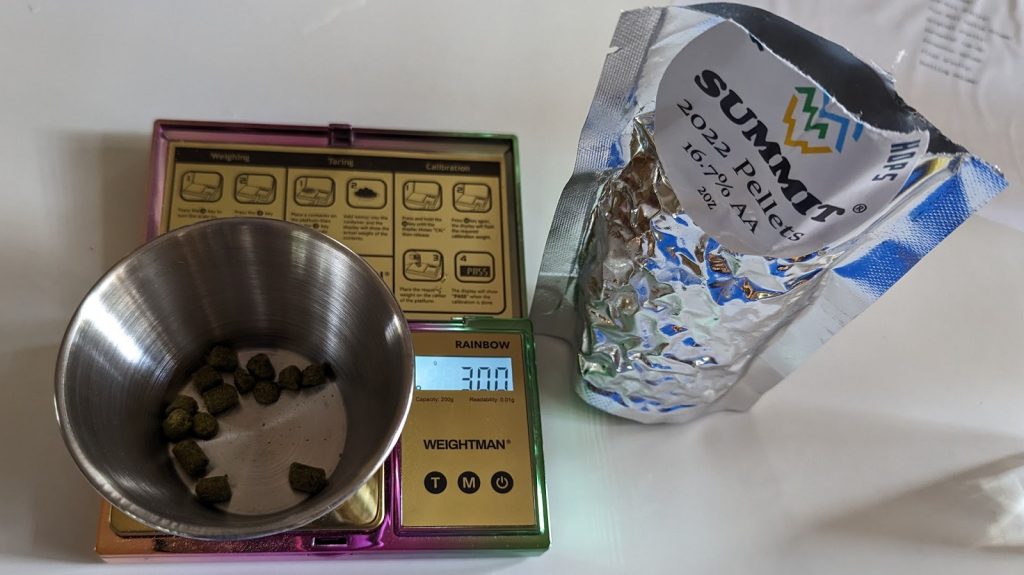
While the mashes were resting, I prepared the kettle hop additions.
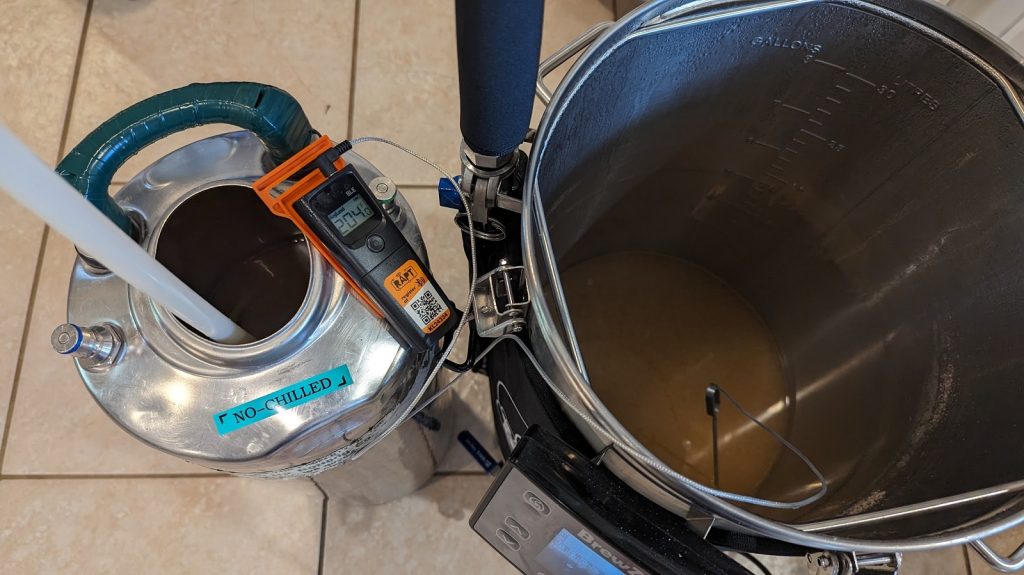
Once each 60 minute mash was complete, I sparged to collect the same pre-boil volume then boiled the worts for 90 minutes, after which one was immediately transferred to a sanitized fermentation keg.
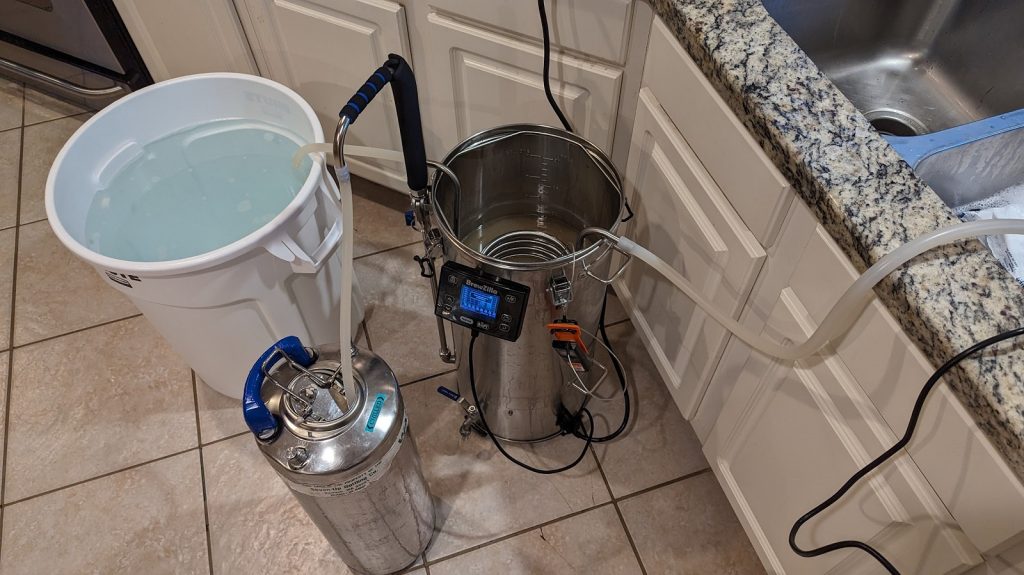
The other wort was chilled rapidly to 75°F/24°C with a counterflow chiller during transfer to an identical sanitized fermentation keg.
Refractometer readings show both worts were at the same target OG.
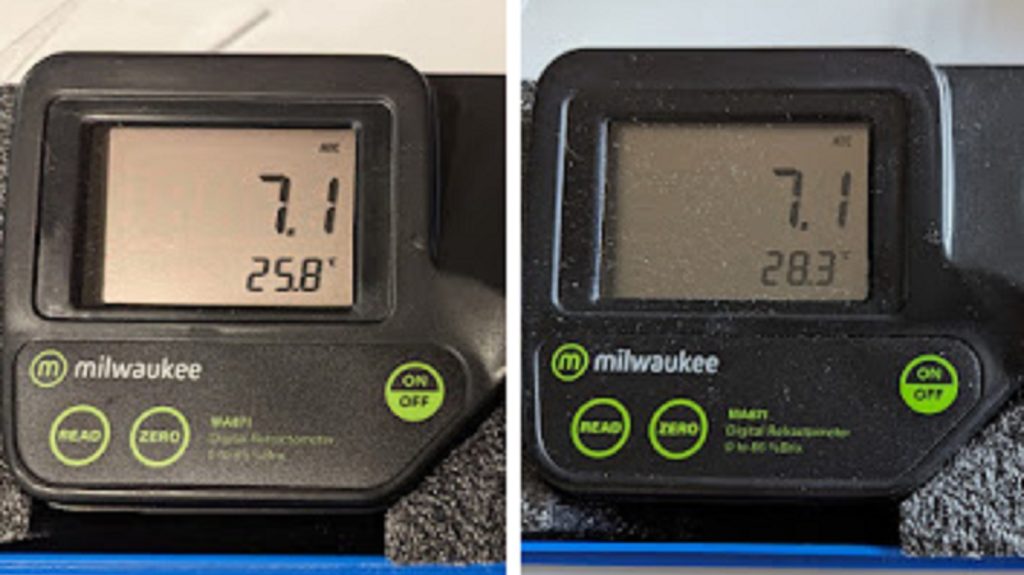
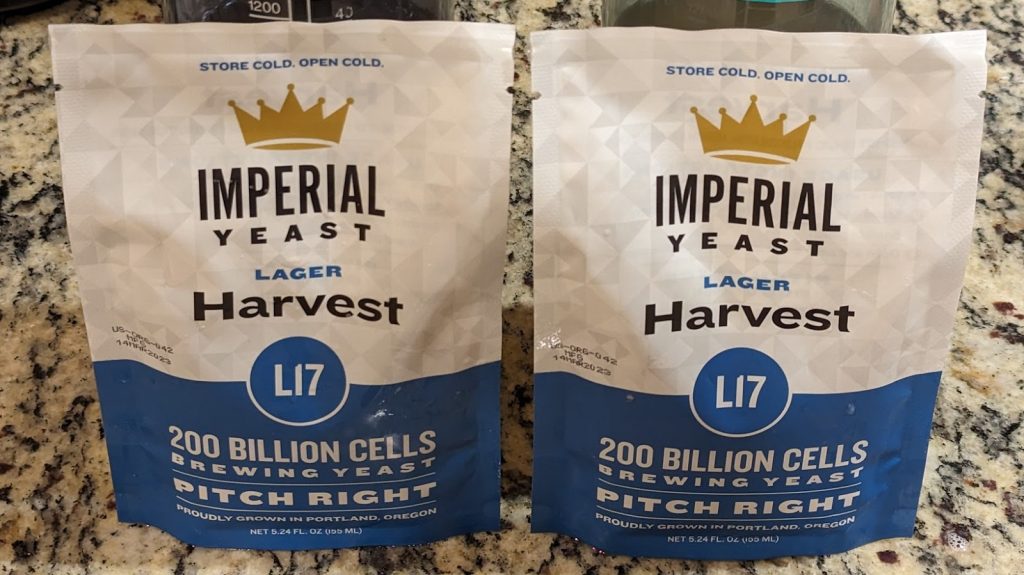
The worts were then placed in a chamber controlled to 64°F/18°C and left for 24 hours before each was pitched with a pouch of Imperial Yeast L17 Harvest.
After 2 weeks, I took hydrometer measurements showing the no-chill beer finished with a slightly higher FG than the quick chill beer.
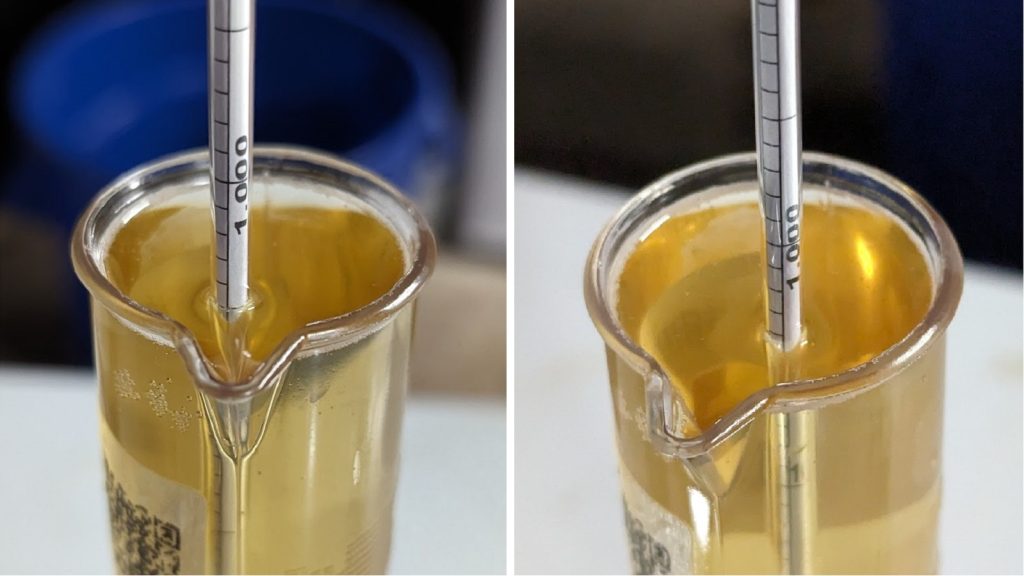
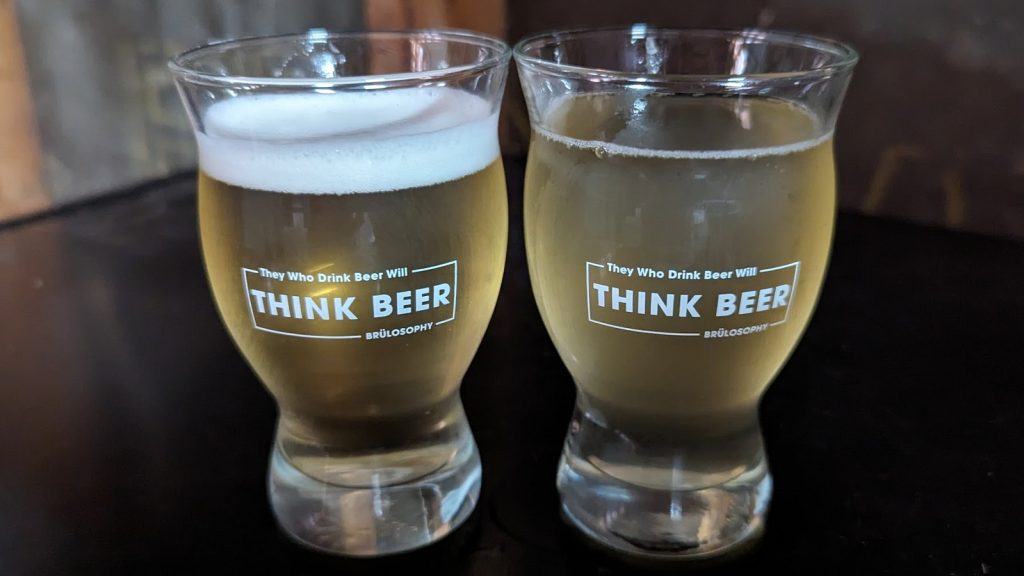
After a 48 hours cold-crash, the beers were pressure-transferred to serving kegs that were placed on gas in my keezer and left to condition for 2 weeks before they were ready for evaluation.
| RESULTS |
A total of 23 people of varying levels of experience participated in this xBmt. Each participant was served 2 samples of the no-chill beer and 1 sample of the quick chill beer in different colored opaque cups then asked to identify the unique sample. While 12 tasters (p<0.05) would have had to accurately identify the unique sample in order to reach statistical significance, 18 did (p=0.00001), indicating participants in this xBmt were able to reliably distinguish an American Light Lager made using the no-chill method from one chilled quickly with a counterflow chiller.
The 18 participants who made the accurate selection on the triangle test were instructed to complete a brief preference survey comparing only the beers that were different. A total of 7 tasters reported preferring the no-chill beer, 2 said they liked the quick chill beer more, 8 had no preference despite noticing a difference, and 1 acknowledged perceiving no difference.
My Impressions: Out of the 5 semi-blind triangle tests I attempted, I correctly identified the odd-beer-out every time. To my palate, the no-chill beer was refreshingly crisp and clean, reminiscent of my favorite commercial light lager, while the quick chill version had an uncharacteristic grainy and fruity flavor. I enjoyed both of these beers, but definitely preferred the no-chill batch.
| DISCUSSION |
The brewing process requires not only time, but resources, a prominent one being water. While a necessity for the production of beer, there are certain areas that demand the excessive use of water, namely the chilling of wort with traditional immersion and counterflow chillers. The no-chill method was developed specifically with water conservation in mind, and its proponents claim it can produce beer of equal quality as those made using quicker chilling methods. Interestingly, tasters in this xBmt were able to reliably distinguish an American Light Lager made using the no-chill method from one chilled quickly with a counterflow chiller.
Nailing down the reasons for these beers being perceptible different is difficult, though one commonly cited culprit is the extended contact time of the hops with the hot wort. However, these beers received a single 3 g/0.11 oz first wort hop addition, which calls this hypothesis into question and suggests some other factor may be at play. Unexpectedly, the no-chill beer had better foam quality and clarity than the quick chill batch.
Having had no-chill beers in the past, I was confident the method could be used to produce good beer, but I was surprised with how different I perceived them to be as well as the fact I preferred the no-chill batch. My experience with these beers has compelled me to rely on the no-chill method more often in my brewing, as it allows me to save both water and time while producing high quality beer.
If you have any thoughts about this xBmt, please do not hesitate to share in the comments section below!
Support Brülosophy In Style!
All designs are available in various colors and sizes on Amazon!
Follow Brülosophy on:
FACEBOOK | TWITTER | INSTAGRAM
If you enjoy this stuff and feel compelled to support Brulosophy.com, please check out the Support page for details on how you can very easily do so. Thanks!




23 thoughts on “exBEERiment | Impact No-Chill Method Has On An American Light Lager”
I happen to have a American light lager cooling in the kettle at this very moment. I brew in my garage in the cold canadian winter and I shut down to water in the garage to not bust the pipes. Its 14F outside and i let it cool over night. It still take all night to chill. If i had the option id prefer to cool the wort fast but no chill is what I have to do to keep brewing through the cold canadian winter. I have not notice a difference in the taste of my beer but it makes a longer brew day.
Nice xbmt! I would have to think the better clarity and head retention probably resulted from more proteins going into the fermenter with the no chill batch vs the chilled batch. However, the difference in flavor is a mystery to me.
I’ve used no-chill for five gallon batches for years now. I take advantage of that extra isomerization time and shorten my boil; a shorter boil means less boil off, which means less water is needed and therefore even time spent heating up to a boil is shorter. It’s great, and I don’t notice quality differences vs smaller batches which I chill quickly in my sink.
Wondering if the sealed cube whilst cooling has a lodo protection effect for light subtle beers likes this.
Great idea for an experiment! Just wondering about the process. The two biggest things I noticed are that separate worts and separate yeast batches were used. The wort probably should have been mashed and boiled all at once or at the very least homogenized, and the yeast should have been from the same package or homogenized as well. With the amount of things that can go awry during mashing, boiling, and fermenting, and with how trivially easy it would be to take these variables out of the equation, it’s always a mystery that the process isn’t cleaner.
Did you seal the no chill batch while it cools?
I am surprised there wasn’t a hint of DMS formed from residual SMM during the no chill. Then again, the OG was only 1.028. It would have been interesting to see this done with a more typical OG.
A vigorous 90-minute boil will remove 80% (or more) of the SMM precursor.
I totally understand that, (testing shows 78.9% to put a sharper number on it), but that is part of my point. If 80% is removed and 20% remains, this recipe only has 4.0# of grain to begin with. So we get equivalent of a recipe with only 0.8# of Pils – maybe 10% of that in a typical light lager. In other words, probably not enough Pils to prove the point of the exbeeriment.
https://brulosophy.com/2015/11/09/cooling-the-wort-pt-1-no-chill-vs-quick-chill-exbeeriment-results/
Am I able to cool my wort overnight in a glass carboy with the carboy cap on and close to room temp (70 F) ? I am worried this might lead to too much oxygen getting to the wort. I would like to try this method so that I can build the yeast starter overnight with wort from the boil (your nalgene method). (fyi i’m a rookie)
PSA #1: Bad idea to pour boiling-hot wort into a glass carboy. It will likely shatter instantly. Oxygen in the wort will be the least of your concerns if you try this.
PSA #2: There are two types of glass carboys: those that have broken, and those that will break. Hopefully your flesh is out of the way when (not if) the latter happens.
I wonder if the potential downside (extended hop contact time) became a benefit in this case? The no-chill beer not necessarily being better, just hoppier?
Would glycol chillers be a water-friendly version of no-chill (“low-chill”)? A middle ground between fast chill and overnight no-chill?
I wondered this too; e.g. a counterflow chiller, using glycol instead of tap water, in a closed loop with a pump. Part of that closed loop would be in a chilly bin (cooler box) full of ice water slurry. Still uses some water but much less than if using tap water.
I did an overnight fan chill standard Pilsner last month since it was so cold outside. It was one of the best pilsners I have done in a long time. No idea if the overnight chill had an effect but I will have no reservations doing it in the future. The 2 IPAs I have done fan chilled were not as good though as it was hard to get the hops right.
I do wonder if the reason for the difference is due to excessive oxygen ingress. The no chill wort would’ve been quite hot when entering the keg, thus not a lot of oxygen could’ve made it into solution, assuming it was sealed, as opposed to the chilled wort. As the yeast wasn’t pitched immediately but rather a day later, that would’ve given the oxygen quite a long time to do damage.
My comment also goes along the lines of the last comment above… why did you wait until the no-chill batch reached pitching temp to pitch the yeast in the actively chilled version? If I’d want to compare the two approaches, for the actively chilled version I would do what brewers normally do: pitch the yeast immediately after chilling and aerating. I would also hypothesize some kind of oxidation damage as the most probable explanation for most people preferring the no-chill batch.
Otherwise, interesting topic and exbeeriment!
I’m wondering if the difference in clarity could explain the difference in flavor. If one has dropped bright, but the other still has something in suspension, then you may be tasting what’s in suspension.
Could someone please repeat this with an IPA, or some other style that has late hop additions? Maybe there’s a different effect versus an early addition only.
I always strain the hot wort with a nylon stocking ( pantyhose section) around a large sterilized pot before before pouring it into the cube.. then the spent hops are retained in the stocking , so there is no extra contact with the hops in the cube , the nylon is not affected by the boiling hot temp. ( new stockings by the way…)
When cooling the no chill in a keg, was it sealed? If so, aren’t you worried about collapsing the keg due to the vacuum created by the cooling wort?
Hey Alex, did you aerate either wort post chilling? I’m particularly interested if you had made an attempt to aerate the no chill as the oxygen pick up while hot would have been much smaller than the pre chilled version.