This xBmt was completed by a member of The Brü Club in collaboration with Brülosophy as a part of The Brü Club xBmt Series. While members who choose to participate in this series generally take inspiration from Brülosophy, the bulk of design, writing, and editing is handled by members unless otherwise specified. Articles featured on Brulosophy.com are selected by The Brü Club leadership prior to being submitted for publication. Visit The Brü Club Facebook Group for more information on this series.
Author: Haven Schultz
Beer is generally made using grain, hops, water, and yeast, but there is an important and oft underrated fifth ingredient that makes flat beer bright and interesting– carbonation. Responsible for the familiar hiss when cracking open a bottle, carbonation gives beer a lively taste and bubbly appearance while also amplifying aromatic qualities that allow the drinker to get an idea of what they’re about to consume.
While many modern brewers force carbon dioxide (CO2) into fermented beer using an external gas source, carbonation traditionally occurred in a natural process that involves adding a measured amount of sugar then capping the vessel to trap the CO2 produced during secondary fermentation, thus carbonating the beer. Many brewers still use this technique, particularly when making certain styles, and while it is often done in smaller bottles, it can also be done in larger vessels, such as kegs, with some believing each approach produces unique characteristics.
As is the case for many new homebrewers, I started out bottle conditioning all my beer, though eventually ended up switching to kegging and force carbonating. The times I’ve bottle conditioned beer have been few and far between since, though I’ve recently been adapting my brewing practices to include naturally carbonating in kegs, as it is easy, convenient, and results in less trips to refill my CO2 tanks. While my results have been largely satisfactory, I began to question whether the volume of beer mattered when naturally carbonating and decided to test it out for myself.
| PURPOSE |
To evaluate the difference between an Ordinary Bitter that was naturally carbonated in bottles and one that was naturally carbonated in a larger keg.
| METHODS |
I developed the recipe for this Ordinary Bitter as a part of The Brü Club’s AvgBrü project.
Otter Nary Bitter
Recipe Details
| Batch Size | Boil Time | IBU | SRM | Est. OG | Est. FG | ABV |
|---|---|---|---|---|---|---|
| 5.5 gal | 60 min | 28.1 | 13.9 SRM | 1.036 | 1.01 | 3.41 % |
| Actuals | 1.036 | 1.01 | 3.41 % | |||
Fermentables
| Name | Amount | % |
|---|---|---|
| Finest Maris Otter® Ale Malt | 6 lbs | 80 |
| Caramel Malt 60L | 12 oz | 10 |
| Biscuit | 6 oz | 5 |
| Wheat Soft Red, Flaked | 4 oz | 3.33 |
| Chocolate | 2 oz | 1.67 |
Hops
| Name | Amount | Time | Use | Form | Alpha % |
|---|---|---|---|---|---|
| East Kent Goldings (EKG) | 21 g | 60 min | Boil | Pellet | 5 |
| Fuggle | 14 g | 30 min | Boil | Pellet | 4.5 |
| Fuggle | 21 g | 15 min | Boil | Pellet | 4.5 |
| East Kent Goldings (EKG) | 7 g | 5 min | Boil | Pellet | 5 |
Yeast
| Name | Lab | Attenuation | Temperature |
|---|---|---|---|
| Pub (A09) | Imperial Yeast | 74% | 32°F - 32°F |
Notes
| Water Profile: Ca 60 | Mg 5 | Na 16 | SO4 72 | Cl 68 |
Download
| Download this recipe's BeerXML file |
For this batch, I purchased 7 gallons/26.5 liters of distilled water from a local grocery store.
While waiting for my mash water to heat up, I added minerals to reach my desired water profile before weighing out and milling the grains.
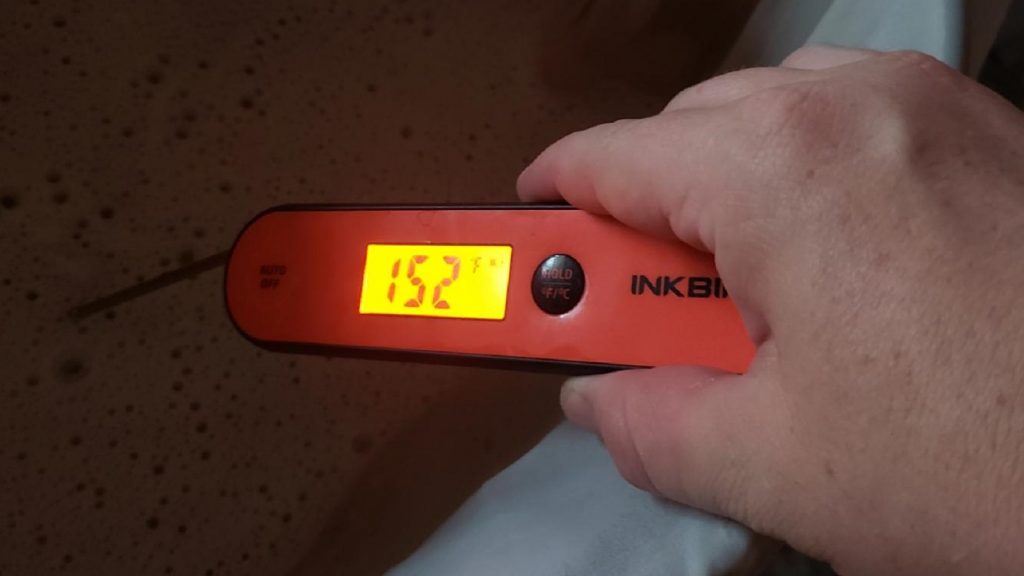
Once my water was properly heated, I stirred in the grist then checked to ensure it was at my target mash temperature.
As the mash was resting, I prepared the kettle hop additions.
When the 60 minute mash was completed, I removed the grains then proceeded to boil the wort for 60 minutes, after which I quickly chilled it with my JaDeD Brewing King Cobra IC.
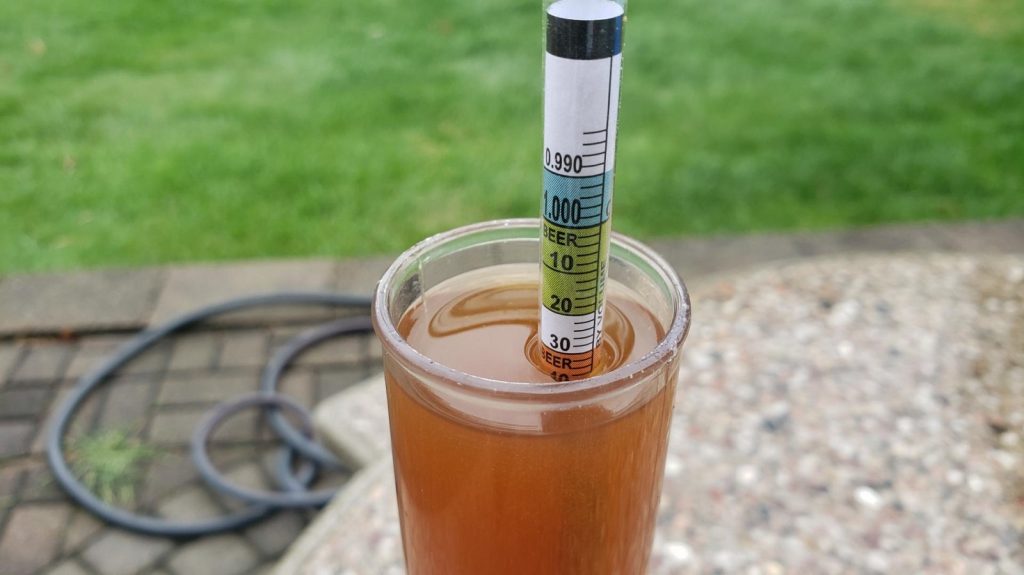
A hydrometer measurement indicated the wort was slightly lower than my target OG, though still within style guidelines.
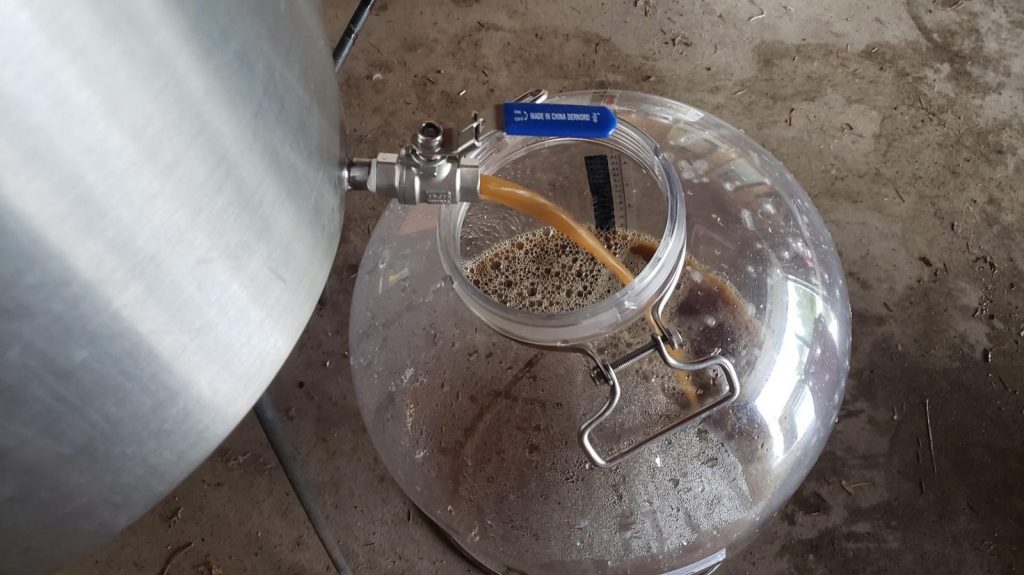
I racked the chilled wort to a sanitized Fermzilla fermenter.
I then pitched a pouch of Imperial Yeast A09 Pub directly into the wort.
Next, I placed the filled fermenter in my chamber controlled to 64°F/18°C and left it to ferment.
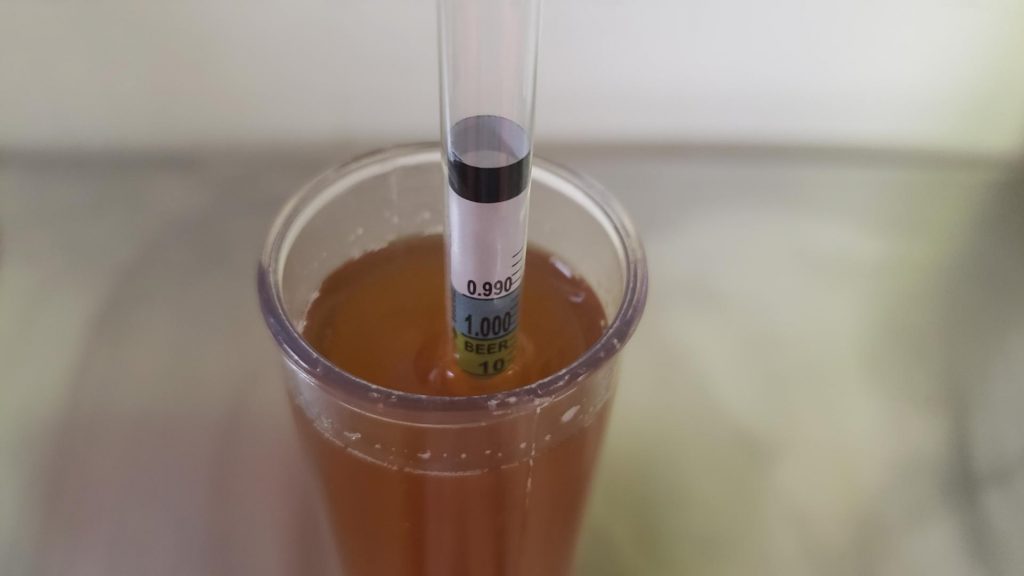
After two weeks, I took a hydrometer measurement that showed the beer was at the expected FG.
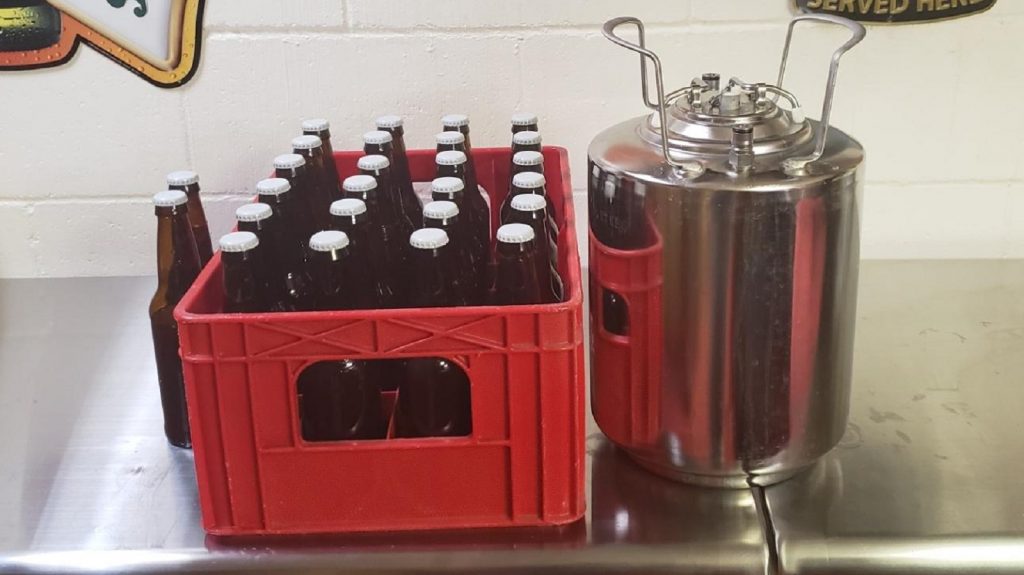
I started the packaging process by using a calculator to determine the amount of priming sugar solution needed to carbonate 2.5 gallons/9.5 liters of beer, which is half of what was fermented. After making two sets of priming sugar solution, each consisting of 1.1 oz/31 g of table sugar (sucrose) dissolved in 4 oz/118 mL boiling water, I added them to separate sanitized kegs before splitting the beer equally between them via closed transfer.
Next, I used a picnic tap to pressure transfer the contents of one keg into sanitized bottles. With each batch in its respective vessel, I placed them next to each other in an area that maintains a steady 66°F/19°C.
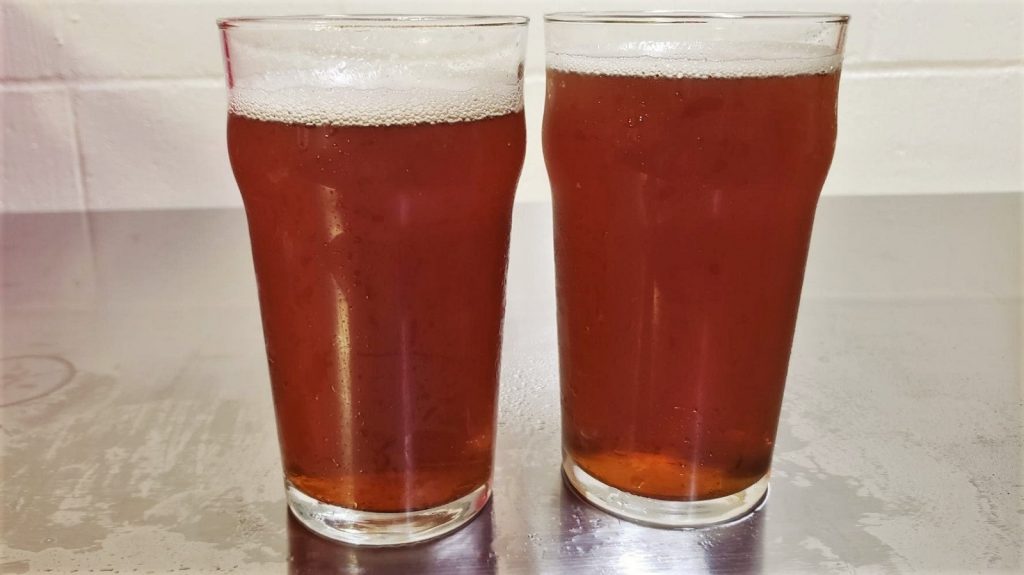
Following a 2 week conditioning period, I moved the beers to my refrigerator and allowed them to chill for a few days before they were ready to serve to tasters.
| RESULTS |
A total of 15 people of varying levels of experience participated in this xBmt. Each participant was served 2 samples of the bottle conditioned beer and 1 sample of the keg conditioned beer in opaque cups then asked to identify the unique sample. While 9 tasters (p<0.05) would have had to accurately identify the unique sample in order to achieve statistical significance, only 8 did (p<0.09), indicating participants in this xBmt were unable to reliably distinguish an Ordinary Bitter that was naturally carbonated in bottles from one that was naturally carbonated in a keg.
My Impressions: Out of the 4 semi-blind triangle tests served to me by my lovely wife, I correctly identified the odd-beer-out 3 times, which was admittedly a fluke, as I guessed on every attempt. To me, these beers were identical to each other, each possessing a pleasant bready flavor with hints of chocolate and stone fruit, and I perceived no difference in regards to carbonation.
| DISCUSSION |
Carbonation is incredibly important to beer, and while there are various ways to impart fizz, natural carbonation is one that almost every brewer has experience with, as most brewers start out with bottle conditioning. However, natural carbonation can also be done on a larger scale, for example, by conditioning 5 gallons/19 liters in a keg, which some believe has a perceptible impact on beer. The fact tasters in this xBmt were unable to reliably distinguish an Ordinary Bitter naturally carbonated in bottles from one that was naturally carbonated in a keg suggests any differences were slight enough as to be imperceptible.
The most obvious difference between the carbonation environments of these beers was in volume– whereas one batch was split into multiple 12 oz/355 mL bottles, the other half was carbonated in a single 3 gallon/11.4 liter keg. It’s possible this difference in volume simply wasn’t enough to show any impact and that comparing bottle conditioning to batch conditioning in a larger keg would have.
Natural carbonation is a technique I have started to utilize in my brewing more often due in part to how easy it is, though especially because it prolongs the life of my CO2 tank. While I’ve always enjoyed the beers I bottle condition, I tend to avoid it because of the excessive time and effort involved, and the results of this xBmt reassure me that keg conditioning is likely producing a similar outcomes, one that I’ve been equally pleased with.
 Haven is a proud husband and father residing in Central Wisconsin who credits his background in the culinary arts as inspiring him to make his own beer. Since brewing his first batch in 2014, he’s immersed himself in the homebrewing community and currently serves as a member of The Brü Club leadership team where his contributions have led to a massive rise in membership. When he’s not brewing, Haven enjoys spending time with his family, golfing, and cooking.
If you have any thoughts about this xBmt, please do not hesitate to share in the comments section below!
Support Brülosophy In Style!
All designs are available in various colors and sizes on Amazon!
Follow Brülosophy on:
FACEBOOK | TWITTER | INSTAGRAM
If you enjoy this stuff and feel compelled to support Brulosophy.com, please check out the Support page for details on how you can very easily do so. Thanks!









5 thoughts on “The Brü Club xBmt Series | Bottle Conditioning vs. Keg Conditioning In An Ordinary Bitter”
What chest freezer are you using with that Fermzilla? I’ve had to put some blocks in the bottom of my 5.0 cuft to ensure the stand doesn’t hit/wedge on the hump.
It would be interesting to see if the bottle conditioned beers deteriorated faster. Palmer says a good chunk of the o2 in the headspace remains and adds new flavours……
Same independent variable applied to a different style brewed by someone else. Yawn.
This is an interesting experiment, thanks.
If it was repeated with bigger batches, using the bottles as a baseline and conducting multiple tests with fractions of the large vessel over time, it might be interesting to see what testers noticed as beer volume went down and time elapsed went up. Since recommended consumption of a primed cask is fairly short, the bottles should stay consistent over that limited period.
Am curious how a batch split between bottle conditioned beers and a keg carbonated with co2 would compare in taste. Any exbeeriments on that ?