Author: Marshall Schott
It was 2001, I’d recently transferred from an odd small college in rural Idaho to a state university in Bellingham, WA, and my participation in friendly get-togethers that involved beer increased. During one such function, having just polished off a tasty yellow belly, I was handed a clear bottle with a yellow label that read Newcastle Brown Ale, about which my fellow underage drinking friend exclaimed, “Once you drink this, you’ll never go back to that flavorless crap!”
He was wrong. But I’ll never forget this introduction to the style known as British Brown Ale. I wasn’t the biggest fan of Newcastle, but I was lucky enough to visit England a couple years later where I enjoyed many a pint of delicious Brown Ale from the likes of Samuel Smith’s and Wychwood Brewery. While the region has a rich brewing history that includes numerous variations of brown colored ale, the BJCP notes modern British Brown Ale is a relatively new creation and provides the following description:
A malty, brown caramel-centric British ale without the roasted flavors of a Porter.
When I started brewing beer on my own, the various types of British ale were viewed as being somewhat easy because their notable ester profile meant one didn’t have to worry so much about fermentation temperature. Needless to say, I made numerous beers that fall into the British Brown Ale category, usually modeling the recipes after commercial favorites using standard processes and ingredients. Recently, the folks from Sugar Creek Malt out of Lebanon, IN hooked me up with some samples of a few of their products that I thought would work beautifully in a British Brown Ale brewed using shorter and shoddier methods.
| BREWING THE BEER |
This recipe was similar to British Brown Ale I’ve made in the past where I relied on Maris Otter as the base, though for this one, I used a fair amount of Sugar Creek Malt.
Short & Shoddy British Brown Ale
Recipe Details
| Batch Size | Boil Time | IBU | SRM | Est. OG | Est. FG | ABV |
|---|---|---|---|---|---|---|
| 5.2 gal | 25 min | 24.7 IBUs | 17.9450938 | 1.049 | 1.014 | 4.5 % |
| Actuals | 1.049 | 1.013 | 4.7 % | |||
Fermentables
| Name | Amount | % |
|---|---|---|
| Finest Maris Otter (Simpsons) | 8.5 lbs | 82.93 |
| Brown Malt (Sugar Creek) | 12 oz | 7.32 |
| Crystal 40 (Sugar Creek) | 12 oz | 7.32 |
| Chocolate Malt (Sugar Creek) | 4 oz | 2.44 |
Hops
| Name | Amount | Time | Use | Form | Alpha % |
|---|---|---|---|---|---|
| Magnum | 18 g | 25 min | Boil | Pellet | 12.2 |
| Fuggles | 14 g | 10 min | Boil | Pellet | 4.9 |
| Fuggles | 14 g | 5 min | Boil | Pellet | 4.9 |
Yeast
| Name | Lab | Attenuation | Temperature |
|---|---|---|---|
| Pub (A09) | Imperial Yeast | 72% | 64°F - 70°F |
Notes
| Water Profile: filtered Fresno tap water with slightly more gypsum than calcium chloride |
Download
| Download this recipe's BeerXML file |
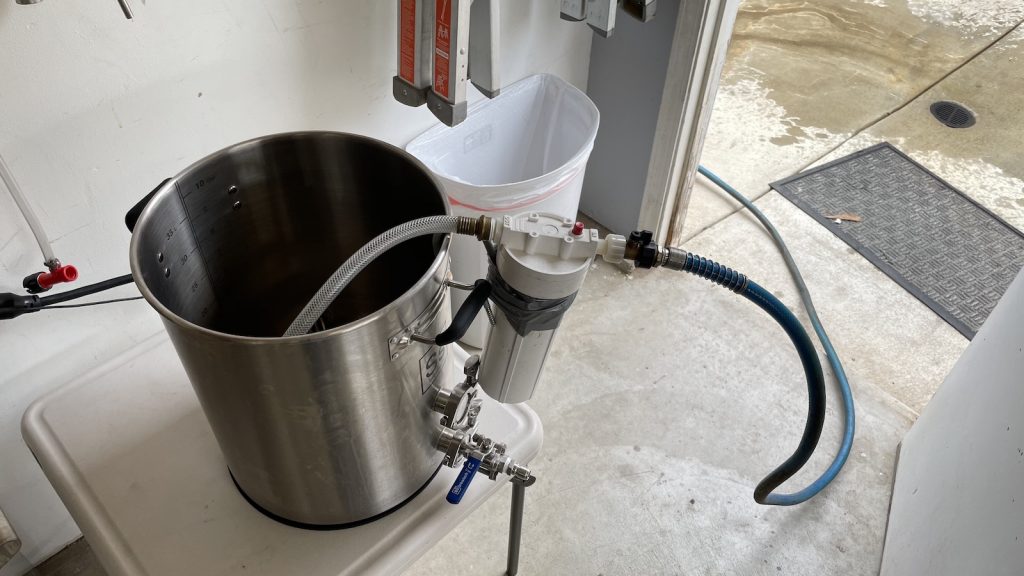
I began collecting the full volume of filtered water at 11:17 AM
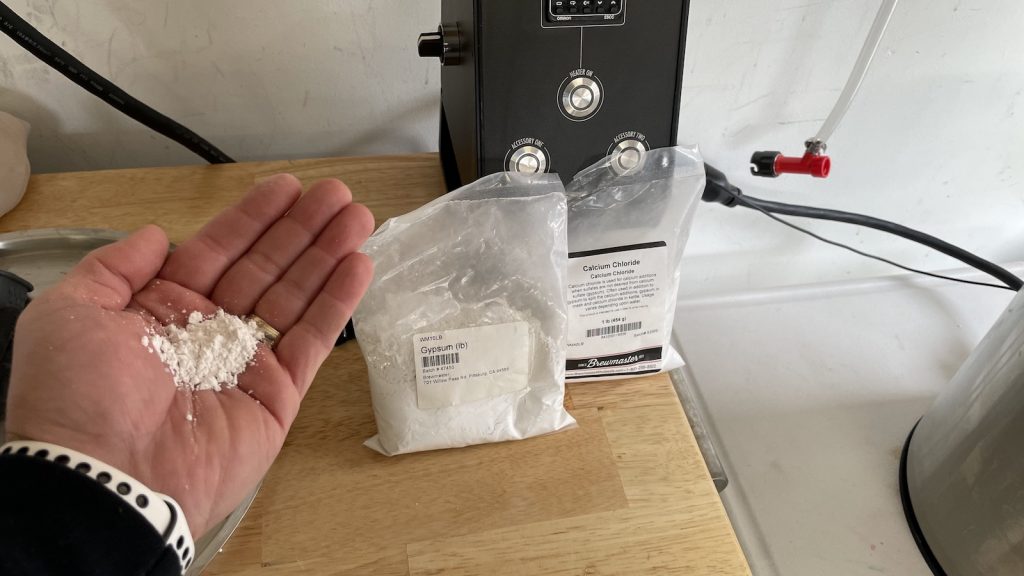
Aiming for a perceptibly crisp beer, I added a touch more gypsum than calcium chloride to the water.
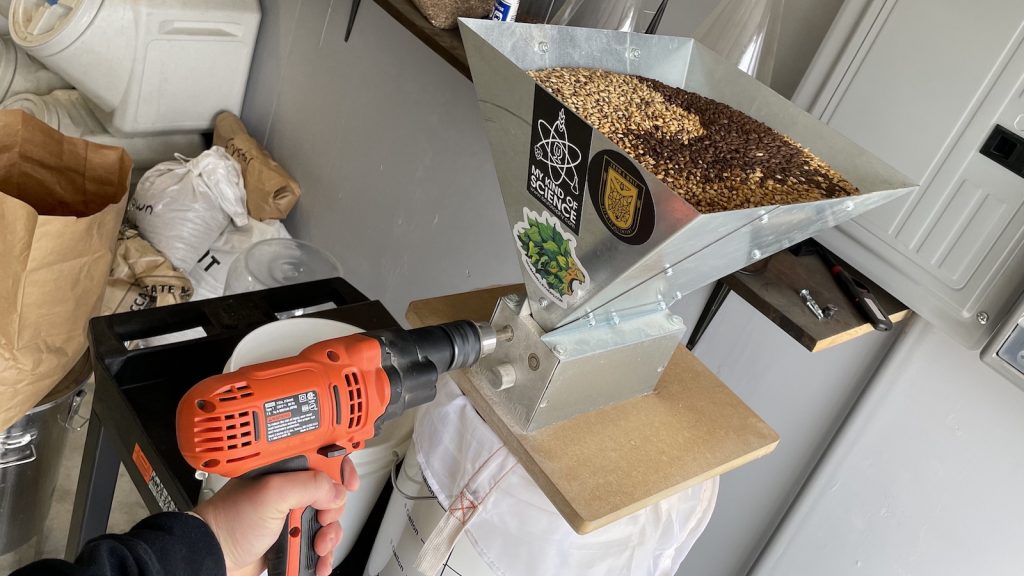
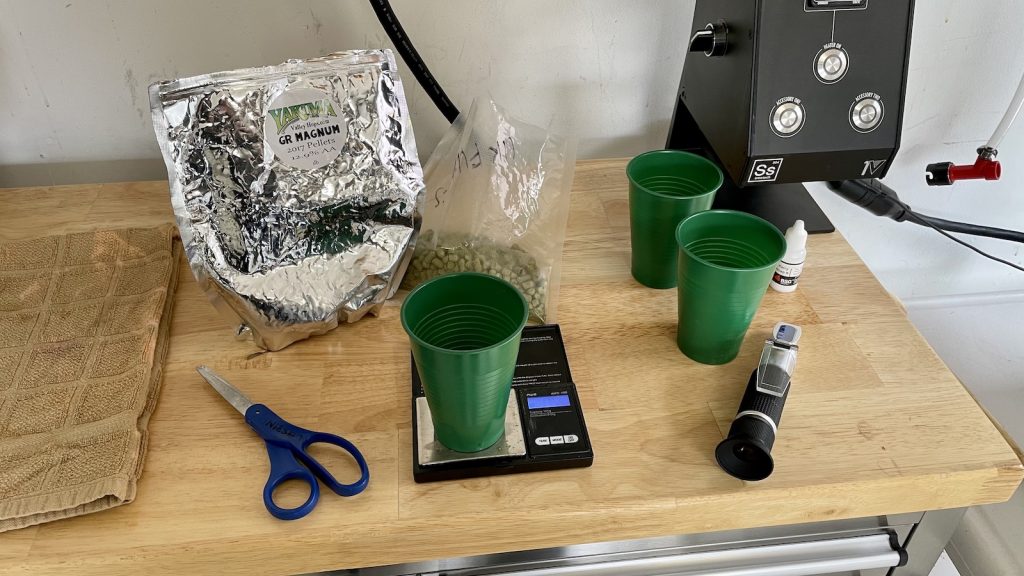
As the water was heating up, I weighed out and milled the grain.
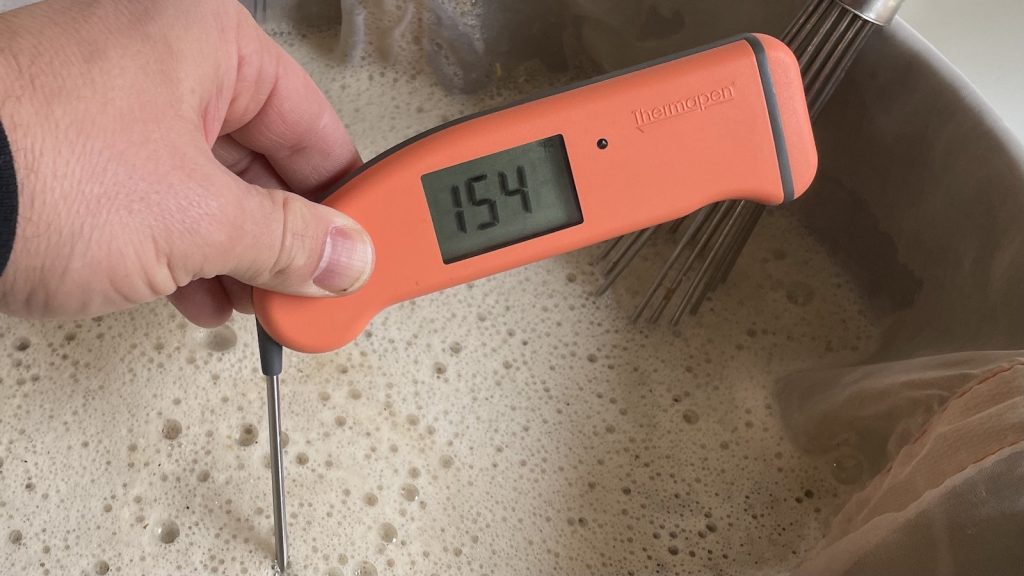
When the water was properly heated, I stirred in the grist then checked to make sure it was at my target mash temperature.
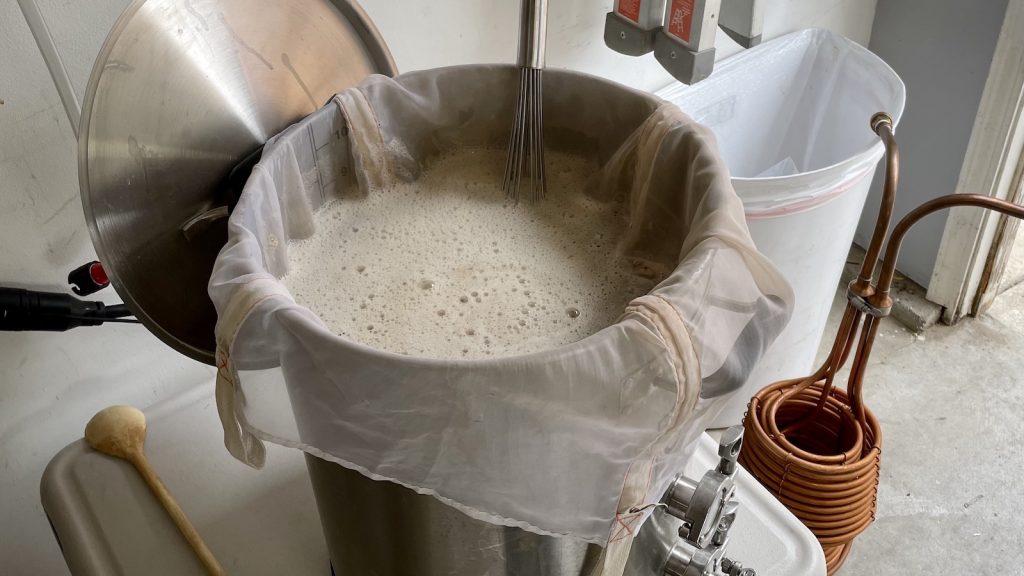
I gave the mash a good stir every time I walked by it.
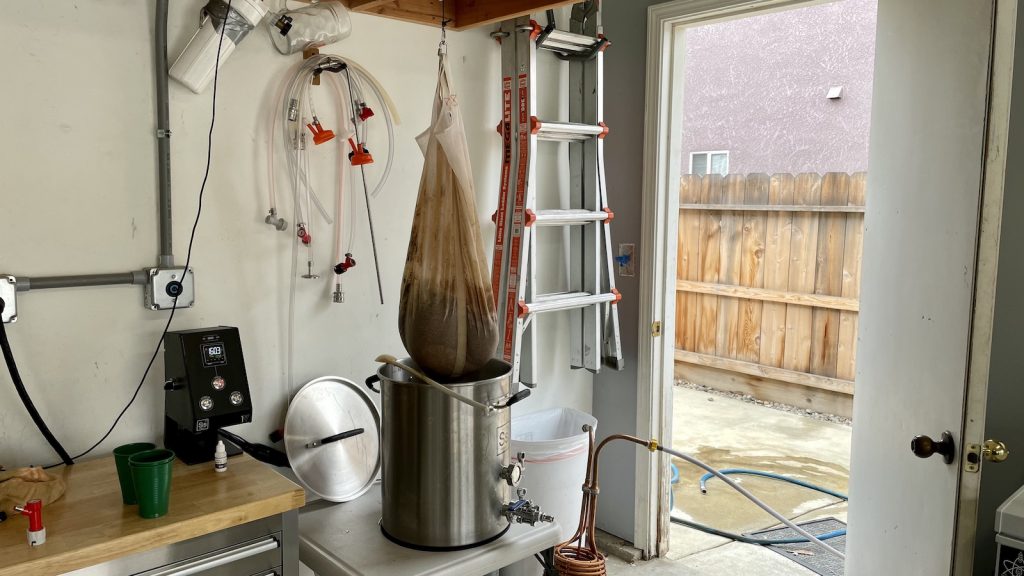
Once the 30 minute mash rest was complete, I removed the grains and let them drip into the kettle while the wort was heating up.
I then prepared the kettle hop additions.
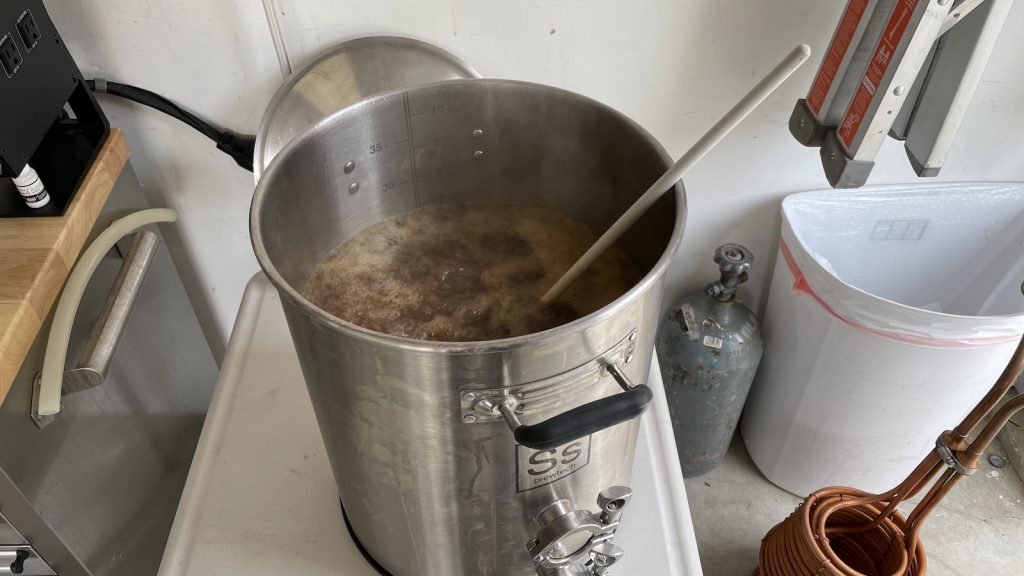
The wort was boiled for just 25 minutes with hops added at the times stated in the recipe.
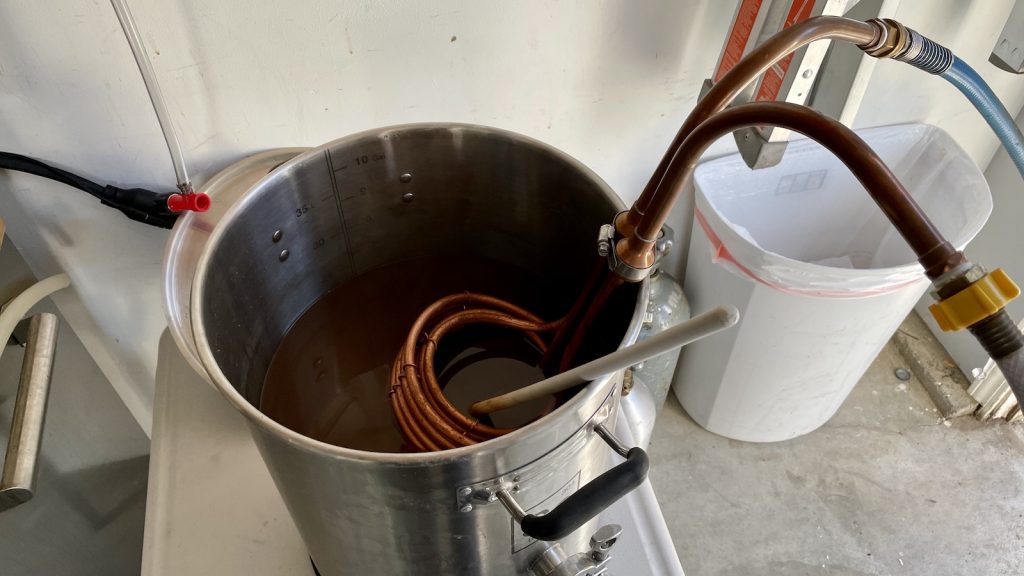
At the completion of the boil, I quickly chilled the wort with my IC.
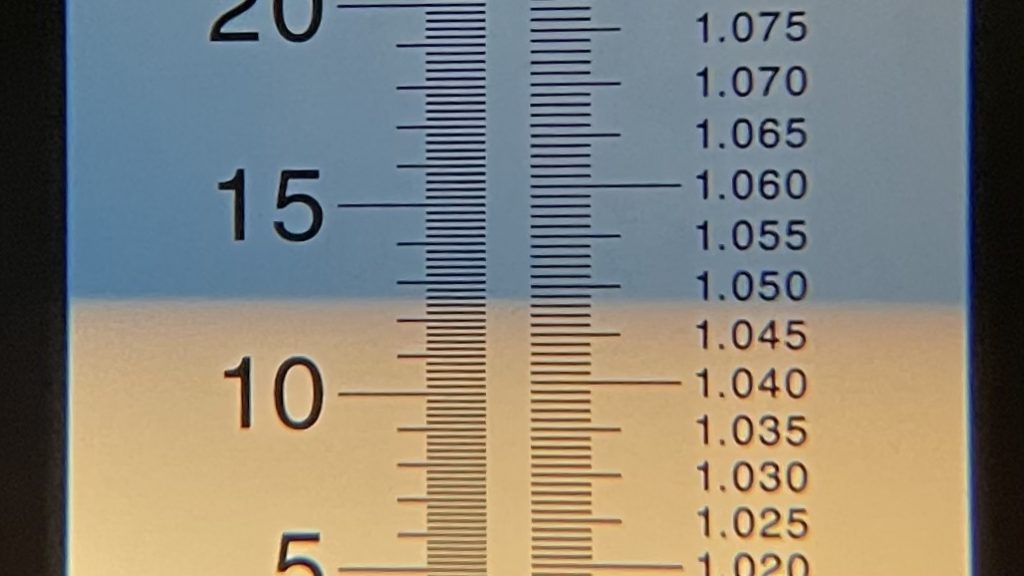
A refractometer reading showed the wort was at 1.049 OG, for a brewhouse efficiency of 70%.
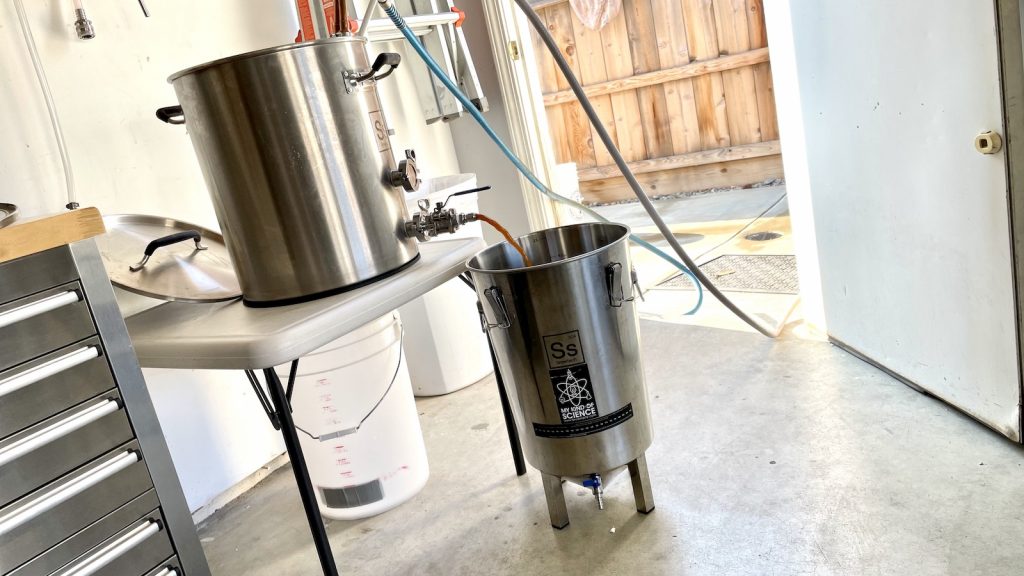
I then transferred the wort to my fermentation vessel.
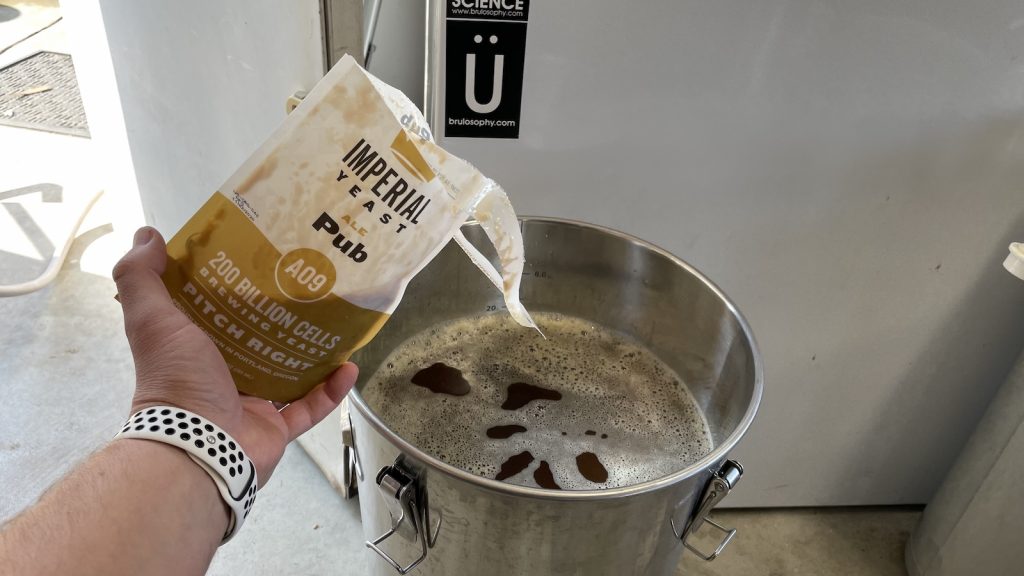
Next, I direct pitched a pouch of Imperial Yeast A09 Pub into the 68˚F/20˚C wort.
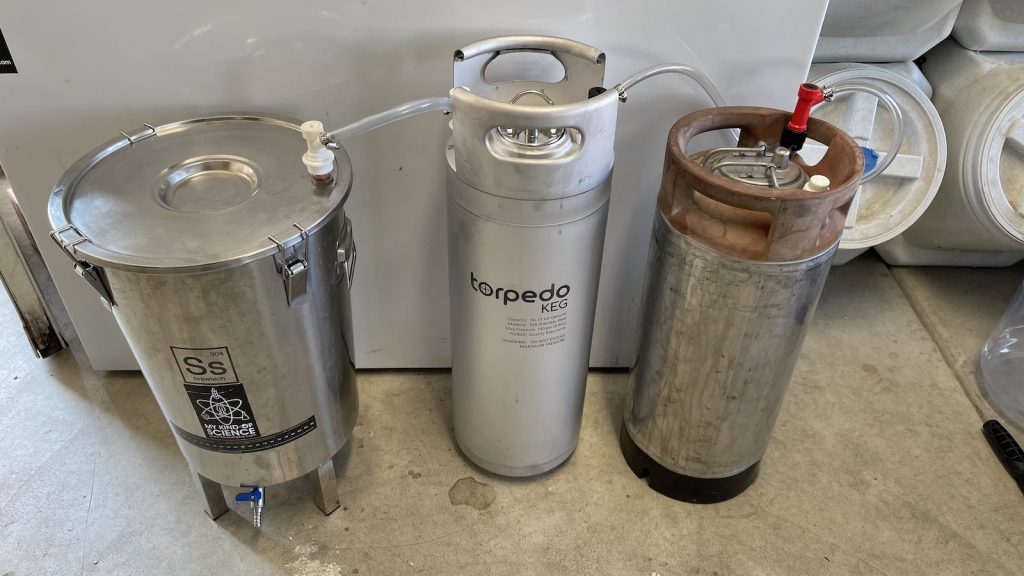
Given the cooler winter weather, I left the fermenter in my garage and connected it to my CO2 capture rig at 1:17 PM for a total brew day time of exactly 2 hours.
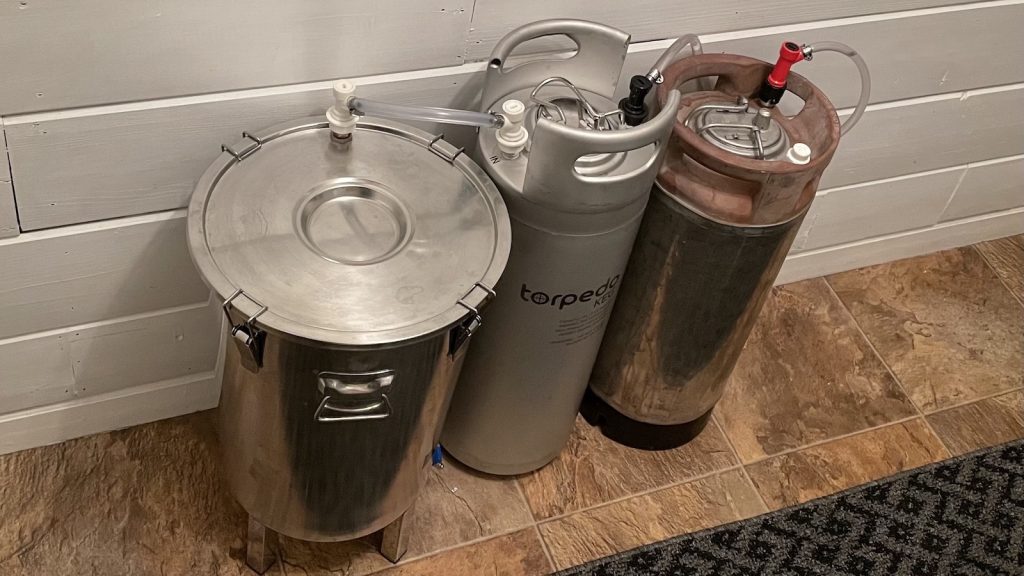
I wasn’t aware that a cold-front was moving in and the beer ended up staying below 60˚F/16˚C despite exothermic heat. In hopes of encouraging attenuation, I moved everything into my laundry room after 3 days.
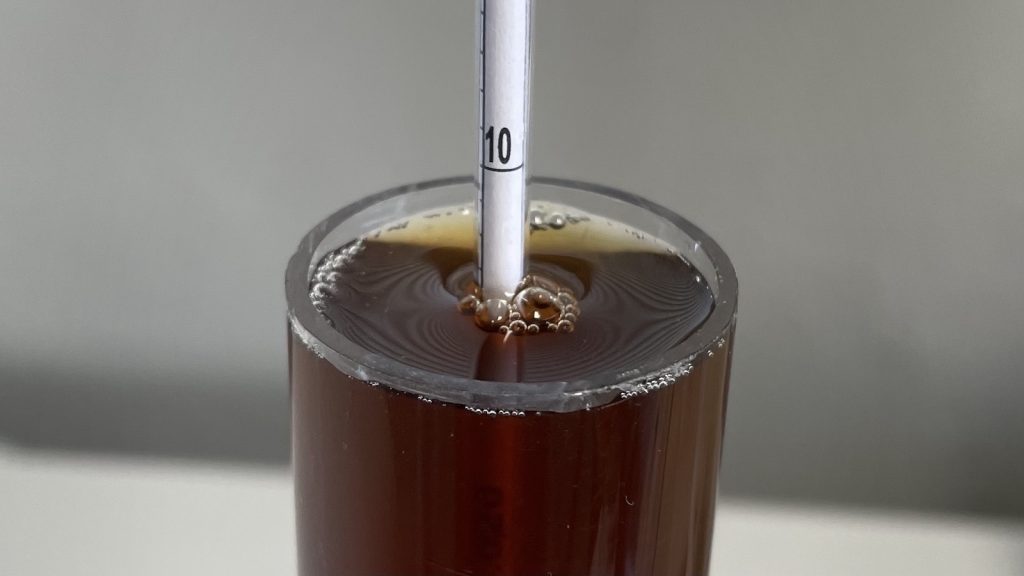
By the following morning, fermentation was very active and the first keg had been emptied the sanitizer solution. signs of activity were observed, which is impressive considering the yeast was packaged 3 months prior to being pitched. I let the beer sit another 6 days, 9 total since pitching the yeast, before taking a hydrometer measurement showing FG had been reached.
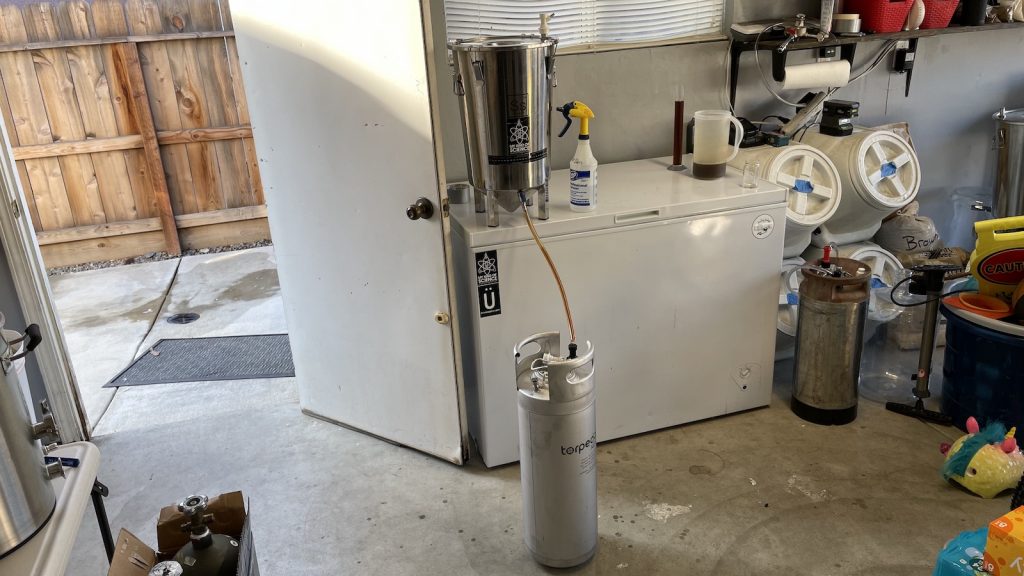
I skipped my typical process of cold crashing and fining with gelatin, opting instead to rack the warm beer into the naturally purged keg.
The filled keg was placed in my keezer and burst carbonated at 50 psi for 15 hours before I reduced the gas to a serving pressure of 14 psi. After a week of cold conditioning in my keezer, it was ready to serve to tasters.
| RESULTS |
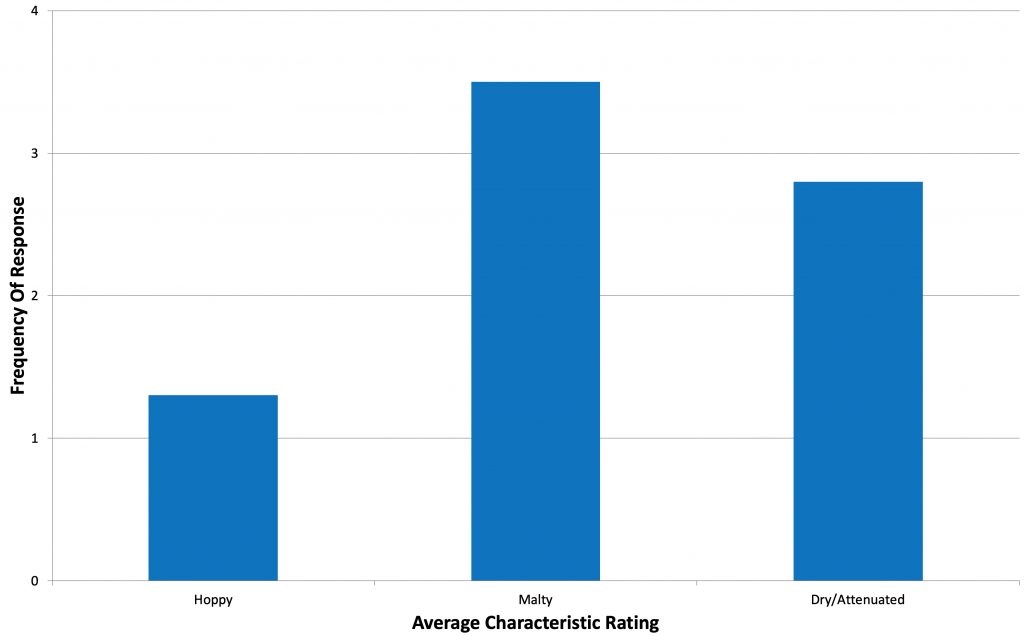
A total of 12 people of various levels of experience participated in this Short & Shoddy evaluation. Participants were informed of the specific beer style and provided the BJCP description prior to completing the survey. Tasters were then instructed to rate how hoppy, malty, and dry they perceived the beer to be on a 0-5 scale where a rating of 0 indicated “not at all” and 5 indicated “extremely.”
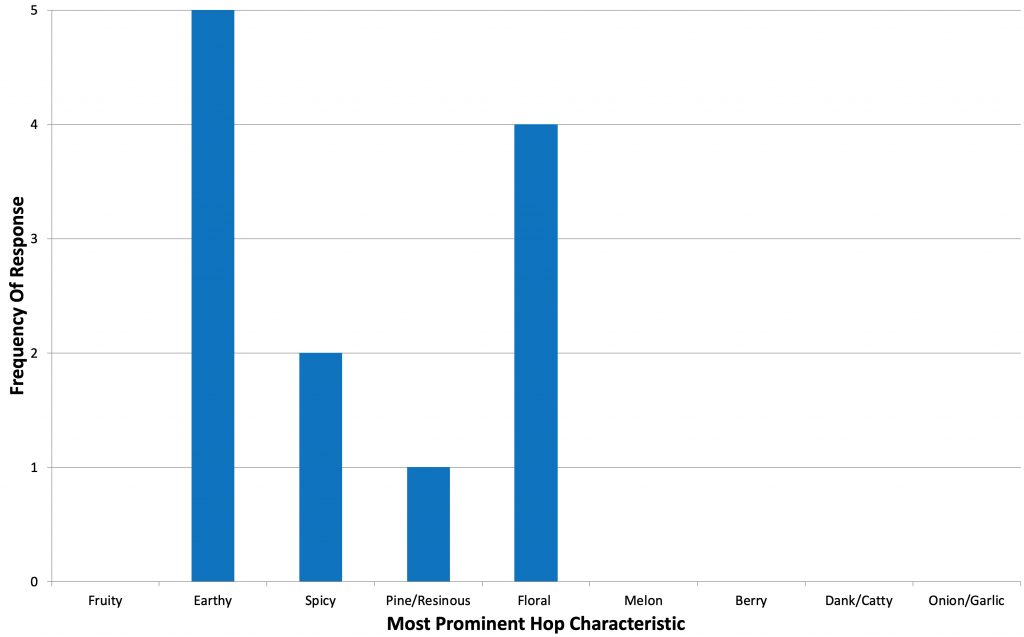
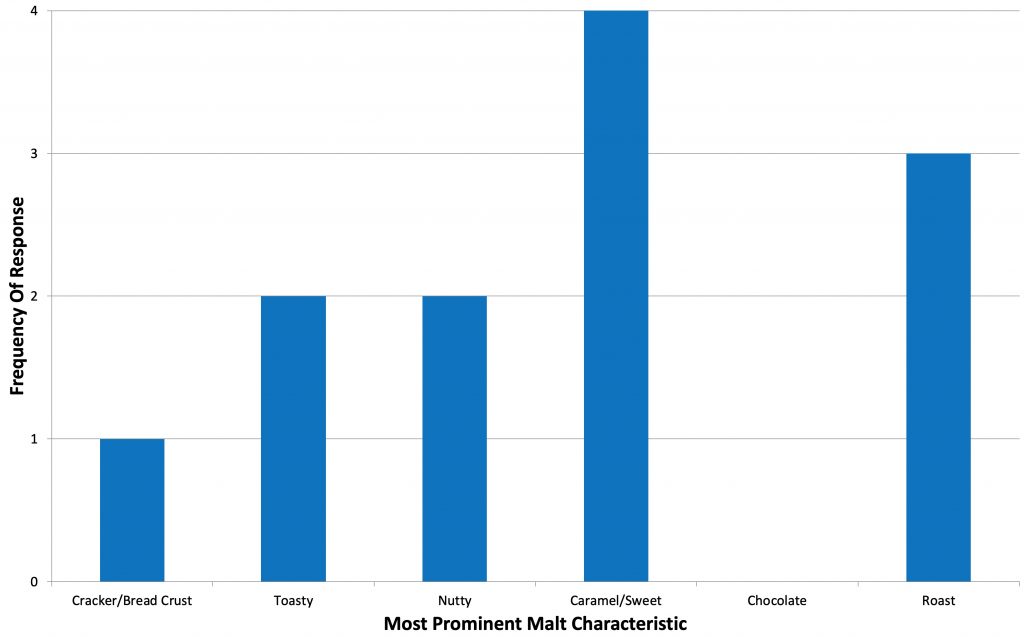
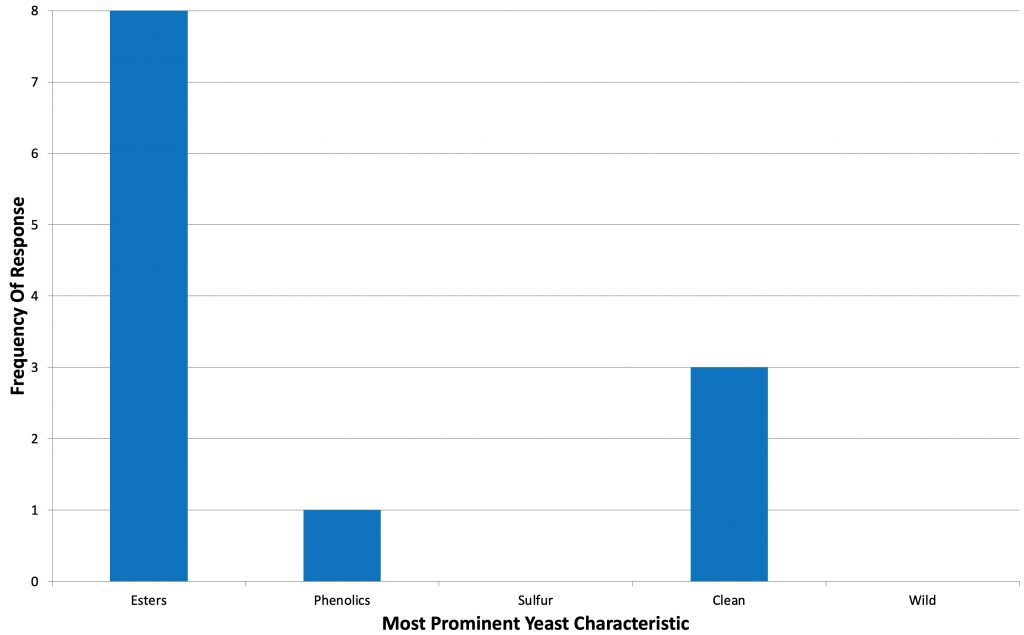
Tasters were provided a list of common hop, malt, and yeast characteristics then instructed to select from each the one they perceived as being most prominent in the beer.
Hop Characteristics
Malt Characteristics
Yeast Characteristics
Next, participants were asked to indicate whether or not they detected any off-flavors in the beer; those who did were provided a list of common off-flavors and instructed to select the one they perceived as being strongest. Not a single person identified this beer as possessing any off-flavors.
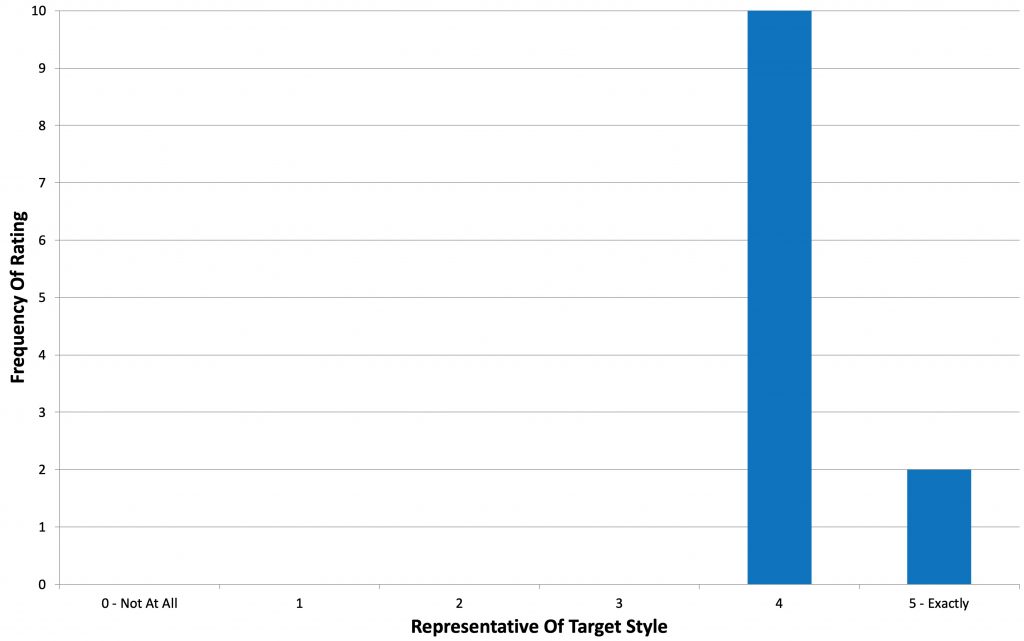
Tasters were then asked to rate how well the beer represented the intended style, based on the provided BJCP description, on a 0-5 scale where 0 meant “not at all” and 5 meant “exactly.”
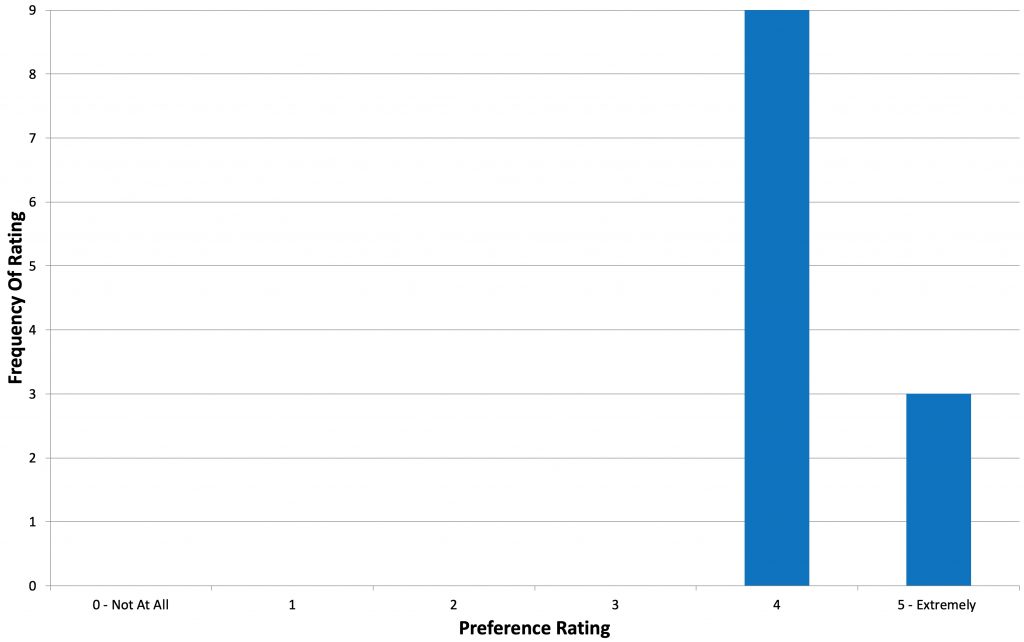
Finally, tasters were asked to rate how much they enjoyed the beer on a 0-5 scale where 0 indicated they hated it and 5 indicated they loved it.
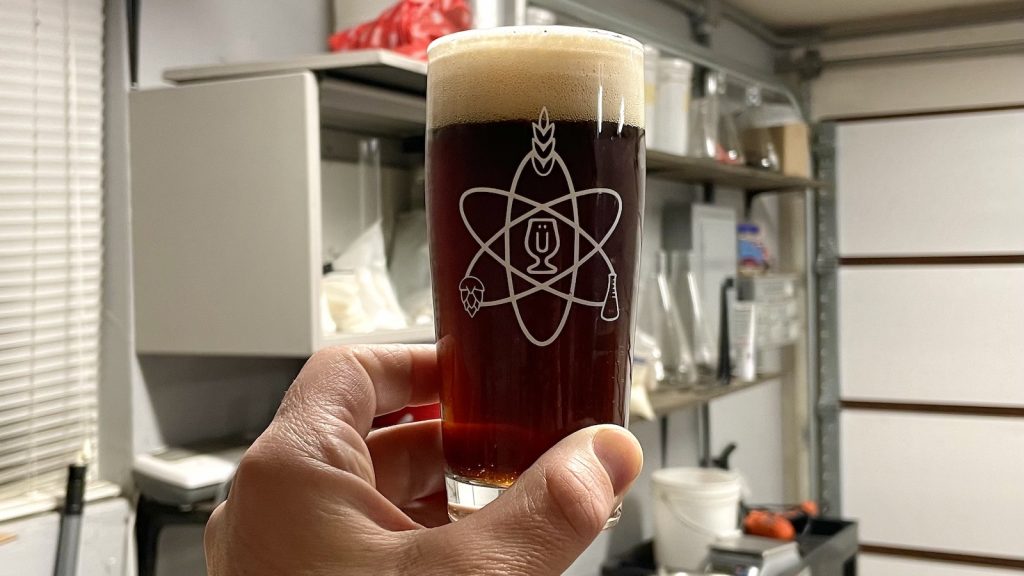
My Impressions: This beer had everything I expect from a solid British Brown Ale– the toasty and caramel malt flavors, a subtle blend of floral and earthy hop aroma, and a fermentation profile that displayed classic English esters. British Brown Ale may not be on my top 5 list of favorite styles, but this Short & Shoddy version was quite delicious and reminiscent of some of the better commercial examples I’ve had.
| CONCLUSION |
Classics are classic for a reason, which in the case of beer means they tasted good enough when originally developed to stand the test of time. While modern British Brown Ale is noted as being a relatively new development, there’s no denying it shares many characteristics with the less potent historical English ale it was inspired by.
As is the case with most ale, brewing British Brown Ale isn’t terribly difficult, though certain things are viewed as being important. Interestingly, tasters of this Short & Shoddy version made with a good portion of American craft malt and myriad corner-cutting methods not only seemed to enjoy it, but felt it solidly represented the style. Moreover, not a single person identified the beer as possessing any off-flavors, despite the abbreviated mash and boil as well as a notable temperature swing during fermentation.
Ratings on the various perceptible aspects of this Short & Shoddy British Brown Ale align nicely with the BJCP description– caramel malt, earthy and floral hops, and an estery fermentation profile. While a number of tasters noted a roasty malt character, contributed by the Sugar Creek Brown and Chocolate malts, I personally felt it was well balanced and subtle enough to distinguish this beer from darker styles like Porter and Stout. Overall, I was very pleased with how this British Brown Ale turned out and yet again noticed no negative impact of the Short & Shoddy methods I employed. For the person looking for a quick turnaround quaffer to enjoy by the pint, this is just the ticket!
If you have thoughts about this Short & Shoddy brew, please feel free to share it in the comments section below!
Support Brülosophy In Style!
All designs are available in various colors and sizes on Amazon!
Follow Brülosophy on:
FACEBOOK | TWITTER | INSTAGRAM
If you enjoy this stuff and feel compelled to support Brulosophy.com, please check out the Support page for details on how you can very easily do so. Thanks!




9 thoughts on “Short & Shoddy | British Brown Ale”
What I like best about this report is the survey for the tasters. Its simple and asks all the right questions without giving an indication of the style. The versatility of the survey means that it could be used for a wide range of beer styles.
I haven’t had any beer tasting training myself but this survey is a great starting point for questions one should consider when tasting their own home brew. As a reader looking at the responses I can almost taste it!
Great work again 🙂
PS. In my experience unless you live in Newcastle Upon Tyne never by Newcastle Brown Ale in the glass bottle, the caned beer is way better.
Is this because it tastes better in Newcastle (like Guinness in Dublin) or because its only acceptable to drink out of clear bottles in Newcastle?
If the former, I dont thinks its brewed in Newcastle anymore.
Agreed, the rights to this beer were sold a while ago. To be honest it’s not a beer I drank a lot when living there, or even now. Occasionally a tinge of homesickness makes me put one in the basket.
I can only report my own experiences. I think it comes down to the clear glass bottle, although I’ve never had a skunky one. It goes without saying a lot of the stuff is drank in Newcastle, and therefore the turn around must be faster and shelf life shorter. In comparison to where I live now, Sweden.
Short and shoddy brown ale sounds like the right way to do a brown ale! Less fuss for sure, i do similar for a best bitter, but I find PUB takes maybe month of conditioning to really come into its own. I recently got my hands on a brew bucket, did you buy the gas post addition for the lid or make it yourself? I’m really keen to try this the way you did it as a spike full pressure setup is a long way off – could you have pressure transferred as well using the post (i see u just put a disconnect on and to let the pressure out / flow go through)?
Don’t know about the authors set up, but I do a barb stuck into a rubber stopper in my anvil which I run to the liquid post of a sanitized keg. I then attach a spunding valve to the gas post and set it for a very low PSI (like 1-3) When I’m ready to keg I attach the out valve of the anvil to the liquid post and attach a line to the gas post that runs up to the barbed stopper in the anvil. This allows me to do a oxygenless transfer under low pressure. Works great and was minimal cost (pretty much just the spunding valve.) Prost
Love a brown ale. I have been brewing English styles with Canadian base malts from Origin Malt and haven’t noticed a difference from using Maris Otter.
What kind of filter did you put inline. Carbon?
Hi Marshall!
Thanks for the write up, this is a style I’ve been wanting to try for a while, so I’m going to have a go at my first “short and shoddy” brew. Is there anything you would change if you were to brew the beer again? Cheers!
I’d make sure the temp stayed around 66F. Not that the drop did anything bad, it just slowed things down a bit.
Hey Marshall! Just to say the ale went down an absolute treat, I’m down to my last 4 bottles and can’t wait to get another brew on!