Author: Marshall Schott
The freshest beer comes straight from the tap, which creates an issue for people looking to enjoy their favorite brewery’s product elsewhere as well as homebrewers who want to take their beer somewhere to share with others. The moment beer leaves the keg and enters another vessel, it begins a gradual degradation process that’s due primarily to contact with oxygen and loss of carbonation, hence the common recommendation to consume such treats as soon as possible.
Historically, the most popular vessel for transporting fresh beer from its source to another place has been the glass growler, though stainless options have become quite trendy lately as well. While both are okay at limiting CO2 escape in the short-term, beers stored in such vessels will lose noticeable amounts of carbonation each time they’re opened, which is also when oxygen ingress occurs. The more modern Crowler eliminates this problem by removing any way to reseal the vessel after it’s been opened, which is great for thirsty patrons or when the beer is being shared with others, but what about those who want to have a beer around for a bit longer?
In the last few years, various pressurized growler options have become available that promise to extend the life of beer poured off the tap through the use of external CO2. I’ve been using the Craft Master Growler for the last year to transport beer from my home to other places, and as I’ve written previously, my experience has been very positive. Using a standard CO2 cartridge, the Craft Master Growler allows for immediate purging of any headspace once it’s been filled, after which the beer remains under CO2 pressure and is served through an attached faucet until empty. Since sharing my thoughts on this unit, I’ve been contacted by many folks asking how well beer holds up when stored in it over a few days, so I decided to put it to the test.
| PURPOSE |
To evaluate the differences between a beer poured straight from the tap and one stored in a pressurized growler over 3 days.
| METHODS |
Given how sensitive IPA tends to be, I chose to use a Brut IPA I had on tap for this xBmt.
Inferiority Complex
Recipe Details
| Batch Size | Boil Time | IBU | SRM | Est. OG | Est. FG | ABV |
|---|---|---|---|---|---|---|
| 5.2 gal | 20 min | 23.7 IBUs | 3.6 SRM | 1.054 | 1.006 | 6.3 % |
| Actuals | 1.054 | 1.002 | 6.9 % | |||
Fermentables
| Name | Amount | % |
|---|---|---|
| Pelton Pilsner-style Malt (Mecca Grade) | 9 lbs | 81.82 |
| Shaniko Wheat Malt (Mecca Grade) | 1 lbs | 9.09 |
| Table Sugar (Sucrose) | 1 lbs | 9.09 |
Hops
| Name | Amount | Time | Use | Form | Alpha % |
|---|---|---|---|---|---|
| Mosaic LupoMAX | 15 g | 10 min | Boil | Pellet | 17.5 |
| Mosaic LupoMAX | 20 g | 3 min | Boil | Pellet | 17.5 |
| Citra | 14 g | 3 min | Boil | Pellet | 13.1 |
| Galaxy | 14 g | 3 min | Boil | Pellet | 18.1 |
| Mosaic LupoMAX | 25 g | 3 days | Dry Hop | Pellet | 17.5 |
| Citra | 14 g | 3 days | Dry Hop | Pellet | 13.1 |
| Galaxy | 14 g | 3 days | Dry Hop | Pellet | 18.1 |
Miscs
| Name | Amount | Time | Use | Type |
|---|---|---|---|---|
| Ondea Pro (Novazymes) | 7.00 ml | 0 min | Mash | Other |
Yeast
| Name | Lab | Attenuation | Temperature |
|---|---|---|---|
| Flagship (A07) | Imperial Yeast | 75% | 60°F - 72°F |
Notes
| Water Profile: Filtered Fresno tap water with some gypsum and calcium chloride |
Download
| Download this recipe's BeerXML file |
I started this brew day by running the full volume of brewing water through a carbon filter and adding minerals.
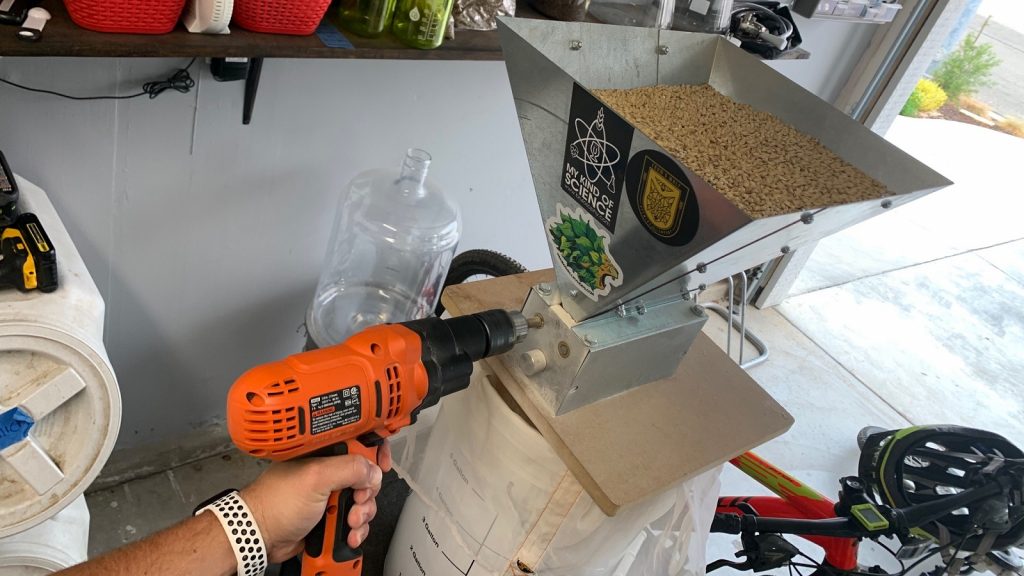
As the water was heating up, I weighed out and milled the grain.
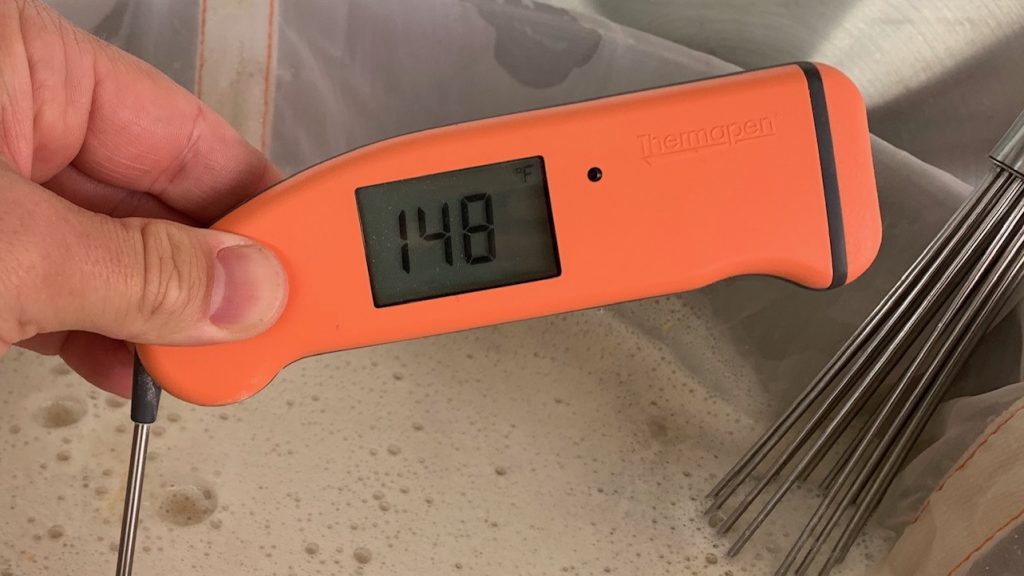
Once the water was properly heated, I stirred in the grist then checked to make sure it was at my target mash temperature.
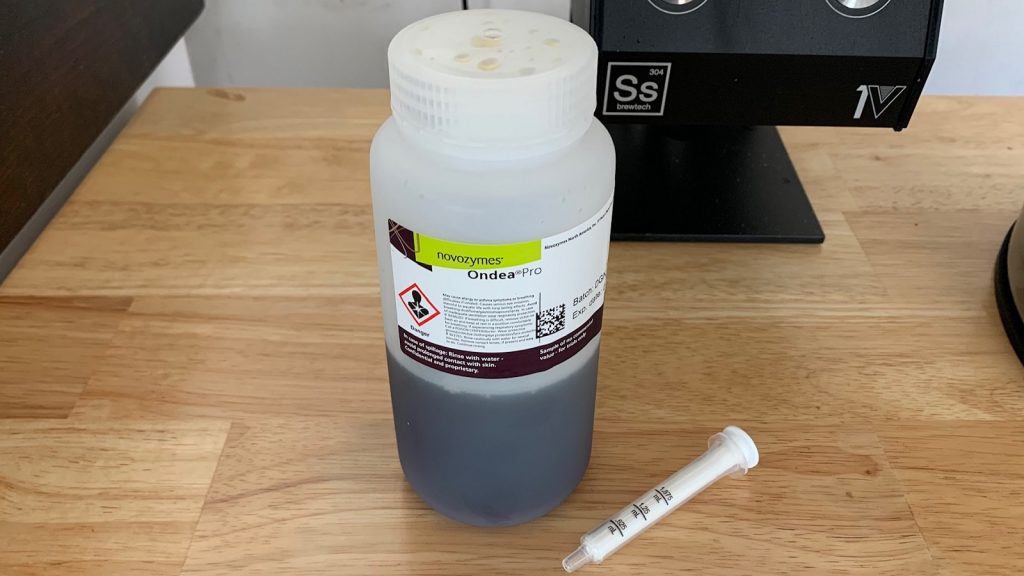
At this point, I measured out and added the recommended amount of Novozymes Ondea Pro, a blend of 6 different enzymes said to “secure efficient viscosity, turbidity reduction, protein degradation, and controlled attenuation.”
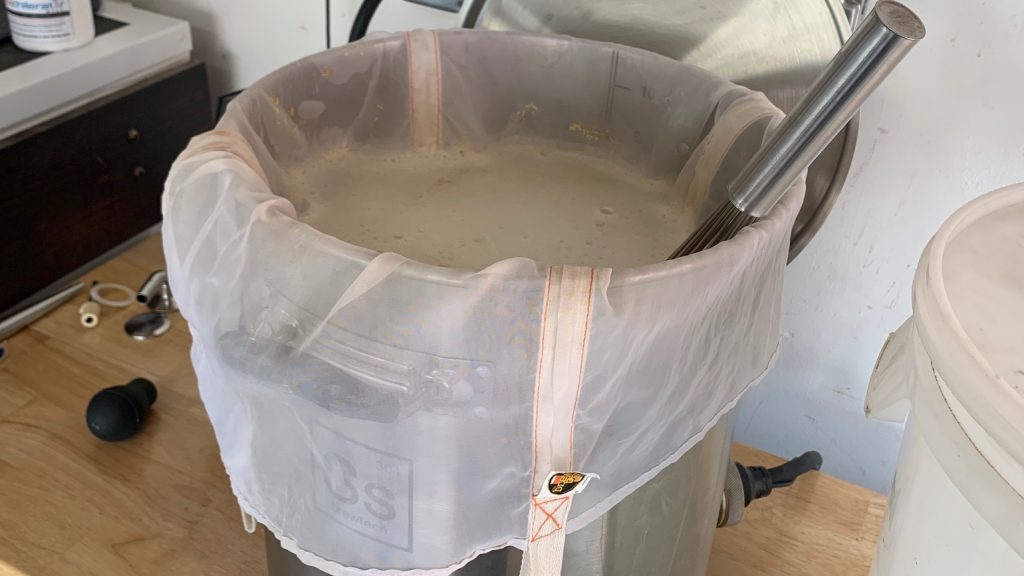
The mash was left alone for 30 minutes, during which it was intermittently stirred.
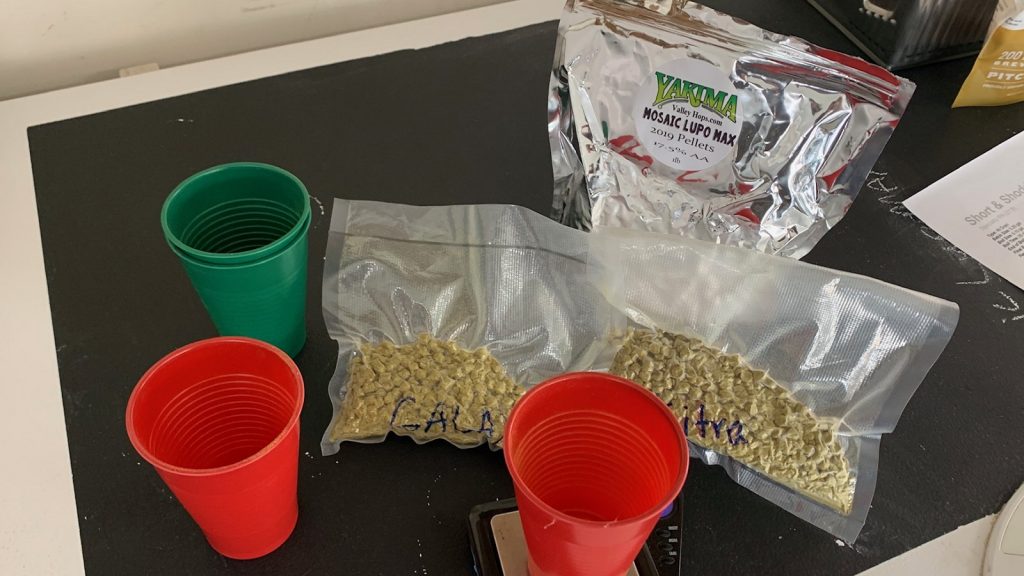
During the mash rest, I measured out the kettle hop additions.
With the mash complete, I removed the grains and flipped the switch on my controller to begin heating the wort, at which point I added the table sugar.
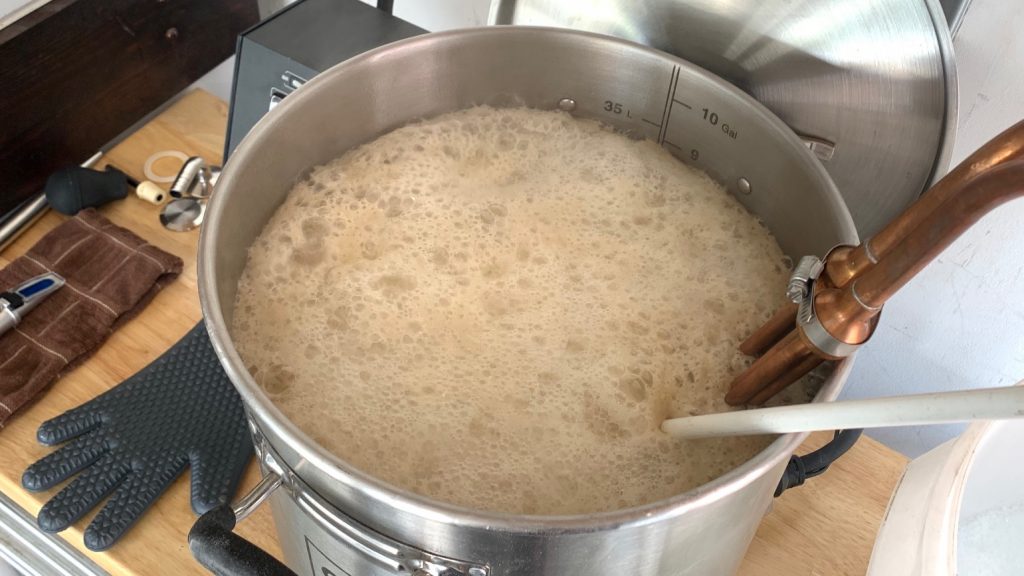
The wort was then boiled with hops added at the times listed in the recipe.
Once the boil was finished, I quickly chilled the wort with my IC.
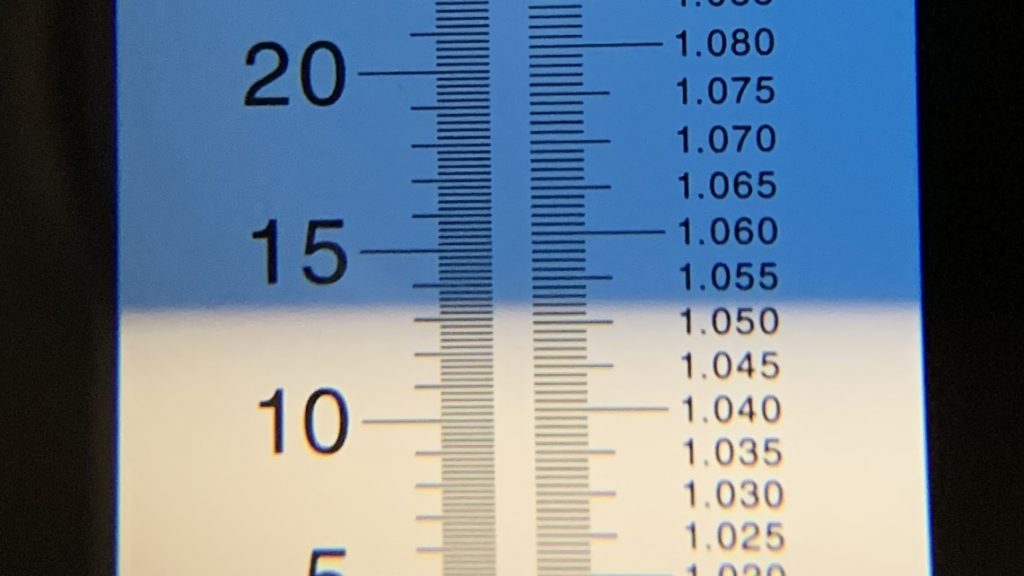
A refractometer reading showed the wort was at 13.3 ˚Bx, or 1.054 OG.
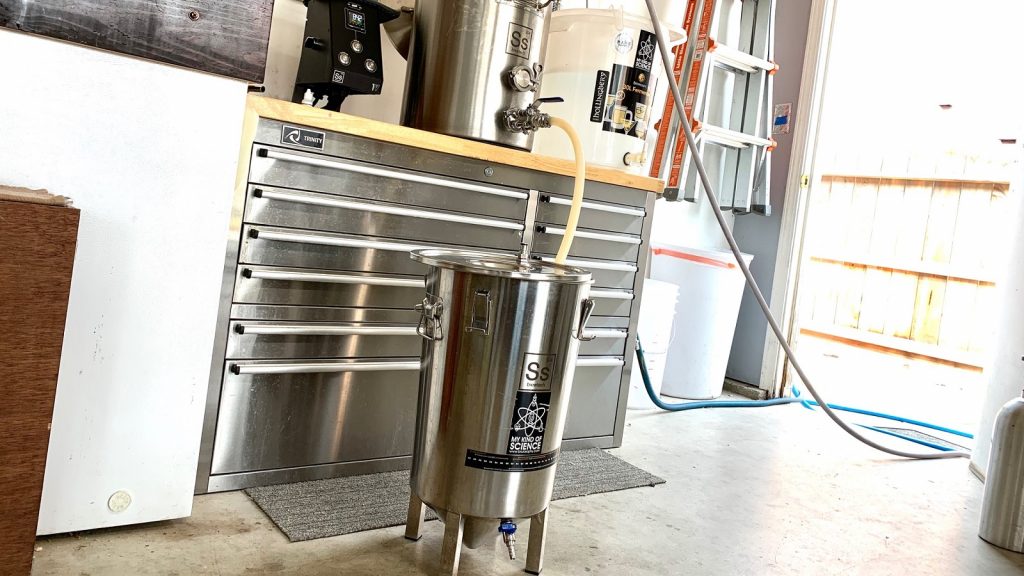
I then racked the chilled wort to my fermentation vessel.
Next, I direct pitched a pouch of Imperial Yeast A07 Flagship.
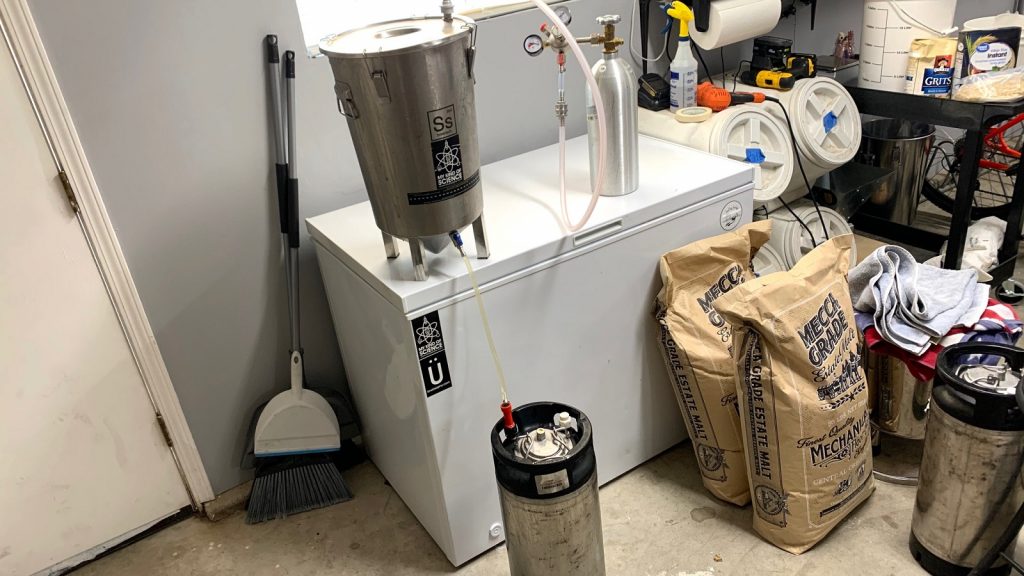
The fermenter was placed in my chamber where it was hooked up to my CO2 capture device and left to ferment at 68°F/20°C.
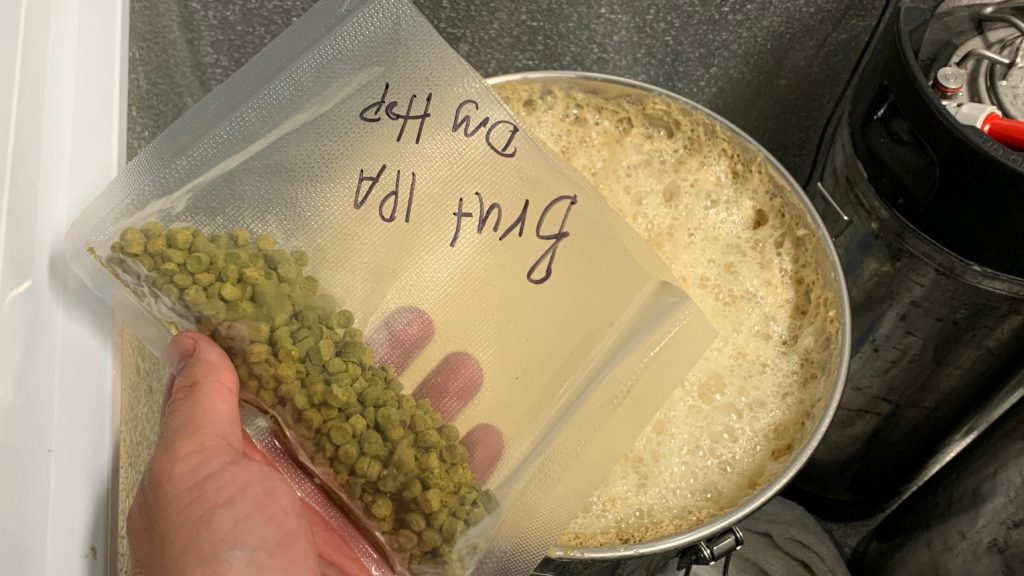
By the following morning, naturally produced CO2 had pushed all of the sanitizer out of the primary keg and fermentation was kicking. I returned 2 days post-pitch to add the dry hop charge, which I’d previously measured out.
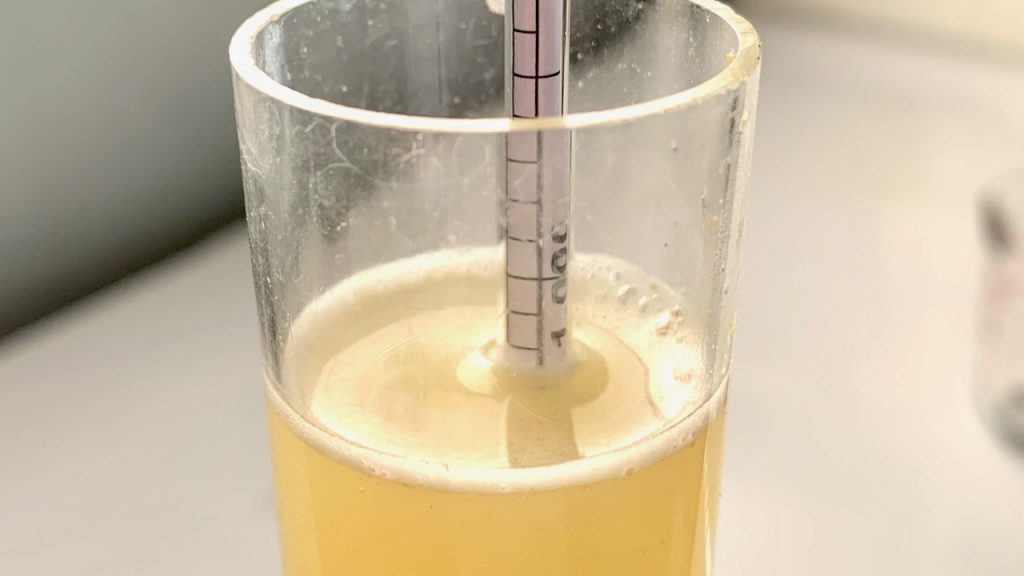
With signs of activity absent after another 3 days, I took a hydrometer measurement showing the beer was at 1.002 FG.
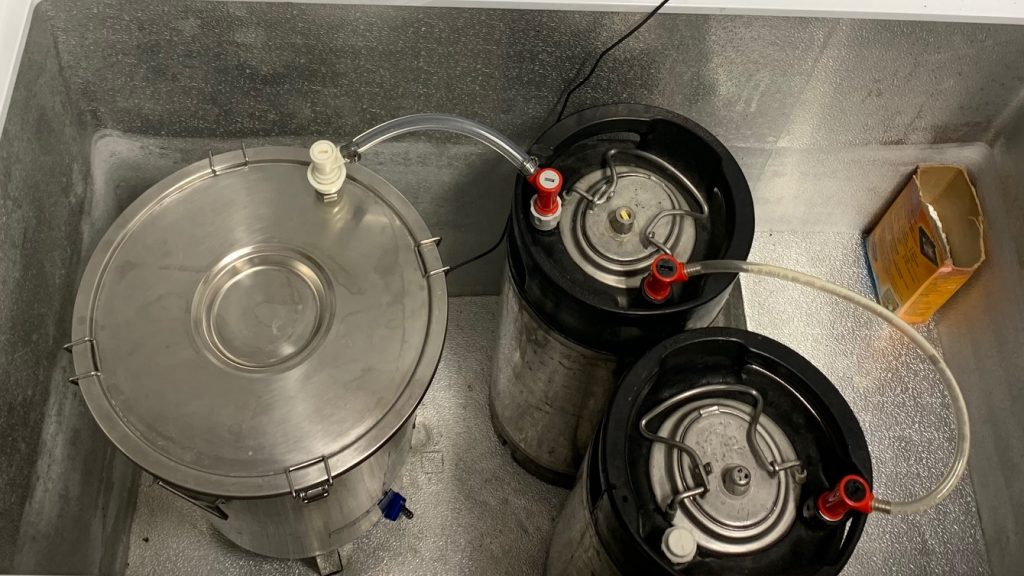
At this point, I swapped out the fully purged keg for a CO2 cylinder set to 1 psi then cold crashed the beer to 33˚F/1˚C overnight before fining with gelatin. The following evening, I racked the beer to the naturally purged keg.
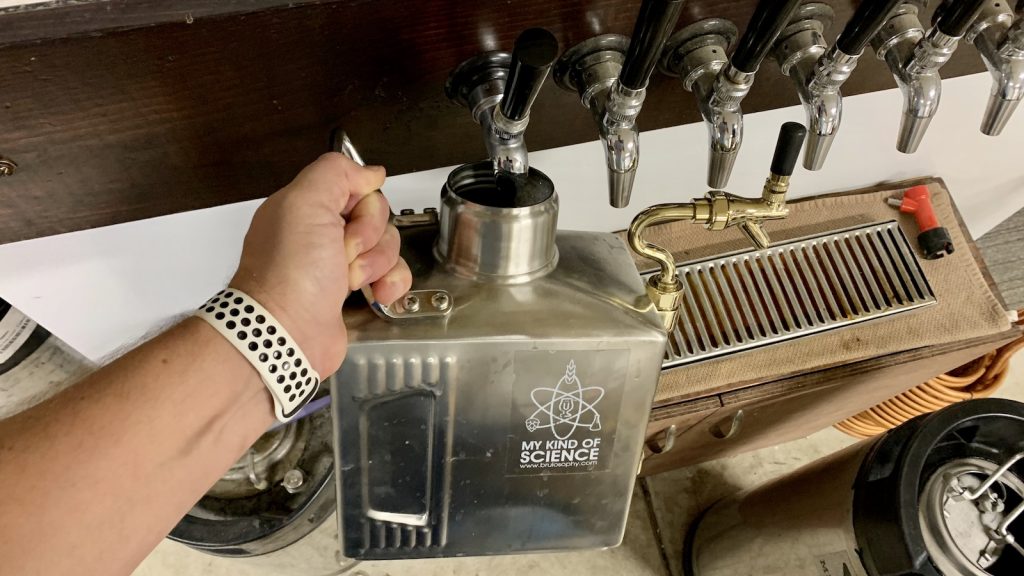
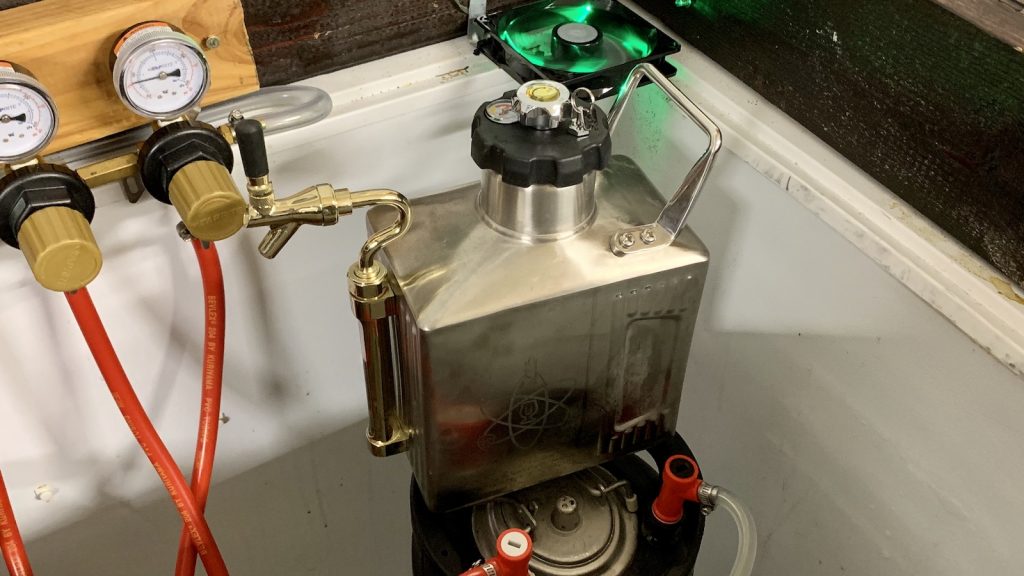
The filled keg was placed in my keezer and burst carbonated at 45 psi for 24 hours before I reduced the gas to serving pressure. After a couple weeks in the keg, I transferred approximately 1 gallon/3.8 liters of beer to a Craft Master Growler, immediately purging and pressurizing it with CO2 before placing it in my keezer.
After pressurizing and purging the growler, I placed it in my keezer to ensure both beers stayed the same temperature
Over the following 3 days, I poured small samples off of the growler to simulate normal usage, then proceeded with my evaluations.
| RESULTS |
Due to social distancing practices as a result of the COVID-19 pandemic, data for this xBmt was unable to be collected in our typical manner. As such, temporary adaptations were made involving the author completing multiple semi-blind triangle tests in as unbiased a way as possible.
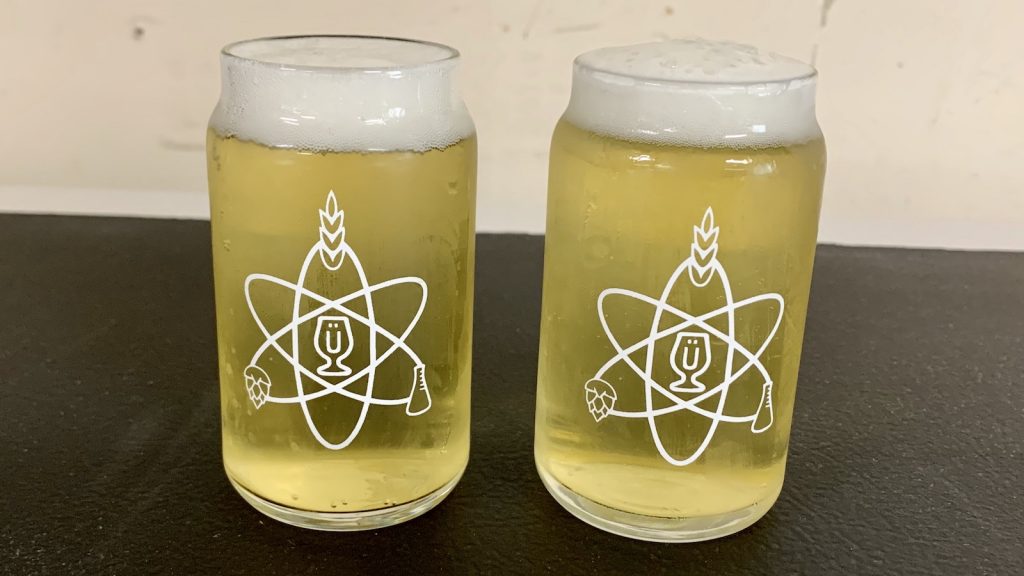
Utilizing 4 opaque cups of the same color where 2 were inconspicuously marked, one set was filled with the beer straight from the tap while the other set was filled with the beer from the pressurized growler. For each triangle test, 3 of the 4 cups were indiscriminately selected, thus randomizing which beer was the unique sample for each trial. Following each attempt, I noted whether I was correct in identifying the unique sample. Out of the 10 semi-blind triangle tests I completed, I needed to identify the unique sample at least 7 times (p<0.05) in order to reach statistical significance, though I did so just 3 times (p=0.70), indicating my inability to reliably distinguish a Brut IPA served directly from a keg from one served stored in a pressurized growler for 4 days.
Prior to evaluating these beers, I expected I’d be able to tell them apart based on differences in carbonation alone, as there seemed no good way of ensuring the growler was under the same pressure as the keg. Clearly, that’s not how things panned out, both of these beers were equally as carbonated and otherwise perceptibly identical to me.
| DISCUSSION |
Beer is best enjoyed in the company of others, in fact for many, drinking is a completely social event. While kicking it at a pub or in a homebrewer’s garage is great, certain situations require transporting beer to another location, often in glass or stainless growlers, which are known to expedite the staling process. A relatively new option said to combat this problem are growlers that can be pressurized with CO2, thus allowing for reduced contact with oxygen and less loss of carbonation. The fact I was unable to reliable distinguish a Brut IPA served direct from the tap from the same beer stored for 3 days in a pressurized growler provides some support for this claim.
It’s widely accepted that hoppier styles are more prone to oxidation, which has the effect of turning a vibrant and enjoyable beer into a dull mess. Surprisingly, despite coming into contact with oxygen at the point of being transferred from the keg, the beer stored in the pressurized growler had none of the tell-tale signs of oxidation. Rather, it was equally as hoppy as the beer served from the keg, and thanks to being stored under pressure, the carbonation was identical as well. One potentially helpful thing I do is purge the headspace of the growler immediately after filling, similar to the way some people purge the headspace in their kegs.
In the time I’ve been using the Craft Master Growler, I’ve had numerous experiences that have made me a believer. There was the time I had about a liter left after using it to serve a Short & Shoddy beer to participants at House Of Pendragon, so I put it in my fridge for a few days before pulling off a taster that tasted great. Then, a few months ago, I took a growler full of Berry Hard Cider camping and only drank half, so I tossed it in my keezer for a month before remembering it was there; the cider was still perfectly carbonated and delicious. I can only speak to my experience with Craft Master Growlers, as that’s the only pressurized growler I’ve used, but it really does a great job of preserving beer quality, something that cannot be said for standard growlers. Of course, this does come at a cost, as pressurized growlers are significantly more expensive than glass or stainless options. For those who regularly take beer from the source to other locations and prefer it to be fresh, this may very well be an ideal alternative, plus there’s the added benefit of the beer staying cold longer due to the growler being insulated.
If you have any thoughts about this xBmt, please do not hesitate to share in the comments section below!
Support Brülosophy In Style!
All designs are available in various colors and sizes on Amazon!
Follow Brülosophy on:
FACEBOOK | TWITTER | INSTAGRAM
If you enjoy this stuff and feel compelled to support Brulosophy.com, please check out the Support page for details on how you can very easily do so. Thanks!







9 thoughts on “exBEERiment | Impact Of Storing Beer In A CO2 Pressurized Growler”
Thank you for another excellent exbeeriment. I’m looking forward to trying my Craft Master for the first time soon.
I am curious about the “Novozymes Ondea Pro” you added to your beer. At $130 a pound it must have spectacular results. I admit that I have never heard of it and do not know why you use it. (unless you own stock in the company) Maybe do an article and beer test on Novozymes Ondea Pro.
I had the same question until I took a closer look at the recipe. He is brewing a Brut IPA so I suspect that the enzyme is to convert as many of the unfermentable sugars and starches to fermentable sugars as possible. I would think that the enzyme should be added during the fermentation though (or both) as it would be deactivated during the boil.
Although clearly it worked in the mash as the FG was 1.002. That is pretty dry!
So there is no difference between a keg and a beer kept in a pressurized growler for 3 days, but what about a beer kept in a normal growler versus a pressurized growler? That would be a good test of whether the more expensive growler is worth the extra money.
I have a uKeg and i’ve stored beer for a couple of weeks with no detoriation. haven’t tried it with any hoppy beer though.
I started home brewing 1gal batches and force carbing in the uKeg. The only tricky part for me was avoiding oxygen during the transfer. I still use mine for transporting to events without noticing any difference from the keg.
I would like to see one done with keg vs pressure growler for longer than 3 days. I give beer to friends who may only drink a beer a night or a beer every two nights so it takes a week or week and a half for them to drink it. Also same test pressure growler vs normal growler a pour a day.
I thought a lot about getting a pressurised growler as well, but in the end I decided to go a different way: Mini kegs. For a person with a keezer/keggerator setup they are somewhat better in my opinion. They come in all kind of sizes, insulated, not insulated, are cheaper than a pressurised growler, you will need a mini regulator and can use them with mini CO2 cartridges or a sodastream bottle (that’s what I use) and use a flow control tap or just a picknick tap.
You’ve been talking about oxygen free transfers a lot over all the episodes and I’d always fear the oxygen when filling a growler. With the keg I can just fill it to the brim with water and push it out to have it completely oxygen free and then do a closed transfer. In combination with my large kegs with floating dip tubes I can easily transfer clear beer to the mini keg.
If the keg doesn’t get emptied I can hook it up to my keezer again. I can also keep more kegs in different sizes and use the appropriate size, the keg itself is relatively cheap.