Author: Phil Rusher
When I started brewing, I used gear that would fit inside my small 1 bedroom apartment and allow me to make beer on my natural gas stove. It didn’t take long for me to realize the small batches I was making wasn’t enough to satisfy the desires of my thirsty companions, so I expanded my production volume to 5 gallons/19 liters using a multi-tiered propane setup with a 10 gallon/38 liter insulated cooler MLT and a 10 gallon/38 liter kettle. This seemed liked a logical choice at the time not only because it was quite common among other homebrewers, but it was also more cost effective than the sexy-but-cumbersome HERMS and RIMS systems I’d been reading about.
I made minimal changes to this particular system over the ensuing years and it treated me quite well, though as the popularity of all-in-one electric brewing systems began to grow a couple years ago, so too did my interest. I’d brewed on a few different single vessel electric rigs with friends, all of whom seemed quite happy with their respective choices, and my experiences were positive as well.
With a growing family, I found myself wanting to simplify my brewing as much as possible without negatively impacting the quality of my beer. A couple things I knew I wanted in an electric system were 240v power to reduce my total brew day time, and a single vessel setup.
When the folks from Clawhammer Supply offered to let me use their all-in-one 240v Electric BIAB System, I gave it the once-over, determined it hit all the marks for what I was looking for, and agreed to put it through its paces.
The product reviewed for this article was provided by the manufacturer in exchange for an honest review; no other compensation was provided. The opinions expressed in the article are solely those of the author and a concerted effort was made to approach the review from an unbiased perspective.
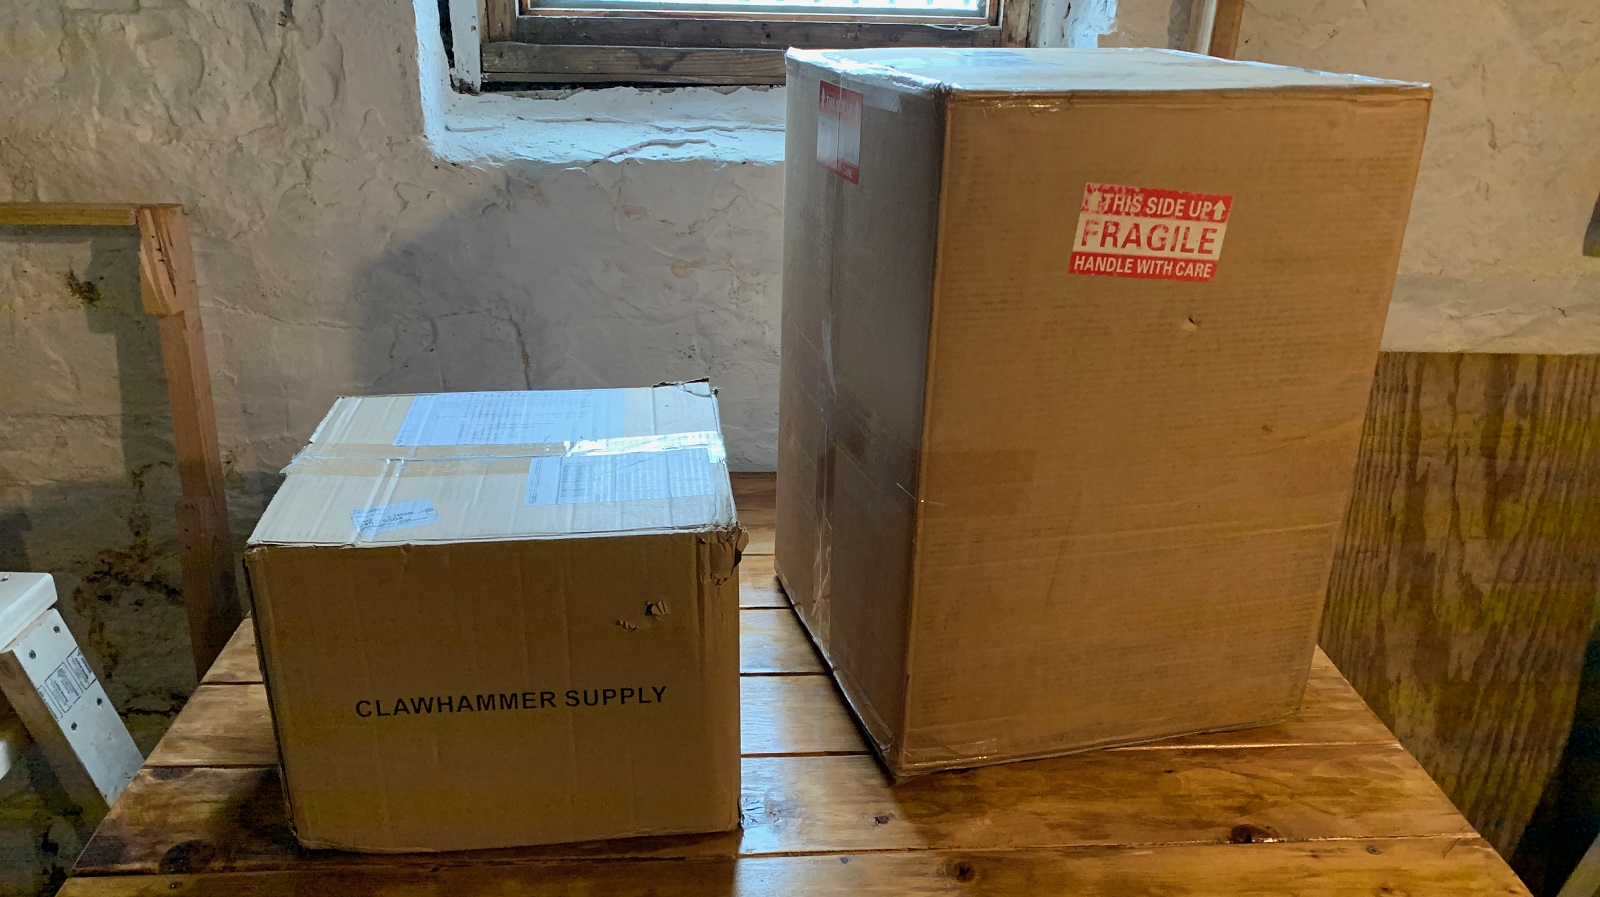
Soon after agreeing to this review, I was emailed shipment tracking information from Clawhammer Supply and received the packages a few days later.
I appreciated the note pasted to side of the box, a little touch that sent a good vibe.
They also attached a complete parts list to one of the boxes, which made taking an initial inventory very easy.
I proceeded to unpack everything and lay it all out to get a good visual of what I was dealing with.
Per the instructions, I opened the top of the control panel to remove the packing material, which I felt was a nice protective touch.
With all parts accounted for, it was time to put this thing together.
Assembly
The most laborious part of the assembly was wiring up the 5500w heating element, as it required a bit of finesse, though it was easy enough for my pea-brain to handle.
Once the element was properly wired, I put the stainless enclosure and rubber gasket in place before running the element through the tri-clamp ferrule welded onto the kettle.
Finally, I secured the element to the kettle with a tri-clamp.
From this point forward, assembly was a piece of cake. Making sure to wrap all threads with plumber’s tape, I installed the ball valve and thermocouple in their respective spots.
I then attached the quick disconnect spray nozzle to the lid.
Next, I secured the stainless mesh filter to its designated spot inside of the kettle.
With the kettle put together, I cut the provided silicone tubing to the recommended lengths before attaching the quick disconnects to both the tubing ends and the included plate chiller.
The last thing I did was secure the pump to a beam under my brewing table.
I should also mention Clawhammer includes a stainless hop spider to reduce the risk of clogging the pump and plate chiller. With that in place, the unit was ready to use!
System Performance
I was excited to see how fast this 240v unit would heat water to both standard mash temperature as well as boiling, so I filled the kettle with 9 gallons/34 liters of 75°F/24°C tap water.
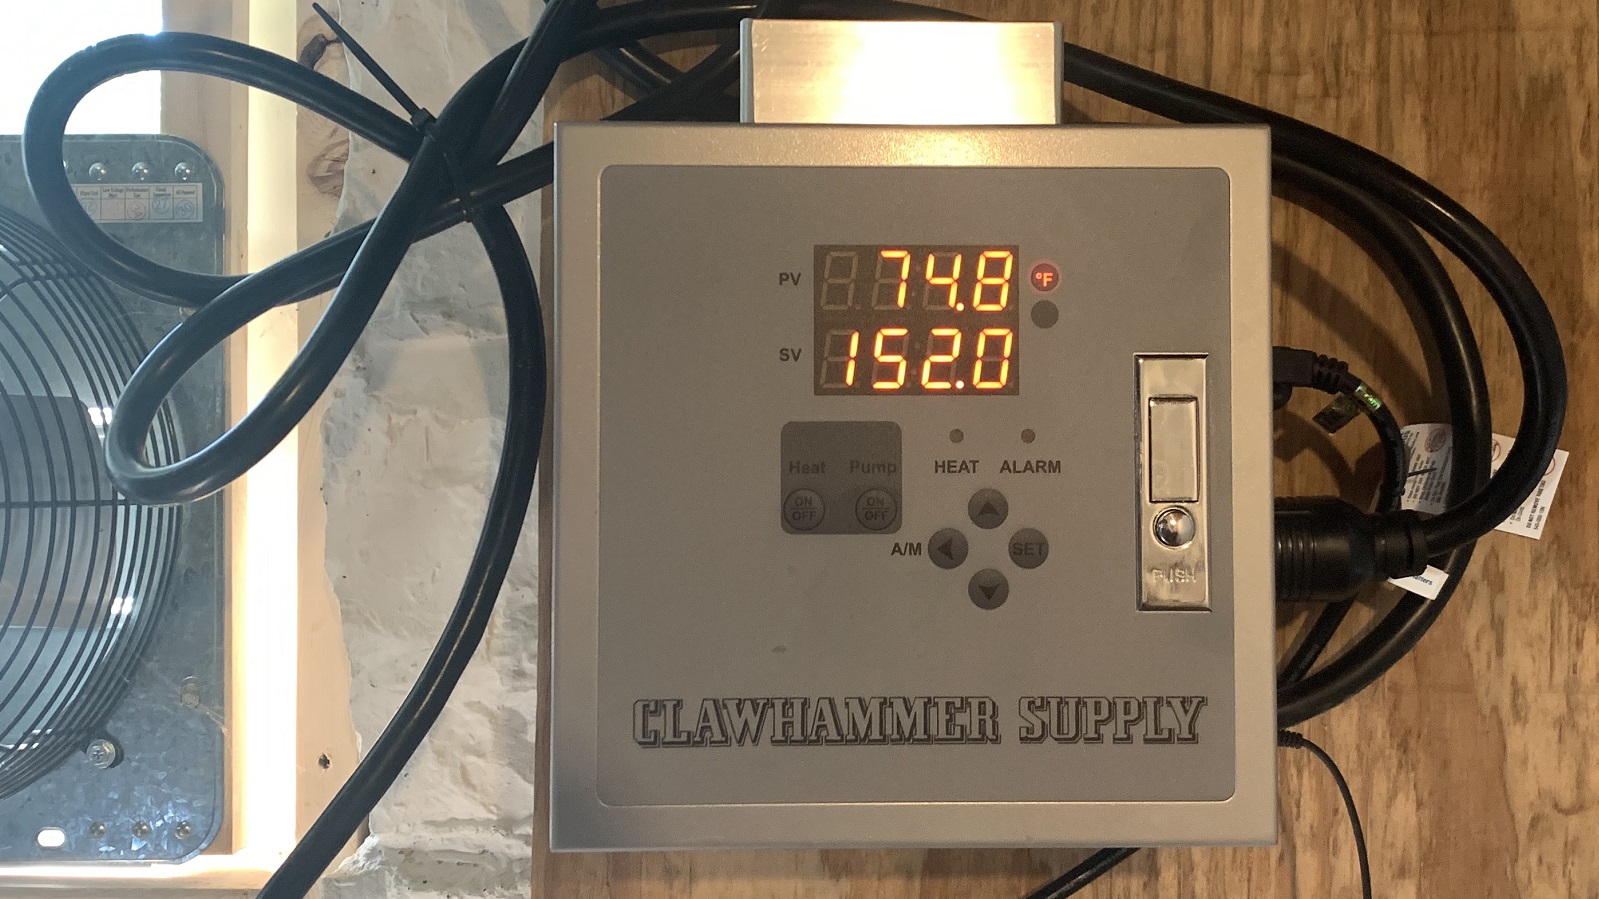
I then set the controller to 152°F/67°C and started a timer.
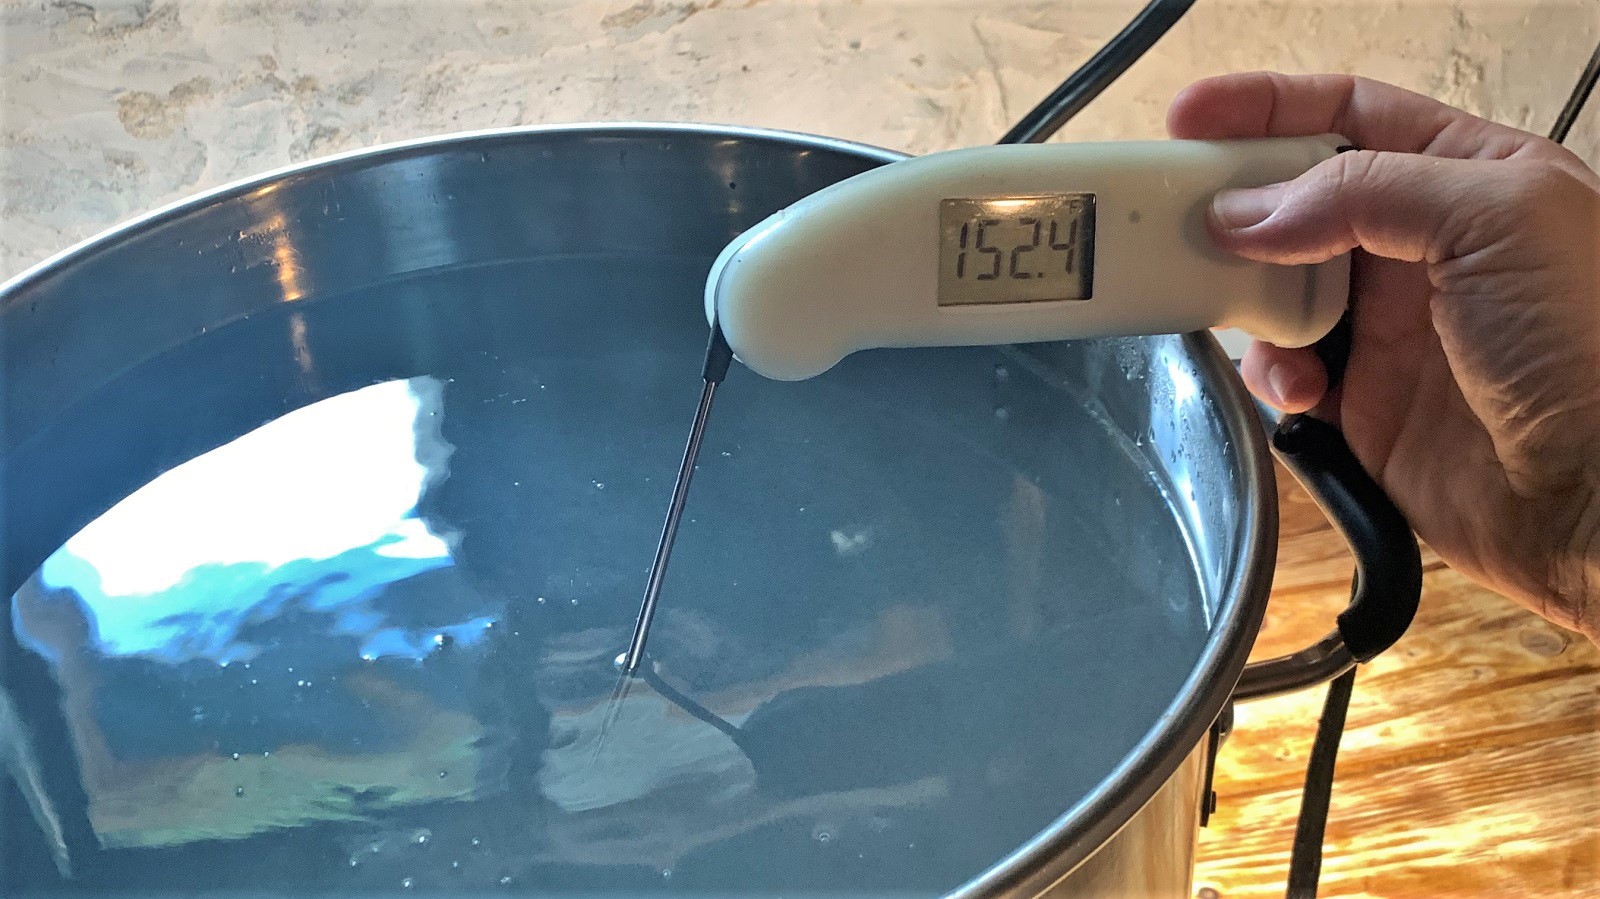
With the PID supplying 100% power, it took only 21 minutes for the water to reach my set point. As a test of the accuracy of the controller and thermocouple, I used my calibrated Thermapen to confirm the water was at 152°F/67°C.
At this point, I turned the element back on at 100% and timed how long it took for the water to achieve a rolling boil– just 17 minutes!
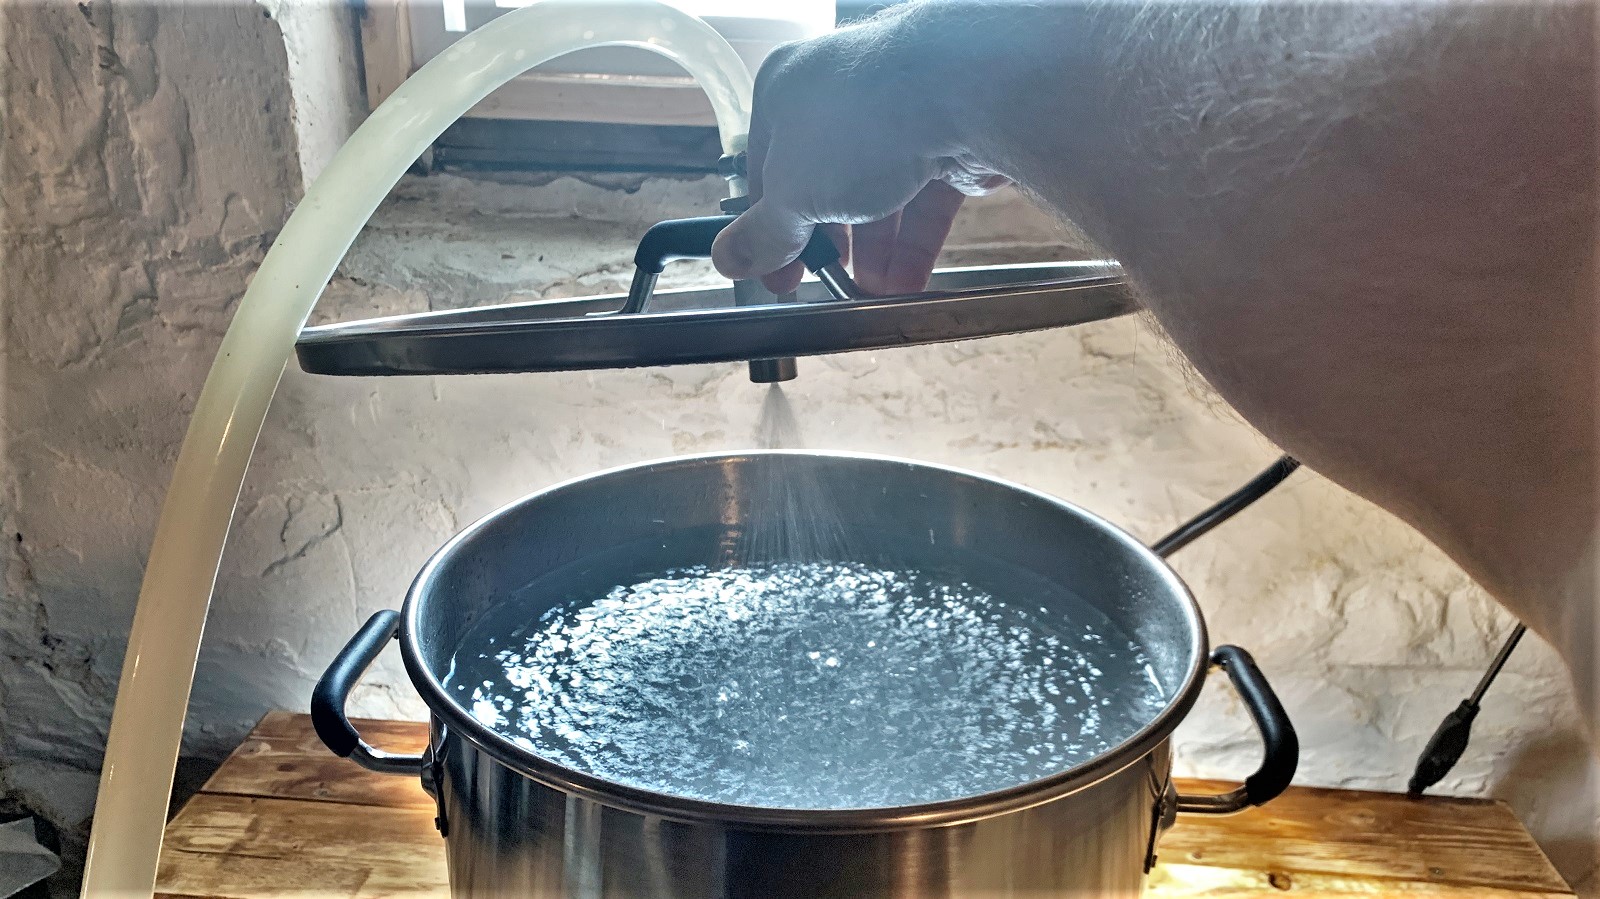
Finally, after turning power to the element off, I turned the pump on to see how the lid spray nozzle works.
Brewing Experience
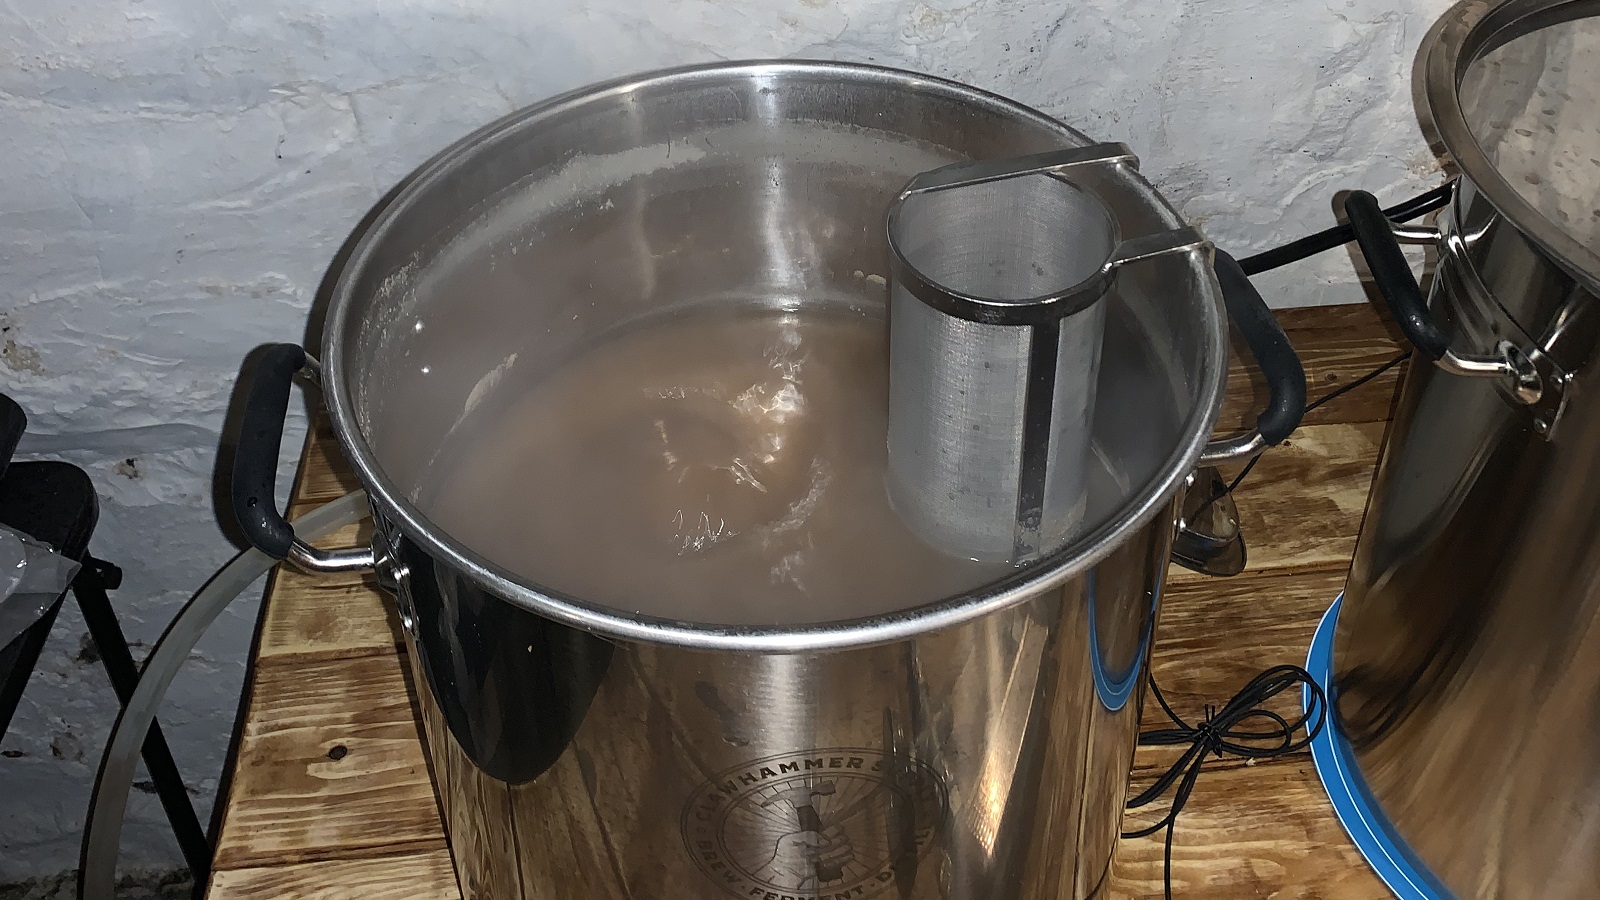
For anyone who has used the BIAB method, brewing on the Clawhammer 240v Electric Home Brewing System is a pretty similar process, and the learning curve wasn’t steep at all. I’ve made a number of batches with this unit so far and my experience has been quite consistent. After collecting the full volume of brewing liquor and adjusting it to my desired profile, I set the controller to 100% power to quickly heat the water up. Once the proper temperature is reached, I incorporate the grains, set the controller to maintain my desired mash temperature, turn the recirculation pump on, then after a 60 minute rest, remove the grain basket from sweet wort. While the system comes with stainless clips that allow the basket to rest above the wort, I hang the handle on a hook above the kettle.
While waiting on the pre-boil off volume to be reached, I set the controller to heat the wort to a boil, which generally takes about 15 minutes for a 5 gallon/19 liter batch. Because the 5500w element will achieve a boil vigorous enough to lead to annoying boilovers, I reduce the power on the controller to about 40% to maintain a manageable rolling boil.
I use the stainless hop spider for all kettle hop additions and found it does a good job of keeping vegetal matter out of the wort while still allowing the hops move around freely. With about 15 minutes left in the boil, I begin recirculating wort through the plate chiller to sanitize it, then once the boil is complete, I kill the power, turn the water to the chiller on, and pump the wort through it on its way to a fermenter. Using the attached thermometer to gauge the flow rate of wort through the chiller, the chilling process takes anywhere from 7 to 12 minutes depending on wort volume and groundwater temperature.

With the yeast pitched and the beer placed in my chamber, I turn my attention to cleaning, which this unit makes very easy. After rinsing out any remaining material in the kettle, I add about 7 gallons/27 liters of cleaning solution made with hot tap water, set the controller to 135°F/57°C, then turn the pump on to recirculate the cleaner through the plate chiller and back into the kettle for an hour before rinsing everything with clean water.
| The Verdict |
The evolution of brewing gear is something I trust most homebrewers can relate to– as exciting as it was to learn that I could make beer on my apartment stove, my transition to a multi-tiered setup was a huge step in upping my brewing game, and while that was excellent for awhile, the idea of moving to an electric system was appealing for both practical and personal reasons. In addition to the Clawhammer 240v Electric Brewing System taking up less space than my previous setup, the higher power allows me to brew a batch in less time, it’s cheaper to brew with electricity than propane where I live, and it reduces my overall carbon footprint. All of this plus the fact the beer I’m making with this unit is just as good as before.
The only real critique I have with this brewing system has to do with the PID controller. For the uninitiated, PID controllers are notorious for being esoteric and difficult to operate without thoroughly reading through the instruction manual (a couple times, in my case). However, once I got a grasp of how it works, setting temperatures and power levels became second nature. I did have one issue with the PID controller where it continued calling for heat after the set value had been reached. After some initial troubleshooting with Clawhammer Supply Customer Support, they promptly sent me a replacement PID that worked great. I should also point out that the factory settings for the temperature probe and PID were initially off a bit, but this was very easily fixed by following the calibration steps. The auto-tune feature is helpful in this regard because the PID will “learn” over time how to properly modulate the heating element to maintain set values.
Understandably, the $1500 price point for the Clawhammer 240v Electric Brewing System may seem steep at first, but considering how powerful it is and the fact it includes everything needed to make a batch of wort, the price is actually pretty reasonable. Not to mention the added value of superb customer support from Clawhammer, something that may be lacking in other companies. I’ve been very pleased with this system, as it has enabled me to produce high quality beer in less time with less effort. For those looking for a 240v electric brewery, this Clawhammer system does its job very well and should be a strong contender in your search.
The Clawhammer 240v Electric Home Brewing System is currently available for purchase at ClawhammerSupply.com. If you have any questions or thoughts about this product, please leave them in the comments section below!
Support Brülosophy In Style!
All designs are available in various colors and sizes on Amazon!
Follow Brülosophy on:
FACEBOOK | TWITTER | INSTAGRAM
If you enjoy this stuff and feel compelled to support Brulosophy.com, please check out the Support page for details on how you can very easily do so. Thanks!








25 thoughts on “Product Review | Clawhammer Supply 240v Electric Home Brewing System”
Great review. Quick question: do you really have to circulate cleaner through the system for 1 hour? That seems like a long time.
Thanks! An hour is more or less the amount of time it takes me to go and do something else like finish cleaning other things or go upstairs and play with my kid for a while. You can definitely get away with shorter lengths of cleaning time.
What I seem to miss from this system is a way to attach/hold the grain basket to the kettle while draining the wort. Am I wrong?
Yeah the system comes with three stainless steel clips that the basket can rest on while draining. You can see them hanging on the grain basket in the picture that shows everything that’s fully unpacked.
I use a very fine crush when I brew because I use a no-sparge BIAB setup. What crush do you use to avoid a stuck sparge during re-circulation and what efficiency do you get so you can predictably hit your starting gravity? I’m not familiar with recirculating like this, is the efficiency consistent? Thanks!
I have a three roller grain mill and set it to a moderately coarse grind. I’ve been getting around 72% efficiency but I bet I could get higher if I put more effort into it like stirring up the mash periodically. I haven’t tried it, but I bet you’d be able to do a very fine crush without getting a stuck mash so long as you adjust the ball lock output on the pump so the recirculation is slower.
Love that basket. How many pounds of grain do you think it will hold? I like to do 11 gallon batches which often use 23 lbs of grain starting with 14 gallons of water. Would this system work?
I maxed out at 18 pounds of grain in this thing but that was definitely pushing it. You’d need to get the 20 gallon version of this for 11 gallons and/or using that much grain. Everything in the 20 gallon version is identical to this one but the kettle/grain basket/hop spider are bigger.
I have the 20Gallon 240v setup as well. I have had some very large grain bills in there. I think 36-38 has been the most so far. I was very close to overflowing, had to stir the mash every 10-15 to make sure it it was not stuck. Sparge was obviously a must with that much grain
Though I strongly suggest you have a hoist to get the basket out. It is extremely heavy with that much wet grain lol
Good god y’all, 36-38 lbs! You’re a braver man than I am. I can attest to the hoist as well.
Do you do 5 gallon batches in that? Deciding whether to get both kettles with just the 240v setup or just the 20 gallon kettle.
I do make 5 gallon batches with the 20 gallon kettles. I’ve had to make sure that I use a dip tube that gets rreeeeeeeeeaallly low on the bottom of the kettle, otherwise there’s like 2+ gallons of wort that doesn’t make its way into the FV.
Thanks Phil!
Do you use the plate chiller? I got one as part of a Craigslist pick up and it just won’t get clean. Looks just like the one in your pictures.
Yeah I was using it up until a few weeks ago when I got a CFC. The plate chiller worked great! I just have the same reservations about it being clean so I was anal about cleaning it.
Does this system come with a GFI circuit protection?
It does not. But I did install a GFCI breaker for it. I’ll gladly spend an extra $50 or whatever on a breaker to prevent death by fire.
I have an older Grainfather and it is fine but looking to check other options. Do they make a NON BIAB version? If so, I would be interested… if not, I see no reason to change to BIAB…..
If you check out their product line linked above you can see more, but the only systems they offer are single vessel BIAB. That said, Clawhammer offers 10 and 20 gallon sizes, so you should be able to work something out with a multi vessel setup if you email them. Emmet and Kyle will hook you up, I’m sure.
Thank you. I guess I commented prematurely. I did go and look at Clawhammer.com….. still deciding Clawhammer vs Blichmann.
Right on. Yeah, either of them will give you a good quality system.
Does the 240v power supply connect to a dryer outlet or did you have to install a new connection?
It will connect to a 4-prong washer/dryer outlet just fine, so just make sure yours isn’t a 3-prong.
This was a very informative and well written article.
Did a lot of looking at the Speidel Braumeister and still think it’s a great product, but Clawhammer has put together a very similar system for less than half the price. I bought a Sabco BrewMagic back in 2007 and can’t complain as it has held up wonderfully over the years. Still, I can see the advantages of a single vessel BIAB system with its electric heat, grain basket rather than Sanke full of grain to have to haul off the top of the rack, and it would be nice to cut my brew days down to fewer hours. Cleanup looks to be much easier as well. This review was very well done and informative, and if I decide to make a change to a different system the Clawhammer will be high on my list.