This xBmt was completed by a member of The Brü Club in collaboration with Brülosophy as a part of The Brü Club xBmt Series. While members who choose to participate in this series generally take inspiration from Brülosophy, the bulk of design, writing, and editing is handled by members unless otherwise specified. Articles featured on Brulosophy.com are selected by The Brü Club leadership prior to being submitted for publication. Visit The Brü Club Facebook Group for more information on this series.
Author: Matt Skillstad
Rapid chilling of wort after the boil is said to halt the isomerization of alpha acids and lock in volatile hop aromatics while also encouraging the coagulation and precipitation of protein. In addition to the impact on bitterness and clarity, failing to chill wort quickly is purportedly associated with increased risk of DMS formation and contamination. Perhaps the biggest drawback to rapid chilling is that it requires a good amount of water that ends up going to waste, which is a problem for brewers in drought-stricken regions.
One such place is Australia where rather strict water conservation policies are in place, thus limiting a brewer’s ability to chill their wort using standard methods. In order to keep the beer flowing, some clever Aussie homebrewers devised an approach whereby hot wort was racked to a food-grade HDPE plastic “cube” before being sealed and stowed away until it was cool enough to proceed with fermentation. Contrary to the conventional wisdom, this “no-chill” method reportedly led to good beer with none of the feared off-flavors.
In a prior Brülosophy xBmt, participants were able to reliably tell apart a Helles chilled rapidly from one where the wort was cooled using the no-chill method, which made me wonder how things would pan out in a hoppier style. Early on in my brewing, I adopted the no-chill method because, for one, I didn’t want to invest in an expensive chiller, and I also wanted to decrease the amount of time spent brewing. Overall, I was quite happy with this method and even won some medals with beer brewed using it. However, I was never quite satisfied with how my hop-forward beers turned out, they always seemed lacking to me. Having acquired a high quality immersion chiller, I decided to see for myself what effect the no-chill method has on a hoppy IPA.
| PURPOSE |
To evaluate the differences between an IPA made using the no-chill method and one where the wort was chilled rapidly with an immersion chiller.
| METHODS |
For this xBmt, I wanted to go with a recipe that called for a decent late kettle hop addition and looked to Brewing Classic Styles for guidance. I ended up designing a recipe inspired by Hoppiness Is An IPA but ditched the dry hop charge so as not to mask any differences caused by the chilling method.
Rack It Off & Chill
Recipe Details
| Batch Size | Boil Time | IBU | SRM | Est. OG | Est. FG | ABV |
|---|---|---|---|---|---|---|
| 5.5 gal | 60 min | 50.1 IBUs | 6.8 SRM | 1.065 | 1.012 | 7.0 % |
| Actuals | 1.065 | 1.01 | 7.3 % | |||
Fermentables
| Name | Amount | % |
|---|---|---|
| Pale Malt (2 Row), Rahr | 11.687 lbs | 86.18 |
| Munich I (Weyermann) | 1.375 lbs | 10.14 |
| Caramel/Crystal Malt - 40L | 8 oz | 3.69 |
Hops
| Name | Amount | Time | Use | Form | Alpha % |
|---|---|---|---|---|---|
| Centennial | 26 g | 45 min | Boil | Pellet | 11.1 |
| Centennial | 26 g | 10 min | Boil | Pellet | 11.1 |
| Simcoe | 26 g | 5 min | Boil | Pellet | 13.9 |
| Amarillo | 26 g | 0 min | Boil | Pellet | 8.5 |
Yeast
| Name | Lab | Attenuation | Temperature |
|---|---|---|---|
| Safale American (US-05) | DCL/Fermentis | 77% | 59°F - 75°F |
Download
| Download this recipe's BeerXML file |
I started my brew day by collecting the entire volume of water, adjusting it to my desired profile, then getting it on the burner. While the water was heating up, I milled the grain directly into my Brew Bag.
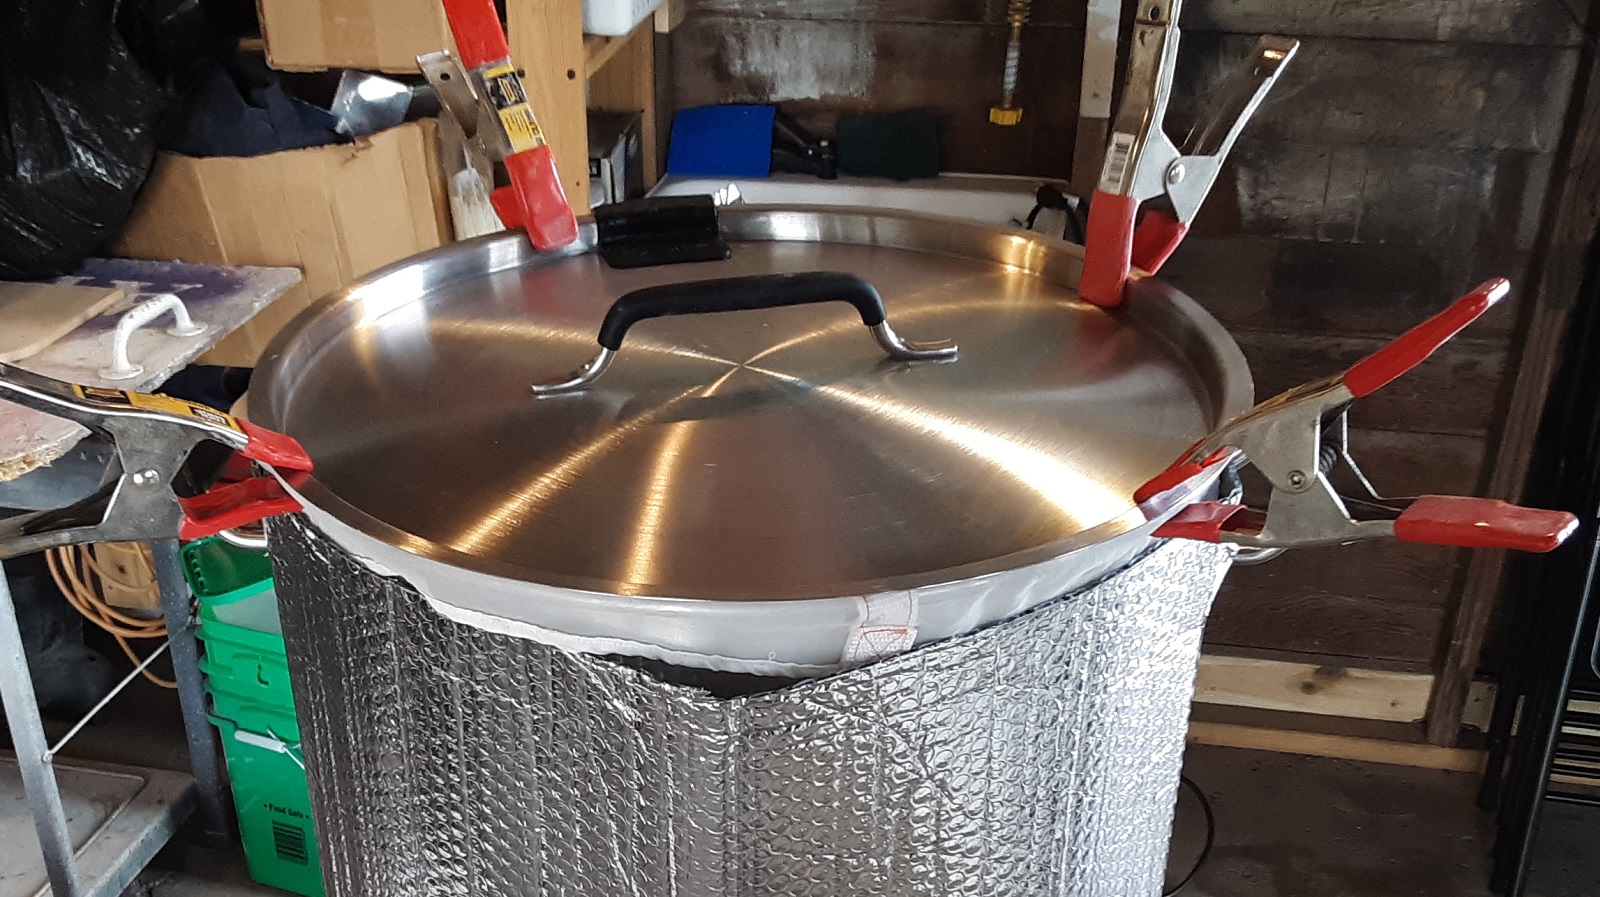
When the water reached strike temperature, I added the grains and stirred before putting the lid in place.
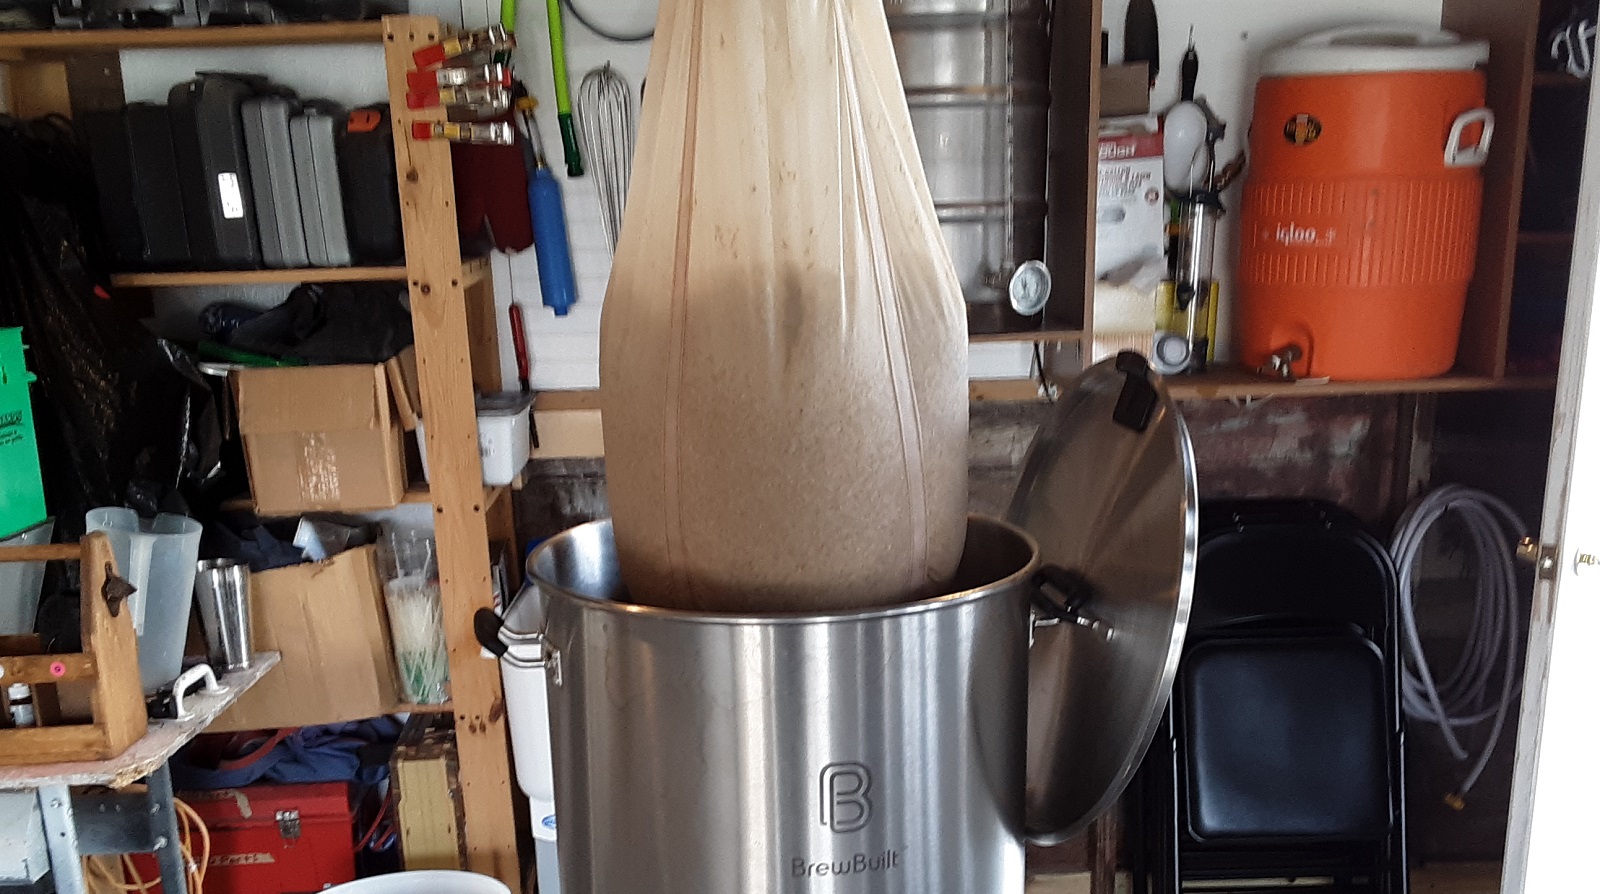
At the end of the 60 minute mash, I hoisted the grain bag above the kettle and allowed it to drain as I began heating the sweet wort.
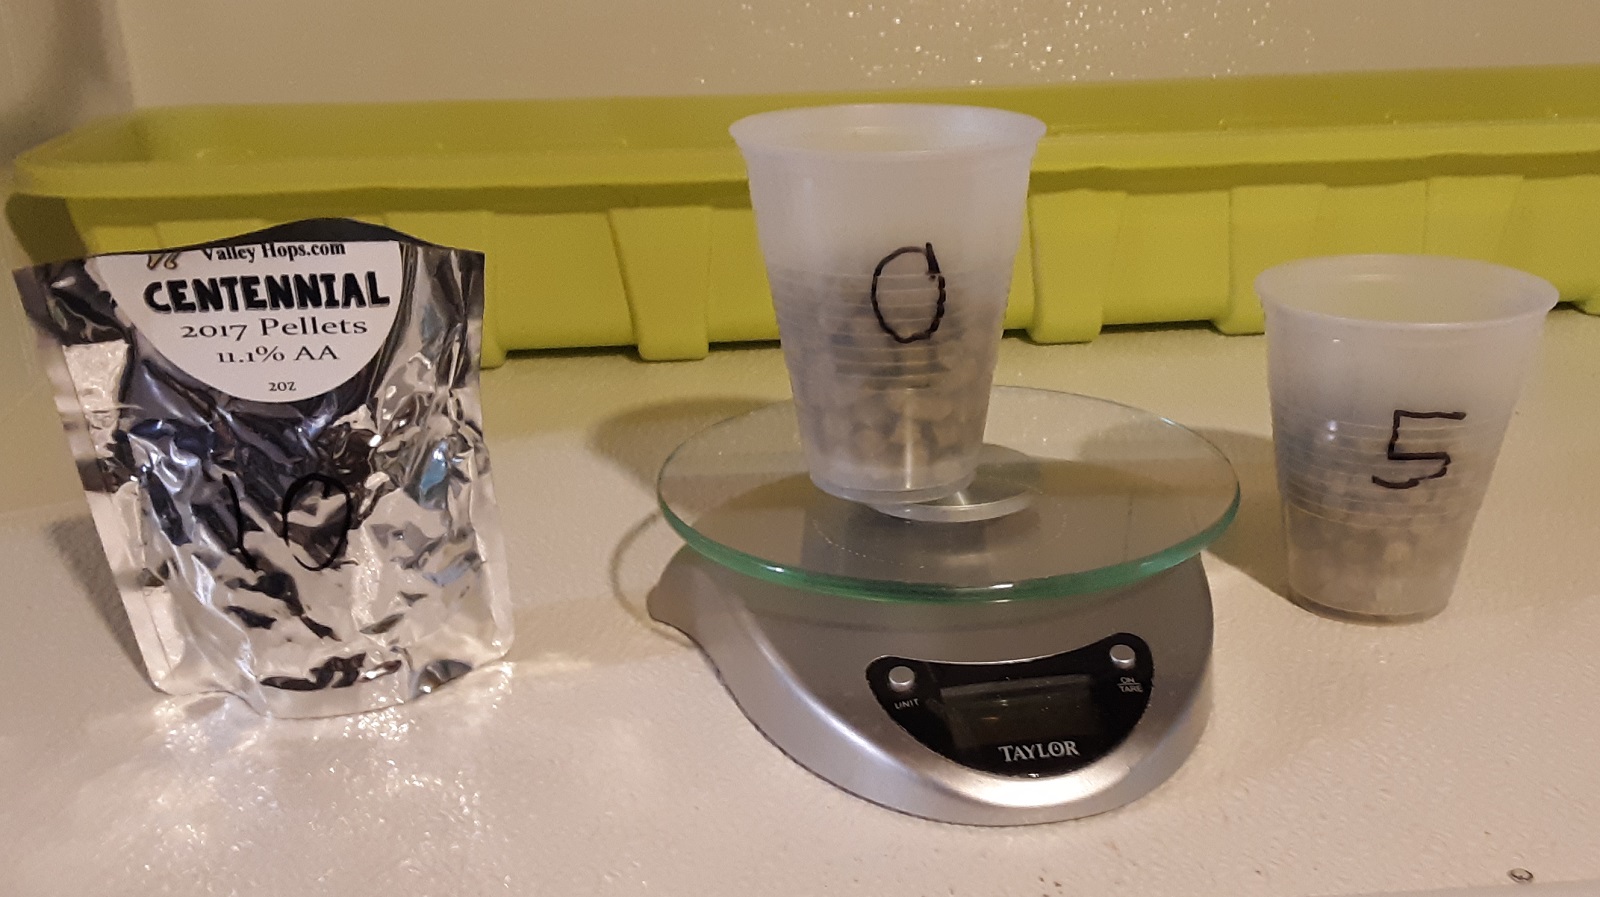
At this point, I measured out the kettle hop additions.
Following a 45 minute boil, I cut the heat, added the flameout hop addition, then let it settle for about 1 minute. While the no-chill method typically involves sealing hot wort in a plastic container, I opted to use a stainless steel fermentation vessel seeing as it can withstand such warm temperatures. With the hop stand complete, I racked off half of the wort.
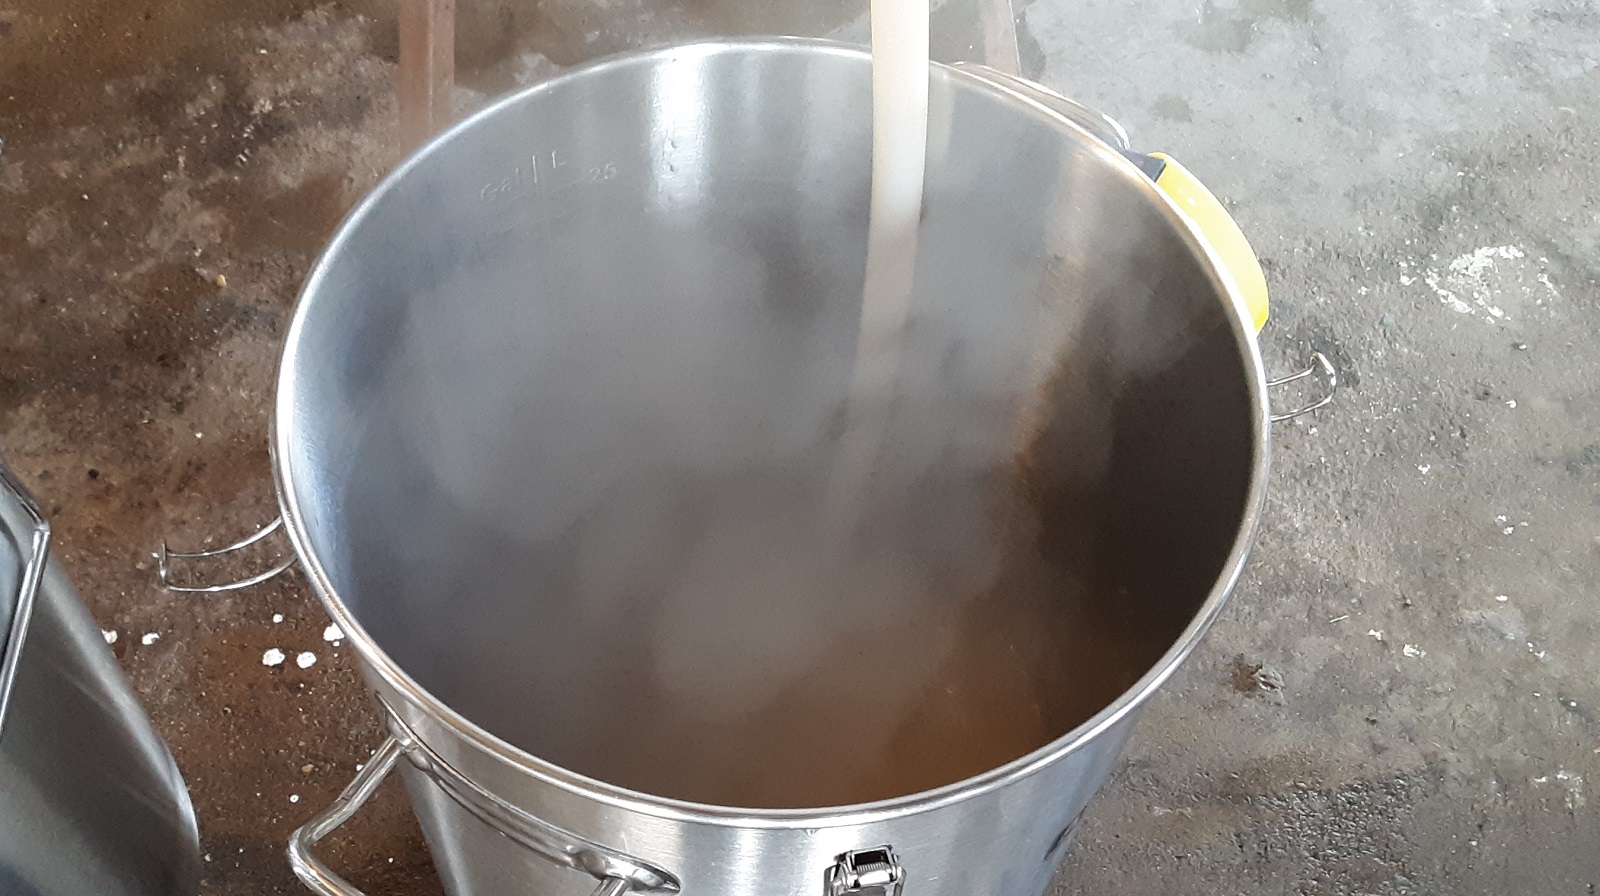
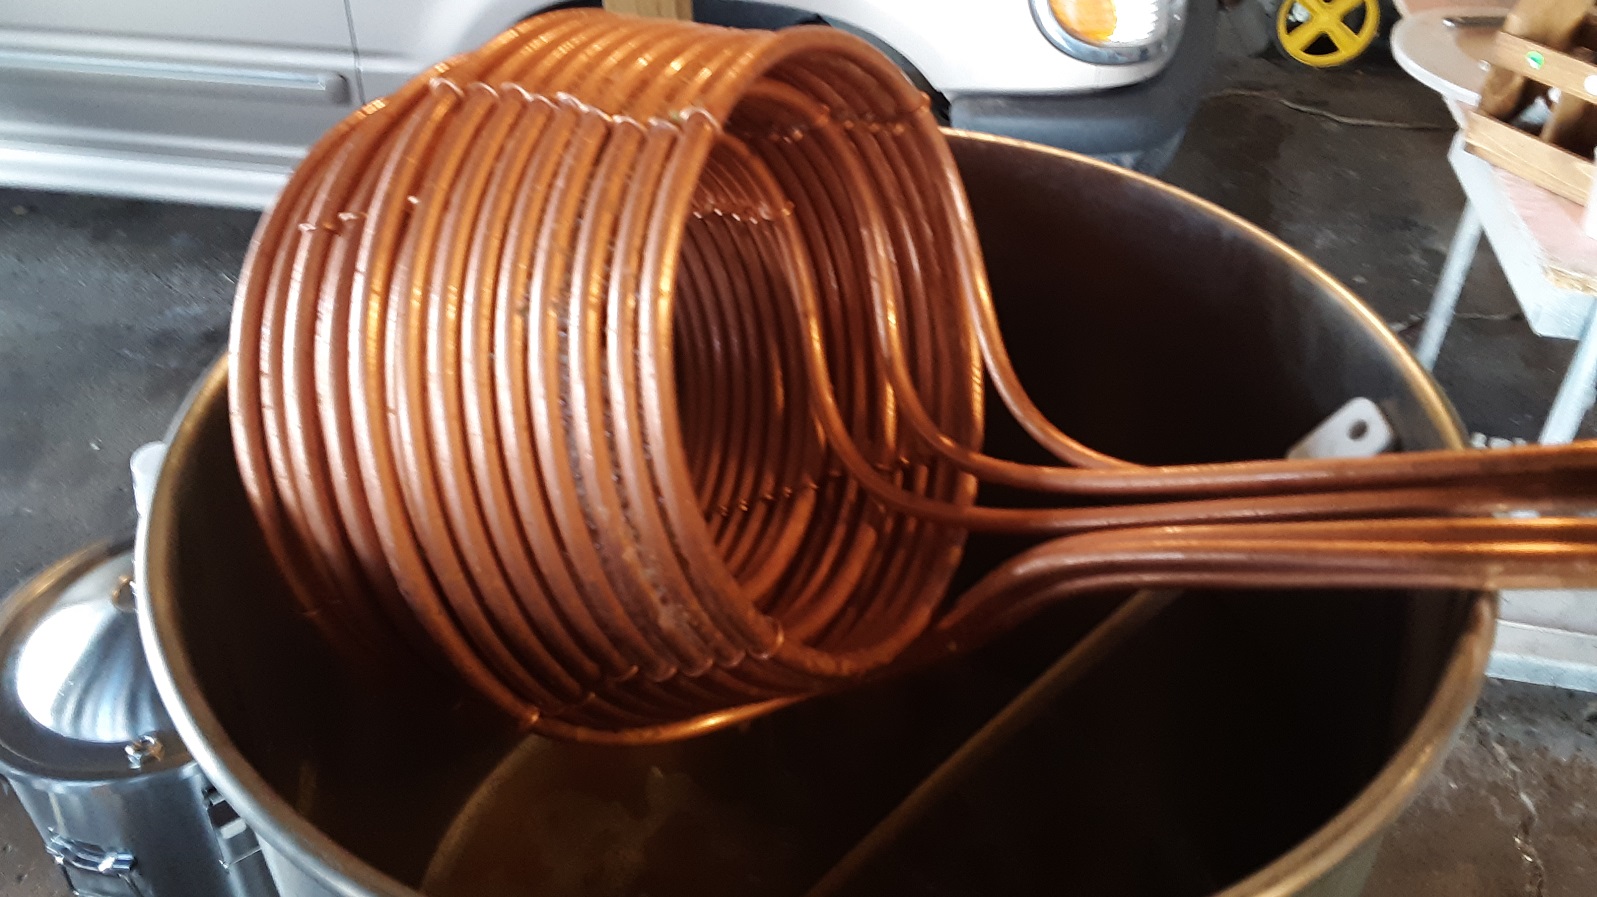
I then proceeded to rapidly chill the remaining wort with my very efficient IC, which given my cool winter groundwater temperature was 59°F/16°C. Next, the wort was transferred to its own stainless fermenter.
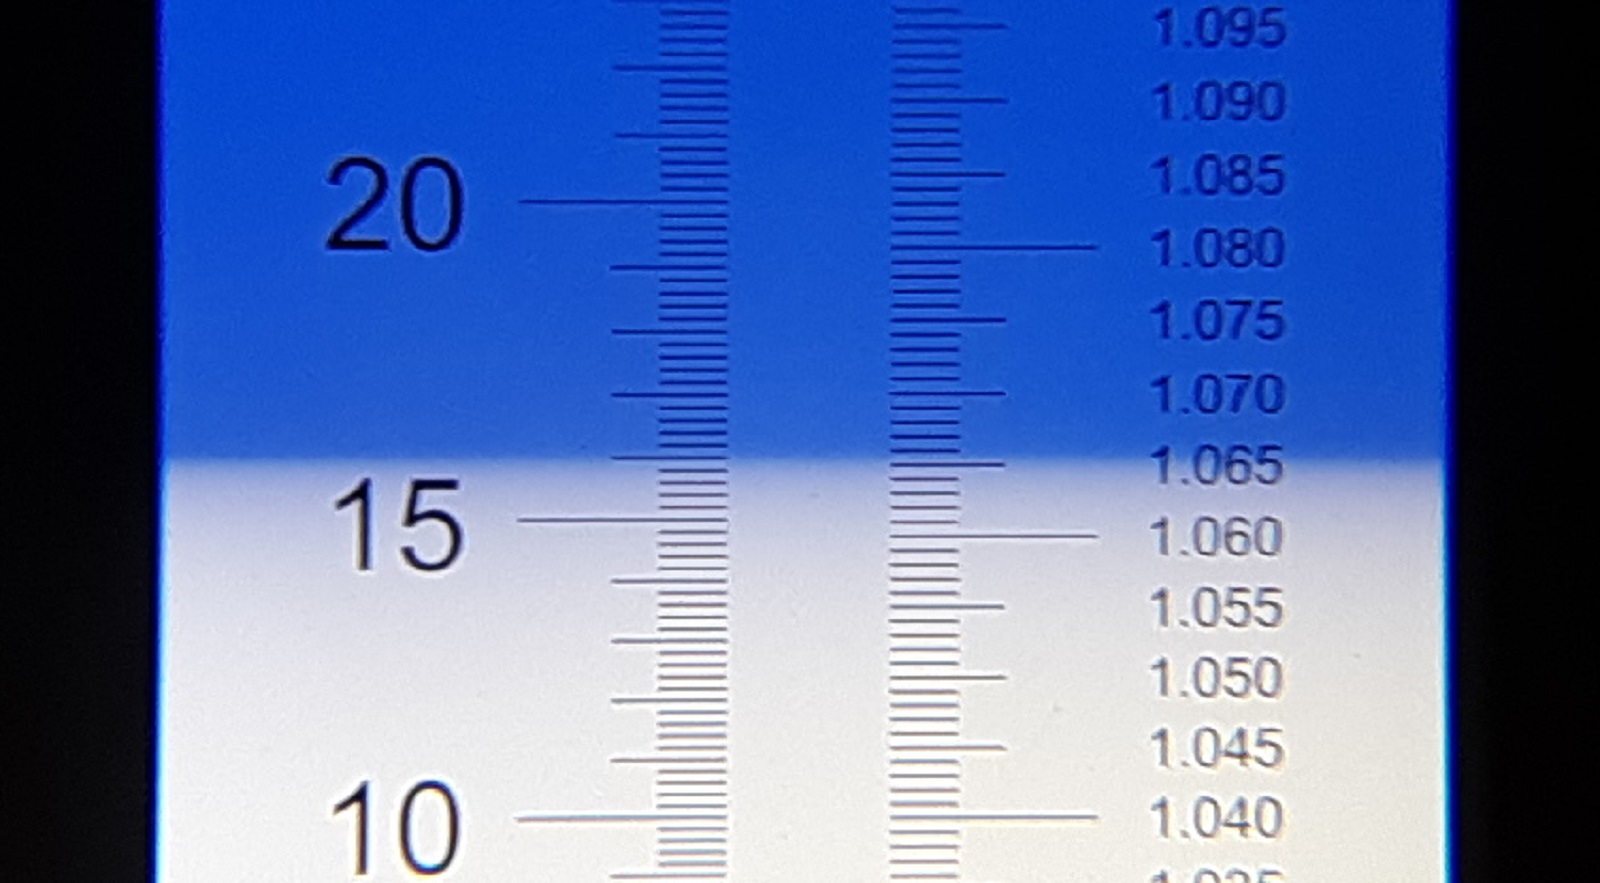
A refractometer reading showed the wort was right at my target OG.
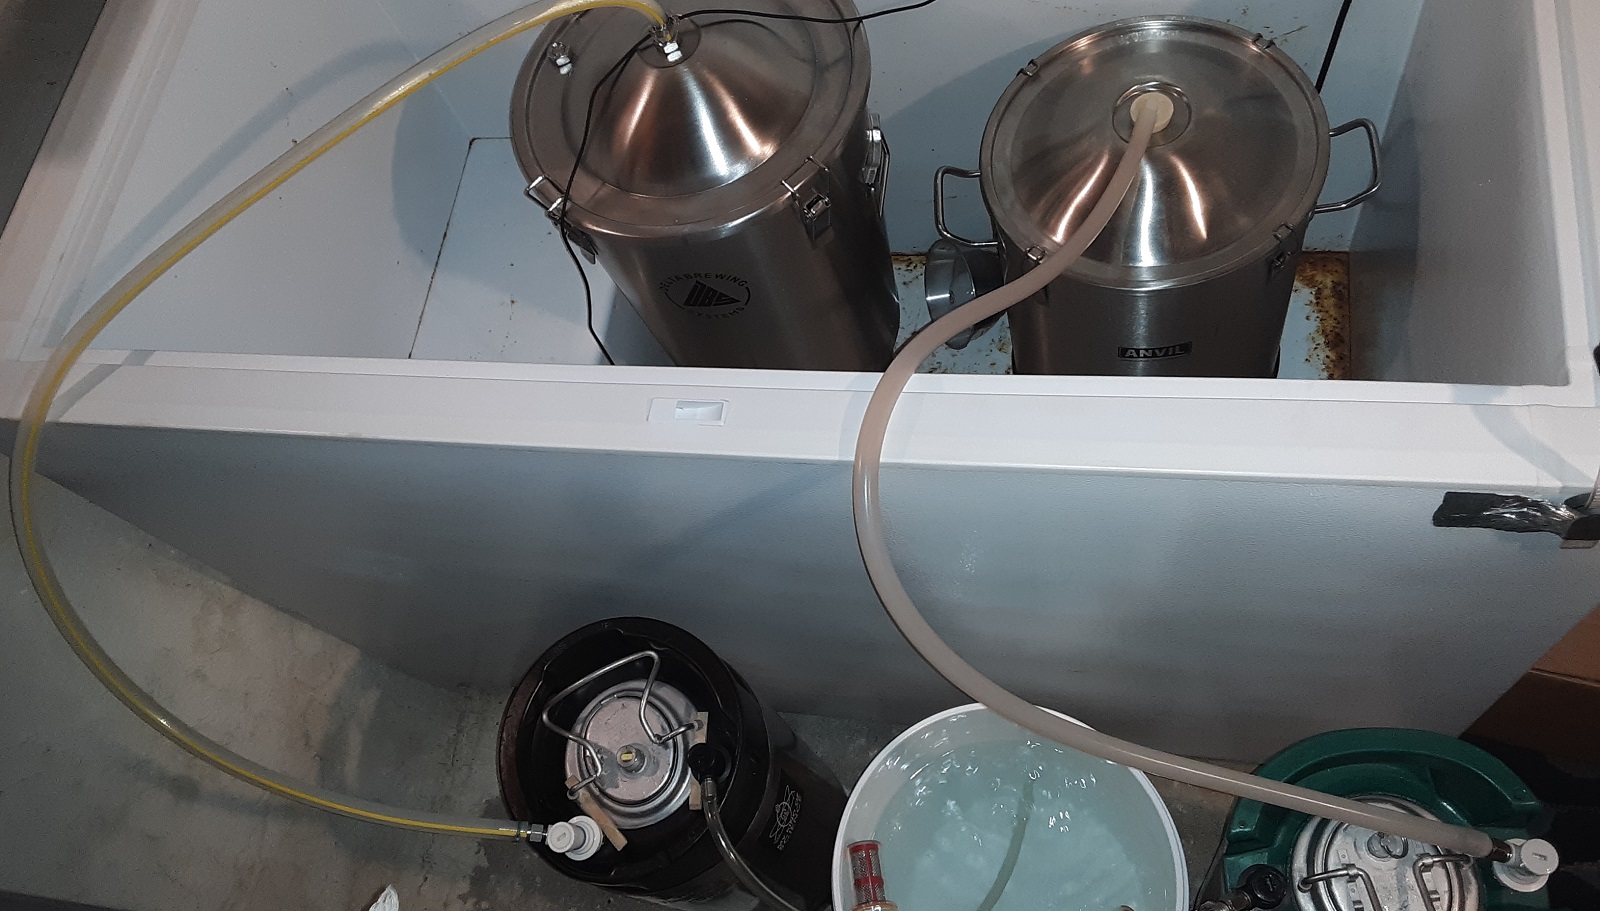
Whereas the no-chill wort was left overnight in my very cool garage, the rapidly chilled wort was placed in my fermentation chamber controlled to 64°F/18°C and hit with a pack of Safale US-05. Approximately 19 hours later, the no-chill wort was sitting at 59°F/15°C, so I place it next to the other batch in my chamber and pitched the yeast. I noticed signs of fermentation in both batches about 24 hours after pitching the yeast, at which point I connected blow off tubes from either fermenter to sanitized kegs to naturally purge them with CO2.
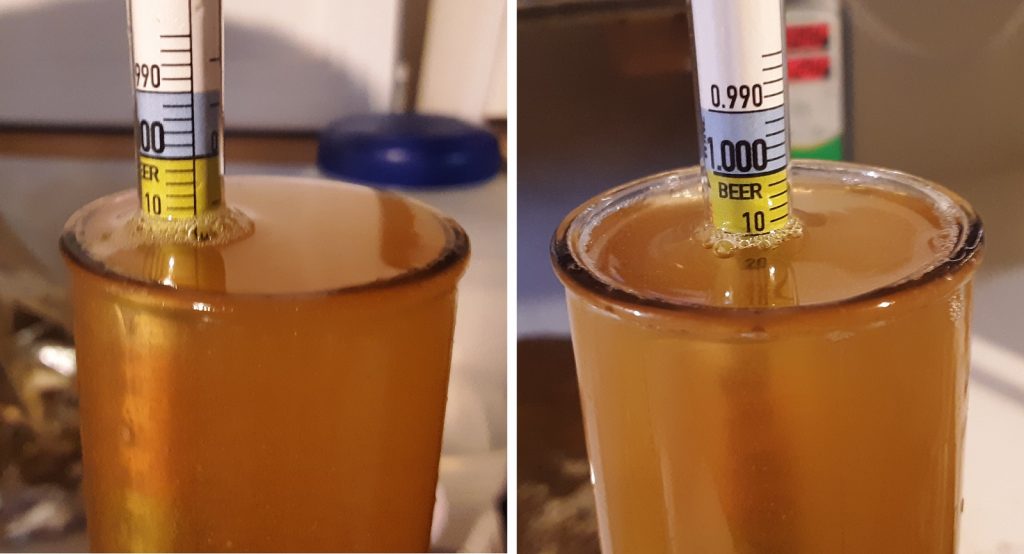
After 2 weeks of fermentation, activity in both batches was absent so I attached a BrüLoonLock to each and began to cold crash. A couple days later, I took hydrometer measurements showing both beers reached the same FG.
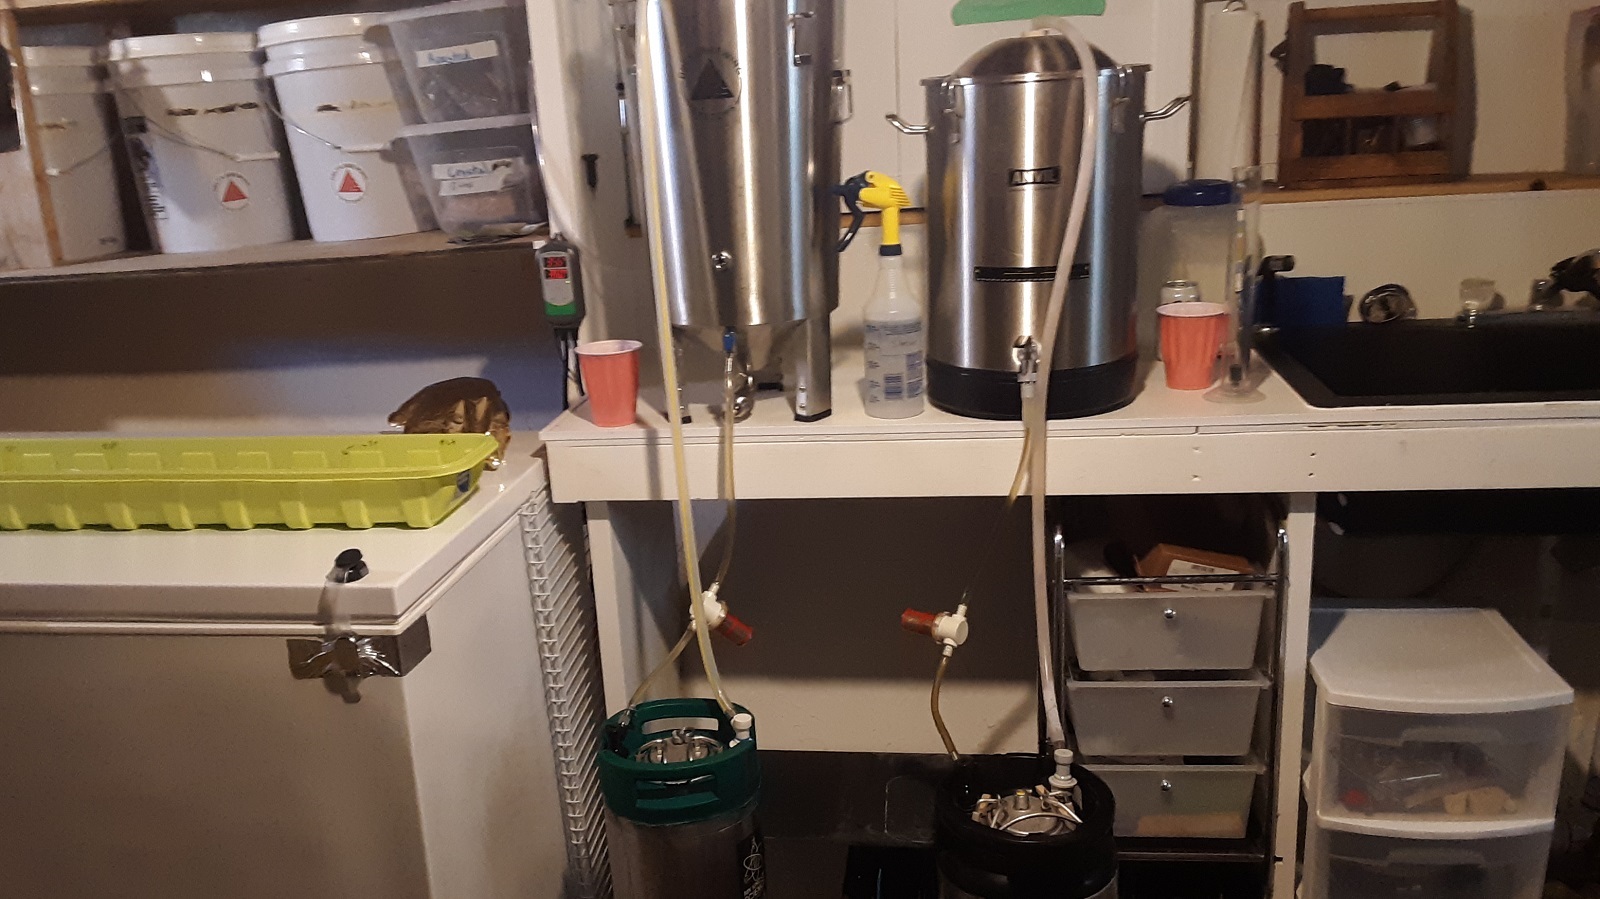
I then racked the beers into the naturally purged kegs.
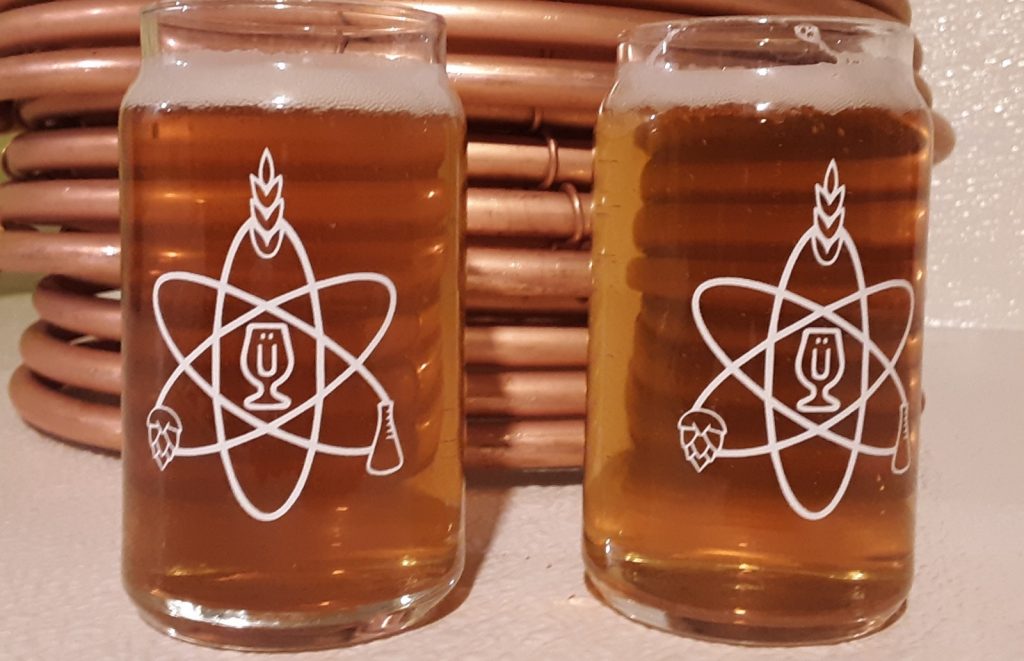
The filled kegs were placed in my kegerator, burst carbonated, and left to condition for a few weeks before I began serving them to tasters.
| RESULTS |
Data collection for this xBmt was done at the Divots Big Chill Beer & Cheese Festival where a whopping 53 people of varying levels of experience lent their palates to the cause. Each participant was served 2 samples of the no-chill and 1 sample of the beer chilled rapidly with an immersion chiller in different colored opaque cups then asked to identify the unique sample. While 24 tasters (p<0.05) would have had to accurately identify the unique sample in order to reach statistical significance, a total of 26 did (p=0.013), indicating participants in this xBmt were able to reliably distinguish an IPA where the wort was chilled using the no-chill method from one where an immersion chiller was used to rapidly cool the wort.
The 26 participants who made the accurate selection on the triangle test were asked to select the beer they preferred, still blind to the variable. In the end, 9 tasters reported preferring the no-chill beer while 17 liked the rapidly chilled beer more.
My Impressions: I attempted 5 triangle tests and got it correct 3 times. These beers smelled and tasted exactly the same to me, but I perceived a bit more bitterness in the no-chill version. Both beers were good and I found myself being equally likely to pull a pint of either one.
| DISCUSSION |
While the no-chill method has many proponents who have reported good results when used on a variety of beer styles, I was never quite satisfied with the hop-forward beers I’d brewed using this technique. Was there really a difference, or was bias possibly at play? The fact participants in this xBmt were able to reliably tell apart a no-chill IPA from one where the wort was chilled rapidly suggests the method may have a perceptible impact.
While the results of this xBmt are significant, they provide little information about what exactly made the beers distinct. The no-chill beer was observably more hazy and described by a number participants as being more bitter. This may very well be due to ongoing isomerization occurring from the hops that remained in the hot wort, and if so, could possibly be accounted for by adjusting hopping rates. In fact, it’s commonly said that hot-side hop additions should be made 20 minutes later than usual when using the no-chill method, which seems like something worth exploring.
Now that I’ve completed this xBmt, and the results align with Brülosophy’s first iteration, I’m left asking one final question– was the no-chill method responsible for my lackluster hoppy beers? Truth be told, I’m pretty certain it wasn’t. The no-chill beer from this xBmt tasted so similar to the rapidly chilled version that I struggled to tell them apart and was only able to do so based on differences in bitterness. It’s my personal opinion that the preference for the rapidly chilled version reflects the average beer drinker’ss preference for lower bitterness rather than some disparity in quality. In a pinch, I would definitely consider using the no-chill method, but for the majority of my brewing, rapid chilling with an immersion chiller is what I’ll be sticking to.
 Matt Skillstad is a happy husband to a wonderful wife (who likes his beer!) and proud father of 5 children under 7 years old from Pierce, Nebraska. He has been brewing since 2011 and, in addition to The Brü Club, is a member of the Elkhorn Valley Society of Brewers. He enjoys experimenting with his brewing in an effort to make better beer in less time with less effort. When not brewing or hanging with his family, Matt enjoys bike riding and golfing (poorly).
If you have any thoughts about this xBmt, please do not hesitate to share in the comments section below!
Support Brülosophy In Style!
All designs are available in various colors and sizes on Amazon!
Follow Brülosophy on:
FACEBOOK | TWITTER | INSTAGRAM
If you enjoy this stuff and feel compelled to support Brulosophy.com, please check out the Support page for details on how you can very easily do so. Thanks!




39 thoughts on “The Brü Club xBmt Series | Cooling The Wort: No-Chill Method Vs. Rapid Chilling In American IPA”
How did you seal the no chill fermentor during cool down overnight? Blow off? I always get suck back…
I put on an s-shaped airlock with a bit of starsan in it. It definitely did suck in some air through the airlock while it was cooling down. There is probably a better solution than this, but it works.
It’s quite a bit easier to transfer to an HDPE cube and let it chill overnight. You fill the cube then squeeze out the air before sealing. No suck back and no sanitation concerns. You can also them go to sleep with everything on the hotsode clean and put away.
As I understand it, and have also done a handful of times, you should simply put the lid on the HDPE “cube”, lay it on it’s side (to sanitize the lid and top) and walk away. The cube does “collapse” on itself somewhat, but as soon as you open the lid, it pops back to shape. No blow off needed or dreaded suck back with this method. That’s how I’ve seen the Aussies do it.
Yes, that’s the easiest way and works quite well. I haven’t gone back to rapid chilling in years.
I found that using a hopsock and whirlpooling before transferring to the cube made a big difference in my no-chill beers.
Anecdotally, it reduced the unplanned bitterness and left the beer a bit clearer. Gelatin seemed to solve that issue either way.
All of my no chill brews were somewhat hazy. Chilling made the same recipes much more clear. I have not used clarifiers to see if they would make a difference. Thanks for exBEERimenting!
I used to no-chill for years. Definitely had to scale back bittering charges and exclusively whirlpool hops to limit the extra extraction
I’d love to hear the specifics of how you purged your keg with CO2 made by fermentation. Did you use a spunding valve? If not I assume you had to keep one port of the keg open to allow air to be exhaled, which would have let more air in when fermentation slowed down?
Not if you attach some tubing to your out valve and stick it in a cup of water.
No spunding valve. Just a blow off tube > gas qd > keg > beer qd > tube into bucket. Keg filled with sanitizer gets pushed out into the bucket by co2 produced by the fermentation. Then the tube continues to bubble in the bucket of sanitizer until fermentation finishes.
Is it possible to do this type of keg CO2 purge when using a carboy or 6.5 gallon plastic fermenter? I would worry about the back pressure blowing off the lid or bung.
Plastic carboys work fine. I’ve heard of ppl doing it with glass, but personally dont think I would be brave enough to try that…..
Anyone have any recommendations on good HDPE containers they are using?
US plastics has them in all sizes. If you get the six gallon hedpak you can squeeze out the air when you transfer hot wort in, then when it’s cooled to pitching temps drop in ferm cap and ferment in the same cube.
Thanks for the recommendation. Cheers!
I’m new to brewing so still playing catch up with both knowledge and equipment. I don’t have an IC yet. For small batch testing, could you let it cool in a covered stockpot? At the moment, chilling has been my biggest headache. I’ve thought about getting the plastic cube, but I’m a little leery of introducing plastic with such hot liquid. Has anyone tried cooling in the brew pot and then transferring to the fermenter?
Wayne, I’ve actually done this many times with good (nothing noticeably “off”) results. Basically, if I’ve gotten a late start brewing at night during the summer (groundwater isn’t cold) I will just finish the boil on the stove, put the lid on the kettle, and let it sit overnight. I will scale back or adjust timings on bittering additions when doing this btw. I understand this is not idea and airtight, so I guess there is some level of risk to contamination with this approach.
I’m sure someone will jump in and tell you not to do this. I’m just here to say I have done it, and of course RDWHAHB 🙂
As long as everything is sanitized before you kill the heat (including that lid!), and nothing can get in; go to bed and rest easy. 🙂
The biggest carrier of bad shiz is “dust”. Fans, AC, the furnace, kids running by, cat and dog tails wagging, and open windows are all possible ways microbes can be forced in.
Keep out the junk, and great beer will continue to be yours. 🙂🙃🙂
Nice work again Matt! My guess on the increased haze and possibly also the increased bitterness would be polyphenols contributed by the extended cooling time. If I can remember, I will look through Scott Janish’s book tonight on his thought about polyphenols with long whirlpools. Might be worth trying this xbmt again with low polyphenols hops, if that’s such a thing. I’m basically just spitting out Bro-science now lol. Nice work!
Haha, bro science! It sounds plausible though. cheers
Have you thought about sending off samples to a lab to see if there is a difference in bitterness? Great work btw!
Moving late additions (20 min+) into the cube. “cube hopping” significantly inreaaed flavour/aroma for me when no chilling.
I did strongly considered getting them analyzed, but ultimately decided I couldn’t justify spending the $ on it. Would be cool though.
Great experiment. As a regular no-chiller, I’ve been adding my late addition hops (in a hop bag) directly to the cube and then pouring in the slightly cooled wort (@ around 90 degrees Celsius). These equate roughly to 10 min/ whirlpool hops additions and achieve, I believe, excellent results.
Question to all the experienced no chillers out there: what would be the harm of racking the hot wort to a spike flex stainless steel fermentor, covering the four inch lid with sanitized tin foil In a fermentation chamber until pitch temp is reached? Whirlpool hops could then be added to the fermentor in either bags or SS mesh containers and removed after 20-30 minutes. I brew 3 gallon batches and I don’t see much difference if I pitched 3 gals in a 5 gal jerrican and sealed it?
Anyone doing this? Or similar set up?
I’m a chiller guy, but don’t see any problem with this. Sort of loosely related but some Pro Brewers transfer from their HLT to a separate whirlpool vessel (bypassing chiller) and then whirlpool with freshly added hops for 25-20min before transferring to FV. Aside from the no chill (and one less transfer), what your achieving in terms of hops is the same. Stainless steel 304 is stainless steel 304 and as long as you don’t seal your fermenter (which would create negative pressure on chilling) I don’t see how this could cause any problems.
How about using 2l less water making the wort and instead doing the hop additions on the stove top using that 2l? Then chucking that into the fermenter at some point before fermentation finishes. With hoppy beers the fermenter is being opened to add the dry hop anyway.
I have never used a chiller and always hot cubed.Along the way I have worked out hop schedules.All I usually do is a flame out hop addition and a dry hop.Seems to work out well.A 10min hop addition and a flameout and dry hop also works well
A little off-topic, but are your kegs left outside the fermentation freezer while purging? How did you route the tubing past the lid seal? It doesn’t look like there’s a collar?
Ya, the kegs are outside the freezer. I just have the blow off hoses running out of the freezer lid. It makes a small crack but it works fine. It’s in my basement so it doesn’t have to cool things too much.
smidge off topic… anyone have trouble when purging kegs and getting them to seal? last kegs i purged went to 15psi set by a spunding valve and then removed. 2 weeks later no pressure. kegs were verified prior for no leaks. thanks
Hey Matt, Question on your closed transfer system. Looks like you let gravity move the beer down to the kegs and then the CO2 in the keg can be pushed up to the fermenter. Looks like with this system you dont’ have to “push” beer with pressure from a CO2 tank. How well does this work? How fast does it flow? What is that red/white connector in the middle of your beer line? I see you have two different stainless steel fermentors for this purpose. Do you like one better than the other? Thanks!
Tron, you are correct. It’s just a closed loop transfer using gravity. It works well. It takes about 15 or 20 minutes. The red & white thing’s are bouncer filters. They filter out particulate to prevent the poppets from clogging. Not necessary, but nice insurance. I like both fermenters quite a bit. I probably prefer the Delta Brewing Systems, Fermtank, but the Anvil bucket is pretty nice too. I would recommend either of them.
Thanks Matt!
“I then racked the beers into the naturally purged kegs” Can you please explain this method and parts used? Thank you.
Blow off tube > gas qd > keg > beer qd > tube into bucket. Keg filled with sanitizer gets pushed out into the bucket by co2 produced by the fermentation. Then the tube continues to bubble in the bucket of sanitizer until fermentation finishes.
I think this experiment should be repeated with a malt-forward beer, because you can’t really tell what no-chill method does to the wort with all the hop aromas and flavors covering it.
Hello, in this test, i feel something unfair.
You know by advance that the prolonged exposure of the hop to the warm wort will increase the bitterness and developps more dimethylsulfide. So, you should have been adapting your process :
– by having hops in a bag or hop spider (and remove before the transfer)
– reduce hop quantities (those for bitterness)
– Do a wilrpool to clarify the wort and reduce his temp down to 176°F before the transfer in the cube
…