Author: Brian Hall
Oxidation is one of the more common off-flavors found in beer and, aside from a full-blown infection, one of the more offensive. With flavor descriptors like wet cardboard, musty, and hard candy, it’s no wonder brewers work so hard to keep oxygen from damaging their beer, especially on the cold-side, once fermentation is complete.
Professional brewers have developed an array of methods and tools to keep beer as fresh as possible, and while homebrewers can’t replicate them all, many have begun to filter down. One vector of oxygen ingress is the suck-back that occurs during the cold-crash step, which can be accounted for by pumping CO2 at low psi into the fermentation vessel during this process.
Then there’s packaging, which is perhaps the riskiest point in terms of cold-side oxidation. An easy method brewers who keg have been using for years is to purge the otherwise non-purged keg’s headspace with CO2 once it’s filled with beer, then release it; this usually occurs 5 or more times to rid as much oxygen as possible. However, fearing this isn’t enough, some take things a bit further and fully purge the vessel of oxygen by using CO2 to push sanitizer out prior to filling it with beer.
I’ve been kegging with the headspace purge method for years and oxidation hasn’t been a big issue for me, but it’s hard to ignore the grotesque photos of purple NEIPA that pop up so often on beer and brewing forums. Inspired by a past xBmt demonstrating the negative impact cold-side oxidation has on NEIPA, I adopted the slightly more complicated full keg purge method, even when making styles that aren’t of the hazy-hoppy sort. Curious to see how the methods compare with a less notably sensitive beer style, I put it to the test with a pale lager.
| PURPOSE |
To evaluate the differences between a Czech Pilsner transferred to a keg fully purged of oxygen and the same beer transferred to an open keg that had the headspace purged.
| METHODS |
The recipe I went with for this xBmt was modeled after one of my favorites, pFriem Pilsner.
Rockin’ In The Free(m) World
Recipe Details
| Batch Size | Boil Time | IBU | SRM | Est. OG | Est. FG | ABV |
|---|---|---|---|---|---|---|
| 5.5 gal | 60 min | 35.4 IBUs | 3.5 SRM | 1.050 | 1.007 | 5.7 % |
| Actuals | 1.05 | 1.006 | 5.8 % | |||
Fermentables
| Name | Amount | % |
|---|---|---|
| Pilsner (2 Row) Ger | 9.625 lbs | 95.68 |
| Carafoam | 4.96 oz | 3.08 |
| Acid Malt | 2 oz | 1.24 |
Hops
| Name | Amount | Time | Use | Form | Alpha % |
|---|---|---|---|---|---|
| Perle | 17 g | 60 min | Boil | Pellet | 8.3 |
| Tettnang | 8 g | 60 min | Boil | Pellet | 4.2 |
| Tettnang | 21 g | 10 min | Boil | Pellet | 4.2 |
| Saphir | 14 g | 10 min | Boil | Pellet | 3.7 |
| Select Spalt | 14 g | 10 min | Boil | Pellet | 5.1 |
| Tettnang | 21 g | 10 min | Aroma | Pellet | 4.2 |
| Saphir | 14 g | 10 min | Aroma | Pellet | 3.7 |
| Select Spalt | 14 g | 10 min | Aroma | Pellet | 5.1 |
Yeast
| Name | Lab | Attenuation | Temperature |
|---|---|---|---|
| Global (L13) | Imperial Yeast | 75% | 46°F - 56°F |
Notes
| Water Profile: Ca 65 | Mg 0 | Na 0 | SO4 45 | Cl 40 | pH 5.5 |
Download
| Download this recipe's BeerXML file |
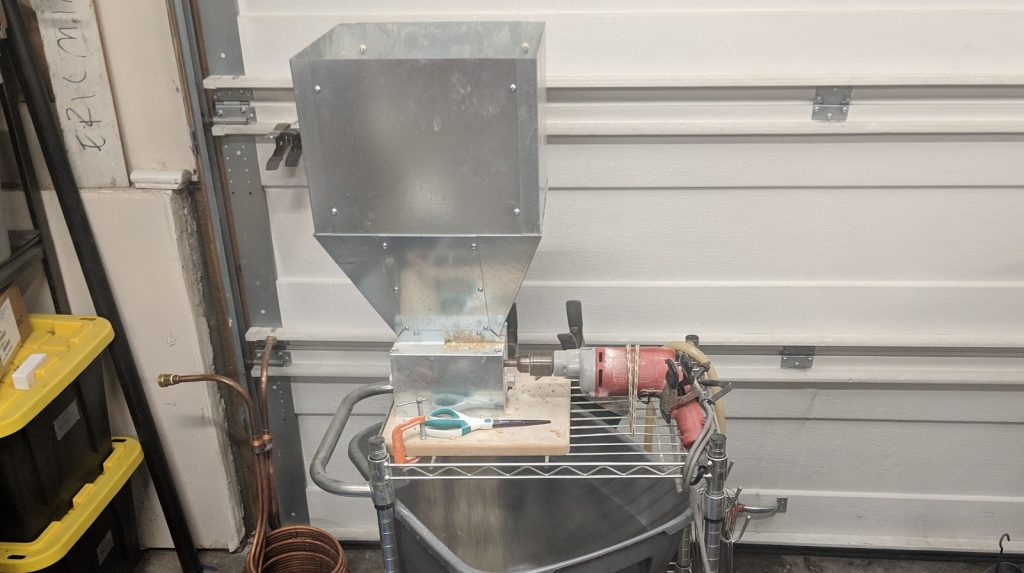
I started my brew day by lighting the flame beneath the water I’d previously adjusted, after which I weighed out and milled the grains for a single 10 gallon/38 liter batch.
In sticking with what I’ve heard pFriem does, I employed a step mash for this beer, initially hitting 142°F/61°C before ramping it up to 157°F/69°C for a second rest.
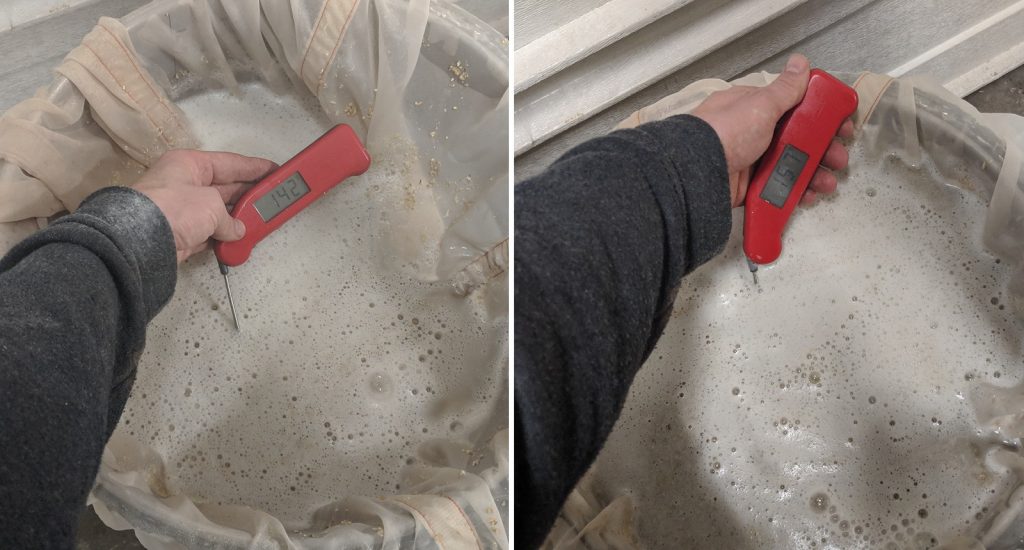
Following a 60 minute mash, I removed the grains then began heating the wort.
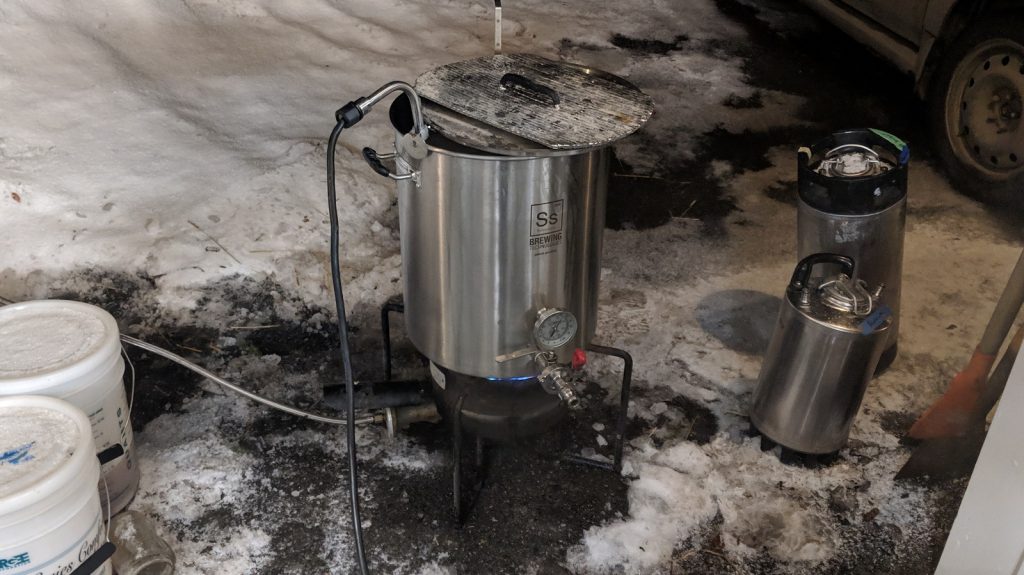
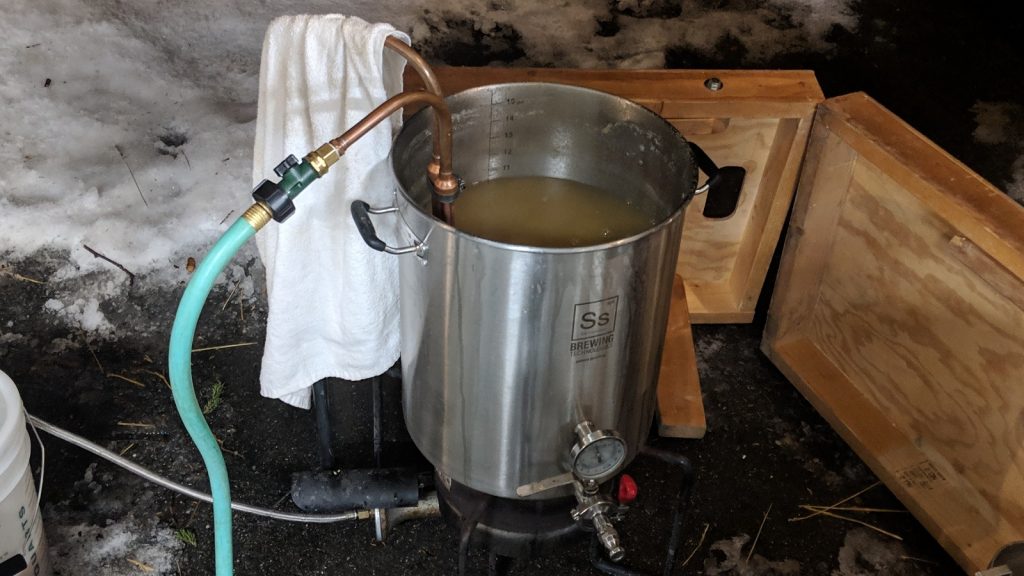
Following a 90 minute boil, I quickly chilled the wort.
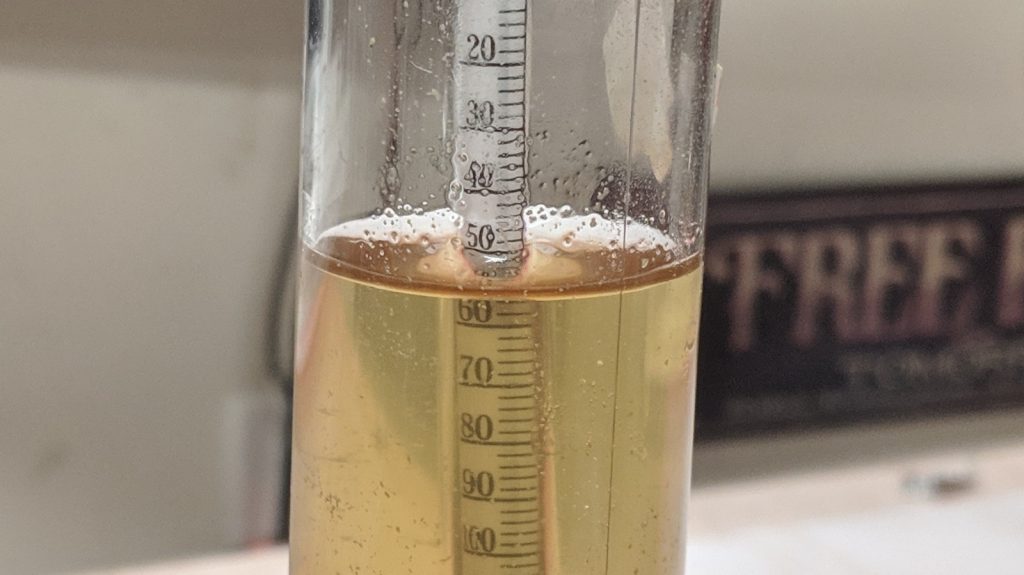
A hydrometer measurement confirmed the wort was at the target OG.
I let the wort sit covered in my cold garage overnight, returning 10 hours later to evenly split the clear, cool wort between identical Brew Buckets. After pitching a single pouch of Imperial Yeast L13 Global, I placed the vessels next to each other in my fermentation chamber controlled to 50°F/10°C.
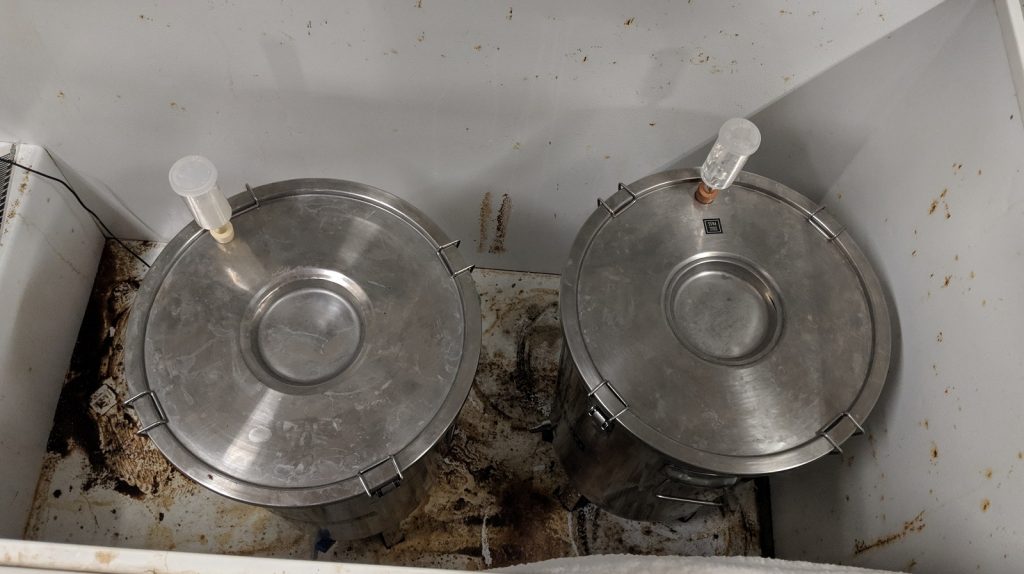
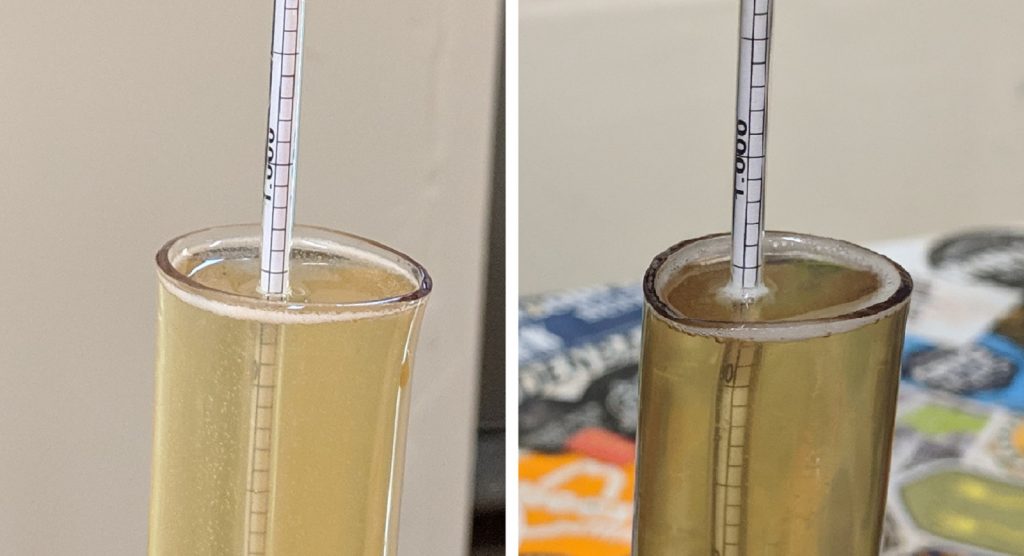
After 2 weeks of fermentation, I began raising the temperature in the chamber to 67°F/18°C for a diacetyl rest and to encourage complete attenuation. Hydrometer measurements taken a couple weeks later showed both beers achieved the same FG, indicating they were ready to be packaged.
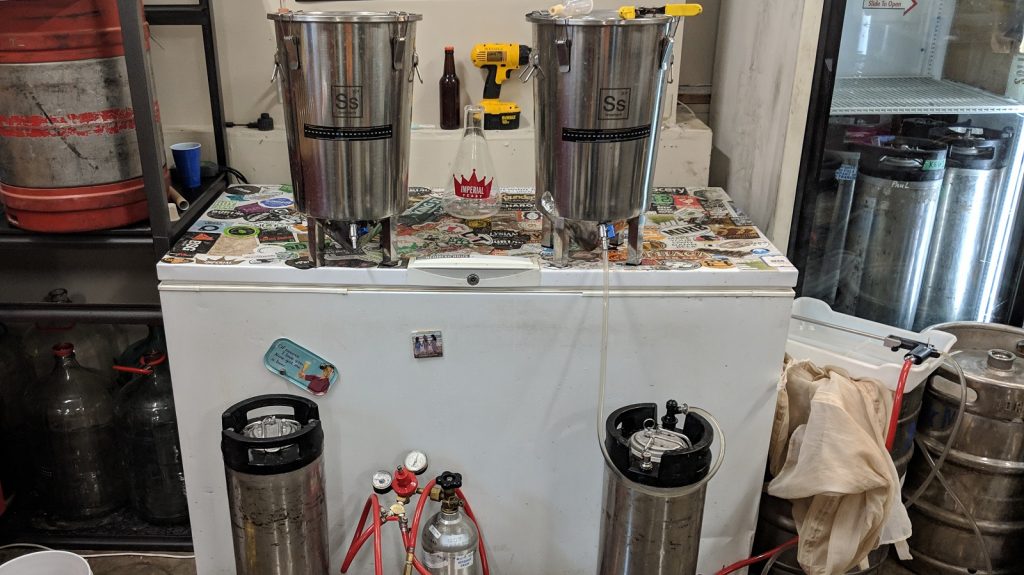
I racked the beer from one batch into a sanitized keg that was not purged of oxygen, leaving the airlock off of the Brew Bucket lid to allow air to be sucked in as the beer flowed out.
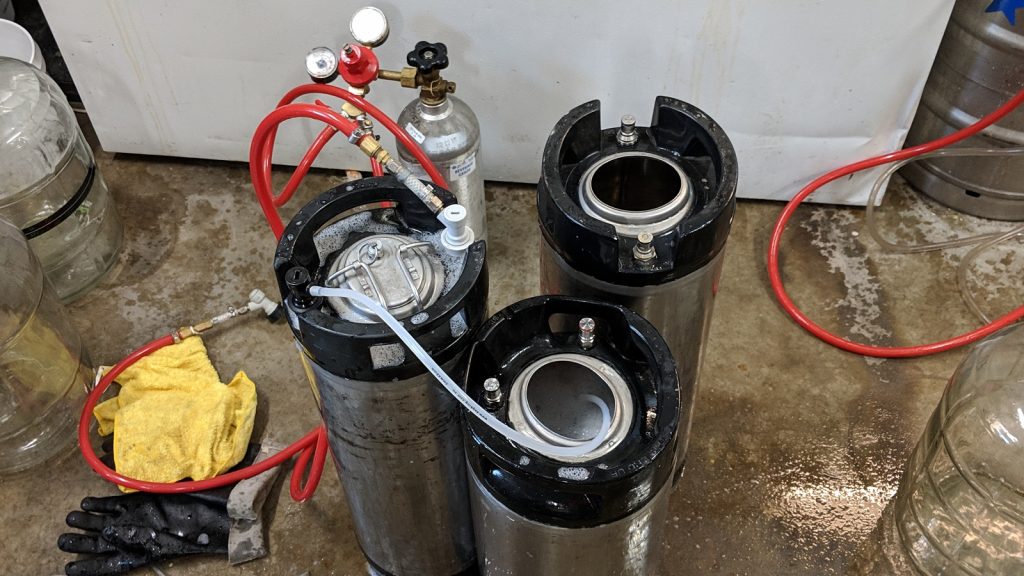
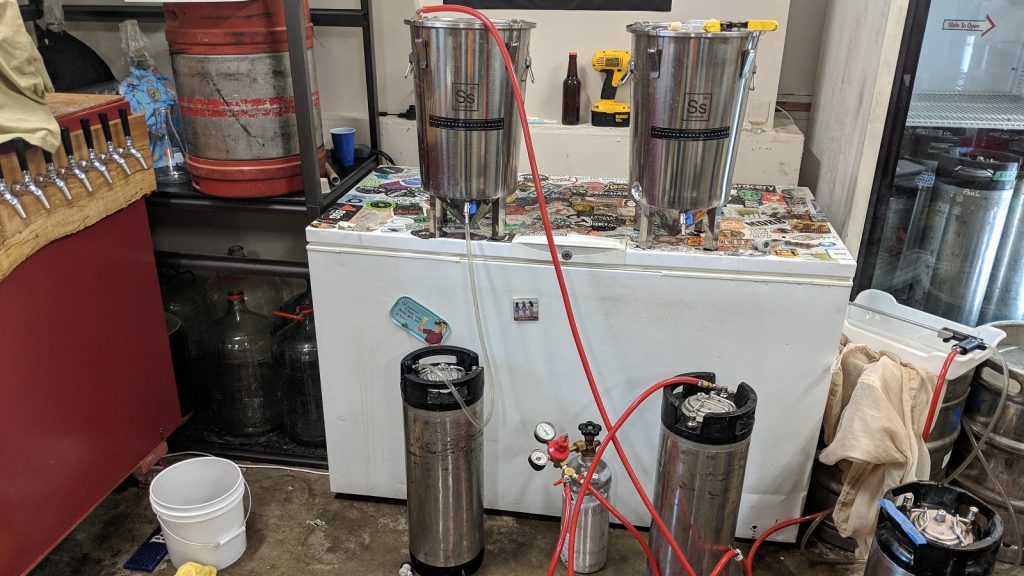
For the low cold-side oxidation batch, I first purged a keg by using CO2 to push sanitizer out of it.
Next, I pressure transferred the beer to the keg by pumping CO2 at low psi into the airlock hole on the Brew Bucket lid.
The filled kegs were placed next to each other in my cold keezer. At this point, I proceeded to hit the non-purged keg with 4 sets where they were left to carbonate and lager for a few weeks before they were ready to serve to tasters.
| RESULTS |
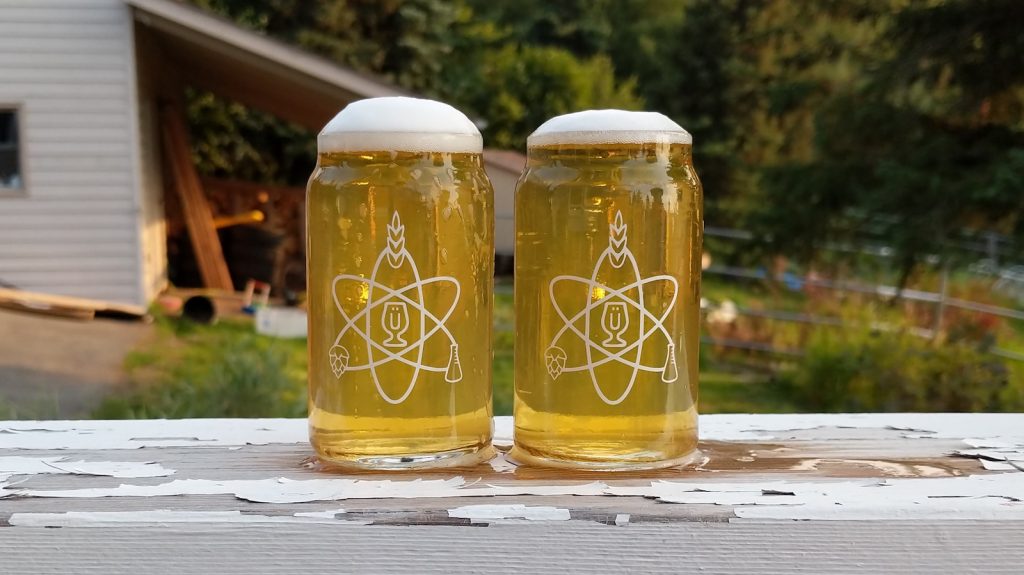
A total of 19 people of varying levels of experience participated in this xBmt. Each participant was served 2 samples of the beer kegged with little effort to reduce oxidation and 1 sample of the low cold-side oxidation beer in different colored opaque cups then asked to identify the unique sample. While 11 tasters (p<0.05) would have had to accurately identify the unique sample in order to reach statistical significance, only 6 (p=0.65) did, indicating participants in this xBmt were unable to reliably distinguish a Czech Pilsner pressure transferred to a keg purged of oxygen from one racked to a non-purged keg.
My Impressions: I was unable to tell these beers apart during any part of the process, even after a couple months of aging. They looked, smelled, and tasted the same every time I sampled them, which is evident by my inability to pick the odd-beer-out in various triangle tests. While not quite the pFriem clone I hoped for, this beer was still tasty and crushable.
| DISCUSSION |
The negative impact of cold-side oxidation has been given increased attention with the rise of NEIPA, but it’s still believed to be detrimental for all beer styles, hence the effort brewers employ to keep it to a minimum. The fact tasters were unable to distinguish a Czech Pilsner racked to a keg fully purged of oxygen from one racked to an open keg with a series of headspace purges suggests both methods were equally as effective.
In considering these results in light of those from a past significant xBmt looking at cold-side oxidation in NEIPA, one plausible explanation for these results is that certain styles are simply more sensitive to oxidation than others. Maybe it has to do with hop amounts, yeast strain, ABV, or something else entirely. That’s not to say a pale lager packaged carelessly won’t eventually start to show signs of detriment before one kegged using stricter methods, but it’s possible the effects of cold-side oxidation take hold more slowly in certain styles.
I’ve brewed a wide variety of styles using all sorts of kegging techniques, from siphoning out of a carboy into an open keg to fully closed transfers into purged kegs. Unlike others I’ve heard from, I haven’t noticed any major differences in terms of oxidation in my beers; they all look and taste similar to me. Maybe I’ve been lucky. Or maybe purging the headspace after filling is good enough. Either way, I still plan to use closed transfers when packaging beer, regardless of the style, because it’s cheap insurance.
If you have any thoughts about this xBmt, please do not hesitate to share in the comments section below!
Support Brülosophy In Style!
All designs are available in various colors and sizes on Amazon!
Follow Brülosophy on:
FACEBOOK | TWITTER | INSTAGRAM
If you enjoy this stuff and feel compelled to support Brulosophy.com, please check out the Support page for details on how you can very easily do so. Thanks!




26 thoughts on “exBEERiment | Cold-Side Oxidation: Purging The Keg vs. Purging The Headspace In A Czech Pale Lager”
Badass pics of (Alaska?) snow!! You are an animal brewing in those conditions. Keep on rockin in the free world. I bet your immersion chiller dominates hot wort.
I always rack my beer into non-purged kegs. Never had a problem with oxidation, but I do notice that I lose a lot of hop flavors as time goes by. Nevertheless I’m not a hop head so that doesn’t matter much to me. Great xbmt bro.
Early loss of hop flavour IS a sign of oxidation.
You should of tried this experiment on a heavily hopped NEIPA. I have used both methods and prefer to purge the keg for this style of beer. Even when just purging the head space, forcing the CO2 into the keg can force enough of the oxygen in the keg into the beer to cause discolouration. I now purge the whole keg before transfer and have beautiful pale coloured NEIPA to serve through out the summer.
This is the correct answer.
This is the correct response: https://brulosophy.com/2017/09/11/the-impact-of-cold-side-oxidation-on-new-england-ipa-exbeeriment-results/
I wonder if this result reflects more on the style of beer and the hops used than on the effect of oxygen on the beer. As a Brit brought up on cask ales, the best bitters I remember were always those poured straight from the cask or barrel, (often on trestles behind the counter) from a tap inserted into the end of the cask and with the breather hole loosely stopped with a wooden spile. The beer tasted best 2 or 3 days after the keg had been tapped. In other words the air getting into it was improving the beer.
It’s only since I re-started home brewing that I came across this idea of oxygen spoiling beer and indeed from my own experience especially with new world hops that I started to worry about what O2 was doing to my beer.
I have only used Tettnang out of the 3 varieties you’ve used so can’t speak from experience, but I suspect that had you done a classic American IPA with new world hops there might have been more of a detectable difference
Thanks for running this experiment! To save a little co2 when transferring to the purged keg, I run a line between the gas in of the purged keg and the airlock hole of the brew bucket–the beer and the co2 in the keg simply swap places 🙂
How long did the kegs last? Be interesting if you find you can start to tell them apart after 2-3 months.
German pilsner? Czech pilsner? Which is it? I’m confused! 🤣
I also used to do the simple headspace purge. The carboy and keg were thus both fully open to the air during transfer, then some burps of the keg. I use a slightly more advanced method now, but I too never had a problem with oxidation with the simple headspace purge, even for my gold-medal winning American lager. However, it’s rare that I have anything on tap for more than 4 to 6 weeks, which may not be enough time for any negative effects of O2 ingress to manifest. Commercial breweries use strict no-ingress procedures because they have to package a beer that could be sitting on a warm shelf for 6 months. We homebrewers don’t have that concern, and I know from experience that we can easily get away with being more relaxed about O2 ingress.
Hey, just wondering what the difference is between your two sets of 10 min additions that makes one an aroma addition and the other boil.
Aroma indicates whirlpool/hop stand addition. It’s confusing, I know.
Seems to be an error in the recipe, there are six 10-minute hop additions using the same hops twice.
The additions listed as “Aroma” are whirlpool/hop stand additions with a 10 minute steep, whereas those listed “Boil” are 10 min boil additions. This is how the plugin we use to share recipes labels them, which I acknowledge can be confusing.
Thanks so much for doing this on a pale lager! The relationship between VDK and diacytel showing up post-packaging is [largely?] a function of cold side oxidation. So even if you don’t taste diacytel at packaging, you can get above threshold levels in the packaged beer if o2 and VDK are present. I’ll keep going all out on cold side o2 reduction myself, but thanks for this important lager exbeeriment! (PS. Oregonian here – pfriem is a German Pilsner, not Czech. Some would even call it a hoppy American pilsner)
The “purpose statement” seems incorrect. Sounds like both were purged with CO2 the way it reads. How am I misunderstanding this? Thanks!
Both were purged. In one keg, only the headspace was purged, after filling. In the other, the entire keg was purged before it was filled.
Hmmmm, probably the worst beer you can do for this experiment… you mentioned “rotesque photos of purple NEIPA”.. sooooo why didnt you do a NEIPA? A pils will take alot longer to oxidise.
Here you go: https://brulosophy.com/2017/09/11/the-impact-of-cold-side-oxidation-on-new-england-ipa-exbeeriment-results/
Can you check the hop addition times for a typo? There are multiple entries of the same hop at 10 minutes.
It is quite common in a research setting to repeat an experiment with a well known result to test how good your experimental process is. If we do not get significance, we focus on what could be wrong in our process.
As an example of what could be improved, your tasting method is far from ideal, and it is even worse in hoppy beets like pils, as hop bitterness lingers in the palate for a while. I understand it is not easy to improve on it, but one must know the limitations of one’s process and list them out in your discussion.
Ricardo, Maybe you could suggest a better tasting method then?
From my perspective the chief ways I could see brulosophy improving would be by increasing sample sizes and by repeating experiments.
I’m not sure I agree with your objections to triangle taste testing without knowing a better alternative.
Neat! (And bubbles approved on hydrometer pics :))
What fitting did you use to connect the gas to the airlock hole on the fermenter? Great idea!
What sanitizer did you use to fill the kegs? Star San? Is there any concern there would be too much sanitizer left in the keg after purging it?
I would assume that the sanitizer solution still holds dissolved oxygen and that it would mix into the co2 at a very low rate while purging. Might as well just purge and forget about wasting copious amounts of sanitizer IMO. Would be interesting to do both methods and send a sample in a vacuum purged vial for a gas chromatograph analysis.