Author: Paul Amico
Like many homebrewers who have been at it for awhile, I’ve experimented with several different setups and approaches to streamline my process. After years of using a cumbersome 3-vessel system powered by propane, I gradually converted to a single-vessel brew-in-a-bag (BIAB) setup with natural gas as my heating source, which was a big step toward the simplicity I’d been seeking. While I tinkered with the idea of converting to electric years ago, my buddy’s electric heat exchange recirculating mash system (HERMS) intimidated me, it just seemed really complicated to me at the time.
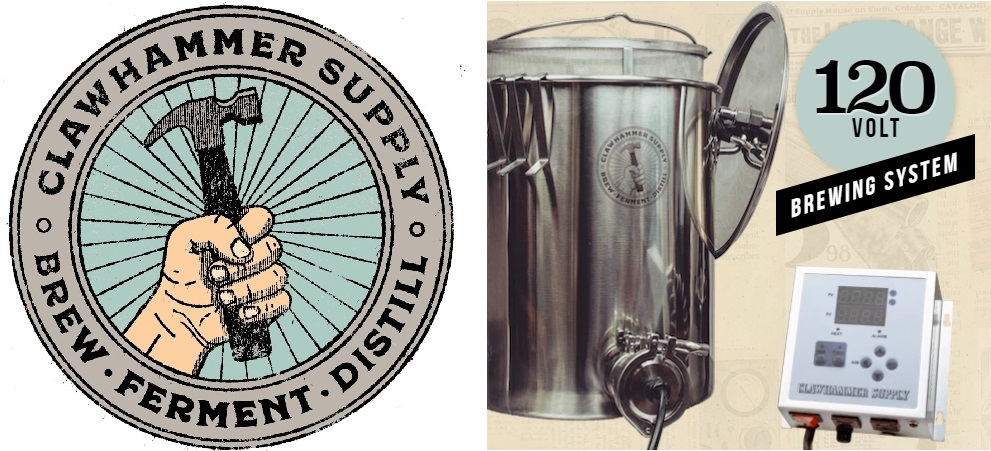
My interest in electric brewing recently spiked due to the number of new single-vessel systems I noticed hitting the market in the last couple of years. Admittedly envious of my friends who were bragging about how their eBrewing rigs simplified their brew day, I began looking into outfitting my garage with a 240v circuit, which I quickly realized wouldn’t be as easy or cheap as I originally thought. As such, I shelved that idea and considered other options, namely those that wouldn’t require an electrician. It was right around this time the folks from Clawhammer Supply reached out seeking a review of their 120v Electric Home Brewing System, a single-vessel rig modeled after the BIAB approach that can be powered with a standard electrical outlet.
I was initially skeptical, having bought into the notion that you would grow old waiting for water and wort to heat on a 120v system– my aim was to reduce my total brewing time, not extend it. So, I hit the web and found a bunch of videos on Clawhammer Supply’s YouTube channel showing the unit performed rather well, certainly better than I expected. Intrigued by what I saw, I agreed to put the 120v Electric Home Brewing System through the paces and provide a thorough review.
The product reviewed for this article was provided by the manufacturer in exchange for an honest review; no other compensation was provided. The opinions expressed in the article are solely those of the author and a concerted effort was made to approach the review from an unbiased perspective.
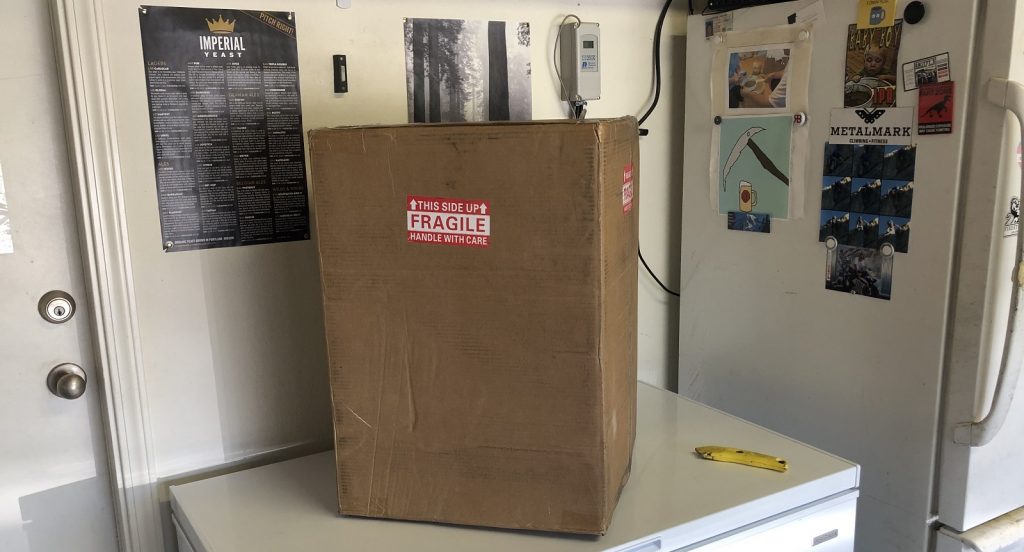
A couple of days after I said I’d take the leap, I got a shipment tracking email from Clawhammer saying that the system was on its way. A single box arrived a few days later.
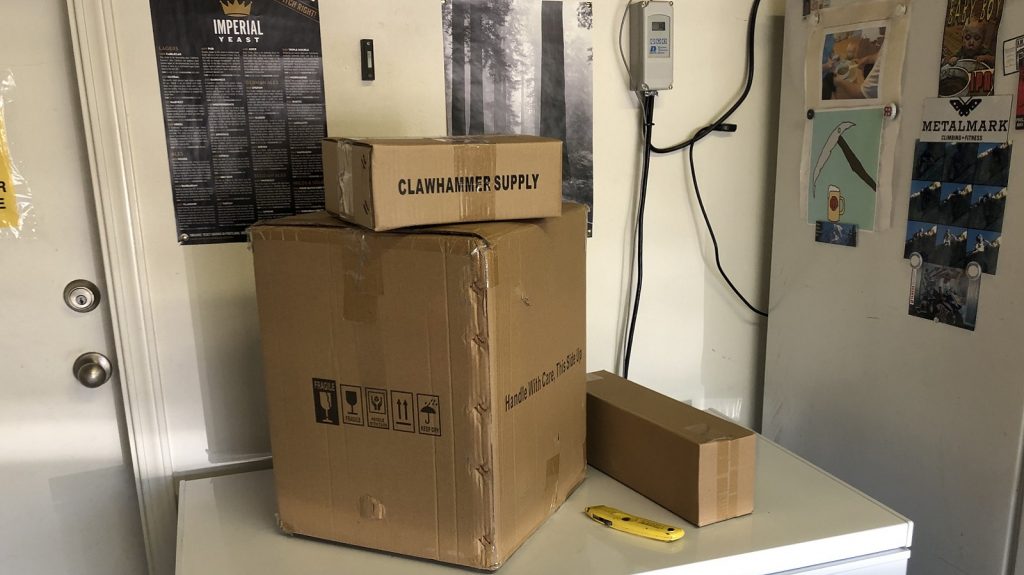
I opened it up to find 3 tidy and well packed boxes that contained the various brewing components.
So I set about unpacking everything and figuring out what I had.
Assembly
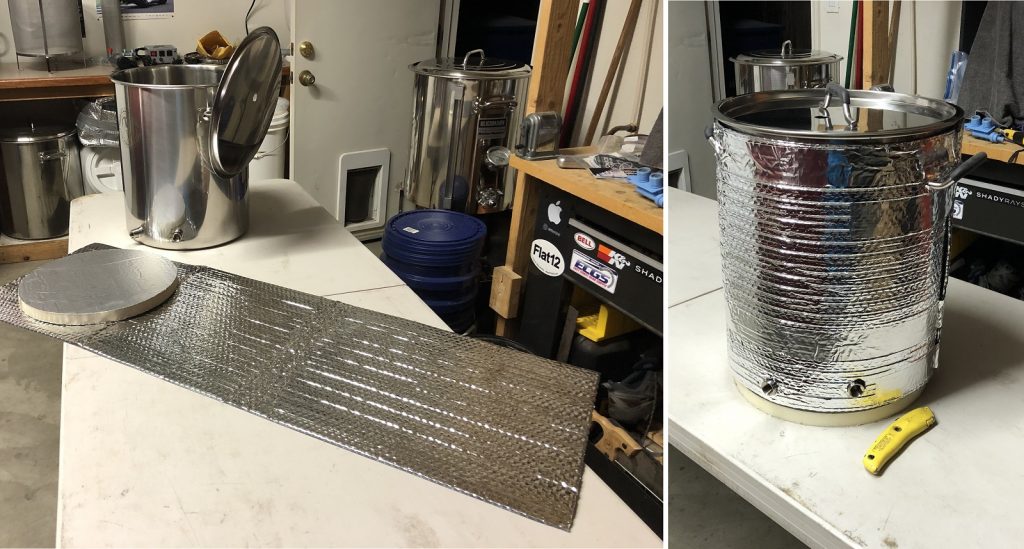
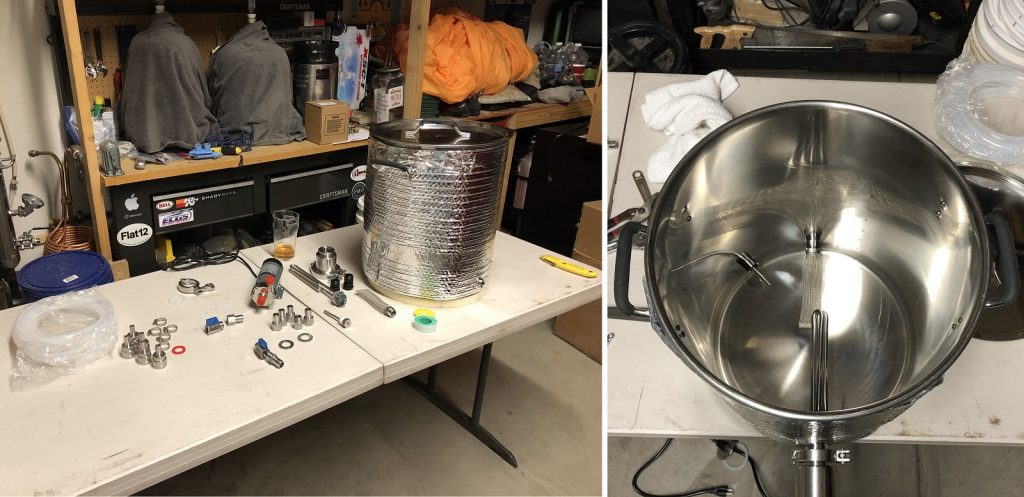
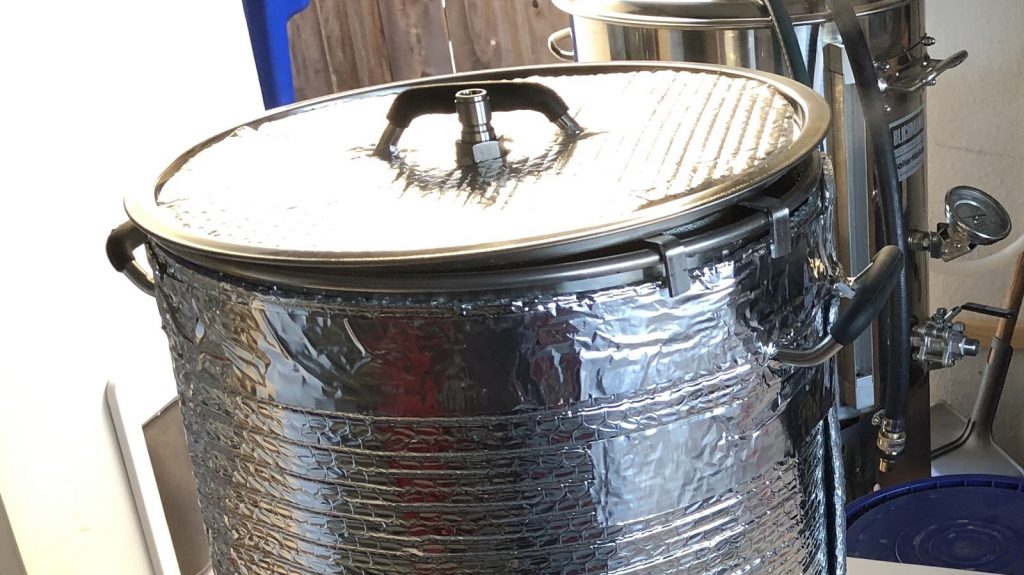
With the unit fully unpacked, I set my mind on putting it all together. Clawhammer sent me the insulation kit they highly recommended, and installing it was the first thing I focused on.
I then laid out all of the included parts, which was initially a bit intimidating, but the easy-to-understand instructions assuaged my fears.
I took my time to make sure everything was installed properly, including the 1650w element, which took only about 45 minutes to complete.
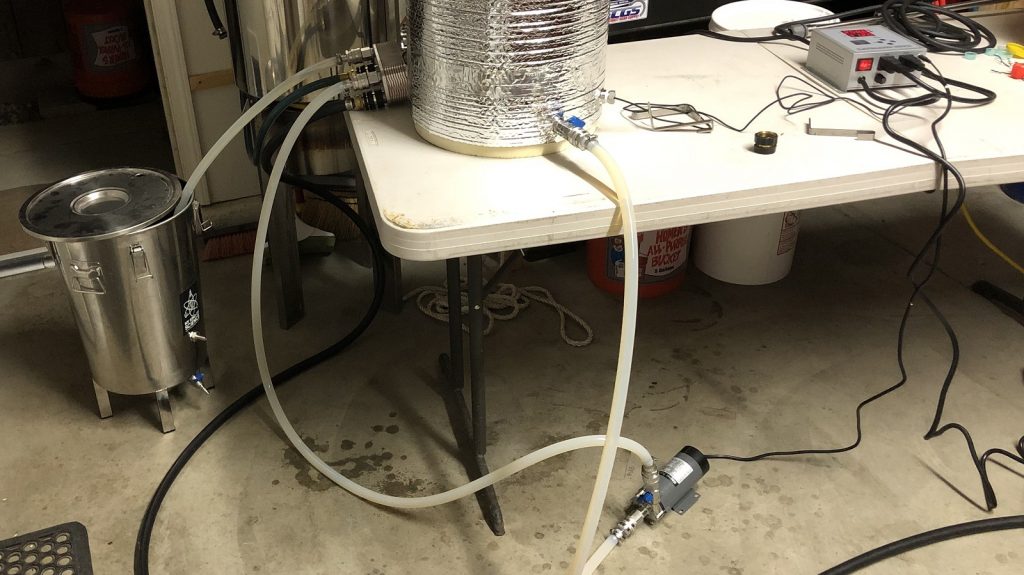
Next, I cut the ½” ID silicone tubing to the lengths recommended in the instructions then attached the female quick disconnect fittings to match the male fittings on the kettle, pump, and chiller (scrap 2×4 sold separately).
Having fully assembled the kettle, I shifted my focus to the brains of the system, a simple yet well-designed 120v Proportional, Integral, Derivative (PID) controller. This required little setup, and the instructions regarding how to use it were clear and simple.
At this point, the unit was ready for use!
System Performance
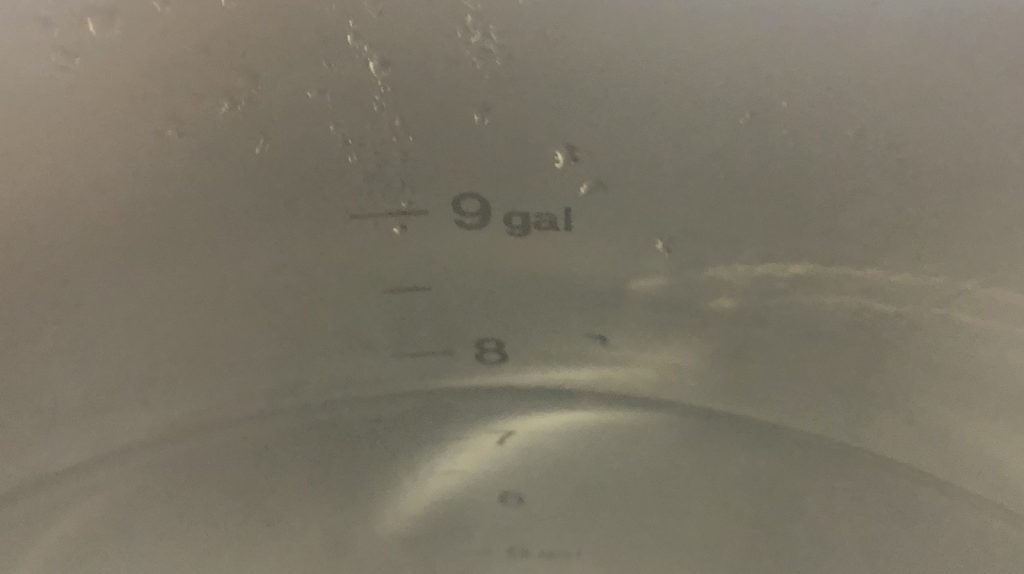
Immediately after assembling the eBrewing system, I filled the kettle with 7.5 gallons/28 liters of tap water, which the etched volume markings made very easy.
I let the water sit in the kettle overnight to ensure no leaks before firing up the controller for some timed heating tests. With the controller set at 100% and a starting temperature of 79°F/26°C, it took 58 minutes for the water to hit 152°F/67°C, then another 50 minutes for it to reach a rolling boil. Not too shabby for a fire-free plug-and-play solution! My next order of business was brewing a few batches of beer to get a good feel for the system.
For each batch brewed, I turned the controller first thing in the morning then proceeded to take care of other duties without fear of burning my house down. It’s during this time I weigh out and mill the grain directly into the included stainless mesh basket.
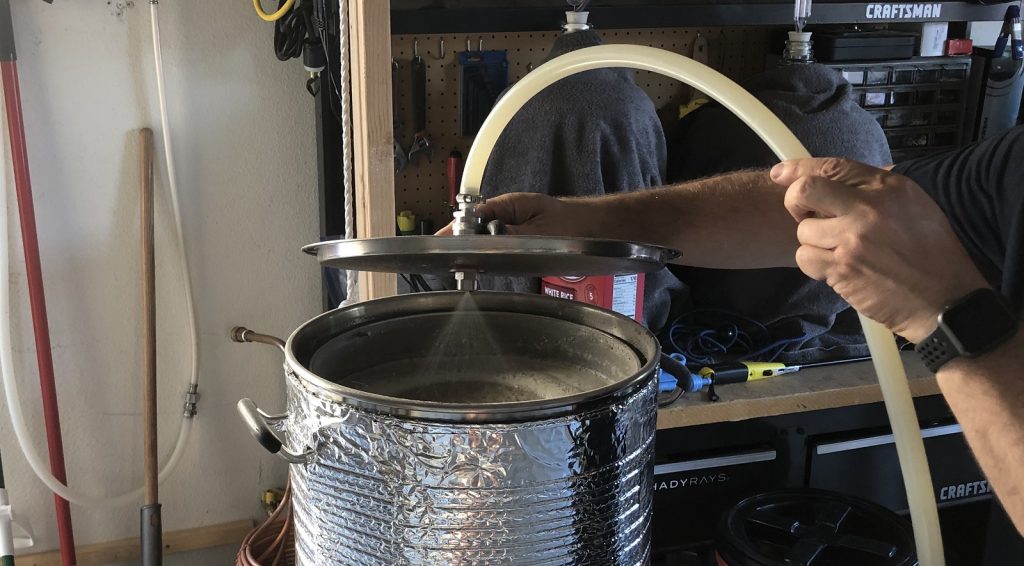
When the mash is fully incorporated, I set the controller to maintain my target temperature and turn the included pump on to recirculate the wort throughout the rest. The unit comes with a fitting on the lid through which the wort gets pushed and gently sprayed back into the mash.
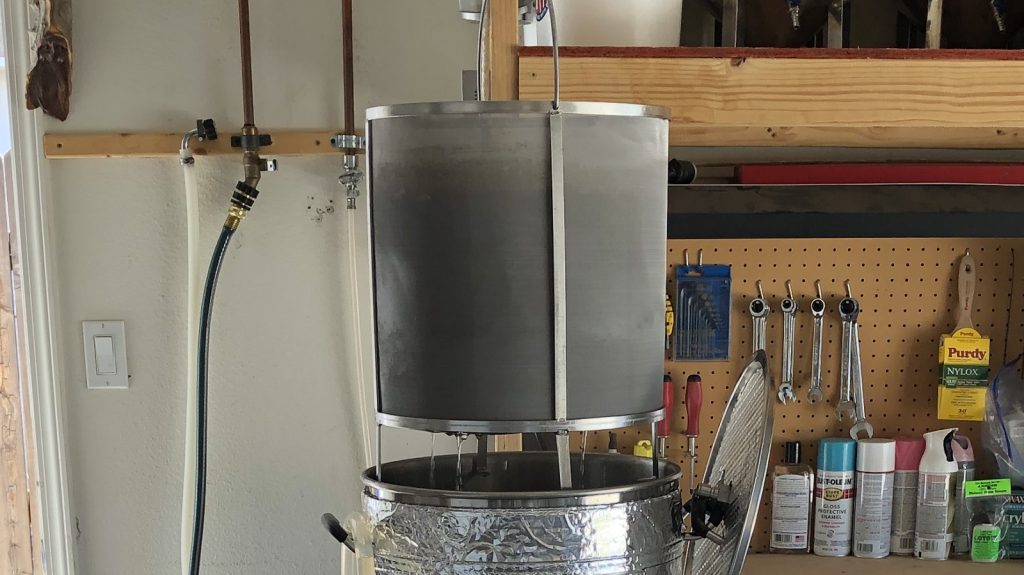
Following the mash step, the grain basket gets lifted out and set on the included clips, which have to put in place by hand, then allowed to drain. These work just fine, but since I already had a pulley setup in my brewing area, I use that instead. Next, the controller is set to bring the wort to a boil. Due to the unit being 120v, Clawhammer recommends keeping the lid in place in order to maintain a rolling. While evidence suggests this doesn’t lead to feared DMS formation, with the included hop spider in place, there’s just enough of an opening to allow steam to escape.
Maintaining a rolling boil is quite easy– once a boil is reached, just set the PID controller to 75% power, put the lid on, and let it rip. When the boil is finished, simply turn the power to the element off, get water flowing to the included plate chiller, open up the racking valve on the kettle, and engage the pump to transfer wort through the chiller into an awaiting fermentation vessel. I’ve consistently been able to chill 5.5 gallons/21 liters of near-boling wort to under 80°F/27°C in right around 7 minutes, which is pretty good considering Fresno groundwater temperature during the summer months.
All that’s left to do at this point is clean-up, which I do by first giving the kettle a good rinse before recirculating hot PBW through the pump, chiller, and tubing. After recirculating some clean water, everything is set out to dry and await the next batch.
| The Verdict |
Having had my mind set on a 240v electric brewing system for the last couple years, I was fairly convinced I’d be dissatisfied with the Clawhammer Supply 120v system, as I figured it would lead to long brew sessions. Turns out my expectations, driven primarily by the din of homebrewer bias, were quite a bit off. While heating times may have taken a little longer due to the lower voltage, the overall ease of brewing on the Clawhammer electric system is difficult for me to fully articulate. Suffice to say, I’ve brewed numerous batches on this unit and find myself appreciating it more each time. The small footprint alone is badass, I can fit the entire thing on a small rolling cart!
Indeed, the biggest drawback of this system is its lack of power, but considering it can be used with a standard outlet to make perfectly good beer in about the same amount of time as other gas setups, I’m not complaining. Another issue those concerned with hot-side aeration may have is the spray nozzle attached to the lid that wort gets pumped through during the mash. The simple fix here is to just not recirculate during the mash. The only other thing I can see people complaining about is the fact most of the fittings for the Clawhammer system are threaded, which is a bit more difficult to keep clean than tri-clamp fittings. Again, nothing I’m terribly concerned about, as I’ve only ever used threaded fittings on the hot-side.
At $900 for the base model, the Clawhammer Supply 120v Electric Home Brewing System is competitively priced and does exactly what it’s supposed to– make great beer. Being able to plug the unit into a standard outlet makes it ideal for apartment brewers, renters, or anyone who doesn’t feel up to running high voltage circuits. The all-in-one approach means less complicated brew days without sacrificing quality, and all of the included accessories work beautifully. Moreover, Clawhammer Supply provides ample resources on both their website and YouTube channel, both of which I’ve referenced numerous times, plus their customer service is tip-top.
The Clawhammer 120v Electric Home Brewing System is currently available for purchase at ClawhammerSupply.com. If you have any questions or thoughts about this product, please leave them in the comments section below!
Support Brülosophy In Style!
All designs are available in various colors and sizes on Amazon!
Follow Brülosophy on:
FACEBOOK | TWITTER | INSTAGRAM
If you enjoy this stuff and feel compelled to support Brulosophy.com, please check out the Support page for details on how you can very easily do so. Thanks!







41 thoughts on “Product Review | Clawhammer Supply 120v Electric Home Brewing System”
Looks like a really clever setup. I’m still leaning toward a 240V setup when I make my eventual upgrade, but you can’t argue with something that does a five-gallon batch in about the same time as three gallons on my stovetop.
Very low quality. Power unit Burns out in less than a year
I ran into an issue making a kettle sour when I ramped up the temp after holding it for a few days at 95 – the controller went dark. I looked at the fuse and couldn’t tell if it was burned out so I emailed Emmett. He got back to me right away with the correct fuse to replace it with and said if that didn’t work that he would send me a new GFI plug and instructions for how to replace it. I changed the fuse and it’s worked fine since.
Not sure if this addresses your comment about the quality. I don’t find that to be the case considering the price point and what’s included in the package.
Did this actually happen to you? What was the customer service like?
I’ve had this exact system for about 9 months now and have brewed 17 beers on it, thirsty cul de sac. I have never had off flavors in my beer from hot side aeration with the spray nozzle in the lid or from the formation of DMS. My brew day for a typical 5 gallon batch takes about 5-6 hours start to finish including cleanup. I start with hot water from my tap to knock off some of the initial lag time heating to mash temp. For the 5 gallon brewer this system is great. They also have a Kickstarter now for a larger system, 20 gallon vessel for the 10 gallon brewer, and they have both systems with a 240v option too. The system is well made and their customer service is second to none. This is a great system at a great price!!! With 2 small kids running around this system has simplified my brew day and allowed me to get back to brewing!
One could add a bucket heater, HotRod heat stick from Brew Hardware, use a Hangover to add another element, etc. Make sure it’s plugged into another circuit and time getting to strike temps and boil would be cut way down
Very thorough and fair review. I purchased the 240v system earlier this year and have completed a dozen or so batches with it. The simplicity is what really attracted me to the system and the small footprint. I had the option of going 240v power so I took advantage of it. Outside of heating times, your experience is identical to mine. I highly recommend the Clawhammer System to anyone looking to jump to all-grain or for experienced brewers looking to simplify with the ease of eBIAB.
What is your typical heating time?
About an hour to strike temp, and about 50 minutes to boil after mash is done.
What are your times with 240v?
Looks like a Frankenstein, I would go for a Grainfather instead of this…
The benefit here seems to be that it looks like it has almost all user-serviceable COTs parts, and is more modular (a consideration if upgrading later on) whereas the GrainFather, though very slick, might require some specific parts?
And this costs less.
How long did a brew take from start to finish?
If I heat the strike water the night before I can get a batch done in about 4 hours. Starting from scratch adds about 60-90 minutes, depending on how motivated I am and how fast I’m moving.
All in one units are cool, but one thing breaks, toss.
I did make a recommendation to Clawhammer that they should use either 45° or 90° elbows on some of the connections to prevent kinks. I’m a fan of camlock connectors over the type provided with the system, but that’s just personal preference.
Great review! as someone who does not use BIAB what is the maximum amount of grain you could mash at one time?
I haven’t used more than about 12 or 13 pounds in it yet, and there’s still some headspace in the basket and kettle. I would think I could get about 15 pounds in it.
Fantastic product and even better customer service. I’ve owned mine and have made well over 20 brews…i had compared this to GF and Spike but the simplicity, ease of cleaning and price point were all deciding factors. I did acquire the GF Conical Fermenter and am really happy with that.
I went with Foundry, I found it a better fit my requirements for a system. It’s half the price, double wall insulated, runs on 120 or 240, can be sparged, etc. I’m not sure I want to do an imperial on the Clawhammer since there is no way to sparge, so getting a gravity of 1.1 would be pretty inefficient. Having said that, there is something about a nice solid kettle with PID controller that is nice, I can see the draw. But having used my Foundry for a half dozen brews I’m really happy.
Pretty happy with my Gen 2 Robobrew and at half the price… but nice to see others giving it a go. Such an easier brew day than the old 3 tiered/vessel gas burner system.
The only thing that puts me off of the clawhammer system is the clips that hold the basket after mashing. If you brew solo as I do can’t imagine how you hold the basket up with one hand and place the clips in place with the other. Because you have a pulley in place you have conveniently side stepped what I consider the real weakness of the system.
I used them once and it wasn’t bad. My right shoulder is worked from years of climbing so I need to be careful with how I lift.
Very cool. I bought a similar setup from high gravity brewing (240v) and couldn’t be happier with the ease and simplicity of my brew day now. Brewing electric is a game changer.
I do not have the whole Clawhammer setup but I did buy the controller at least a year ago. I decided to build my own smaller set up to save money and do three gallon batches (total cost about $350-$400). Like others have mentioned, I couldn’t be happier with the decision. The controller works great. Brewing is extremely consistent and can be done indoors. One thing not mentioned in the review is the Clawhammer comes with a built in GFI switch which is extremely important for safety.
I agree with Lucas and Andrew about adding an element to cut boil times and the units being modular for repairs or upgrades. If I decide to upgrade for larger batches, I would either step up to 240v or use two 120v elements. Also important for those looking into ebrewing would be kettle geometry. Tall thin vessels like the grainfather seems to heat faster than short wide kettles.
Great review! As I am not a BIAB brewer, what is the maximum amount of grain you can mash at one time?
I’ve been doing 12-13 pounds and there’s room for more. I’m not a big imperial beer guy so I figure I’ll never run up against the limit
Thank you for a well written and thorough review. The Brülosophy product reviews are very helpful.
This system has been on my short list for when I upgrade from my 3 tier system. This review may have clinched it. Only concern I had was boil vigor and if that isn’t an issue than I’m good. I can live with ramp up times. I’d think setting it on a timer and waking up to water at strike temp would save some time.
But I’m looking for simplicity and a system i don’t have to babysit. Let’s face it…when you’re brewing/drinking poolside with friends…it sucks to have to get out of the pool to monitor fly sparge, boil vigor, boil-over. I want an easy button 🙂
I have this system and have done about half a dozen brews. The boil is fine. I’ve actually had to turn down the power to about 75 percent during the boil. If you want to speed up your Brew day add a HotRod heat stick. It’s not needed for the boil, but cuts the heat up times in half. Great product and great customer service.
Boil vigor isn’t a problem. I’ve tried it at up to 90% power with the lid on and found 75% power to be perfect to keep a rolling boil.
Their YouTube videos are kinda fun to watch. The older I get, the closer I get to purchasing one of these types of systems.
Great job on the review.
Hey, great review; I’ll probably bite the bullet just because of it. One detail: The link for the last picture is wrong. Cheers!
I have a robobrew v2 which just died and I’m looking for a replacement.
I would have liked to have seen the review mention the mash efficiency. For me the robobrew v2 is in the 50’s.
Also, is anyone attempting to sparge the grain in the basket? Is it practical?
If the basket is sitting on the clips, I dont see how you can easily measure the gravity to know when to stop adding sparge water.
I just double checked the last several batches and I’m consistently getting around 75% mash efficiency. Brewhouse efficiency is around 65%.
No sparging is needed with this setup since it’s BIAB. There isn’t enough volume in the vessel to sparge – you would need an extremely small mash volume, which wouldn’t work well. There are no drawbacks to the BIAB approach. The quality of the beer hasn’t been any different than when I used my natural gas setup with either the 3 vessel system or BIAB.
Hi – I am a complete rookie and am looking to buy my first home brew kit. Live in a small house, so I love the idea of an all in one system. Would this be too high-end of a system for me to start with? I also assume I’d need to buy their fermenting add on, and potentially a grain mill. Is that correct? Thank you for this great review
I think this system is actually perfect for a rookie, if you’re somewhat mechanically inclined, calm, and tenacious. Most of us started out extract brewing but the Clawhammer guys have given us a system that is well thought out and designed, and if you have and want to spend the money, get you straight into all-grain quickly and easily. I said all along during the evaluation process that this was perfect for people in apartments or houses where you can’t or don’t want to upgrade wiring.
The pump and chiller add a little bit of complication that inexperienced brewers might struggle with at first, but Clawhammer has a great YouTube page, and Emmet is super responsive to questions. You just have to jump in there and figure it out – it’s the adventure of homebrewing!
As for the other questions: fermentation add-on is a must and the insulation kit is highly recommended. Most homebrewers start with buckets and upgrade from there if the hobby sticks. You don’t need a grain mill – you can get milled grains from anywhere you buy ingredients. And I’d recommend getting kits from the homebrew shop until you figure out efficiencies, etc.
Good luck – it’s a great system!
Thanks, Paul. This is exactly my plan. Appreciate the advice!
Not sure why the commenter above didn’t leave the information about the fuse type for others >:( anyway, for future googlers, the replacement fuse for a Clawhammer Supply digital controller is an ABC 15amp / 250volt microwave fuse. There’s no way to tell if yours is blown based on appearance alone, you have to use a multimeter on it. But when mine blew the power switch was lit up when it was toggled on, but the display or anything else on the device didnt. It turned out to be because one of the leads on my heating element had somehow come lose (had to burn through a second fuse to find that one out) so make sure you check your equipment if replacing one works for you.
I’ve had this system now since January 2020. I absolutely love it and have brewed 21 5 gallon batches. I wish I had bitten the bullet and went with the 20 gallon 240v system, but only for efficiency of time/volume. I get the frankenstein comment someone posted earlier but this system is so easy to clean well and quickly.
I’ve been searching all over for the boil-off rate when leaving the lid on at 75% power, as is recommended. Can any of the posters please mention how much boil-off they are typically getting? Thanks!