This xBmt was completed by a member of The Brü Club as a part of The Brü Club xBmt Series in collaboration with Brülosophy. While members who choose to participate in this series generally take inspiration from Brülosophy, the bulk of design, writing, and editing is handled by members. Articles featured on Brulosophy.com are selected by The Brü Club leadership prior to being submitted for publication. Visit The Brü Club website for more information on this series.
Author: Todd DeLong
Even though lagers seem to be the dominant beer style here in the US, Ales seem to be the beer of choice for homebrewers. If you asked me why that is several years back, when I first started homebrewing, I probably would have said it’s because Ales are more flavorful and there is more variety in the style. Ask me today and I would say that it’s because the equipment needed to maintain the temperatures required to make a lager can be cost prohibitive.
Over time, I invested in the equipment needed to make lagers and have grown to appreciate them for their subtle complexity and the technique driven approach needed to brew them. But what if I didn’t have the equipment needed to control the temperature during fermentation? Or I didn’t have two and a half months to wait for the lager to finish? That’s where pressurized fermentation comes in.
| PURPOSE |
Evaluate the differences between a lager beer fermented under 1 bar of pressure at ambient temperature and the same beer fermented and lagered at a traditionally cool temperature at atmospheric pressure.
| METHODS |
The recipe I selected for this beer experiment is a Münchner Dunkel because nothing says “Summer” like a dark, bready German beer. Since I would be using WLP925 High Pressure Lager Yeast, I was concerned the pressurized batch might have an unfair advantage and reached out to White Labs, who responded, “Yes, it can perform without pressure, it’ll be normal lager fermentation times at that point.”
Münchner Dunkel
Recipe Details
| Batch Size | Boil Time | IBU | SRM | Est. OG | Est. FG | ABV |
|---|---|---|---|---|---|---|
| 5 gal | 60 min | 22.6 IBUs | 16.5 SRM | 1.054 | 1.008 | 6.1 % |
| Actuals | 1.054 | 1.011 | 5.7 % | |||
Fermentables
| Name | Amount | % |
|---|---|---|
| Munich Dark Steinbach Malzerei | 5 lbs | 53.69 |
| Pilsner (2 Row) Ger | 2 lbs | 21.48 |
| Munich (Dingemans) | 1.5 lbs | 16.11 |
| Melanoiden Malt | 9 oz | 6.04 |
| Carafa Special II (Weyermann) | 4 oz | 2.68 |
Hops
| Name | Amount | Time | Use | Form | Alpha % |
|---|---|---|---|---|---|
| Perle | 22 g | 60 min | Boil | Pellet | 8 |
Yeast
| Name | Lab | Attenuation | Temperature |
|---|---|---|---|
| HP Lager (WLP925) | White Labs | 78% | 62.6°F - 68°F |
Download
| Download this recipe's BeerXML file |
I made two yeast starters of WLP925 a few days before brewing.
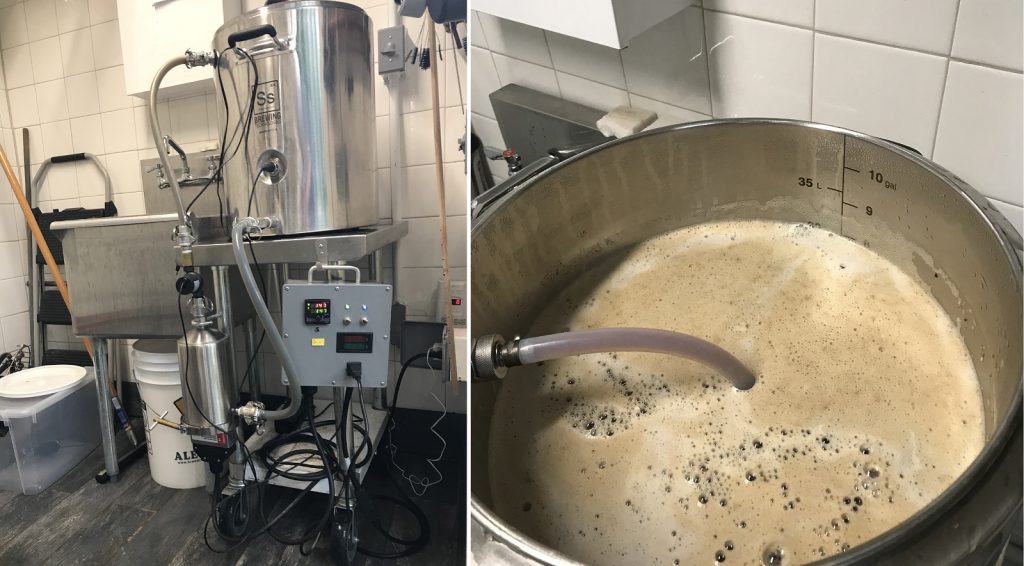
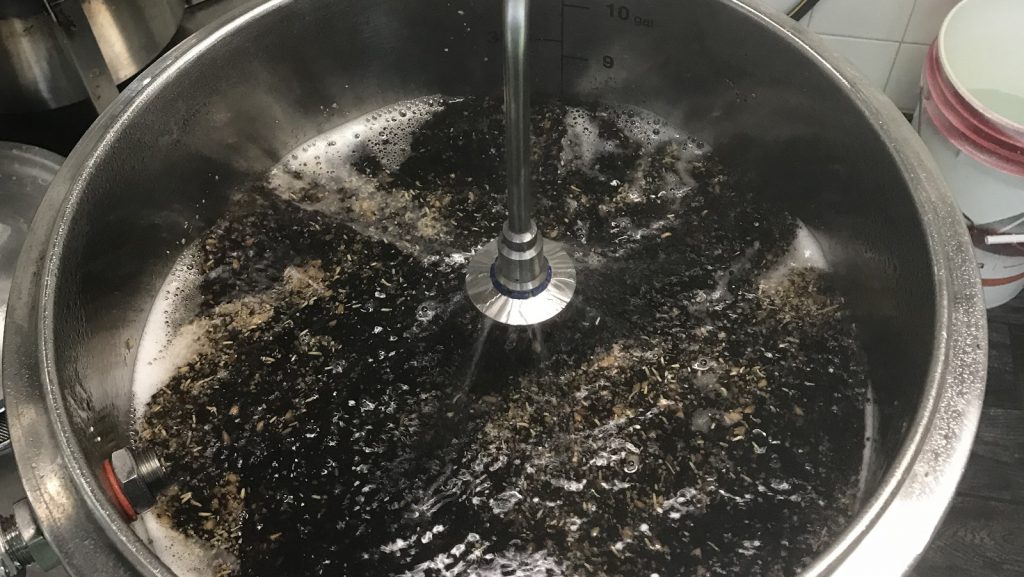
On brew day, I heated the water to strike temperature, mashed in, then set my RIMS to hold it at my target 147°F/64°C.
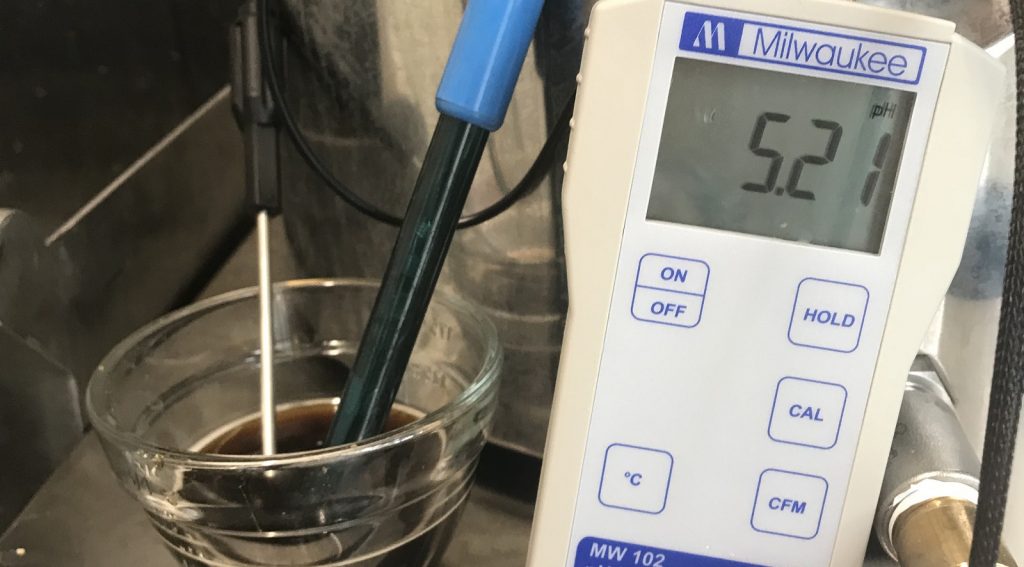
I tested the mash pH after about 25 minutes of recirculation and found it was a little below my 5.4 goal. Close enough.
After 70 minutes of recirculating, I began transferring the wort into my boil kettle while fly sparging to reach pre-boil volume.
The wort was then brought to a boil. Noticing less volume than expected with about 10 minutes left to go, I topped up the wort with some water, which resulted in an OG of 1.054.
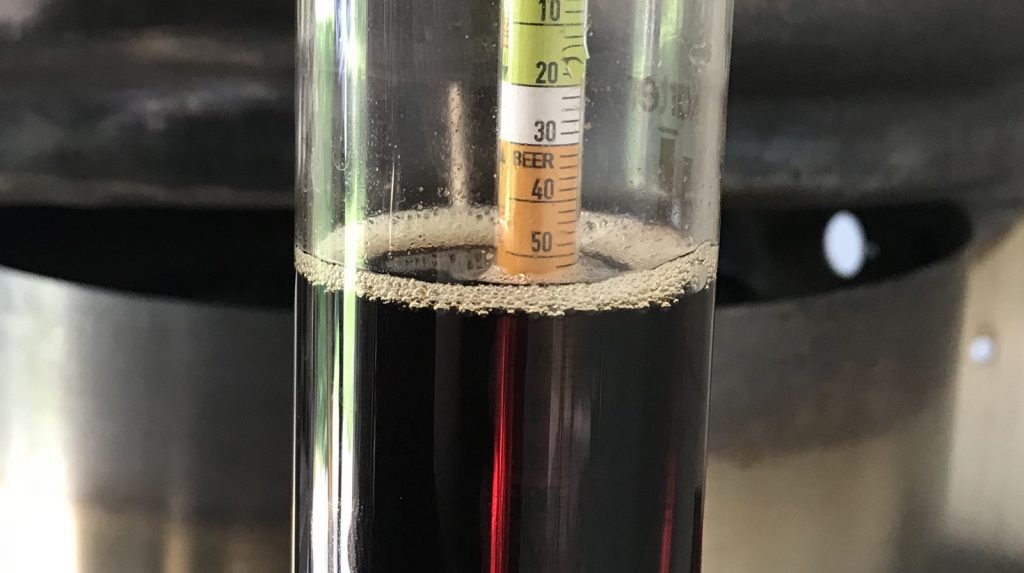
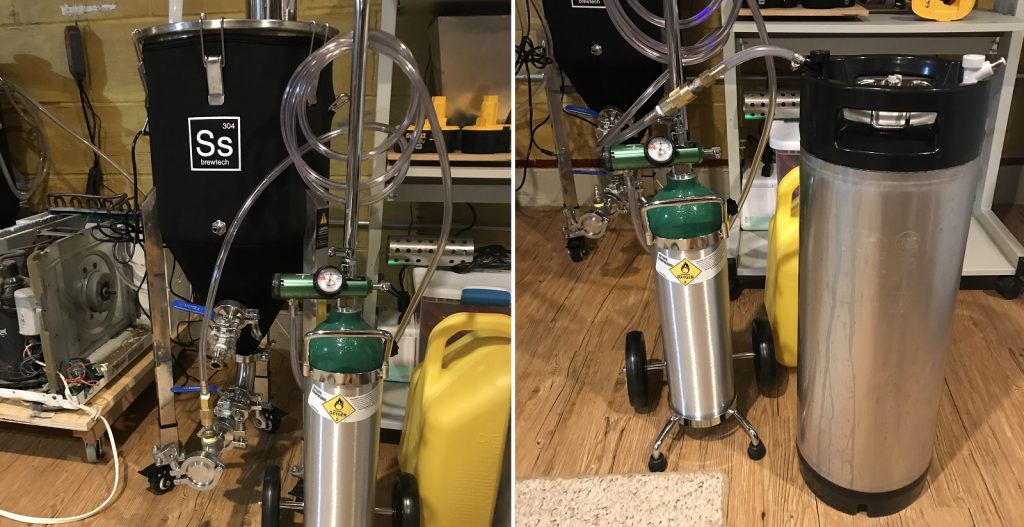
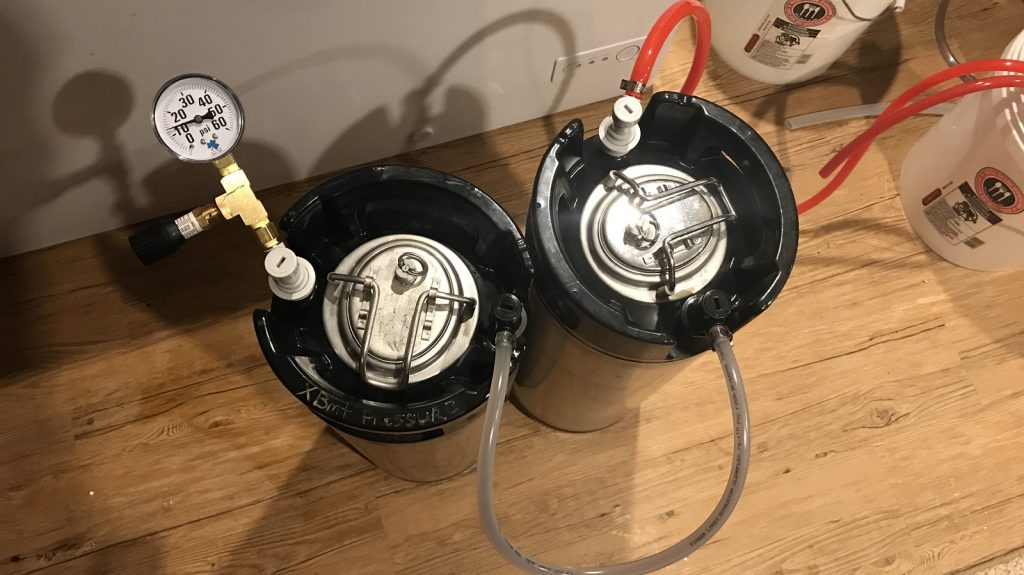
I transferred 4.5 gallons/17 liters of wort to a stainless conical fermentor and the same amount to a keg modified for pressurized fermentation. Both batches were dosed with 3 minutes of pure oxygen.
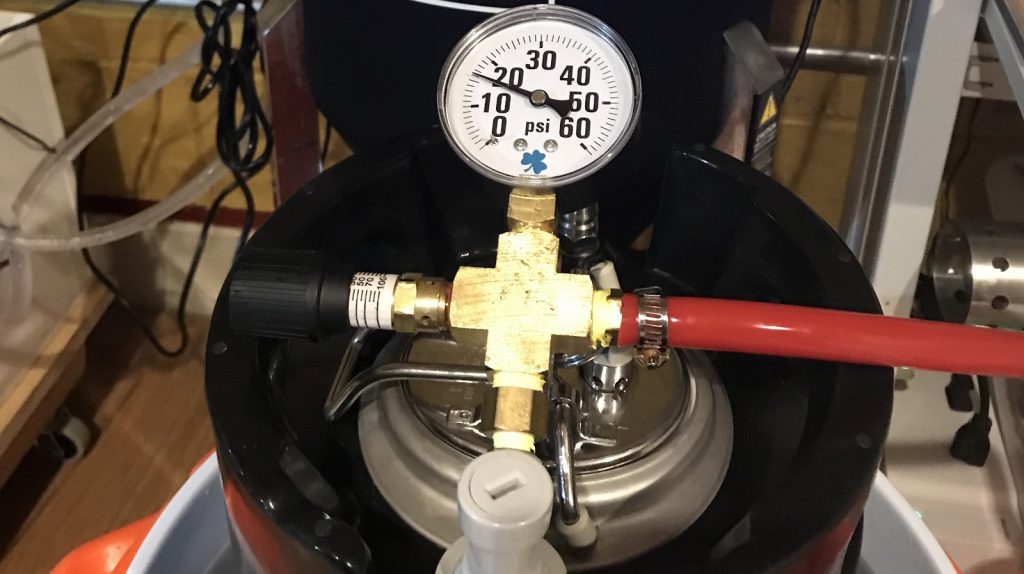
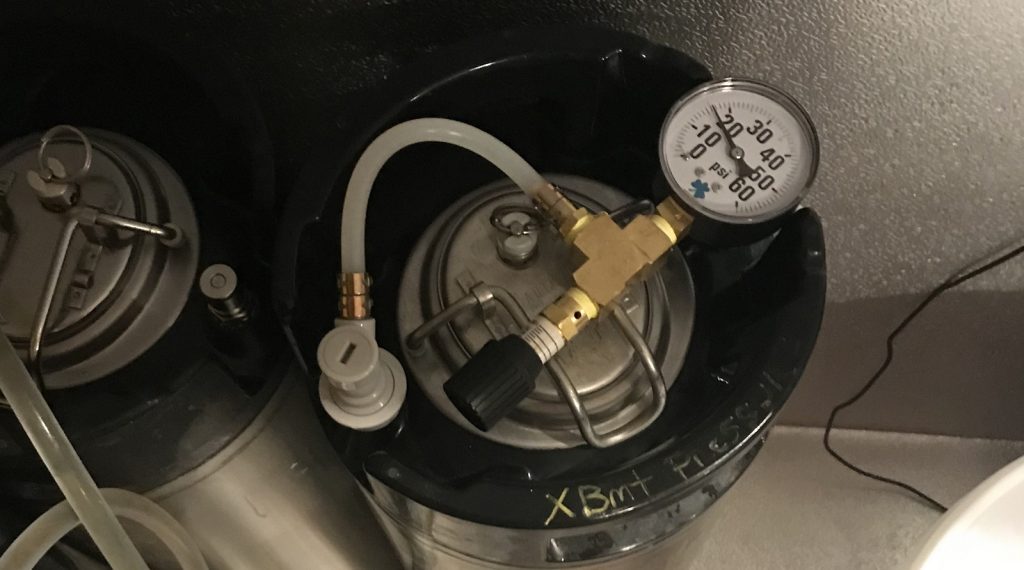
I used Tilt hydrometers to monitor the fermentation rate and temperature of each batch. I left both worts alone until the temperature of the non-pressurized batch reached 50°F/10°C, which is when I pitched the yeast starters. Based on White Labs’ recommendation to ferment WLP925 under 1 bar of pressure, which is approximately 14.5 psi, I hit the keg fermentor with 20 psi from a tank before attaching a spunding valve and slowly dialing the pressure down.
I had to readjust the spunding valve a couple times during the first 24 hours before it held steady. The pressurized fermentation batch took an early lead, despite the room being a little cooler than expected.
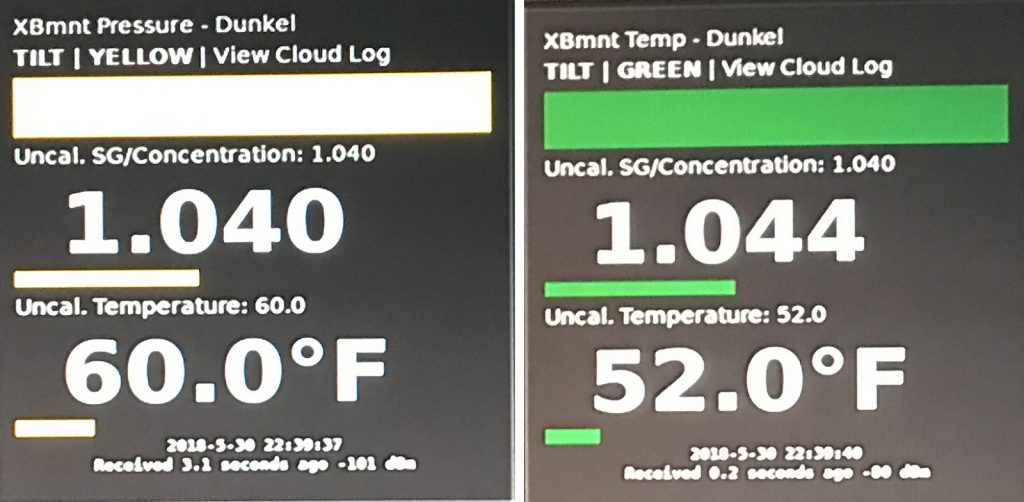
Both batches were actively fermenting at the 48 hour mark and by day 5, the beer fermenting under pressure had reached its 1.011 FG. I left the keg at room temperature for 3 more days for a diacetyl rest per White Labs’ recommendation then transferred it to a fresh serving keg. Because the beer had absorbed CO2, I pressurized and chilled the serving keg then used the spunding valve to act like a large counterpressure filler.
The filled keg was stored at 35°F/2°C under 15 psi for 5 days per White Labs recommendations.
After days 5 of lagering, I stored the beer at room temperature (62°F/17°C to 68°F/20°C) while the traditionally fermented batch finished up. After 12 days of fermentation, the traditionally fermented beer reached FG, at which point I raised the temperature to 58°F/14°C for a 4 day diacetyl rest. I then pressure transferred the beer from the conical fermentor to a keg and let it lager for 8 weeks, all while the pressurized fermentation batch sat at room temperature. Finally, both kegs were placed in my keezer to be chilled and carbonated.
| RESULTS |
A group of 20 people of varying levels of experience participated in the tasting portion of this experiment. Each participant was served 2 samples of the temperature controlled batch and 1 sample of the pressure fermented batch. Participants were given no information about the beer or experiment objectives. They were only asked to identify which beer was different. While 11 tasters (p<0.05) would have needed to correctly identify the pressure fermented beer in order to reach statistical significance, only 8 (p=0.34) chose the unique sample, indicating the beers were not reliably distinguishable.
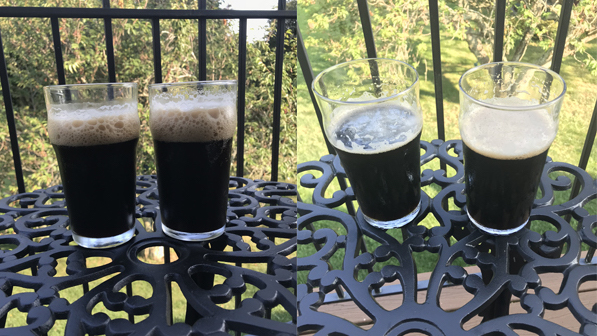
My Impressions: Curious to see if I could detect any differences between the two batches, I had my wife set up a triangle test for me to try and was able to pick the pressure fermented beer out pretty easily. Having poured 20+ servings may have given me a slight advantage, and there were also visible cues– head retention was the main culprit. Even though the head on each beer looked identical immediately after pouring, the beer fermented at standard lager temperature under no pressure lost it’s head completely in a short period of time. I also felt the version fermented warm under pressure had a bit more body. One of the participants, a professional brewer, noted that as the presurized ferment beer warmed, he detected a faint aroma of sulphur, which did not pick up on. But I do think the yeast had more contribution to the flavor of the pressure fermented beer as it warmed.
| DISCUSSION |
Fermenting lagers under pressure is said to mitigate the ill effects of warm temperatures by suppressing the formation of undesirable esters and phenols. The obvious benefit to this method is quicker turnaround of styles that typically require 4 to 8 weeks to ferment and lager, sometimes longer. This being the case, it would make sense that participants in this xBmt were unable to reliably identify a lager fermented warm under pressure from one fermented more traditionally.
However, considering the results from prior Brülosophy xBmts on lager fermentation temperature, it’s possible the lack of a consistently perceptible difference between these beers had nothing to do with the pressurized fermentation. White Labs markets WLP925 as “High Pressure Lager Yeast,” which to me suggests it has the ability to perform well under higher pressure, though as White Labs informed me, it can also ferment well in more traditionally cool environments. Is it possible this yeast just isn’t as sensitive to temperature as some think?
The apparent lack of differences between the beers suggests pressurized warm fermentation of lagers can be used to turn batches around quickly, plus it makes carbonating the beer naturally easy. I can’t say I’ll be using pressurized fermentation for lagers I brew in the future, though I definitely view it as another tool in my brewer’s toolbox.
| About The Author |
 Todd DeLong is a homebrewer from Long Island who has been brewing since 2013. His obsession with brewing started when his wife thought a $40 Mr. Beer kit would make a good Christmas present. Several thousand dollars later, she realized it probably wasn’t. Todds main focus in home brewing is building the equipment. Although good beer is always the end goal, it’s the journey to get there, the equipment, and the process that are his main focus.
Would you like to have your experiment featured on Brulosophy.com? Join The Brü Club today! The Brü Club is a growing community of curious homebrewers who regularly engage each other on topics important to us all. Membership is free and comes with all sorts of cool opportunities. Learn more at TheBruClub.com!
If you have any thoughts about this xBmt, please do not hesitate to share in the comments section below!
Support Brülosophy In Style!
All designs are available in various colors and sizes on Amazon!
Follow Brülosophy on:
FACEBOOK | TWITTER | INSTAGRAM
If you enjoy this stuff and feel compelled to support Brulosophy.com, please check out the Support page for details on how you can very easily do so. Thanks!




22 thoughts on “The Brü Club xBmt Series | Impact Of Pressurized Warm Fermentation On A Munich Dunkel”
Well done. The more people who do these experiments the better. It’s all about data.
Todd,
Awesome experiment and update. Also cool to see all your neat equipment. Got more details on your equipment anywhere on the interwebs?
Shawn
I’ve posted some info on the bruclub forums.
I’m working a heating and chilling using Peltier chips. I’ll probably post something on that when it’s done. Low cost and low voltage.
Interesting! But as you hint at in your discussion, you’re changing two variables at the same time here, (pressure and temperature). Which makes total practical sense considering that these sets of conditions are what homebrewers are choosing between: high temperature & pressurized vs. low temperature & unpressurized. Still, I think a more rigorous way of investigating these variables would be to isolate them and test one at a time (follow-up exbeeriments?!). By that I mean use the same strain at the same pressure at different temperatures, then the same strain at different pressures at the same temperature.
On the other hand, if both of those variables being different still did not lead to a statistically significant perceptible difference, maybe testing one at a time would just minimize any differences between the batches and lead to the same insignificant conclusion…
Yeah, you know that’s interesting point that you make about variables. I had my head wrapped around the process used by home brewers as you mentioned so I never really considered that.
I think the main take-away here is that you can brew a darn decent lager in 10 days with minimal equipment.
Thank you for a nice report. It would also be very intersting to see the experiment where you compare high preassure fermentation with no preassure on the same warm temperature. I personally find it hard to believe that high preassure has a significant impact.
Here are some past xBmts on pressurized fermentation:
https://brulosophy.com/2015/04/27/under-pressure-the-impact-of-higher-psi-fermentations-exbeeriment-results-2/
https://brulosophy.com/2015/09/07/under-pressure-pt-2-the-impact-of-pressurized-fermentation-on-saison-xbmt-results/
https://brulosophy.com/2016/06/13/under-pressure-pt-3-the-impact-of-pressurized-fermentation-on-lager-exbeeriment-results/
Is the caption on the photo of the beers reversed? They text says the head faded on the standard fermented batch, which is opposite of what is seen in the pic. Cheers!
Sorry, I can understand the confusion. The set of beers on either side of the picture are from the different batches, and in each set, the standard ferm is on the left and the pressure ferm is on the right.
Nice work Todd! I love these Brü Club xbrmts.
I was also confused (but I’m easily confused). The caption “Left: no pressure/cool | Right: pressurized/warm” seems like the left picture is showing the no pressure beer and the right picture is showing the pressurized beer.
Yeah, sorry about that. My bad. As Marshall pointed out it’s a little confusing, I should have labelled the actual beers in the image.
Basically the beer fermented using standard fermenting temperature didn’t maintain the head even though they poured the same. I’m not sure what would have caused this, or if it even matters, but it was an interesting side affect worth noting.
Where are you getting Steinbach? I haven’t seen that stateside before…
Where can you find Steinbach malt in the US? Haven’t seen that anywhere!
Well done on the experiment, I have only brewed under pressure so it is really interesting to see interest and feedback in this area, I have some really interesting data from brews at different pressure and temperature if anyone is interested? Results certainly show a reduction in esters and phenols when under pressure.
pressurized fermentation on lager taken to the next level…sort of
https://www.youtube.com/watch?v=dt_kQtdj_Qs&list=PLy-V1XECAyC7OgkO-ZLfcm3RoTKZBTfLP
I’m a big fan of WLP925. It makes a great lager, and it is ready to drink (carbonation included because of the pressurized ferment/lagering) in 2 weeks or so. I wish it was available year-round.
I’ve been meaning to experiment with S-189 in a pressurized ferment, since it has become my go-to dry lager strain.
Did both beers reach a final gravity of 1.011? It’s not super clear in the post, but I think is assumed based on what is stated in the recipe section about actual FG.
Do you feel the 8 weeks that the pressurized beer sat at room temperature had any effect on the end result, or could that entire 8 week period have been skipped?
There’s really no way to say for sure, but in hindsight I would say it probably did. If I was to do this again as an experiment I would do a few things differently. The recipe i choose was pretty forgiving because of the dark malts. I think I should have made something lighter.
As a side note, the other thing that probably had some impact is the forced carbonation versus natural carbonation. I’ve been brewing spiked seltzer using corn sugar and flavorings. In order to not tie up equipment I ferment them directly in a keg with a spunding valve to naturally carbonate. I stopped this practice and only force carbonate these seltzer’s now. There’s too much yeast flavor left behind even though I’m using EC 1118 for yeast. Forced carbonation leaves a much cleaner flavor.
Maybe that could be some ones next eXBEERiment.
Great xBmt Todd. Would have been very interesting to know what the pressurised version tasted like after 1, 2, 3, 4… weeks of lagering at room temperature? Cheers, Dan.