 Originally from Green Bay, WI though currently living in Denver, CO with his wife, son, and dogs, Jake Huolihan began regularly contributing to Brülosophy in the middle of 2016. Jake was the brains behind the Process Brewing blog where the primary focus was on sharing the results of the brewing experiments he and his friend Jeff were performing. Appreciating the work he was doing, it seemed like a natural fit when the idea of Jake joining Brülosophy came up, and since that time he’s become an integral member of the crew!
| ABOUT JAKE |
How did you get into brewing?
One of my wife’s college friends had recently started dating a guy (they’re married now) who knew I loved beer. He was brewing quite a bit and invited me over to brew an extract with steeping grains clone of Pliny The Elder, which he knew was one of my favorite beers at the time. Pretty much immediately after that brew day, I began researching and bought my own stuff. I was definitely hooked.
What was your first batch and how did it turn out?
I started out using the extract with steeping grains method because that was how I learned to brew. My first batch was a Brown Ale kit I picked up at The Brew Hut in Aurora, CO that was fermented with Danstar Windsor yeast. I was so interested in the process of making beer that I ended up designing and brewing a couple more batches before my first was even ready to drink. They turned out alright, certainly not show stoppers, but a good start.
How did you get involved with Brülosophy?
I discovered Brülosophy when researching Kölsch yeasts to use for a Spotted Cow clone, stumbling on Ray Found’s xBmt comparing a couple popular strains. Having done a few xBmt-like comparisons on my own prior to this, I was pretty jacked that others were doing it too and sharing their results. One of the common responses we give when people question a result or vehemently claim they would’ve detected a difference is to suggest they repeat the xBmt on their own and have someone serve them the beers for a blind triangle test, which is funny to me because that’s what I started doing with a couple friends. After posting the results of some more focused experiments to a blog we started, Marshall reached out to say he liked what we were up to, which eventually led to an offer to join the crew. It was a pretty easy yes.
What xBmt has surprised you the most?
It’s not even close– fermentation temperature. Like many, I’d become convinced fermentation temperature was the single most important aspect of producing great beer, something I’d picked up from countless books, podcasts, and forum posts, not to mention my own anecdotal experience. After reading the first couple xBmts on lager fermentation temperature, I felt pretty confused and decided to brew a few warm fermented lagers on my own. To my surprise, the beers tasted no different to my palate than those fermented at traditional lager temperatures. I’m not sure this would hold true for every strain, but suffice to say I’m a little ashamed of my history of rote regurgitation of fermentation temperature dogma.
Have the xBmts influenced your current brewing perspectives?
Most certainly! The biggest influence on my current process is related to the importance of water quality, particularly ion concentration. For much of my brewing life, I simply used unfiltered tap water, which looking back I’ll never really understand– we don’t even drink unfiltered tap water in my house, why would I use it to make beer? With the consistently significant results of our water chemistry xBmts, I’ve accepted that de-chlorinated tap water is a bare minimum to producing consistently great beer, though I’ve gone quite a bit further than that. These days, I typically start with RO water, adjusting it with acid for pH control and minerals to achieve my desired ion profile.
Many other xBmts have influenced my perspective in some way, mostly reminding me, “Hmm, maybe I shouldn’t give XYZ advice to people,” or at least preface it with something like “it might matter, try it out for yourself.”
What are your 3 favorite styles of beer?
German Kellerbier or Lager
When I first got into craft beer, my favorites were mostly from New Glarus in Wisconsin, not only the fruited sours they’re most known for, but their lagers as well. Once I started brewing, I realized many of these great beers were modeled after traditional German lagers, and a trip to Germany with my wife’s family solidified my undying love this family of styles.
British Bitter
During college, I spent time studying abroad in England and Scotland, during which many a pint were consumed. Out of the many nights my fellow classmates and I spent in the pub grew a strong appreciation for English ales, especially British Bitter, the thought of which I’ve developed a sort of Pavlovian response to.
California Common
I’m not sure where or when I first had a California Common, but it’s definitely become one of my favorite styles for the way the flavors come together perfectly, balancing maltiness with rustic hops. I love it.
What are your favorite ingredients?
Malt: Pilsner malt
With one of my favorite styles being German lager, I brew a bunch of it and rely heavily on a Pilsner malt base. The lightly kilned malt lends a nice cracker character that I’ve found works equally as well in pale lager as in common ale. I’ve found it to be very versatile.
Hops: Saaz
A classic noble hop I find myself using in most of my lager beers, I really love the floral tones Saaz imparts when added later in the boil and even in the dry hop. Some of my best beers were hopped with Saaz.
Yeast: Imperial Yeast L13 Global
This yeast, which is said to be sourced from the Weihenstaphener Brewery, is my favorite because it is so insanely versatile and reliable. Whether fermented at 48°F/9°C or 70°F/21°C, this strain cranks out crisp, clean beers with no off-flavors. In addition to lagers, I’ve used Global to make ale and cider as well, and it turns out an amazing product every time.
What’s your desert island beer?
The amalgamation of sweet English malt with earthy hops and a slight yeasty ester make Bass Pale Ale my go-to beer above all else. As much as I love a simple lager, if I had only one beer to drink the rest of my life, this would have to be it.
What music do you listen to while brewing?
I don’t usually listen to music while brewing since I usually brew Saturday mornings, but instead watch Chelsea (or any team that’s not Arsenal or Tottenham if the Blues aren’t on). Alternatively, I sometimes listen to podcasts if soccer isn’t on, my favorites being Pardon My Take, My Favorite Murder, Stages with Lance Armstrong, or Men in Blazers depending on what’s in the queue.
As far as music goes, my all-time favorite band has to be Five Iron Frenzy, I’ve seen them live quite a few times and was even lucky enough to catch their New Year’s Eve reunion show in Denver a few years back. Ska may be dead but not for me! Other than that, my tastes lie in 90’s rap and the Decemberists.
What else do you enjoy doing besides brewing?
My biggest passion hobby outside of brewing is cycling. I have a couple vintage bikes I ride and like to build them in my spare time. I am a huge fan of Taylor Phinney and Lance Armstrong.
If you could go back, what brewing advice would you give yourself?
Filter your damn water!
| BREWING GEAR & PROCESS |
I initially brewed using the extract with steeping grains method before moving to all-grain using a converted cooler MLT and boil kettle similar to what many homebrewers use. This setup worked great and produced some awesome beers, but looking for greater control and some simplification in process, I recently built the eBIAB system I’m using today. My typical brew day is in many ways similar to most.
Pre-Brew Preparation
I start by designing recipes in BeerSmith then, once that’s set, use the Bru’n Water Spreadsheet for water profile adjustments and the BrewUnited Yeast Starter Calculator to determine starter size.
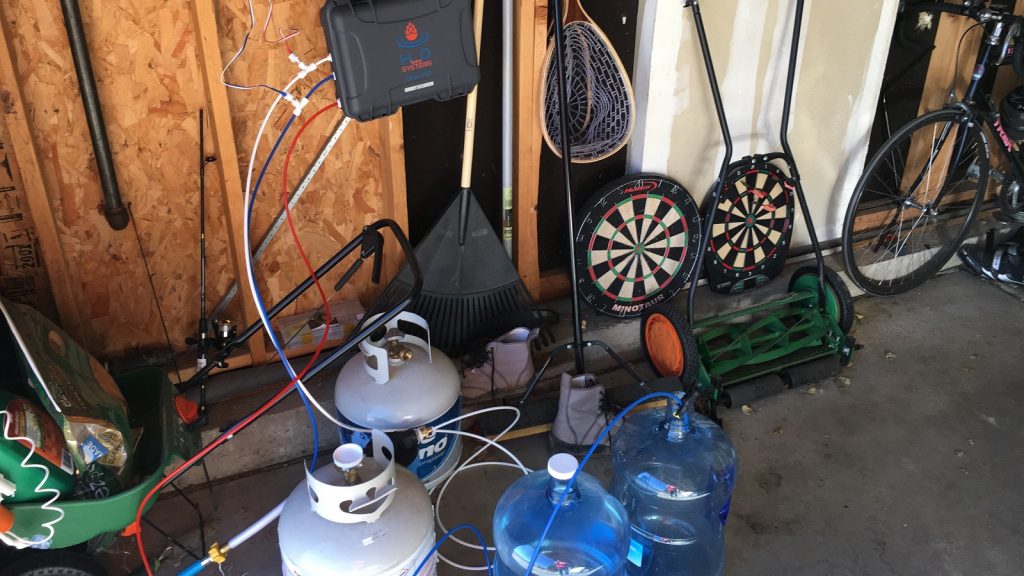
My tap water being as hard as it is, I rely on a HbrewO RO filter to ensure a blank slate and usually collect my water the day before brewing, as it can take some time.
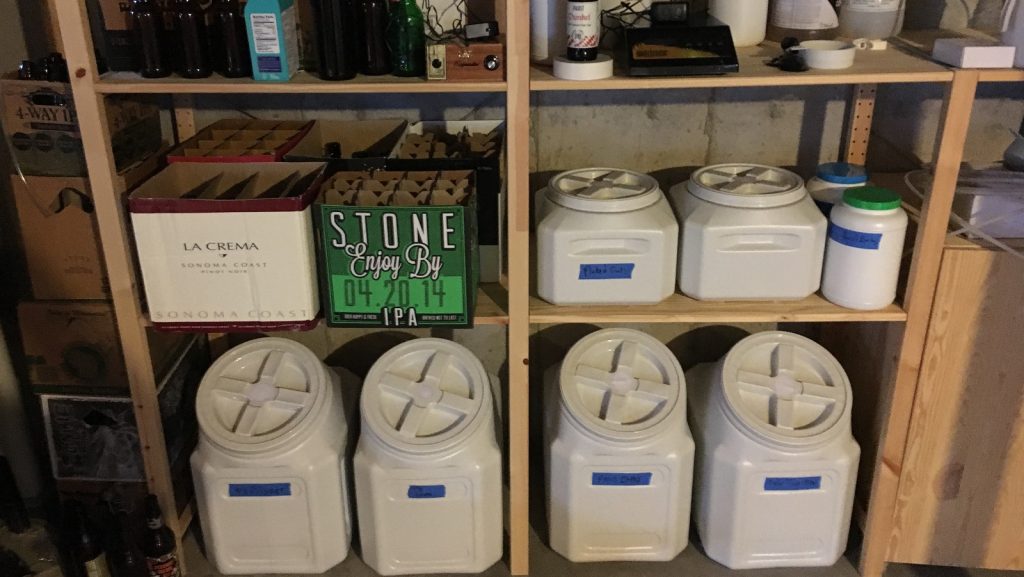
While the water is filtering, I typically begin preparing the grains, which I keep stored in Vittles Vault containers in my basement.
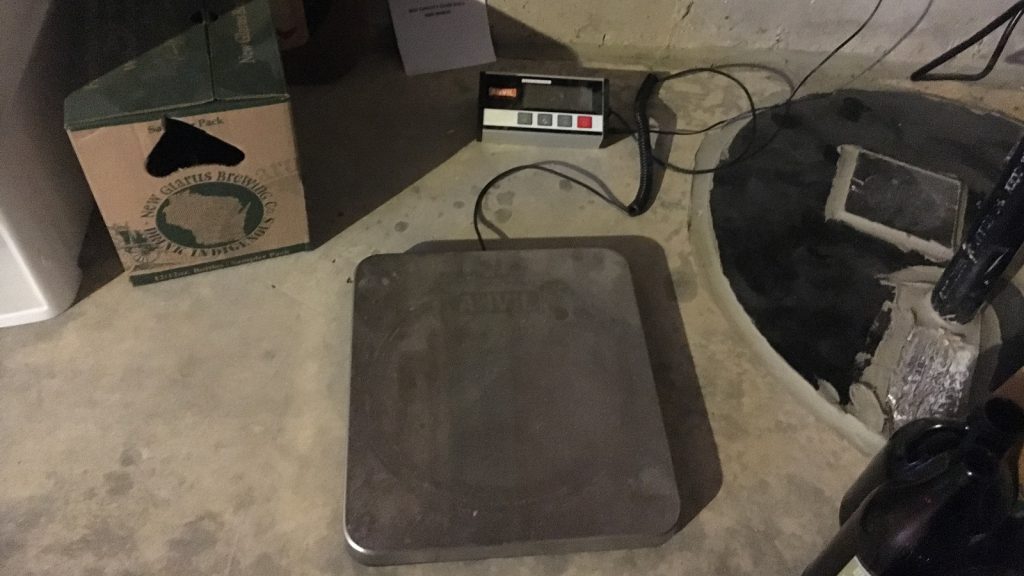
I use an Anvil Large Scale to precisely weigh out the grains for each batch.
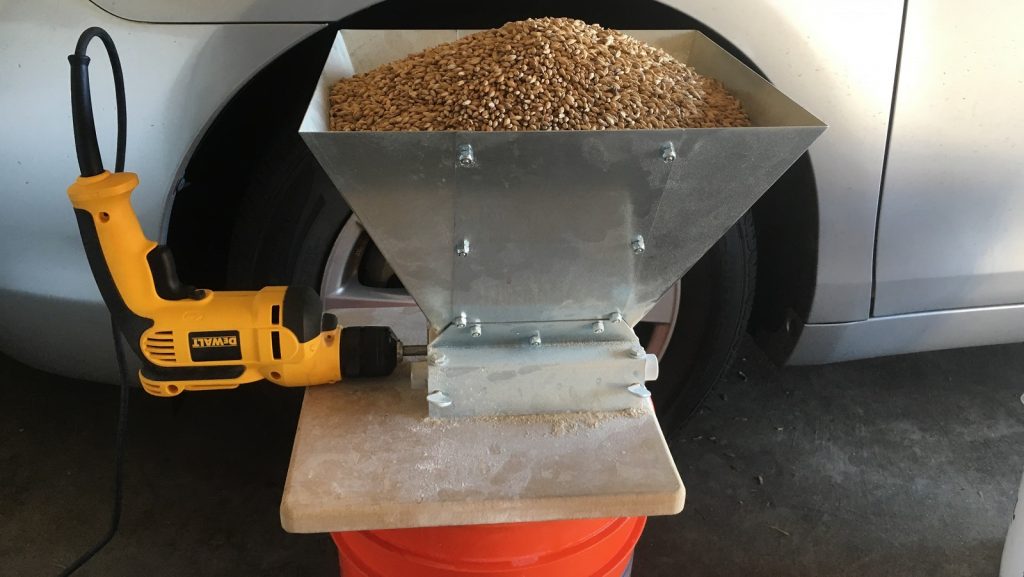
I mill the grain, either the night before or morning of brew day, using a Monster Mill MM2, which is a beastly piece of equipment.
Depending on the style and age of yeast, I’ll make a yeast starter in either a 2 liter or 5 liter flask 1-3 days ahead of time, spinning it on a Maelstrom Stir Plate.
Brewing
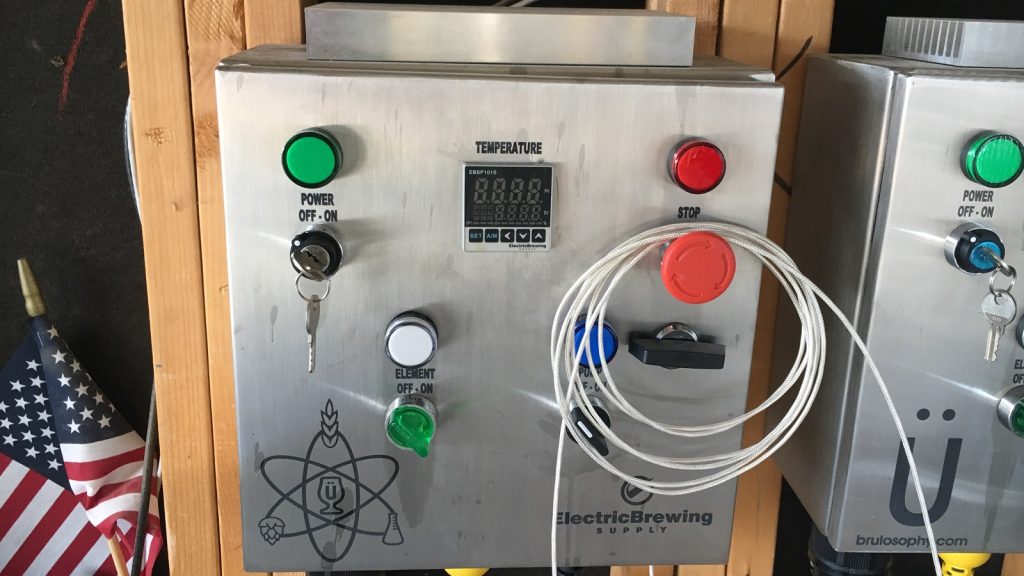
It’s pretty standard for me to wake up early in the morning to brew, which always starts with the heating of brewing liquor. In my recent upgrade, I bought two 30 amp electric panels, one for each kettle to make side-by-side xBmt brewing possible.
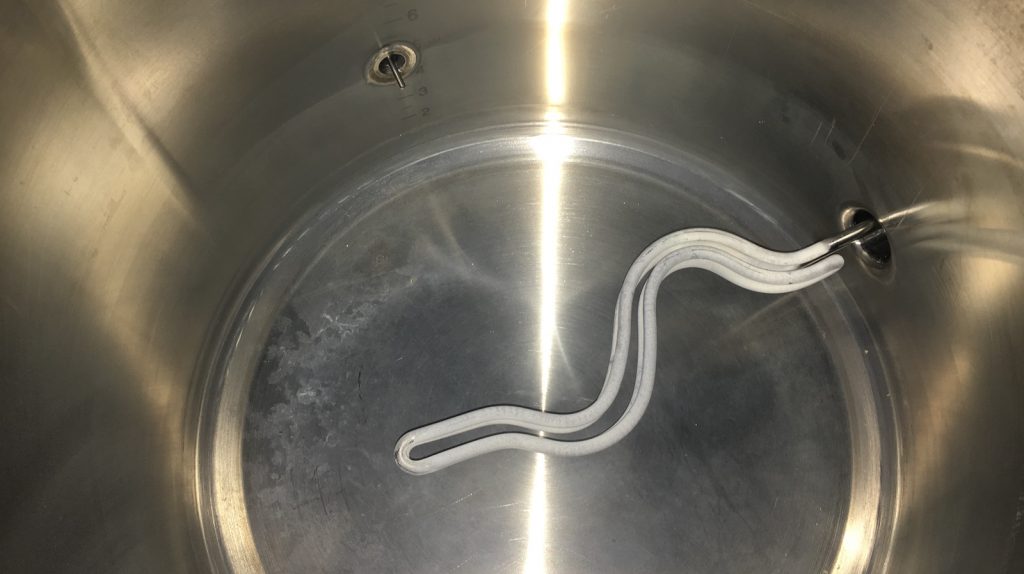
I also had my two 20 gallon Spike V3 Brewing kettles retrofitted with 5500 watt elements that are independently controlled by each panel.
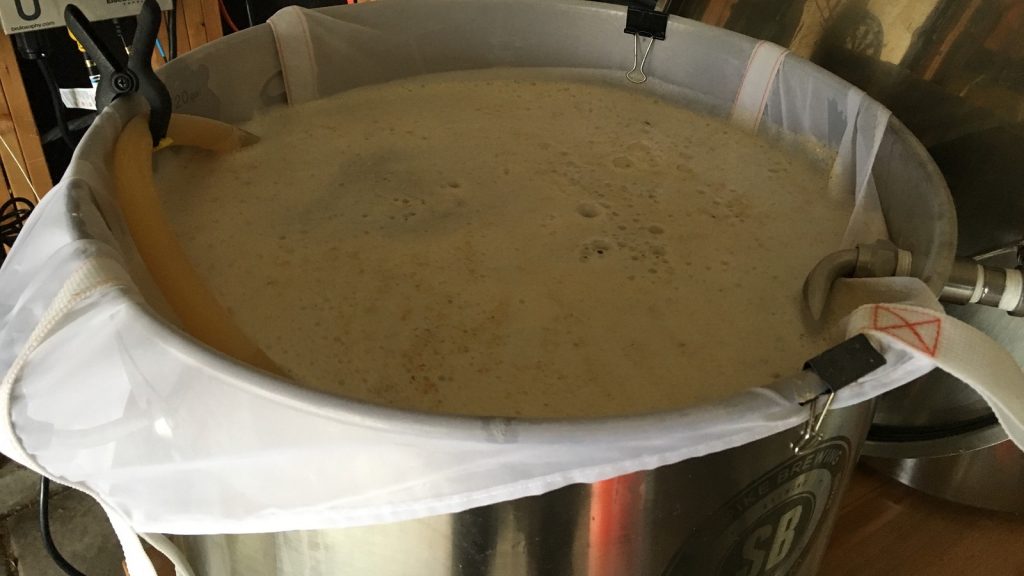
Relying on the Brew In A Bag (BIAB) method, I add the bagged grains to the full volume of heated brewing water.
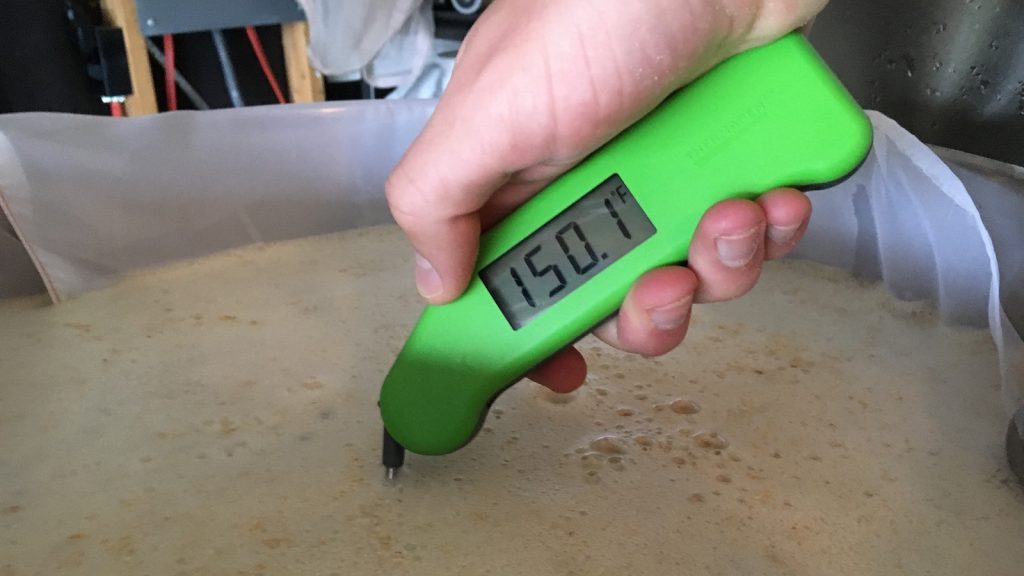
I also use a false bottom in the MLT/kettle to keep the bag from clogging my valve. With the grains in the kettle, I stir the mash with a 24″ doughball busting whisk before checking that I hit my target temperature with a ThermaPen thermometer.
I sometimes use my Chugger pump to begin recirculating through Loc-Line at the top of my kettle. When I don’t recirculate the mash, I give it a quick stir every 15 minutes, which I’ve found helps with efficiency consistency. It’s also during the mash rest that I weigh out the kettle hop additions using a smaller scale.
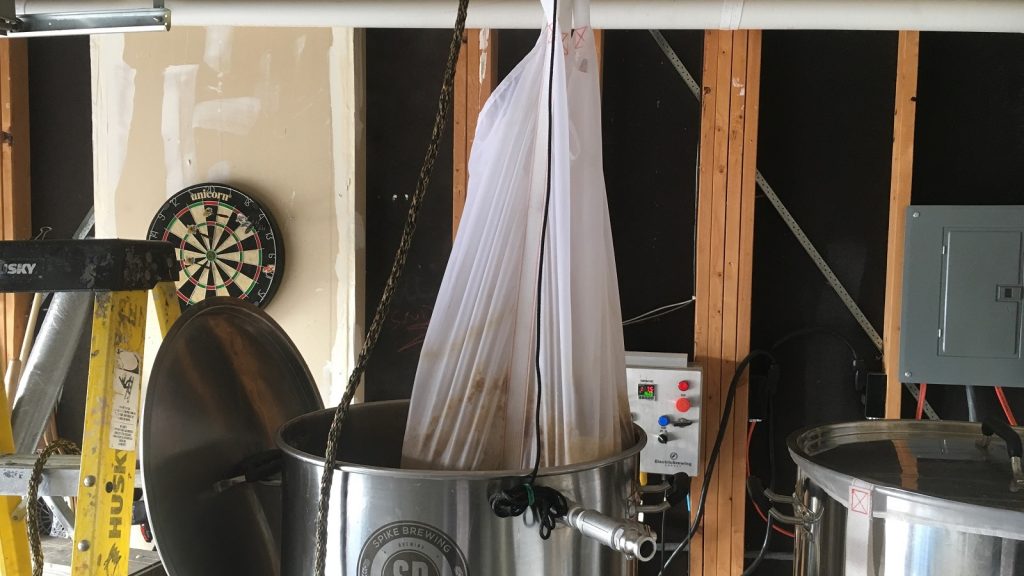
Following the typically 60 minute mash rest, I hoist bag of spent grain out of the kettle using a deer pulley and allow it to drain while the wort begins heating up.
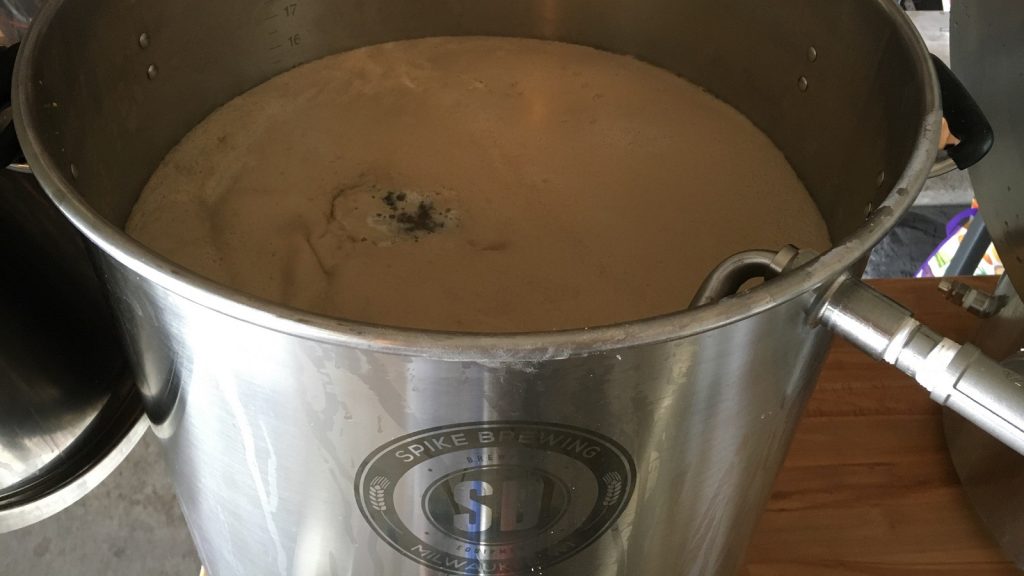
Given my brewing method of choice, I proceed to boil in the same 20 gallon Spike V3 kettles that held the mash. With the power of a 5500 watt heating element, even 10 gallon batches reach a rolling boil in 20-30 minutes depending on the ambient temperature. Fun fact– boiling temperature in Denver is only 202°F/94°C due to the altitude.
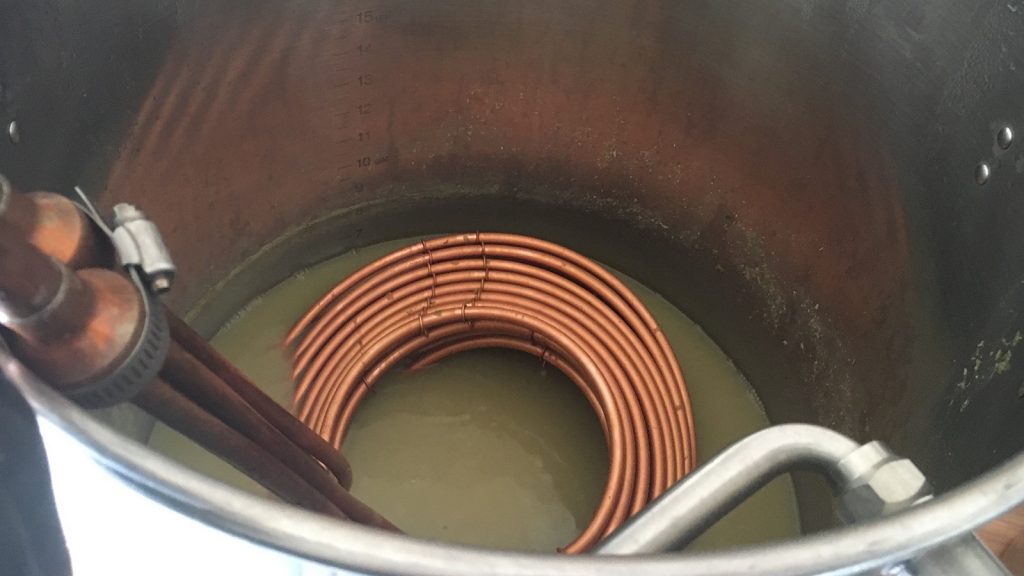
To avoid messy boilovers, I use a few drops of FermCap-S in every batch, the stuff works wonders! During the boil and between kettle hop additions, I clean my Brew Bag fabric filters as well as any other dirty pieces of equipment I no longer need. With 15 minutes left in the boil, I drop my JaDeD Brewing King Cobra immersion chiller in for sanitation. Once the boil is complete, I crank my faucet on full blast and agitate the wort to very quickly drop its temperature.
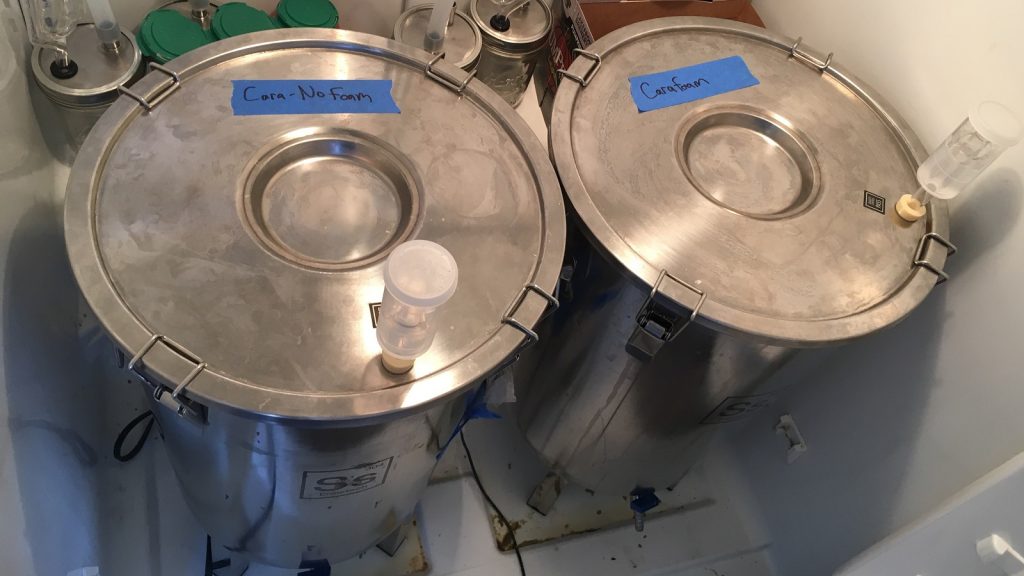
I allow the chilled wort to settle for about 10 minutes before taking a hydrometer measurement to confirm I hit my target OG then racking it to a sanitized Ss Brewtech Brew Bucket, which gets placed in my temperature controlled fermentation chamber.
If the wort is warmer than my desired fermentation temperature, I’ll let it sit in the chamber until it cools down, at which point I pitch the yeast and hit the beer with a 60-90 second does of pure oxygen. With airlock in place, I leave the beer to ferment at my desired temperature, which is maintained by an Inkbird ITC-308 digital temperature controller.
Packaging
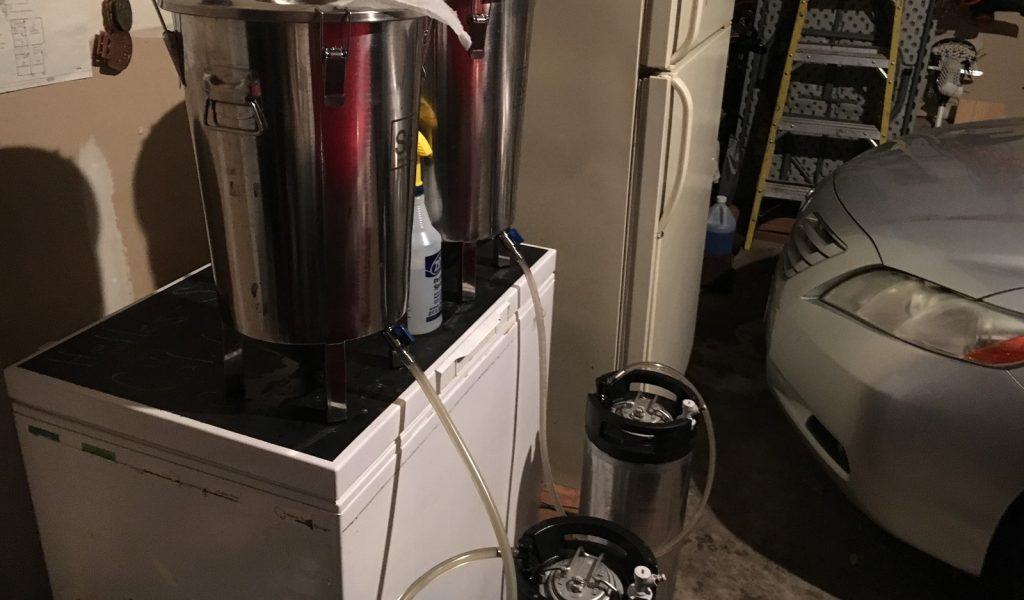
When the beer is done fermenting, I move the fermentor to my keezer for height. Using a piece of vinyl tubing attached to a standard corny keg disconnect, I transfer the beer from the valve on the Brew Bucket through to liquid post on the keg, filling from the bottom up.
Unlike many homebrewers, I don’t cold crash prior to kegging, but rather let the filled keg cool in my keezer to reduce the risk of oxidation caused by suck-back during chilling. Once in the keezer, I purge the headspace a few times with CO2 then leave the beer on gas to burst carbonate for 12 hours or so before fining with gelatin.
Serving
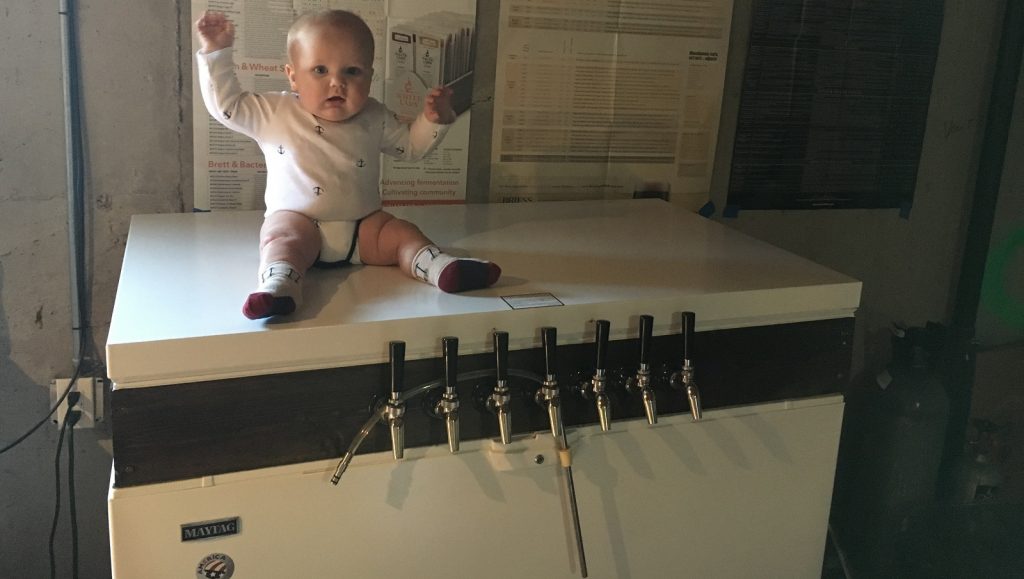
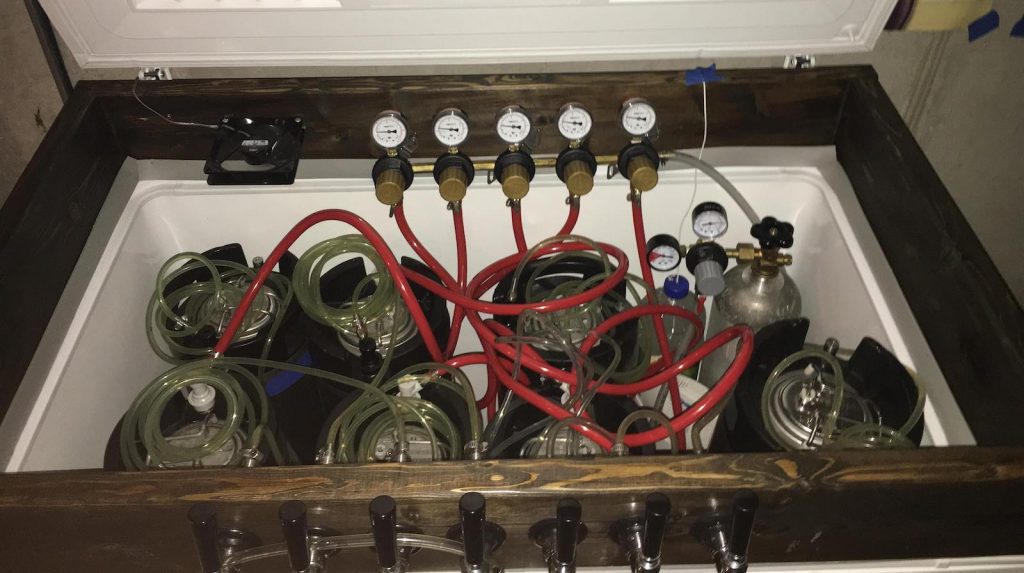
My keezer consists of a simple wood collar attached to a 14.8 cu. ft. chest freezer and a Willhi 1436A temperature controller.
While I can fit up to 8 ball lock kegs in my keezer, I only have 7 faucets, 4 of which are Perlick 630SS and 3 are stainless Intertaps. My tank connects to a primary regulator that runs to a 5-product secondary regulator.
A tad more expensive than a standard manifold, but the ability to independently adjust the pressure to each keg more than makes up for the additional cost, in my opinion.
Cleaning & Sanitation
My preferred cleaner of choice is Powdered Brewery Wash (PBW), which does a great job removing kräusen from fermentors as well as the residue that can build up at the bottom of kegs. For sanitation, I’m all about the StarSan, a 32 oz bottle lasts over a year and it has yet to fail me.
Other Stuff
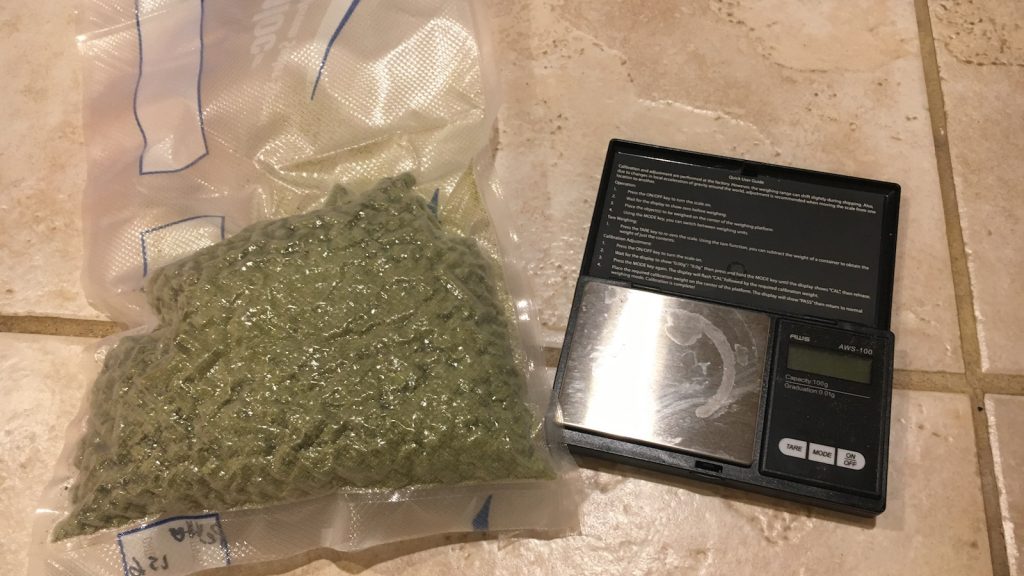
There are a few things I failed to mention that I believe are important to keeping my brewing process smooth. I use a Ziploc vacuum sealer to remove the air from the bags I store hops in in order to extend their freshness. I’ll also occasionally ferment in a 6.5 gallon PET Big Mouth Bubbler and use a Sterile Siphon Starter for packaging. Finally, when it comes to water adjustments, I tend to stick with 88% lactic acid, gypsum, and calcium chloride.
Contact Jake via email at jake@beerconnoisseur.local and feel free to leave any questions in the comments section below! A regularly updated version of Jake’s process and gear can be found on his contributor page.
Support Brülosophy In Style!
All designs are available in various colors and sizes on Amazon!
Follow Brülosophy on:
FACEBOOK | TWITTER | INSTAGRAM
If you enjoy this stuff and feel compelled to support Brulosophy.com, please check out the Support Us page for details on how you can very easily do so. Thanks!




11 thoughts on “Brülosophy Contributor Spotlight: Jake Huolihan”
Nice write-up. I agree about the water. Here in Kitsap County, WA most of the city water is damn near RO water but I still treat for Chlorine and keep my Calcium levels up for yeast health and it’s chemical contributions to the process. Plus, I don’t do a lot of dairy and I don’t like taking calcium tablets!
I’ve used Brewer’s Friend for most of my brewing time but this year I started dual brewing with BeerSmith in an effort to tradition over to BeerSmith. I noticed my numbers come out different so I’ve been trying to isolate the anomalies but having neck surgery and possibly getting stationed somewhere else I sold my house and the current apartment does support my 1BBL brewery.
And Bru’N Water… I also love that thing, highly accurate. Cheers!
Steve
Ever use Sterling hops as a substitute for saaz or have any experience with it?
I have used it in some British ale, but not in a starring role. Definitely will try it out
Jake – I like your setup. Nice balance between simplicity and technology. I’m also using an electric kettle and am struggling with cooling my wort post boil. Do you place the jaded chiller on top of the element or do you have enough room that is can sit off to a side of the element? My kettle is pretty tight and was worried about the weight of the chiller on the element.
Jason
Mine sits on top and to the side of the element. The weight isn’t on the element, it’s been working good so far
Hey Jake – great read; I knew there were other cyclist brewers out there! I wonder if you could go into more detail about your cold crash process. I’ve only been kegging for a few months and my ferm fridge doesn’t handle sub-40 temperatures well, so I’ve been crashing in kegs and trying to figure out a best practice. Currently I transfer the beer to the keg, set it in my keezer for about 24 hours, no CO2 attached. Then I add the gelatin and let it sit for 24-48 hours, hook up to gas, pull a couple of cloudy pints, disconnect beer line, and force carb. I feel like I’m taking too many steps by separating things, so I was wondering if you’d found a more efficient method. It sounds like you gelatin fine after you’ve burst carbonated and it does its magic while you have it sitting at serving pressure. Have you had any issues with clarifying after carbonation? Any issues with clogged tubes or poppets? Sorry for the barrage of questions; just trying to get the benefit of your extra experience!
Sure thing, my cold crash process isn’t really cold crash as a step per se. Basically when fermentation is complete I rack the beers warm into a serving keg, put them into my keezer on gas, carbonate them up, add gel once carbonated. The only drawback I could see to this method is if you had a heavily DH beer which could potentially clog if you didn’t bag the hops by skipping a ferm vessel cold crash.
My method is really just chilling/carbonating/clearing at the same time. I’ve yet to have a beer line get clogged but the first few pints will definitely be a bit cloudy IME.
Thanks! I just kegged my latest batch this morning, and this is basically the method I followed. I assume that starting the burst carb in warmer beer will mean a slightly longer time for the beer to reach full carbonation, but that’s a trade off I’m willing to make.
Yes it will take longer however I’m pretty sure the beer gets down to keezer temp fairly quickly
Commenting just to agree with your musical tastes – FIF forever!
Love them!