This xBmt was completed by a member of The Brü Club in collaboration with Brülosophy as a part of The Brü Club xBmt Series. While members who choose to participate in this series generally take inspiration from Brülosophy, the bulk of design, writing, and editing is handled by members unless otherwise specified. Articles featured on Brulosophy.com are selected by The Brü Club leadership prior to being submitted for publication. Visit The Brü Club Facebook Group for more information on this series.
Author: Doug Walker
Brewers: Doug Walker, Robert Wilson, and Aaron Salo
The no-chill method originated from Australian homebrewers as a way of dealing with their warm climate and strict water conservation rules. The process is simple– when the wort is finished boiling, it immediately gets transferred to a heat safe container that’s sealed and left to slowly chill for an extended period of time, completely eliminating the need for chilling water.
The most commonly recommended no-chill vessels are referred to as “hot cubes,” which are made of high density polyethylene (HDPE), a food-safe plastic capable of withstanding the heat of near-boiling wort. Once the wort has cooled to the desired fermentation temperature, it is usually transferred to a standard fermenter before the yeast is pitched.
In order to reduce hot-side oxidation, most brewers using the no-chill method gently squeeze the hot cube to remove any air before sealing it. I wondered if this step actually has a noticeable impact on the finished beer and designed an xBmt to test it out.
| PURPOSE |
To evaluate the differences between an Ordinary Bitter made using the no-chill where the hot cube was squeezed prior to being sealed and one where the cube without first being squeezed.
| METHODS |
For this xBmt, I went with the Ordinary Bitter recipe that was my take on The Brü Club’s latest AvgBrü project, as it’s a style I felt was light enough to accentuate any differences.
Netflix & No-Chill
Recipe Details
| Batch Size | Boil Time | IBU | SRM | Est. OG | Est. FG | ABV |
|---|---|---|---|---|---|---|
| 6 gal | 30 min | 15.4 | 10.3 SRM | 1.037 | 1.014 | 3.02 % |
| Actuals | 1.037 | 1.014 | 3.02 % | |||
Fermentables
| Name | Amount | % |
|---|---|---|
| Finest Maris Otter® Ale Malt | 8.25 lbs | 88 |
| Rice Hulls | 8 oz | 5.33 |
| Caramel/Crystal Malt 60L | 4 oz | 2.67 |
| Victory Malt | 4 oz | 2.67 |
| Chocolate Malt | 2 oz | 1.33 |
Hops
| Name | Amount | Time | Use | Form | Alpha % |
|---|---|---|---|---|---|
| East Kent Goldings (EKG) | 30 g | 30 min | Boil | Pellet | 5 |
| East Kent Goldings (EKG) | 10 g | 5 min | Boil | Pellet | 5 |
| Fuggle | 10 g | 5 min | Boil | Pellet | 5.4 |
Yeast
| Name | Lab | Attenuation | Temperature |
|---|---|---|---|
| Windsor Yeast | Lallemand (LalBrew) | 75% | 59°F - 71.6°F |
Notes
| Water Profile: Ca 123 | Mg 30 | Na 31 | SO4 63 | Cl 88 |
Download
| Download this recipe's BeerXML file |
With help of friends Robert Wilson and Aaron Salo, we kicked off this brew day by collecting the filtered mash water in a Grainfather G30 System, then collecting the sparge water in another vessel.
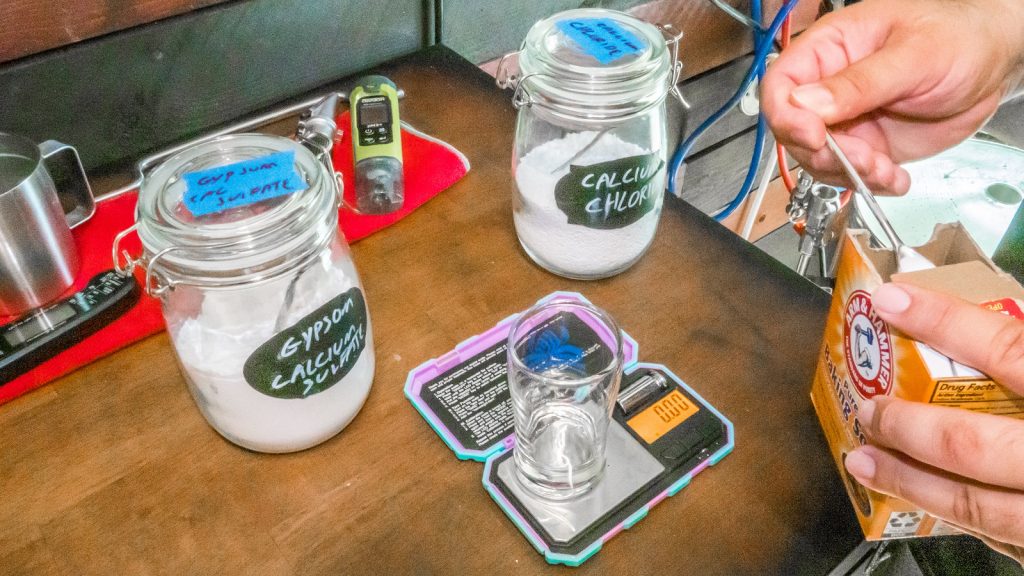
While the mash water was heating up, both sets of water were adjusted to the same profile.
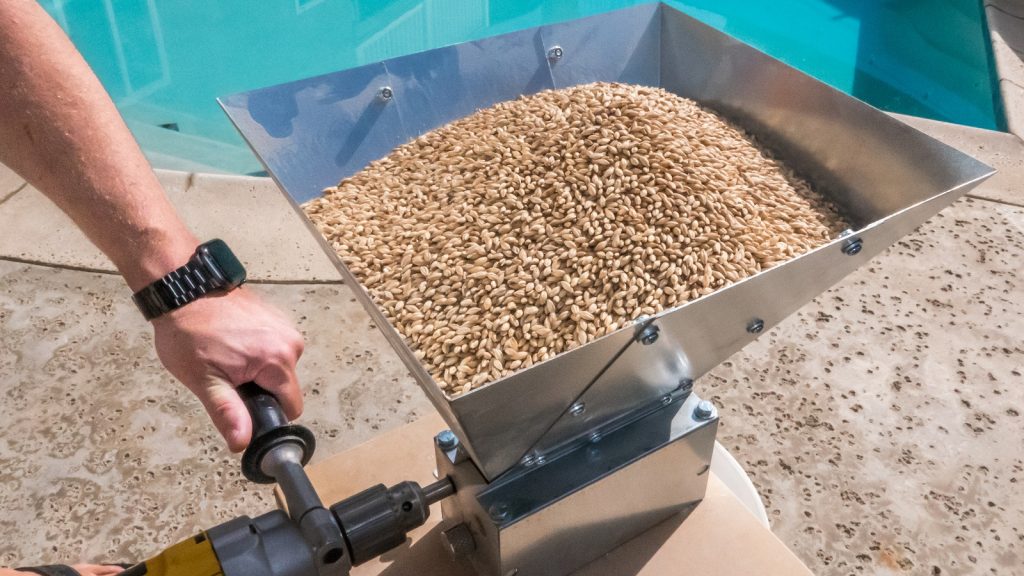
We then weighed out and milled the grain.
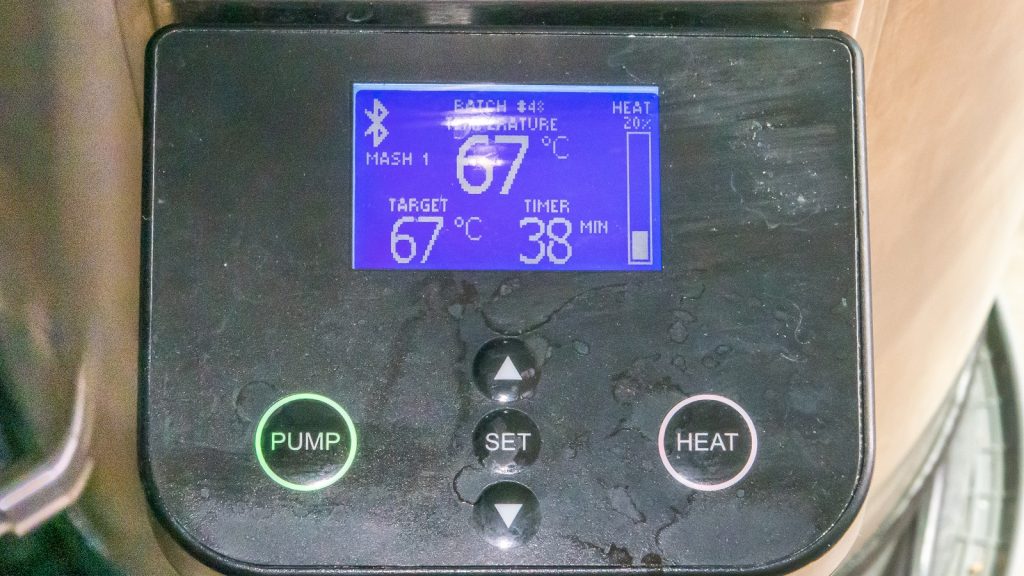
When the water properly heated, the grains were incorporated and the controller was set to maintain a mash temperature of 153°F/67°C.
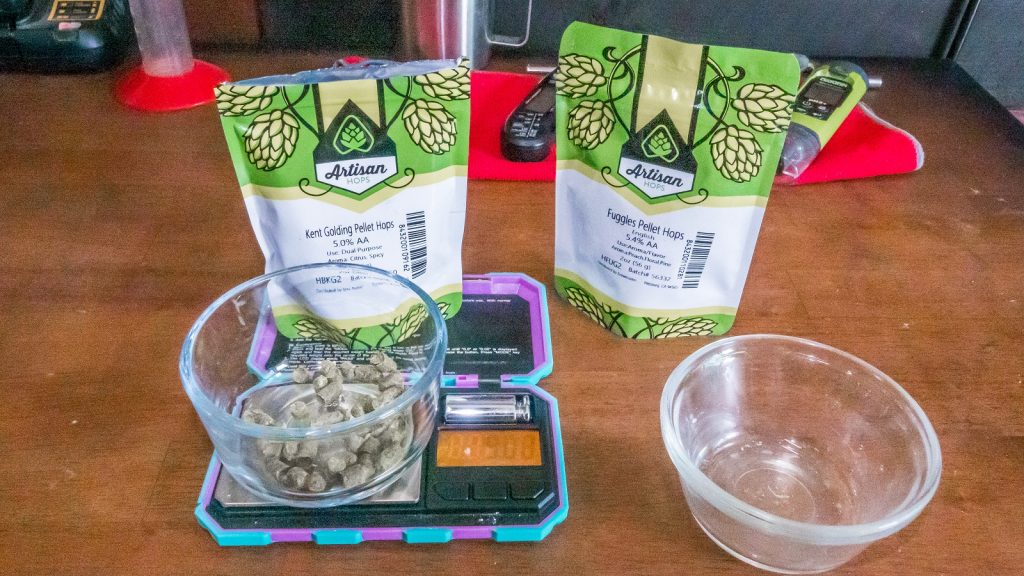
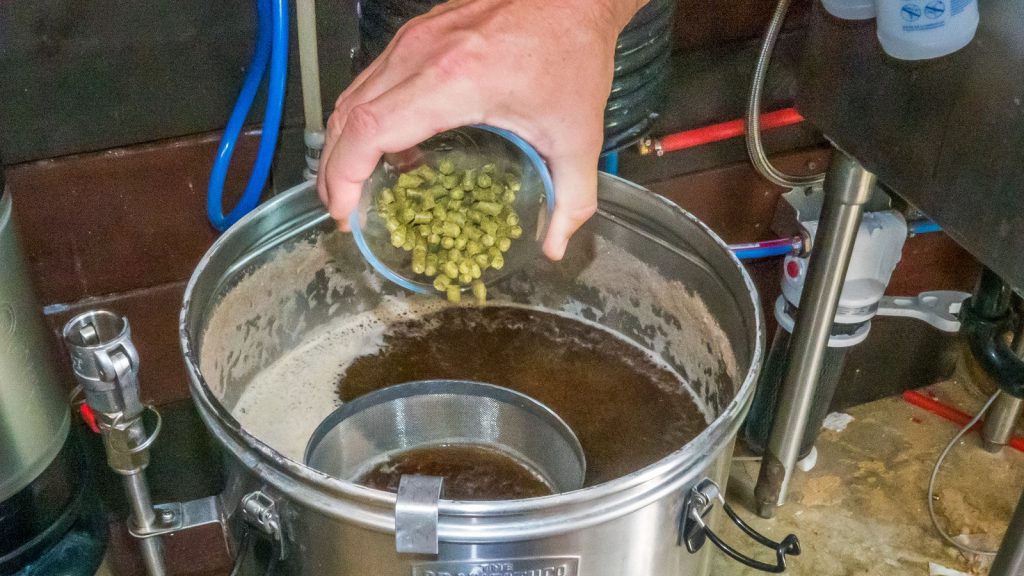
During the mash rest, we prepared the kettle hop additions.
When the 45 minute mash rest was complete, the temperature was raised to 171°F/77°C for a 10 minute mashout before we sparged to collect the target pre-boil volume. For this batch, we followed the recommendation to adjust kettle hop additions forward by 30 minutes to account for the time the hops would be sitting at isomerization temperatures in the hot cube. The wort was boiled for 30 minutes with hops added at the times listed in the recipe.
When the boil was complete, we took a refractometer reading showing it was at the target 1.037 OG.
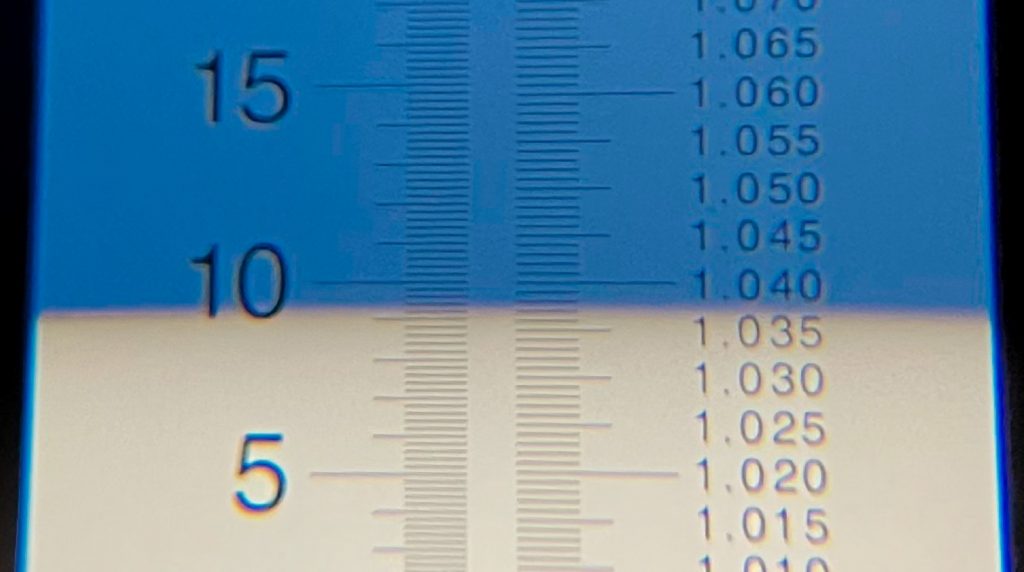
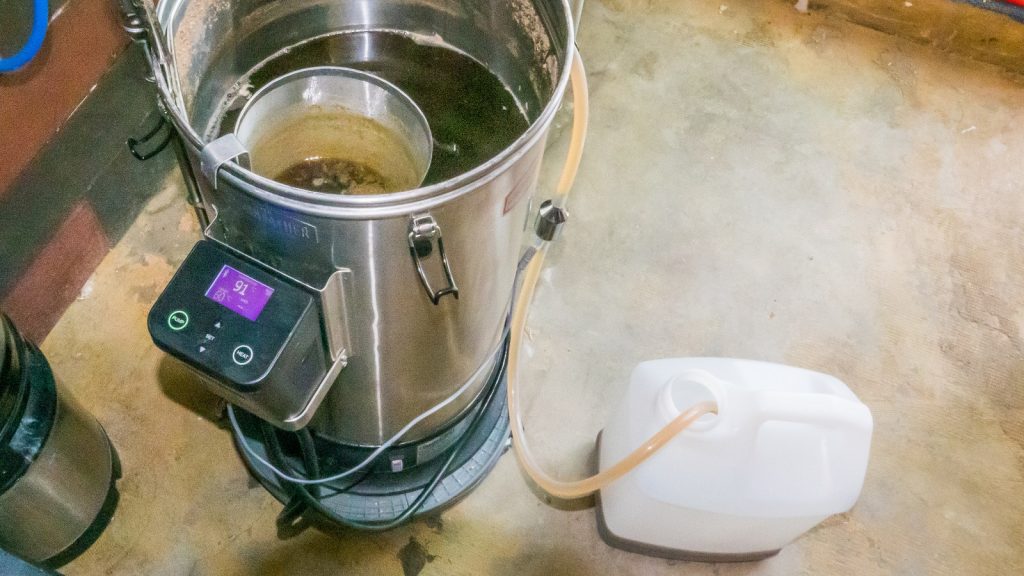
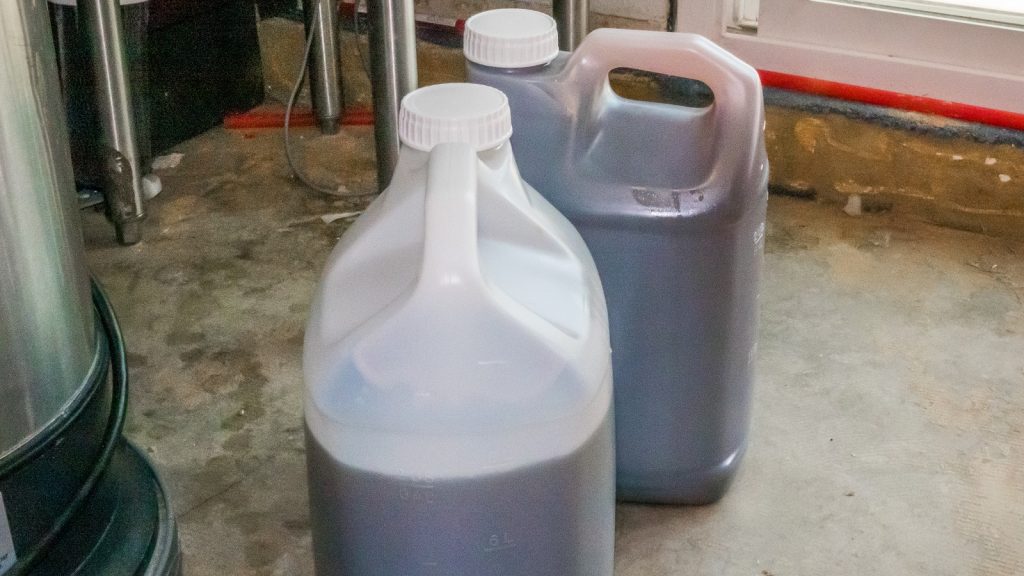
At this point, equal volumes of hot wort were transferred to identical hot cubes.
After capping one of the hot cubes immediately, we carefully squeezed the other hot cube until wort all the air was removed before sealing it.
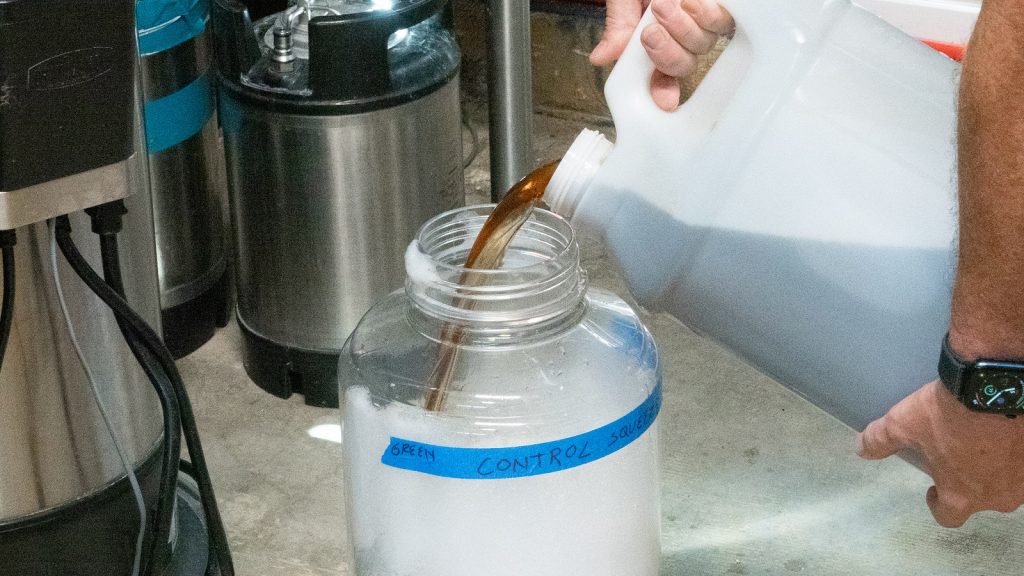
The filled hot cubes were placed next to each other to finish chilling overnight, at which point they were transferred to sanitized fermenters.
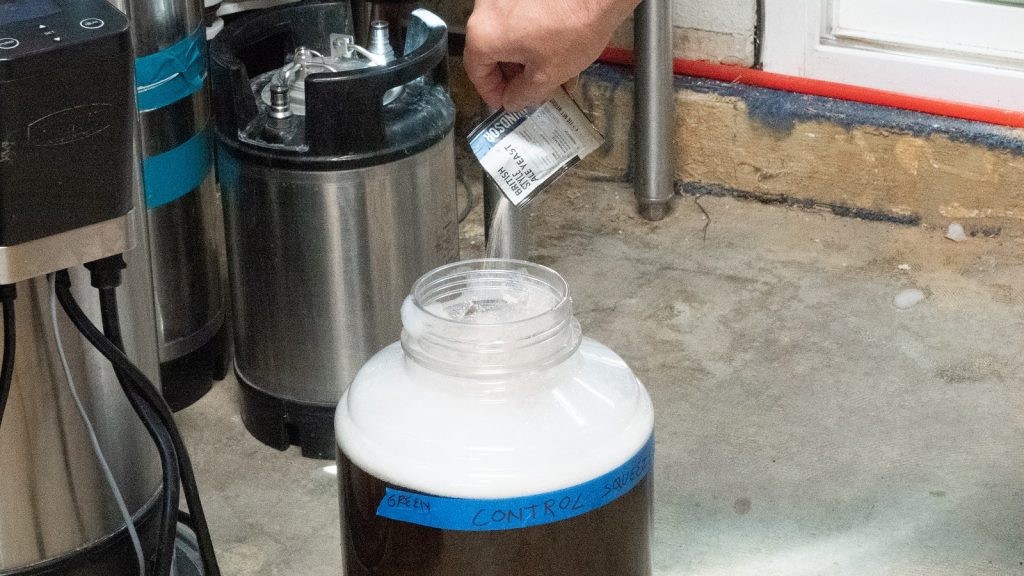
Each batch was then pitched with a pack of LalBrew Windsor yeast.
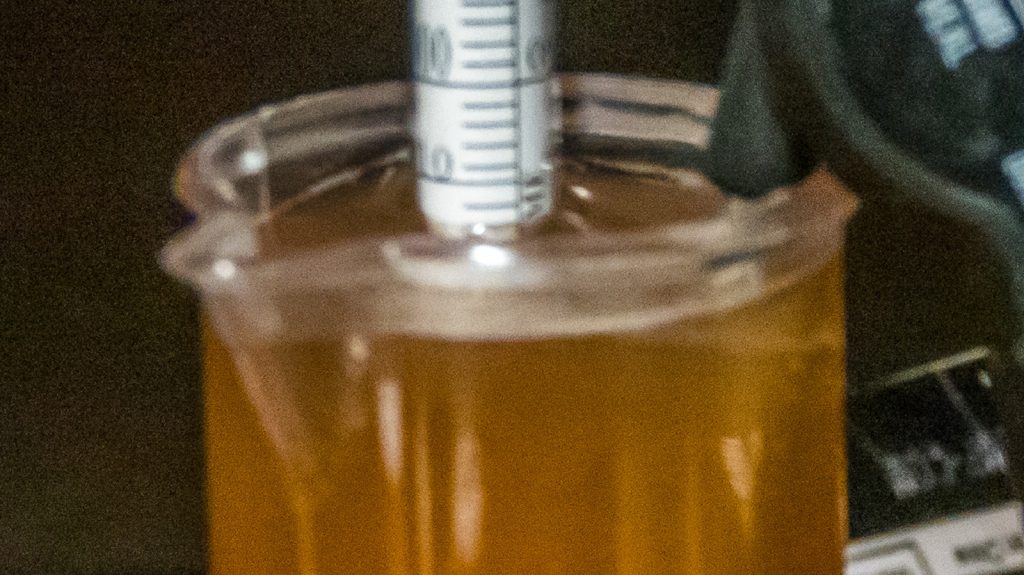
The beers were left to ferment at 68°F/20°C for 2 weeks before I took hydrometer measurements showing both reached the same expected FG.
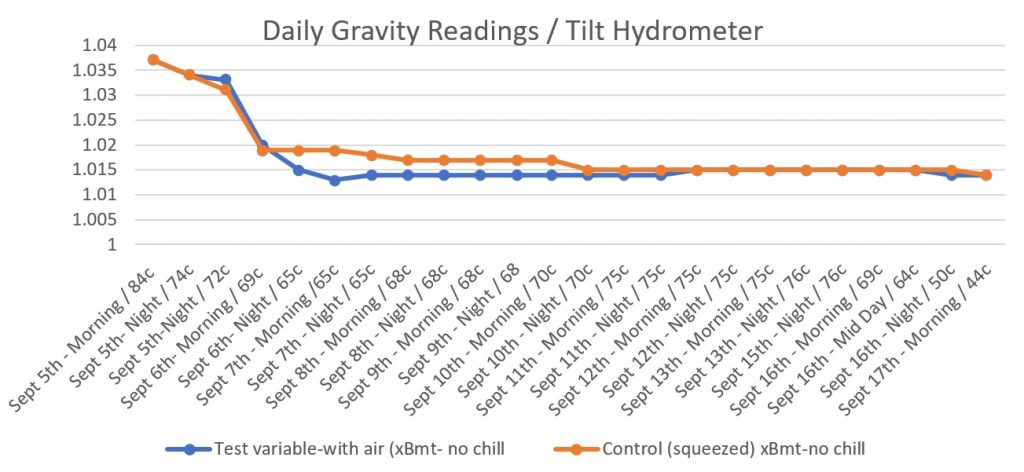
Curiously, the data from my Tilt hydrometers showed some slight differences in overall fermentation performance between the beers.
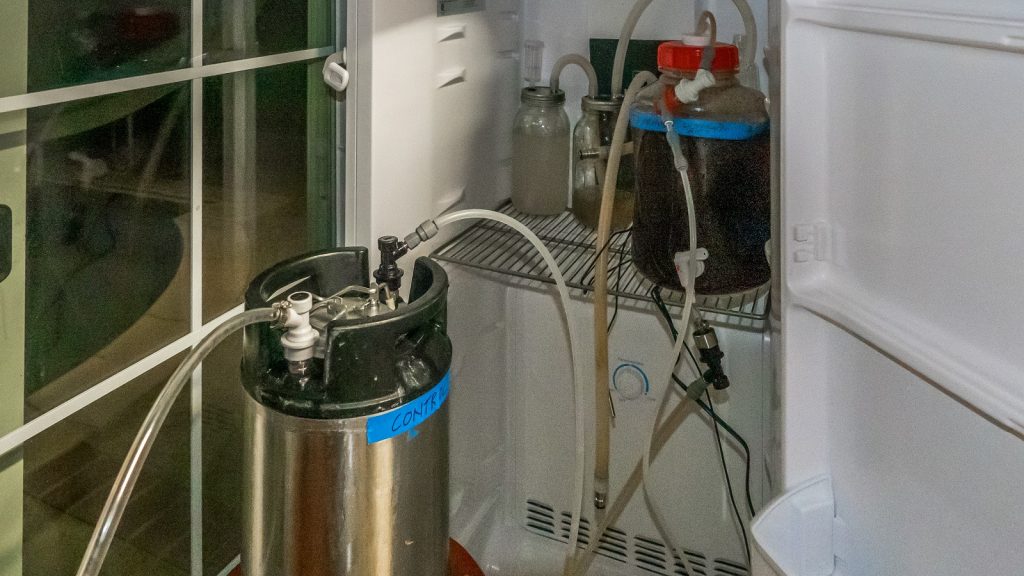
The finished beers were then pressure transferred to CO2 purged kegs.
The filled kegs were placed next each other in my kegerator and left on gas for 3 weeks before they were ready to serve to tasters.
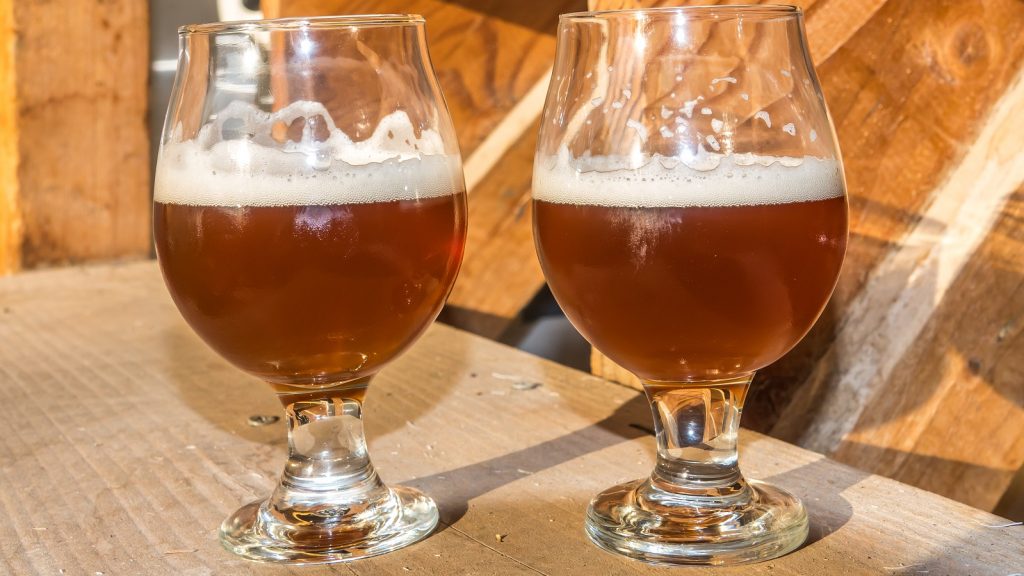
| RESULTS |
Data for this xBmt was collected during an Inland Empire Brewers monthly club meeting as well as another gathering of homebrewers from around Southern California. A total of 31 people of varying levels of experience participated in this xBmt. Each participant was served 1 sample of the beer from the hot cube that had the air squeezed out and 2 samples of the beer from the non-squeezed hot cube in different colored opaque cups then asked to identify the unique sample. While 16 tasters (p<0.05) would have had to accurately identify the unique sample in order to reach statistical significance, only 10 did (p=0.62), indicating participants in this xBmt were unable to reliably distinguish an Ordinary Bitter made using the no-chill method where all air was squeezed out of the hot cube prior to sealing from one where the air was not squeezed out.
Doug’s Impressions: I was unable to consistently tell these beers apart, for me, they were identical in aroma, flavor, and mouthfeel.
Rob’s Impressions: When initially sampling these beers, I perceived one as having a slight peanut butter taste to it, which helped me to consistently pick the odd-beer-out in my triangle test attempts. The flavor was neither intense nor off-putting, and in the end, I felt the beers were more similar than different.
Aaron’s Impressions: I unable to tell these beers apart, they smelled and tasted identical to me. The only difference I noticed is that the beer from the non-squeezed hot cube foamed a little more upon initial pouring, though I’m not sure that was due to the variable.
| DISCUSSION |
To squeeze or not to squeeze– that is the question. With the fear of hot side aeration having an undesirable impact on beer, many no-chill brewers find themselves firmly in the camp of hot cube squeezers. Interestingly, tasters in this xBmt were unable to reliably distinguish an Ordinary Bitter made using the no-chill method where all air was squeezed out of the hot cube prior to sealing from one where the air was not squeezed out.
While there has been quite a bit of recent evidence to suggest hot-side aeration doesn’t have nearly the detrimental impact on beer many once believed, there still exists some who believe otherwise. My initial thoughts were that any oxygen in the hot cube would ultimately aerate the wort and promote good fermentation, so squeezing the air out of the cube probably didn’t matter, which goes against what seems to be standard practice among no-chill brewers.
I don’t use the no-chill method very often, but based on these results, when I do in the future, I won’t worry much about any potential headspace in the hot cube. For me, the risk of injury from squeezing a very hot plastic vessel outweighs the purported benefits, which this xBmt failed to support. While I feel the Ordinary Bitter brewed for this xBmt was light enough to allow any differences to show, it’s possible styles more susceptible to oxidation, like Hazy IPA or pale lager, would yield different results.
Doug, Robert, and Aaron are homebrewers living in Southern California who are members of both the Inland Empire Brewers Homebrew Club as well as The Brü Club. When they’re not brewing up tasty beers and interesting xBmts, the guys like to hang poolside while enjoying cigars.
If you have any thoughts about this xBmt, please do not hesitate to share in the comments section below!
Support Brülosophy In Style!
All designs are available in various colors and sizes on Amazon!
Follow Brülosophy on:
FACEBOOK | TWITTER | INSTAGRAM
If you enjoy this stuff and feel compelled to support Brulosophy.com, please check out the Support page for details on how you can very easily do so. Thanks!






10 thoughts on “The Brü Club xBmt Series | No-Chill: Impact Squeezing The Air Out Of The Hot Cube Has On An Ordinary Bitter”
I do no chill in a high quality 21 litre stainless… I run cling wrap around the rim / lid. The next day I pour directly into a fermenter. Works fine without a plastic cube.
I use no chill in HDPE exclusively with all my batches.
It would be interesting to see if leaving the cubes for much longer before fermenting the wort would have more impact on this variable.
Nice work! It was cool to be able to see the fermentation data. It seems like the air “un-squeezed” cube probably did aerate the wort a little more & actually helped with yeast health based on that batch reaching fg faster.
I agree!
Have just done 2-3 cube batches. My question to more experienced cubers is how to pour them into a fermenter without massive drips/streams and losing a good cup or so of wort. Frustrating.
A funnel
I have been using no-chill for many years. Wort is poured straight from the kettle into a sanitized SS 7 gal brew bucket fermenter. Seal the lid, use vodka in the airlock and add the yeast next day when the wort has cooled. I also use vinyl gloves and good sanitary practices like sanitizing the outside of the White Labs yeast packaging and scissors before cutting and adding the yeast. If I am doing several brews that use the same yeast, I make a starter a couple of days before brew day.
I’ve been all-grain brewing (in Australia) for about three years now and have never used my immersion chiller. I either cover the mash tun with cling film and let it cool overnight or I cube it for later use. To store it I put the wort into a 17 litre cube when it’s still above the pateurisation temperature (65C), either after I do a 80C hopstand or straight from the boil. I have stored these for up to 2 months in a cool dark place with no loss of quality. The only thing I have to bear in mind is the effect on IBUs after a large hopstand addition as it stays hot for a while longer in the cube and more of the alpha acids will isomerise.
I do have to be very careful with the hygiene, though. Don’t ask me how I know…
I’ve been cubing for 2 years. I use 23lt cubes. I’m in tropical Nth Queensland. Brew 46 lt batches and cubing saves me 1 hour on brew day. I fill to over flowing but there is usually a small amount of air in cube. I store cubes in a cold room anywhere from 1 day to 9 months @ 2c. I have not noticed any difference in my beers from chilling on brew day. Hop stands and whirlpools are tricky though. I make sure wort doesn’t fall below 85 c before cubing.
I’ve been using this method for at least 10 years but leave the wort in the kettle and cover with a clean towel (see https://www.wine-and-beer-hb.org.nz/2013/06/21/my-experience-with-the-no-chill-method/ ). I’ve actually stepped up to three pots using portable induction burners but the method is still the same. Making the last hop addition a Hop Tea solved the bitterness.