
This xBmt was completed by a member of The Brü Club in collaboration with Brülosophy as a part of The Brü Club xBmt Series. While members who choose to participate in this series generally take inspiration from Brülosophy, the bulk of design, writing, and editing is handled by members unless otherwise specified. Articles featured on Brulosophy.com are selected by The Brü Club leadership prior to being submitted for publication. Visit The Brü Club Facebook Group for more information on this series.
Author: Will Lovell
The brewing process has a number of areas where pressure comes into play, though most people associate it with the hiss of a cap being popped off a bottle or the bubbles rising in a freshly poured pint. A traditional German method for natural carbonation is spunding, which allows a set amount of pressure to build up during active fermentation, though many have come to view fermenting under pressure as having other benefits.
It’s widely claimed that fermentation under pressure aids in the suppression of fruity esters, thus allowing for warmer fermentation temperatures and quicker grain-to-glass times. This is of particular interest to brewers interested in making lager styles, which are known to take longer to ferment as a result of the cooler temperatures they purportedly require. On the other hand, some people believe pressurized fermentation can increase yeast stress, leading to unhealthy fermentations and increased risk of off-flavors.
I love the flavor of crisp lagers, but I’ve tended to avoid brewing them because of the time and equipment required. A few years ago, I started playing with warm fermented lagers, and while I was pleased with the outcome, I soon began to wonder what impact fermenting lagers warm under pressure would have. This xBmt is the logical sequela of my prior attempts.
| PURPOSE |
To evaluate the differences between a Munich Helles fermented warm under 20 psi of pressure and one fermented at the same temperature under no pressure.
| METHODS |
Given how warm Texas summers are, I design a simple German Helles Exportbier recipe for this xBmt, a style I felt would allow any differences to shine.
A Fool’s Paradise
Recipe Details
| Batch Size | Boil Time | IBU | SRM | Est. OG | Est. FG | ABV |
|---|---|---|---|---|---|---|
| 5.5 gal | 60 min | 21.9 | 4.6 SRM | 1.052 | 1.006 | 6.04 % |
| Actuals | 1.052 | 1.006 | 6.04 % | |||
Fermentables
| Name | Amount | % |
|---|---|---|
| Barke Pilsner | 6 lbs | 50.26 |
| Pilsen MD | 5 lbs | 41.88 |
| Munich I | 12 oz | 6.28 |
| Melanoidin | 3 oz | 1.57 |
Hops
| Name | Amount | Time | Use | Form | Alpha % |
|---|---|---|---|---|---|
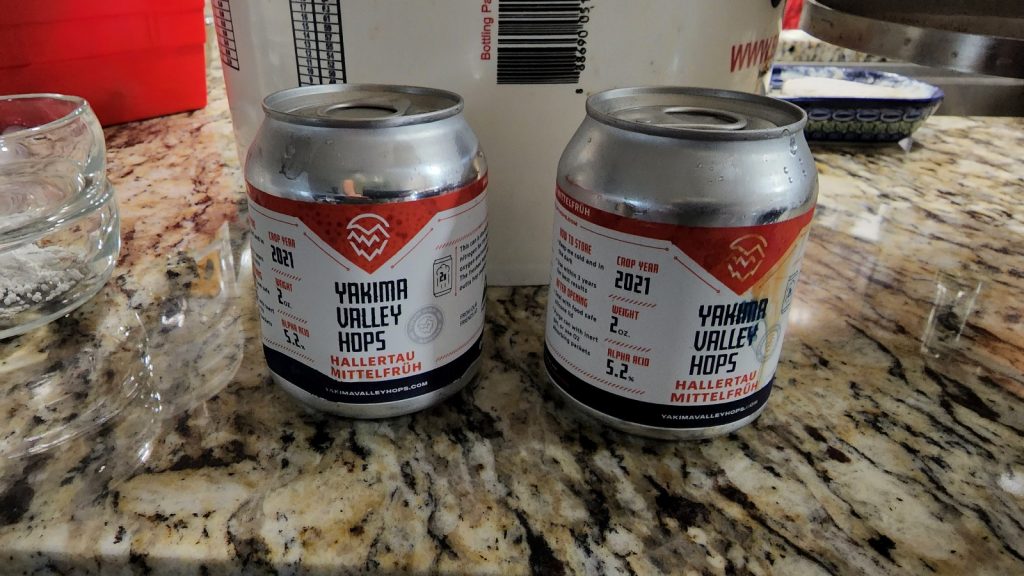
| Hallertau Mittelfruh | 24 g | 60 min | Boil | Pellet | 5.2 |
| Hallertau Mittelfruh | 15 g | 15 min | Boil | Pellet | 5.2 |
| Hallertau Mittelfruh | 18 g | 5 min | Boil | Pellet | 5.2 |
Yeast
| Name | Lab | Attenuation | Temperature |
|---|---|---|---|
| Bayern (OYL-114) | Omega | 76% | 32°F - 32°F |
Notes
| Water Profile: Ca 51 | Mg 2 | Na 0 | SO4 63 | Cl 49 |
Download
| Download this recipe's BeerXML file |

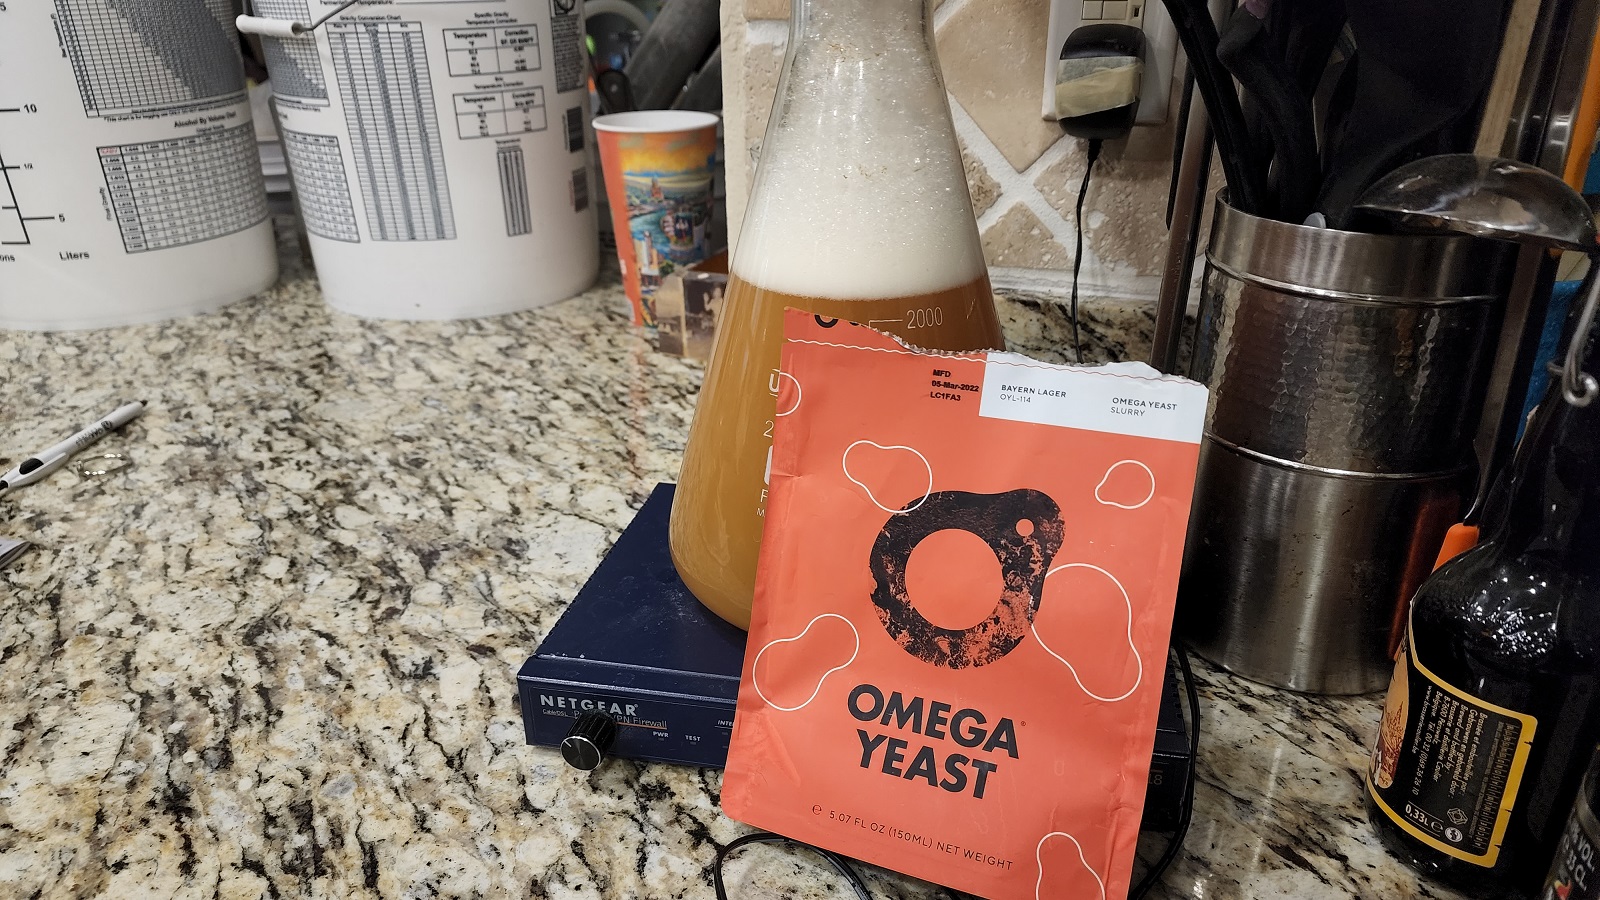
A day before brewing, I made a starter of Omega Yeast OYL-114 Bayern Lager.
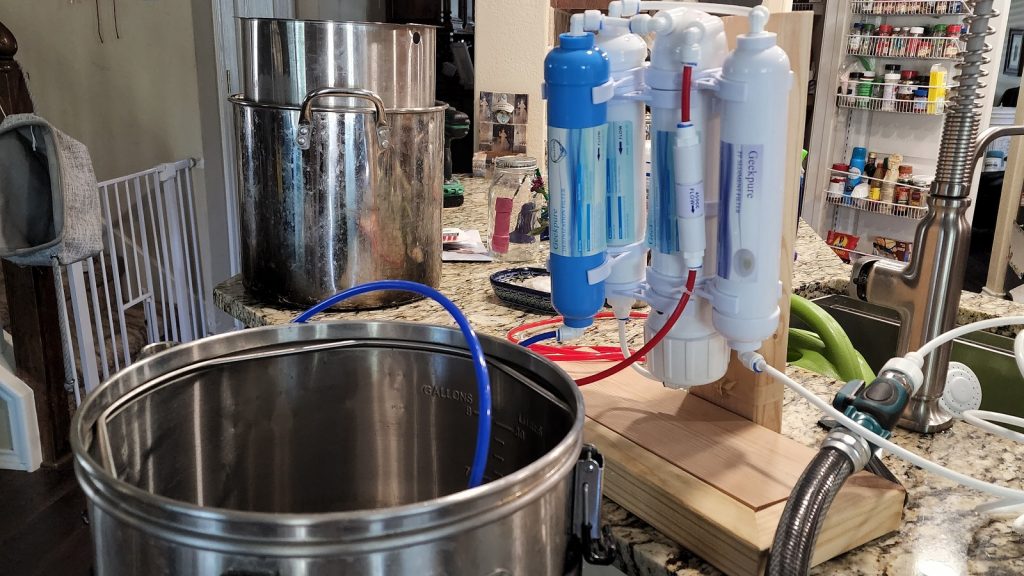
Having just a single 5 gallon/19 liter brewing rig, I brewed 2 batches consecutively, starting by collecting the full volume of RO water for each batch.
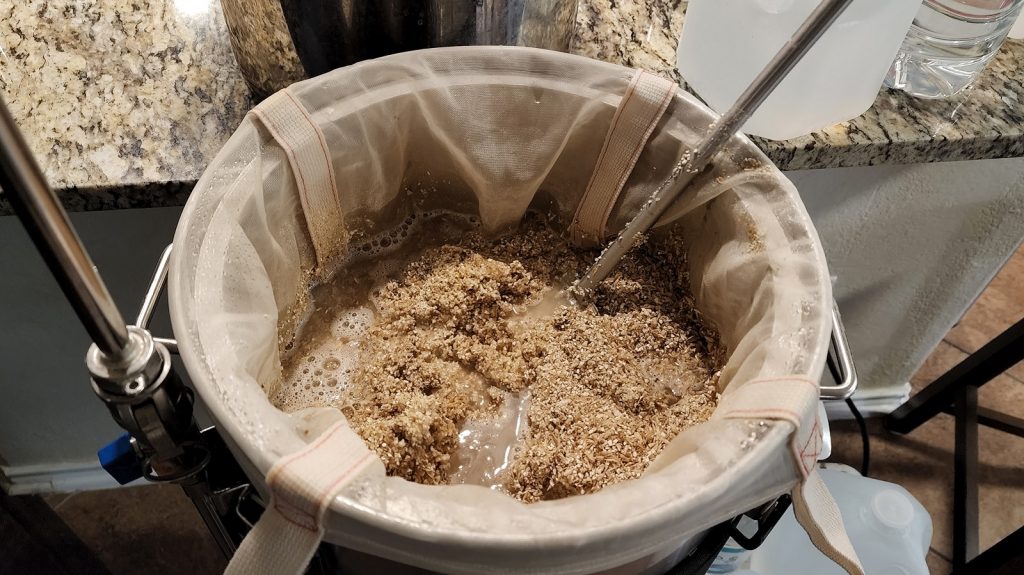
After weighing out and milling the grains, I mashed in and stirred to incorporate then set the controller to maintain my target mash temperature of 152˚F/67˚C.
Following each mash rest, I removed the grains the boiled the worts for 60 minutes with hops added at the times listed in the recipe.
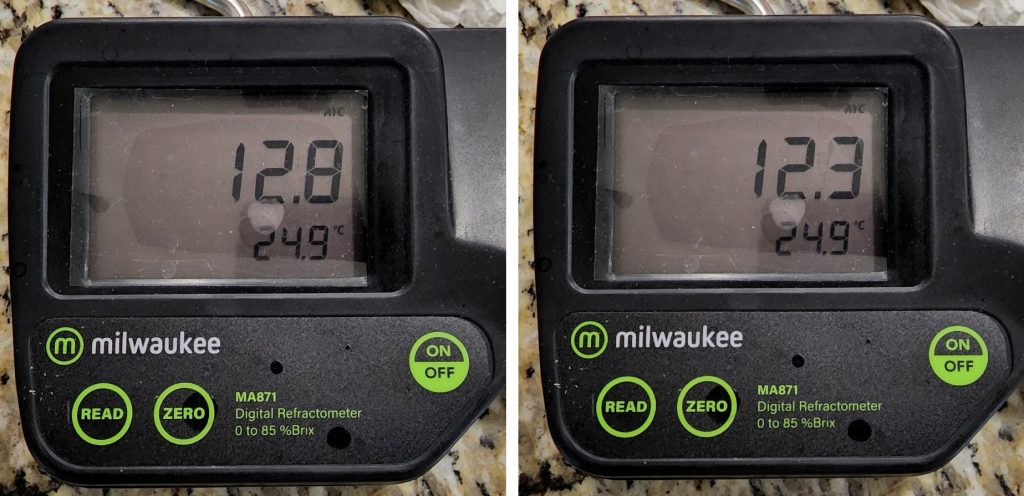
When the boils were complete, I quickly chilled the worts and took refractometer readings showing a slight difference in OG between the batches.
With each wort chilled, I racked identical volumes into separate Kegmenters.

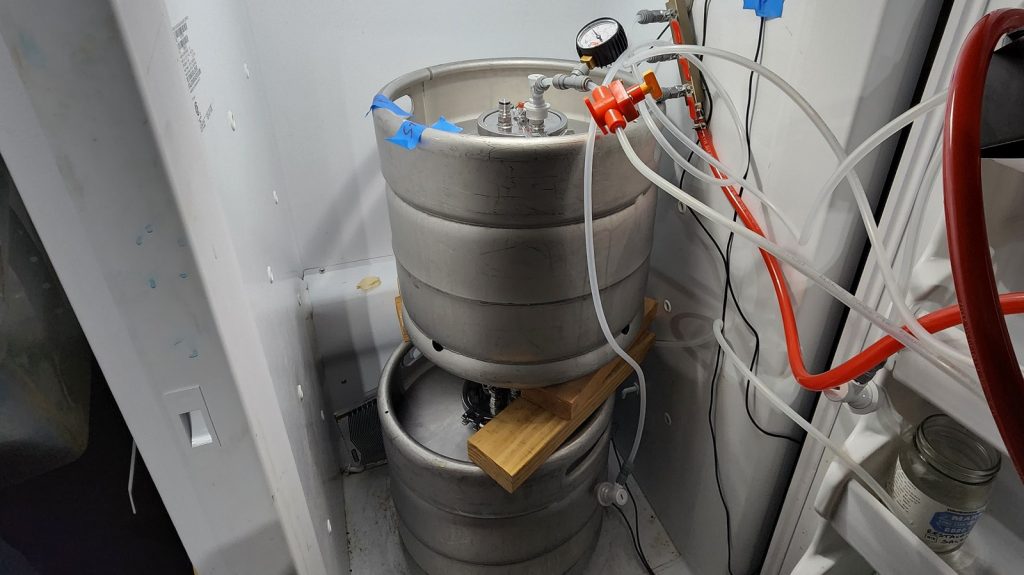
At this point, I evenly split the yeast starter between each batch and placed them in my chamber controlled to 66°F/19°C. After attaching a blowoff tube to one fermenter, I connected a spunding valve set to 20 psi to the other.
The following day, I notice the pressurized fermentation batch was right around my 20 psi target.

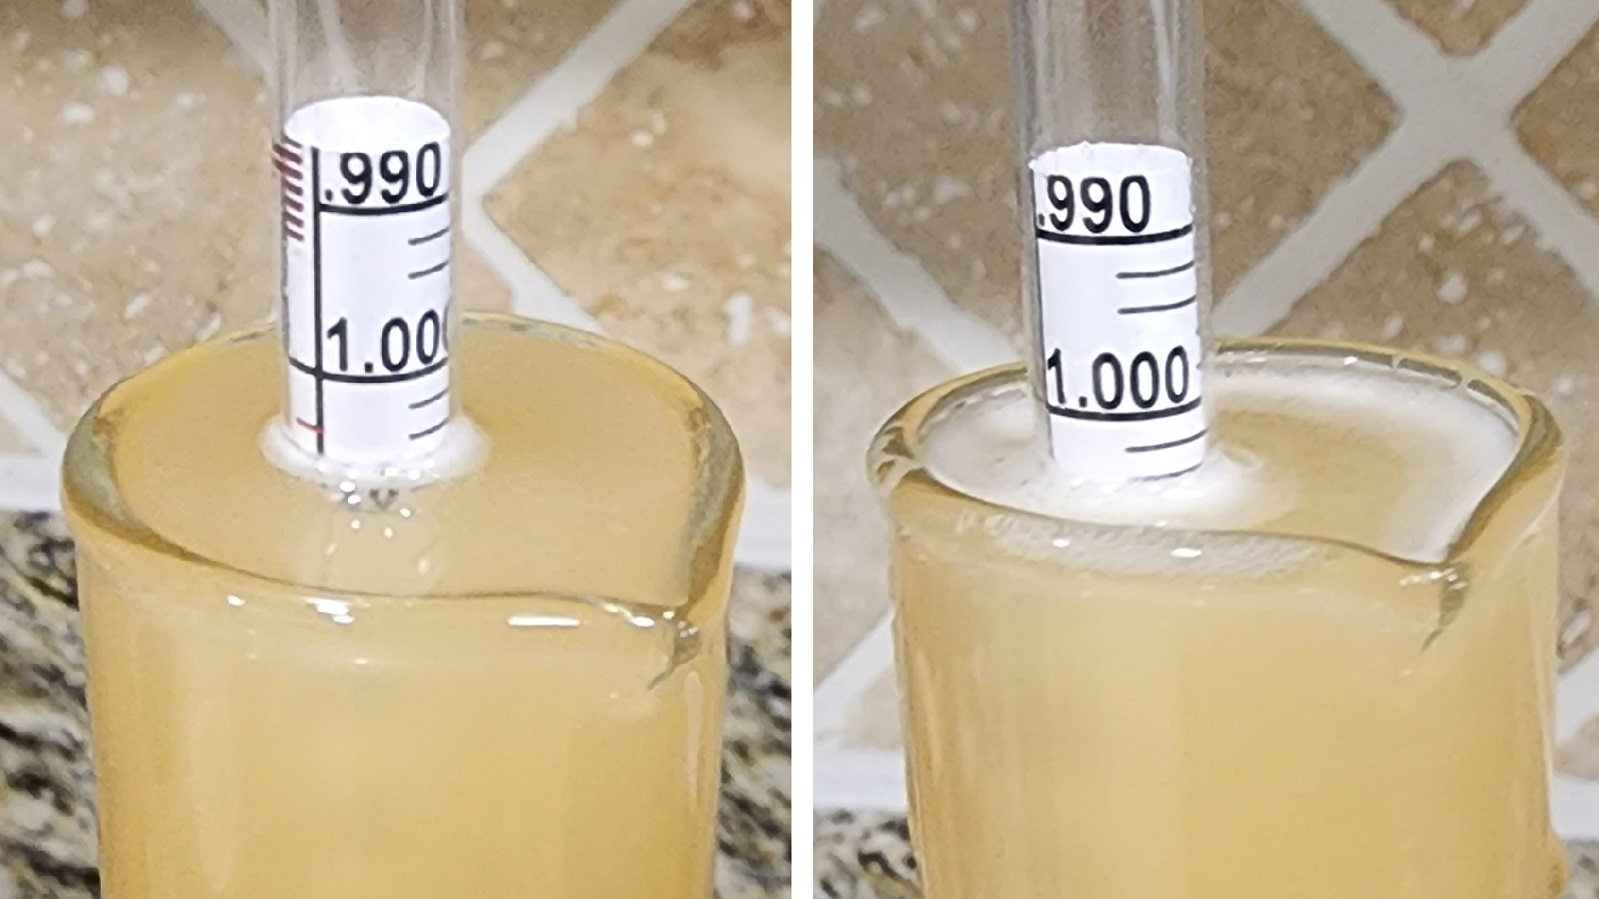
After 10 days of fermentation, I took hydrometer measurements showing a difference in FG that matched the OG difference, indicating similar levels of attenuation.
At this point, I cold crashed the beers for 24 hours before pressure transferring them into separate CO2 purged kegs. The filled kegs were placed in my keezer and burst carbonated overnight before I reduced the gas to serving pressure. After a week of conditioning, they were carbonated and ready for evaluation.

| RESULTS |
A total of 17 people of varying levels of experience participated in this xBmt. Each participant was served 2 samples of the beer fermented at ambient pressure and 1 sample of the beer fermented under pressure in different colored opaque cups then asked to identify the unique sample. While 10 tasters (p<0.05) would have had to accurately identify the unique sample in order to reach statistical significance, only 9 did (p=0.08), indicating participants in this xBmt were unable to reliably distinguish a Munich Helles fermented at 66°F/19°C under no pressure from one fermented at the same temperature under 20 psi.

My Impressions: Out of the 3 semi-blind triangle tests I attempted, I correctly identified the odd-beer-out just once. To me, these beers were identical in every way, both possessing the crisp, clean, and refreshing characteristics I expect in a nice Helles. A perfect beer for hot Texas summers!

| DISCUSSION |
With the popularity of crushable lagers on the rise, it’s no surprise brewers would be interested in methods that expedite the turnaround time for a batch, leading many to experiment with fermenting at warmer temperatures. While it’s widely held this produces undesirable esters that are stylistically inappropriate, there’s a common belief that fermenting under pressure mitigates the negative impact of warm fermentation temperatures. Interestingly, tasters in this xBmt were unable to reliably distinguish a Munich Helles fermented at 66°F/19°C under no pressure from one fermented at the same temperature under 20 psi of CO2.
It’s entirely possible some unknown factor made these beers indistinguishable to participants, though considering these results align with those from numerous past xBmts on pressurized fermentation, it seems more likely both beers possessed similar levels of esters, which to my palate, was none.
Despite these results indicating fermenting a pale lager at ale temperatures under pressure had no noticeable impact compared to the same beer fermented at ambient pressure, I’ll likely still use this method, and it has the added benefit of naturally carbonating beer during the fermentation process. The cost savings of not having to force carbonate with exogenous store-bought CO2 is enough on its own to keep be doing it, especially considering how easy it is!
 Will Lovell is a proud father of two currently living in San Antonio, TX. His loving wife got him his first homebrew kit over a decade ago and he has been enjoying the hobby ever since. Will currently serves as the Event Coordinator for The Brü Club and enjoys challenging old brewing conventions through experimentation. When he isn’t brewing or spending time with his family, Will enjoys spending time in the great outdoors, especially if it involves hunting or fishing.
If you have any thoughts about this xBmt, please do not hesitate to share in the comments section below!
Support Brülosophy In Style!

All designs are available in various colors and sizes on Amazon!
Follow Brülosophy on:
FACEBOOK | TWITTER | INSTAGRAM

If you enjoy this stuff and feel compelled to support Brulosophy.com, please check out the Support page for details on how you can very easily do so. Thanks!


3 thoughts on “The Brü Club xBmt Series | Impact Of Pressurized Warm Fermentation On A German Helles Exportbier”
Curious why you use a brew bag with the Brewzilla ? That thing produces a beautiful crystal clear wort with it’s malt pipe
There is no reason you need a brew bag, however there are two observations I have made. With just the malt pipe, I was getting quite a bit of grain in my boil and the brew bag has eliminated that. I probably could have adjusted my mill gap and eliminated this issue, but chose to try out a brew bag instead. As an added bonus, I can turn the pump up a little faster with the brew bag.
I also use a grain bag with my Brewzilla 65l. It just keeps the small particulates out. I can also run all three heating elements during rest steps without worrying about scorching. Having it isn’t much of a hassle, so it’s a nice safeguard.