Author: Andy Carter
For many homebrewers, their first few batches are made by adding malt extract to a relatively small volume of water then boiling that wort before adding enough water to get them to their target batch volume. Commonly referred to as a partial boil, this method is generally viewed as being inferior to boiling the full amount of wort, particularly when it comes to bitterness from hops and reducing the risk of contamination.
However, there are arguably a number of benefits from diluting a more concentrated wort, even for those who brew using all-grain methods. For example, larger batches can be made with smaller kettles and adding cool water to hot wort will expedite chilling times. Moreover, this approach allows for a degree of precision that can be difficult when performing full boils, in fact it’s fairly common for commercial brewers to dilute stronger wort to ensure it’s at the proper starting gravity prior to fermentation.
While recently hanging out with my friends from Tarantula Hill Brewing during a brew day, I observed them doing just this and began to wonder what kind of impact it might have on beer quality. After doing some calculations to determine mash and dilution volumes, I designed an xBmt to test it out for myself!
| PURPOSE |
To evaluate the differences between a pale lager made with a partial volume of water then diluted post-boil and one made with the standard full volume of water without dilution.
| METHODS |
My goal being to evaluate the perceptible impact dilution has on beer, I designed a very simple pale lager recipe for this xBmt.
You Need To Cut It
Recipe Details
| Batch Size | Boil Time | IBU | SRM | Est. OG | Est. FG | ABV |
|---|---|---|---|---|---|---|
| 5.8 gal | 60 min | 19.1 | 2.6 SRM | 1.045 | 1.01 | 4.59 % |
| Actuals | 1.045 | 1.01 | 4.59 % | |||
Fermentables
| Name | Amount | % |
|---|---|---|
| Pilsner | 9 lbs | 100 |
Hops
| Name | Amount | Time | Use | Form | Alpha % |
|---|---|---|---|---|---|
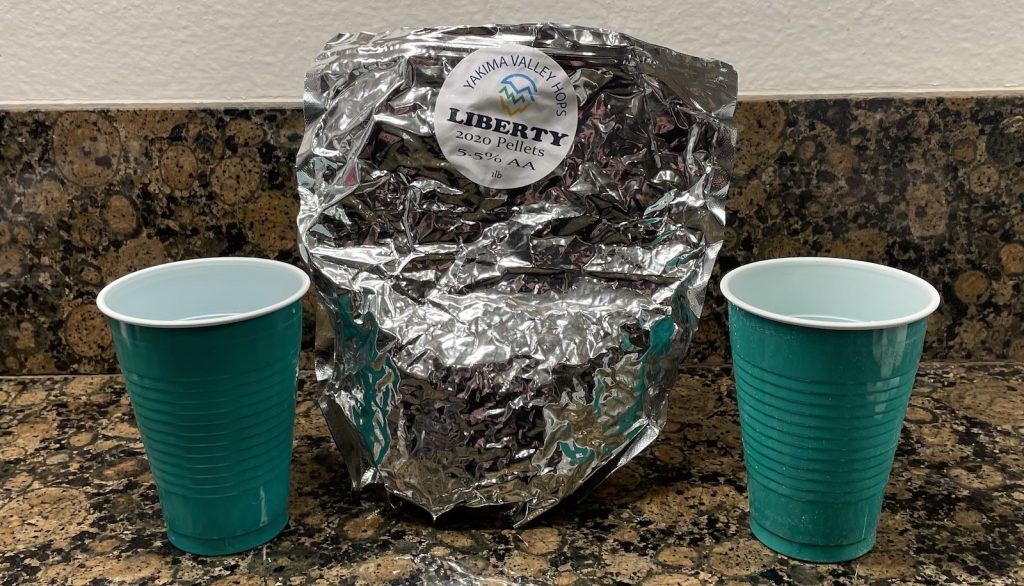
| Liberty | 32 g | 60 min | Boil | Pellet | 5.5 |
Yeast
| Name | Lab | Attenuation | Temperature |
|---|---|---|---|
| Harvest (L17) | Imperial Yeast | 74% | 50°F - 60.1°F |
Notes
| Water Profile: Ca 55 | Mg 5 | Na 0 | SO4 72 | Cl 59 |
Download
| Download this recipe's BeerXML file |
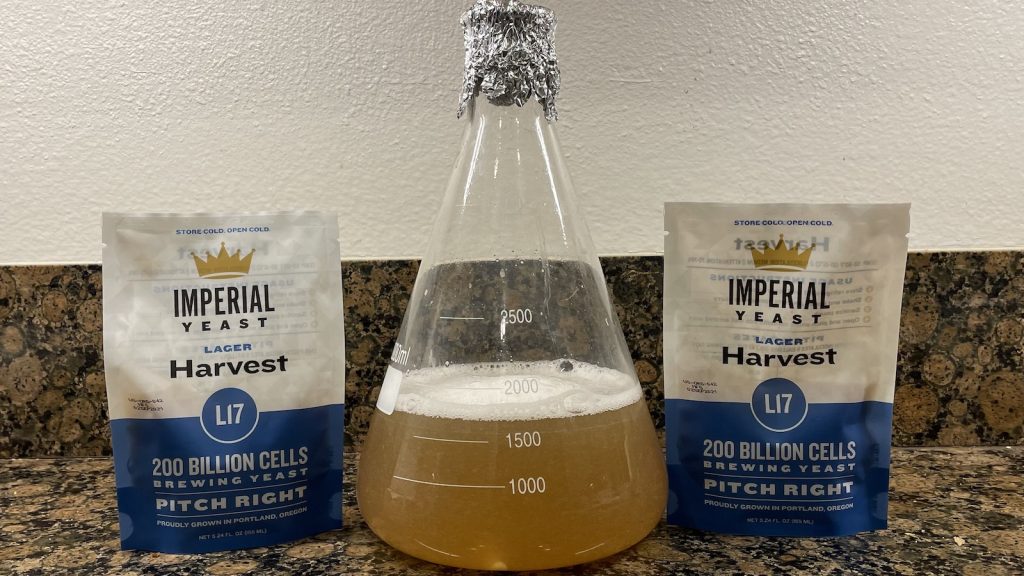
I made a starter with 2 pouches of Imperial Yeast L17 Harvest a couple days ahead of time.
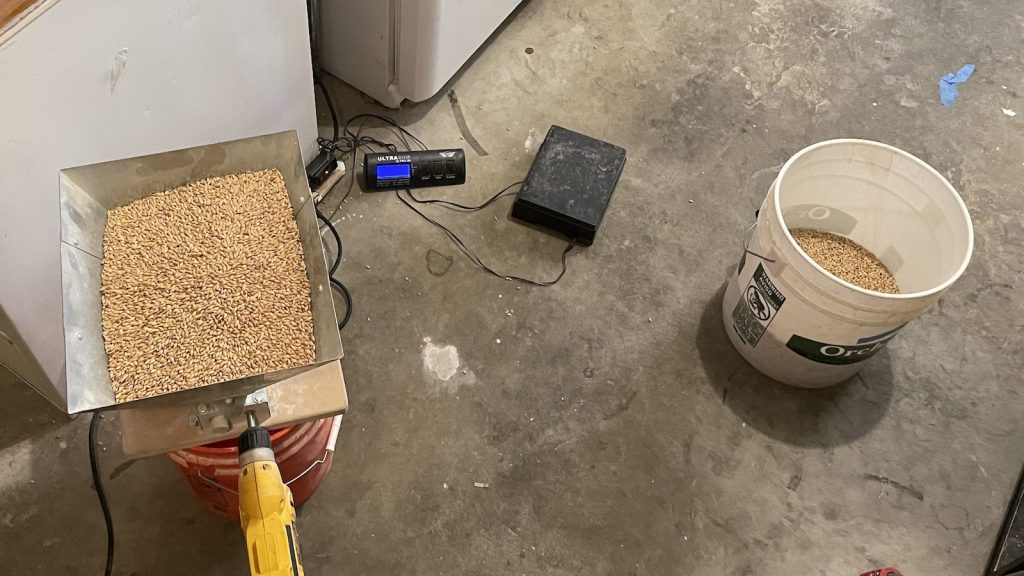
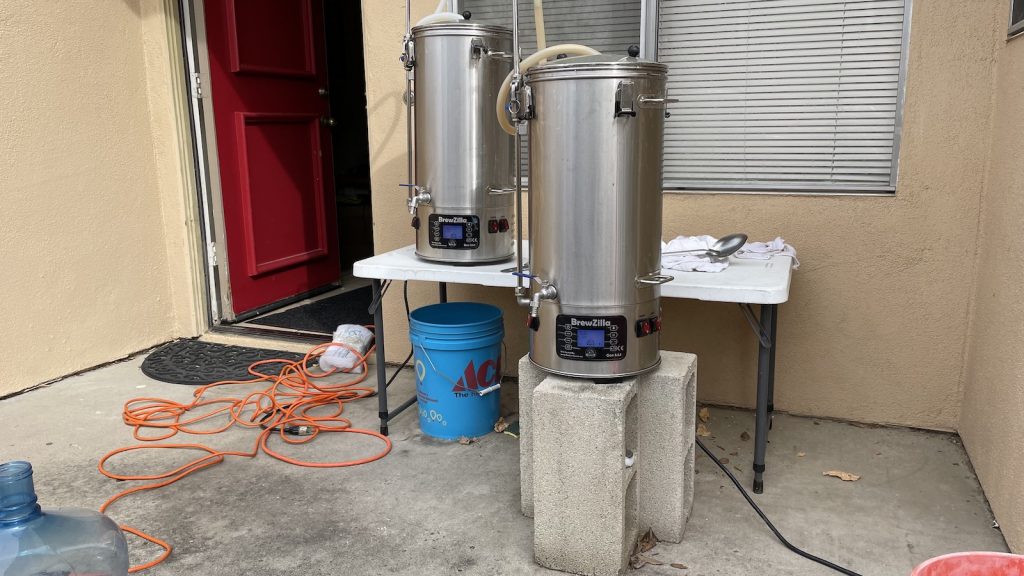
On brew day, I started by collecting identical volumes of strike water and adjusted them both to the same desired profile. While the waters were heating up, I weighed out and milled the grains for each batch.
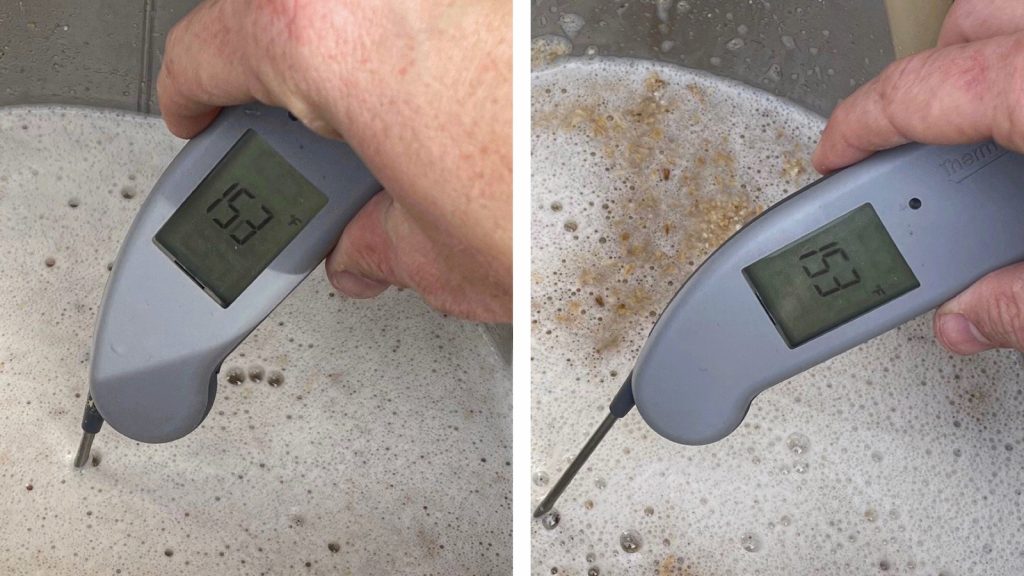
Once the water for each batch was adequately heated, I incorporated the grains then checked to make sure both were at the same target mash temperature.
I flipped the switch on the pumps to recirculate each mash for 60 minutes.
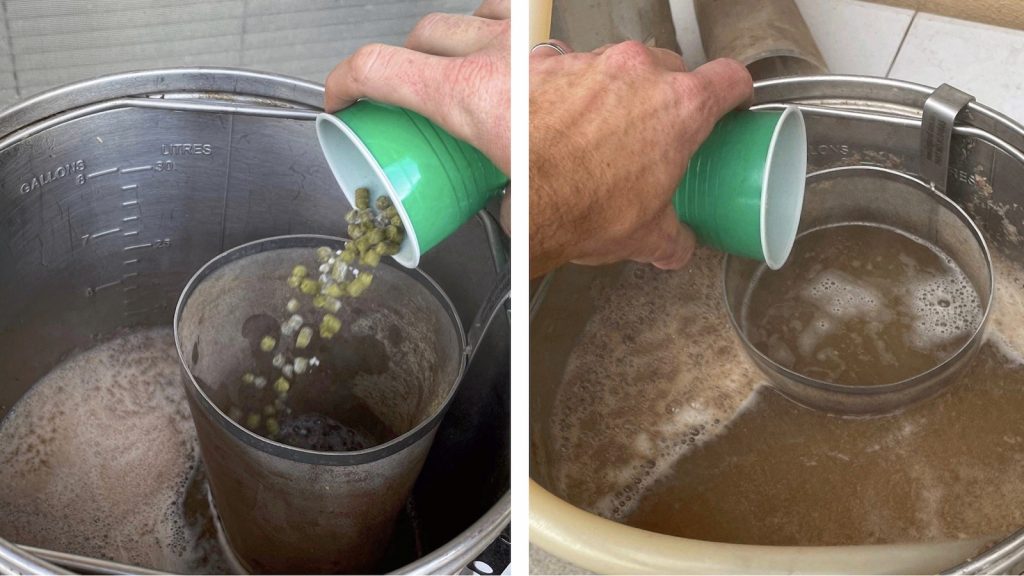
While waiting, I prepared the kettle hop additions.
Once each 60 minute mash was complete, I batch sparged one with 4 gallons/15.1 liters of water while the other was sparged with just 0.60 gallons/2.25 liters of water, resulting in a pre-boil volume difference of 3.4 gallons/11.7 liters. At this point, both sets of wort were boiled for 60 minutes with hops added at the time stated in the recipe– in order to keep the bitterness as similar as possible, the dilution batch received 42 grams of Liberty while the full volume batch was hit with 32 grams.
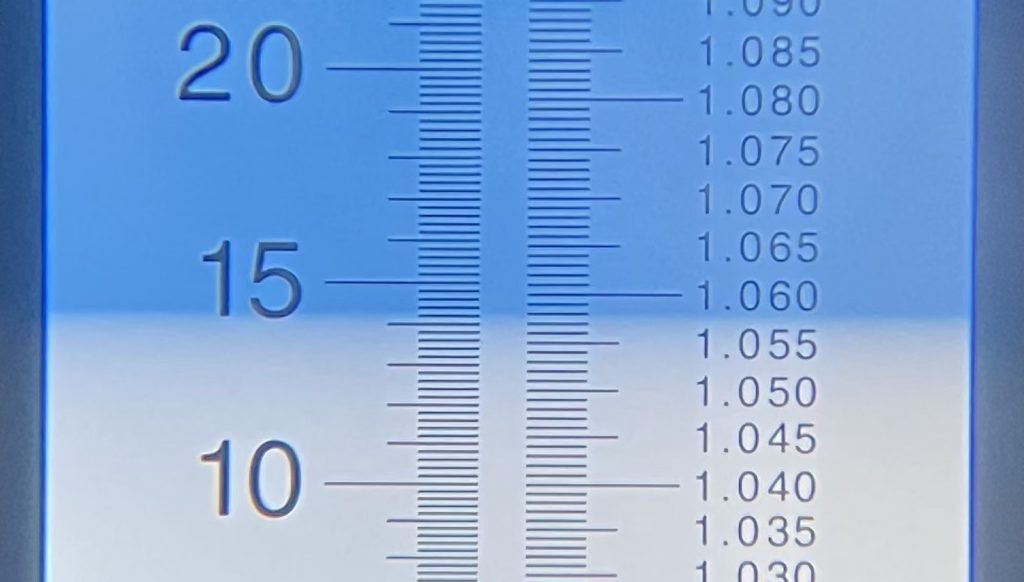
Once the boils were complete, I took a refractometer reading of the batch that would be diluted purely for curiosity’s sake.
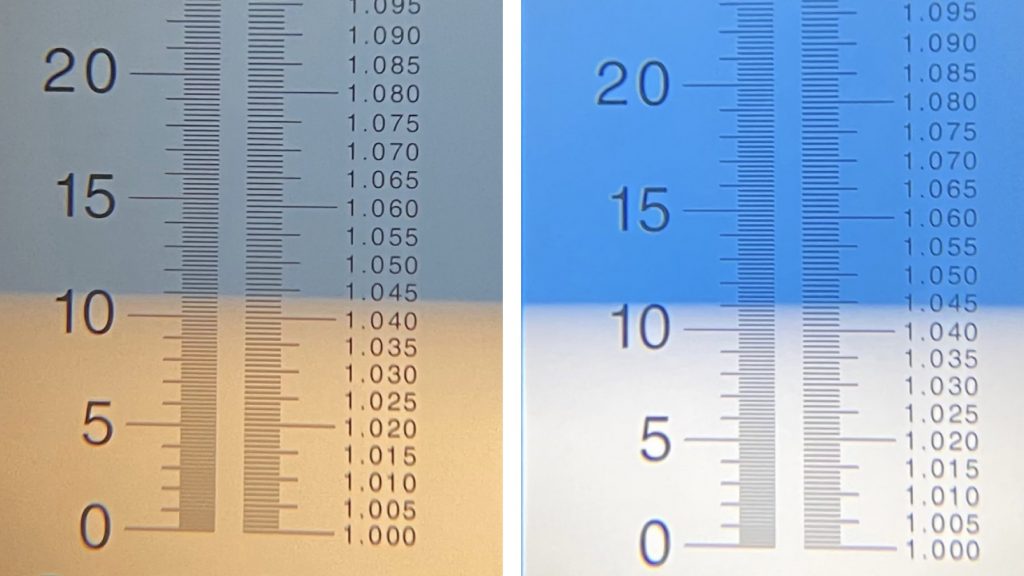
Next, I transferred the worts to sanitized FermTanks then added 2.3 gallons/8.7 liters of water to the concentrated wort to achieve the same post-boil volume as the standard batch; it should be noted the dilution water was adjusted to the same mineral profile as both brewing liquors. Refractometer readings at this point showed the dilution batch was 0.001 SG point lower than the full volume batch.
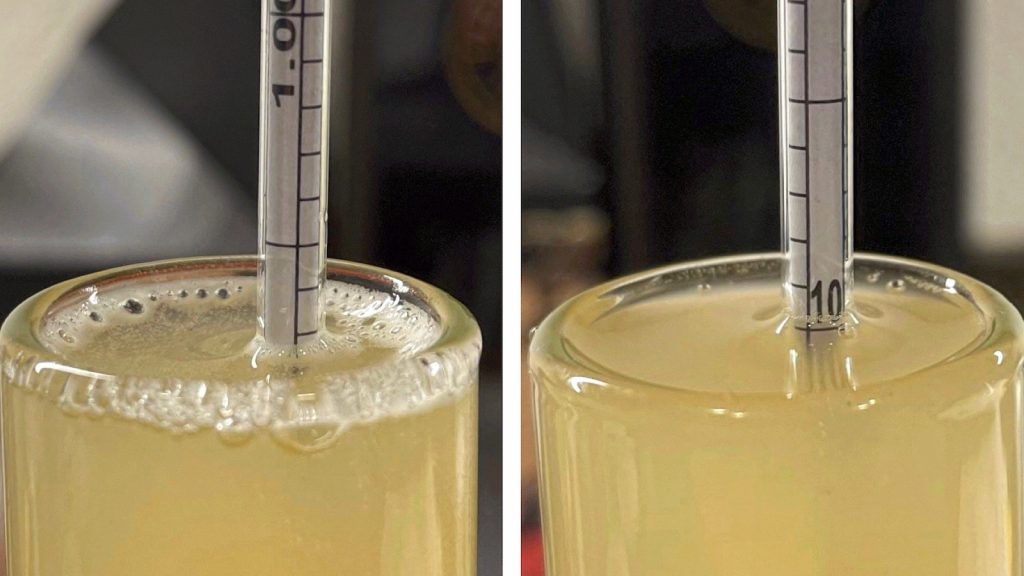
The filled carboys were placed in my chamber and left to finish chilling to my desired fermentation temperature of 60°F/16°C for a few hours before I evenly split the starter of Imperial Yeast L17 Harvest between them. After 10 days of fermentation, I raised the temperature to 70˚F/21˚C and left them alone for another 10 days before taking hydrometer measurements showing the beer that was diluted finished a few points lower than the batch made with a full volume of water.
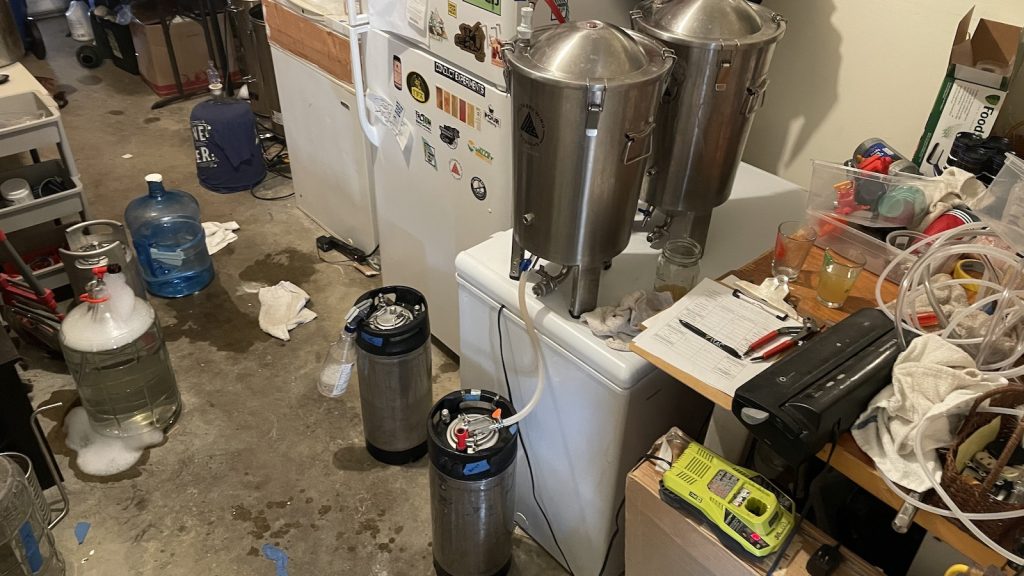
At this point, I pressure transferred the beers to CO2 purged kegs.
The filled kegs were placed in my keezer and left on gas for 3 weeks before they were ready to be evaluated.
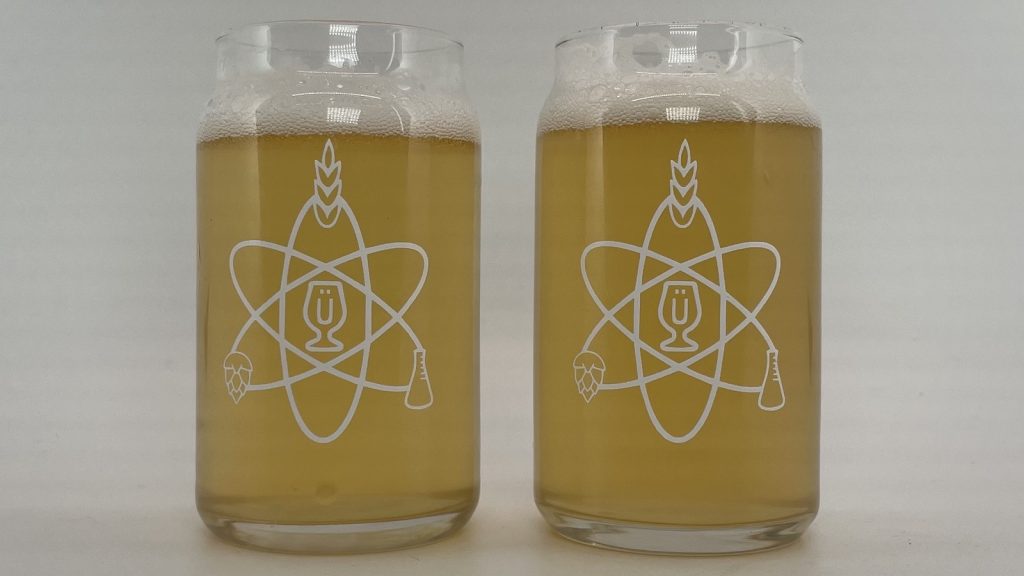
| RESULTS |
A total of 23 people of varying levels of experience participated in this xBmt. Each participant was served 2 samples of the beer that was diluted post-boil and 1 sample of the beer made with the full volume of water in different colored opaque cups then asked to identify the unique sample. While 12 tasters (p<0.05) would have had to accurately identify the unique sample in order to reach statistical significance, only 6 did (p=0.83), indicating participants in this xBmt were unable to reliably distinguish a pale lager where a concentrated smaller volume of wort was boiled then diluted with water from one made with the full volume of water from the start.
My Impressions: Out of the 5 semi-blind triangle tests I attempted, I guessed the odd-beer-out 3 times. Despite my massive amount of bias, which was formed from years of being told full volume boils are better, I was unable to confidently tell these beers apart, and even in the instances I did, my blind preference was mixed.
| DISCUSSION |
Perhaps because of the fact it’s widely practiced by novice brewers, the idea of boiling a smaller volume of concentrated wort then diluting it back to one’s preferred gravity is often looked down upon, with many claiming it results in a poorer quality finished product. Curiously, tasters in this xBmt were unable to reliably distinguish a pale lager where a concentrated smaller volume of wort was boiled then diluted with water from one made with the full volume of water from the start.
The recipe used for this xBmt was intentionally designed to be as simple as possible such that any differences would be readily apparent, yet tasters still couldn’t tell them apart, suggesting the beers were more similar than they were different. It’s possible my use of water that was adjusted to the same mineral profile contributed to this finding. One interesting observation was that the diluted batch had slightly higher attenuation, though the resultant difference in ABV was rather minimal.
For all the dirt that gets thrown on partial boils and dilution, these results have admittedly caused to ponder how it may actually benefit brewers. For example, if I want 10 gallons/38 liters of beer from my 5 gallon/19 liter 120v all-in-one BrewZilla unit, I can make a higher strength wort, split it between fermenters post-boil, then dilute both to a lower gravity. There are a number of cool things one can do with dilution, and these results quell some of the concerns I held based on claims I’d previously heard and read.
If you have any thoughts about this xBmt, please do not hesitate to share in the comments section below!
Support Brülosophy In Style!
All designs are available in various colors and sizes on Amazon!
Follow Brülosophy on:
FACEBOOK | TWITTER | INSTAGRAM
If you enjoy this stuff and feel compelled to support Brulosophy.com, please check out the Support page for details on how you can very easily do so. Thanks!




13 thoughts on “exBEERiment | Impact Dilution Of High OG Wort Has On A Pale Lager”
That is a very interesting xbeeriment ! The real problem with partial boil probably comes more from using extract than from the dilution. Thanks !
Thanks Andy. Quick Q: did you do anything to make sure that the diluting water was sterilized before adding? One obvious advantage of a full boil is that you can be sure that everything in the fermenter has been sterilized. Isn’t dilution adding a risk of contamination?
There’s no risk. The minimal number of tap water bacteria will get destroyed almost instantly by the relatively huge dose of yeast. Contaminated beer comes mostly from dirty tubing, not from water.
Yes, great exbeeriment! Did you heat up the dilution water to rid it of chlorine and bacteria? I have tried diluting at packaging in order to get a full 5 gallon keg out of a 4 gallon batch (so I can ferment in a keg). Theoretically, hop utilization in a higher SG wort is lower, but you can try different scenarios in brewing software to figure out how much more to add to achieve the same bitterness.
Two surprises in here for me:
1) The diluted batch used ~1 gallon less water overall. Was your boiloff rate lower for the more concentrated wort?
2) The two batches had nearly identical OGs (after dilution) despite the fact that one was barely sparged at all, and the other was sparged with 4 gallons of water. I would have expected that the lower sparge volume would have resulted in lower extraction.
It would be interesting to do a similar experiment, but compare diluting pre-fermentation vs post-fermentation. I’ve heard that some commercial breweries will dilute post-fermentation, since fermenting a concentrated beer allows them to save fermenter space.
The boil off would be less for a lower volume of wort, simply because there is less liquid boiling.
Hmm, I’m not an expert and would like to hear more? I’m thinking water turns to vapor at 212F/100C no matter how much/how little you have. The only thing that should change boil-off rate is the boil vigor, humidity, elevation. When setting up equipment profiles the tip is to boil a gallon of water and measure boil-off to figure out the rate to scale for the larger volume.
For #2, those units are set up to recirculate so I’m thinking that while there was less sparge water to “rinse” there was still plenty of liquid moving through the wort during the mash. Just a theory though!
I have been brewing this way for a while now after switching to all-grain BIAB in my kitchen. When I switched to all-grain there was a huge difference in quality as I also started caring about my water profile. This was the final detail that I was worried about as I carried the dilution habit over from my extract days… My beer always turns out well so I wasn’t going to invest a bunch to change, but I am very glad to see this experiment and the results. I’ll keep doing what works for me in my kitchen.
I would be genuinely curious though to see if there was a difference in very hoppy beers. Would there be a perceptible difference in a 50+ IBU beer that is diluted instead of full boil?
That’s very interesting. I’d be curious how it would go with a much bigger grain bill if this is ever repeated.
Carlsberg, Heineken and all major breweries do this ALL the time, for saving costs, and to be able to adjust alc.vol% precisely. In Denmark 4.6% alc.vol. is the limit according to normal beverage taxations.
“Refractometer readings at this point showed the dilution batch was 0.001 SG point lower than the full volume batch.” —-> Which means sparging with 4 gallons vs sparging with 0.6 gallons only gained 0.001 SG points. Isn’t that interesting?
Great experiment, which shows new or seasoned brewers who just don’t have the space for a microbrewery set up at home can, if they’re careful, still produce beer that’s as good as those without the space. I would also be interested to see a comparison of when it’s diluted: after the mash (the brewer’s mash tun may be smaller than their boil kettle); after the boil (their kettle may be smaller than their fermenter) and after fermentation (their fermenter may be smaller than their keg / pressure barrel / bottle options.
I’d particularly be interested to see how diluting after fermentation impacts the beer as it’s always supposed that this will taste watery, but if it’s diluted before fermentation, this shouldn’t be any different, really.