Author: Phil Rusher
In addition to sanitation and the isomerization of alpha acids from hops, boiling wort serves to coagulate proteins and polyphenols into visible chunks, which when left alone, contribute to the trub at the bottom of the kettle. Generally, this “hot break” material is viewed as benign, though some brewers question the sensory impact it has on beer and opt to remove as much as possible.
While there’s some evidence that fermenting beer with ample amounts of kettle trub can have a perceptible impact on beer character, it’s relatively easy to leave most behind when transferring wort to the fermenter. Still, some believe that removing the hot break as it’s forming by skimming the foamy substance off the top of the wort as it comes to a boil will produce a higher quality beer.
I’ve never worried much about hot break at all, though after hearing that some do, I performed an xBmt showing tasters couldn’t tell apart a Munich Helles where the hot break was removed from one where it wasn’t. One proposed explanation for that result was that the beer was too simple, so I decided to test it out again on a hazy NEIPA.
| PURPOSE |
To evaluate the differences between a NEIPA where the hot break was removed during the boil and one where the hot break remained present during the boil.
| METHODS |
Given its infamously delicate nature, I went with a hazy NEIPA recipe for this xBmt.
Of Excess And Intemperance
Recipe Details
| Batch Size | Boil Time | IBU | SRM | Est. OG | Est. FG | ABV |
|---|---|---|---|---|---|---|
| 5.5 gal | 60 min | 59.3 | 6.6 SRM | 1.072 | 1.015 | 7.48 % |
| Actuals | 1.072 | 1.015 | 7.48 % | |||
Fermentables
| Name | Amount | % |
|---|---|---|
| Lamonta: Pale American Barley Malt | 11 lbs | 73.33 |
| Oats, Malted | 2.5 lbs | 16.67 |
| Shaniko: White Wheat Malt | 1.5 lbs | 10 |
Hops
| Name | Amount | Time | Use | Form | Alpha % |
|---|---|---|---|---|---|
| Jarrylo | 18 g | 45 min | Boil | Pellet | 12.6 |
| Citra | 92 g | 10 min | Aroma | Pellet | 13 |
| Centennial | 58 g | 10 min | Aroma | Pellet | 6 |
| Enigma | 125 g | 4 days | Dry Hop | Pellet | 17.5 |
| Centennial | 75 g | 4 days | Dry Hop | Pellet | 6 |
Yeast
| Name | Lab | Attenuation | Temperature |
|---|---|---|---|
| Dry Hop (A24) | Imperial Yeast | 78% | 32°F - 32°F |
Notes
| Water Profile: Ca 97 | Mg 0 | Na 11 | SO4 30 | Cl 159 |
Download
| Download this recipe's BeerXML file |
I made a single large starter with 2 pouches of Imperial Yeast A24 Dry Hop a day ahead of time.
After collecting the full volume of water for both batches and adjusting them to the same profile, I weighed out and milled the grain.
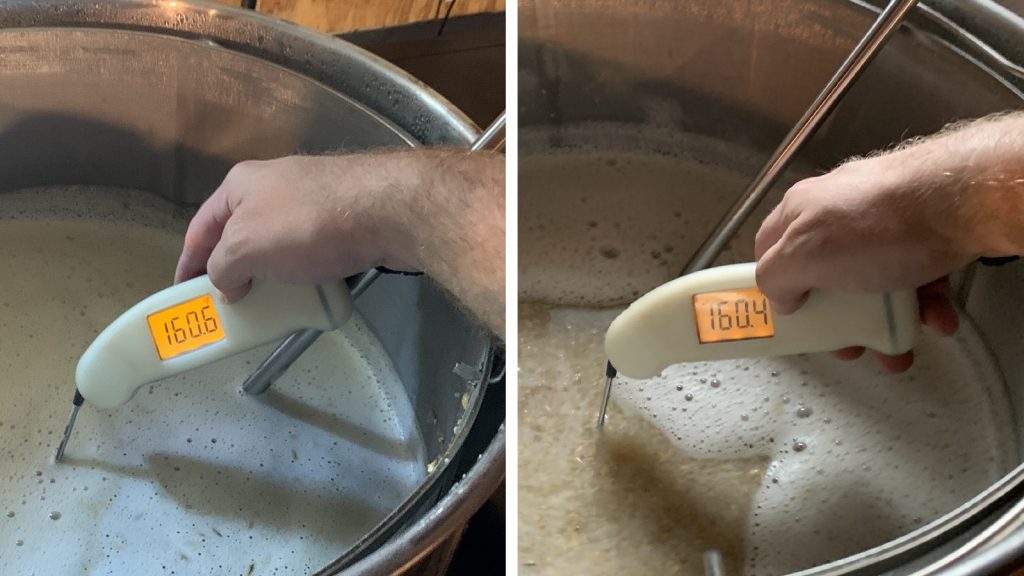
With the water properly heated, I incorporated the grains then checked to make sure the mashes were at my target temperature.
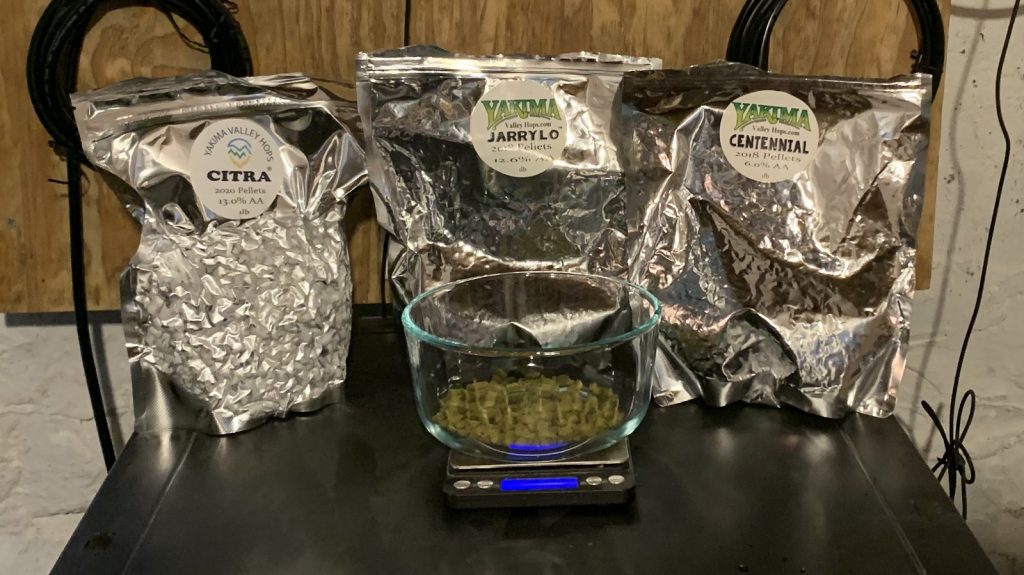
When the 60 minute mash rests were complete, I collected the entire volume of wort from each batch and set the controllers to heat them up before weighing out the kettle hop additions.
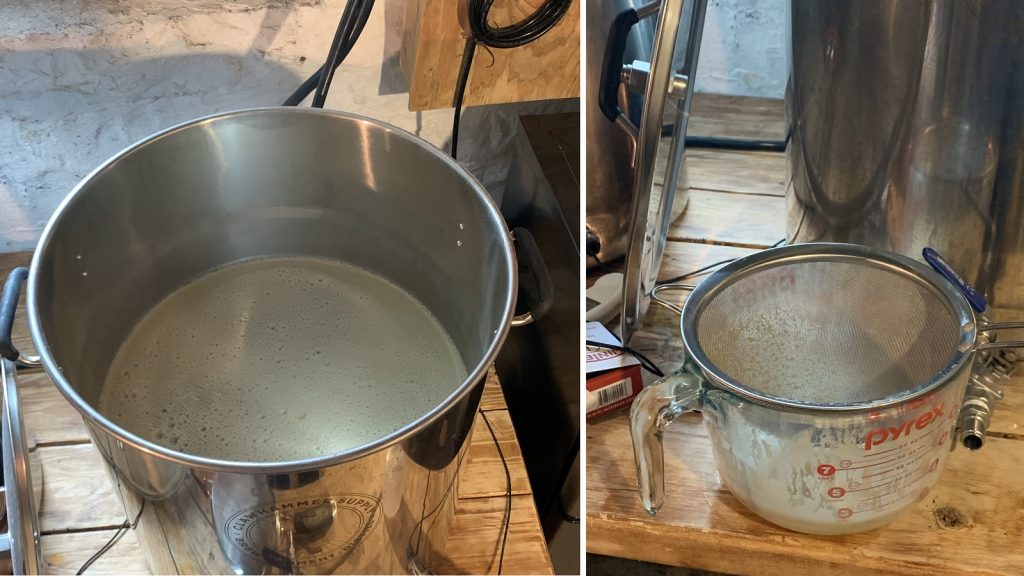
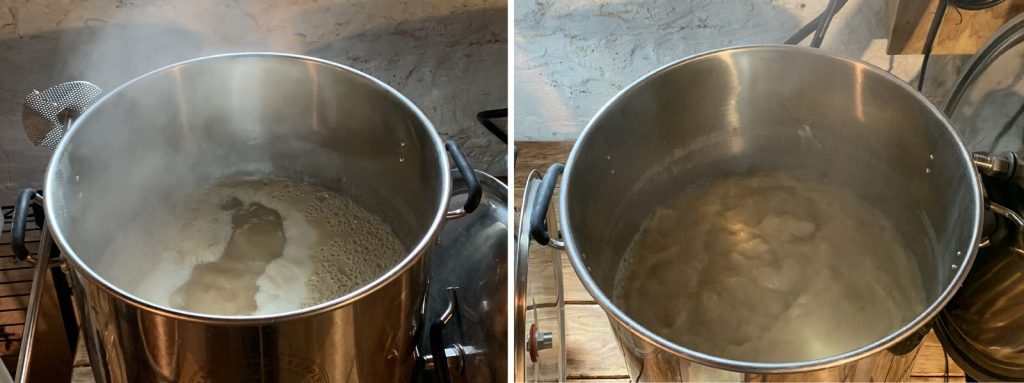
As the worts were reaching a boil, I noticed hot break forming and used a sieve to remove the foamy substance from one of the batches.
There was a noticeable difference in wort appearance during each boil.
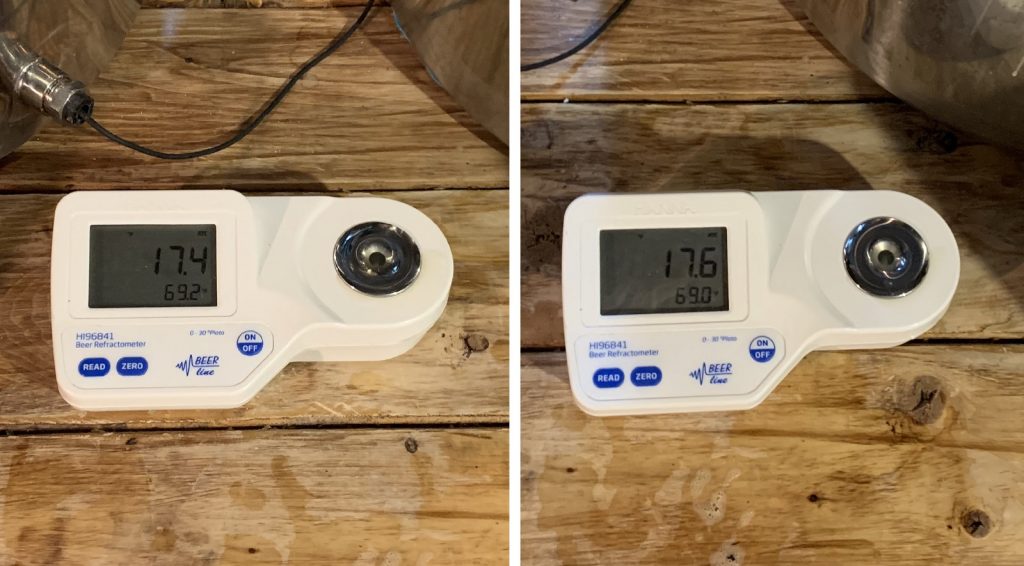
When each 60 minute boil was complete, I made the hop-stand additions listed in the recipe then transferred identical volumes of each wort through a plate chiller on their way to sanitized Unitanks, at which point I took refractometer readings showing the worts were at a very similar OG.
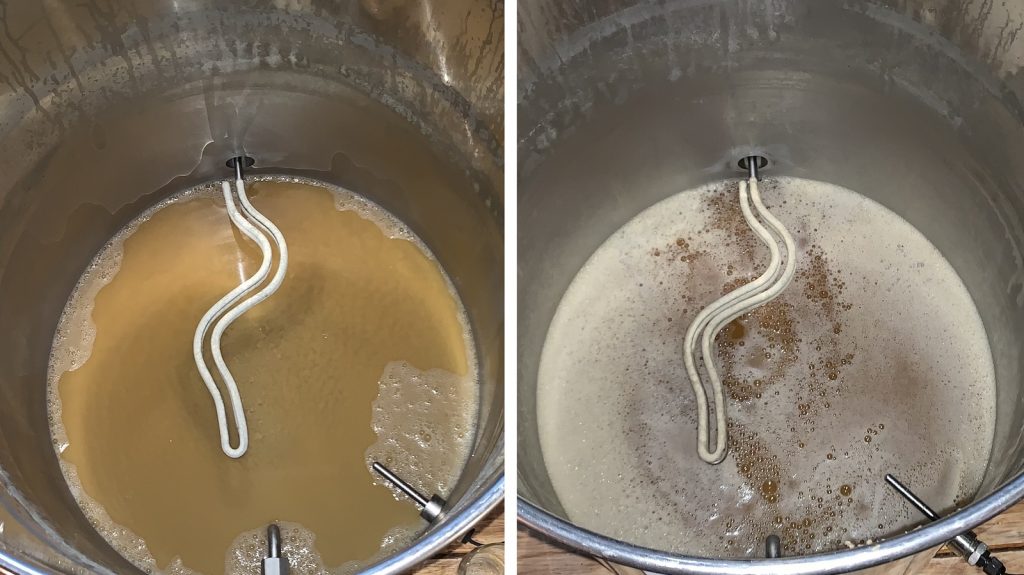
With the kettles empty, I noticed the trub at the bottom of each kettle looked a bit different.
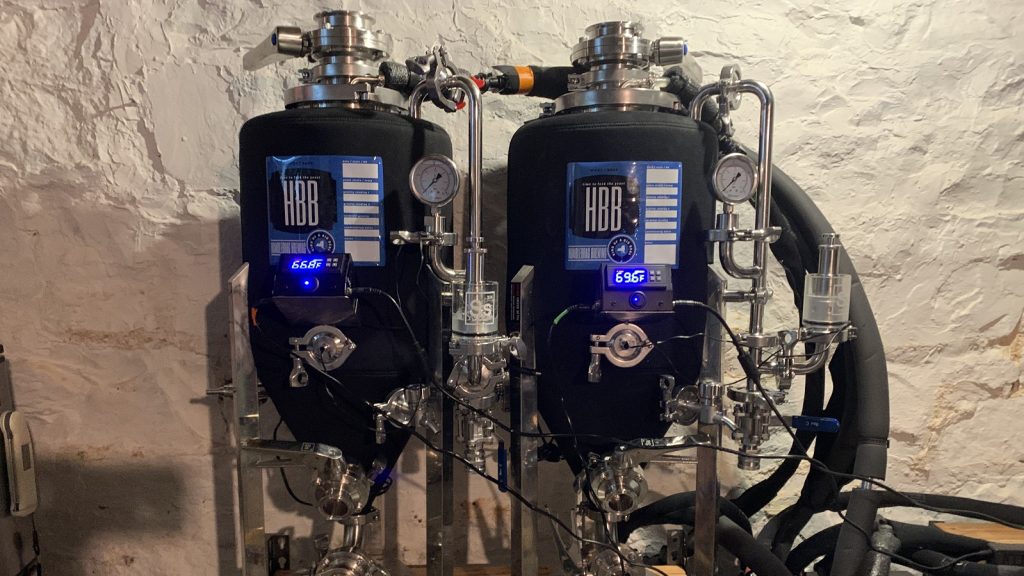
I used my glycol chiller to get both worts down to my desired fermentation temperature of 67°F/19°C before equally splitting the yeast starter between them.
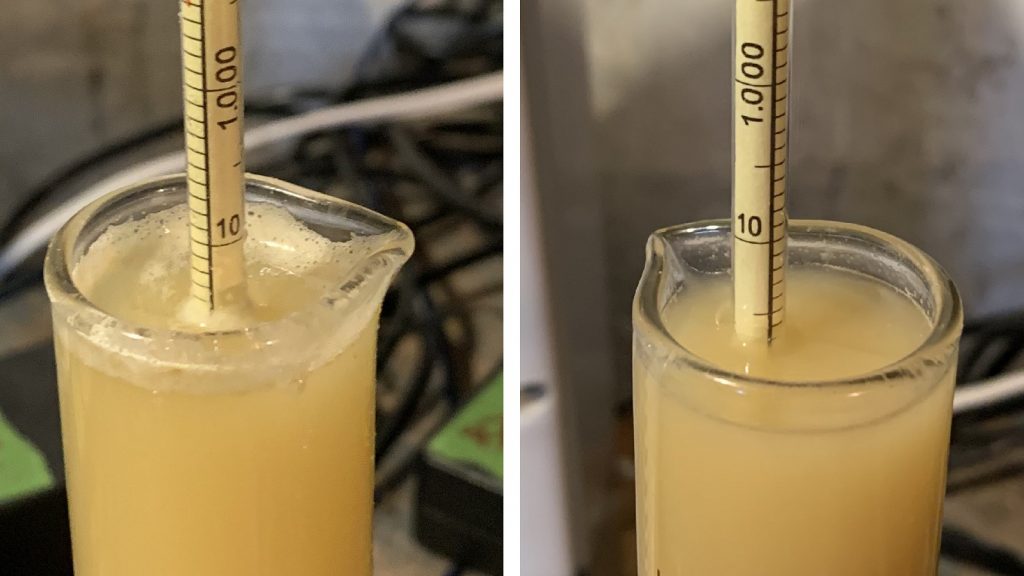
The beers were left to ferment for 11 days before I took hydrometer measurements indicating similar attenuation.
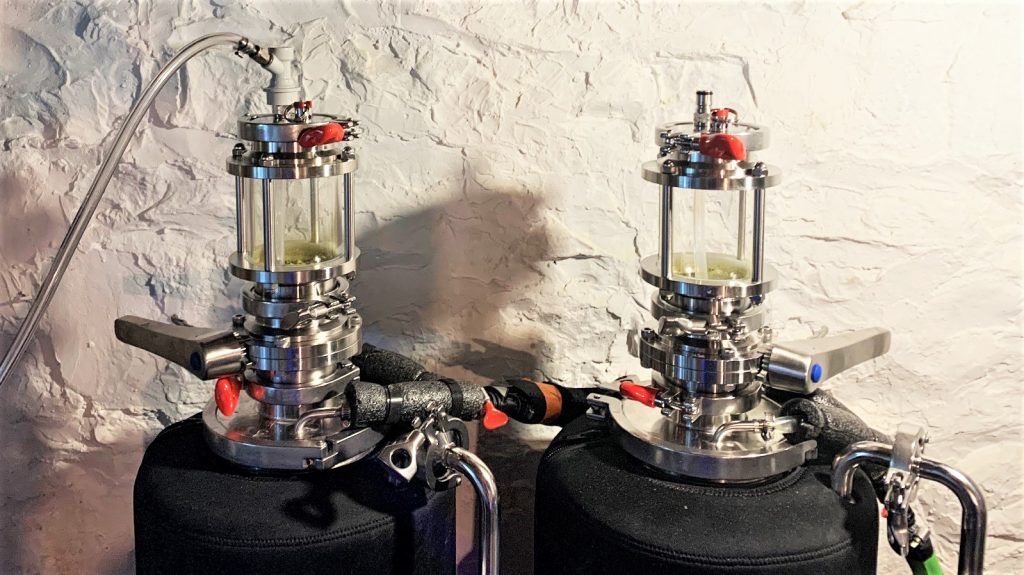
At this point, I set the glycol controllers to 50°F/10°C and added the CO2 purged dry hops.
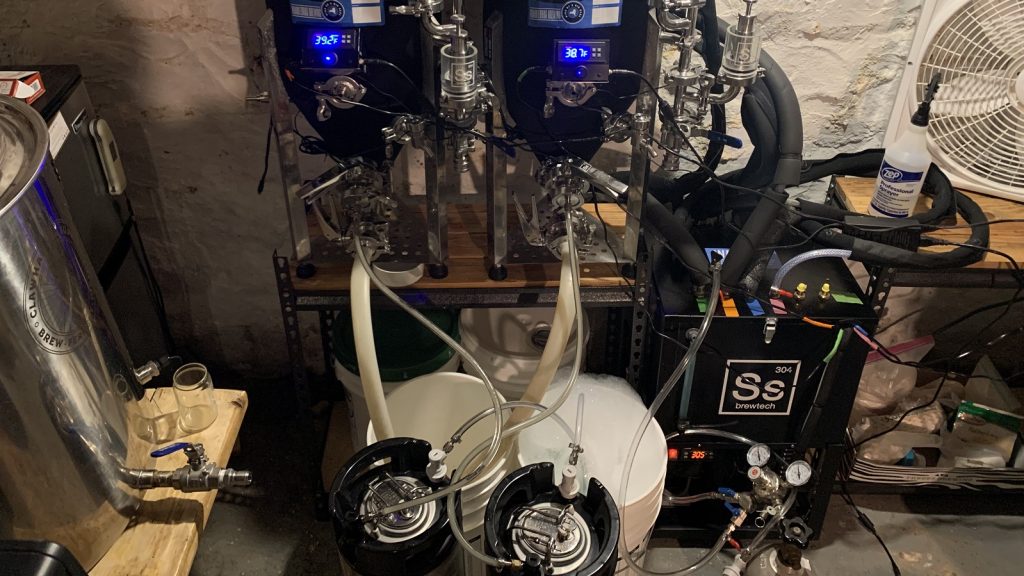
After 4 days, I dumped the trub from each batch and further reduced the temperature to 38°F/3°C for a 24 hour period of cold-crashing before pressure transferring to CO2 purged kegs.
The filled kegs were placed in my keezer and burst carbonated overnight before I reduced the gas to serving pressure. After 2 weeks of conditioning, they were carbonated and ready for evaluation.
| RESULTS |
Due to social distancing practices as a result of the COVID-19 pandemic, data for this xBmt was unable to be collected in our typical manner. As such, temporary adaptations were made involving the author completing multiple semi-blind triangle tests in as unbiased a way as possible.
Utilizing 4 opaque cups of the same color where 2 were inconspicuously marked, one set was filled with the beer where the hot break remained during the boil while the other set was filled with the beer that had the hot break removed during the boil. For each triangle test, 3 of the 4 cups were indiscriminately selected, thus randomizing which beer was the unique sample for each trial. Following each attempt, I noted whether I was correct in identifying the unique sample. Out of the 10 semi-blind triangle tests I completed, I needed to identify the unique sample at least 7 times (p<0.05) in order to reach statistical significance. In the end, I correctly identified the unique sample just 3 times (p=0.70), indicating my inability to reliably distinguish an NEIPA boiled with the hot break from one that had the hot break removed during the boil.
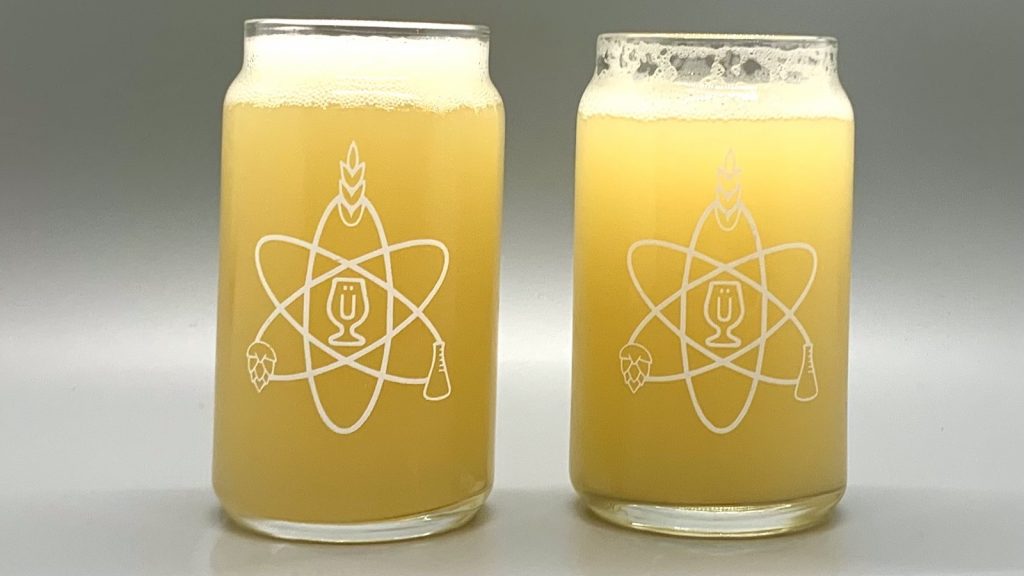
There was nothing about that beers that I perceived as being different. In addition to the mouthfeel, aroma, flavor, I didn’t see a difference in color or foam either. This recipe was a real winner, too, I couldn’t keep my hands off these beers!
| DISCUSSION |
The coagulation of proteins and polyphenols that occurs when wort is boiled creates a substance referred to as hot break, most of which will fall out of solution if given enough time post-boil. However, some have claimed that removing this material as it forms at the start of the boil leads to a higher quality end product. My inability to reliably distinguish an NEIPA that was boiled with the hot break from one where the hot break was removed during the boil indicates any impact was small enough as to be imperceptible.
Perhaps the most plausible explanation for these results is that other characteristics of this NEIPA, namely how hoppy it was, covered up any impact the hot break had on it. While this may be the case, the fact tasters in a past xBmt were unable to tell apart Munich Helles’ boiled with and without hot break adds more support for the idea that it has minimal impact on beer character.
With two xBmts under my belt indicating the inclusion of hot break in the boil has minimal if any perceptible effect on beer, skimming is not a practice I’ll be integrating into my normal brewing process. Outside of reducing the chances of a boil-over, removing the hot break material seemed to have no real benefit and added what I view as an unnecessary step. At the same time, these findings also suggest there’s no detriment to hot break removal, so brewers who prefer to do it likely have little to worry about.
If you have any thoughts about this xBmt, please do not hesitate to share in the comments section below!
Support Brülosophy In Style!
All designs are available in various colors and sizes on Amazon!
Follow Brülosophy on:
FACEBOOK | TWITTER | INSTAGRAM
If you enjoy this stuff and feel compelled to support Brulosophy.com, please check out the Support page for details on how you can very easily do so. Thanks!




17 thoughts on “exBEERiment | Impact Removing Hot Break During The Boil Has On New England IPA”
Hi. Great xBeeriment. Your NEIPAs are a great color! I‘m wondering how you clean all that large gear like those heavy looking FVs? You can‘t be carrying it to the bathroom tub, like I do my small kettle and FV-buckets…Do you have some sort of CIP in place, or do you just stand on a ladder with a hose and spray out those large kettles and fermentation vessels and dump out the bottom? What‘s your clean up routine and what does it look like?
Cheers!
Josh
I *love* fermenting in unitanks, but I *loathe* cleaning and sanitizing them! There are so many small bits of surface area that are potential spots for unwanted microbial growth because of all the different parts that are involved. Plus I’m a little bit anal retentive about cleaning and sanitation, so I tend to go above and beyond what’s strictly necessary.
I’ve got cold and hot water lines that run near my homebrewery so my tanks don’t move very much, but I can definitely relate to dragging my gear to the bathroom for cleaning! I do not miss those days haha. After I dump everything out of the bottom ports I hose down the inside of the tanks as best I can with hot water. I then fill them up about halfway with hot water and CIP with PBW for a while. After that I take some of that PBW and put it on the side for later before rinsing with hot water, followed CIP with Saniclean. Once that’s done I fully disassemble and let the parts soak in PBW/Saniclean, making sure to remove any additional trub etc. that the CIP ball didn’t reach.
That’s quite an impressive cleaning program, sounds like you do it proper!👍🤓 How long does it take you until a brew day is completely cleaned up?
I also run pbw (well, just oxi cleaner+ soda) thru a cip ball and thru all my pumps and counter-flow chiller with lots of parts in the kettle at 60°C for 20 minutes after I’ve rinsed everything off, then another 5-10 minutes with just warm water, and I’ve found that I spend almost as much time cleaning up as the brewing took from heating strike water until the yeast is pitched…I keep thinking I must be doing it wrong, but maybe it really does take that long (like 2-3 hours)…🤷♂️
cheers,
josh
Active time from start to finish is probably 5-6 hours, but I tend to take breaks and spread out the cleaning processes because during the actual brewing of the beer, I’m basically shirking all my other normal human responsibilities and leaving my wife alone with the kid all day. Since CIP is pretty much automated I can just turn on the pumps and go relieve her, returning when it’s convenient. Cleaning is definitely a huge part of this hobby! But the beer is usually worth it 🙂
I’ve heard good things about oxiclean and baking soda. Similarly good is oxiclean and TSP (or just straight TSP), though TSP is a bit harsh for some and pretty horrible for the environment. I’ve been curious about using baked baking soda for cleaning. When exposed to heat in the oven, baking soda (sodium bicarbonate) becomes sodium carbonate, a more caustic substance good for cleaning (and ramen).
https://www.seriouseats.com/baked-baking-soda
you mean 5-6 hours *just* for the cleaning, not including brewing, right?
re: baked baking soda: yes, when I wrote “oxi+ soda” above I meant “washing soda” which is exactly natriumcarbonate! sold here in Germany just as “pure soda”. the combination works well, although I find that if I use too much soda it leaves behind a white film on everything that has to be removed with a citrus cleaner. I use a good scoop of oxi and just a 1/2-1 tablespoon of soda. works well.
TSP is terrible for the environment, but ‘Red Devil’ is a tsp-free alternative that works just as well.
cheers,
josh
Oh no, sorry. 5-6 hours including brewing and cleaning. Glad we’re on the same page with the soda and that it works well!
Thoughts about hot break: since this is about coagulation processes, hot break probably takes on the same characteristics (but not in as large chunks) as cheese, tofu or boiled egg. That is, it does not actually bond anymore with its environment. There are texts which compare this to grease, but doesn’t that contradict coagulation?
Now, if you ferment above the trub, then what will happen is that the lightest particles will probably be swept up by the fermentation, but after that they will drop out again, and be covered by the yeast. Does yeast use the coagulated proteins as a source of nutrients? Probably. But when the wort is separated from the trub, there are probably still a whole lot of very small particles that you can never filter out. So why wouldn’t these have a negative impact, if any, on the beer?
It’s possible (likely for most homebrewers) to include some trub in their packaged beer. It could negatively affect the beer if present in large quantities, but I think it’s mostly benign, especially if cleaning and sanitation practices are good.
I remove the hot break from my batches. Does it make much difference? Probably not, but I’m usually just standing there waiting for it to boil so I figure I might as well remove it.
You do you, homie!
Is it me, or do the pictures for FG and Final Product make it seem like the brew with hot break has better head retention? Perhaps it’s the order they were poured?
FWIW, I used to skim my hot break, but then reconsidered when I remembered I’ve never seen a pro brewer do this. Now the hot break gets stirred back in and the sieve gets the floaty bits of grain that managed their way through the malt pipe.
Yeah it’s only due to the time the samples had been sitting. The foam is identical between these beers.
Great write-up! However, I think this caption has an incorrect FG:
“Left: hot break present 1.015 FG | Right: hot break removed 1.0165 FG”
Your eyes do not deceive you and it is intentional; I just didn’t want to round up 😉
Interesting. Have you done a similar experiment for cold break material (or do you plan to)? In my experience there’s a much greater volume of cold break coagulant compared to hot break scrum. It’s of particular interest to me because, since I switched from hop flowers to pellets, I get loads of coagulant transferring into the fermenter.
*scum
Here is the thing. Removing hot break is not about taste. It is about avoiding colloids in the final product that will reduce clarity. I notice both of your beers were cloudy, so the experiment really does not tell us anything. The analogous experiment with the Helles did show slight improved clarity. I recently read a blog on the Grainfather website that suggested that retaining cold break trub actually led to beers that were actually more clear and had more character. Take a look
https://grainfather.com/the-trub-experiment/