Author: Phil Rusher
With warmer weather coming upon us, my desire for light, refreshing beers grows strong. There are several styles that fit that description, but not all are created equal. When searching for an ultra-refreshing, pleasantly drinkable beer, lager is the obvious choice, and one unique spin on this general style that I’ve been anxious to try out is Japanese Rice Lager.
Similar in character to mass market American adjunct lager, Japanese Rice Lager is produced using a relatively large proportion of – you guessed it – rice along with barley malt. As is often the case with beer, there is no specific requirement for the type or exact amount of rice to use when making this style, nor is there one particular way to brew it. There are several Japanese breweries producing Rice Lager, a very popular one of which is Sapporo, who in the 1970s-1980s developed the Sorachi Ace hop, a variety specifically intended for use in their flagship lager.
As Covid restrictions loosen and the summer heat approaches, I was thirsting for a refreshing session beer to enjoy with friends throughout an afternoon of catching up. Given rice’s reputation as imparting minimal flavor and body to beer while contributing fermentable sugar, Japanese Rice Lager seemed an ideal candidate, so I designed a recipe featuring jasmine rice and the stylistically classic Sorachi Ace hop variety.
| Making Japanese Rice Lager |
Because I chose to use jasmine rice, which is not available in flaked form at my homebrew shop, I would need to “brew the hard way” by employing a cereal mash to gelatinize the rice prior to being able to extract its fermentable sugars. Other than that, the recipe I designed was fairly simple.
Japanese Rice Lager
Recipe Details
| Batch Size | Boil Time | IBU | SRM | Est. OG | Est. FG | ABV |
|---|---|---|---|---|---|---|
| 6.5 gal | 60 min | 20.6 | 2.2 SRM | 1.046 | 1.005 | 5.38 % |
| Actuals | 1.046 | 1.005 | 5.38 % | |||
Fermentables
| Name | Amount | % |
|---|---|---|
| Heidelberg | 7 lbs | 63.64 |
| Jasmine Rice | 4 lbs | 36.36 |
Hops
| Name | Amount | Time | Use | Form | Alpha % |
|---|---|---|---|---|---|
| Sorachi Ace | 10 g | 0 min | First Wort | Pellet | 11 |
| Sorachi Ace | 15 g | 10 min | Boil | Pellet | 11 |
| Sorachi Ace | 30 g | 1 min | Boil | Pellet | 11 |
Yeast
| Name | Lab | Attenuation | Temperature |
|---|---|---|---|
| Urkel (L28) | Imperial Yeast | 75% | 32°F - 32°F |
Notes
| Water Profile: Ca 14 | Mg 0 | Na 12 | SO4 28 | Cl 20 |
Download
| Download this recipe's BeerXML file |
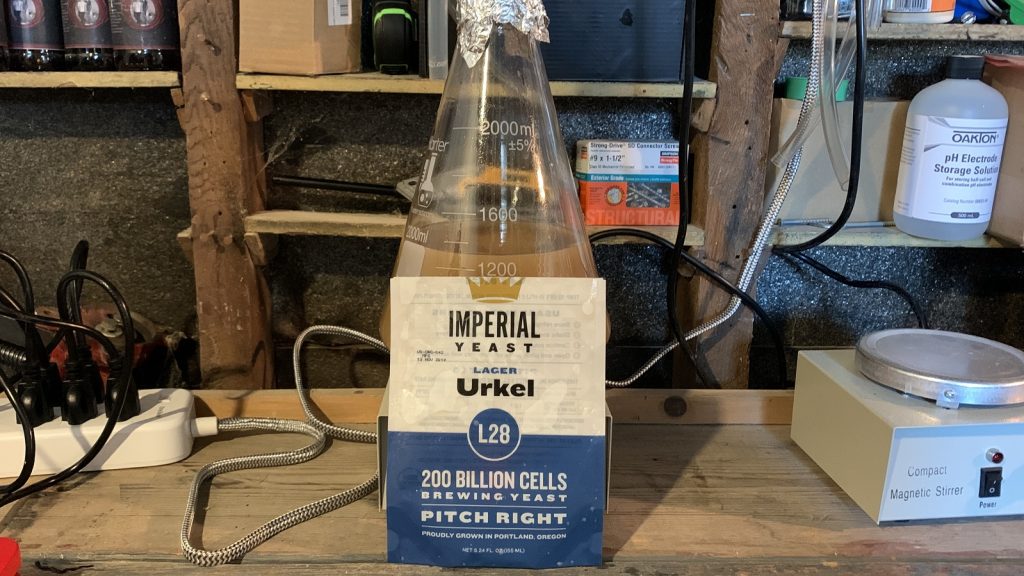
A couple days prior to brewing, I made a yeast starter with Imperial Yeast L28 Urkel.
After adjusting the brewing water to my desired profile and getting it heating up on brew day, I weighed out and milled the barley malt.
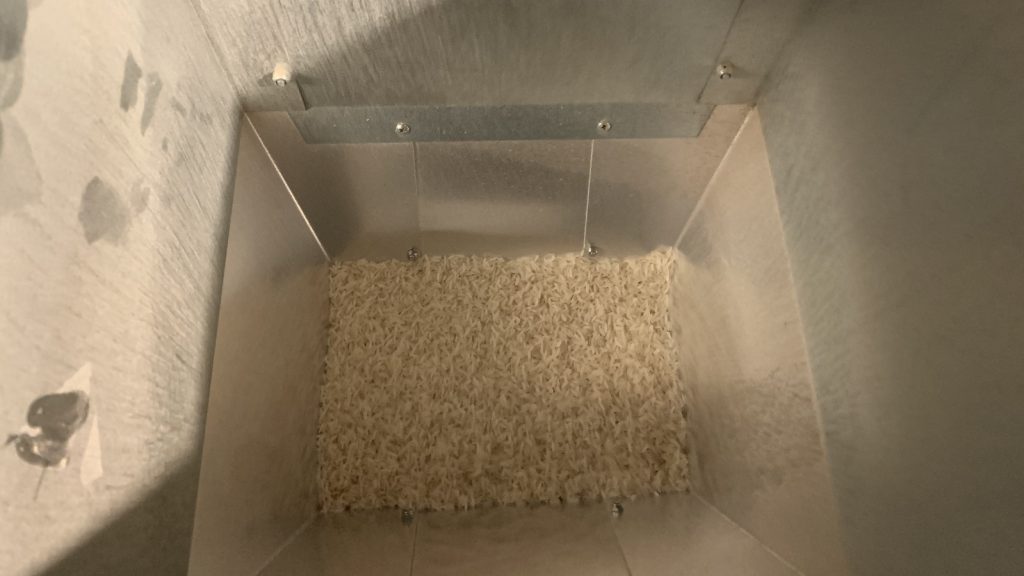
Once the barley was crushed, I tightened the gap on my mill and ran the rice through to pulverize it as much as possible
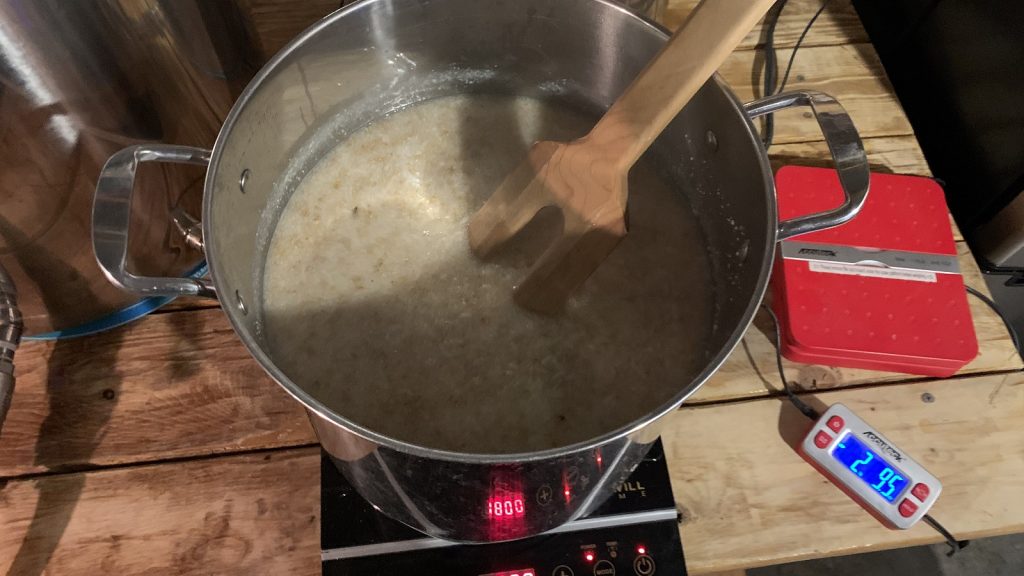
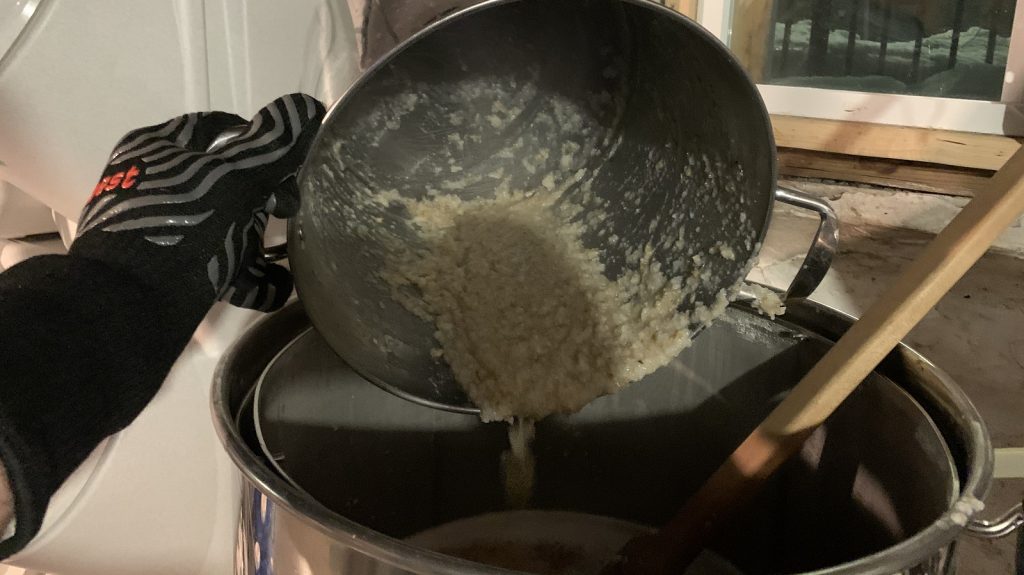
Following instructions from the Milk the Funk wiki, I performed a cereal mash by combing all of the rice with 20% of the barley malt and about 1/3 of the heated brewing liquor in a separate pot, which was held at 158°F/70°C.
The rest of the barley malt was incorporated into the remaining brewing liquor and left to mash at my desired temperature.
After 25 minutes, I brought the cereal mash to a gentle boil and stirred it constantly over the next 30 minutes to prevent scorching before adding it to the main mash.
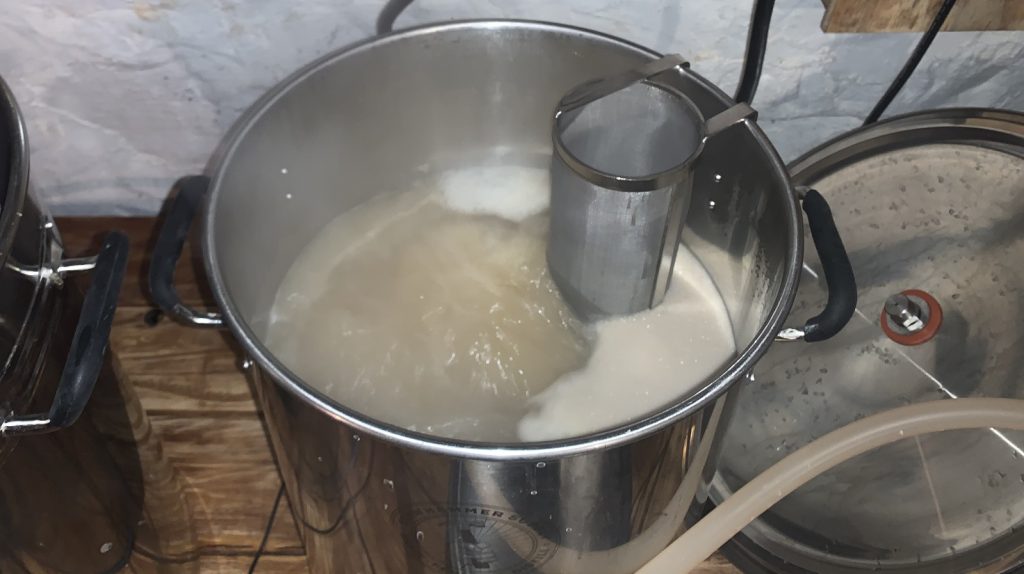
The combined mash was left alone for another 20 minutes before I removed the grain basket and proceeded to boil the wort.
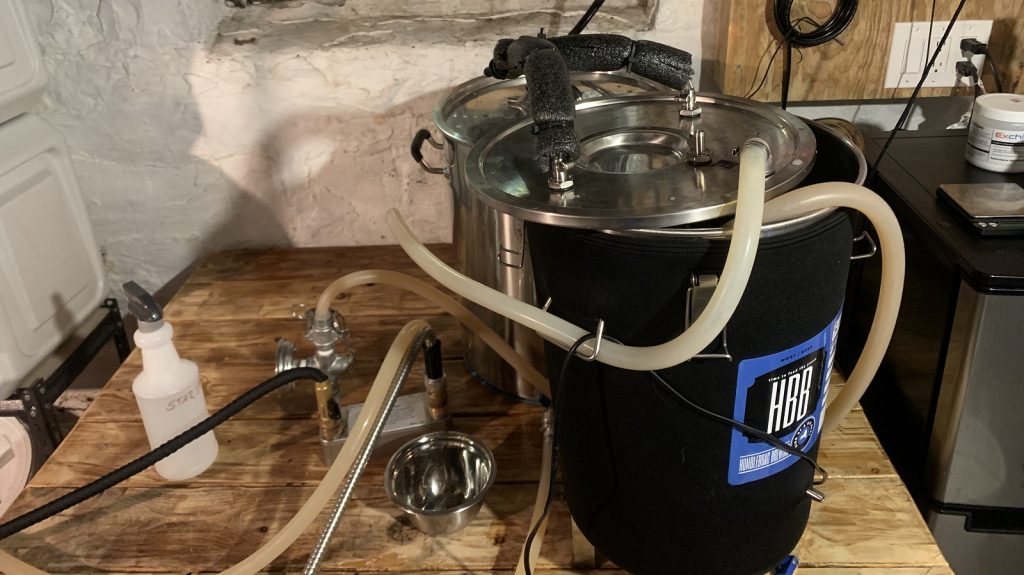
Once the 60 minute boil was finished, I quickly chilled the wort while transferring it to a sanitized Brew Bucket.
A refractometer reading showed the wort was right at my target OG.

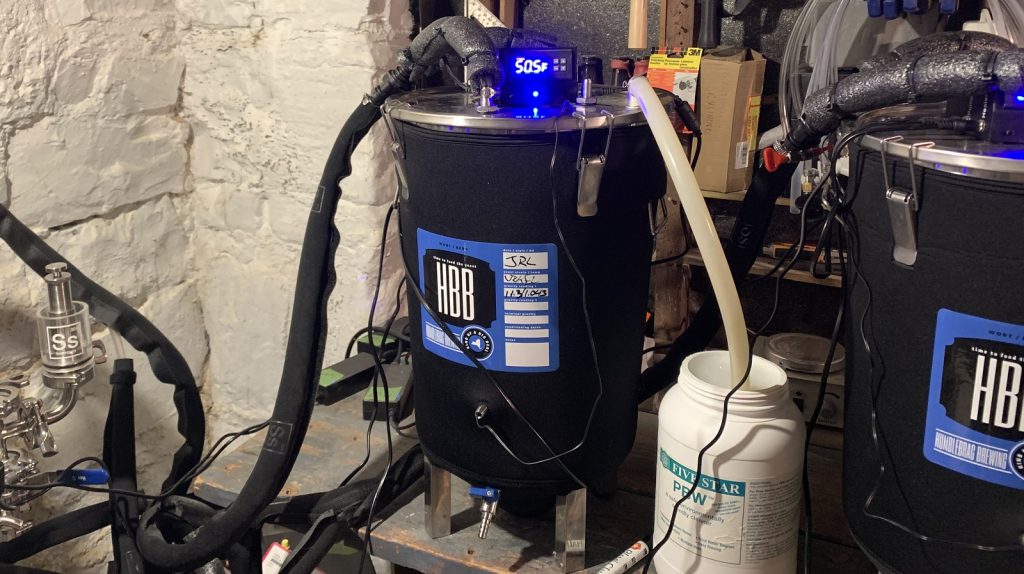
The filled fermenter was attached to my glycol rig and left to finish chilling to my desired fermentation temperature of 51°F/11°C, at which point I pitched the yeast starter.
After 10 days of fermentation, I increased the temperature of the beer to 65°F/18°C and left it alone for a few days before taking a hydrometer measurement showing the beer reached a dry 1.005 FG.
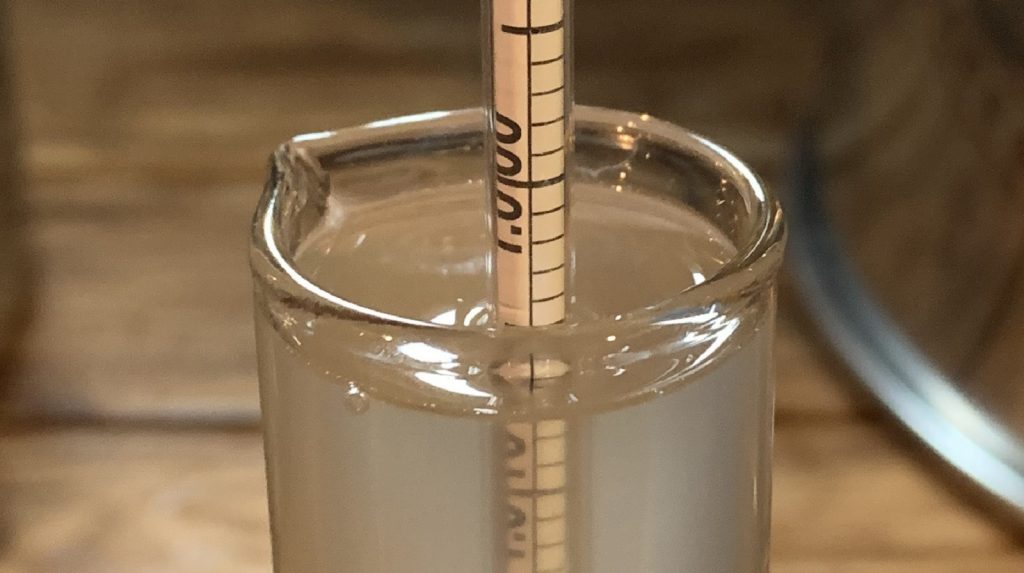
At this point, I pressure transferred the beer to a CO2 purged keg that was placed in my keezer and burst carbonated overnight before I reduced the gas to serving pressure. Following a 3 week period of cold conditioning, my Japanese Rice Lager was carbonated, clear, and ready to drink!
| IMPRESSIONS |
My favorite commercial examples of Japanese Rice Lager are generally in line with what they’re advertised to be—clean, bright, and refreshing without any distracting flavors. While simple, these beers are nowhere near bland, presenting with a light bready malt note and subtle hop spice that contribute to its drinkability. In the case of Sapporo Premium Beer, these characteristics combine with subtle though distinct lemon, herbal, and even minty hop characteristics presumably from the use of Sorachi Ace.
Drawing inspiration from Sapporo, I designed a recipe that relied on a relatively generous amount of Sorachi Ace hops as well as jasmine rice, a variety more common in Thailand than Japan that I hoped would increase the flavor complexity of this beer. Unlike typical flaked rice, the jasmine rice had to be put through a cereal mash prior to being used, and while this added a bit more time to my brew day, I felt it was worth it as the hint of jasmine rice I perceived on the back of the palate was very enjoyable.
I very much enjoyed this Japanese Rice Lager and felt it met my goal of being a crushable beer to sip with friends during warm afternoons. I did perceive a slight hop pungency that certainly wasn’t off-putting, though I felt it was a bit much considering how light this style is; in subsequent batches, I’d use just enough Sorachi Ace up front to achieve my desired bitterness or use a less pungent hop variety. The aromatics typically associated with cooked jasmine rice were present but not so strong as to be overpowering, and while I may not take the time to perform a cereal mash too often in the future, it’s certainly something I plan to continue doing occasionally for certain styles. All in all, I’m pleased with the outcome of this beer and look forward to sharing it with friends and family.
If you have thoughts about this recipe or experience making something similar, please feel free to share in the comments section below!
Support Brülosophy In Style!
All designs are available in various colors and sizes on Amazon!
Follow Brülosophy on:
FACEBOOK | TWITTER | INSTAGRAM
If you enjoy this stuff and feel compelled to support Brulosophy.com, please check out the Support page for details on how you can very easily do so. Thanks!






22 thoughts on “Brü It Yourself | Japanese Rice Lager”
Another great dose of inspiration, thank you! I made a similar beer last year with 43% (!) basmati rice and you could definitely taste it. To give the rice flavor a chance, I hopped with Nugget and Perle, and instead of a cereal mash I just cooked the rice the day before and extended the mash time to 90 minutes at 154-155. Even with it being a low ABV, 3-gallon batch, it was a lot of rice!
Nice! Yeah those 3% beers are money. I considered cooking the rice on the stove for this beer but decided against it. Might be a good xBmt in the future…
Rice gelantinization temp is 185*. I soak my rice overnite then heat and stir until 185*- 189* rest 10 min then add cold liquor so when I add the barley malt for liquefaction to occur, the mash is at 143*-148* rest 30 min then up to 158*-160* rest 30 min then a 20-30 min boil. When I changed from the way you did the cereal mash here, to the way it’s done in Technology Brewing and Malting my gravity points went up from 1.050 OG to 1.060 OG
Right, sounds like a good process. And actually, these are some of the considerations I made too! Interestingly, the gelatinization temperature for different kinds of rice is variable. In the case of long grain rice like jasmine, it’s a bit lower than shorter grain rice.
This is a very good call. Starch chemistry is a pretty interesting topic…I say as a former starch chemist!! The rice varietal will lead to pretty different changes depending on whether it has more amylose (long-chain) or amylopectin (short-chain and branched). The soak gives a chance for the starches to soften up (amylopectin dissolves faster and has a lower gelatinization temperature than amylose) but you still need to know the gelatinization temps of each rice to know what to do.
One thing to be careful of is the retrogradation of starch, mostly amylopectin, upon cooling. When the starches are in solution (without any enzymes around) and you slowly cool, it actually coils up (strangely similar to the way DNA folds to create proteins) and becomes unavailable to enzymes and to yeast fermentation. So you really want to avoid any cook/cool cycles of rice (or corn/wheat whatever) to maximize gravity/lb of raw materials. If you’re a real nerd, check out US Patent 5,902,410 which is the basis for a commercial product I created that effectively created dietary fiber from corn starch. SCIENCE!
A pretty good way to do this is what Michael suggests with one small tweak. Soak overnight to help soften the rice (a short rinse wouldn’t kill you either as rice is dirtier than you think), then add a pound of 2-row while you bring it up to the low 150s and hold for 20 mins or so. THEN bring up to 180-200ish, depending on varietal, then come back down and add the remaining grist and mash as normal.
I understand I’ve described something that flies in the face of the “short and shoddy” concept, but suggest it simply as a way to maximize the impact of ingredients. Hope this helps.
Would you follow this process with the full volume of water? For instance, in BIAB setup, would you add the rice to the full volume the night before to soak, raise to 150, 180, back to 150ish and mash in as normal?
I don’t think Sapporo ever actually used Sorachi in any of their beers
Some of the absolute best lagers I have had were on draft, in Tokyo, Japan. These include Kirin, Yebisu, Sapporo, Asahi, and others. World class. As good as anything the German’s brew. Full flavored, with a good hop presence.
I’m envious of your travels and of the fact that you’ve had these beers near the source! I’m reeeeeeaaaaaally looking forward to being able to travel again.
Surprised you didn’t increase the sulfate content to drive up the dry finish character typical of this style.
I was aiming for more of a PU-ish type finish than that, but between the low mineralization and the calculated pH I shot for something a bit more balanced. Good results to be sure.
I made something similar and found a fairly heafty dill flavour from the late editions of this hop. Not bad, but a lttle offputting.
Yeah, I brewed a Japanese lager last year with Sorachi Ace and ended up with the same dill flavor. Drinkable, but I could definitely do without the dill.
I never got the dill thing with Sorachi Ace but it’s definitely a unique variety.
Might want to consider rinsing / washing the rice before using next time, to wash away all the arsenic that’s used to coat the rice to deter rodents.
They dont purposely add arsenic, its just that arsenic is found in polluted water, which then ends up in the irrigation of rice paddys, especially in Southeast Asia.
The irrigated paddys also allow for increased uptake of arsenic from pesticides, herbicides, and some fertilizers.
This is why rinsing only reduces ~25% of the arsenic, as its spread fairly evenly throughout the grain. A more effective way to reduce arsenic is to cook the rice in plenty of water, then drain it off. This may cause some gravity issues in beer making though.
I have made a similar rice lager in past, though I avoid Sorachi Ace generally because I definitely get the dill and don’t like it. I used my full volume of mash water and brought it to a boil in the kettle, then added the rice and once it was at a boil, turned off the burner and left it until it hit about 150-155 (usually takes 4 hours or so). I do a mash in a bag technique, so I put the bag in my mash tun (cooler), added the rice/water and then mashed in the grain. Proceeded to run off and brew like usual from there. I was not aware of the retrograde starch thing. Not sure if it would cause troubles here. I did learn the hard way to buy the jasmine rice and make sure it didn’t have any added iron. Some supplement with iron and some don’t. You definitely don’t want the iron. Also, I do rinse the rice first. Same technique can be used for corn if you don’t want to spend the cash on the expensive flaked corn. Can use the cheap feed corn from the local farm store if you have a mill, or can use corn meal. Again, be careful to avoid added iron.
Great inspiration !!
I have been also adviced to try to use rice with more expressive yeasts, especialy hefe strain
It brings up the floral flavors of the rice
By coincidence, Ron Pattinson just published a recipe for Heineken from 1939 which also used a substantial amount of rice.
http://barclayperkins.blogspot.com/2021/05/lets-brew-wednesday-1939-heineken-pils.html
It’s a good bit different, with “only” 20% flaked rice and more traditional hops and mashing, but it’s interesting to see that large quantities of rice being used by a respected brewer over 80 years ago, and before the effects of the war started forcing brewers to make major changes to recipes.
Is nobody else surprised at 90% attenuation when yeast is rated to 71-75%?
Thanks for this blog and recipe. I’m going to try it with Imperial Harvest yeast. One question: in your step-by-step instructions, you don’t mention a sparge step. Are you really just pulling the grain basked out of the mash and proceeding to the boil? Is it possible to sparge this mixture to improve yield or does the rice make it too gummy?
It is mentioned that you added 20% of the malt to 100% of the rice. Was that 20% relative to the weight of the rice or the weight of the malt bill? The “Funk the Milk” Wiki implies it is relative to the cereal weight. I made this recipe twice using 20% of the malt bill before actually reading the Wiki. I’m now wondering if I just invented a hybrid cereal/decoction mash.