Author: Marshall Schott
I bought my first kegerator back in 2010, it was a small dorm fridge with a tower that had 2 low-grade faucets on it. It only took a couple months of forcefully dislodging stuck faucets for me to realize I wanted something with better components that would also fit more beer, so I sold it and built a kegerator out of a used fridge I found online. In addition to having the room to hold 3 kegs, it also had a freezer where I stored the hops I’d recently started purchasing in bulk.
I really liked that kegerator for all of the 4 or so months I owned it. My biggest issue was, as I trust many obsessed brewers can relate, it simply didn’t hold enough kegs. So, I sold it and built a 5-tap keezer that, after a couple years, was expanded to 7-taps. This keezer had been a part of my brewery since the dawn of Brülosophy and has served hundreds of xBmt, The Hop Chronicles, Short & Shoddy, and Brü It Yourself beers over the years. It’s a weird thought, but Brülosophy likely wouldn’t be what it is today if it weren’t for this keezer.
With the addition of The Brülosophy Podcast in 2017 and The Brü Lab podcast this year, I’ve had to adapt my role to ensure consistent content production. I still brew regularly, just not as often because I’m dedicating more time to managing stuff behind-the-scenes while the rest of the Brülosophy team handles most of the brewing (they’re better than me anyway). A while ago, a friend asked when I was planning to have more than just 3 beers flowing from my keezer, and I responded that, unless they all stopped drinking what I brewed, it likely wouldn’t happen again.
It took me a few months to get comfortable with the idea of letting go of the keezer that had served me so well for nearly a decade, in part because I’m a sappy sentimentalist, though I also baulked at the idea of building something new to replace it. It wasn’t until contributor Andy Carter wrote about his positive experience using certain fittings that I decided it was time for me to make similar upgrades and figured I may as well start anew.
3-Tap Kegerator Build
After determining that 3-taps would be ideal for my current brewing situation, I made a list of all the parts I would need to make this kegerator work the way I wanted it to.
The Parts
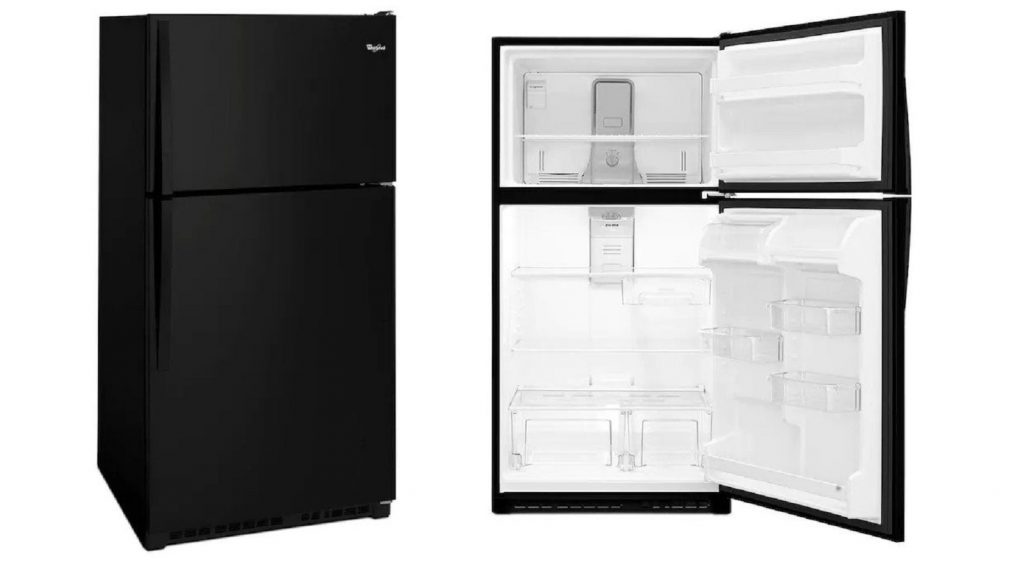
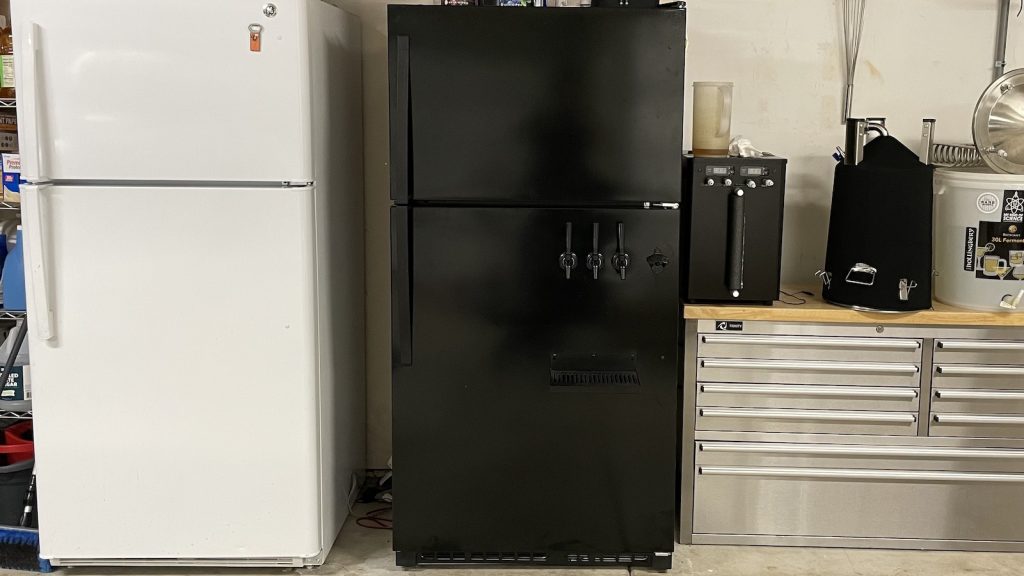
Having built numerous kegerators and keezers over the years, I was well aware of everything I needed to get, but I still had some preferential decisions to make. Price-wise, I wanted to stick close to what I sold my keezer for, though I also wanted to make sure my new rig would meet all of my needs. I really needed to free up some space in my family freezer and was set on going with a kegerator over a keezer, which meant deciding on the size and color of a refrigerator. Wanting enough space to hold a case of Fine Pilsner in addition to 3 kegs, I went with a new black 20.5 cu. ft. foot unit with a top freezer for ample hop storage.
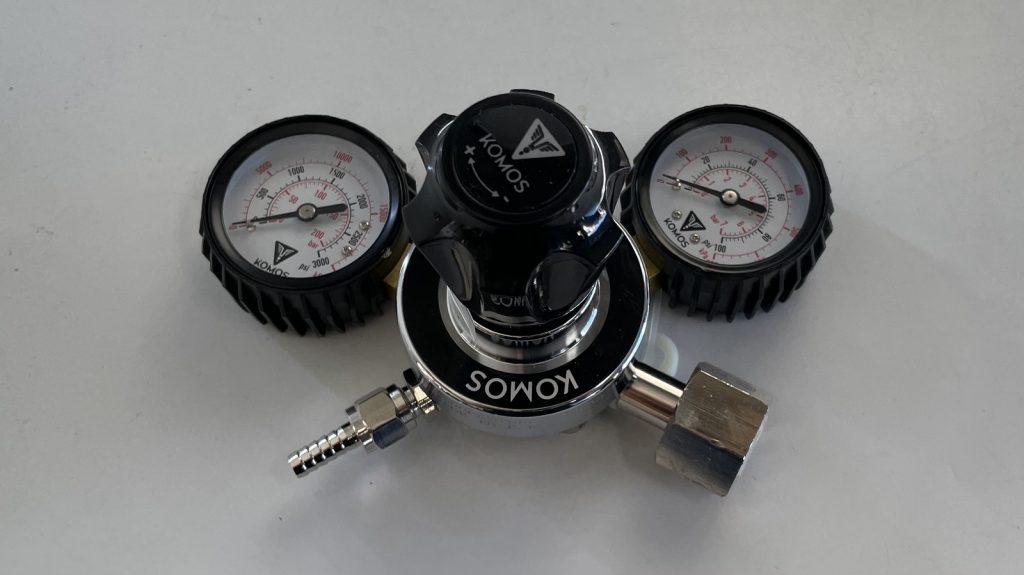
I own multiple CO2 tanks, so I was good on that, but I did include the regulator when I sold the keezer, so I snagged a new one for this build.
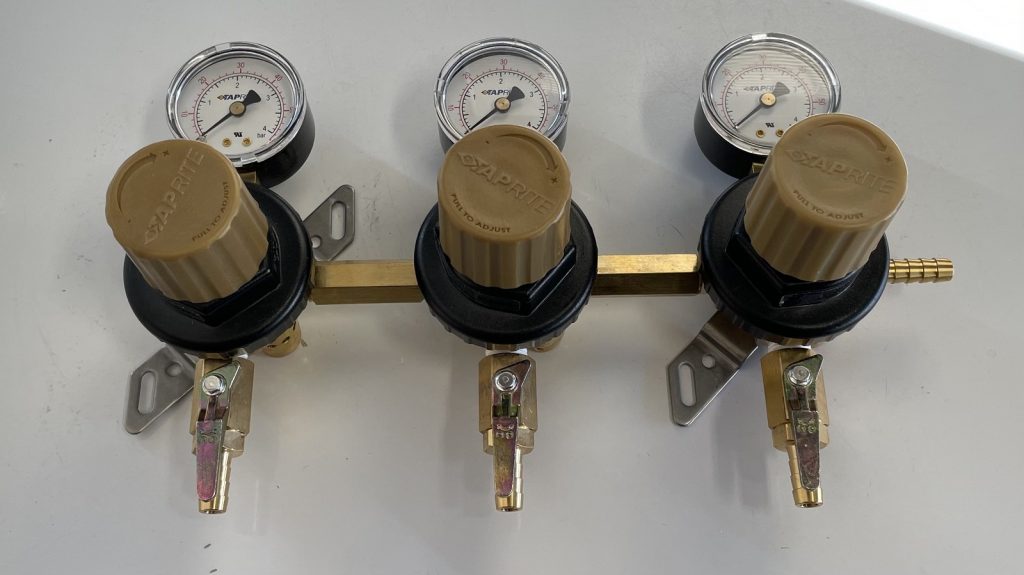
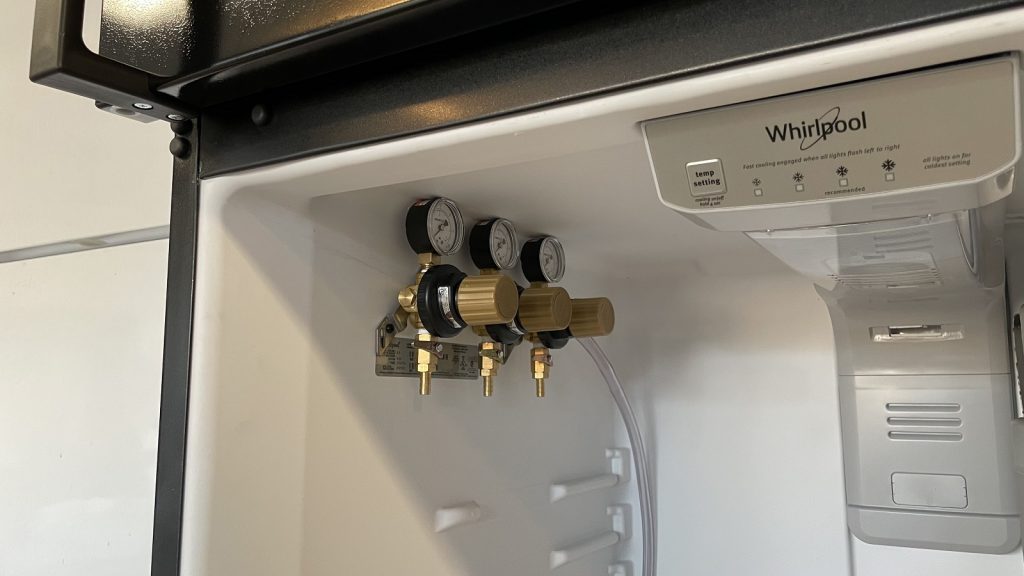
I love being able to independently control the pressure to each keg, as it allows me to burst carbonate one beer at high psi without cutting off gas to anything else that might be on tap. For this reason, I went with a 3-way secondary regulator rather than a standard gas manifold.
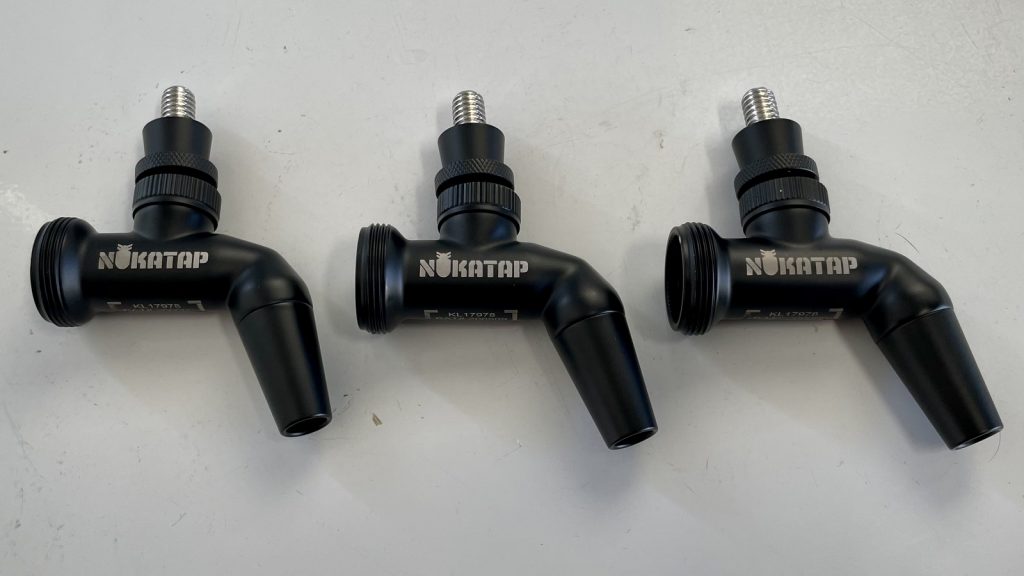
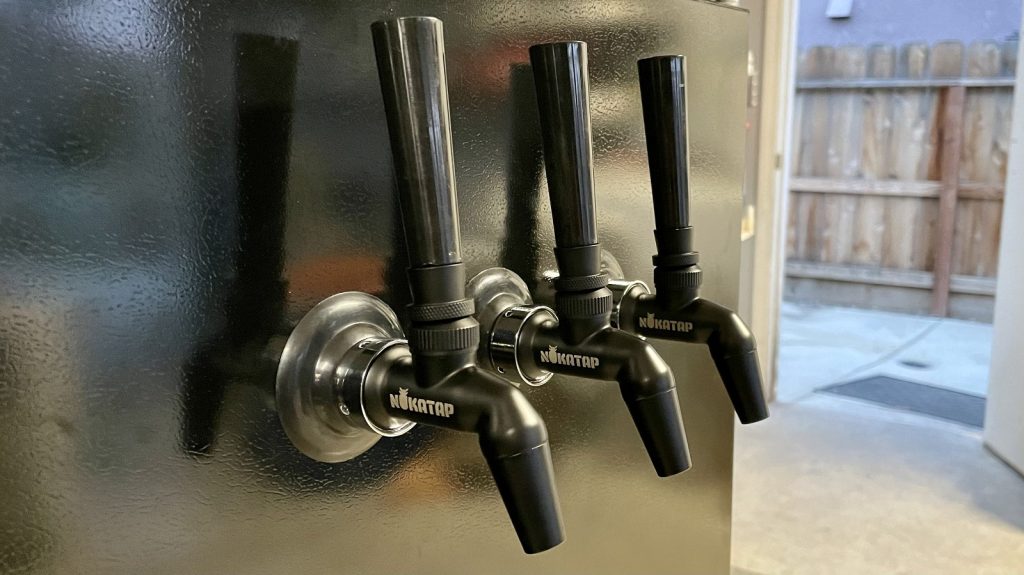
Having been beyond happy with the stainless Intertap faucets on my keezer, I initially planned to go that route on this kegerator. However, when searching MoreBeer, I discovered the newer Nukatap Stealth Bomber faucets and was admittedly swayed as much by their sexy look as I was the price.
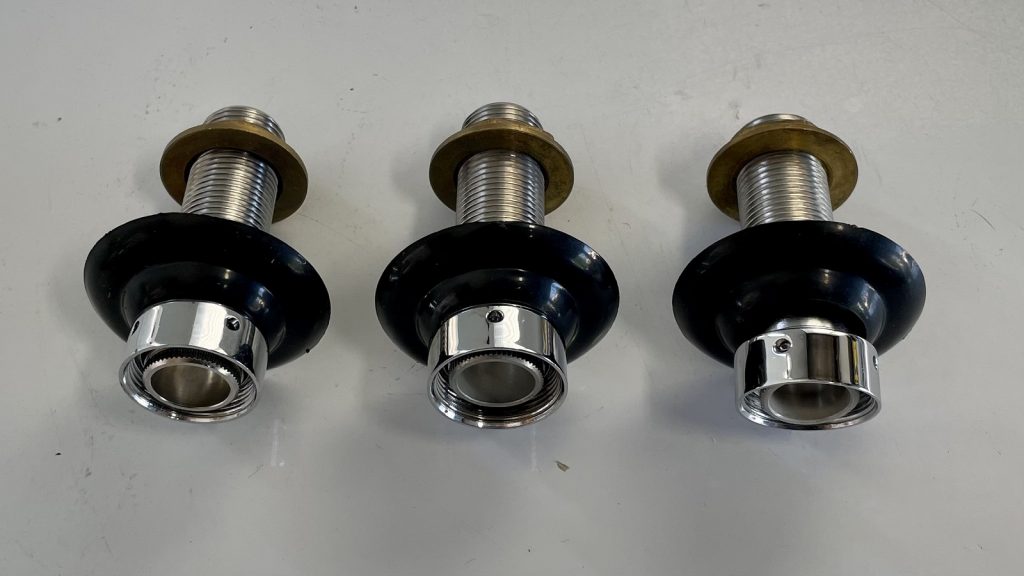
After measuring the thickness of the refrigerator door, I settled on stainless 3 3/8 in. shanks, which would fit nicely without sticking too far into the kegerator. Also, I made a point not to get shanks that have built-in tailpieces.
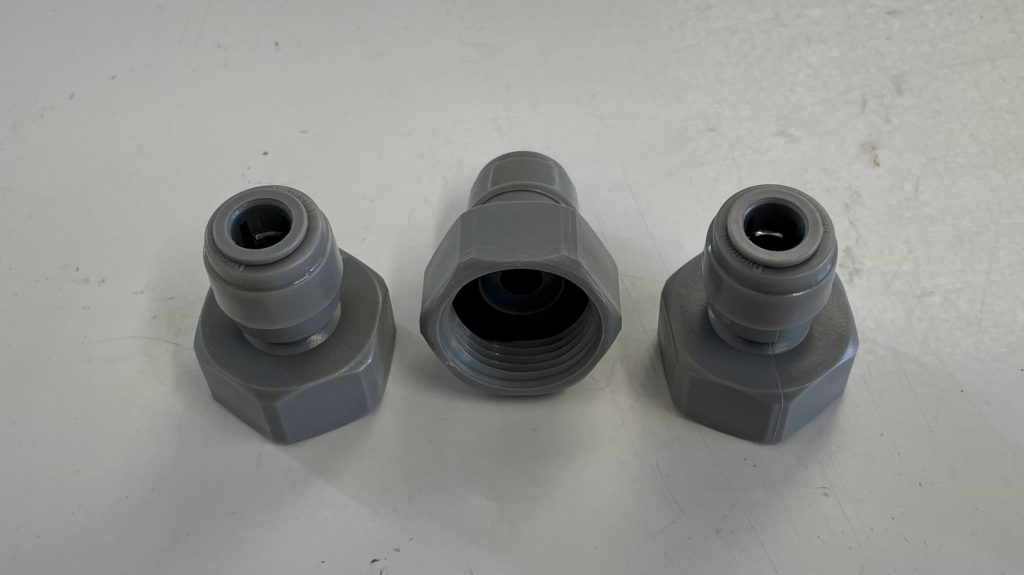
Heavily influenced by contributor Andy Carter’s positive review, I opted to use 13 feet/4 meters of 4 mm ID EVABarrier beverage line per faucet along with Duotight push-in fittings. This extended length and slightly smaller inner diameter than standard 3/16 in. beer line would afford me more flexibility in carbonation level and serving pressure.
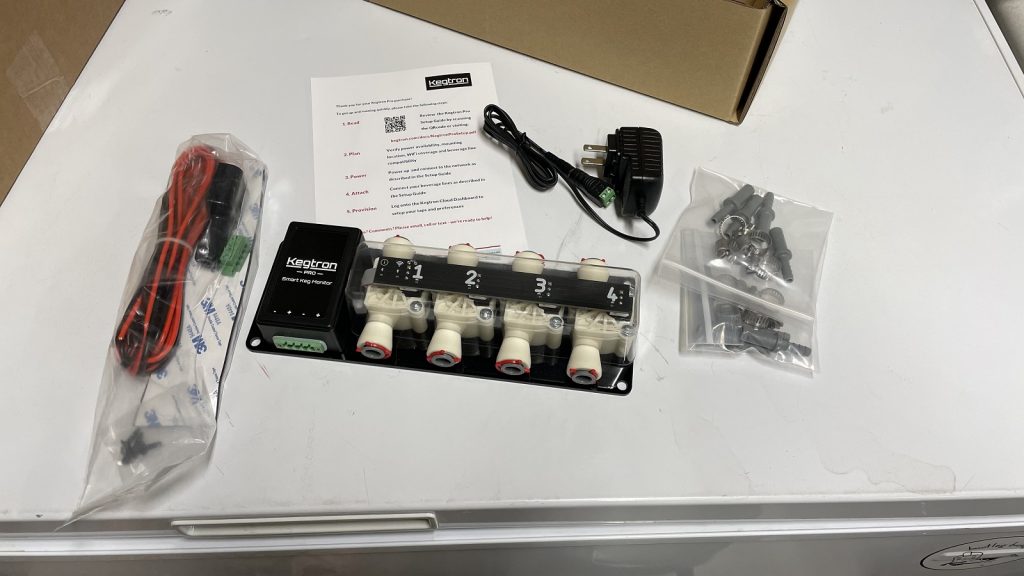
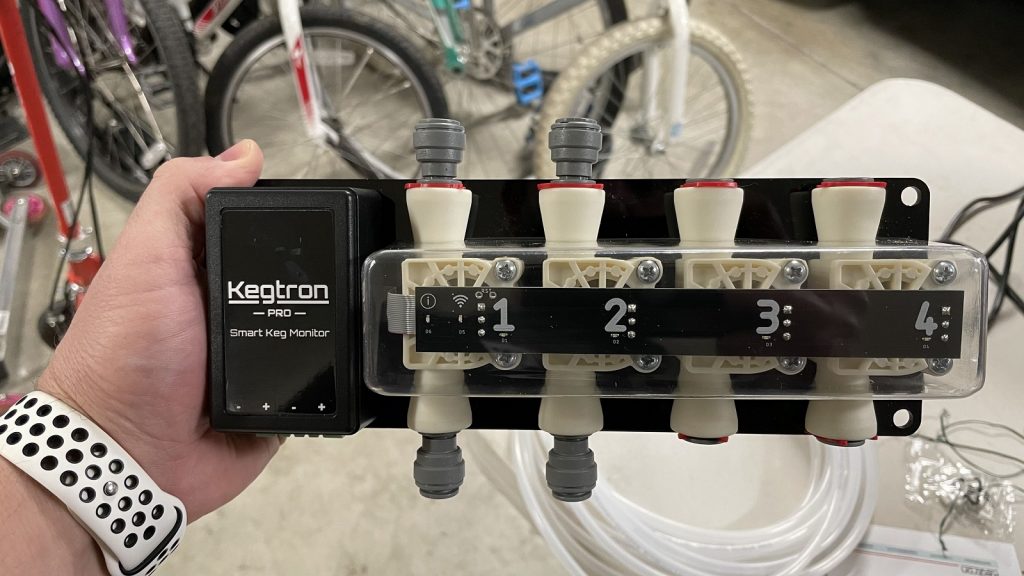
A few months prior to building this kegerator, I was contacted by friend and sponsor of Brülosophy, Kegtron, who asked if I might be interested in trying out their relatively new Kegtron Pro product and providing feedback on my experience. Not wanting to adapt my keezer at the time, I turned the initial offer down. Then, after going public with my plans to build a new kegerator, they reached out again. After stating their full awareness that the Kegtron Pro is aimed at commercial brewers and explaining they weren’t so much seeking a product review as they were private feedback, I agreed to give it a shot.
With all of the parts gathered, it was time to put this beast together!
The Build
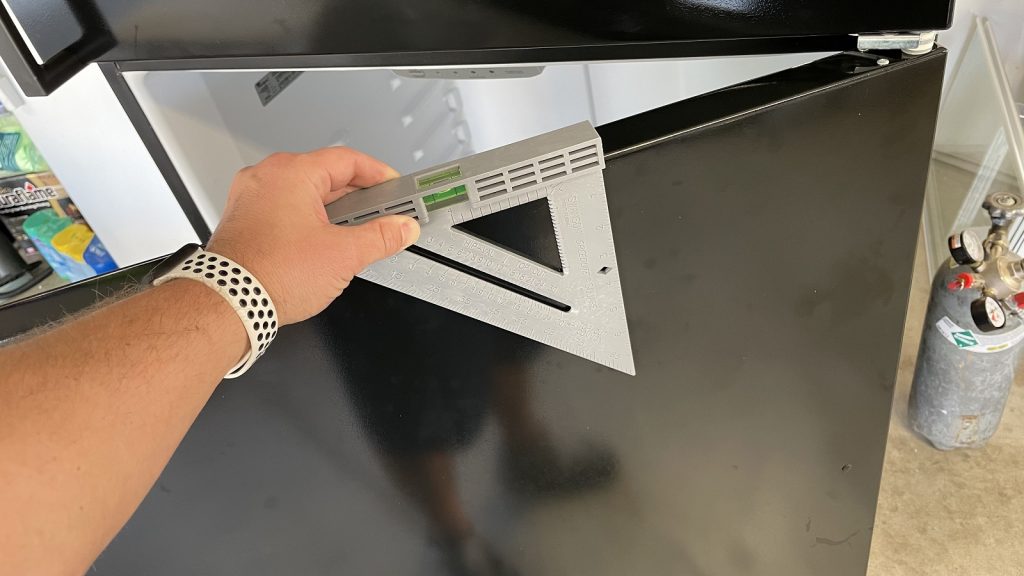
My first order of business was determining tap placement. To keep things simple and clean, I decided to place the faucets on the right side of the door, nearest the hinge, then proceeded with precisely measuring the spots where the holes needed to be drilled.
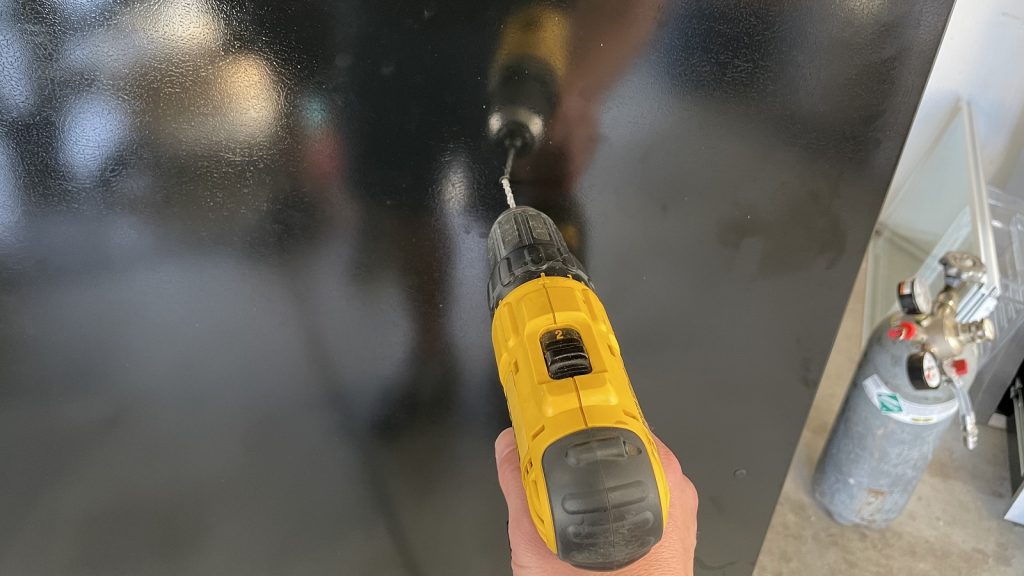
After ensuring the 3 spots I measured out were properly spaced and level, I drilled pilot holes with a small drill bit.
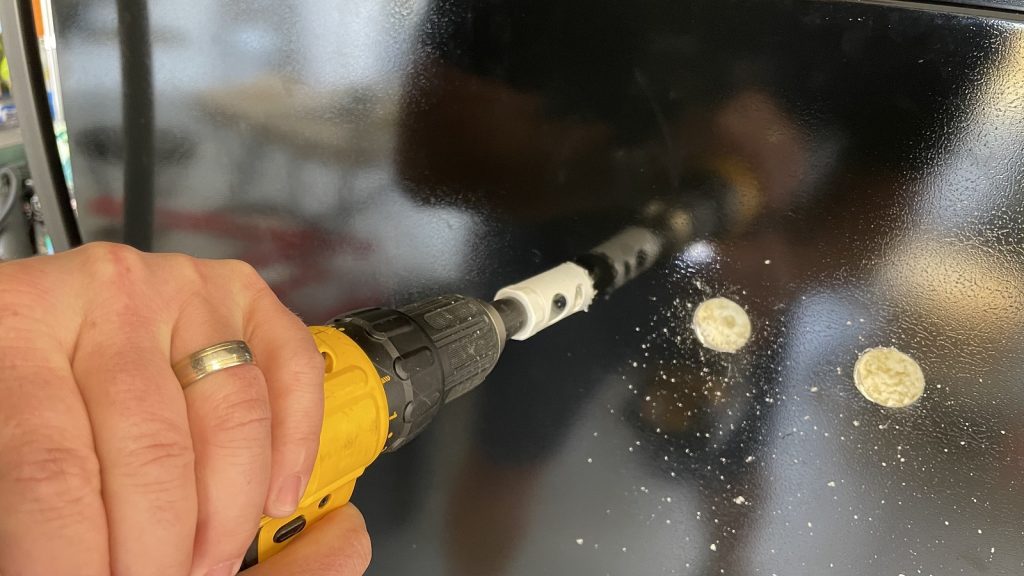
Next, I used a 1 in. hole saw to drill out the holes for the shanks, doing my best to keep it as neat as possible.
With the holes drilled and cleaned up, I installed the shanks and faucets.
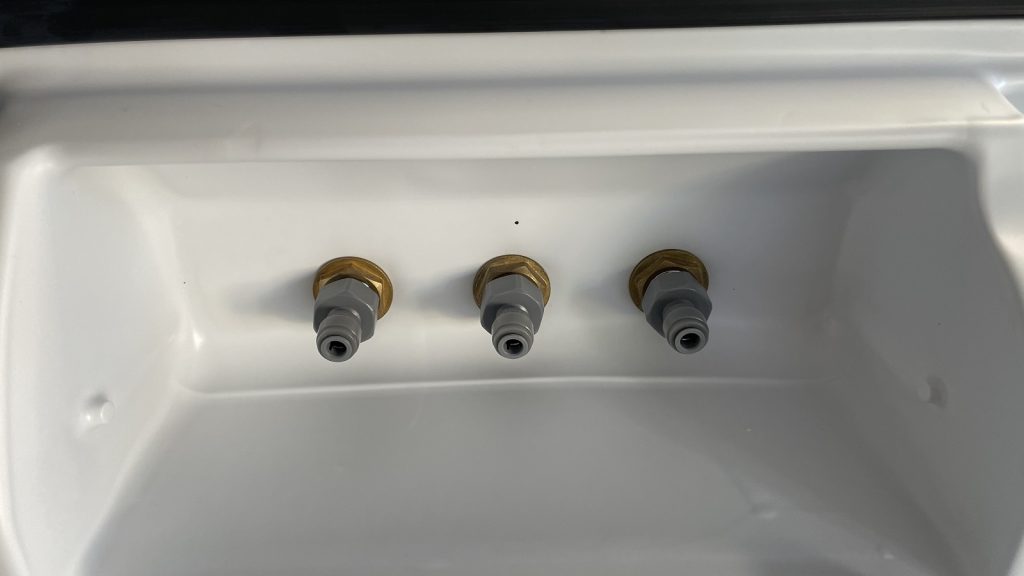
Rather than using the standard nipple tailpiece, I securely attached the Duotight fittings to the shanks.
At this point, I moved onto the secondary regulator, which I attached to the fridge wall using small screws.
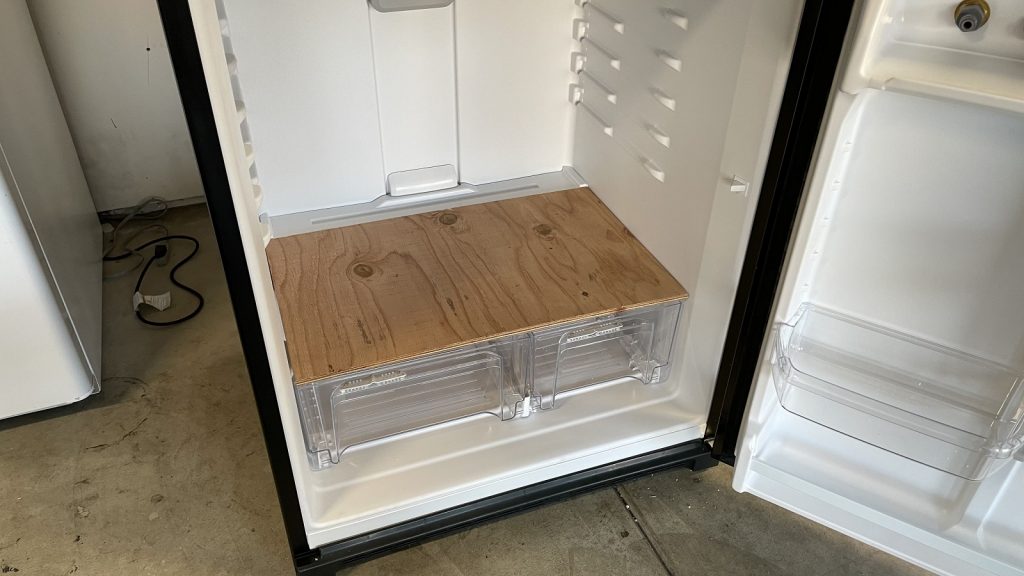
The bottom shelf of the fridge being glass, I was concerned the weight of 3 full kegs plus a 30-pack of Miller Lite might break it, so I cut a piece of plywood to the same size and replaced the original shelf with it.
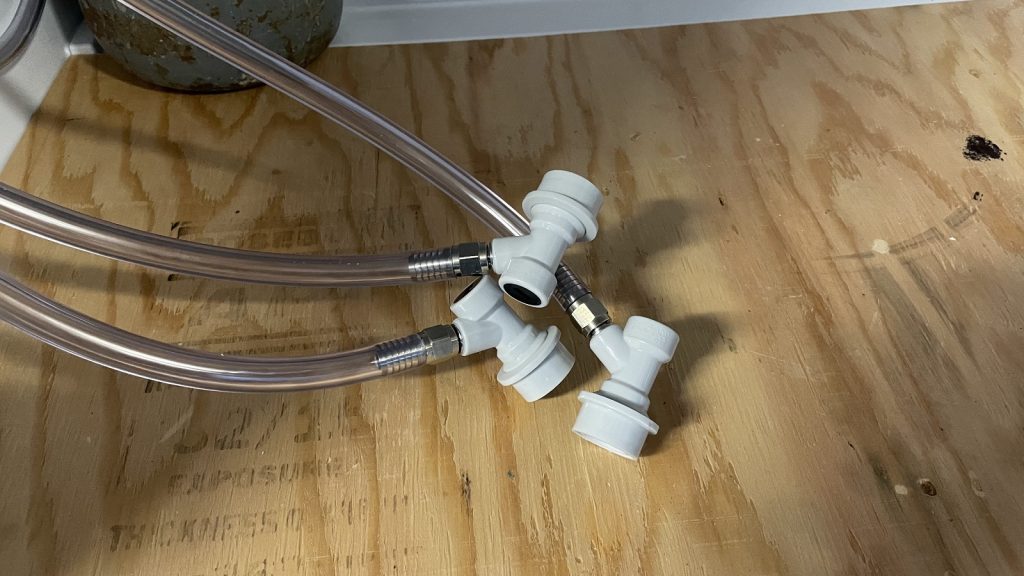
Next, I attached 3 feet/1 meter of 5/16 in. gas tubing to each regulator before connecting the other ends to gas ball lock disconnects.
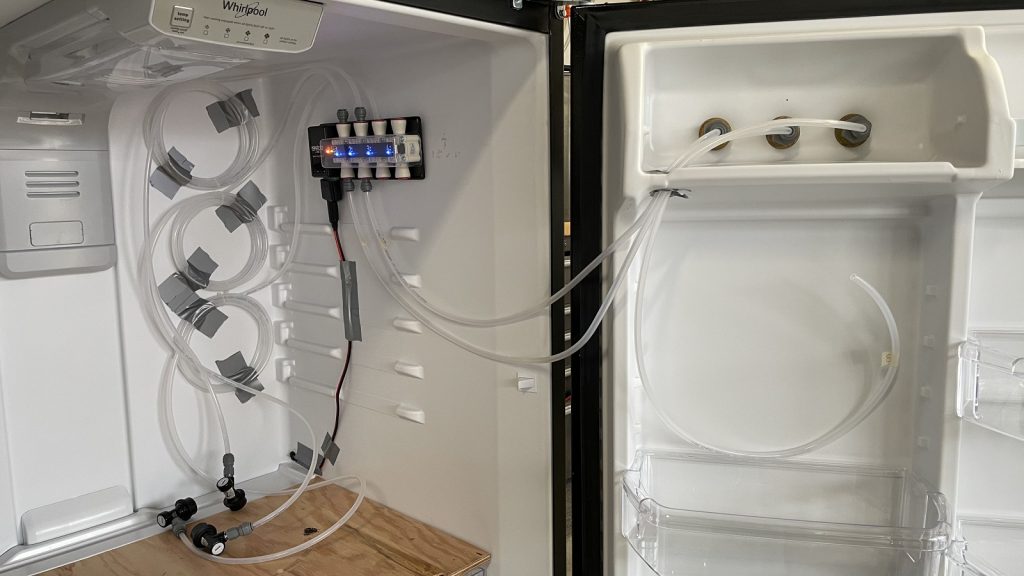
With the gas lines taken care of, it was time to move on to the liquid side of things, and seeing as the liquid lines run through the Kegtron, I started there first. The Kegtron comes equipped to work with 3/8 in./9.5 mm OD tubing, and since I was using the 4 mm EVABarrier tubing with a 5/16 in./8 mm OD, I had to pick up some reducer fittings to make it work. They slid right in to create a very secure fit.
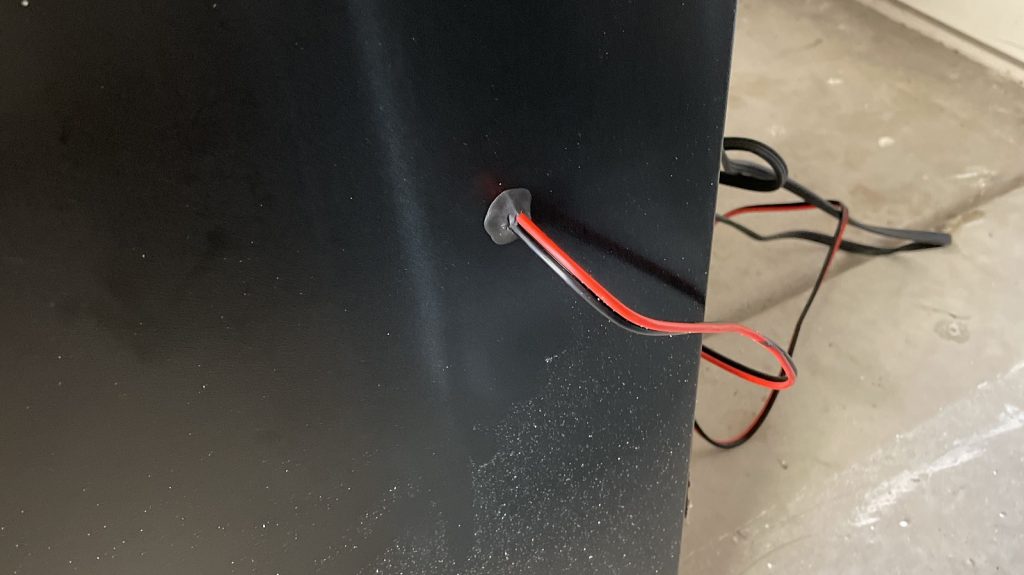
Unfortunately, I only ordered 4 rather than 6 reducers on the first go-round– so much for saving on shipping. Anyway, it was at this point I realized I would need to get power to the Kegtron unit since it would be inside the kegerator, so rather than run the cord out of the door, I drilled a small hole in the lower corner of the refrigerator wall, ran the power cord through it, then sealed it up with some black insulative putty.
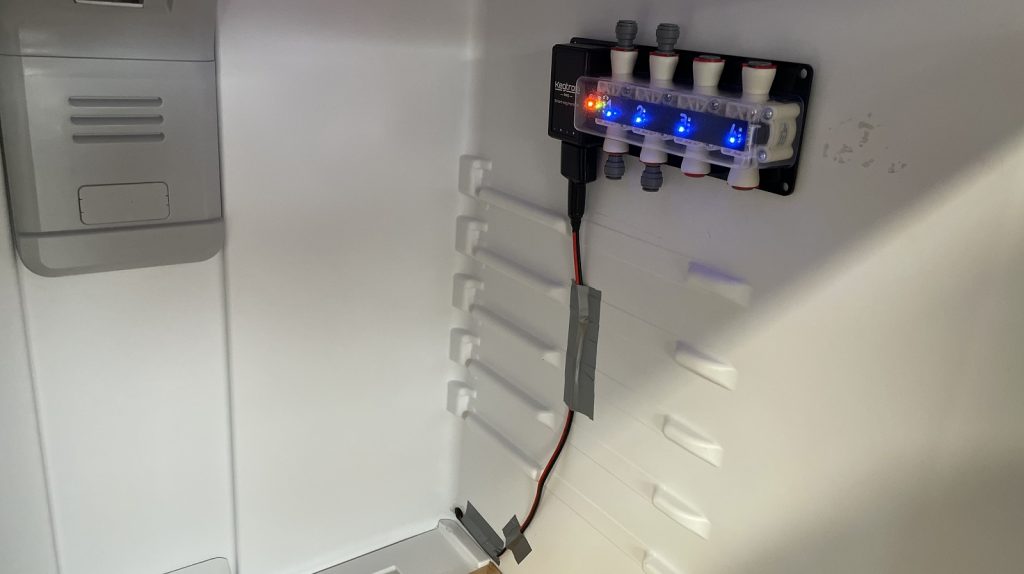
Finally, I secured the Kegtron unit to the inner wall of the fridge with the included adhesive velcro, taped the power cord to the wall to keep it out of the way, then connected the power to ensure it was working.
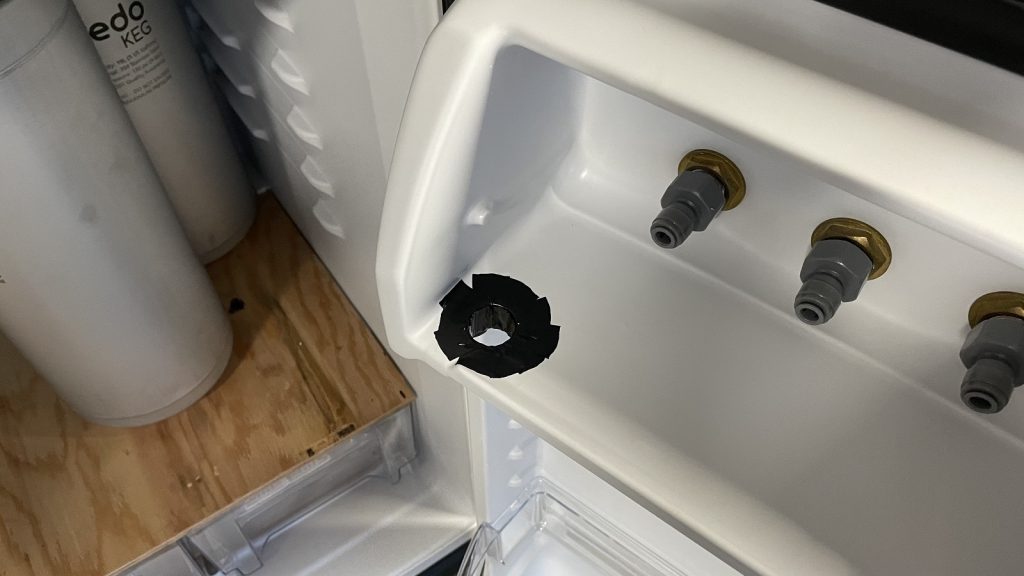
Before installing the liquid line, I realized it was going to move around quite a bit when opening the door and came up with a simple solution to keep it all in place– a 2 in. hole in the shelf beneath the shanks through which the lines would be run.
With the goal of keeping things as neat as possible, the lengths of tubing running between the Kegtron and the taps were sized to account for the door opening, so each was slightly different, as were the lengths of tubing between the kegs and the Kegtron. With each tap having 13 feet/4 meters of beverage line in total, I coiled the extra up and taped it to the back wall of the fridge.
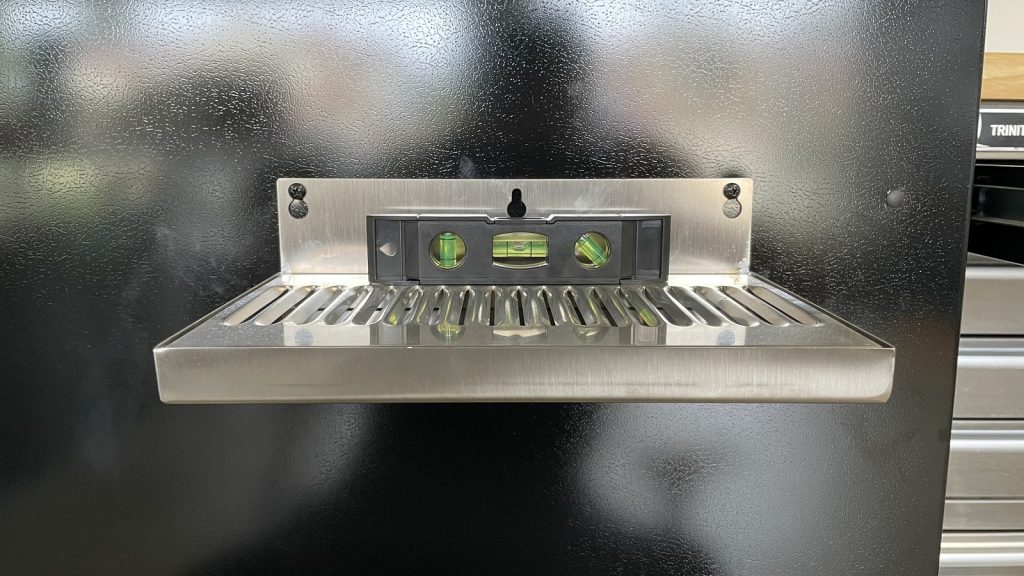
And that was it for the inside of the kegerator! Being the clean freak I am, I bought a 10 in. stainless drip tray and began the process of attaching it beneath the faucets by ensuring it was properly placed and level.
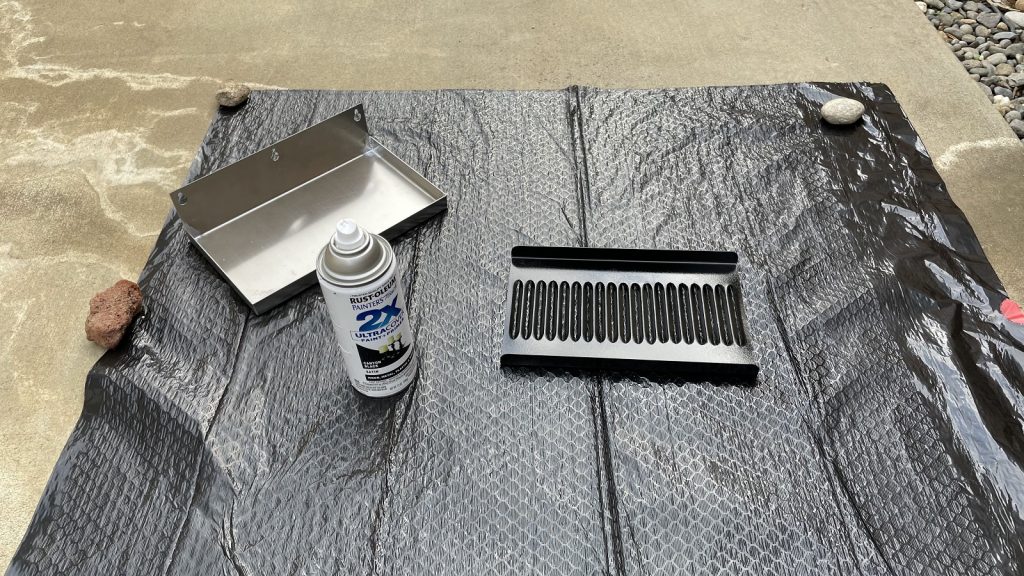
I wanted to keep the sleek look of this dark kegerator and painted the drip tray to match with multiple coats of a satin black spray paint.
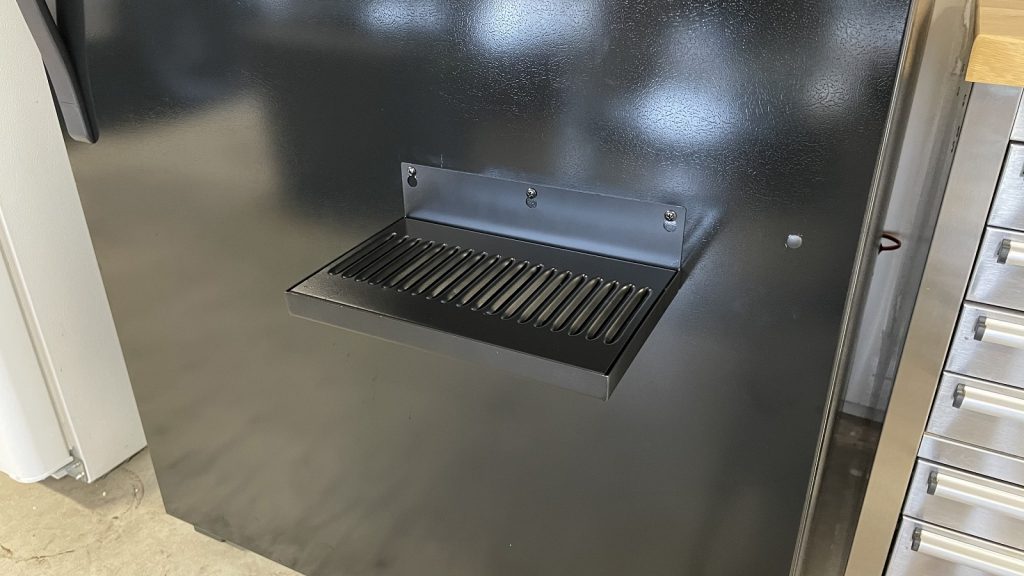
When the drip tray was dry a couple hours later, I attached it to the fridge, tightening the screws just enough so that I could slide it off for easy cleaning.
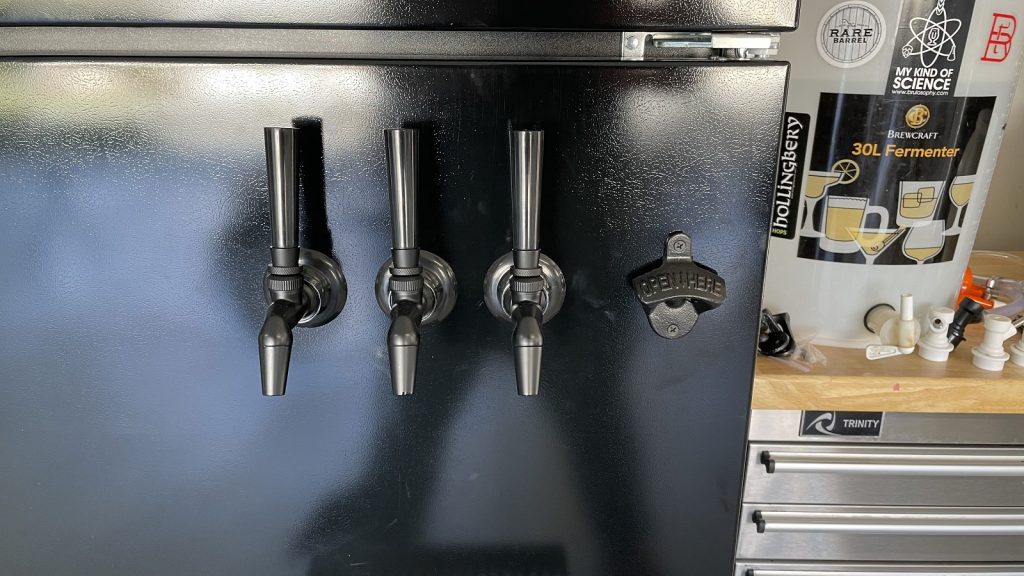
While the majority of what I drink comes from a keg or a can, I also regularly have bottles around, so I attached a black bottle opener next to the taps for good measure.
And that’s it, my brand new 3-tap kegerator!
| The Verdict |
I’ve built many kegerators and keezers over the last decade, so I knew very well what I wanted going into this one, and I’m very pleased with the outcome. I love the all black look, the longer lengths of 4 mm EVABarrier beer line allow me to pour beautiful pints at relatively high pressure, and the Nukatap faucets are legit. To round everything out, I bought a few brand new slimline Torpedo kegs, which fit beautifully in the keezer and look nice to boot.
Why the switch from pin lock to ball lock?
As happy as I was with pin lock kegs, everybody I know locally uses ball lock including the primary brewer for The Hop Chronicles, Paul Amico. This meant that any time we wanted to share beers, we’d have to muck around with swapping out disconnects, which was a pain in the ass. That was the sole reason I went with ball lock kegs for this build.
How much did it cost?
It wasn’t cheap, but that’s because I chose to buy everything brand new, from the fridge to the kegs. Thankfully, I was able to get a decent price for my 7-tap keezer, which made the hit a little less painful. The total for this kegerator build was right around $1600, not including the Kegtron Pro unit, which was the only thing provided by a sponsor.
What about the Kegtron Pro, anyway?
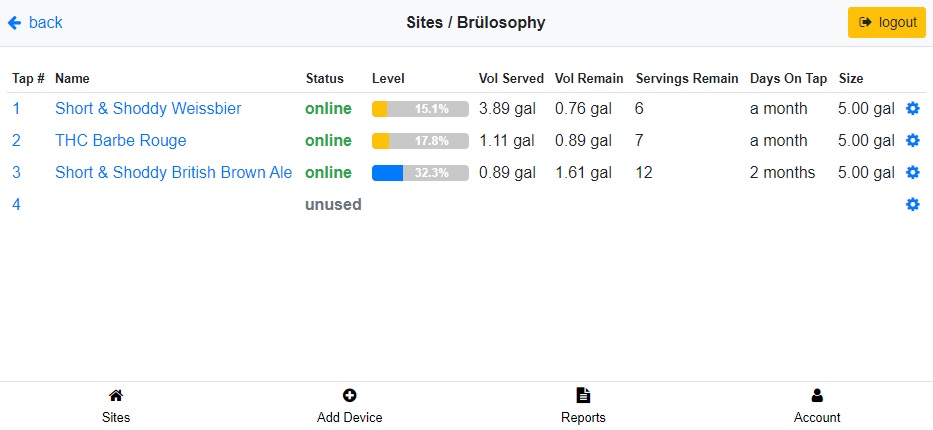
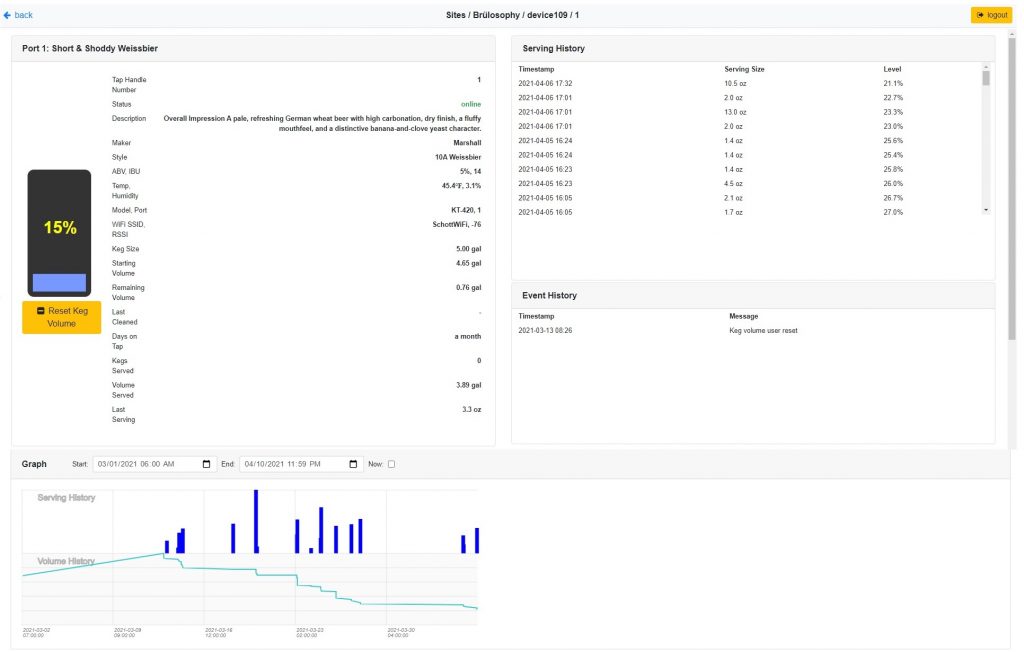
I trust more than a few people are wondering about this high end piece of gear, so to be completely frank– I wouldn’t necessarily recommend homebrewers buy a Kegtron Pro for use in their kegerator or keezer. That said, it truly is a thing of beauty, packed with a ton of features designed to help commercial brewers closely monitor their beer stock. Information on various beers can be stored in the Kegtron cloud and put “online” when they’re being served, and multiple units can be chained together to accommodate any number of taps.
The amount of information tracked is quite astonishing, from dates and times specific beers were served to the precise amounts left in the keg. I made sure to input accurate starting volumes on every keg I put in the kegerator since building it and the Kegtron Pro was spot on with the remaining volumes.
Prior to this kegerator build, I’d used the Kegtron Gen 1 monitor and found it to be equally as accurate, hence that’s what I’d recommend for those homebrewers who share my level of neurosis, as it’s quite a bit less expensive than the Kegtron Pro.
If you have any thoughts about this DIY, please do not hesitate to share them in the comments section below!
Support Brülosophy In Style!
All designs are available in various colors and sizes on Amazon!
Follow Brülosophy on:
FACEBOOK | TWITTER | INSTAGRAM
If you enjoy this stuff and feel compelled to support Brulosophy.com, please check out the Support page for details on how you can very easily do so. Thanks!





26 thoughts on “3-Tap Kegerator | Do It Yourself”
That looks very nice! Certainly not inexpensive, and then figure in your time and labor. We have purchased multiple draft beer dispensers, from True, Beverage Air, and other manufacturers. Nothing beats having fresh draft beer on tap at your house!
Nice build Marshall! Love the blacked-out look! Only one other thought to share: the short shanks look neat and tidy inside the door, but my understanding is that you want them fairly long so that they are cooled by the air inside the kegerator and they in turn will conduct heat away from the taps. So that way, your beer isn’t flowing through warm taps.
Beautifull gear, congrats!!! Don’t you prefer a faucet with flow control, like a Belgian faucet? Or its irrelevant because you installed the secundary regulator?
Fewer moving parts means fewer broken pieces.
Every flow control faucet I’ve used has leaked or broke in some way. I’d much rather have a solid faucet and control flow with line length and CO2 pressure.
Why not use the Duotight fittings on the gas side? I was thinking about switching to them on my keezer and was curious. This is a very clean build.
My main reason for wanting Duotight fittings is to make changing out/deep cleaning beer line easier (i.e., no need to remove hose clamps and cut the tubing). Gas line doesn’t get dirty, I’ve never had to replace gas line, so a more permanent solution is what I wanted.
Why not use oxygen-barrier tubing on the gas side? That is an awesome build!
@Aaron You can install eva/duo for gas, but why would oxygen get in on the gas side? It’s under constant positive pressure. Some people like the flexibility of vinyl for gas. Evabarrier is fairly and won’t tolerate tight bends (use elbows instead).
oxygen can easily permeate the vinyl and get into the supply stream. It’s not like the CO2 is preventing it from getting in. How much gets in? I don’t know. If you leave it hooked up all of the time, it could be noticeable perhaps. I don’t know in practice.
How many kegs can you really fit in there? it looks like you’d have room for 4-5 if you really squeeze them in.
4 if you put the CO2 tank outside the fridge and store the case of Miller Lite somewhere else.
Thanks for a great, detailed write-up — the build is beautiful!
I was hoping for a final shot showing the kegs, CO2, and lines all hooked up — could you add that? Thanks again!
Looks great!
I changed out the cheap taps on my keezer with the black Nukataps a few weeks ago. Wow what an immediate upgrade. I also changed the liquid lines to 4mm EVAbarrier and duofittings, but only used 5.5ft of tubing (as recommended on BrewHardware). I have had fantastic pours, way better than the old tap and standard tubing. How did you arrive at the 13 foot line length?
EVABarrier is sold in lengths of 39′, so I cut 3 even lengths. It’s working great for me.
Would you say the 13’ makes a super slow pour? Trying to decide whether to buy the 5.5’ lines or just buy the 39’ roll and cut it down for my two tap kegerator. But have bought all the extra with no use. I like highly carbed beers and I’m using 10’ of 3/16” and it’s working great but I notice the vinyl taste in the first pint.
Nice work Marshall! I’m curious about fastening the secondary regulator on the wall of the fridge. What types of screw did you use? Did you drill all the way through the wall? I didn’t think there was anything in the wall but plastic and insulation. I’d love to do this myself for my regulators but I’m not sure it would hold up.
Small wood screws that just went into the plastic. I did 4 to be sure, and it’s surprisingly secure.
Very nice build Marshal!
One thing that you mentioned is to use the top freezer to store hops, are you using it in the same temperature of the beer below? Or are you able to keep the top operating as a Freezer?
The fridge is a fridge and the freezer is a freezer. No temp regulator at all.
Bad ass. Planning on building one soon, just got a fridge off Facebook Market place. One question I had is how did you know where to drill your electrical hole into the wall of the fridge? My understanding is that is where all the cooling line run and if you hit one of those you are S.O.L.
Just putting my kegerator build together, and was curious…should I sanitize my faucet and shank before installing, or just run star-san through the system before I attach my kegs.
No need to pre-sanitize.
I am building a new one of these this weekend with EVA/Duotight beer lines and am on the fence with 6’ or 13’ beer lines. I enjoy fairly high carbed beer also.
After having this for awhile now would you change anything at all Marshall?
Thanks!!
Good question. Using the smaller OD EVA lines, if I were to rebuild this, I would probably go with 10′ of line. The 13′ works great, it just takes awhile to pour a full pint.
I bought the 5’ pre cut sections for my kegerator. I wish I had gotten the long length and cut them to at least 8’. I get much more foam on my first pour than I did with 10’ of 3/16 vinyl.
It’s nice not having that plastic taste and aroma anymore though!
How does the Kegtron Pro with hazy IPA and NEIPA? Thanks.