Author: Steve Thanos
Hoppy beers have flooded the brewing scene at a breakneck pace, with various novel versions popping up on a seemingly annual basis. In order to pack as much hop character into IPA variants ranging from West Coast to New England, brewers have come up with unique techniques including the hop stand, which is when hops are added to wort following completion of the boil then left for a period of time before chilling and pitching the yeast.
Also referred to as whirlpool and flameout additions, the hop stand method has become very popular among modern brewers, though individual approaches vary. Whereas some opt to make hop additions immediately after the boil, others chill the wort to 120˚F/49˚C first, as this temperature is lower than both the alpha acid isomerization and hop oil volatilization points, which is believed to result in pungent hop aromatics without contributing bitterness.
I’ve brewed my fair share of hoppy beers over the years and have always added a charge of hops at flameout then immediately started chilling. With my old, inefficiency immersion chiller, this meant the hops are in contact with the wort for 20 to 30 minutes while it chilled from boiling to around 66˚F/19˚C. While my experience with this approach has been positive, I was recently reminded of a past xBmt showing hop stand temperature did not have a perceptible impact and decided to test it out again for myself.
| PURPOSE |
To evaluate the differences between IPAs where the hop stand addition was made either at flameout or once the wort was chilled to 120˚F/49˚C.
| METHODS |
For this xBmt, I went with my house IPA recipe, which has a pretty classic Midwest grist.
Ties That Bind
Recipe Details
| Batch Size | Boil Time | IBU | SRM | Est. OG | Est. FG | ABV |
|---|---|---|---|---|---|---|
| 6 gal | 90 min | 71.4 IBUs | 6.5629604 | 1.050 | 1.010 | 5.3 % |
| Actuals | 1.05 | 1.01 | 5.3 % | |||
Fermentables
| Name | Amount | % |
|---|---|---|
| Pale Malt, Maris Otter | 9 lbs | 72 |
| Munich Malt | 2 lbs | 16 |
| Vienna Malt | 1 lbs | 8 |
| Caramel/Crystal Malt - 20L | 8 oz | 4 |
Hops
| Name | Amount | Time | Use | Form | Alpha % |
|---|---|---|---|---|---|
| Magnum | 28 g | 60 min | Boil | Pellet | 12 |
| Talus | 28 g | 20 min | Boil | Pellet | 9.2 |
| Talus | 28 g | 10 min | Boil | Pellet | 9.2 |
| Talus | 28 g | 5 min | Boil | Pellet | 9.2 |
| Talus | 85 g | 10 min | Aroma | Pellet | 9.2 |
| Talus | 85 g | 4 days | Dry Hop | Pellet | 9.2 |
Yeast
| Name | Lab | Attenuation | Temperature |
|---|---|---|---|
| Citrus (A20) | Imperial Yeast | 76% | 67°F - 80°F |
Notes
| Water Profile: Ca 87 | Mg 1 | Na 10 | SO4 125 | Cl 62 |
Download
| Download this recipe's BeerXML file |
The night before brewing, I weighed out and milled two identical sets of grain.
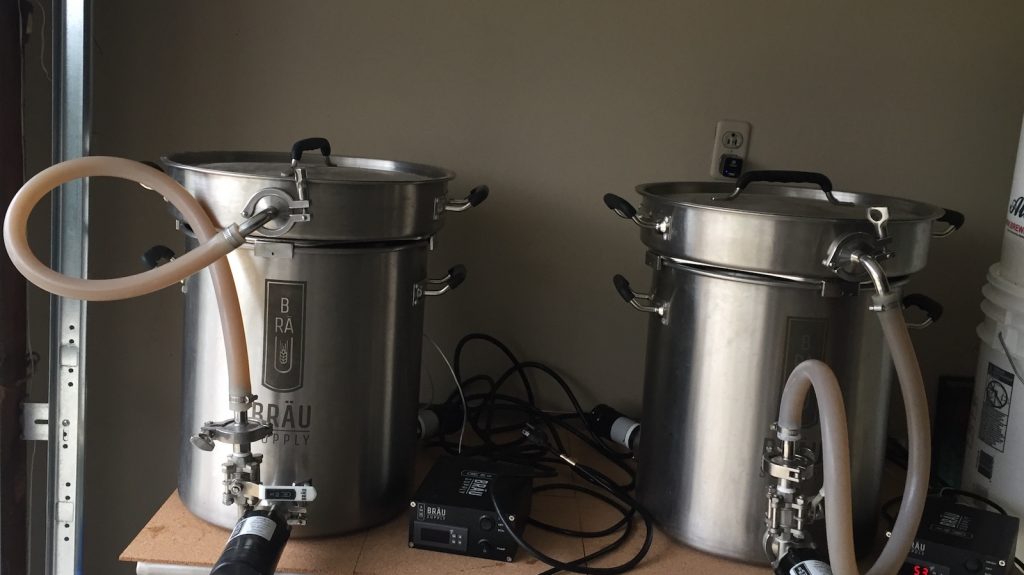
The following morning, I collected two sets of water, adjusted both to the same profile, then flipped the switch on my Unibräu controllers. Once properly heated, I stirred in the grains then checked to make sure both hit my target mash temperature.
Next, I turned the pumps on and let the mashes recirculate.
During the wait, I weighed out the hop additions for each batch.
After each 60 minute mash rest, the grains were removed and the worts were boiled for 60 minutes with hops added as stated in the recipe. Once the boils were complete, the hop stand charge was added immediately to one batch while the other was quickly chilled to 120˚F/49˚C before the same amount of hops were added. For both batches, the hops were left to mingle in the wort for 10 minutes before I finished chilling them to my desired fermentation temperature of 66˚F/19˚C. Hydrometer measurements confirmed both hit the same 1.050 OG.
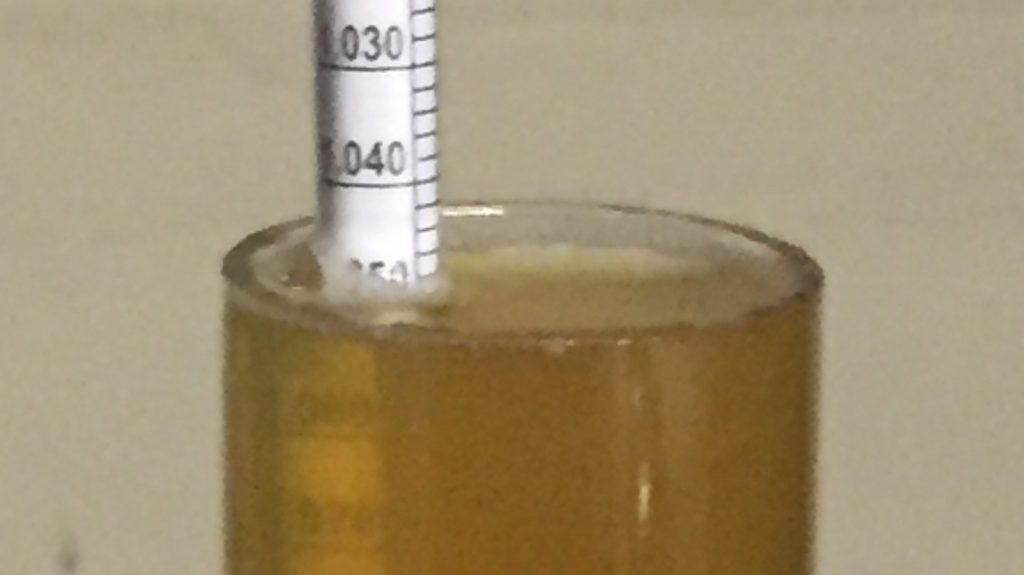
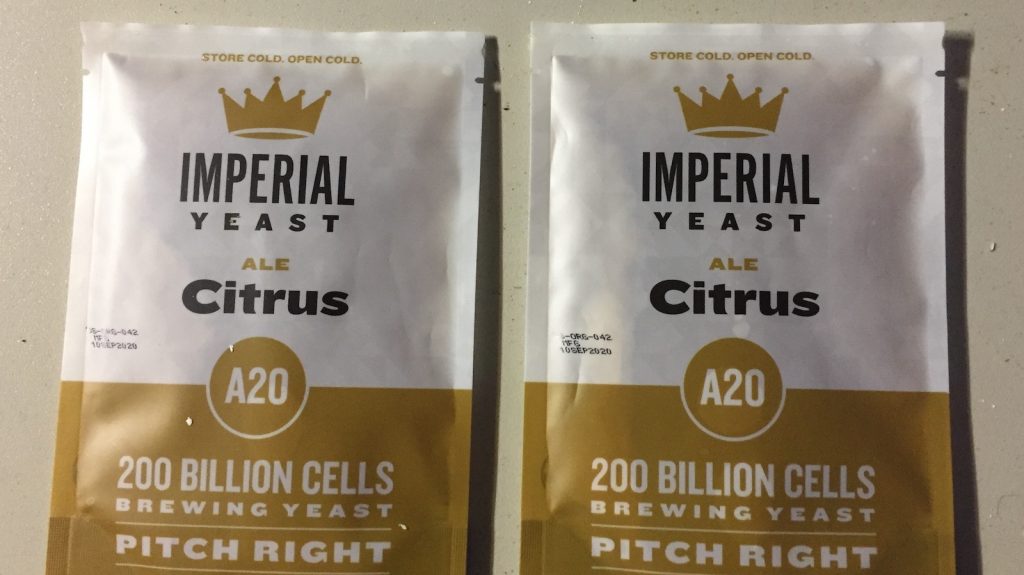
The chilled worts were racked to sanitized fermentation buckets, at which point I pitched a pouch of Imperial Yeast A20 Citrus into each.
The fermenters were left to ferment in my chamber for a week before I returned to add the dry hops. After another 4 days, I took hydrometer measurements showing both beers hit the same FG.
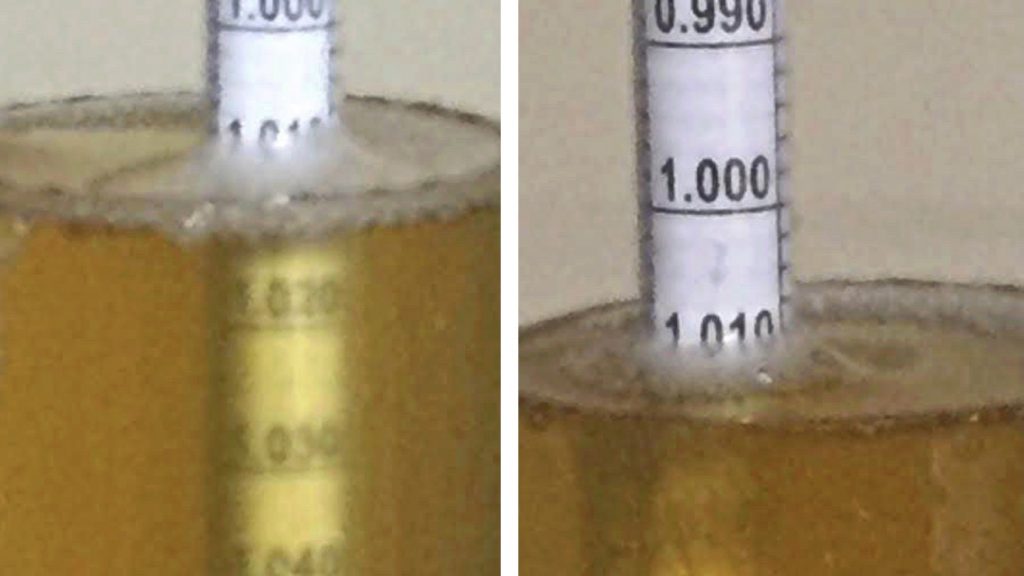
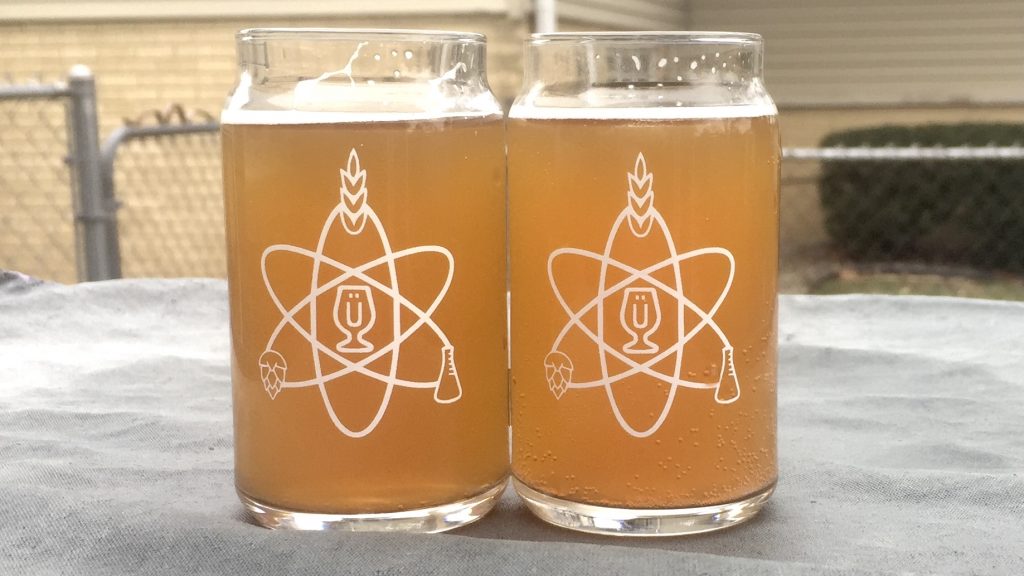
At this point, I racked the beers to sanitized kegs, placed them in my keezer, and burst carbonated them overnight before reducing the gas to serving pressure. After a week of conditioning, the beers were carbonated and ready to evaluate.
| RESULTS |
Due to social distancing practices as a result of the COVID-19 pandemic, data for this xBmt was unable to be collected in our typical manner. As such, temporary adaptations were made involving the author completing multiple semi-blind triangle tests in as unbiased a way as possible.
Utilizing 4 opaque cups of the same color where 2 were inconspicuously marked, one set was filled with the beer where the hop stand occurred at flameout while the other set was filled with the beer where the hop stand occurred at 120°F/49°C. For each triangle test, 3 of the 4 cups were indiscriminately selected, thus randomizing which beer was the unique sample for each trial. Following each attempt, I noted whether I was correct in identifying the unique sample. Out of the 10 semi-blind triangle tests I completed, I needed to identify the unique sample at least 7 times (p<0.05) in order to reach statistical significance, though I did so only 3 times (p=0.70), indicating my inability to reliably distinguish an IPA where the hop stand addition was made at flameout from one where the wort was chilled to 120˚F/49˚C before the hop stand addition was made.
I went into my semi-blind triangle tests confident I’d be able to tell these beers apart, though my paltry performance proved even my own bias wasn’t enough to make these beers perceptibly different. In addition to smelling and tasting identical, I perceived them as having the same level of bitterness, which went against my expectation that the one hopped at flameout would be more bitter due to increased time at isomerization temperature. This recipe is one I’ve brewed many times using various hop varieties, and I really enjoyed how the Talus hops played with the distinct maltiness of Ties That Bind IPA.
| DISCUSSION |
Given how hot hops are right now, it makes sense that brewers would focus on ways to extract as much desirable character from them as possible. It’s well understood that early kettle additions impart bitterness with little aroma or flavor while later additions do the opposite, which is a function of both heat and contact time of the hops with the wort. Since hop oils are known to volatilize at warmer temperatures, many brewers have started making hop additions to wort that has been chilled below this threshold in hopes of preserving as much character as possible. My inability to reliably distinguish an IPA where the hop stand occurred at flameout from one where the hop stand occurred at 120˚F/49˚C suggests the temperature at which the hop stand occurred had no perceptible impact.
The fact these results corroborate those from a prior xBmt on the same variable leads me to wonder if perhaps we’ve more to learn about the role temperature plays in late hop additions. It’s well established that alpha acids isomerize at temperatures above 175˚F/79˚C, and yet the bitterness of the beer where the hop stand was made immediately at flameout was no different than what I perceived in the batch where the hops were only added when the wort was chilled to 120˚F/49˚C. Similarly, the cooler hop stand beer was no more hoppy in the aroma or flavor than the flameout version, going against the claims of many.
While it’s possible these results were due to my own lack of tasting prowess, the fact of the matter is they align with past xBmt results. Since chilling the wort prior to adding the hop stand addition requires a bit more effort, I’ll be sticking to tossing hops in at flameout, as it’s worked well for me and the extra work just doesn’t seem worth it.
If you have any thoughts about this xBmt, please do not hesitate to share in the comments section below!
Support Brülosophy In Style!
All designs are available in various colors and sizes on Amazon!
Follow Brülosophy on:
FACEBOOK | TWITTER | INSTAGRAM
If you enjoy this stuff and feel compelled to support Brulosophy.com, please check out the Support page for details on how you can very easily do so. Thanks!






25 thoughts on “exBEERiment | The Hop Stand: Flameout vs. 120°F/49°C In A Midwest IPA”
Thanks a lot for this! As with many experiments, it would be great to see how the two beers keep or change character over time. I know, bottling can be a real hassle, nevertheless it would be cool to see if maybe some weeks of storing would change the result of this xBmt. Prost and stay safe!
Interesting result. A longer hop stand will likely yield different results. I’ve brewed an IPA with my only addition as a hopstand at 190F for 90 minutes that measured 97.8 IBU, so isomerization definitely happens with sufficient time and quantity of hops.
This does reassure me that my usual practice of adding my aroma hops at flameout isn’t likely to increase bitterness by a perceptable amount, though.
Interesting results for sure – however only using 85g of hops I’m not surprised you didn’t see much difference. I would think a better comparison would be to brew a more standard NEIPA with much greater whirlpool additions
Very interesting.
I would be interested in seeing this same project done with no boil hops added to see if you have different results. I think with the high amount of boil hops you added will make it more challenging to distinguish the differences between flameout additions and 120* hop stand additions.
Hopefully that can happen!
Thanks,
Teddy
Spokane
Am I missing where the hop stand amount is?
Looks like 85g Talus for 10 mins post boil, from his hop addition information.
85g for 10 minutes post boil.
I wonder if that dry hop may have overshadowed the difference.
That is a good point and observation but making an IPA, dry hopping is a standard process. Dry hopping will have little to do with bitterness but the bitterness between the two was , for the most part, identical.
Lower temps require longer whirlpool times. The 120 minute addition needed 30-60 minutes, according to Tree House brewing.
I agree that 10 min seems a bit short for extracting the goods especially in a lower temp whirlpool/hopstand… I most often go for 40+min when starting at 150°F (ish) and often longer when starting at a lower temp…
Happen to have a source for this claim? I don’t doubt its validity, but Treehouse is particularly tight-lipped about process-related matters and I’d love to see what other information was provided.
Thank you for the writeup. I always enjoy reading these exbeeriments. A little critique if you will, I would not expect that you would be able to perceive a difference in bitterness (or flavor) considering the amount of boil hops you used. The recipe looks delicious, but I think it was a poor choice for this exbeeriment. You isolated the variable, but your method overshadowed the results. I would suggest redoing this exbeeriment and not using any (or very few) boil hops. Thanks for sharing!
Knowing that Talus is a hop with a super high geraniol content it doesn’t surprise me much that the aromas in both were very similar since the higher heat will have less impact on the loss of aromatic compounds. I’d say using something like cascade that is very low in survivable compounds might make a larger difference in the finished beer. Talus is an amazing hop though!
I experimented extensively with hopstand temperatures and times a few years back. I wasn’t doing any side by side. But was looking for the wow factor. Didn’t find any temperature or time or combination of the two that had a notable effect. Nor did I notice any notable flavor differences. I believe scott jainsh mentions that higher hopstand temps extract more citrus flavors, lower hopstand temps more flower flavors and earthy flavors for the low temperatures.
I believe I do notice a difference when I do no chill, and add the majority of my hops to the wort when it is about 80°C and let it steep in the wort until it reaches the desired pitching temp 12 – 18 hours. (I have a stainless keg fermenter for this purports which is purged and then connected to co2 while chilling )
Good series on late hop additions… but a lot of meaninglessness here with regards to hop stand temp and time… not a lot of useful findings.
It would be more helpful to push the parameters to extremes to find significant results: When does my brewing process matter? does it matter if I add at flame out and hold temp for 60 minutes vs 1 minute? If I boil the addition for 20 vs add at it at yeast pitch temps? Am I wasting hops if I throw in a flame out addition and immediately chill (over just 5-7 minutes).
I want to become a better and smarter brewer not just declare everything is meaningless and stop giving any sh!ts!!
Keep up the good work fellas.
Good questions, but when you get into finer details and shorter time periods you might find that what equipment and volumes your using night make or break any differences. What is the best time for one brewer won’t be for another with different setup. Chilling times being a big one that makes comparisons hard. It’s why a home brewer might get closer results by adding hops at flameout when comparing to a large brewery that does 80c hop stands. Agitation, whirlpooling, evaporation, hop contact, temp stratification etc. all differ.
But I agree, a several hour hop stand might be interesting and something you can make more meaningful comparisons if you can keep temperatures stable…problem is how long? In theory an 4hr stand might taste the same as a 10min stand, but that doesn’t tell you about a 1hr stand (e.g. 1hr might give best extraction before flavours are then lost at longer time points yielding no perceivable net difference)
I would have thought a recipe with subtlety might highlight differences in techniques better than a beer with valve bouncing IBU levels.
There is another EXBEERIMENT I recall reading that indicates the palate doesn’t detect bitterness difference +/- 4IBU. Given the short hot whirlpool it’s unlikely they would add enough IBU to detect any difference. My only thought would be that when judging the samples you be looking more for aroma differences. The high level of dry hopping makes so much more difference to hop aroma though I’d don’t you could detect the difference. A better experiment would be with no dry hopping if you are looking to determine the difference between a hot and a warm whirlpool.
What is very likely though is that for a home brew perspective, when making IPA Beers with high hop levels the whirlpool is not likely to make much difference.
From what I understand isomerisation occurs at almost any temperature,there’s no magic 79c cut off even if it does drop off exponentially. At 50c you get around 5% of the isomerisation at near boiling temps. Even dry hopping from pellets adds some small amount of iso AA, possibly down to the hop drying process.
That being said, 5% vs 100% would be noticeable – the only explanation is the majority of bitterness is coming from humulinones, oxidised humulones. They are around 2/3rds as bitter as iso-humulones, but importantly extraction doesn’t fall off exponentially with temperature. You also get a large initial extraction immediately upon adding to wort seperate temp and hop stand time. Additionally Polyphenols will also add bitterness. That’s why using twice as much hops but reducing boiling time to compensate will always produce a beer that’s more bitter when using AA calculators as they don’t account for these contributions.
If you’ve ever used old hops and plugged in numbers to hop storage index calculators they will often tell you there’s a fraction of the bittering potential there, but use them late on and you will extract more bitterness than the adjusted AA isomerisation would lead you to believe.
One thing I have noticed from my 100c Vs 70c hop stands is as the beer ages the 70c beer looses it’s bitterness more rapidly, making what was a balanced IPA more cloying. The flameout beers not so much. Maybe try triangle testing both beers in a month or two?
Not sure if there is any truth to it but I’ve been told not to force carb IPAs. I’m new at brewing so haven’t really had time to test it out for myself.
I’d have to disagree. Not technically that natural carb vs force carb is better/worse, but that the processes involved in achieving these disadvantage naturally carbed beers in IPAs:
The problem is with IPAs carbonating by spunding means you can’t dry hop at the end as you will risk a volcanic erruption when you add hops to carbonated beer (unless your adding tiny amounts in an oversized fermenter)
The other common option is to carb beers by adding sugar to bottles. People who carb in bottles with sugar expose their beer to higher oxygen than those who go down the foce carb method/aparatus. People say the yeast will consume all the oxygen, but that is not quite true. DO levels will decrease but still show much higher DO levels compared to force cabonation methods inc. purging etc. Although not significant the pictures do show a clear darkening of bottle conditioned beers vs force carbed which is typically associated with oxygen exposure:
https://brulosophy.com/2018/03/12/the-impact-of-bottle-conditioning-on-new-england-ipa-exbeeriment-results/
There is the option of adding sugar to a keg and then bottling the same as a force carbed beer but your still going to use CO2 gas cylinders to push the beer out and purge which sort of negates any advantage in process. It also means you have to sit a keg at room temperature for the yeast to metabolise the sugar vs refrigerating which is also a potential disadvantage for IPAs.
An interesting approach would be to try one single hop. In the 90’s using 2 oz. of hops for 5 gallon batch was typical (and so was using bleach to clean). But as taste and trends change using 8-10 even a pound of hops per batch has become standard. The method in this experiment were excellent, accept the final determining subjective taste test.
One way to help with that is to use a very limited hop addition. Say 2oz. Cascade during boil and then 2oz. of your favorite finishing hop. My favorite is to flameout with home grown comet hops. Gives a nice aroma and flavor.
If you really want a xBmnt, brew a hopless beer, and only do final hop additions at flameout/120*,then rate the difference.
That would reduce even more variables.
Thanks for the write up! Again excellent methods.
to do this experiment you need to drop everything on whirpool, it’s a more exageranted way to note the difference, with all this non-flame out addition you are just adding more hop complexity to something that you want to be easy to read.
I encourage you to give this a second chance, using ONLY adittions at flameout
Cheers
I second this, remove all other influencing factors as best you can then any differences will be easier to note.