Author: Jake Huolihan
It doesn’t take long for new homebrewers to realize that making beer, particularly certain styles, comes not without its fair share of expenses. Of the various things one can do to help cut down on the costs, many have taken to growing their own hops, adding yet another level of DIY to the brewing process. In early spring of every year, small pieces of hop roots called rhizomes are made available to homebrewers for a nominal fee. With a bit of tender loving care, these rhizomes can produce vast amounts of free hops year after year.
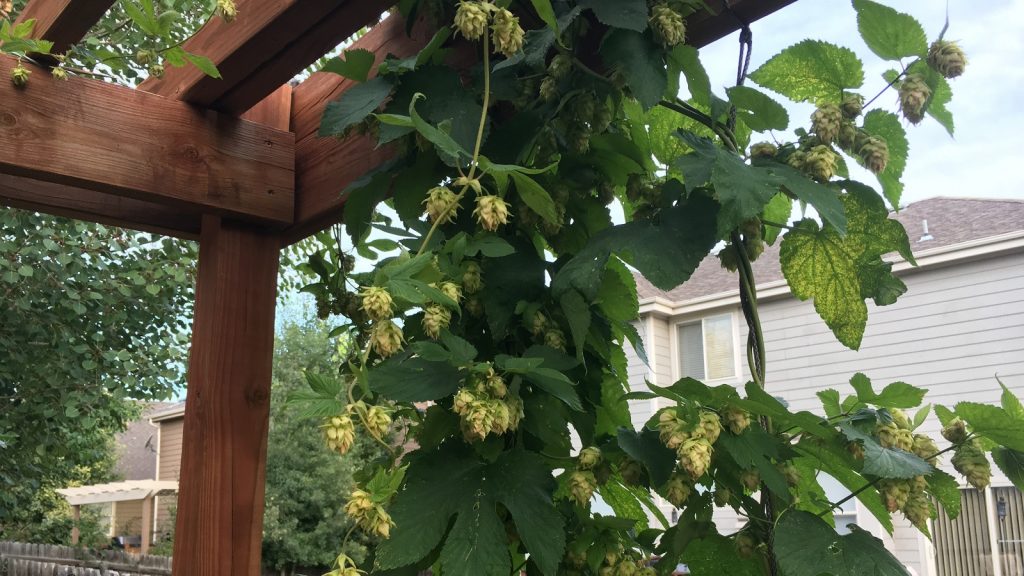
My journey into brewing coincided with the purchase of my first house. After moving in, we had to address an ugly dead tree on a raised retaining wall in the back corner of our property, and I convinced my wife a pergola would be an absolutely perfect replacement! Of course, I had ulterior motives, and for the last few years, we’ve enjoyed the shade provided the hops while sipping pints of tasty homebrewed beer.
The process of growing hops differs a little bit based on region and available space, but in general, each plant requires something it can climb such as a trellis or twine that’s 10-20 feet/3-6 meters tall. In most climates, hop cones will begin to form around mid-summer the middle and be ready for harvesting sometime in the early to middle part of fall. It’s at this point the cones are usually dried to create the whole cone hops brewers are familiar with, a process that, when paired with proper packaging, prolongs shelf-life. However, it’s become increasingly common for brewers to use freshly picked “wet” hops to craft unique beers that can only be brewed on a seasonal basis.
I love my hop plants and have continued to tend to them over the years, but given the experimental nature of my brewing lately, I rarely harvest the hops for use these days. However, inspired by the tales of tasty wet hop beers told by Marshall, Brian, and Malcolm after their trip to Yakima during hop harvest, I decided to throw my own fresh hop fest right here Denver.
| Brewing Centennial Wet Hop Ale |
Brewing a wet hop beer with homegrown hops takes a certain level of planning, a couple of years, in fact. I planted my Centennial and Mt. Hood hops in 2015, and while they grew up nicely that first year, the yield was rather paltry. The second year was better, but the plants really hit their stride this year, producing enough cones for me to feel comfortable using them for more than just bittering.
Wet hops spoil quickly, and hence its imperative to use them for brewing as soon after they’re picked as possible to ensure freshness. When my hops were ready for harvest, I enlisted the help of my buddy, Dave, who assisted in the brewing of my first ever continuously wet hopped ale. We designed a recipe with an old school IPA grist including a decent charge of Caramel malt that we hoped would balance the fresh Centennial hops.
Centennial Wet Hop Ale
Recipe Details
| Batch Size | Boil Time | IBU | SRM | Est. OG | Est. FG | ABV |
|---|---|---|---|---|---|---|
| 5.5 gal | 60 min | 72.8 IBUs | 10.5 SRM | 1.063 | 1.015 | 6.3 % |
| Actuals | 1.063 | 1.014 | 6.5 % | |||
Fermentables
| Name | Amount | % |
|---|---|---|
| Special Pale (Cargill) | 13.75 lbs | 93.22 |
| Crystal, Medium (Simpsons) | 1 lbs | 6.78 |
Hops
| Name | Amount | Time | Use | Form | Alpha % |
|---|---|---|---|---|---|
| Hallertau Magnum | 10 g | 60 min | Boil | Pellet | 14 |
| Centennial Wet Hop | 3.2 g | 30 min | Boil | Leaf | 10 |
| Centennial Wet Hop | 3.2 g | 29 min | Boil | Leaf | 10 |
| Centennial Wet Hop | 3.2 g | 28 min | Boil | Leaf | 10 |
| Centennial Wet Hop | 3.2 g | 27 min | Boil | Leaf | 10 |
| Centennial Wet Hop | 3.2 g | 26 min | Boil | Leaf | 10 |
| Centennial Wet Hop | 3.2 g | 25 min | Boil | Leaf | 10 |
| Centennial Wet Hop | 3.2 g | 24 min | Boil | Leaf | 10 |
| Centennial Wet Hop | 3.2 g | 23 min | Boil | Leaf | 10 |
| Centennial Wet Hop | 3.2 g | 22 min | Boil | Leaf | 10 |
| Centennial Wet Hop | 3.2 g | 21 min | Boil | Leaf | 10 |
| Centennial Wet Hop | 3.2 g | 20 min | Boil | Leaf | 10 |
| Centennial Wet Hop | 3.2 g | 18 min | Boil | Leaf | 10 |
| Centennial Wet Hop | 3.2 g | 17 min | Boil | Leaf | 10 |
| Centennial Wet Hop | 3.2 g | 16 min | Boil | Leaf | 10 |
| Centennial Wet Hop | 6.3 g | 15 min | Boil | Leaf | 10 |
| Centennial Wet Hop | 6.3 g | 14 min | Boil | Leaf | 10 |
| Centennial Wet Hop | 6.3 g | 13 min | Boil | Leaf | 10 |
| Centennial Wet Hop | 6.3 g | 12 min | Boil | Leaf | 10 |
| Centennial Wet Hop | 6.3 g | 11 min | Boil | Leaf | 10 |
| Centennial Wet Hop | 6.3 g | 10 min | Boil | Leaf | 10 |
| Centennial Wet Hop | 6.3 g | 9 min | Boil | Leaf | 10 |
| Centennial Wet Hop | 6.3 g | 8 min | Boil | Leaf | 10 |
| Centennial Wet Hop | 6.3 g | 7 min | Boil | Leaf | 10 |
| Centennial Wet Hop | 6.3 g | 6 min | Boil | Leaf | 10 |
| Centennial Wet Hop | 6.3 g | 5 min | Boil | Leaf | 10 |
| Centennial Wet Hop | 6.3 g | 4 min | Boil | Leaf | 10 |
| Centennial Wet Hop | 6.3 g | 3 min | Boil | Leaf | 10 |
| Centennial Wet Hop | 6.3 g | 2 min | Boil | Leaf | 10 |
| Centennial Wet Hop | 6.3 g | 1 min | Boil | Leaf | 10 |
Yeast
| Name | Lab | Attenuation | Temperature |
|---|---|---|---|
| Dieter (G03) | Imperial Yeast | 75% | 60°F - 69°F |
Notes
| Water Profile: Ca 63 | Mg 0 | Na 8 | SO4 108 | Cl 50 |
Download
| Download this recipe's BeerXML file |
I started out this batch the evening prior to brewing by collecting the water and adjusting it to my desired profile before setting my heat stick to turn on the next morning.
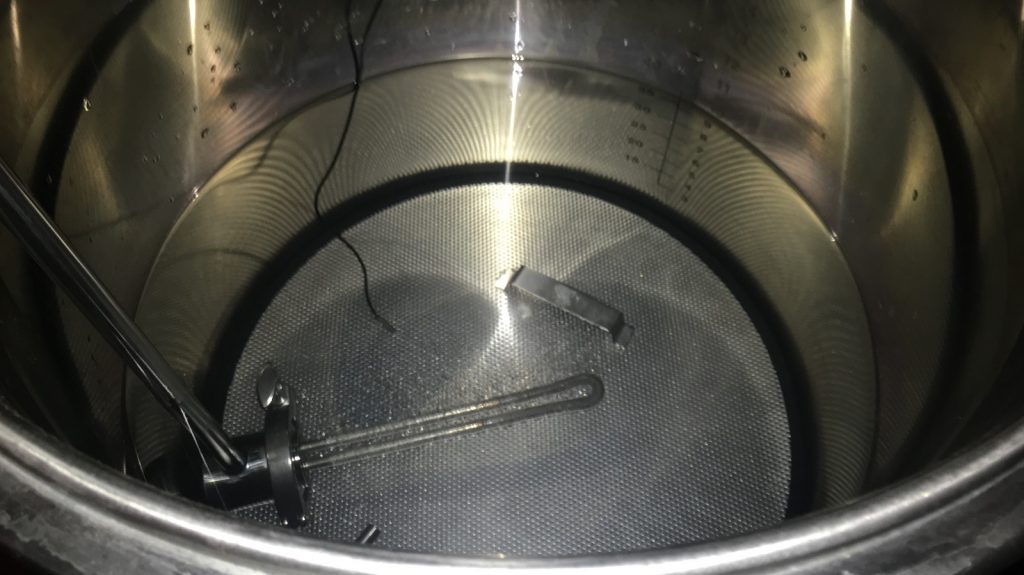
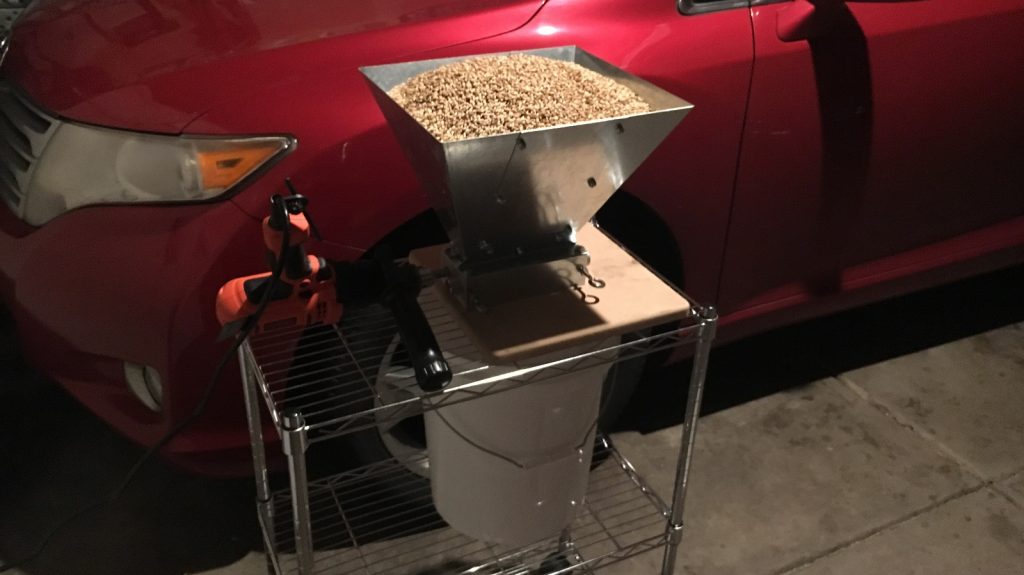
I then weighed out and milled the grains.
I awoke the following morning to hot strike water and mashed in to hit my desired temperature.
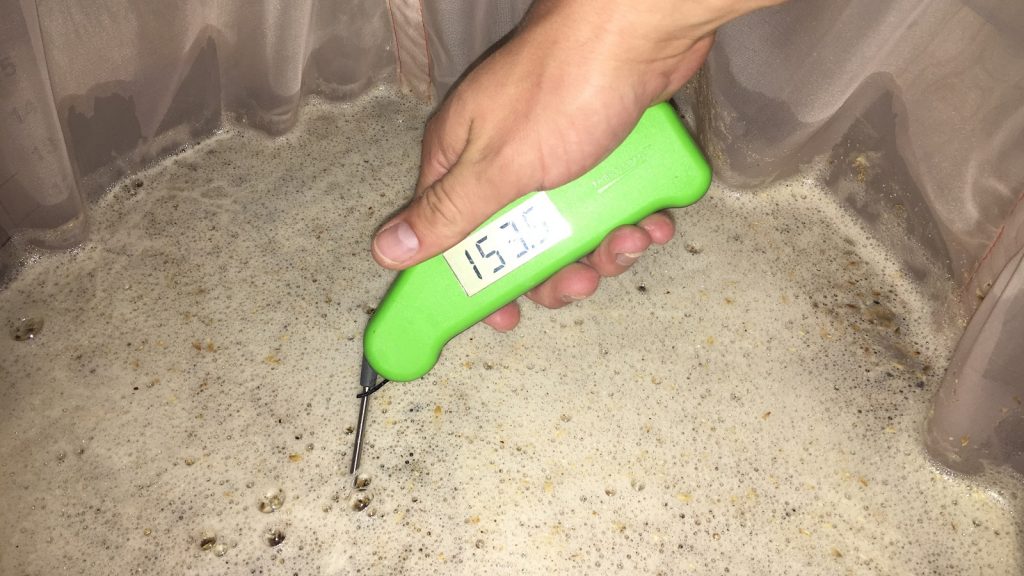
During the mash rest, I began the arduous and messy process of cutting down the Centennial bines that contained hop cones.
After a 60 minute rest, the mash step was complete and we began collecting the sweet wort.
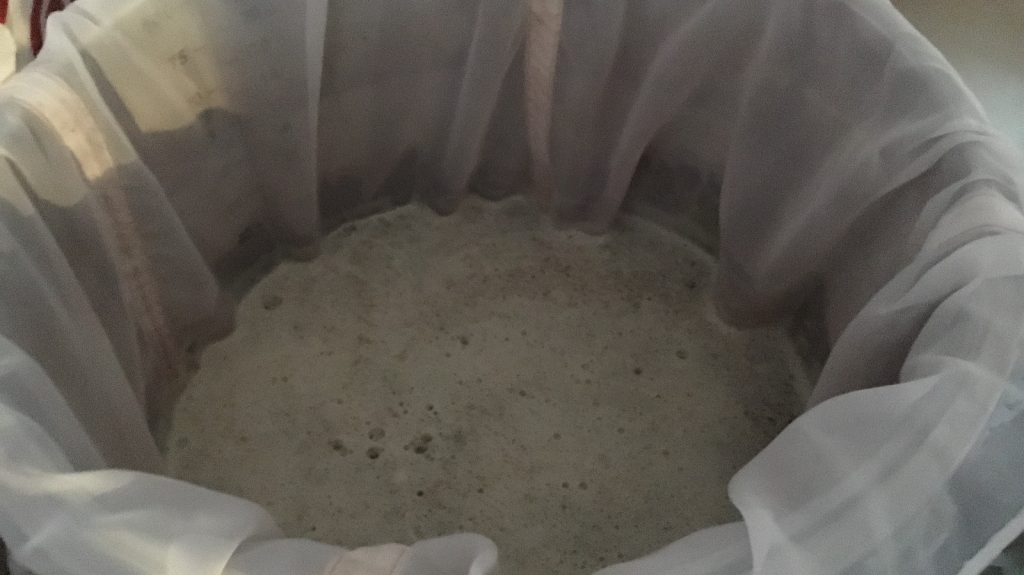
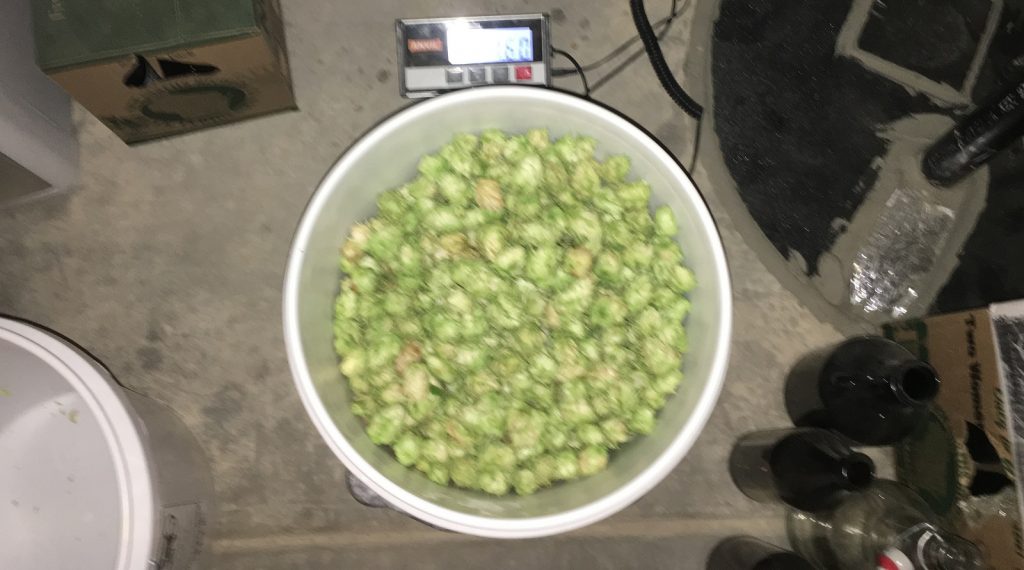
While the wort was heating to a boil, Dave and I plucked the hop cones from the bines, collecting a total of 1.6 lbs/0.73 kg. Based on commonly discussed wet to dry hop ratios, this was equivalent to about 5 oz/142 g of dried hops. Not too much, hence the 60 minute Magnum bittering addition.
We designed a recipe that called for continuous wet hop additions during the latter half of the boil, something we’d talked about for years. Once the wort reached a boil, we tossed in the small dose of Magnum then left it alone for 30 minutes. We then began adding a handful of hops every minute for the next 15 minutes, after which we increased the amount to 2 handfuls every minute until the boil was complete. Following a 20 minute hop stand at 150°F/66°C, the wort was quickly chilled to pitching temperature.
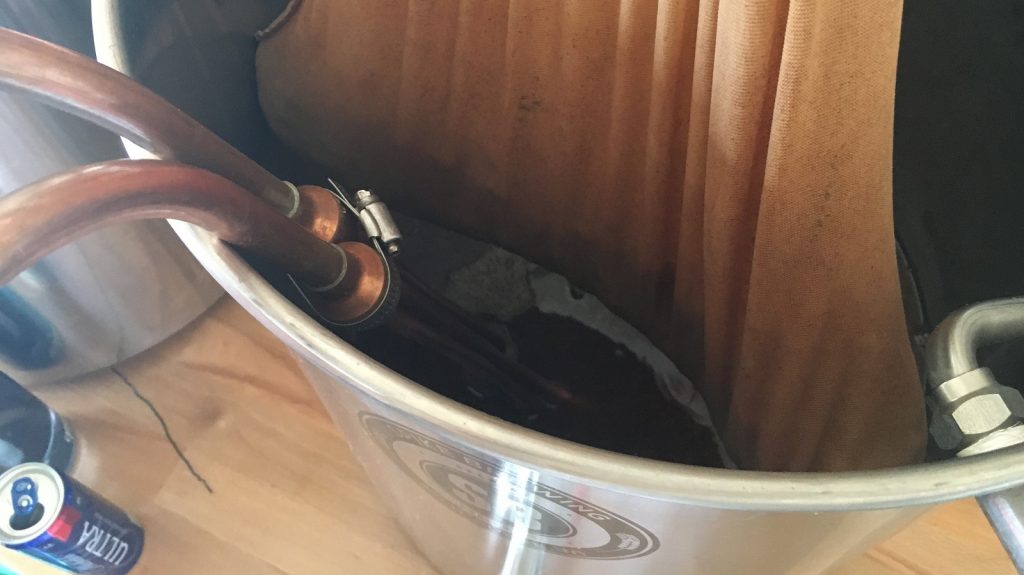
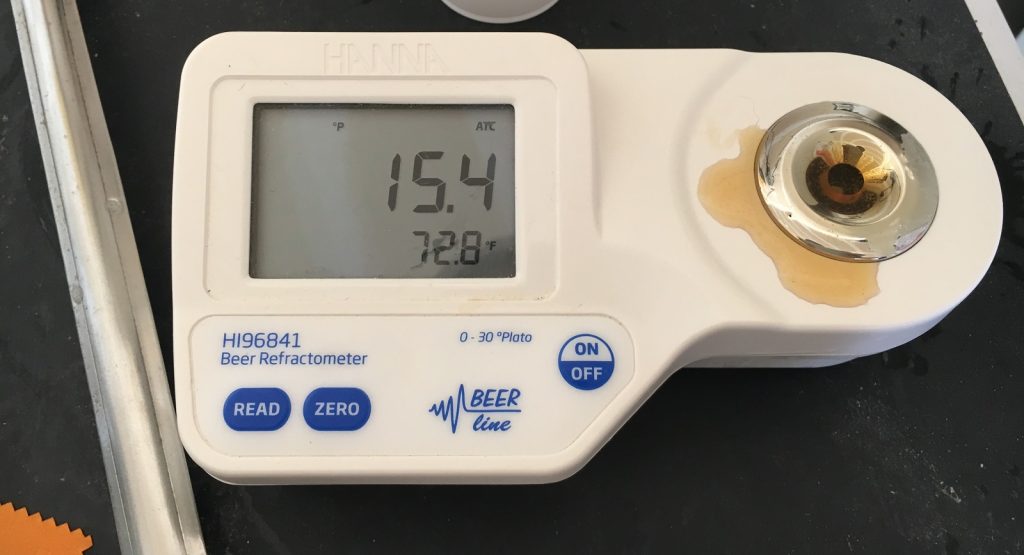
A refractometer reading revealed we’d hit our target OG.
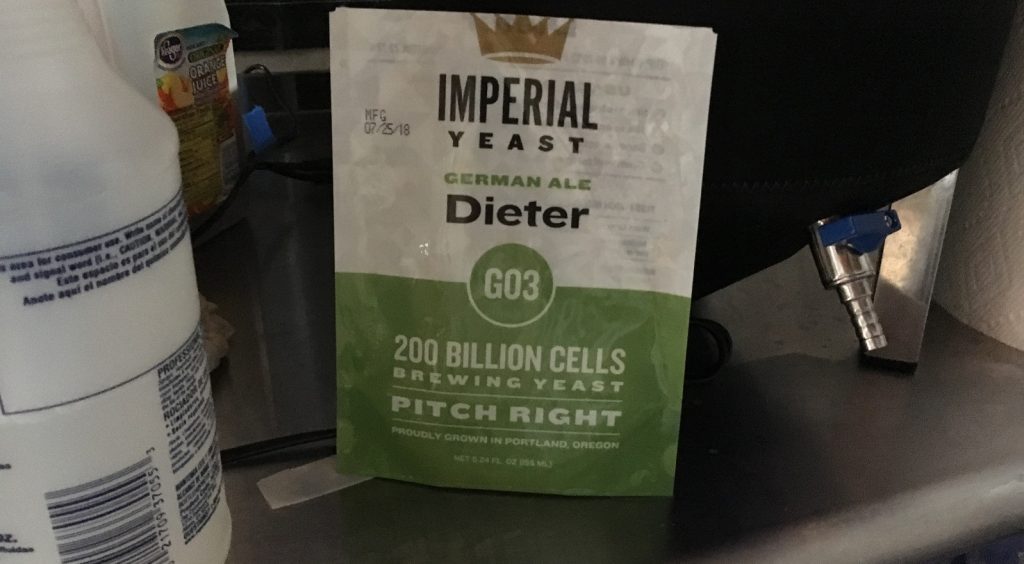
After racking the chilled wort to a sanitized Brew Bucket, a pouch of Imperial Yeast G03 Dieter was pitched directly into it.
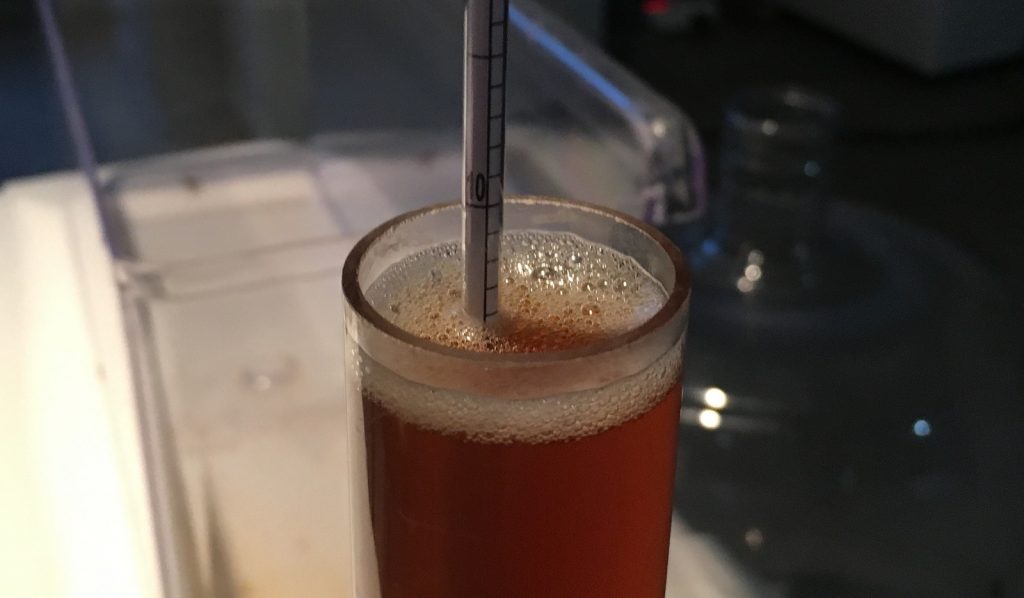
After a week at 66°F/19°C, visible fermentation activity was absent and a hydrometer measurement revealed FG had been reached.
Seeing as all of my Centennial wet hops were used up, we decided to skip dry hopping and proceeded with transferring the beer to a sanitized and CO2 purged keg.
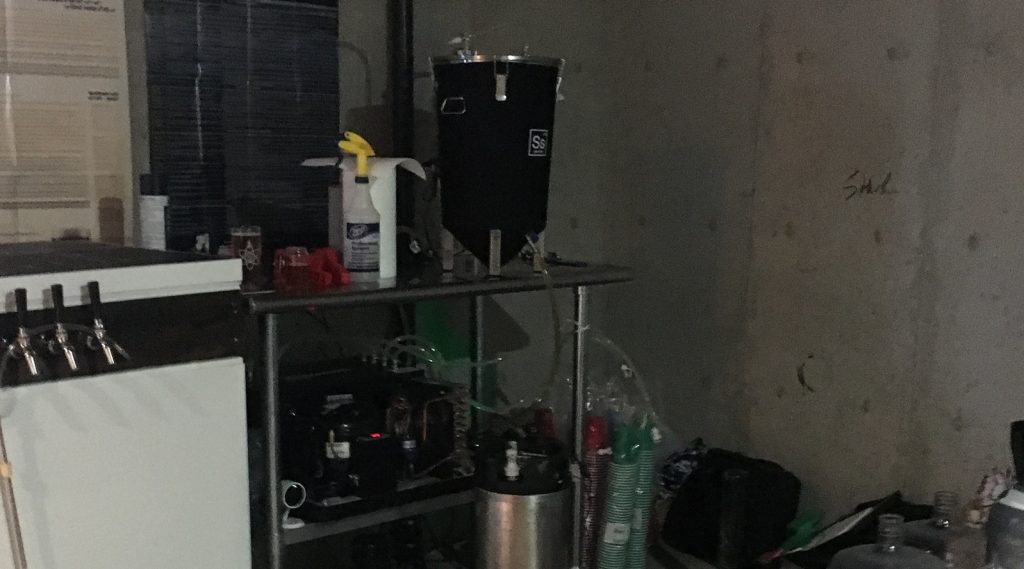
The keg was placed in my cool keezer and burst carbonated overnight before I reduced the gas to serving pressure. After a couple days of cold conditioning, the beer was carbonated and ready to serve.
| IMPRESSIONS |
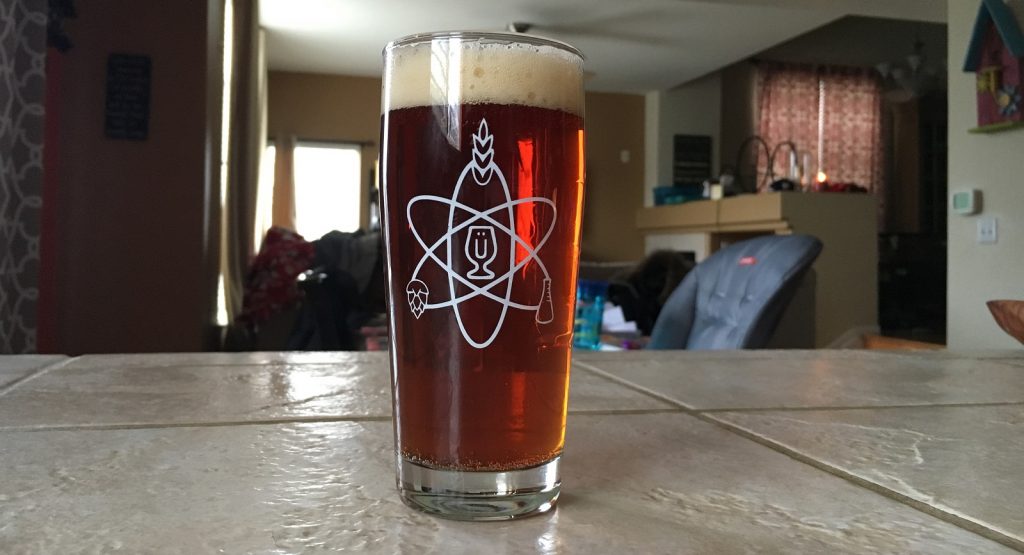
As an infrequent consumer of IPA, I experience little excitement about having one on tap. But that wasn’t the case for this this batch, I was unusually eager to taste this beer made from Centennial hops I’d grown in my own backyard! Upon initial tastings as soon as the beer was ready to drink, just a few days after it was kegged, I perceived crazy floral and grapefruit notes that nicely balanced the more characterful malt bill. This was easily the best IPA I’ve had on tap in recent memory. Corroborating reports I’d heard from others who brew wet hop beers, the hop character seemed to fade fairly quickly over time, giving way to a more caramelly malt flavor that, while different, was still rather enjoyable.
The feedback I received from the numerous friends and family I shared this beer was surprisingly positive with common descriptors including floral, juicy, and fruity. For a beer of such ABV, it was considerably easy to drink and a joy to have around.
Wet hop beers are unique both in their limited availability as well as their overall character. Living in Denver, fresh commercial examples aren’t easy to come by, and based on what I’ve heard about wet hops imparting vegetal characteristics, I’ve never felt too compelled to seek one out. Having the hops in my backyard allowed me to shelf my bias and give it a go, and the experience was a mind changer, I definitely plan to make brewing with homegrown wet hops an annual tradition. In addition to enjoying the beer more than expected, harvesting the hops and brewing with my friend was an all around fantastic experience.
If you have thoughts about this recipe or experience making hard cider yourself, please feel free to share in the comments section below!
Support Brülosophy In Style!
All designs are available in various colors and sizes on Amazon!
Follow Brülosophy on:
FACEBOOK | TWITTER | INSTAGRAM
If you enjoy this stuff and feel compelled to support Brulosophy.com, please check out the Support page for details on how you can very easily do so. Thanks!



19 thoughts on “Brü It Yourself | Wet Hop Ale”
Such an ABV? I mostly only start there! :-p
Nice project to do. Due to having a dog around I decided not to grow my own hops. I don’t want to take the risk that maybe someday hop ends up in something he chews on.
I have two dogs, what I’ve found is that dogs only chew on hops when they’re soaked full of sweet wort. They’ve never so much as sniffed the cones on the bine that I’ve seen.
Typos/autocorrected words and grammar were a bit distracting in this otherwise very entertaining article. If you need a fast editor, send me an email. Always enjoy your articles and exBEERiments!
“enough cones for me to feel comfortable using them for more than just bittering.”
That’s the opposite of how to use them. The whole point of wet/green hops is that you have the opportunity for your beer to contain the delicate aroma compounds normally lost in drying. So if you only have a few, you want to start with dry hopping and then work backwards as your crop increases. They’re least suitable for bittering – not only are you boiling off all the USP aromas, you don’t have any alpha measurements (although you can estimate using hop teas).
It must be emphasised how quickly they go off – picking once the boil has started is the ideal, they are compost within 12-24 hours.
So how do you dry hop? Leave some on the bine until you’re ready?
You could probably do that, I may try next year.
I’ve done some dry hopping at yeast pitch, or frozen them in a vacuum sealed bag with decent results. The issue with leaving them on the bine is that quality and oil content is dependent on harvest time.
i did a huge hop stand with a wet hop IPA. It was a totally disgusting flavor to me. I prefer dried hops!
Just planted hops last year. Great project!
Do you use some kind of hop strainer during the boil due to the extensive hop material?
I used a brew bag
Is this something you routinely do? I’ve been looking for a way to keep some of my hop material out of the wort without a spider, while maximizing surface area contact (something panty hose, etc, probably limits).
No, I always add straight to the kettle. Very rarely when I brew highly hopped beers I bag the hops. In this instance a 5 gallon bucket full of hops required a brew bag
I’m really enjoying this Bru it yourself series. Its nice to just read once in a while about someone brewing something interesting without all the specifics of usual ExBMTs. Keep it up!
Cheers thanks
Nice article! Living in GA wet hopped beers aren’t something you see often. I do have a guy in my home brew club who does grow his own hops to brew with. Last year he brought in a bine and we did a wet hop randall. It was really interesting to taste the beer “clean” against the beer after being served through the randall. Maybe an xbrmt for next year. Can participants distinguish a beer dry hoppped with wet hops versus randalled with wet hops? May be too difficult due to timing of the harvest but who knows.
I grow enough Hallertauer Mittelfrüh each year for exactly one, 3-gallon hefe. I dry hop for the last 48 hours of fermentation then bottle. First try, my beer tasted like wet grass. Now though, I won’t say it’s the best hefe but it is quite interesting.
Nice article.
Inspired by your growing and brewing experience
The whole post is ruined by the fact that you forgot the 19 minute addition. What a waste!
Hey, have you brewed a fresh Wet Hop beer again? Are you planning to do it this fall?
I just found some wild hops in my backyard so patiently waiting until theyre ready for harvest, and planning my brew day.
Cheers