Author: Brian Hall
Quickly cooling wort results in the coagulation of proteins and other solids into large chunks called cold break that readily drop out of solution. Such a process is said to be beneficial in that it hinders the formation of DMS, halts the isomerization of alpha acids, reduces the risk of contamination by making it possible to pitch yeast sooner, and allows for the transfer of clearer wort to the fermentor.
Perhaps the most popular way homebrewers accomplish this is by using a copper immersion chiller, which in addition to being relatively inexpensive and easy to use, has very high thermal conductivity, meaning killer chilling power. Another common method involves running the wort through a plate chiller, made of many thin layers of stainless steel, while cool water flows in the opposite direction.
Both immersion and plate chillers are designed to accomplish the same task with one’s decision on which to use usually a function of their particular setup. I’ve used both options extensively in my brewing and have found an immersion chiller works better for standard batch sizes while I pull out my plate chiller for anything over 10 gallons. Having previously never considered chiller type as having any impact on my beer, a recent conversation with the crew caused me wonder if maybe it did, so I performed this xBmt to see for myself!
| PURPOSE |
To evaluate the differences between 2 beers of the same exact recipe where one was chilled with an immersion chiller and the other was chilled with a plate chiller.
| METHODS |
 Wanting to go with a style that would let any differences caused by the variable to shine, I decided to brew a pale lager for this xBmt. After having an amazing pFriem Pilsner while hanging in Yakima, WA during the 2017 hop harvest, I emailed the brewery to ask for the recipe and they informed me it was included in Dave Carpenter’s new book, Lager: The Definitive Guide to Tasting and Brewing the World’s Most Popular Beer Styles.
pFriem Pilsner
Recipe Details
| Batch Size | Boil Time | IBU | SRM | Est. OG | Est. FG | ABV |
|---|---|---|---|---|---|---|
| 5.5 gal | 60 min | 35.8 IBUs | 3.5 SRM | 1.049 | 1.010 | 5.1 % |
| Actuals | 1.051 | 1.011 | 5.2 % | |||
Fermentables
| Name | Amount | % |
|---|---|---|
| Pilsner (2 Row) Ger | 9.625 lbs | 95.68 |
| Carafoam | 4.96 oz | 3.08 |
| Acid Malt | 2 oz | 1.24 |
Hops
| Name | Amount | Time | Use | Form | Alpha % |
|---|---|---|---|---|---|
| Perle | 17 g | 60 min | Boil | Pellet | 8.3 |
| Tettnang | 8 g | 60 min | Boil | Pellet | 4.2 |
| Tettnang | 21 g | 10 min | Boil | Pellet | 4.2 |
| Saphir | 14 g | 10 min | Boil | Pellet | 3.7 |
| Select Spalt | 14 g | 10 min | Boil | Pellet | 5.1 |
| Tettnang | 21 g | 10 min | Aroma | Pellet | 4.2 |
| Saphir | 14 g | 10 min | Aroma | Pellet | 3.7 |
| Select Spalt | 14 g | 10 min | Aroma | Pellet | 5.1 |
Yeast
| Name | Lab | Attenuation | Temperature |
|---|---|---|---|
| Saflager Lager (W-34/70) | DCL/Fermentis | 75% | 48°F - 59°F |
Notes
| Water Profile: Ca 65 | Mg 0 | Na 0 | SO4 45 | Cl 40 | pH 5.5 |
Download
| Download this recipe's BeerXML file |
The day before brewing, I collected the RO water for both full volume BIAB batches.
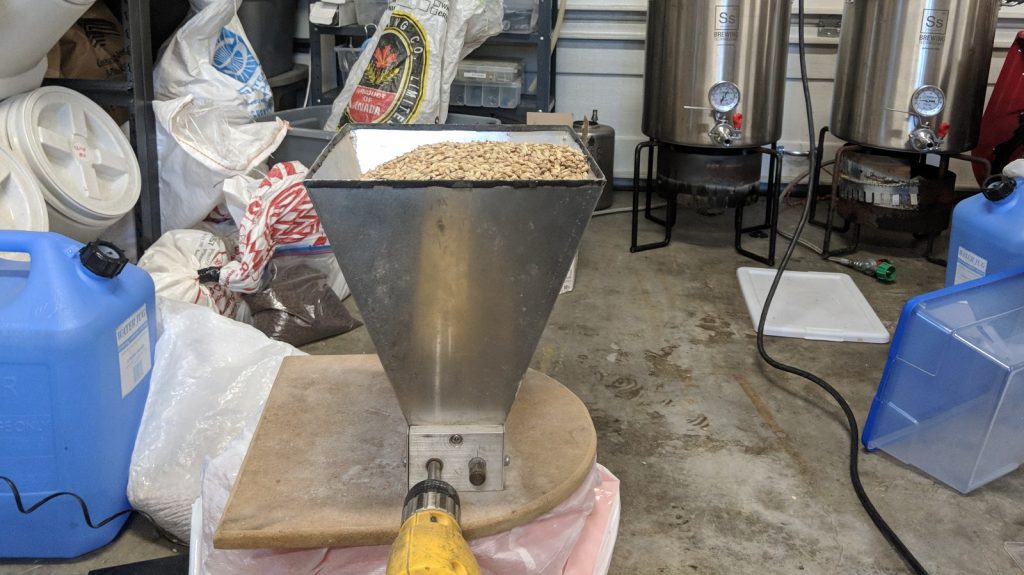
The next day, I began heating the water with my heat stick several hours ahead of time and milled the grain during the wait.
Once strike temperature was reached, I dropped the bagged grains into each each kettle and stirred gently to fully incorporate.
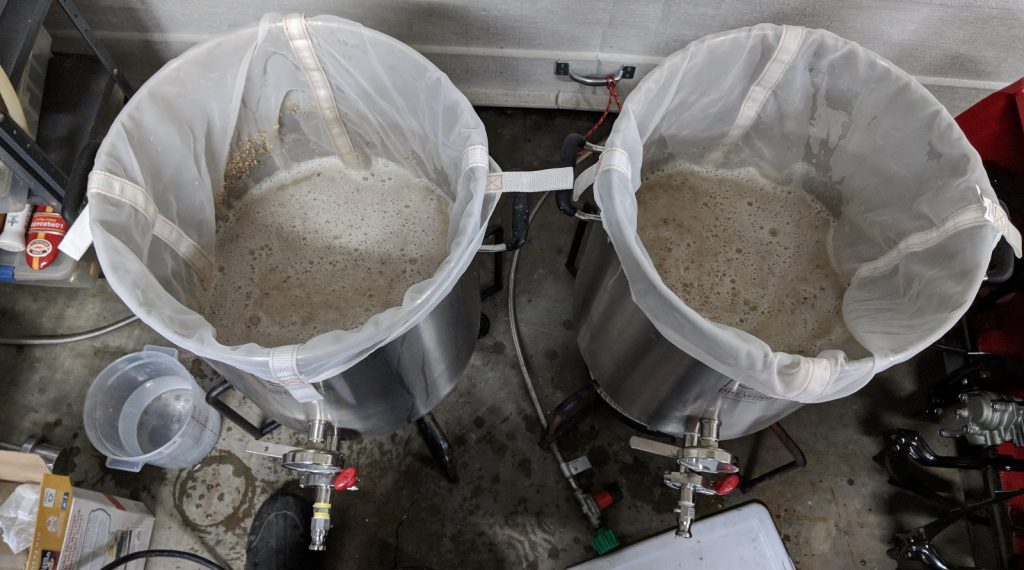
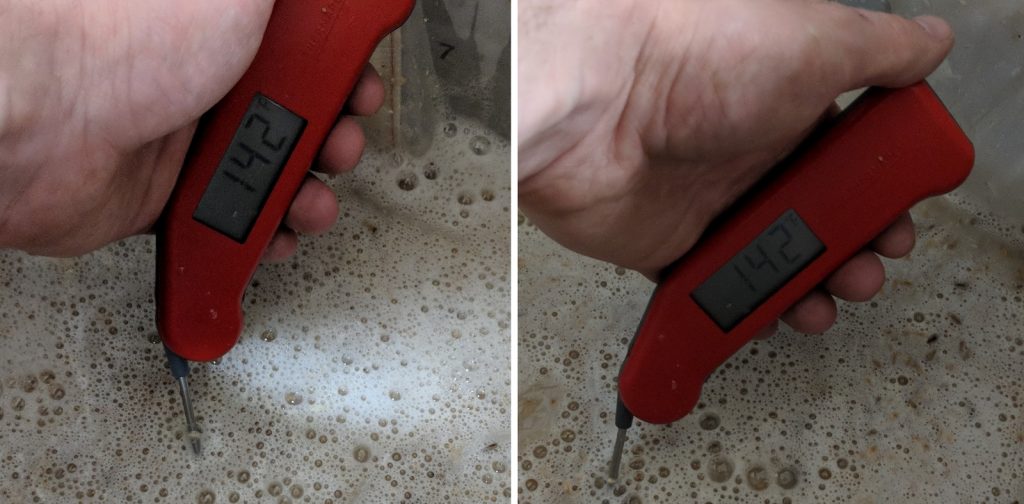
Since pFriem uses a step mash, I decided to do the same and mashed in both batches for an initial rest at 142°F/61°C.
After a 30 minute rest, I added the same amount of boiling water to each mash to raise them up to the second rest temperature.
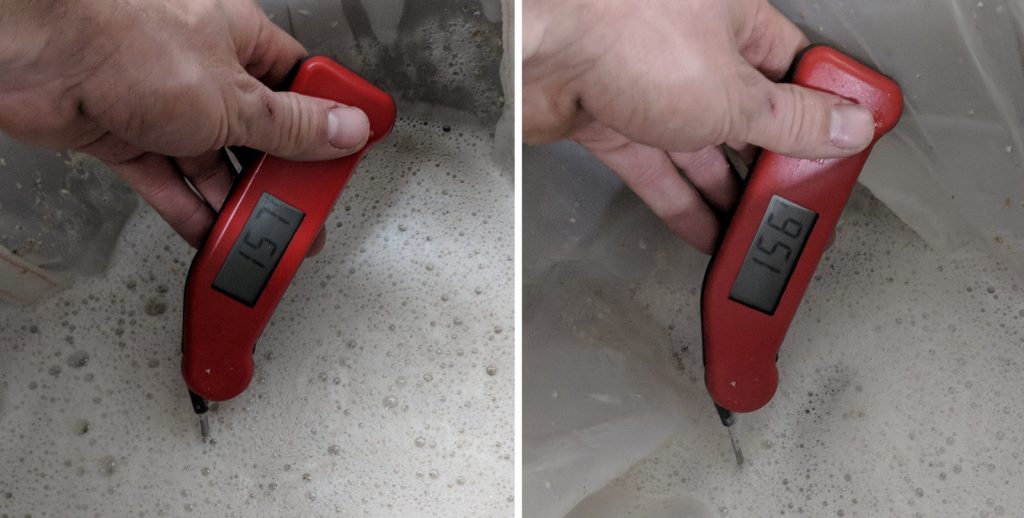
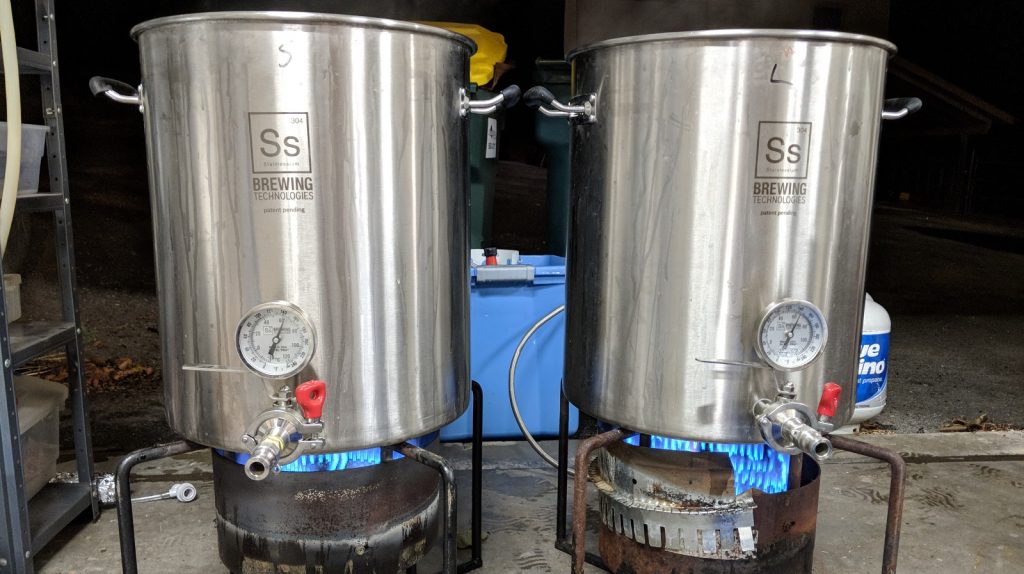
An hour later, I removed the bags from both kettles and lit the flames under each.
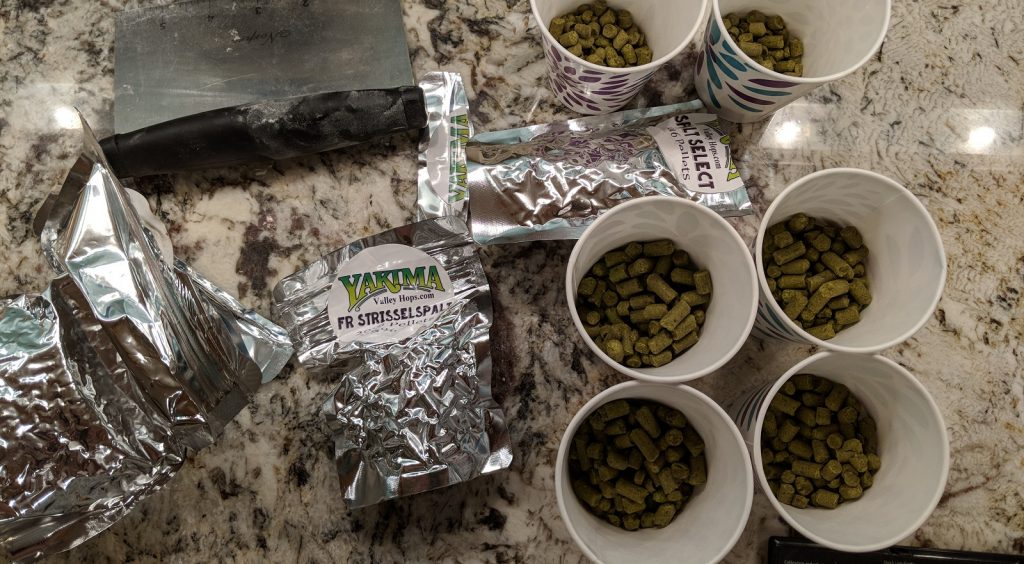
I weighed out the kettle hop additions while waiting for the worts to heat up.
Both beers were boiled for 60 minutes with hops added as stated in the recipe.
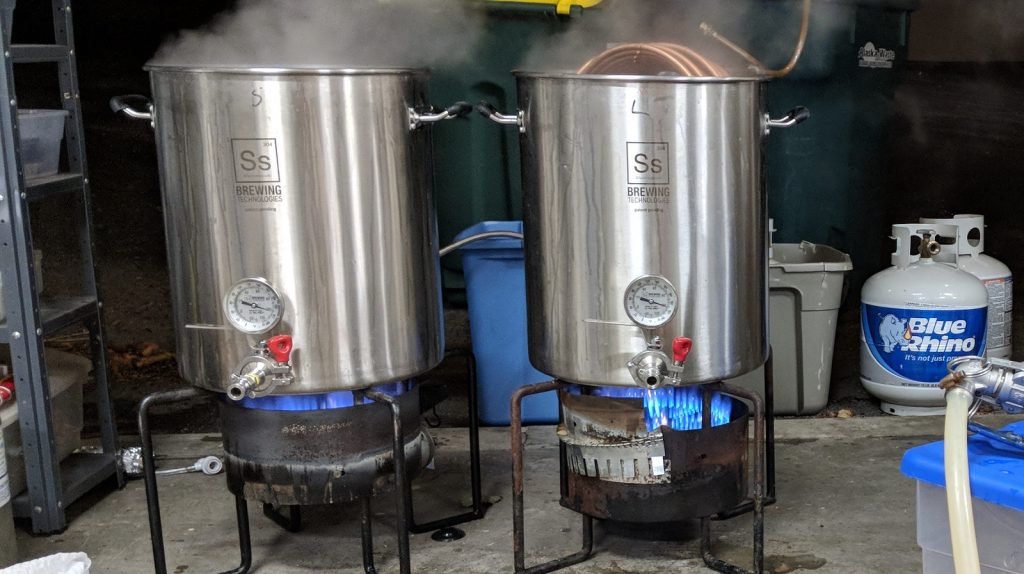
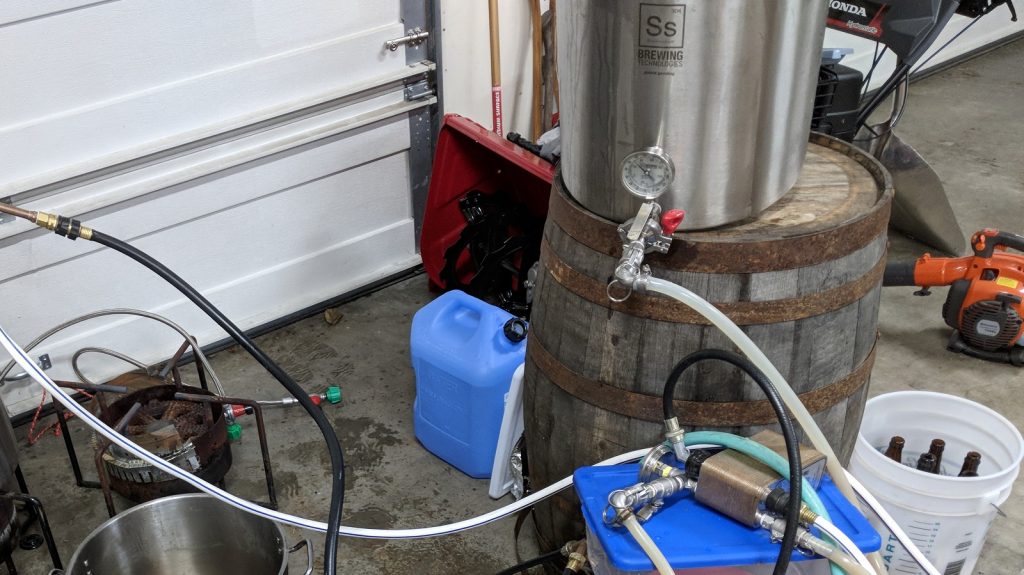
Having staggered the start of each batch by 20 minutes, I quickly chilled the one to finish boiling first with my Hydra immersion chiller, which brought it down to 63°F/17°C, then racked it to a 6.5 gallon glass carboy.
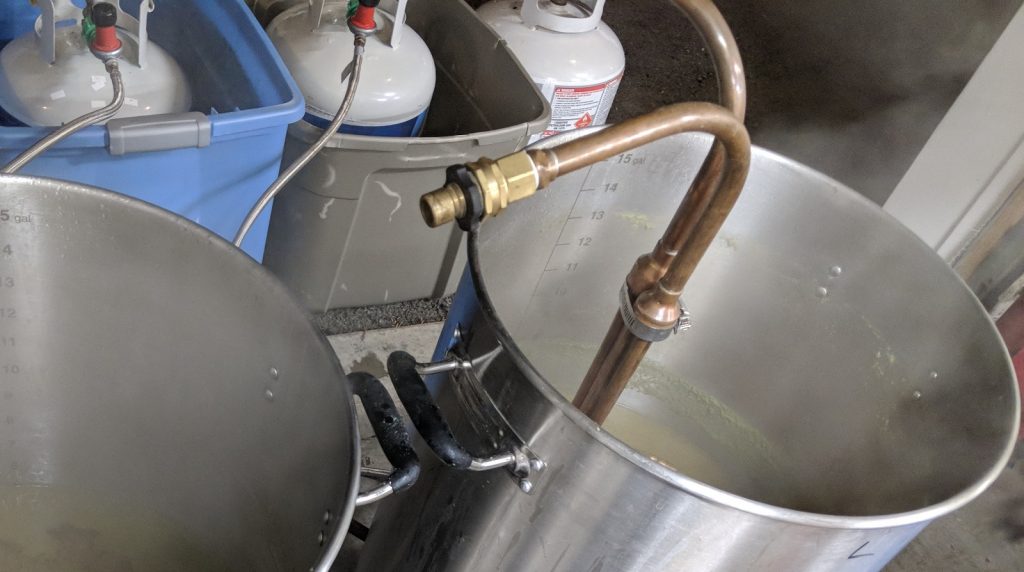
When the second batch was was finished boiling, I let it settle briefly before running it through my Therminator plate chiller directly into a 6.5 gallon glass carboy, it was at the same 63°F/17°C as the other batch.
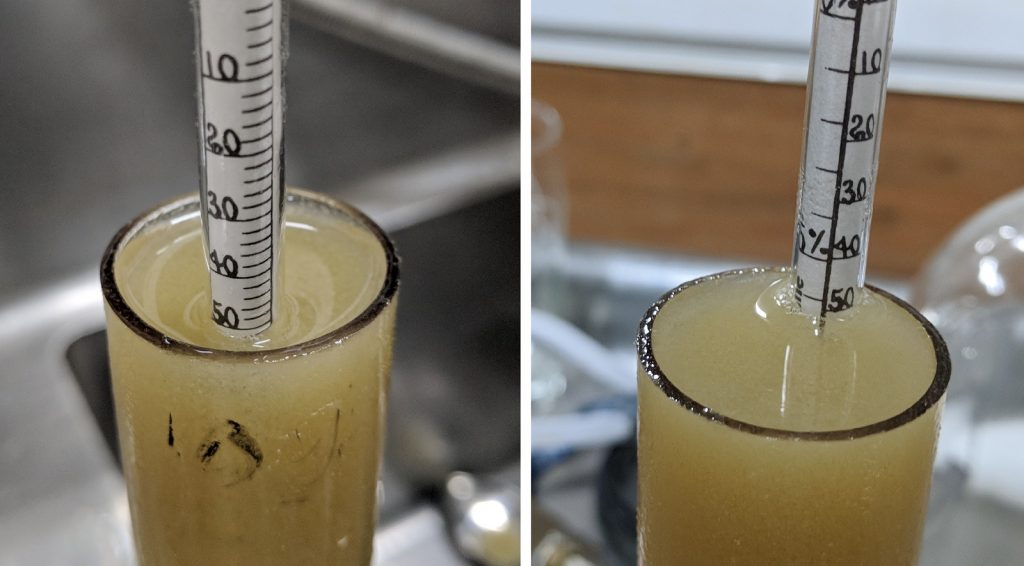
Hydrometer measurements showed both worts were at the same OG.
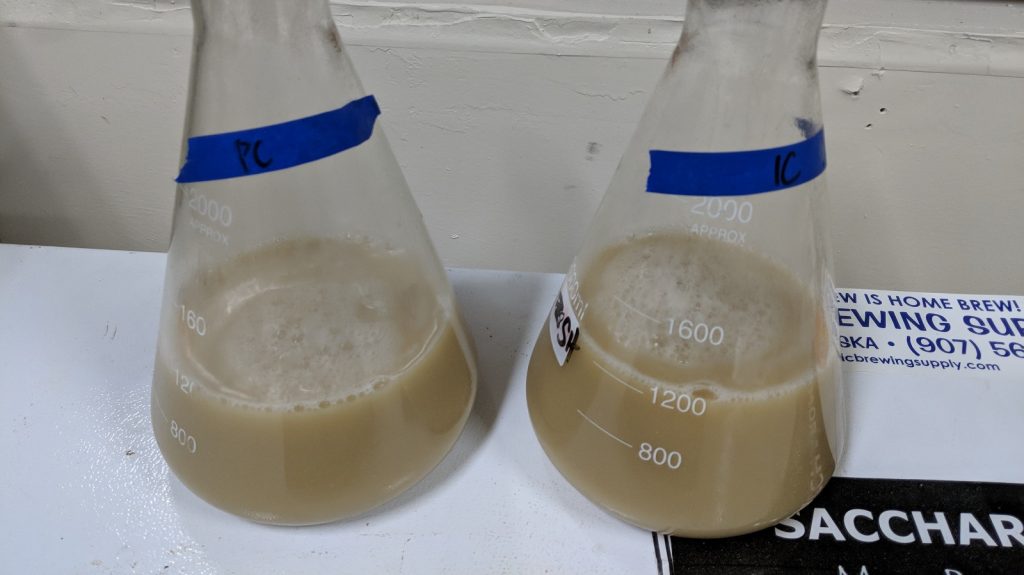
I placed the full carboys next to each other in my chamber and left them alone to finish chilling to my desired lager fermentation temperature of 50°F/10°C. I then stole some leftover wort from either batch, pitched a pack of W-34/70 into each, and let them get going overnight.
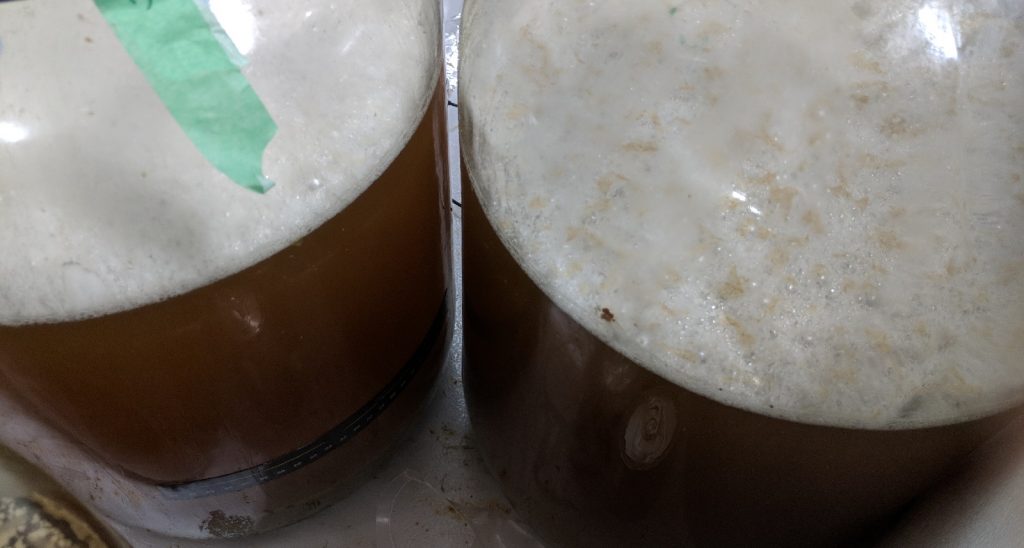
I pitched the yeast the next morning and noticed similar activity in both within 16 hours.
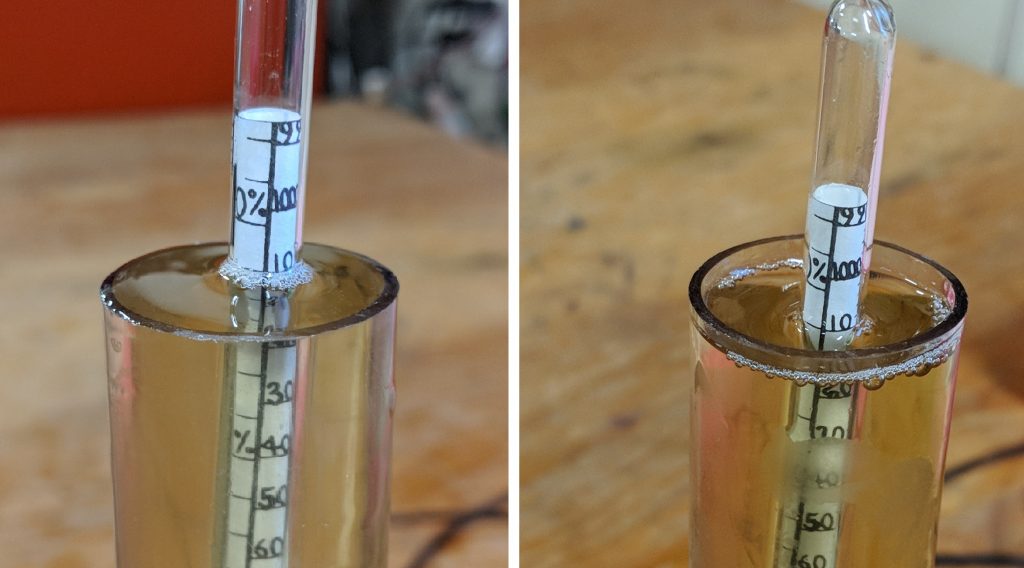
After 3 days, I began gently raising the temperature over the course of a few days until signs indicated fermentation was complete. Hydrometer measurements taken after a 3 day diacetyl rest at 66°F/19°C showed both beers had achieved the same FG.
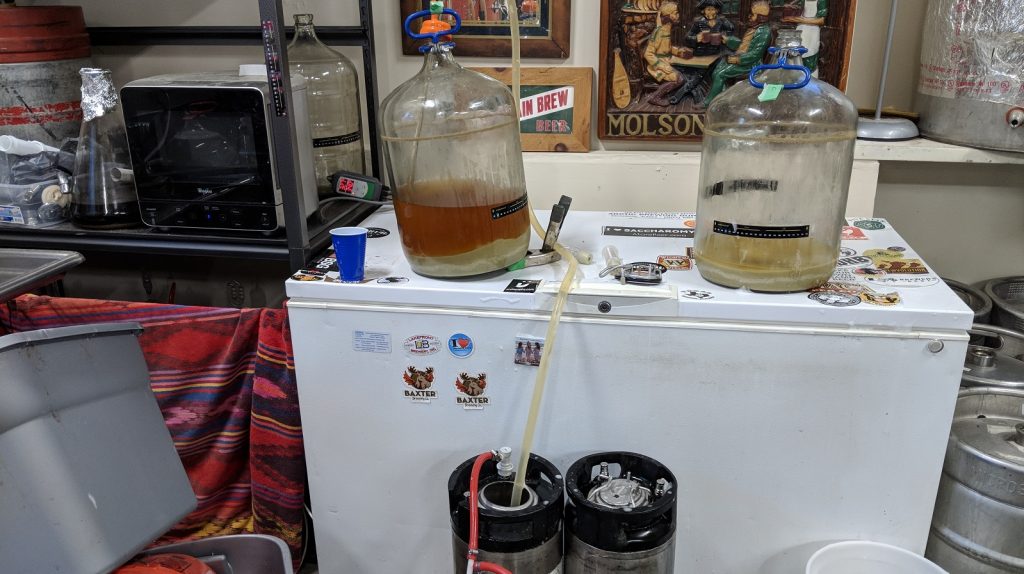
I proceeded with kegging the beers under light pressure.
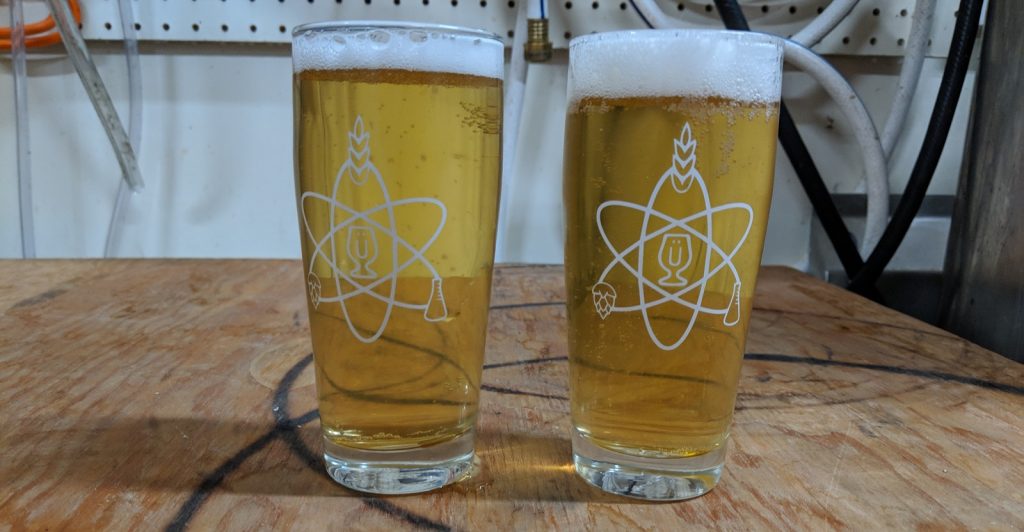
The filled kegs were placed in my keezer for an overnight cold crash, after which I fined with gelatin. Following 4 weeks of lagering on gas, both beers were clear, carbonated, and ready to serve.
| RESULTS |
A total of 24 people of varying levels of experience participated in this xBmt. Each participant was served 2 samples of the immersion chiller beer and 1 sample of the plate chiller beer in different colored opaque cups then asked to identify the sample that was unique. At this sample size, 13 tasters (p<0.05) would have had to select the unique sample in order to reach statistical significance, though only 9 (p=0.41) made the correct selection, indicating participants were unable to reliably distinguish a Pilsner where the wort was chilled with an immersion chiller from one where the wort was chilled with a plate chiller.
My Impressions: I made a total of 12 semi-blind triangle test attempts over 2 separate tasting sessions and only selected the odd-beer-out 4 times, which suggests my performance was no better than random chance. Even prior to being carbonated or chilled, both beers tasted exactly the same to me. As a fun aside, I was able to get my hands on some actual pFriem Pilsner and tasted it next to my version. They were surprisingly similar, so much so that informal triangle test attempts were too difficult for me to tell apart.
| DISCUSSION |
The immersion chiller used for this xBmt is made of copper and was in direct contact with the wort from the last 15 minutes of the boil throughout the 5 minute duration of chilling. There’s some evidence that copper being in contact with wort can reduce the concentration of hydrogen sulfide, a common compound produced during fermentation. Plate chillers are made from stainless steel, meaning wort chilled using such a device never comes into contact with copper and, especially when using lager yeast, could potentially end up with a stronger sulfur characteristic. However, that didn’t seem to be the case in this xBmt, as tasters were unable to tell apart Pilsners chilled one way or the other.
In addition to the material each is made of, there are a few other differences between these chillers I thought might have an impact. Whereas immersion chillers chill the entire batch of wort at the same time, plate chillers chill only the wort that’s flowing through it, leaving the rest to sit in the kettle at near boiling temperatures, which might be presumed to increase bitterness due to continued isomerization of alpha acids. Additionally, since DMS forms more rapidly in wort that’s above 140°F/60°C, the plate chiller batch would have been at a higher risk for this as well. Finally, since plate chillers chill the wort on its way to the fermentor, any cold break that’s formed during the chilling process ends up there too. Not that it has much of an impact anyway.
I speculate that laboratory analysis might show these beers have some quantitative differences, but to the instrument that dictates most brewing practices, the human palate, any impact of the variable was absent. As such, I’ll continue my practice of using the method that best suits my process and equipment.
If you have thoughts about this xBmt, please feel free to share in the comments section below!
Support Brülosophy In Style!
All designs are available in various colors and sizes on Amazon!
Follow Brülosophy on:
FACEBOOK | TWITTER | INSTAGRAM
If you enjoy this stuff and feel compelled to support Brulosophy.com, please check out the Support Us page for details on how you can very easily do so. Thanks!




44 thoughts on “exBEERiment | Immersion Chiller vs. Plate Chiller In A German Pils”
The main reason I switched from immersion to plate is time (around 15 mins quicker) and water consumption (around 50% less). Would have liked to see something about that in this experiment
an immersion chiller with a pump recirculating ice water consumes very little (you can even use it over again), and is very quick as well. Not saying you made a wrong choice, but there are other options if someone already has similar concerns and already owns an immersion chiller 🙂
You can recirculate ice water with both types of chillers, just saying. With counterflow you don’t have to stir the wort to equalize the temperature in it, but also you need a pump to pump the wort through the chiller… so you can use a pump to agitate the wort when using immersion chillers…
What i am curious about is the differences betwen the two types of chiller in regard to the wort contact area. So two chillers (counter flow and immersion) with the same contact area will chill the same volume of wort in the same time (and with what water consumption)?
Similar to Marco but I’ll use 5 or 6 frozen, 2 liter bottles in my water. If it’s summer, i”ll throw in some ice as well. All the water goes in the garden when done or, if winter, I’ll keep it in the cooler for the next time. Couldn’t be happier.
I’ll make sure to record next time – the focus on this xBmt was taste, not function. As stated above, both chill times were in the 5-6 minute range, using equal parts water.
I too would be interested in the actual specific cooling times from anyone. Before I got a chiller I often read reports from folk saying it made things enormously quicker for them, but so far I am not seeing very much improvement. Here is my write up: http://www.kandrsmith.org/RJS/Misc/Chiller/immersion.html. Getting down to the 20-30C range I find a static ice bath doing a roughly comparable job to the immersion chiller. The chiller does allow me to get to a much lower final temperature. A simple ice bath of reasonable volume never got me below about 22C. Among all the various different techniques I have tried (ice bath and immersion chiller), I can get 5 US gal down to 25C (77F) in between 8 to 18 min.
Would have liked to have seen focus on all senses and the times. Aroma, Appearance, Mouthfeel, and Taste. Any off flavors found in either? How long did it take to cool in each scenario and the water consumed. No professional, fro Nano to Macro uses an immersion style chiller. All plate. For many good reasons. Thanks for all you guys do!!
An interesting experiment. I’ve recently switched from a counter-flow chiller and have been happy with the results. I do wonder if you would see a difference in the results if you made a beer with lots of late kettle and flame out hops. This might lead to much higher IBUs and reduced hop aroma in the plate chiller beer.
True, although I’ve started removing my mesh basket when i’m done with the boil to ensure they get the appropriate contact time.
Well, most of the alpha,s are in there already after a few minutes. but not yet isomerized..So this will make a insignificant difference in bitterness.
I like your method of saving a packet of dry yeast by propagating an overnight psuedo starter with the actual beer wort while waiting for the beer to chill to lager pitching temps. What temp is the starter at and do you feel you are getting the right pitching rate?
x2; did you room temp the starter and pitch it to the colder wort or…. ?
Not all plate chillers are stainless plates (mine has copper.). However, all of them are a pain on the ass to clean, require a pump to work quickly, and mine is pretty bad for monitoring temperature. Once you factor in cleaning, they are slower than immersion, at least for small batches. I really wish I had spent the money on a good immersion chiller instead.
Do you not do a cold water high pressure flush in both directions after brewing? Do you not also do CIP (Clean in Place) Boiling and Cleaning (PBW or other) and Sanitizing (Star San or other)? I have not had any problems with my 30 plate. Did just upgrade to a 60 plate to prevent clogging with pellet hops.
Boiling? I’m pretty sure I’ve read that temps higher than like 170F weren’t recommended because proteins become completely solid/baked on.
PBW: “Heat to 130° to 180° F for 30 minutes. CARBON REMOVAL: Use 6 to 8 ounces per gallon of water. Heat to 140 ° F for 4 hours or allow to soak cold overnight. ”
https://ucanr.edu/repository/fileaccess.cfm?article=73990&p=WXCNTN
I’d be curious to know if there was any difference if you used a “standard” immersion wort chiller as opposed to the Hydra. Chilling in 5-10 mins vs potentially 30 could make a difference.
We have done no chill vs. chill, but not slow chill vs fast. We can put it on the list!
Also, from a lot of conversations about plate chillers length is the most significant factor in most small brewing applications. If you’re using the Therminator, compare that to a B3-52A or better yet a B3-95A. The latter I’ve seen in use at quite a few 3BBL Microbreweries here in WA.
In addition being able to speed up the flow of water and/or decrease the temperature of the water can make a big difference… whether practical or not.
What’s going on with all the 10 min additions of the same hops?
I think you’re looking at the 10 minute aroma additions vs boil additions. I’m guessing he put them in at flame-out and let steep for 10 minutes?
Correct!
My understanding is that when larger batches take a long time to knock out through the plate chiller the hot wort has dms creation potential.
Or more isomerization of the aroma hops. I usually on read about this being an issue on Pro Brewer with production breweries having to slow their wort chill rate due to a improper chilling process or plate configuration.
Those are some of the concerns we had going into this experiment, but it didn’t seem to be an issue here.
Thanks for trying this. 2 things,
Do you use any sort of bag or strainer to keep the hops out of you plate chiller? I don’t really like any of the solutions I’ve used with my plate chiller so I’m always looking for tips on that. (Trub trapper doesn’t work good enough & it retains a bunch of wort, hose braid strainer clogged, BIAB bag is a pain to clean, disposable bags reduce hop contact too much.)
Also, are your propane tanks in water baths to keep them from freezing up? I have trouble with that in the winter.
Cheers-
I used to use a bag but now I use a stainless mesh container to keep my hops and material out of the plate chiller.
Propane tanks are in baths to help keep them warmer as they freeze up when sending out so much gas.
Where can one purchase these?
Hop spider in the boil kettle. Works perfect. Nothing but clean water come out when i flush it
Will there be another comparison done utilizing a CFC instead of plate chiller?
I have several questions. Was the immersion chiller water simply tap water or ice bath? What was the tap water temp used for the plate chiller? Considering both racking and chilling time how long does the total process take for immersion chilling versus counter flow? I recall concerns of too much copper being dissolved by using immersion chillers and having an impact on fermentation and also being a health risk of getting too much copper. Any comments on these concerns? Lastly where does the 145 F number come from for DMS? I read it is more like 165F.
THanks.
Tap water!
~45F is my tap water in winter, didn’t measure this one.
I personally didn’t have an concerns for too much copper.
I don’t have a scholarly source for you right now, but most the literature I’ve read actually states DMS is produced at temperatures above 140F. I’m thinking it was from Milk the Funk, Scott Janish, and a few others. I’ll see if I can find some later!
Five minutes with the Hydra? Damn! My new to me chiller is 10-15 and I thought that was super fast.
How about a repeat with my old little immersion chiller that took a solid 50+ minutes to even get close to racking temp… let alone pitch temp. I kid, because honestly, I don’t think it made a difference in the long run. Without doing real tests (exbeeriments), I made some pretty great beers with that slow chiller… it just added an hour to the brew day.
I’ve got 45F groundwater, it definitely helps!
Haha, I’ve gotten rid of all the old IC’s!
The hop schedule is poorly worded/laid out. Also, are you really putting 0.8 g of Tettnang in? Why bother?
Should be 14g, like the rest. “10 min Aroma” refers to Whirlpool/Flameout.
Thanks again for another xbmt.
I really wish you had done/could do one using a counter flow or immersion versus cubing as this is where there seems to be a huge amount of varying oppinions and cubing is very popular here in Australia.
Cheers
I was always taught to worry about DMS in a certain temp range. I remember the numbers being like below 190 and above 150F. I don’t have any textbooks to support it but the idea was DMS is still being driven off faster than it forms at 190F.
I love reading these experiments. Great job! Your decision to the craft is very much appreciated.
One advantage of an IC is that you can cool the wort down to between 160F – 180F for a whirlpool charge of hops. It’s a great way to impart a ton of hop aroma on the hot side with very little, if any, isomerization. Can’t easily do this with a plate or CF chiller. All these types of chillers have their place. But ultimately I had to choose one, and it was the Hydra. No regrets!
A similar effect (perhaps superior?) can be achieved with a hopback, which is only applicable to CF/Plate.
That said, I’ve switch to brief boil, no-chill, “cube” bittering, no-sanitizer, no-transfer using corny kegs with floating dip-tubes. I don’t see myself going back.
A large commercial brewer that I’m familiar with (25-or so years ago, anyway), has a cold settler downstream of it’s wort coolers. I’d be curious about the effects of settling the cold break material vs. not. Obviously it’s something that they think is important, at least for a beer that doesn’t have a whole lot of hops added.
Just an FYI, this statement is not accurate…
“wort chilled using such a device never comes into contact with copper.. ”
Most plate chillers for used in homebrewing use copper brazing. The exception would be a nickel brazed version. In the not too different past I questioned one of the largest sellers of these chillers to us homebrewers about this very issue, and after that conversation I am 100% confident the wort comes into contact with this brazing material.
It is a small amount when compared to the immersion chiller chosen for this brew day, but the fact is that the brazing material does contact the wort.
I’d be interested to see this experiment repeated without gelatin finings and lagering. Differences in chilling methods are alleged to be related to differences in clarity, but the gelatin and lagering might iron that out.
Agree. Also, I would like to see a beer with more late additions, a hefty whirlpool and no dry hopping. My biggest concern – above DMS formation – is increased isomerisation and resultant bitterness along with loss of aroma and flavour compounds.
Are you whirlpooling the wort with the immersion chiller. Just wondering if that additional activity would change results versus a static cool.