Author: Brian Hall
Brewing beer is a relatively time intensive process, which is a commonly cited reason some people aren’t able to brew as often as they might like. While there’s little one can do to get around certain aspects of brewing such as preparation and packaging, there’s been quite a bit of focus lately on ways to break up the amount of time required to make a batch of beer. We’ve shown over numerous Short & Shoddy brews as well as a previous xBmt that reducing the mash rest by 30 to 40 minutes doesn’t seem to have an impact on beer flavor, though there’s some evidence it leads to less conversion. For the hobby brewer with a busy schedule, this is one way to squeeze in more brewing, though there is another option that’s been getting some attention lately.
I’ve been performing extended mash rests, sometimes overnight, for a few years now, an approach involving mashing in one evening then collecting the wort and finishing the brew the next morning. Advocates laud this method for allowing them to break up their brew day while having no negative impact on their beer. However, overnight mashing has its critics as well, those who claim it produces lower quality wort due to the natural loss of mash temperature, which can lead to over-conversion and ultimately a thinner bodied beer.
For the homebrewer relying on a kettle or converted cooler MLT to mash in, the temperature can drop anywhere from 2°F/1°C to 8°F/4°C over the course of an hour. Obviously, stretching the mash rest out by 10 or more hours results in an even more drastic drop in temperature, but does it really lead to a beer that’s noticeably different than one that’s mashed under normal circumstances?
| PURPOSE |
To evaluate the differences between a beer that was mashed for an extended amount of time (15 hours) and one that was mashed for the standard 60 minute rest.
| METHODS |
I chose a simple Pilsner recipe for this xBmt to allow any differences in the variable to shine.
Despacito
Recipe Details
| Batch Size | Boil Time | IBU | SRM | Est. OG | Est. FG | ABV |
|---|---|---|---|---|---|---|
| 5.5 gal | 60 min | 31.6 IBUs | 3.9 SRM | 1.049 | 1.011 | 4.9 % |
| Actuals | 1.049 | 1.011 | 5.0 % | |||
Fermentables
| Name | Amount | % |
|---|---|---|
| Pilsner (2 Row) Ger | 9.5 lbs | 95 |
| Munich Malt | 8 oz | 5 |
Hops
| Name | Amount | Time | Use | Form | Alpha % |
|---|---|---|---|---|---|
| Tahoma | 16 g | 60 min | Boil | Pellet | 6.9 |
| Tahoma | 25 g | 20 min | Boil | Pellet | 6.9 |
| Tahoma | 30 g | 5 min | Boil | Pellet | 6.9 |
Notes
| Water Profile: Ca 69 | Mg 0 | Na 0 | SO4 74 | Cl 68 |
Download
| Download this recipe's BeerXML file |
The day before starting the overnight mash, I RO filtered my brewing liquor and adjusted it to my desired profile.
The following day, I began heating the water to strike temperature with my heat stick in preparation for an evening mash in.
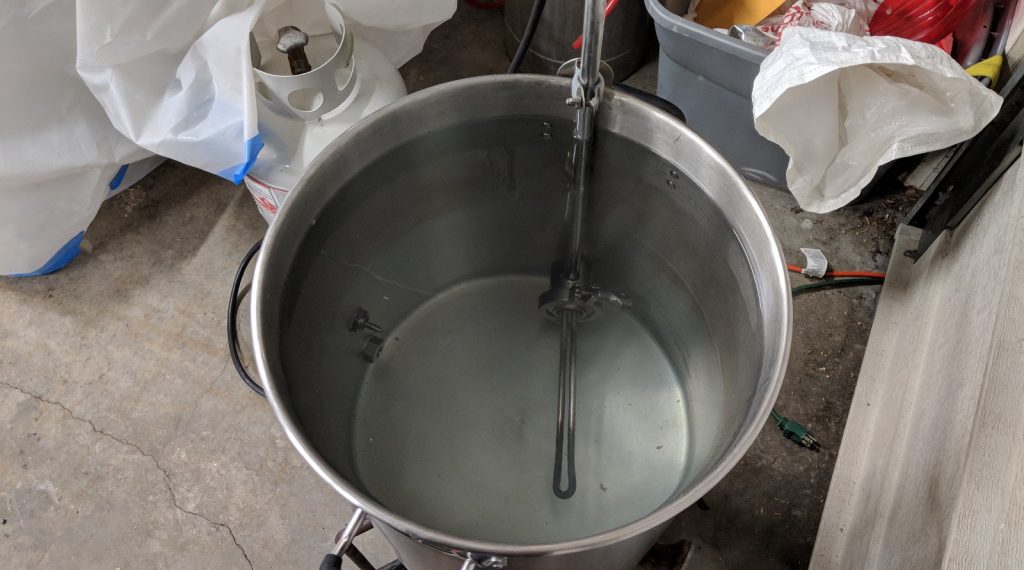
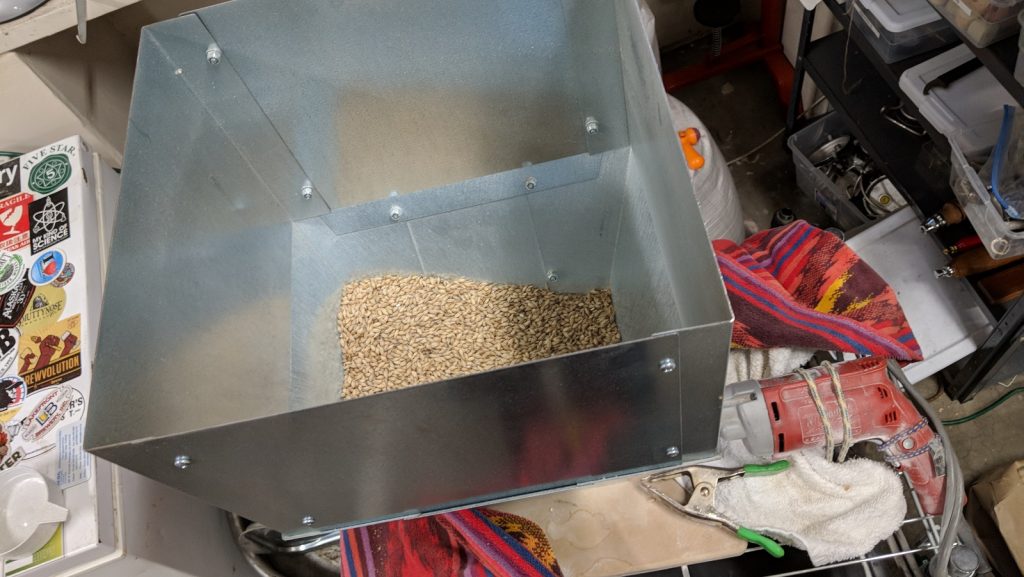
As the water was heating, I weighed out and milled the grains for both batches.
Once strike temperature was reached, I mashed in and gently stirred to incorporate the grains before checking my mash temperature was correct.
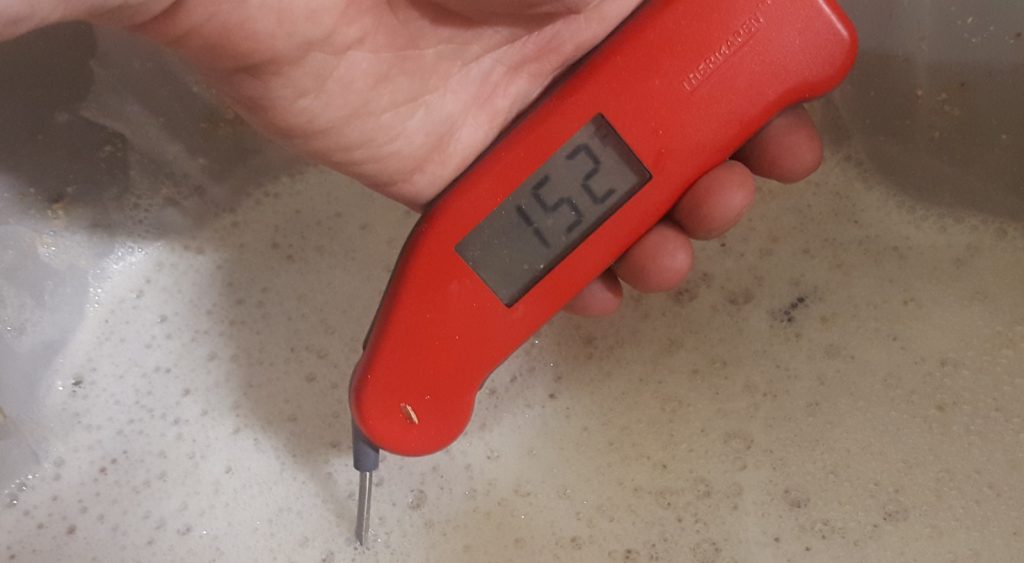
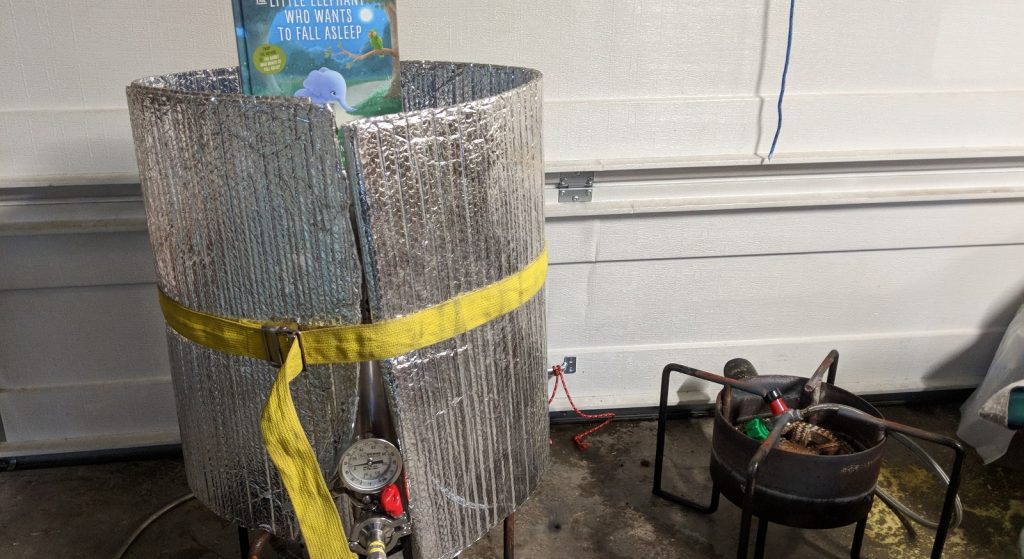
And that was it for this portion of the brew day, it took all of 20 very hassle-free minutes. I wrapped my mash tun with insulation to preserve as much heat as possible then ran in to read a bedtime story to my son.
The next morning started like any normal brew day with the heating of RO water I’d collected the previous day and adjusted to the same profile as the other batch. After mashing in, I checked the temperature of the overnight mash batch and found it had dropped a whopping 82°F/46°C over the 15 hour saccharification rest. Meanwhile, the 60 minute mash hit the same original target temperature.
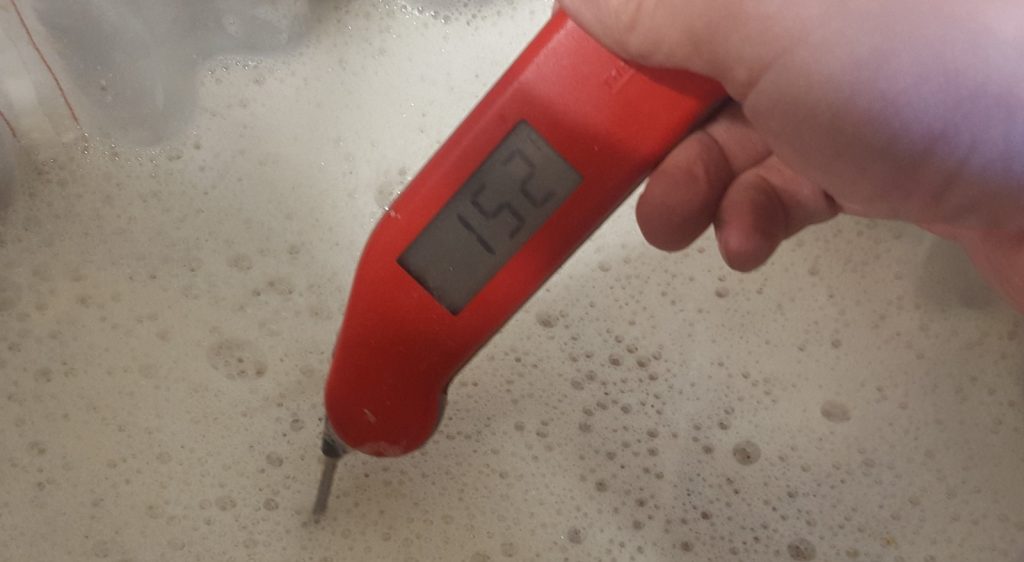
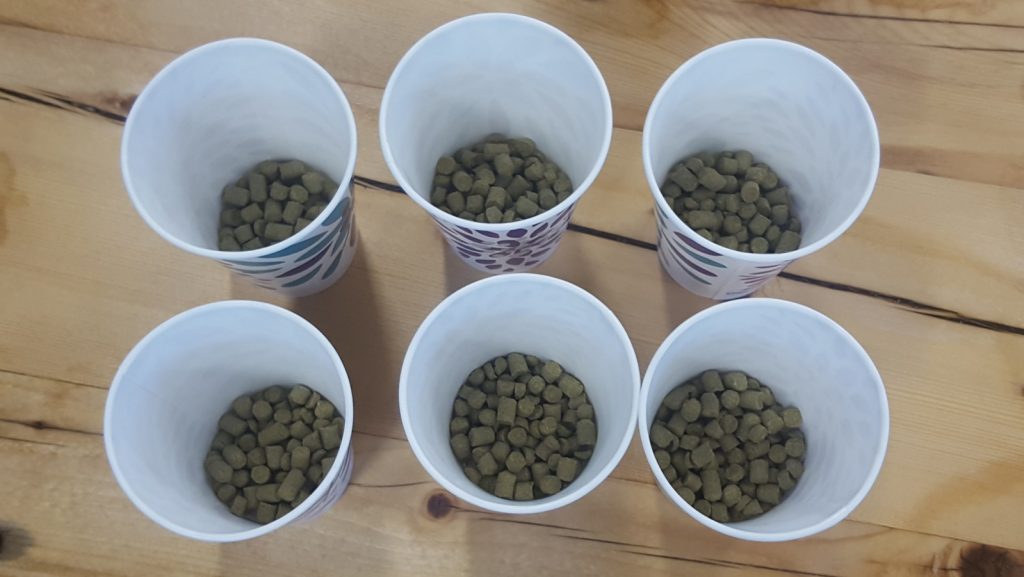
From this point forward, both batches were treated identically. I removed the grain bags from each kettle once the 60 minute mash was complete then hit the flames under each, measuring out hops while they were heating.
Given the lower temperature of the overnight mash wort, it came to a boil 15 minutes after the 60 minute mash wort. Both worts were boiled for an hour with hops added per the recipe.
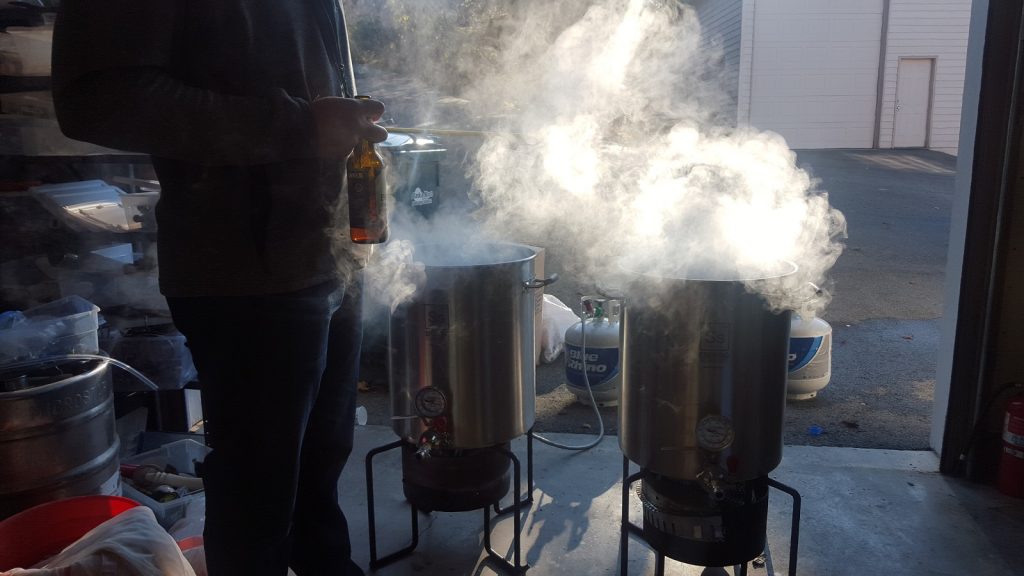
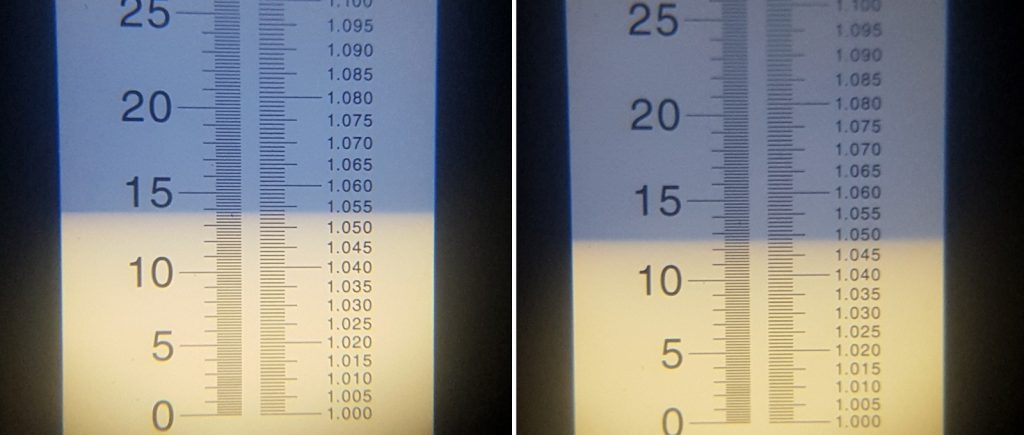
At the completion of each boil, I quickly chilled the worts to my target fermentation temperature of 50°F/10°C before taking refractometer readings showing the overnight mash wort had a higher OG than the 60 minute mash wort.
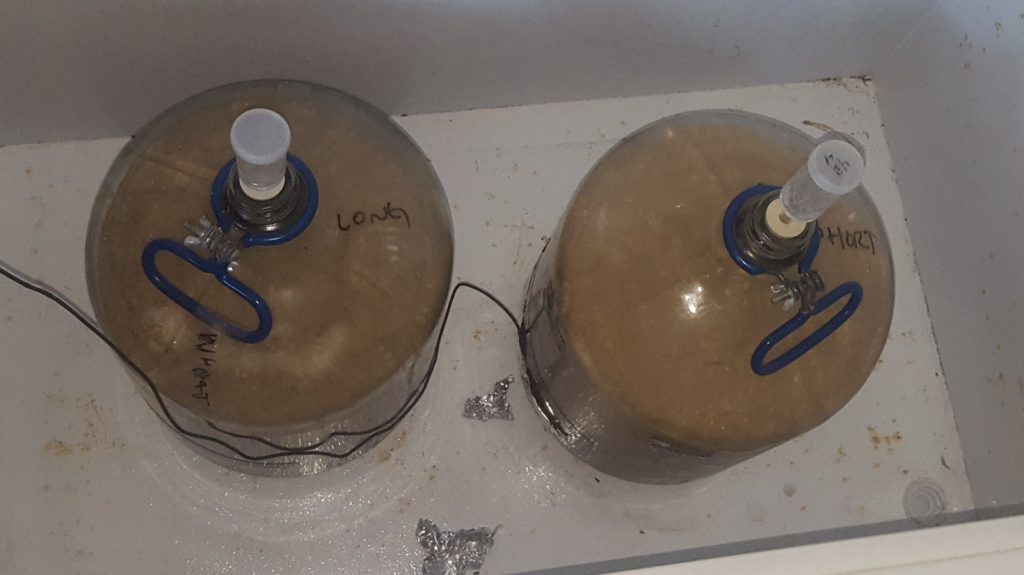
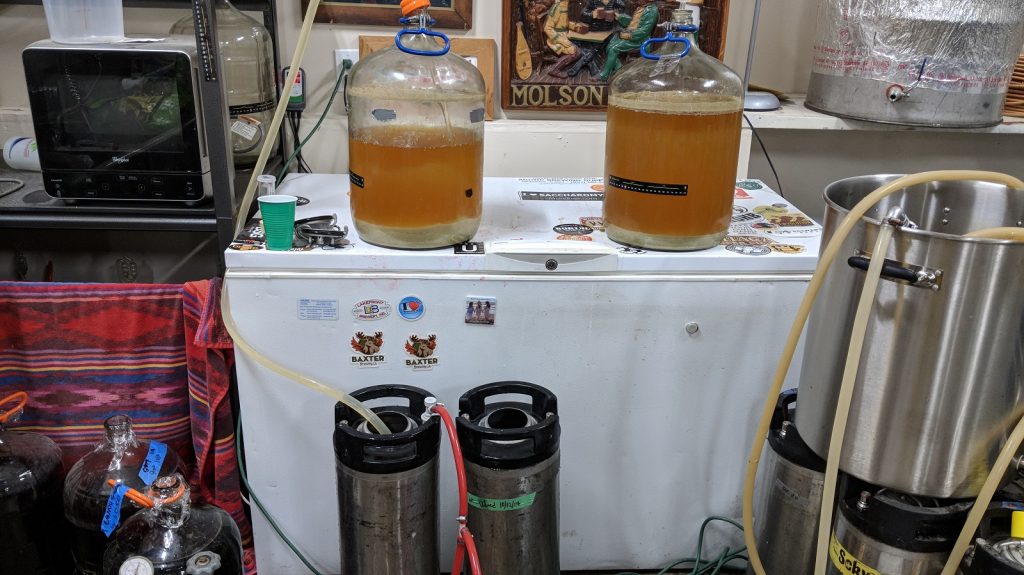
I racked equal amounts of each wort to separate 6.5 gallon glass carboys that were placed in my temperature controlled fermentation chamber.
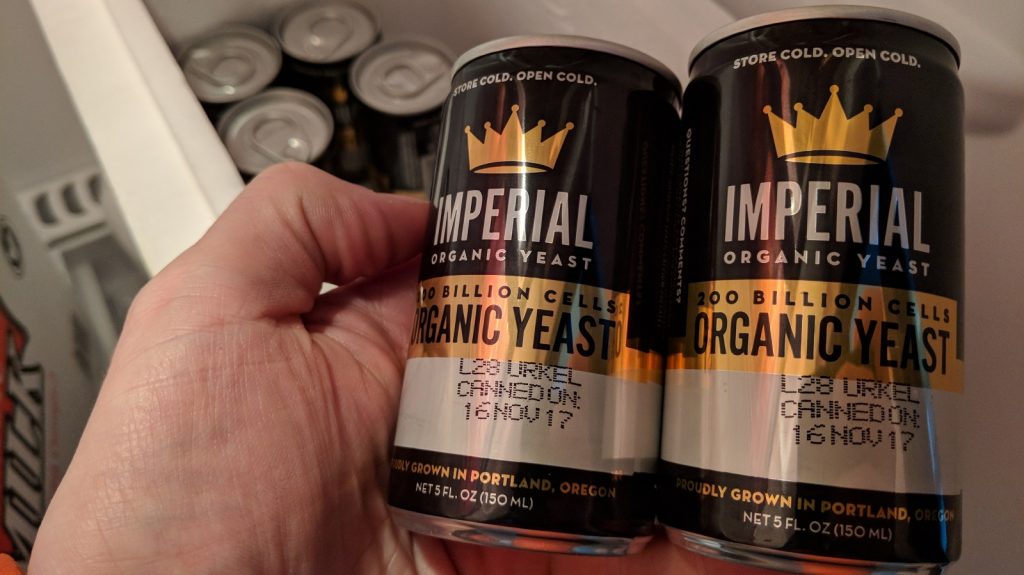
Each wort was then pitched with a single can of fresh Imperial Yeast L28 Urkel.
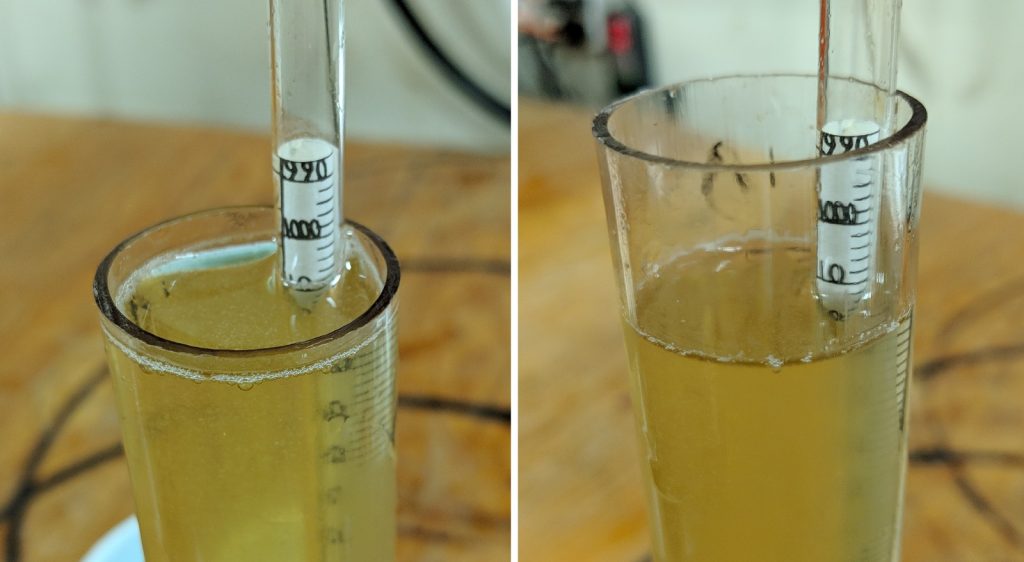
The beers were showing similar signs of fermentation within 16 hours. After 3 days of activity, I gently raised the temperature in the chamber to 62°F/17°C then left them alone until fermentation was complete. Hydrometer measurements after 16 days total revealed the overnight mash beer dried out slightly more than the 60 minute mash beer.
I then kegged the beers.
After a brief cold crash in my keezer, I fined the beers with gelatin then let them lager 4 weeks on gas before serving them to unwitting participants.
| RESULTS |
A total of 22 people of varying levels of experience participated in this xBmt. Each participant was served 2 samples of the overnight mash beer and 1 sample of the beer mashed for 60 minutes in different colored opaque cups then asked to identify the sample that was unique. At this sample size, 12 tasters (p<0.05) would have had to select the unique sample in order to reach statistical significance, though only 8 (p=0.46) made the correct selection, indicating participants were unable to reliably distinguish a Pilsner made using a 15 hour mash rest from one made using a more traditional 60 minute mash rest.
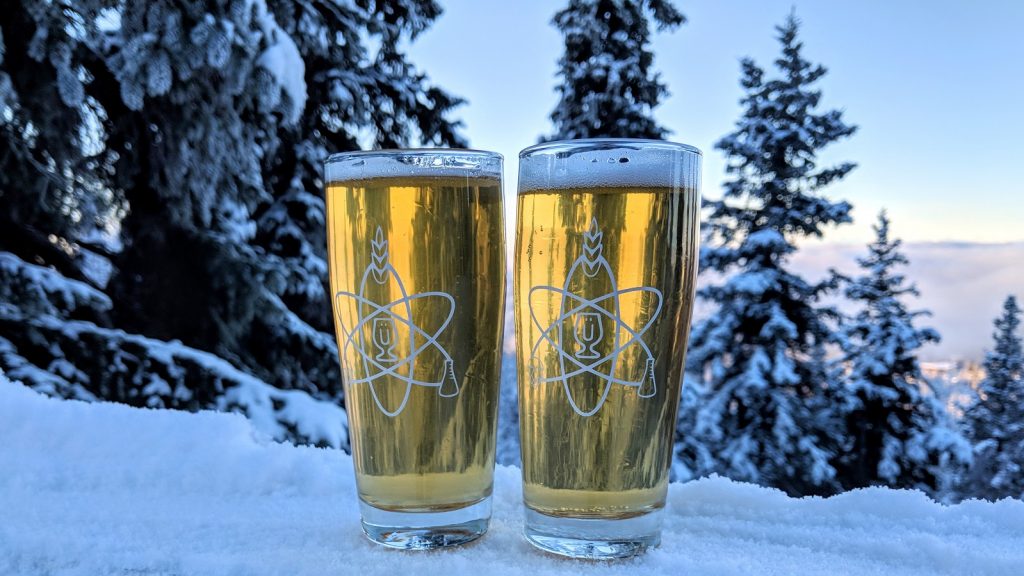
My Impressions: These beers tasted the same to me over the course of several weeks, regardless of temperature and carbonation levels. After pouring several samples, I noticed the overnight mash beer had almost no head retention. Even after a quick swirl of both beers, the head on the overnight mash beer fell off within 10 to 20 seconds. I was only able to select the odd-beer-out 2 out of 7 attempts, which is right in line with random chance. Knowing the variable, I expected I would have been able to notice a mouthfeel difference from the drier beer, but that was not the case, as both beers tasted smooth with a crisp finish. It’s always great to have a simple Pilsner on hand!
| DISCUSSION |
Given what we’ve all been taught about the mash, it seemed plausible a significantly extended saccharification rest might produce a noticeably different result than a 60 minute mash for a few reasons. Maintaining a stable mash temperature for so long would be next to impossible for most homebrewers, leading to a fairly dramatic drop that could be posited to not only produce a thinner bodied beer, but increase the risk of lactobacillus growth. However, the fact participants in this xBmt were unable to reliably tell apart a beer mashed for 15 overnight from one mashed for 60 minutes, providing some support for those who have using the method with success.
The sensory data may have shown no perceptible differences, but there were some objectively measurable differences between the beers. Perhaps as a function of the longer mash rest, not only was the OG of the overnight mash beer slightly higher, but it also finished with a lower FG, leaving it about 1% ABV higher than the 60 minute mash beer. If this was due to some wild microbe, it didn’t throw off any noticeable aroma or flavor compounds, leaving me to believe it was most likely due to greater extraction.
I can’t say I was completely shocked by these results, I’ve performed many overnight mashes without issue, but the fact neither tasters nor I could distinguish the ABV difference in such a light beer did spin my wheels. In the end, mashing for extended lengths is likely something I won’t be doing often, mostly because of the exBEERimental nature of my brewing these days, but I definitely see it as a viable method for turning a single long brew day into a couple shorter sessions.
If you have thoughts about this xBmt, please feel free to share in the comments section below!
Support Brülosophy In Style!
All designs are available in various colors and sizes on Amazon!
Follow Brülosophy on:
FACEBOOK | TWITTER | INSTAGRAM
If you enjoy this stuff and feel compelled to support Brulosophy.com, please check out the Support Us page for details on how you can very easily do so. Thanks!




63 thoughts on “exBEERiment | Mash Length: Overnight vs. 60 Minutes In A German Pils”
Thanks for this Brian. Another really useful xBmt. This is something I’ve started doing for time management reasons and something I have found in my dark beers using roast malts is a more pronounced roast character and a little astringency. Therefore maybe a repeat of this with a stout would be a good xBmt going forward. I could be imagining it or using too much roasted barley! Cheers
Cheers! Next time I’ll try a stronger beer, but for now didn’t want anything to hide.
In a similar vein, not just a darker beer, but a beer that’s supposed to have much lower attenuation.
It’d be interesting to see if the drop in temp overnight favors enzymatic conversion to fermentable sugars or non-fermentable sugars (e.g. beta- vs. alpha-amylases).
Or, maybe it still won’t matter if most of the enzymatic activity has petered out by the time the mash temp starts dropping.
Leave the roasted and dark grains out until morning. Stir them in, recirculate and boil. Or you could try cold steeping them. Either way there is plenty a ways to manipulate that.
You could also steep the darker grains instead of including them in the mash and it wouldn’t really add any time to the brew day.
Thanks, very interesting to see this experiment as I often mash overnight. The results support my own finding that efficiency is 5-10% higher after an overnight mash. Although I’ve often read the mash is complete in well under an hour, my own experience is that it the amylase enzymes keep working for much longer than an hour.
Note that the lower FG is not necessarily an additional effect as it could be a direct consequence of the high OG – a 1% increase in alcohol will lower the final gravity, all other things being equal.
Temperature loss is a lot less if you use a picnic cooler mashtun and throw a couple of blankets of coats over it. when I mash overnight the temp is usually around 135 F in the morning, so still high enough to ward off any bacteria. Mash temp is close to pasteurization temps, so the risk from bacteria is, I think, minimal even if temp drops a lot more.
Very interesting that the beers tasted similar despite measurable differences in the gravity and abv. This makes me more inclined to continue mashing overnight.
The main advantage of overnight mashing to me is the time saved by doing prep etc. the day before, making the brew day only 2-3 hours. If you also skip the sparge and vorlauf and do a 30 min boil, you can make great beer very quickly without cutting any corners.
Great points. Going to try them.
Very good! I’ve cut my boil time down quite a bit by adding a small amount of wort in my Instant Pot pressure cooker. I put the 3 cups of wort in the SS inner pot and put on the cook stove and bring it to a boil. Faster than the Instant Pot, then I add a nylon bag of hops and place into the Instant Pot and set for 15 minutes on High. After that is done, I add the wort to the main kettle.
Sounds interesting! I’ve been hearing a lot about these instant pots lately…! What is the goal behind pressure cooking the wort?
I wanted to see if I could get the hop bittering isomerization in a shorter amount of time. It also would be of great value to someone in Denver, CO, Cheyenne, WY, even NW Nebraska, at 3700 foot elevation to have a way to get consistent boil temp on their hops. Hop wort boiling is depending on atmospheric pressure and that is affected by elevation. However, in side a pressure cooker, it is always 15 pounds, no matter if you are at 650 feet, like here in Fennville, MI, or Denver CO at 5280 feet elevation. Outside it’s still whatever the atmosphere pressure is, but inside that pot it is 15 PSI, and the heat it takes to cause it to boil and pressurize is hotter inside than just an open kettle boiling.
I’m looking at making a Dry Irish Stout and using long extended mash to get the fermentables up are of particular importance.
That’s a good point. Maybe there are two efects:
1. Any more intensive mashing (longer, more temp rests, more stirring, decoction, etc.) can free up more starch from the endosperm and increase conversion efficiency. If this happened, you might see the effect of this in higher apparent attenuation.
2. While conversion of starch to sugar can be complete in as little as 15-20 minutes, continued saccharificaton (breaking longer chain sugars into shorter chain sugars) can continue until alpha- and beta-amylase are denatured, or there is nothing left to further break up. You might see the effect of this in higher apparent attenuation.
My garage hovers in the low to mid 50’s during winter (probably colder by the door) and I insulated with reflectix. For this xBmt I was fine letting it fall even lower, I really wanted to put this to the test and see what differences were noticeable under less than ideal circumstances.
Echoing the efficiency jump, I accidentally hydrated my grains with room temperature water (just the amount that I calculated the grain would absorb, no temperature changes) the night before brewing and my usual 68% efficiency shot up to 82% when I mashed it the next day.
I tried it again with the next brewday, but I didn’t have the full volume of treated water I need to meet the calculated grain absorption, so this was maybe about 70% of what I would have hoped to add. Still, I ended up with 75% efficiency.
How about head retention? Any difference?
FWIW, I haven’t seen any difference in head retention between overnight and 60 minute mashes.
Very interesting to see these results! I’ve done overnight making a couple times and have noticed the beer coming out drier than normal. I’ve tried compensating by mashing in higher. That seems to work okay. What surprised me was the higher OG.
I’m curious though why the head retention was so poor as I do enjoy a good head on a pint.
I’ve done overnight mashes many times- my first all grain brew mashed overnight- with good results. To compensate for the cooler mash, I usually sparge hot(180+ F) with water acidified to pH 5.4.
That’s pretty hot, any flavor differences?
I’m extremely interested in mashing this way, and the idea of a higher OG and lower FG doesn’t bother me a bit as I love higher-alcohol, dry beers. However, the head retention issue is a bit concerning. Do you think it could be alleviated by adding some Carapils/Carafoam or maybe flaked barley would counter that?
I’m not sure I’m ready to draw conclusions on head retention based on one extreme xbmt (15 hour mash!)
I do a lot of extended mashing (typically 4-8 hrs). I haven’t done a side-by-side comparison, but none of my beers have had notably poor head retention. I don’t have specific stats, but probably over half my competition beers over the last couple years have been extended mashed, and I think I’ve gotten 3/3 on appearance on all of them (certainly the vast majority of them).
As far as adding carapils/carafoam, there are a some suggestions from qualified people that they are not necessarily foam-positive, and others that say it helps with head retention.
Yeah, I’m not sure what is going on with the head retention, both beers were carbonated, fined, etc., exactly the same. With my new setup I don’t need to do as much break-up of my brew day but I would like to do another version of this xBmt in the future!
Thank so much for taking the time to do the experiment and for sharing your results. Much appreciated.
Three comments 🙂
1. The mash temperature drop or lack of drop should be part of your research plan; experiments must be reproducible. As a side comment, the logical step would have been to maintain the mash temperature overnight, so that you have only one variable to test (ie, length of mash) instead of a combination of time and temperature drop.
2. If testers cannot detect as a group a 20% difference in abv, an investigator has to wonder whether human is a valid tool for testing differences (or whether number of testers is too small).
3. You may have not noticed the relevance (given you are not discussing it specifically) but you have come across an interesting observation, which is that some/all of the proteinases (proteinases, endoproteases, endopeptidases, etc) can be renaturing and breaking down your foam. It is possible also that the extended mash is freeing foam-negative particles. Whatever it is, it seems that the next step on this experiment is to check whether you get similar results when the mash temperature is maintained overnight.
Cheers 🙂
Your feedback is valued as always lupulus! I didn’t do this one but figured I’d take a stab at a response. Also, hope you had a good holiday dude, filled with delicious homemade pretzels.
1. From a scientific standpoint, I agree here. The reasoning behind allowing the drop is to replicate practice, rather than validate theory. Most, if not all, of the overnight mash temp practitioners I’ve talked to aren’t maintaining their mash temperatures, they’re mostly using coolers. So ideally, this xbmt more closely represents what actual homebrewers are doing out in the field, a descriptive approach to the test design rather than a prescriptive one. I think your point stands. With this xbmt in place, there’s room for an additional test that isolates the length of the mash.
2. Many of the stats individuals we’ve talked to (and I believe the ISO) have eighteen as the minimum viable sample size for blind triangle testing, specifically looking to differentiate difference, not similarity. It is possible that with a larger sample, the result would be different. I would love if we could get more people, but there are some logisitcs there. As to the first part of your comment, the human palate is precisely the correct tool for these tests. The xbmts are never (at least almost never) about “Is there a chemical difference between these beers”, it’s “can human beings reliably distinguish the beers”. With that goal, anything other than the human palate would be a poor tool. I’m with you on sample size for sure, and there is validity in exploring alternative testing methods to triangulate data approaches, but the instrument is exactly as it should be.
3. Absolutely love that point, I think there’s a lot of value there and it opens up a lot of room to explore varying mash lengths. I think you’re next step listed is a good one.
Cheers dude! Hope this at least clarifies the thought behind the xbmt, and that I do read all of your comments and value your feedback.
+1 Matt, well said
1. I agree with Matt Del Fiacco here. I’ve done some mini-mashes with 2-Row in a large temp controlled crock pot where I compared 4 hour and 60 minute mashes. The mash temp was stable at 152°F as much as possible. I still saw some greater extraction and lower FG (in forced fermentation). There wasn’t enough wort to make a valid beer worth packaging for sensory, nor did I test head retention. For some technical reasons, the partial results were lacking controls, and I abandoned the experiment, in hopes of getting some technical support in the future from Rahr, for a future poster presentation.
2. I also believe humans are the proper measurement tool because ultimately beer is a hedonistic beverage with limited nutritional benefits (other than calories). Maybe larger sample sizes are needed. But certainly, science needs to be repeatable, so what we really need is replication of the xbmts.
3. I’m not ready to declare that overnight mashing leads to poor head retention — even though I’m sure the homebrewing community has already taken this as gospel as of 6 am today. As I said in another comment, I’ve done many extended mashes between 4-8 hrs, and while there haven’t been any side-by-sides, I haven’t see poor head retention and neither have BJCP judges noted that. The 15-hour mash with an 84°F drop in mash temp is an extreme case, compared to a 4-hour mash in my kitchen or warm garage that loses 8°F while I take my kid to his Saturday morning activities.
The other interesting things about proteolytic activity are:
(a) the top of the ideal range for proteinases/proteases is 130°F per Palmer, so you’d expect that by 152°F they’d be past their denaturization temp;
(b) with extended proteolytic activity, not only would you get a lot of medium molecular weight proteins (head-positive), but over 15 hours you’d think you’d end up with a lot of medium molecular weight proteins (cause chill haze) — so now I wish the beer hadn’t been gelatin-fined; and
(c) it would be interesting to do this same xbmt at 5.7 pH (room temp), so that the pH at mash temp would be above the 5.3 pH that is within the ideal range for proteolytic activity.
Thanks for the response. I think Matt and Chino touched on most of my thoughts as well. The goal was to see what would happen when using normal homebrewing practices, and while I know many people who have the ability to hold temperatures for extended periods of time, I think it would be safe to say the majority of brewers do not have that capability.
The head retention was actually an observation several days ago. As I was going through my photos for the article, as well as beers I was sampling I noticed the head falling off much quicker in the overnight mash. That wasn’t to say it was non-existent, but the standard mash had a thick head which lasted quite a while. I’d love to replicate with a maintained temperature, however I do not have the capability currently.
Why not choose a beer with a lot of body for this experiment? You mention at the beginning the main reason people shy away from overnight mashing is because of potential loss of body
I wanted it to be as simple as possibly to let any differences shine. If I’d chosen a bigger beer with lots of body, that might have also hid attributes of the beer. There’s always next time. Cheers!
Another good xbrmnt. I have to wonder if a full volume no sparge in a cooler would perform similarly. I generally lose about .5 degree Fahrenheit per hour when I’m full volume in the cooler. Im sure i could deal with a 7 to 10 d temperature loss… Sounds like another one I’ll have to try.
When I mash overnight, it’s nearly always full volume no sparge. Combining this with a long mash works great. The higher thermal mass means the temp holds up better. By the morning the grain bed has settled very well and the wort turns clear quickly, hence no need to vorlauf if you open the tap slowly.
This was full volume no sparge! 🙂
Besides using a cooler, which has less heat loss, a remove a portion of the wort, heat to a boil, then mix it back in to return the mash to original temperature prior to sparge. It helps to loosen up the sugars.
Out of curiosity Brian, did you measure the PH of the overnight batch in the morning vs the one at the end of the one hour mash? If any lacto was growing it should show as a difference in PH (though below flavour threshold).
I didn’t, and its the one regret I have from this xBmt. I may try doing a mini mash to see how pH changes.
I haven’t done an “overnight mash” per say but I have mashed the night before, then raised my temp to 180. Cover and wrap the brew kettle over night with great results. Not sure if there is an Xbrmnt there or not but this was a nice read. Its always nice to have some reassurance.
I have a HERMS system so when I mash overnight I have been maintaining 152F overnight. The beers I have made mashing overnight have tasted fine. I would like to see this Xbrmnt repeated with a steady temperature maintained in the overnight batch.
Sounds like you’ve got the setup! If you do an experiment like that I’d love to hear about it. I don’t have the capability right now.
Do you run your pump all night then? or does it just sit in the mash water?
So happy to see this method getting some love. It’s great for those of us with kids or a busy schedule. I’ve done overnight mash quite a few times and researched it significantly before trying. I mash in 3-4 degrees hotter than I would for a normal 60 minute mash to compensate for more fermentable sugars being created at lower mash temps when the mash cools.
I also mash in a cooler, I use a my smaller cooler for 10 gallon batches so the coleman extreme 50Qt cooler is full to the brim, I then seal the cooler with saran wrap, then a ratchet strap, then a sleeping bag around the cooler. I typically drop only 8-10 degrees in 12-14 hours depending on the ambeint temp in the garage.
With these methods my overnight mash beers finish at the FG and taste the same to me as the same recipes made with a standard 60 minute mash.
That sounds like a good setup. I generally don’t do overnight mashes anymore, so my setup isn’t quite as tight as it sounds like what you have. Cheers!
I’ve been doing a “broken up brew day” for a little while now. On my second day (which is actually late at night) I mash in for standard 60 min, then sparge and Vorlauf and let the wort sit in the kettle overnight, then boil the following evening for “day 3”. Haven’t had any issues with infections or anything, but it gets around the issue here by still having a 60 min mash. I still fly sparge and Vorlauf cuz, you know, that’s how I learned to do things 🙂 But all in all, the broken up brew day works.
I am all for splitting up the brew day and finding ways to maximize time in a busy family schedule. Like others have commented, there is a slight tweak on this that not only splits up the brew day but also divides it slightly more “evenly” without any possible undesired change in an extended mash.
– Produce and collect the wort then hold over night. You can clean out the mash tun that night or save it until the next day.
I’ve done this dozens of times with no ill effects. It takes around 2 hours to produce/collect the wort, and another 2.5-3 hours or so the next morning to boil, chill and clean up. After collecting the wort I cover the brew pot with a bunch of blankets. It’s usually in the 130’s F in the am so still pretty hot.
This is merely a slight tweak to actually leaving the mash “going” all night. That always seems like it could possibly be a bad idea, even though this experiment would say the difference, while there, is not noticeable.
Cheers.
I first heard about overnight mashing from Don O! However, I would think that separating the wort from the grain and holding just the liquid over night would result in less thermal mass, and thus a quicker cooling rate. Just a thought.
When I did it I did lauter first. Then i brought it to a boil and left it to sit.
Agreed. A few times I’ve fed hot wort directly into the carboy and let it cool down overnight capped with a 2-way airlock filled with vodka. The heat sanitizes the carboy and you can just wait until the next day to aerate and pitch yeast. I’m not worried about it being contaminated because it’s hot most of that time, but also the surroundings are very clean and the air that gets sucked in gets pulled through 40% alcohol solution. The chances of contamination are slim.
I’d be worried about melting my PET carboy, or exploding my glass one. How do you get around these problems? I’d be all in on not having to sanitize the fermenter and not have to chill!
I wouldn’t do it in a PET carboy, of course. It doesn’t seem to stress the glass carboy one bit. I’ve only done it a few times, but I wouldn’t be worried about it if I did it again.
Great Experiment ! Did you consider to combine the overnight mash with No Chill process ?
It occurs to me that with a big oven I could do a half-size batch overnight, putting in the pot with the grist and water at room temperature and setting the oven to 170º F. I imagine that the temperature profile would be a several hour-long ramp. It would be the ultimate lazy man´s mash-in and mash-out. Supposedly a famous Saison is made with this sort of profile. Has anybody tried this technique?
If you do a rest anywhere between 110 and 130 F, you’ll probably find that your head retention is gone because this would be a protein rest and the proteins that help head retention have been broken down by protease/peptidase. So if your temperature went as low as 125 F and sat there for a while, then that may be the reason your head retention was bad. I learned that the hard way after doing rests there because I thought it would lead to clearer beer. It didn’t, but it sure killed any and all head retention. So I never even let grains see water below 140 F anymore.
Here: http://howtobrew.com/book/section-3/how-the-mash-works/the-protein-rest-and-modification
This explains things quite well.
I’ve not left the grain in the mash tun overnight but like others… I remove the grain and let the wort cool while I do other things for a few hours or in some cases overnight. I’ve done it several times to break up the brew day. More and more I’ve been shortening my mash times. I started at 75 minutes and am now down to 45 minutes… with no notable difference in taste or efficiency.
I use the BIAB method.
Thanks for doing this exBeerment… I have been wondering about this for months, and tempted now to give it a go.
I’d love to hear the results of this from anyone that has used a porter or stout recipe. We recently did an experimental Oreo Porter with (24) oreos in the mash overnight. It dropped roughly 20 degrees from 152 to 132 in 16 hours, not too bad. Added another (24) at flameout, cooled, fermented etc (yes, we were aware that we’d have zero head retention due to oil extraction from the saturated animal fats). This has been in the fermenter for 2 weeks and is super astringent, tart, and practically flavorless. (Malt bill is primarily 2 row, Aromatic, limited crystal and carafa which should be great for a “cookie beer”, or sweet in the least.) I reckon I expected this to be much more fermentable and it clearly showed during a violent primary, but really didn’t expect this to turn out as badly. Our theory was that the overnight mash may be better for aforementioned less robust ales and lagers, not for something of specialty with a lot of body and sweet adjunct. Of course, there’s always a myriad of things that could cause our batch to suck, thus exonerating the overnight mash technique for porters/stouts haha!
Were your overnight mashes strictly BIAB?
Would you recommend doing a mash-out in the morning or not?
Thanks
Hi, left my mash overnight, in the morning found the mash had dropped to 43C, and had a krausen. I am scared! Haha. I am going to finish it and see what happens. But now i have to restart from scratch for sure!
I was given info from one of my professional brewers friends to put a co2 blanket on top of the mash when doing an overnight mash. Has anyone heard of this process.
I do this all the time but I do BIAB. It allows me to pull the grains out at the end of the mash time. I use a cooler with a brew bag. I mash like normal but when I’m done I pull the grain bag out and seal the cooler. I put the cooler in the fridge/ fermentation chamber at regular fridge temps. I don’t care if it loses heat or not. I just want to inhibit an bacteria growth. The next day I continue on as normal with the boil, etc. I love brewing this way. I wish I had an afternoon or the better part of the day on a weekend to brew but those days aren’t fewer and further in between these days. I can usually spare a few hours over a few days especially after I put my kid to bed.
For my 60-90min mash I use a sous-vide cooker to maintain the temperature. I recommend to explore this option if you ever want to maintain the temperature of your mash overnight.
Really curious about the head loss. Done some research the past 24 hours on protein conversion and it seems the current scientific stance on proteolytic activity is that its not very active in the mash, if at all. Malting denatures these enzymes. Its actually protein precipitation we’re seeing. That said… even if it was protease, its generally accepted (probably wrongheaded too) that the enzymes up above 133 or so are at least foam neutral, if not positive. Its the enzymes closer to 122 that are the head destroyers. Who knows – its all so dubious when it comes to this range and what’s going on.
For me it seems obvious but more studies would need to be done. There was a ton of beta amylase activity but not much alpha. FG backs this up – we’ve always known this type of mashing would be tough on the body and head of a beer. I’m not surprised tasters missed it but the head has nowhere to hide.
FWIW, I’ve been overnight mashing for the past 8 or10 batches, and haven’t suffered loss of head retention in most or all of them. I recirculate the whole night via a herms coil and I brew on electric, so my HLT heating element prevents any temperature drop. I do a no sparge mash by mashing the full liquid volume. The constant recirculating results in crystal clear wort and eliminates the need to vorlauf. I simply wake up, head to the garage and drain the MLT at full speed into my BK. I begin boiling as soon as the heating element is submerged. My kettle efficiency is 75% with this method, and my brewday is about 90 minutes long (10 minute ramp up, 60 minute boil, 15 minute chill, 5 minute rack and pitch). With having two young kids, this small loss in efficiency is worth the hours of time saved over my traditional fly sparging and single-session brewing. Banging it out at 5am before the house wakes up has been a fun process that is worth the early start to the day and no lost time with the family. I know it is not the best use of my system, but the yeast can’t tell a difference with the wort I’m producing, and a few extra bucks on grain is so worth it. I’ve even done a 30 minute boil with good results, after the Short and Shoddy info started coming out on Brulosophy. Love these brew hacks!
If one wants to split the homebrewing session, doing the mash in the evening and the boiling in the morning, one is not forced to do an overnight mash.
Just do your normal filtering – sparging routine as you would have done normally. Now transfer your wort to your boil kettle (or keep it there if you use BIAB or BIAP). Heat your wort until 80°C or so and keep it there for 10 minutes or so. Leave it well-covered, go to bed.
The wort the morning after will be, basically, just like you left it in the evening. The grains are not swimming in the wort any more, so no release of tannins, proteins etc. The wort is basically “pasteurised”, and thus the bacterial content will be put to sleep as well. The enzymes, with the 10 minutes rest at 80°C, will also be completely denatured, thus there is no risk of “overconversion” by the enzymes, and having a different attenuation and different “maltiness” than expected.
A little bit of bacterial infection during the early hours of the morning is possible, but the wort goes immediately to 60-90 minutes boiling, and that will kill any living microorganisms who fed into your wort while you were sleeping.
You get the split without getting any side effect on the beer, IMHO.