Author: Matt Del Fiacco
Step mashing is a traditional technique originally intended to assist in the conversion of starches to fermentable sugar and consists of mashing in at a relatively low temperature then warming it over the course of about an hour through a series of 3 to 4 temperature steps. In addition to improved conversion, particularly when using under-modified malts, step mashes are believed to have an impact on other beer characteristics including flavor and mouthfeel. Requiring a bit more involvement than a single infusion mash, and given the higher modification of modern malts, many brewers avoid step mashing altogether.
While considering unconventional approaches one might employ to simplify their brewing process, it crossed my mind that doughing in at room temperature then simply leaving it in there to mash while the temperature increased could shave a decent amount of time off a brew day, however long it typically takes to heat water to strike temperature. Considering the lower temperature when using a step mash is typically around 113°F/45°C, I wondered if adding the grains at room temperature would have any impact and thought it was interesting enough to put to the test!
| PURPOSE |
To evaluate the differences between a beer made with a single infusion mash temperature of 154˚F/68˚C and the same beer mashed in at room temperature then steadily raised to 154˚F/68˚C over the course of an hour.
| METHODS |
I went with a simple Pale Ale for this xBmt in hopes to make any differences caused by the variable stand out.
Ascension
Recipe Details
| Batch Size | Boil Time | IBU | SRM | Est. OG | Est. FG | ABV |
|---|---|---|---|---|---|---|
| 4.5 gal | 60 min | 31.7 IBUs | 5.7 SRM | 1.052 | 1.013 | 5.0 % |
| Actuals | 1.052 | 1.012 | 5.2 % | |||
Fermentables
| Name | Amount | % |
|---|---|---|
| Pale Ale Malt (Rahr) | 7.437 lbs | 90.15 |
| Munich II (Weyermann) | 13 oz | 9.85 |
Hops
| Name | Amount | Time | Use | Form | Alpha % |
|---|---|---|---|---|---|
| Nugget | 5 g | 60 min | Boil | Pellet | 13 |
| Nugget | 8 g | 20 min | Boil | Pellet | 13 |
| Nugget | 33 g | 5 min | Boil | Pellet | 13 |
| Nugget | 30 g | 3 days | Dry Hop | Pellet | 13 |
Yeast
| Name | Lab | Attenuation | Temperature |
|---|---|---|---|
| Flagship (A07) | Imperial Yeast | 75% | 60°F - 72°F |
Notes
| Water Profile: Ca 80 | Mg 2 | Na 10 | SO4 125 | Cl 62 |
Download
| Download this recipe's BeerXML file |
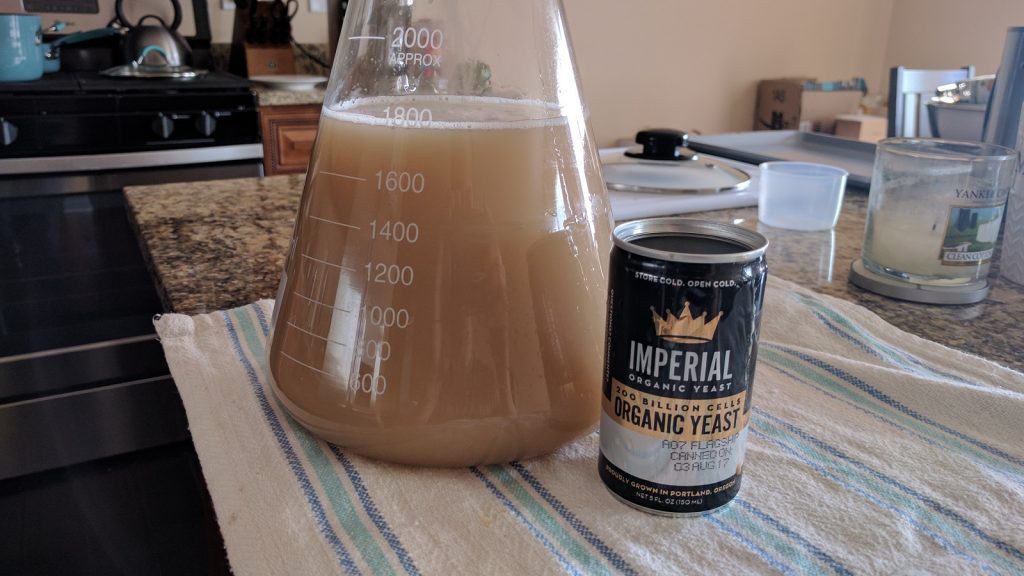
A few days before brewing, I got a starter of Imperial Organic A07 Flagship yeast going that would be be divided between the batches.
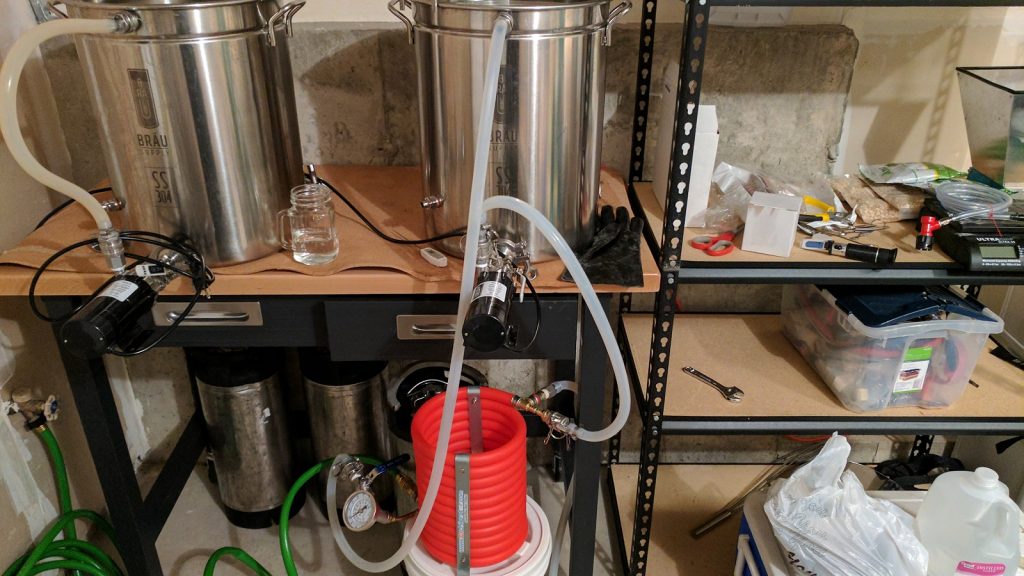
Having recently moved into a new place, my brewery wasn’t quite as organized as I prefer, but I made sure to have my eBIAB systems setup for this brew day, which began with the heating of strike water for the single infusion batch.
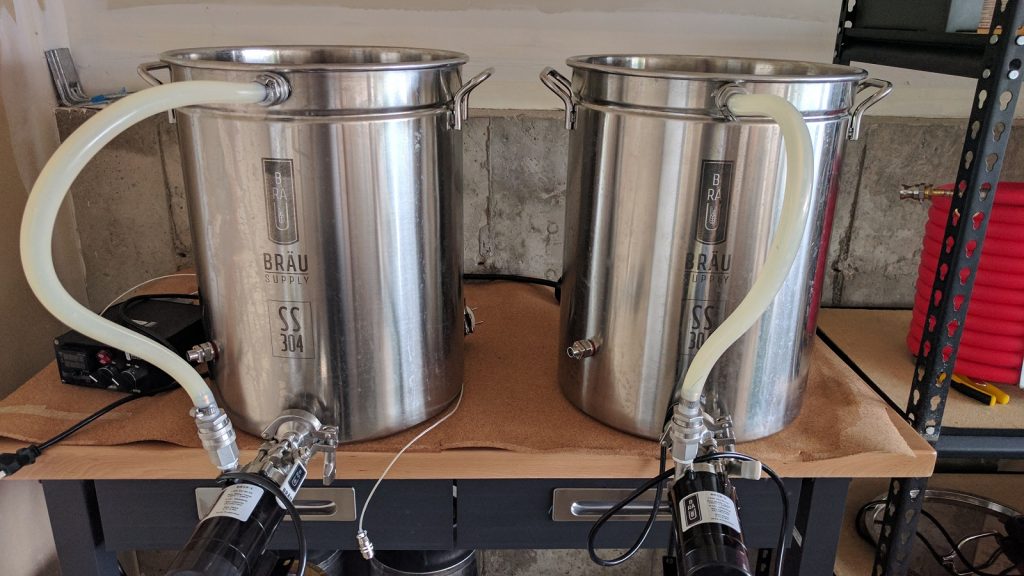
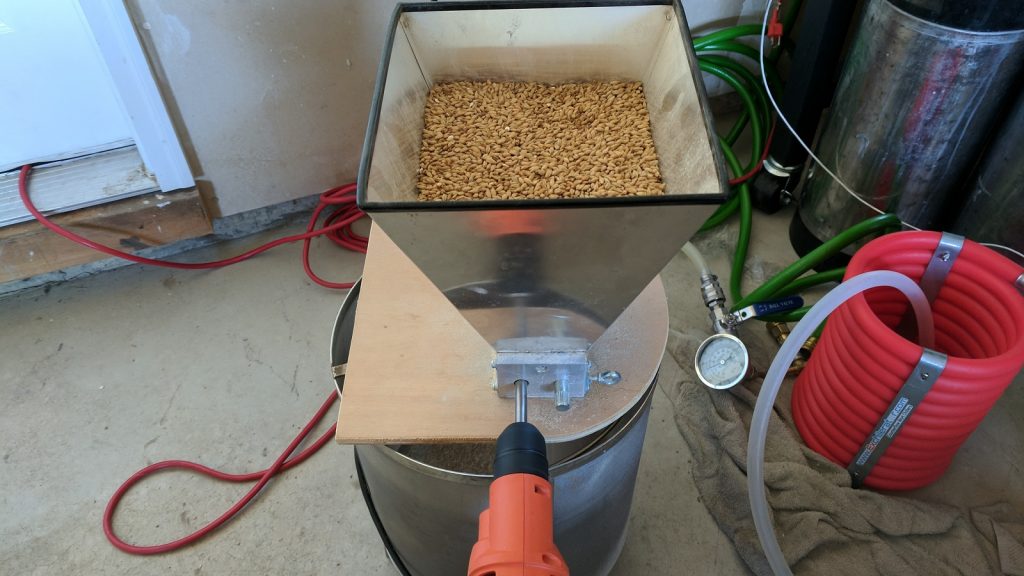
At this point, I measured out and milled the grains for both batches.
While the single infusion water was being heated, I added the grist to the raised temperature batch and noted the starting temperature was 74˚F/23˚C before turning the element on. The water for the single infusion batch reached strike temperature about 15 minutes later, at which point I added the grains and checked to confirm it hit the intended 154˚F/68˚C mash temperature.
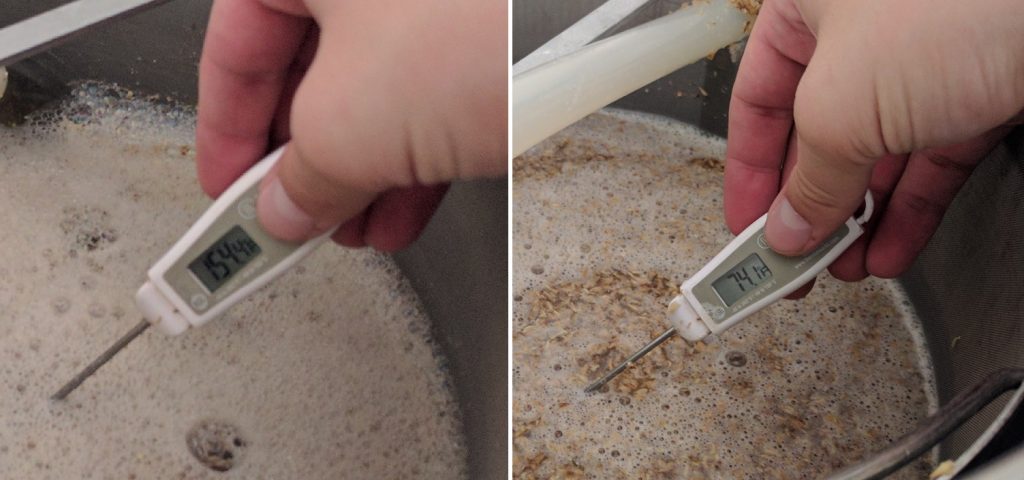
I set the controller on the raised temperature batch to 154˚F/68˚C and documented the temperature every 15 minutes. I thought it was interesting that at the end of the planned 60 minute mash, the temperature matched that of the single infusion mash.
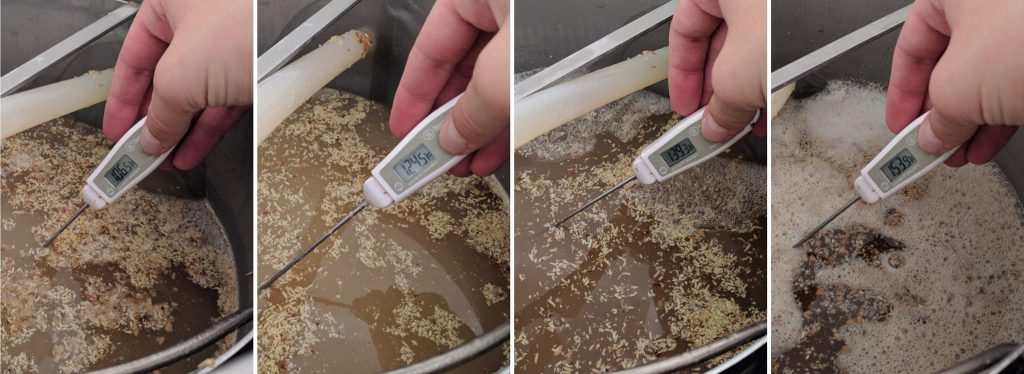
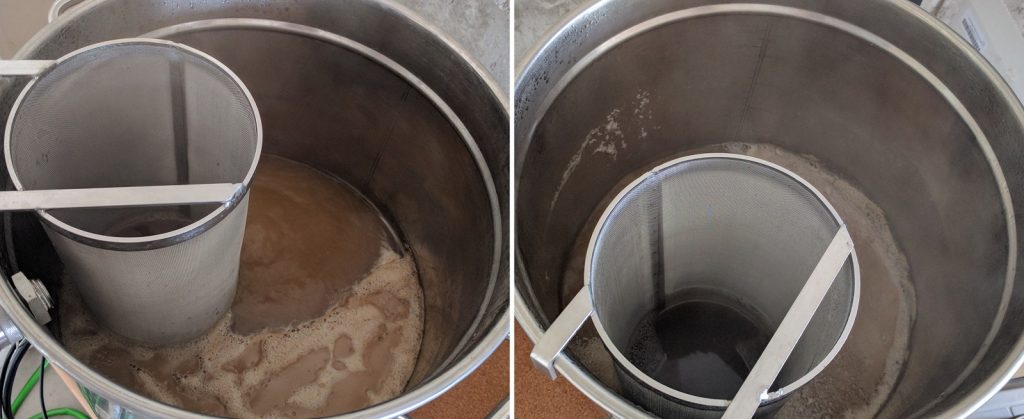
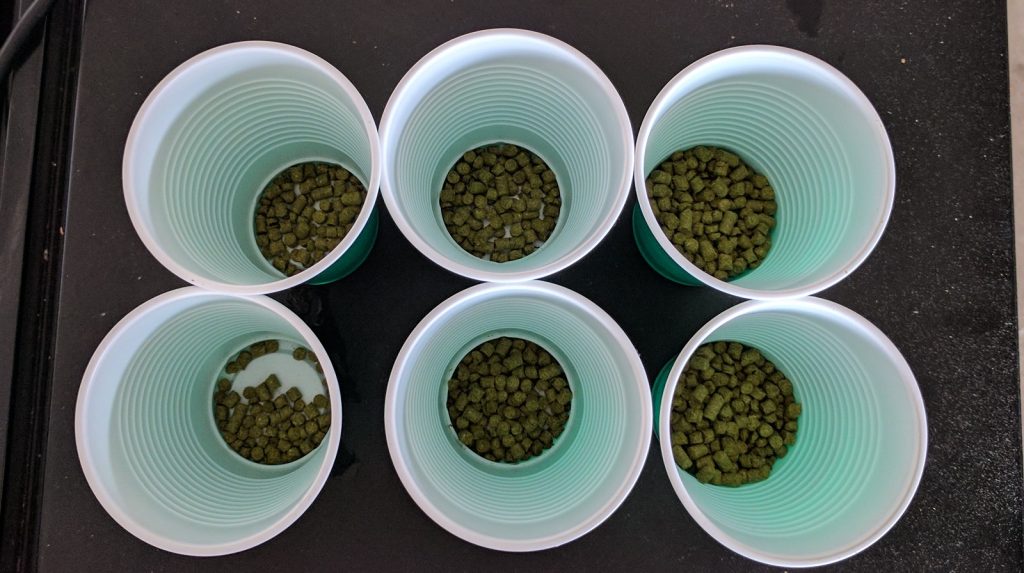
Once each mash was finished, I removed the grains and began heating the worts. While waiting for a boil to be reached, I measured out the hops for both batches.
The worts were boiled for 60 minutes with hops added at the times stated in the recipe.
After each 60 minute boil was complete, I quickly chilled the wort with my CFC while racking to fermentation kegs.
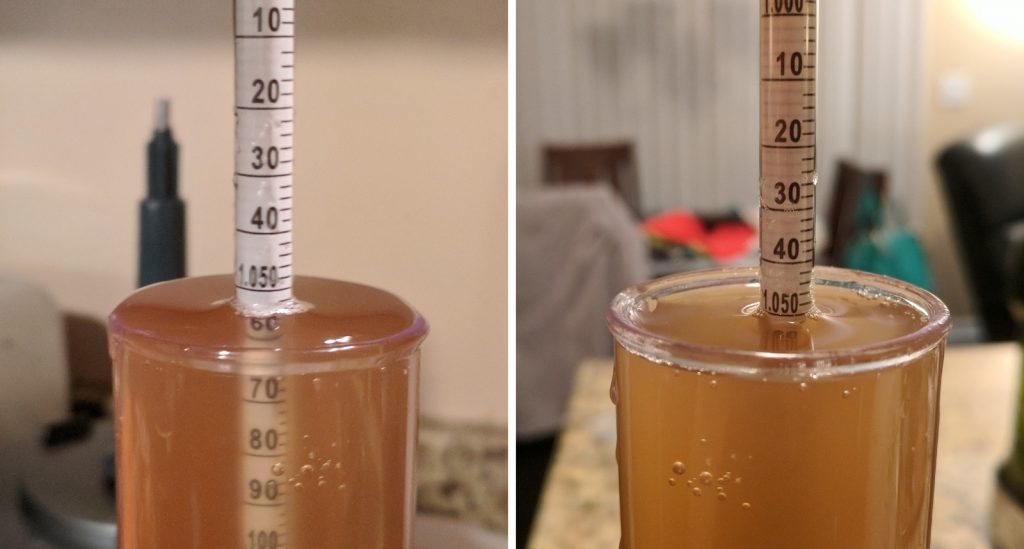
Hydrometer measurements revealed the single infusion batch hit my target of 1.052 OG while the raised temperature wort was only a couple points lower at 1.050 OG, which I found surprising. They also looked more similar than I expected.
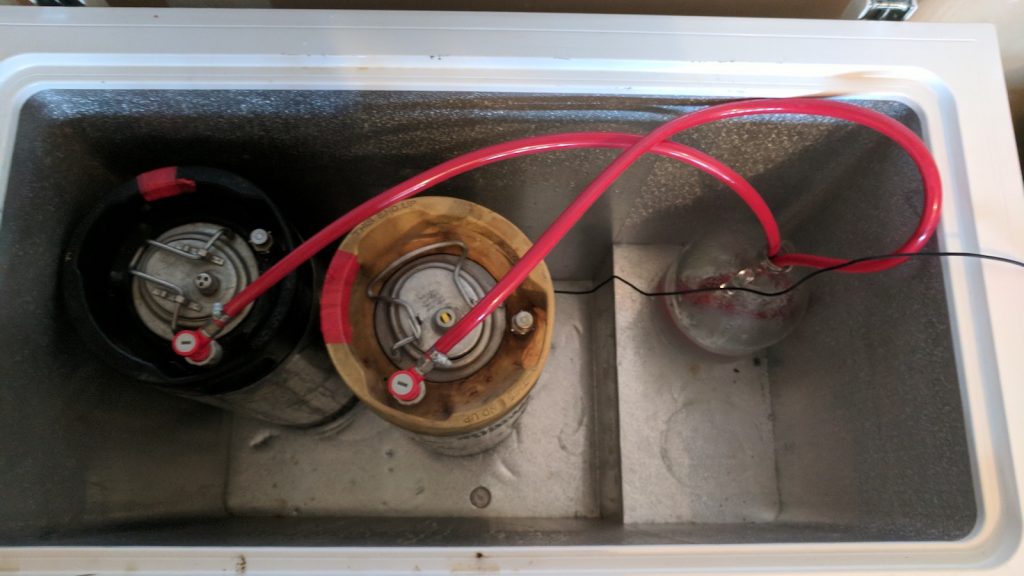
I placed the fermentors next to each other in my temperature controlled chamber, attached blowoff tubes, and pitched the yeast.
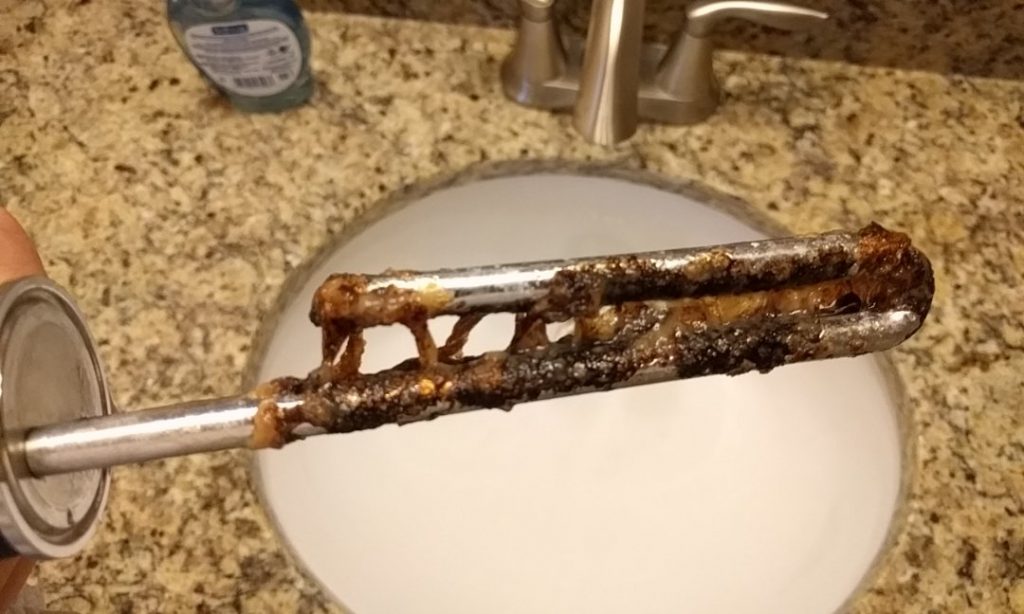
With my beers stowed away, it was time to clean. After emptying the kettle that held the raised temperature wort, I noticed a thick gunk covering the element, something I’ve never seen before.
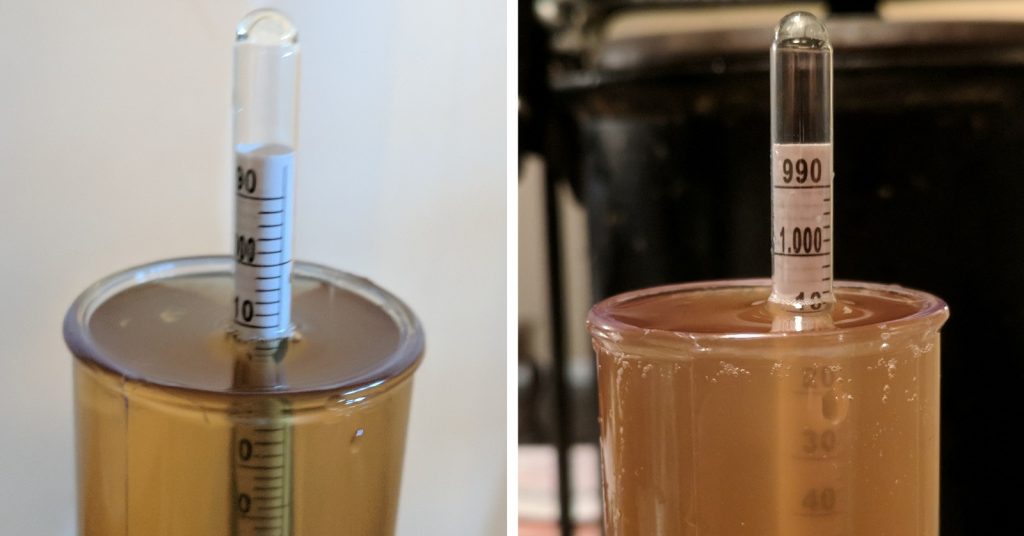
After a week of vigorous fermentation, each batch was hit with an equal charge of dry hops then left 3 more days before I took hydrometer measurements indicating FG had been reached.
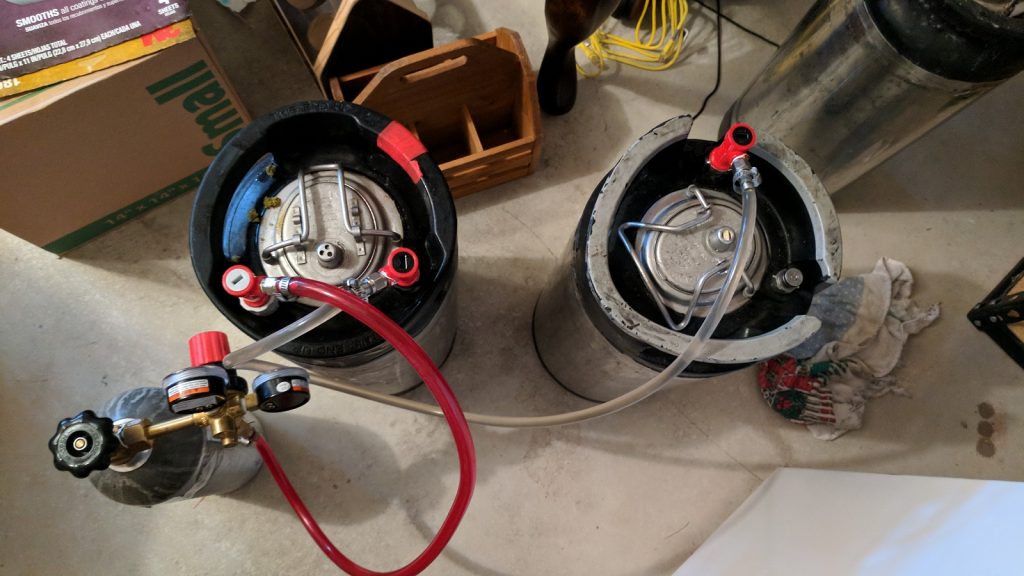
The beers were cold crashed and fined with gelatin before I pressure transferred them to CO2 purged serving kegs.
After a brief burst carbonation period, I reduced the gas to serving pressure and let the beers condition until they were clear, carbonated, and ready to serve to participants.
| RESULTS |
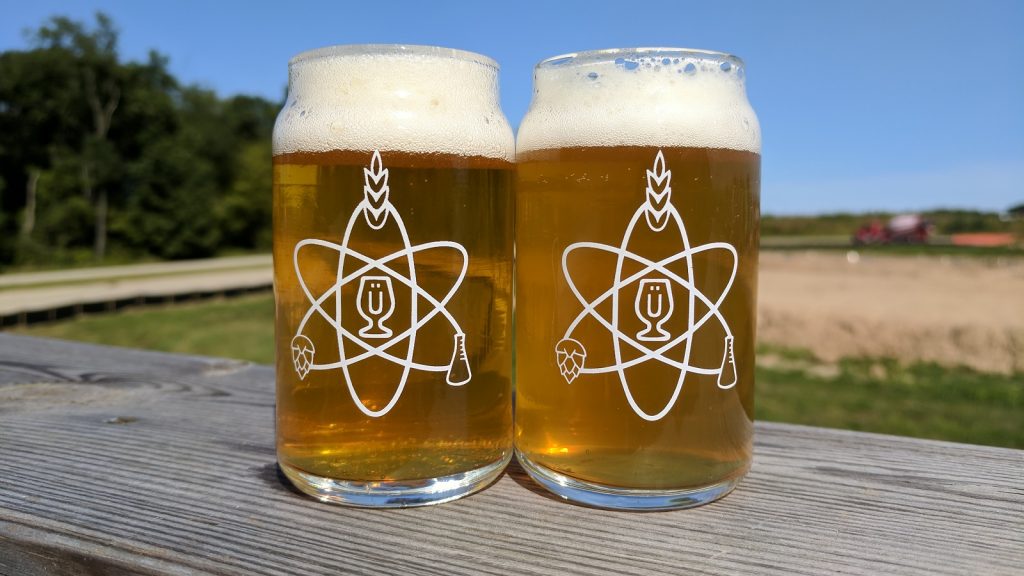
A panel of 22 people with varying degrees of experience participated in this xBmt. Each taster, blind to the variable being investigated, was served 1 sample of the single infusion beer and 2 samples of the beer made with a rising mash temperature in different colored opaque cups then instructed to select the unique sample. At this sample size, a total of 12 (p<0.05) correct selections would have been required to achieve statistical significance, while 14 tasters (p=0.003) chose the different beer, indicating tasters were able to reliably distinguish a beer made with a single infusion mash from one where the temperature was gradually increased from room temperature.
The participants who correctly selected the unique sample in the triangle test were instructed to complete a brief set of additional questions comparing only the two different beers, still blind to the nature of the xBmt. Of the 14 correct tasters, 9 chose the single infusion beer as their most preferred, 2 liked the raised mash temperature beer more, and 3 reported no difference having no preference despite perceiving a difference. Not a single taster felt there was no difference between the beers.
My Impressions: I attempted a total of 5 semi-blind triangle tests with these beers and ended up selecting the odd-beer-out 4 times. To me, the raised mash temperature beer had a slight tang to it, a sharpness in the flavor I didn’t perceive in the single infusion batch. While I enjoyed both beers and didn’t note any offensive off-flavors in either, I preferred the single infusion sample and thought it was more stylistically appropriate.
| DISCUSSION |
As far as I know, no brewing authority has ever recommended employing the slow-rise mashing method tested in this xBmt, which I just figured was based on a history of research proving that it doesn’t work. While participants in this xBmt were capable of reliably distinguishing a beer made using a single infusion mash from one that was mashed in at room temperature then gradually warmed, a finding that on the surface might seem to support such a claim, the raised mash temperature beer was by no means bad. Indeed, a majority of those who were correct on the triangle test preferred the single infusion beer, as did I, but they had a lot more in common than I thought they would.
I fully expected the raised mash temperature beer to be overly dry and thin with a higher OG compared to the single infusion beer, but that’s not at all how things turned out. Rather, it was the single infusion beer that started with a slightly higher OG and, based on post-survey conversations as well as my own experience, body and mouthfeel weren’t what defined the difference. The sharp character I noticed in the raised mash temperature beer wasn’t so much “bad” as it was out of place for the style, but nothing to stop me from finishing the keg.
I’ll continue to employ standard mashing practices in my brewing largely because I know it works, though I also prefer the clarity and smoothness I perceived in the single infusion beer. Moreover, the gunk left in the raised mash temperature kettle was more of a pain in the ass to clean than I’m used to. That said, I am tempted to try this out again on a Dry/Irish Stout where a bit of sharpness is generally regarded as appropriate.
If you have thoughts about this xBmt, please feel free to share in the comments section below!
Support Brülosophy In Style!
All designs are available in various colors and sizes on Amazon!
Follow Brülosophy on:
FACEBOOK | TWITTER | INSTAGRAM
If you enjoy this stuff and feel compelled to support Brulosophy.com, please check out the Support Us page for details on how you can very easily do so. Thanks!



35 thoughts on “exBEERiment | The Mash: Single Infusion vs. Rising Temperature In An American Pale Ale”
I would have constructed the experiment differently. I think that you didn’t mash long enough on the step mash. I usually hold for 10 minutes at 100, 122, 145, then 90 minutes at the final step.
If you don’t do the full mash at the final temp, then you have cheated the enzymes. IMHO, the point of step mashing is to utilize the enzymes at their best temp. The most critical is 122 – that breaks the proteins.
Thanks for the reply Will! I definitely think there’s something to be said for that, and when we do another step mash xbmt it’s something to keep in mind. This wasn’t a step mash xbmt, at least in the way we approached it.
Upon seeing your choice of pale ale as the style, I had an “Oh No!” moment.
I believe this is the method employed by Dupont.
I like to use this method for Saisons and BIG Belgian style beers, as I feel it helps to give a dry finish, yet seems to retain body.
Ha do you happen you have a source for that? I would love to read about how they do it, maybe refine based off of that information and try again? I’m definitely interested in trying this in other styles, though I don’t think the style necessarily invalidates the test.
It’s in Phil Markowski’s book Farmhouse Ales on p. 156: “Brasserie Dupont favors a different approach, favoring a “rising temperature” infusion mash. Dupont starts with an initial temperature of 113F (45C) and continuously heats . . .”. I don’t have my book handy, but I think it’s to mash out temperatures over the course of 90 minutes. I’ve done it on a saison and it seemed to work well.
Fantastic, thank you! I think I own that book, I’ll need to go check it out.
The lower FG of the rising-temp mash is what I would have expected as the average mash is lower, meaning beta amylase is favoured over alpha, giving a more attenuative wort. The lower OG is likely caused by a shorter effective mash time (less than an hour at temps high enough to activate enzymes), as well as reduced alpha activity.
I’d love to see more experiments with mash time, particularly effect of an overnight mash compared to one hour.
That’s an interesting hypothesis, others in the group have suggested the same and I think it’s likely correct. But same, I’d love to see more mash experiments!
Also, at lower temperatures limit dextrinase is active (it is usually destroyed at mashing temperatures) so this would reduce FG. I have no idea what effect all of the other, normally inactivated) enzymes and bugs in the malt would have, but it seems likely that the resulting beer would be less “clean”.
Seems like the BIAB setup isn’t ideal for step mashing maybe? That scorching could have contributed to the twang that you experienced, right? It would be fun to redo this one with a HERMS setup so there is no scorching. Though, I doubt you could tell a difference between them when you removed that variable, other than ABV.
Hey Aaron!
There’s no scorching, the “bag” in this situation is a stainless steel basket that separates the grain from the heating element. The wort is also continuously recirculated. I’m definitely interested in performing this one again but I definitely don’t think scorching is the issue.
I’m a real fan of the scientific approach to brewing, and appreciate knowing that among the many things people have claimed make a difference most of them by themselves make too little of a difference to be perceptible. However, this makes me wonder if these variables would give additive results when combined, something that the single-variable experiments by their very nature cannot answer. So, I’d like to see an experiment that puts together multiple variables that have been found to be insignificant on their own. If they truly don’t make a difference, then putting them together won’t either. If they do make a difference but not one that reaches the perceivability threshold then there’s a good chance that together they might cross that threshold. How about a “Claimed best practices beer” vs. an alternative, varying only the variables that have been shown in past experiments not to give rise to a significant difference?
It’s been done! Check it out, it was significant.
Thanks! I had a feeling it would be significant, but also that the difference wouldn’t be good vs. bad. My take: best to follow best practices overall, though no need to be overly hung up on every single aspect. Control sanitation, sanitation, temperature, yeast health, sanitation and temperature and you’ll make a good beer. Dot all your i’s and cross all your t’s and the beer will probably be better.
By the way, do you have a summary anywhere of all the variables you’ve checked and what the results were in terms of significance? It would make a very useful quick reference for when you want to simplify some part of your brew day but aren’t sure if the simplification will have a noticeable effect.
Perhaps the sharpness comes from grain that got slightly burned by the element. If the heat was more evenly spread results may be better. I am thinking something like heating on an sand tray with the burner under the sand. Not sure about the practicalities of that though.
I’m not sure I understand the reasoning for this xbmt. You would really only do a stepped mash for an under modified pilsner or a wheat beer. Most people wouldn’t do it with a highly modified 2 row grist. Even if you are making a Hefe, you might do a short ferulic rest @ 108-113F(42-45C) for more 4VG, otherwise you probably wouldn’t go below 120F(49C). I mean, you can get some proteolytic enzyme activity below 120F(49c) but it’s not very efficient.
I’m just not sure what starting a mash with highly modified malts at temps well below these would accomplish. maybe I’m missing something obvious…it wouldn’t be the first time.
Cheers for beers!
I think the reason is — “what’s the laziest way I could mash in, and can anyone tell the difference”.
I LOVE experiments like this, because we homebrewers seem to have a penchant for making things complicated. Understanding what makes a material difference and what doesn’t not only satisfies my intellectual curiosity, but has also yielded some time-saving measures that have allowed me to brew more frequently.
Well i heat my strike water to 160, add my grains, then let my mash sit fo two hours while the temp drops to perhaps mid 140s. Im lazy. My beer tastes decent enough. I used to try hold temps within a degree or two, but cant honestly tell the difference, what with grist and hop alterations between brew days.
About 18 months ago I accidentally left the heat on very low under my kettle while mashing in. I thought I’d messed up but the beer turned out great. Now I do the rising temp every time. I take water from my combi boiler at 45-50°C and mash in. I then raise the temperature gradually until it’s about 78°C then remove the grain. I wouldn’t take it out at 68 as in the xbmt above. I’m doing stove top with a bag, batches around 15 litres (4 US gallons). I feel my beers have improved and are more consistent. Interesting that DuPont does this.
Did you check the pH? Do you think having the wort in the low 100’s lowered the pH, because it was sitting at acid rest temperatures?
My thoughts exactly and could lead to the ‘sharpness’
I’d like to know this as well. Even if the acidity alone doesn’t make a difference in the taste, the information might be helpful for anyone attempting this method.
https://brulosophy.com/2017/01/30/water-chemistry-pt-7-evaluating-the-impact-of-low-mash-ph-exbeeriment-results/
Though the above exbeeriment was insignificant, I’d be curious how the pH of each two compare.
Scorching has happened to me when raising temps with an electric setup, and while I’ve never seen as much gunk on the element, whatever sticks to it eventually gets overly caramelized, if not completely carbonized, even though I also do continuous recirculation, and it is usually enough to give the beer a sharp or even burnt taste.
Really? That’s pretty interesting. I honestly can’t say I’ve experienced scorching, what is your set up like? I’m pretty skeptical that a single 1600W element heating wort thats being recirculated can be noticeably scorched. I’ve been surprised before though!
i’d bet the difference in these is due to scorching as well
I’m leaning towards scorching as well… if you think about it, your element would have to run at or near 100% power for the full duration of the mash to raise the temp over that time period. Your 154 degree single infusion batch probably only had it’s element click on every once in a while to maintain temp. In a HERMS setup, the wort is protected by the heat exchanger throughout the mash period.
What do you think the brown and black stuff on your element was? I love what you guys are doing, but I also consistently laugh out loud at your decisions (why are you step-mashing highly modified malt?) and the consistent inability to put things together that are staring you right in the face. Cheers though!
I would also speculate that the burnt starches on the element may have affected the flavour as well. This is why I made a move to HERMS for my homemade eBiab, I recirc through a small stainless ‘Hermit’ coil, small enough to fit into a standard 1.7 litre kitchen electric kettle. (Believe it or not this powerful enough to raise by 1°C/min)
I only really had scorching issues when doing step mashes, as there is plenty of unconverted starch in the mix before sach rest. I have been running an acid and proteinase rest when using a lot of unmalted grain, like flaked barley, flaked wheat or burghul wheat in the grist.
Also have taken to running just the proteinase rest (towards higher end, round 55°c) on all my beers to assist with chill haze. (breaks longer chain proteins down to medium chain length) This seems to make a big difference for me using BIAB and the chill haze challenges I was having.
So I would recommend if you are going to add heat during a mash, avoid direct heating with an element, unless it has a massive surface area or extremely low power density, avoid RIMS as these will also scorch I have been told. Stick with HERMS or decoction, maybe a heat stick hand stirred..
nothing about this experiment is surprising to me the twang taste you tasted was from acid you developed. The gunk on your element was from your protein rest. This is the wrong technique for a pale ale, but perfect for Saison. And awesome for most Belgians. Counterbrew did a series on the science of strep mashing. Check it out.
Did you sparge at 158F?
I would think if you kept ramping up to 72C, then 78C you would hit higher OG & FG’s. It would also help if you increase your rest lengths, in my opinion.
I’ve done 6 overnight mashes in a Robobrew. Typically mash in around 20C, rest 1hr at 35C, 1hr at 52C, 1hr at 63C, 1hr at 72C, & into mash out at 78C. I do get a bit of protein colouring on the element, but if I run off & boil in my kettle it doesn’t scorch.
Using this mash profile I don’t think this is a method that only works for Saison & Belgians. I’ve done Saison, Pale Ales, & Pilsners with great results – I actually referenced a traditional Pilsner mash profile for these rest temps. Overall I am happy with the results, & waking up to mash out is very handy.
Great job as usual. There’s no mention of clarity in the finished beer but there’s an aparent difference with the raised temp one. Do you agree?
I do! It was noticeable at the time as well.
Just listened to the podcast, and it didn’t seem like there was a rationale for the hazier appearance in the raised mash temp beer. I think the hypothesis was that mashing to favor the peptidase enzyme would break down the proteins and result in a clearer beer. However, is it possible that you just wound up only partially breaking down the proteins. I could imagine this resulting in smaller chain proteins that would be more likely to stay in suspension and less likely to bind to the gelatin fining (thus yielding a persistent haze). Not an expert here, just a thought.
It is not sufficient to report only the original gravity of the boiled wort to indicate differences that were caused by the mash method. You should be measuring preboil wort gravity and preboil wort volume after collecting the same volume of wort and calculate the efficiency of the mash+lauter. Otherwise, how do you know that the differences in wort gravity after the boil were not due to differences in post boil volume? What were the wort gravities at the end of the mash, before lautering? The data you provided doesn’t convince me that the wort “original gravity” differences were due to the mash difference.
I would have enjoyed seeing this experiment done when making a lager with pilsner malt, since it is less modified than 2-row, and would likely have had more beneficial effects for the raised mash. Also, differences are often far more noticeacle in lightly hoppe lagers than in typical ales.