Author: Malcolm Frazer
Noted as being the first cereal grain cultivated by humans, it comes as no surprise that most of the earliest documented beer recipes contained some portion of wheat. Indeed, the Reinheitsgebot (aka German Beer Purity Law) put a damper on things for a bit, but over the last couple of decades, wheat beers have become one of the world’s most popular non-lager beers with one style in particular playing a starring role.
German for “white beer,” Weissbier was developed in the Bavaria region of Germany as a pale counterpart to the darker beers of the day. In addition to being hazy to the point of opaqueness, Weissbier became known for its quintessential characteristics of banana and clove caused by increased levels of isoamyl acetate (IA) ester and 4-vinyl guaiacol (4VG) phenol, respectively. As any brewer of the style knows, achieving these characteristics demands the use of a particular type of yeast, one like White Labs’ WLP300 Hefeweizen Ale yeast that hasn’t been selected to exclude the POF+ gene. Purportedly sourced from the Weihenstephan Brewery’s classic Hefe Weissbier, WLP300 is a solid choice for those looking to make their own version of the style.
Naturally, brewers with varying preferences for the banana and clove flavors present in Weissbier began exploring ways to control the levels of either in their beer. Based on the notion that warmer temperatures encourage the production of esters, in addition to troves of anecdotal reports, many have accepted that fermentation temperature plays a key role, with cooler ferments producing a beer with higher levels of 4VG (clove) and warmer ferments resulting in a beer with higher IA levels (banana). As one of the many people who appreciate and regularly brew this style, I was curious to see how this claim would pan out!
| PURPOSE |
To evaluate the differences between beers fermented with WLP300 Hefeweizen Ale yeast at either 60°F/16°C or 72°F/22°C.
| METHODS |
The recipe I used for this xBmt was pretty standard for a Weissbier.
Zee Original Haze Weissbier
Recipe Details
| Batch Size | Boil Time | IBU | SRM | Est. OG | Est. FG | ABV |
|---|---|---|---|---|---|---|
| 5.5 gal | 60 min | 12.5 IBUs | 4.0 SRM | 1.046 | 1.014 | 4.3 % |
| Actuals | 1.046 | 1.009 | 4.8 % | |||
Fermentables
| Name | Amount | % |
|---|---|---|
| Wheat Malt, Ger | 6 lbs | 56.14 |
| Pilsner (2 Row) Ger | 4.5 lbs | 42.11 |
| Caravienne Malt | 3 oz | 1.75 |
Hops
| Name | Amount | Time | Use | Form | Alpha % |
|---|---|---|---|---|---|
| Liberty | 20 g | 60 min | Boil | Pellet | 4.3 |
Yeast
| Name | Lab | Attenuation | Temperature |
|---|---|---|---|
| Hefeweizen Ale (WLP300) | White Labs | 74% | 68°F - 72°F |
Notes
| Water Profile: Yellow Balanced in Bru’n Water Spreadsheet |
Download
| Download this recipe's BeerXML file |
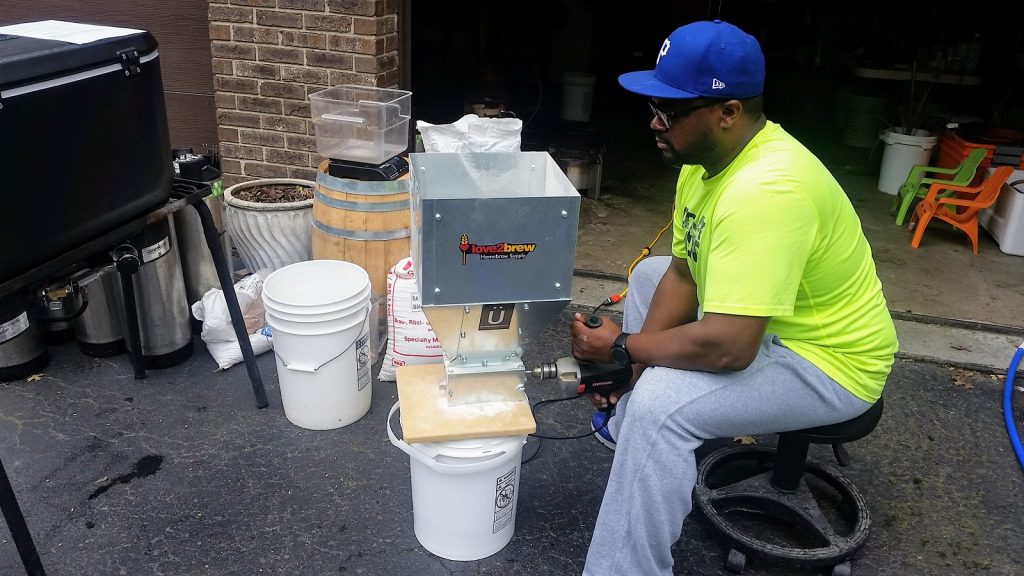
My buddy, Bill Lacy, had requested I brew a Weissbier, so rather than doing all the work for him, I invited him over to make it himself. I prefer a decoction mash for this style, which made this even more of a learning experience for Bill. While the brewing liquor for a 10 gallon batch was being heated, Bill milled the grain.
Once the water was to the proper strike temperature, we doughed-in to hit our the first step at 112°F/45°C. After a 15 minute rest, Bill pulled the first decoction, which was allowed to boil for 15 minutes.
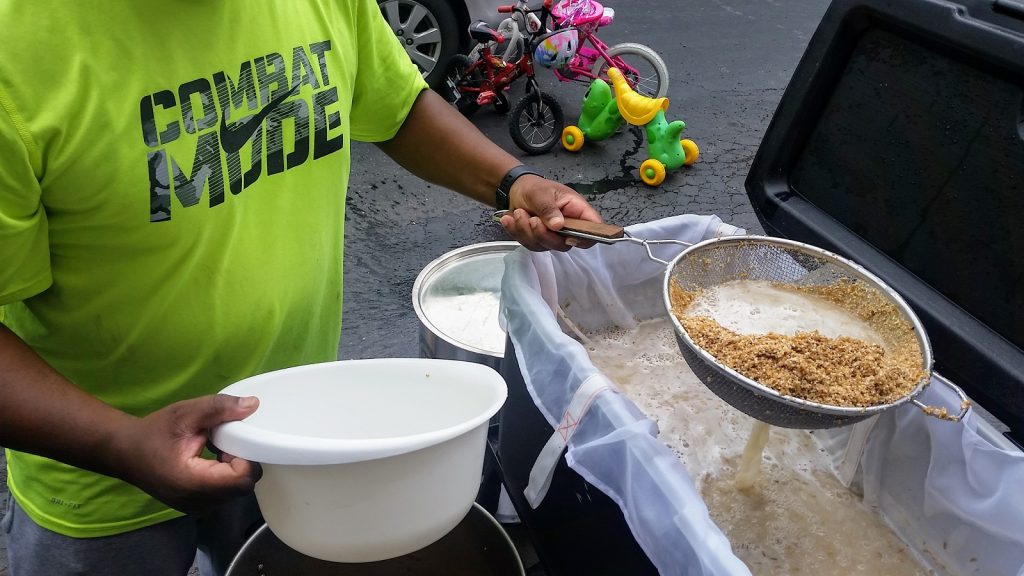
Adding the decoction back to the mash brought it up to the second temperature step of 133°F/56°C, where it rested for another 15 minutes before we pulled another decoction that ultimately raised the mash temperature to 148°F/64°C.
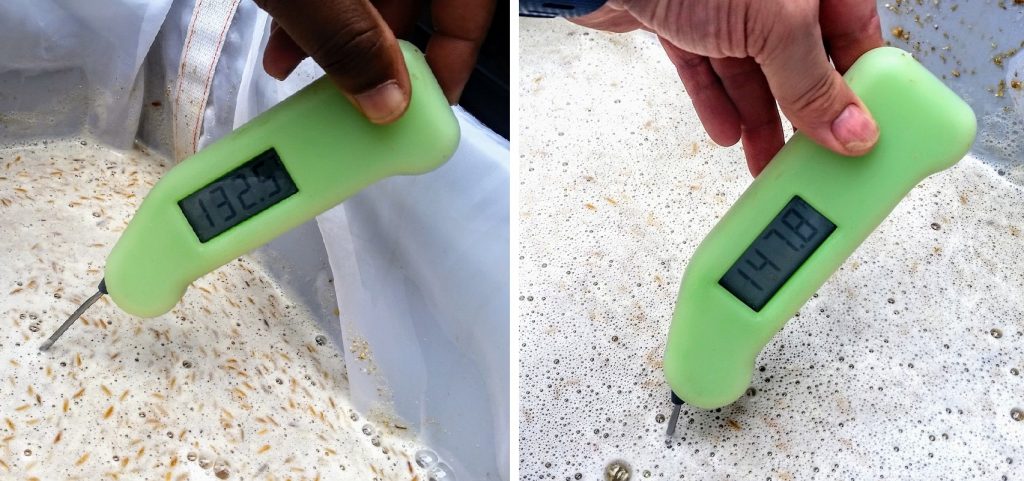
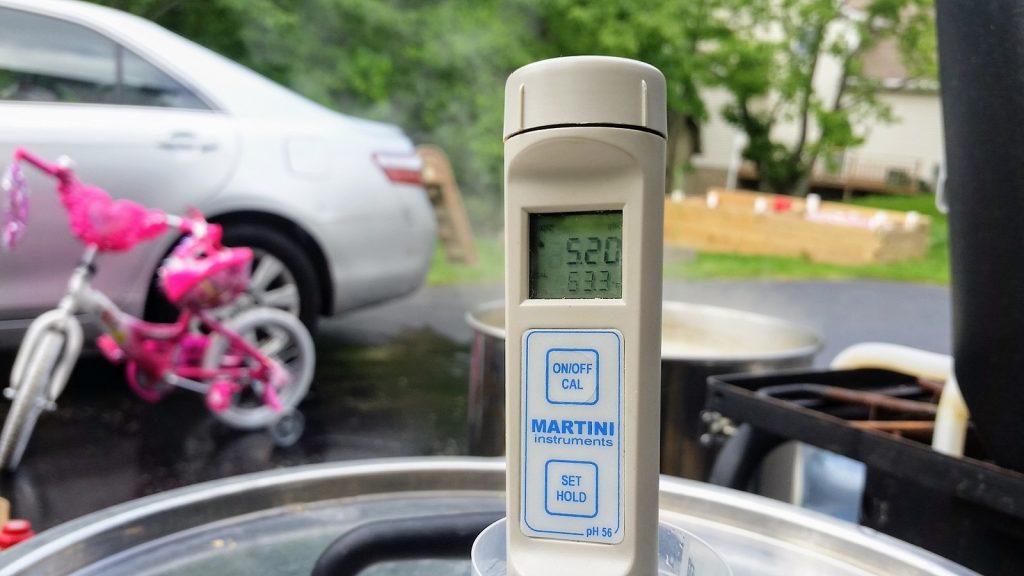
We took a pH reading that showed we hit our goal dead nuts.
After a 30 minute rest, we performed one more decoction that brought the mash up to its final temperature step of 155°F/68°C where it rested 30 more minutes. The entire mash was then raised to mash out temp with a brief pause at 162°F/72°C before we began collecting the sweet wort.

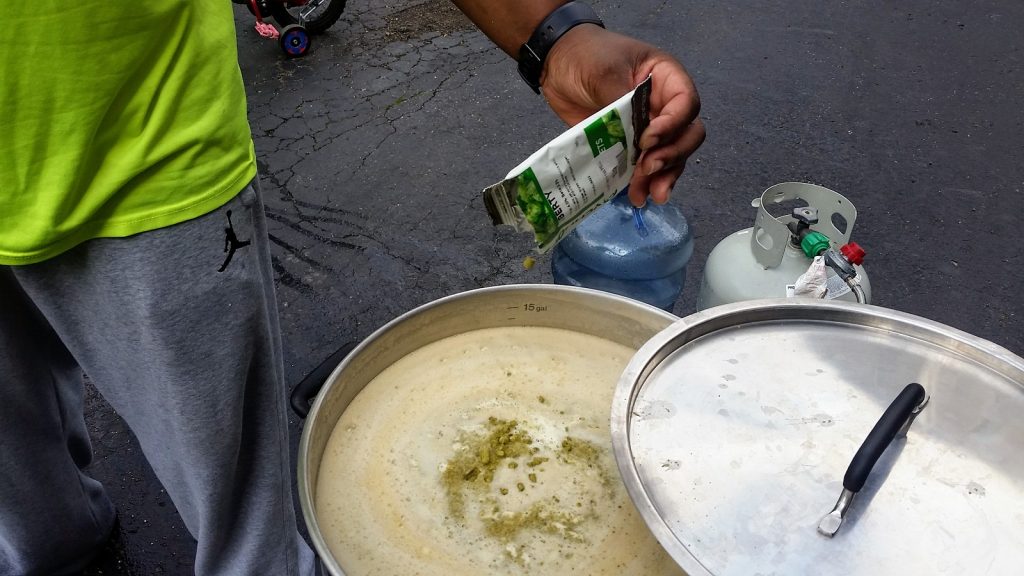
The wort was boiled for 60 minutes with hops added at the times listed in the recipe.
When the boil was finished, I quickly chilled the wort to 72°F/22°C.
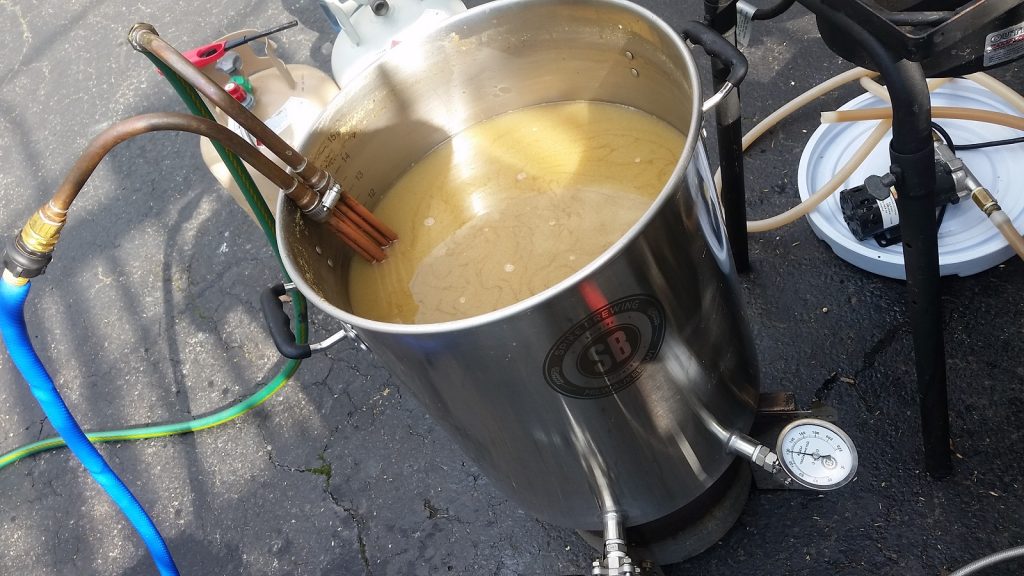
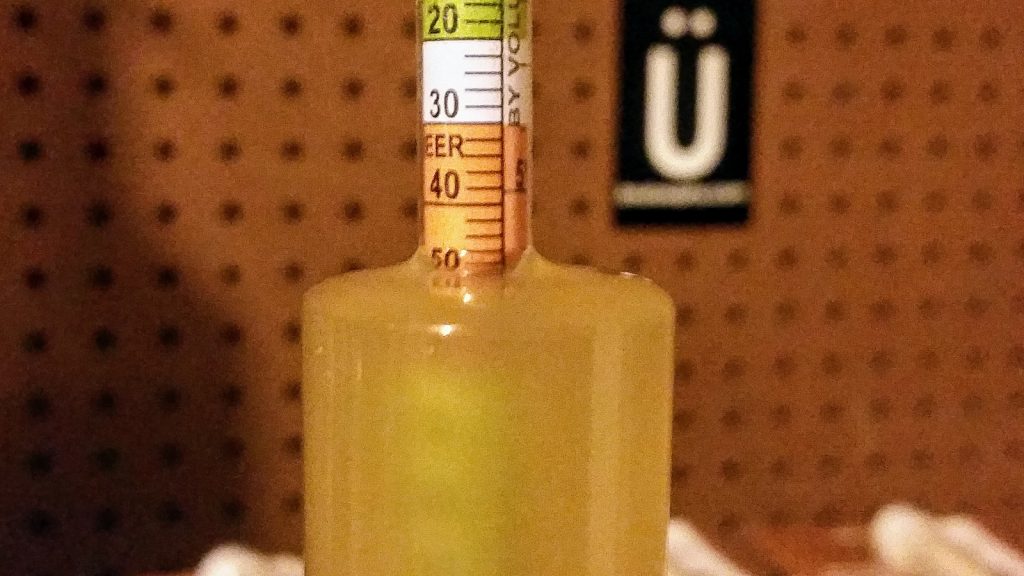
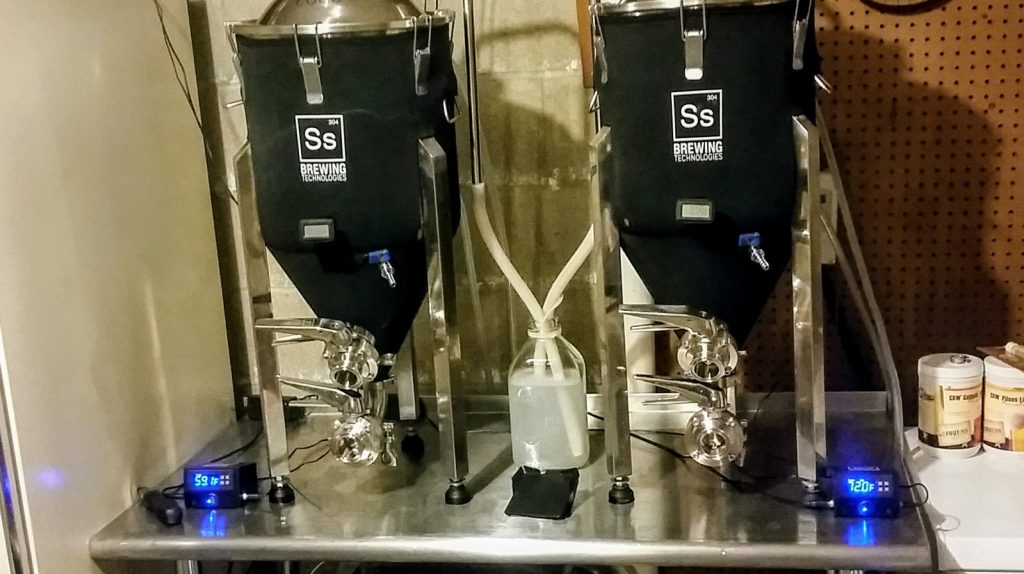
At this point, I split the wort evenly between 2 conical fermentors, one set to 60°F/16°C and the other set to 72°F/22°C. While my glycol system was finishing up what my groundwater couldn’t do, I took a hydrometer measurement that showed the wort was a smidge lower than planned, but still within the acceptable range.
By the time I was finished cleaning up, the cool ferment wort was sitting at 59°F/15°C, indicating it was time to pitch the yeast. In an attempt to coax as much character out of the yeast as possible, I decided against propagating a starter and picked up 2 packs of WLP300 from my local shop that were from the same production lot. A single pack was pitched into each batch and the controllers were set to maintain a 12°F/6°C difference.
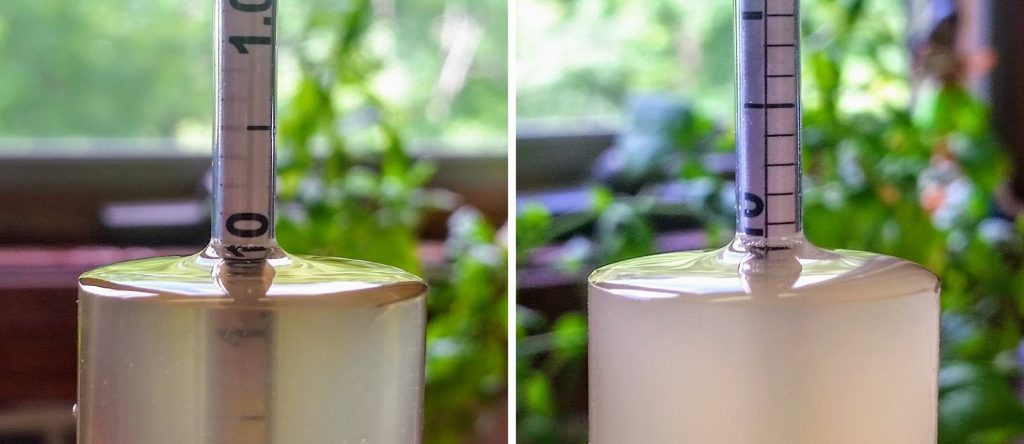
I let these beers ferment for a little longer than usual due to a busy work schedule, though it seemed appropriate since I did not raise the temperature of the cool ferment batch. Hydrometer measurements taken 6 weeks post-pitch showed both the cool and warm ferment beers had dropped to the same FG.
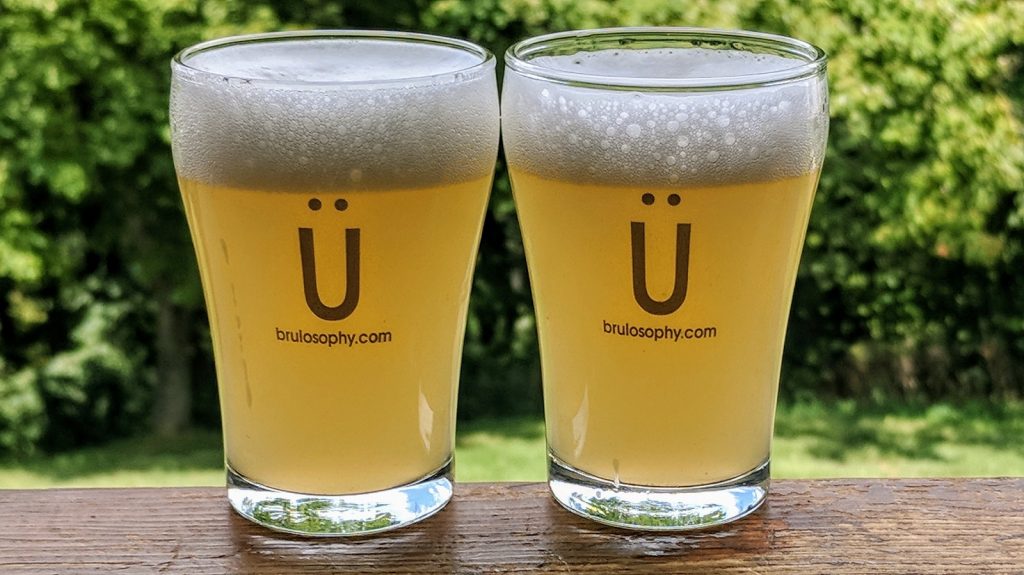
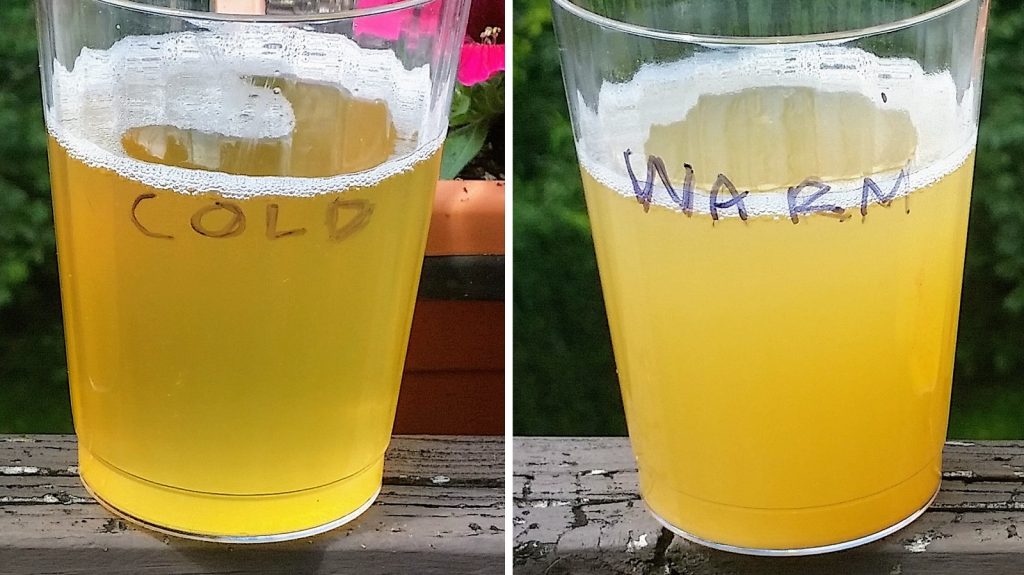
Before kegging, I stole a little beer from either batch for comparison and immediately noticed a hazier appearance in the one fermented warm .
With the help of a little munchkin, the beers were racked to sanitized kegs.

The filled kegs were placed in my keezer where they were allowed to carbonate and condition for about 2 weeks before being served to tasters. Curiously, whatever differences in appearance existed prior to kegging had seemingly vanished.
| RESULTS |
A total of 32 people of varying levels of experience participated in this xBmt. Each participant was served 2 samples of the cool ferment beer and 1 sample of the beer warm ferment beer then asked to identify the sample that was unique. While 16 tasters (p<0.05) would have had to select the unique sample to reach statistical significance, a total of 19 (p=0.002) identified the odd-beer-out, suggesting participants were indeed able to reliably distinguish a Weissbier fermented with WLP300 Hefeweizen yeast at 60°F/16°C from the same beer fermented at 72°F/22°C.
The 19 participants who correctly selected the unique sample in the triangle test were instructed to complete a brief set of additional questions comparing only the two different beers, still blind to the nature of the xBmt. In the end, 7 tasters chose the warm ferment beer as their most preferred and 8 reported liking the cool ferment beer more, a pretty even split. Interestingly, while 4 tasters reported having no preference despite perceiving a difference, not a single person reported perceiving no difference between the beers, which might be a first.
My Impressions: I attempted 3 semi-blind triangle tests with these beers, each time the unique sample being randomly assigned, and I was able to make the correct selection fairly confidently each time. Right out of the tap, when the beers were still very cold, telling them apart was more difficult, but after a few seconds of swirling and warming them up with my hands, the differences seemed to become much more noticeable. Inline with expectations, I perceived the cool ferment beer as having suppressed esters, less banana and pear than the warm ferment version, and obvious phenols of clove and white pepper. I also perceived less sulfur in the warm ferment beer and it had essentially no detectable phenol character, which was surprising to me. The phenols may have been there but were overrun by the more intense pome fruit and banana ester. I was stoked to take 3rd place with a random blend of this beer in the 2017 Beer & Sweat competition, my guess is it was about 25% the cold ferment beer and 75% the warm ferment beer.
| DISCUSSION |
One of the more common comments we’ve received in regards to prior fermentation temperature xBmts that returned non-significant results is that the yeast strains tested are used to produce notably clean beers. For example, despite the overriding conviction of most brewers that lager yeasts require cool fermentation temperatures, some have been less than surprised with results demonstrating little noticeable impact of fermenting lagers at ale temperatures, the contention being that they’re not very expressive yeasts in the first place. To this end, the fact blind tasters were able to reliably distinguish a Weissbier fermented at 60°F/16°C from one fermented at 72°F/22°C provides some support for the idea that fermentation temperature can be used as a way to dial in certain characteristics when using more characterful yeast strains.
When I make Weissbier for myself, I usually pitch at 62°F/17°C then ramp it up to 68°F/20° after a few days, which I’ve found produces a beer with balanced ester and phenol characteristics. While the results of this xBmt provided some confirmation of what I’d come to believe about fermentation temperature and Weissbier yeast, I won’t be changing the method I’ve settled on, though I certainly feel more inspired to test out other expressive strains.
If you have any thoughts on this xBmt, please share them in the comments section below!
Support Brülosophy In Style!
All designs are available in various colors and sizes on Amazon!
Follow Brülosophy on:
FACEBOOK | TWITTER | INSTAGRAM
If you enjoy this stuff and feel compelled to support Brulosophy.com, please check out the Support Us page for details on how you can very easily do so. Thanks!



17 thoughts on “exBEERiment | Fermentation Temperature: WLP300 Hefeweizen Ale Yeast In A Weissbier”
I was very glad to see this. As I usually brew belgian ales with POF+ strains, I’ve always felt that fermentation temperature makes a big difference. Several xBmts have shown otherwise using American/English ales strains and lager strains.
By the way, I recently had the experience of too little esters and too much clove with a warmer fermentation. This was actually a beer fermented with Wyeast’s 3711 French Saison. It surprised me. With that little story out of the way (I know, you’ve been waiting for it all week!), count me in for more Belgian/Hefeweizen strain xBmts. In fact, if you repeated every fermentation experiment with a belgian strain, I would read them all.
I would second @philosofool101’s comments – I would love to more experimentation with more characterful yeasts, i.e., Belgian and German wheat strains.
My experiences have aligned mostly with the results of the brulosophy experiments related to pitching rate and fermentation temperature for lager and American or English ale yeasts. That is, pitching rate and fermentation doesn’t really seem to matter with these strains.
With German wheat strains, however, I’ve found pitching rate, dissolved oxygen, and fermentation temperature to make a difference. I suspect fermentation geometry to make a difference with these strains as well, but would love some confirmation 🙂
Kudos on the choice of this experiment, and I hope work with POF+ strains continues!
Marshall, I’ve read a bit about the triangle test format, but I don’t understand your usual statement that differently colored cups were used. How do you assign the colors for each participant? Do you randomize the colors as you also randomize the order of the beers?
The cup color for the unique sample is always the same, the cups are presented to each taster randomly (e.g., one taster might get red-blue-green, another might get blue-green-red, etc).
The post-fermentation clarity difference between these two beers isn’t surprising to me at all. The cooler fermentation temperature helps fine particles bind and settle out. My assumption is that by the time you racked to kegs and carbonated, the warmer fermented beer was able to “catch up” from a clarity perspective.
I make a Kristalweizen “beach beer” that is basically a low-gravity Hefeweizen cold-conditioned at 32F for about a week in the fermentor (after primary fermentation and conditioning are complete). It comes out as clear as any lager, and I think it’s a fun twist on the style.
I’m curious if the fact you pitched vials directly instead of building a starter had an impact on the warm fermented beer. Underpitching has been shown to promote ester production and I’ve achieved good results fermenting warm and underpitching for hefeweizens. Therefore I’m intrigued how much of the significance is owed to directly pitching the vial thus slightly underpitching the yeast.
As I understand it, yeast derived esters and phenols are created in the lag phase of yeast growth. Do you know what the effect of pitching rates and oxygenation on phenol & ester profiles in both Hefeweizens and Belgians would be?
Did you do any aeration of these batches?
Not outside of whatever O2 pickup is achieved via the transfer from BK to FV.
Marshall, Im curious about the volme of the decoction you boiled each time. 2 qts, 4 qts?
Marshall didn’t perform this experiment.
I typically remove about 1/3 of the total volume of the mash and boil fairly hard. I use a large mesh strainer to leave behind much of the liquid wort and take a “stiff” portion of the mash over to the boiling kettle.
Malcolm, my apologies for not realizing you performed the exBEERiment. Thank you for the response.
Of course! Hope it helped.
Have any of you ever experiment with the Herrmann-Verfahren method to convert maltose to glucose using the Maltase enzymes?
http://dafteejit.com/2015/08/optimizing-a-hefeweizen-mash-for-esters-and-phenols/
I am interested in trying to make my Hefes more like banana bombs. What’s your take on it Malcolm?
I have experimented heavily with trying to coax 4VG via a ferulic acid rest, at 45C, but never the second half of the method as prescribed above. FWIW, in my experience, 4VG (clove) has been much elusive than the banana esters. Most strain pumps out copious isoamyl acetate.
Interesting, I’ve had the opposite experience being 4vg easily stands out and barely any IA, I’ve used wb06, wlp300, and MJ bavarian wheat at higher temps… I’ll keep trying!
And, so it goes with beer, opinions, impressions, etc. Haha.