Author: Ray Found
In the story of beer’s history, a critical advantageous development came in the way of boiling the wort, as it effectively killed off any potentially harmful pathogens prior to fermentation, which then reduced the pH and created alcohol, working in concert to reduce the risk yet further. When hops were eventually introduced, beer not only took on a new flavor profile but overall product stability improved as well, to the point it was essentially safe for consumption indefinitely, preserving the “just boiled” and therefore safe water. In effect, brewing allowed for the preservation of both the Autumn grain harvest as well as a cache of potable (by way of being boiled) water for later consumption, reserve, or transport.
But what else is happening in the boil? Besides the obvious evaporative concentration of non-volatile compounds, boiling rapidly isomerizes alpha-acids found in hops, lending beer its characteristic bitterness. Furthermore, long duration boils or boiling a portion of the wort down to a syrup are methods heralded by some brewers as ways to increase malt character based on the hypothesis that in addition to concentration effects, Maillard reactions and, controversially, caramelization may be induced where the surface of the kettle meets the wort.
Boil vigor is a variable I hadn’t considered much until a couple things made me rethink my position. First, soon after the Picobrew Zymatic was introduced, I learned it doesn’t technically boil wort but rather holds it at 207°F/97.2°C for a set duration of a nominal “boil” step. This sort of countered what I understood about the importance of boiling and made me wonder how beer made with a not-quite-boil might differ from one made under more normal boiling conditions.
Then, in a quest for precise variable control when brewing xBmt beers, I upgraded to 20 gallon kettles that allowed for ample room to run simultaneous boils at full blast rather than carefully modulating the gas valves to maintain equal boiloff rates. It worked, I reliably hit the same post-boil volumes when brewing side-by-side batches, but due to increased BTUs from running my burners wide open, my boiloff rate jumped from about 1.5 gallons per hour to over 2.5 gallons per hour– it turns out physics is not suspended for the purposes of brewing. I became curious if this increased boil vigor in some way impacted the quality of my beer, perhaps intensifying the bitterness from excess isomerization or changing the malt character due to Maillard reactions, so I designed an xBmt to find out!
| PURPOSE |
To evaluate the differences between a beer where the wort was boiled with minimal vigor and one where the wort was boiled with extreme vigor.
| METHODS |
I went with one of my favorite recipes for this xBmt, one that is pretty evenly balanced between hop and malt characters.
Make America Amber Again
Recipe Details
| Batch Size | Boil Time | IBU | SRM | Est. OG | Est. FG | ABV |
|---|---|---|---|---|---|---|
| 5.5 gal | 60 min | 56.8 IBUs | 14.8 SRM | 1.054 | 1.011 | 5.6 % |
| Actuals | 1.054 | 1.015 | 5.2 % | |||
Fermentables
| Name | Amount | % |
|---|---|---|
| Pale Ale Malt, Northwestern (Great Western) | 7.25 lbs | 62.37 |
| Munich I (Weyermann) | 2.5 lbs | 21.51 |
| Caramel/Crystal Malt - 40L | 1 lbs | 8.6 |
| Crystal 15, 2-Row, (Great Western) | 8 oz | 4.3 |
| Pale Chocolate Malt | 6 oz | 3.23 |
Hops
| Name | Amount | Time | Use | Form | Alpha % |
|---|---|---|---|---|---|
| Magnum | 10 g | 60 min | Boil | Pellet | 12.1 |
| Cascade | 55 g | 15 min | Boil | Pellet | 9.3 |
| Amarillo | 37 g | 15 min | Boil | Pellet | 7.7 |
| Centennial(mine) | 20 g | 15 min | Boil | Pellet | 11.1 |
Yeast
| Name | Lab | Attenuation | Temperature |
|---|---|---|---|
| San Diego Super Yeast (WLP090) | White Labs | 80% | 65°F - 68°F |
Notes
| Water Profile: Amber Balanced in Bru’n Water Spreadsheet |
Download
| Download this recipe's BeerXML file |
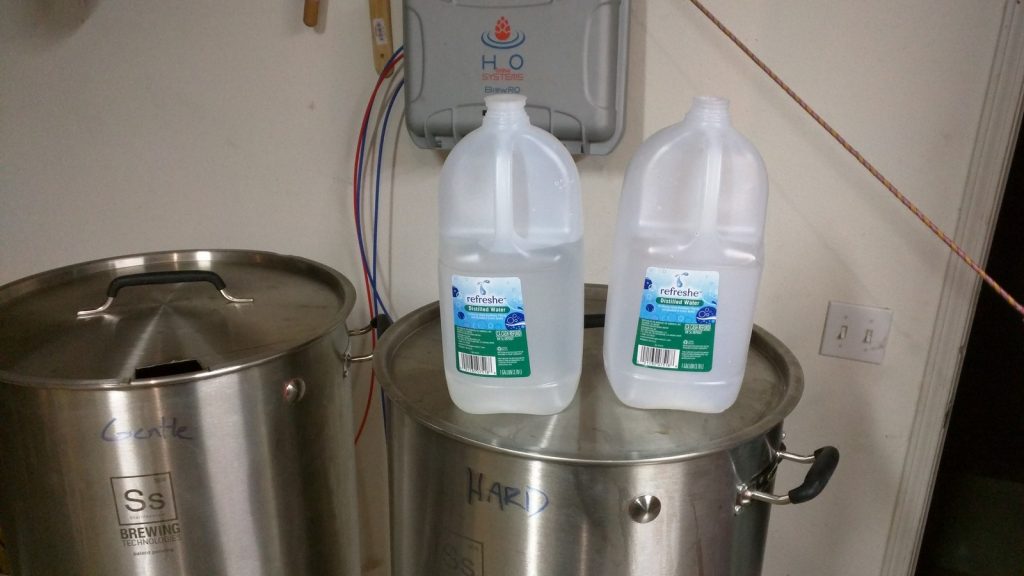
Given my work travel schedule, I wasn’t able to make starters in time for this brew day, so instead I bought 4 packs of WLP090 San Diego Super Yeast, 2 for each batch. The night before brewing, I collected RO water for a 10 gallon batch sparge batch, opting to split the wort post-mash in order to keep things as equal as possible. The water was then adjusted to loosely match the Amber Balanced profile in Bru’n water.
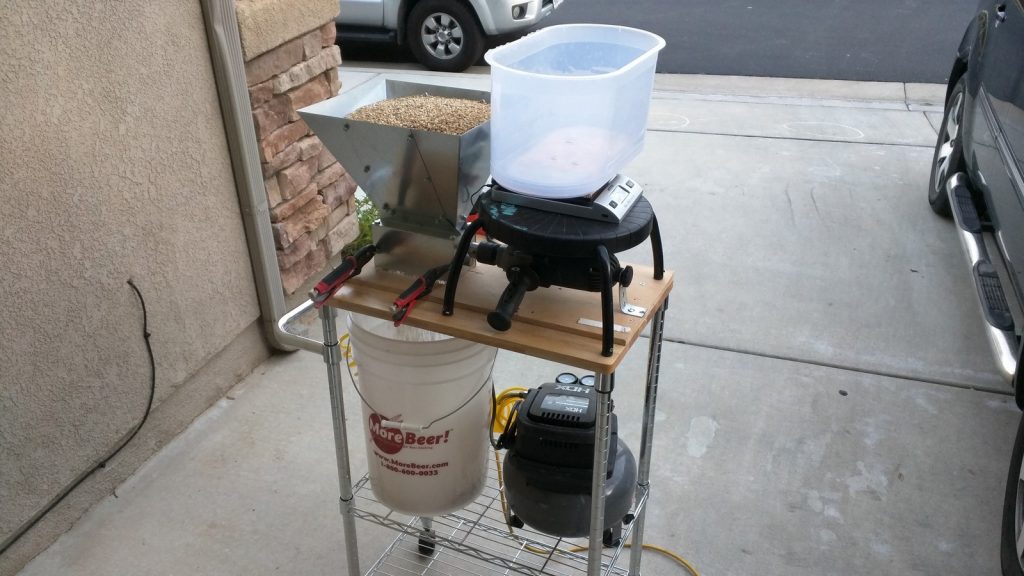
The next day, while my strike water was heating up, I weighed out and milled the grain.
With the strike water to the right temperature, I mashed in to hit my target mash temperature right on the nose.
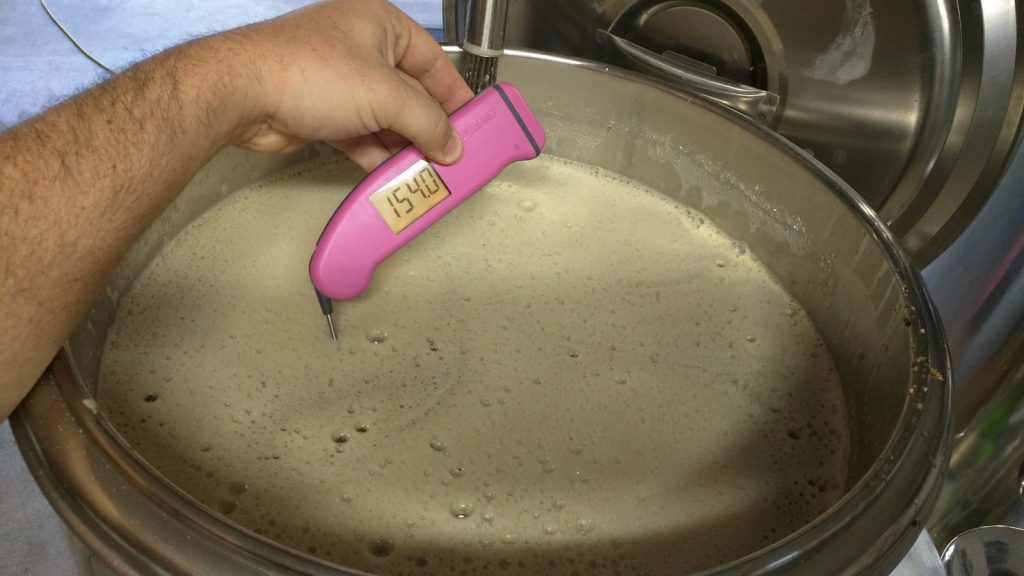
Following the 60 minute mash rest, I collected the first runnings then followed that up with a quick batch sparge.
I collected slightly less than 16 gallons/60 liters of wort that I stirred to ensure homogeneity before using gravity to transfer equal amounts from one kettle to another, each ultimately ending up with just shy of 8 gallons/30 liters.
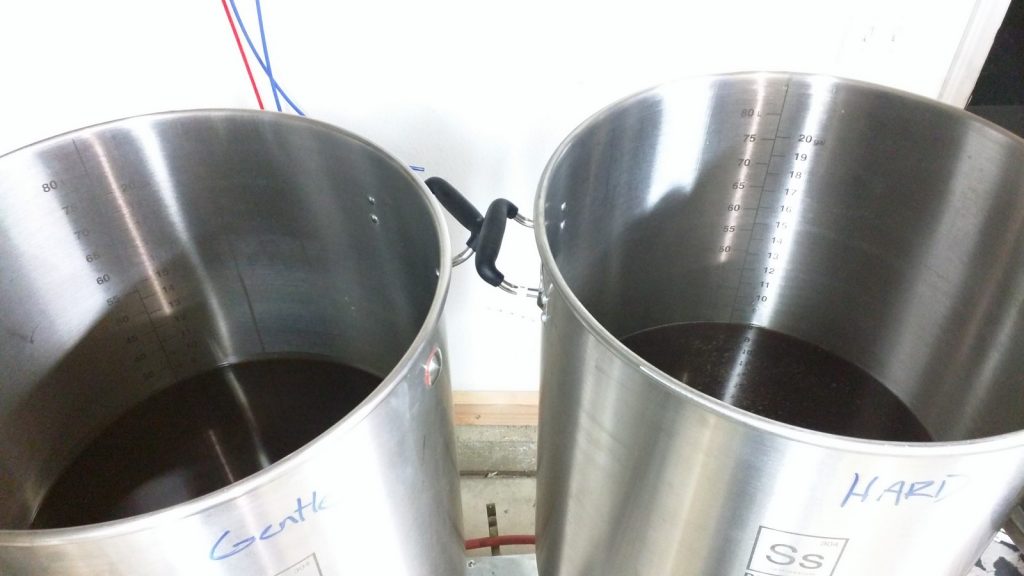
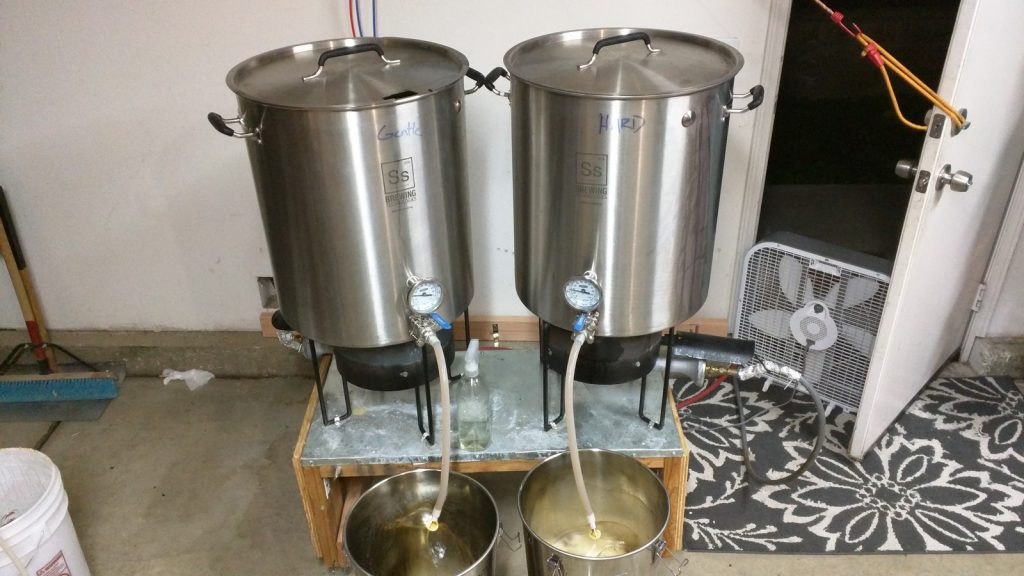
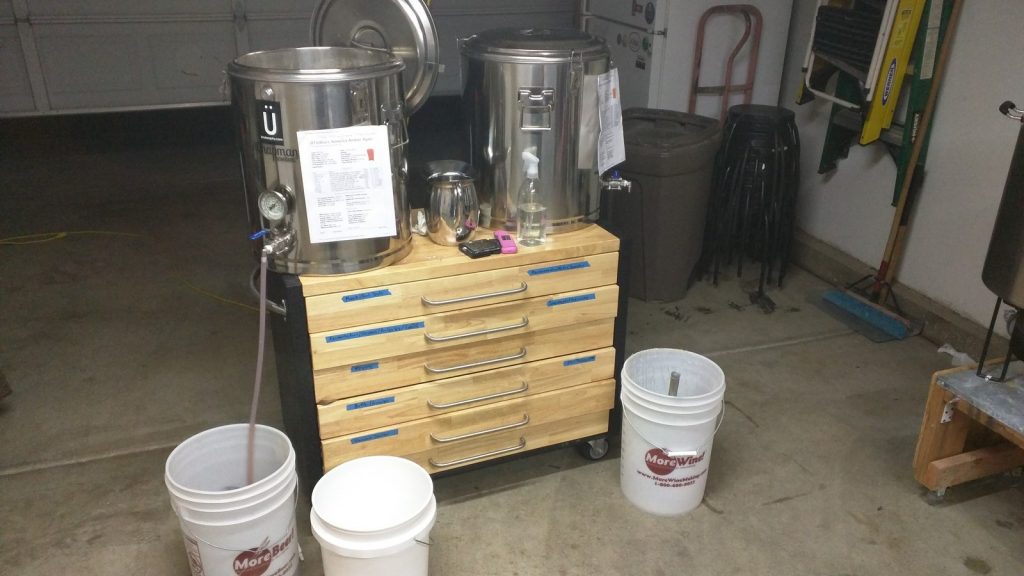
I lit the flame under both kettles at the same time, one with the gas valve wide open and the other with the valve at roughly half-throttle, then waited for each to come to a boil. Unsurprisingly, the full-throttle batch reached a boil first, after which I set the timer to see how much longer the weak boil wort would take. I observed bubbling atop the second batch about 15 minutes later and adjusted the valve to maintain but a gentle simmer before setting the boil timer.
At the conclusion of each 60 minute boil, I quickly chilled them to just above my groundwater temperature. I observed a rather drastic difference in remaining wort volume demonstrating the impact boil vigor has on boil rate. In this case, the strong boil batch had lost 1.25 gallons/4.7 liters more to boiloff than the batch boiled gently.
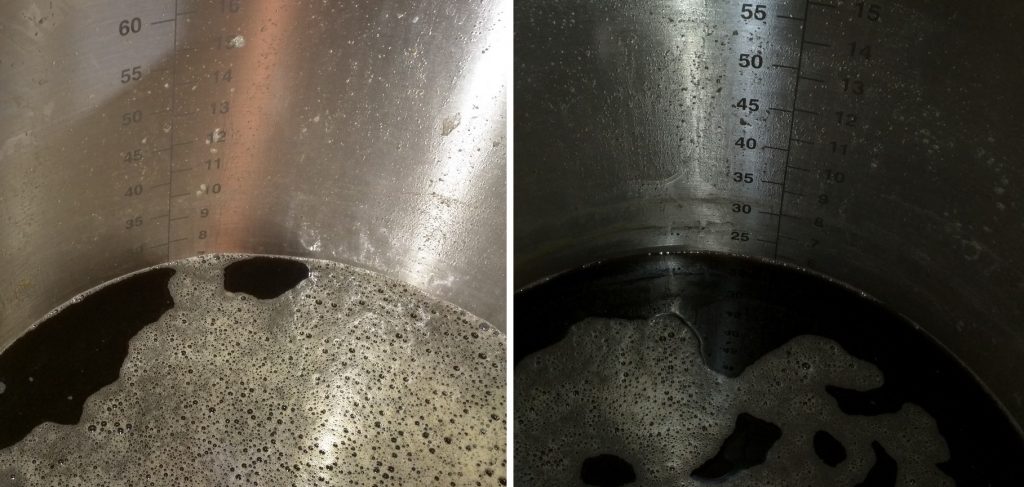
Since the purpose of this xBmt was evaluate the impact boil vigor has on flavor development, I topped off the strong boiled batch with distilled water to eliminate wort concentration and hence OG as a factor.
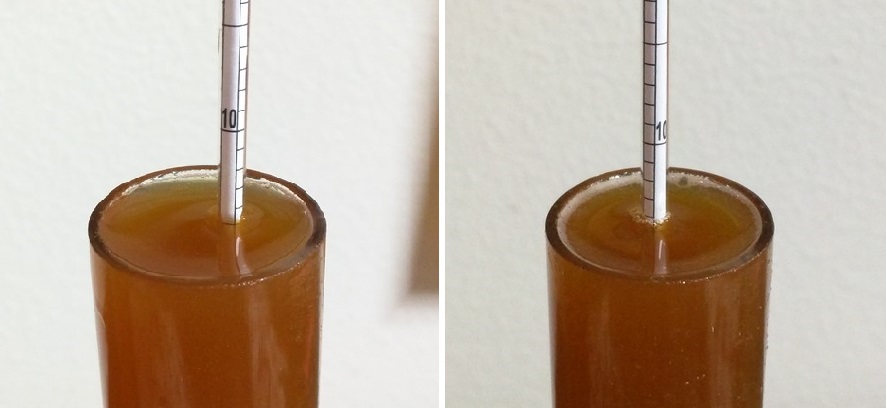
A hydrometer measurement showing both worts at the same OG was validating and, presuming all that was lost during the boil was pure water, suggested the distilled water addition left both with a similar mineral profile.
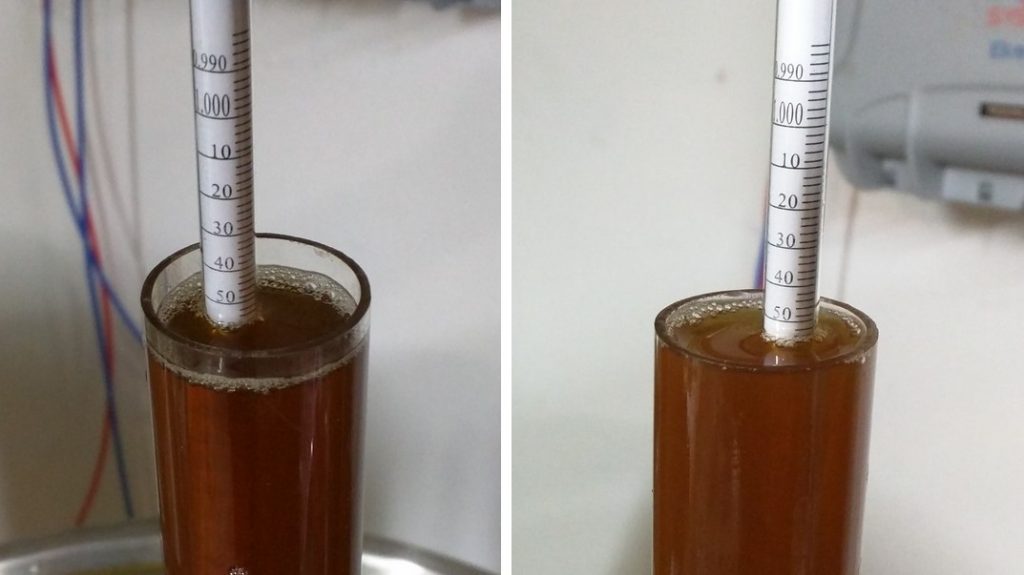
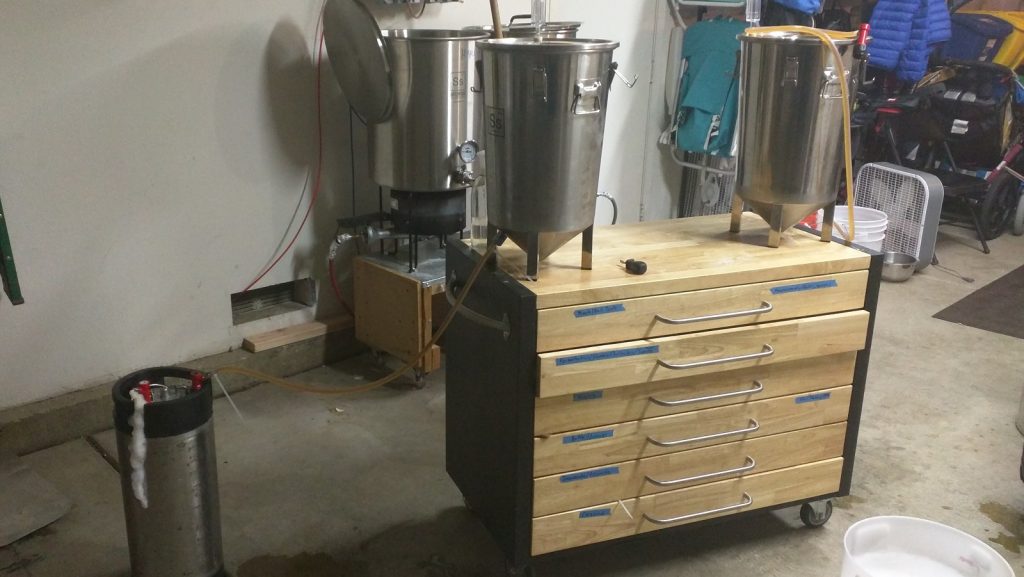
I proceeded with racking the same amount of wort from either batch to separate fermentors.
After a couple hours in my cool chamber with both worts stabilized at my desired fermentation temperature of 66°F/19°F, I pitched 2 packs of WLP090 San Diego Super yeast into each batch. Both beers were fermenting actively by the next day and moved along at a seemingly similar pace. Once signs of activity were gone, I took hydrometer measurements that showed both beers had attenuated to an identical FG.
The beers were then cold crashed and kegged.
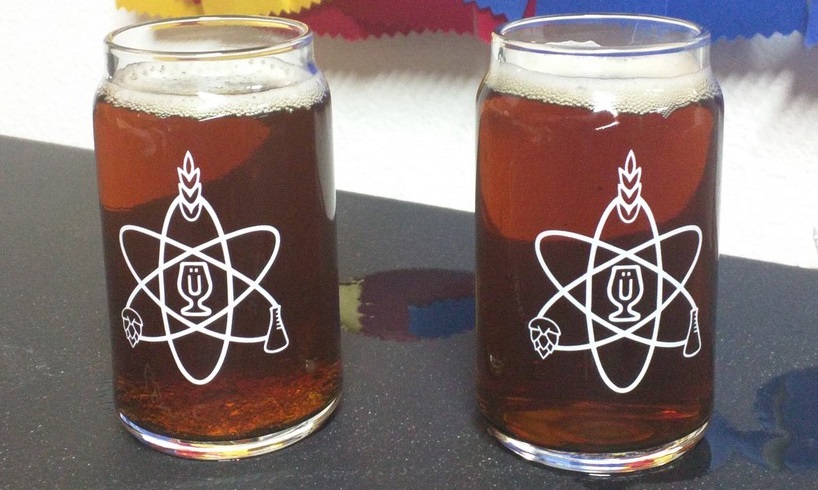
The filled kegs were placed in my cold keezer and burst carbonated overnight before I reduced the gas to serving pressure. After another few days of conditioning, I pulled samples and was unable to discern a difference in color, clarity, or head retention.
| RESULTS |
A total of 21 people of varying levels of experience participated in this xBmt. Each participant was served 1 sample of the weak boil beer and 2 samples of the strong boil beer then asked to identify the one that was unique. While 12 tasters (p<0.05) would have had to correctly identify the unique sample in order to reach statistical significance, only 11 (p=0.56) picked the odd-beer-out, indicating participants in this xBmt were not able to reliably distinguish a beer produced using a weak boil from one where the wort was boiled very vigorously.
While not very scientifically sound, this is only beer and hence it’s possible some might adapt these findings to fit their beliefs. For them as well as those with a curious itch, I figured I’d share the potentially meaningless preference data. Of the 11 tasters who happened to select the unique sample, 5 reported preferring the weak boil beer while 6 endorsed the strong boil beer as the one they liked more.
My Impressions: I never perceived a distinct difference between these beers, and in fact, didn’t choose the unique sample in any of the “blind” triangle tests I attempted. When sampling side-by-side and not at all blind, likely buoyed by bias, I picked up a certain je ne sais qois difference between the beers. While I’m notoriously bad at turning taste bud reports into prose, I couldn’t even convince myself of just what the difference was, so I’m taking this perception with a mighty large grain of salt.
| DISCUSSION |
Boil vigor of wort is known to have an impact on the amount of water that ends up being evaporated off, which is naturally going to impact wort density– more vigorous boils will result in higher OG than less vigorous boils, all else being equal. The observational data from this xBmt certainly backs this up with the strong boil batch resulting in nearly 1.25 gallons/4.7 liters less wort than the weak boil batch. The linear relationship between wort density and color notwithstanding, many brewers believe a strong boil is key to producing the toasty and rich flavors brought on by Maillard and caramelization reactions, which is also said to impact color. However, this xBmt did not demonstrate such differences to be reliably apparent, as neither the visual observations nor the tasting panel provided strong evidence to suggest differences beyond evaporation were present.
Interestingly, participants in this xBmt were unable to reliably distinguish the strong boil beer from the weak boil beer, both of which appeared to share an identical color, suggesting the biggest impact of boil vigor may simply be to boiloff rate. While it’s certainly possible Maillard and caramelization reactions aren’t occurring at the temperatures and duration we boil wort for, I can’t help but wonder if the opposite might be true, that both beers actually possessed those characteristics.
Of course, boiling wort serves more than just the purpose of condensing wort, it also aids in the volatilization of SMM/DMS and isomerization of hop alpha acids. Based on the results of this xBmt and my personal experience with these beers, I suspect even a weak boil is sufficient enough for these reactions to take place, as there’s basically no temperature change as a function of boil vigor.
In the end, while this single result shouldn’t be viewed as proof boil vigor doesn’t matter at all, it’s my opinion it definitely belongs well down the list of things to worry about when trying to create the perfect beer. I’ll continue to boil vigorously for the sake of repeatability and consistency, as this is an important aspect of xBmts, but for those who can only achieve a weak boil, it’s nice to know it likely has minimal impact on beer quality.
If you have any thoughts on this xBmt, please share them in the comments section below!
Support Brülosophy In Style!
All designs are available in various colors and sizes on Amazon!
Follow Brülosophy on:
FACEBOOK | TWITTER | INSTAGRAM
If you enjoy this stuff and feel compelled to support Brulosophy.com, please check out the Support Us page for details on how you can very easily do so. Thanks!




42 thoughts on “exBEERiment | Boil Vigor: Weak vs. Strong In An American Amber Ale”
Was always taught a vigorous boil was best for many reasons:
Best for formation of hot break
Better for hop isomerisation
Increase in gravity
Reduce pH
Boil off worty/bready off notes, flavours
Reduce potential for DMS formation
Increase colour formation
Sterilise wort
A reduced coil only used when you wanted to retain a DMS note like that found in Beck’s
This seems to confirm what I already suspected, based upon aspects of physics and chemistry:
* Maillard reactions are only fast from 140° C onwards. Above 165° C you get caramelisation, due to pyrolysis (Wikipedia:Maillard reaction)
* When water/wort starts to boil, its temperature will not rise very much above 100° C due to convection and nucleate boiling (Wikipedia:Boiling)
* There are always Maillard reactions, but below 140° C they are (very) slow, and if your wort pH is good, then Maillard reactions are even more slowed down, hence no (not much) coloring of wort due to the boil (BrauKaiser:Decoction video on youtube)
Of course, when someone boils his wort to a syrup, and the temperature rises above 140° C then there are more and faster Maillard reactions, coloring will be increased and melanoidin formation also. But with wort boiled to a syrup, the system really enters another state, which cannot be compared to just boiling wort.
I’d like to see a comparison between weak and strong boil vs no boil……
I started brewing with barely boiling full volume, in one kettle, on our electric stove. Eventually I purchased a propane burner and got much more vigorous boils. This winter, I had to go back to the stove, so I split the batch between two pots to support a more vigorous boil. Of course, none of these beers were able to be compared side by side but, I’ve been able to successfully brew tasty beer in each instance. I prefer the propane burner, but now have confidence that when its -20, I can go ahead and brew 100% indoors.
This is one of the things I enjoy about your site… you tackle these tried and true axioms of brewing. I guess I figure, if Belgian farmers brewed beer for their harvest workers, getting wigged out about the nuances, and being Type-A about each step, is probably a waste of brain cells (in the pursuit of tasty beer, maybe not perfectly consistent beer batch to batch, but tasty beer). Of course, that’s probably why I’m in “management” and not “accounting.” lol
I will admit to being addicted to reading the exbeeriments here. My main goal is brewing better beer, but I’m also wondering if there are opportunities for us all to use a little less energy while pursuing this hobby. A less vigorous boil combined with a covered pot (previous exbeeriment) might save significant energy and might not make a significant difference in the end result – at least for some styles. Granted, the process leading up to the boil would also need to change to have a higher pre-boil SG to nail the desired FG.
(could have a longer boil, but that defeats the energy saving goal)
Thanks for helping to educate brewing rookies like me.
I approach the process of hitting my desired SG in a different and I think simpler way. I intentionally plan for a one gallon top up after the boil (10 gallon batch into the fermenters). After the boil is finished I measure the volume of wort and check the gravity. I then use the following quick math to calculate my top up let’s assume a target SG of 1.060 and a postboil gravity of 1.064 with a post boil volume of 10.6 gallons hot.
((64(10.6x.96))/60)-(10.6*.96))=.67 gallons top up
This works every time and I always hit my SG although at the expense of minor deviations in finished wort volume. It works well for me YMMV
I keep my boils gentle, even with propane. It doesn’t help that I am often making 5 gallon batches in a 6 gallon pot, but if nothing else it saves a lot of propane. Only time I go vigorous is when I haven’t hit my OG and I need to concentrate it. Then the faster the boil, both the more of my life I get back, but also the more energy efficient it is.
From looking at the pictures the weak boiled batch has about 10% boiloff, which is already a lot when comparing to professional systems. It would be interesting to go lower than 5% to see when you get off flavors or less coloring. But then maybe do a Helles and not a hoppy beer.
Also from what I have been taught, the less heat load you expose your wort to, the better the shelve life will be. Doesn’t matter much when you homebrew, especially when lots of hops are used, but when you send your beer around the globe.
Do not forget that in real professional systems heat and water are recycled, and DMS can be removed because its boiling point is lower than water. This is not practical for home brewers, setting up a closed system like this.
Might I suggest using a different recipe? It seems to me a beer with chocolate malt and the caramel qualities of Crystal 40 would potentially mask whatever benefits you would get from a rigorous boil that produce some caramel qualities.
Or was there a thought on that concept that I missed in the reading??
Cheers!
I second this.
AFAIK, caramelization only happens in excess of 360F.
I think that here the vigorous boil influence (maillard, DMS off flavours, etc) is being addressed in a beer with a lot going on already in terms of flavour (a big load of munich, crystals and chocolate) as well as a good amount of flavour hop additions.
To address questions like these on a homebrew scale I would expect a vigorous boil being much more critical in styles where there is nowhere to hide those off flavours, as would be in a single malted czech pils or similar. But even here only off flavours would be possibly addressed as readout, as to study a potentially significant maillard efffect I think boils longer than 60 min would have to be applied
Nevertheless, another great experiment and thanks for the time and effort on pulling this out!
Cheers!
Thanks Ray for this great exbeeriment. Other factor, interesting to test, is the boiling time.
Is it enough 10. 20 or 30 minutes of boiling? I usually boil for 40 minutes without a problem. Apart for the hops usage it would be interesting to know.
Thanks, glad to know a violent boil is unnecessary. I’m now in the habit of only boiling for 30 minutes and would be interested to know how much further I could cut the boil time.
This is a great exbeerment and helps break some preconceptions that I had. In fact it really makes me rething my whole whole boil philosophy.
But i was wondering if you could simultaneously test this variable with those of with your boil length and the boil lid on/off exbeerments, which were also non-impactful.
In other words do a gentle, 30′ boil with the lid on vs a violent, 60′ boil with the lid off and still be statistical insignificance.
That would have huge impact on brew time and cost.
I wonder if you would have noticed more differences if you had adjusted the pre-boil gravity of the vigorous boil batch so that both batches finished with the same OG (without the need for adding water post-boil).
+1
+1
Please compare a 60 minute boil with a 120 minute boil (same heat intensity). When people talk about boiling more, I’ve always assumed they meant more time.
We’ve done a couple boil length xBmts already, something similar to what you mentioned is on the list.
all you can say from this experiment is that super fresh samples are very similar. what about after a month? a month stored at 10C? a few months? i guess if you keg and drink the beer within a couple weeks, lots of “rules” can be broken
How about a weak, 30′, lid-on boil versus a strong, 60′ lid-off boil triangle-tested immediately after carbonation and again a month later? Tests all the non-impactful boil variables at once.
Thanks for doing this one. I’m on an electric system with a 2400w element (240v in Australia) and had been thinking of adding a second element to increase boil vigor. I still may do that in the future to reduce the time it takes to get up to boil. It will drop down from the top of my wish list though.
I’ve always done a strong boil because I live at about 8000 ft. elevation, and water boils at only 197F up here. My thought is it would help to correct for the temperature difference, but apparently not. I was really hoping this exbeeriment would show a bigger difference…
…the next batch I brew will have some hop and boil time adjustments.
This doesn’t surprise me. I have a Zymatic and that never even reaches a boil but I’m hard pressed to find much difference between the beer it produces and the beer I get out of my regular 3 vessel system.
I love these xbmts because they tend to save me money (who needs a RIMS if mash temperature isn’t such a big deal?) or provide pointers to improve my beer.
In this case it has shown that my practice of performing a low vigour boil in my basement partly because my 110V induction hob doesn’t have enough power to do a very vigorous boil and also to prevent turning the basement it into a sauna is an acceptable practice. The physics would indicate that once the wort is boiling it doesn’t increase temperature any more and more energy is simply driving off more water, but of course it is also driving off volatiles (both good and bad) so it may not be as simple as that. This xbmt encourages me that my current practice is acceptable…along with the encouragement that I like the beer I brew of course!
Thanks. 🙂
Being a Utah brewer at 6,000 ft, my boil happens at only just a hair over 200 degrees F. I only have anecdotal evidence that my lower boil vigor beers tend to have more off flavor. potential. mainly DMS. But, you could just boil it longer at the lower vigor.
Please fix the P value on the XBMTS page. It reads 0.056 instead of 0.56. This really threw me off for a minute. Thanks.
Good catch, sorry about that. Fixed!
The problem is the writeup: 11 out of 21 (binom(21, 1/3), alt is greater) has a p-value of 0.056.
Hey the reported P value still shows wrong 11 out of 21 should be 0.056 not 0.56
Fantastic recipe BTW Ray. Made 10 gallons and my friends and family are worried about making more….
Any chance of testing boil vs no-boil and maybe testing the amount of DMS in the finished wort?
I am more interested in what these beers taste like a month from now. My friend is having a terrible time with his beer dramatically changing flavor after a few weeks. The only difference in our brewing techniques is that he boils very vigorously (he has a boil coil that he just leaves on) and I brew with a gentle slimmer (I use propane). I’m curious if the vigorous boil is causing hot-side aeration which affects flavor stability.
57 IBU for an American Amber is way too bitter, no? That’s IPA territory.
You do you. Scale IBUs in relation to your own system/experience. My IPAs generally calculate in the 100+ range and frankly, aren’t very bitter. (I have had tested and found them in the 60s measured)
Fair enough! An all-cascade amber that I do is in the 35IBU range, and I was looking forward to trying yours after listening to the podcast, just thought it looked high (but IBU’s are quite subjective). Thanks for the reply, cheers
Am I right in calculating that your “Weak Boil” had a 14% evaporation? I would say weak is below 7%.
The recipe was listed here yesterday, where did it go?
Having some issues with the BeerXML plugin, actively working on it now. Standby!
I applaud not using gelatin to strip all differences out of the beer. (yes, I take issue with this practice in these xBeeriments) But really, you didn’t test vigorous vs. soft boil. You essentially gave weight to the claim that people can’t tell the difference between a batch that was overshot on gravity/undershot on volume and then topped off with distilled vs. a batch that was brewed ‘to recipe’.
If you really wanted to test the effects of a vigorous vs. non-vigorous boil, you needed to have 2 different recipes designed to hit the same OG and volume with different boil strengths/losses.
This is still a very valid xBeeriment, just not for the variable claimed to be tested. (or rather, its opposite in a round-a-bout way)