Author: Greg Foster
It seems every couple of months some “breakthrough” technology is announced that will supposedly change brewing forever. Geek that I am, I always find these new technologies incredibly interesting despite knowing full well that most will never escape the confines of a lab. A few months back, one such announcement quickly caught the attention of the blog circuit. Apparently, students from the University of Pennsylvania had discovered a way to ferment beer 9 times faster than usual by harnessing the power of “microfluidics.” Since waiting for beer to ferment is my least favorite part of brewing, I thought this was awesome!
What the hell is microfluidics? I did a little research and couldn’t find much information on precisely how it works to speed up the fermentation process, but according to one source who interviewed the Fermento team:
Using the microfluidics technology, which can produce nanoparticles of liquid with extremely precise specifications, the team devised a way to concentrate sugar liquids around individual yeast cells. This technique greatly increases the surface area of the yeast exposed to the sugar, accelerating fermentation by 70%. The end result, they say, tastes and looks identical to the traditionally-brewed stuff.
I have no idea what these smart students are actually up to, but the idea of increasing yeasts exposure to sugar to hasten fermentation sounded awfully similar to a method many of us brewers are already employing– yeast starters on a stir plate. Inspired and curious to try spinning a full 5 gallon batch during fermentation, I was doubtful any of the stir plates I use would be up to the challenge. Turns out I was wrong. On a whim, I put a smooth bottomed corny keg full of water on my cigar box stir plate, tossed in a standard stir bar, and turned the unit on.
It actually worked! I couldn’t quite get a full vortex going, but the powerful stir plate had little trouble producing a vigorous spin. Armed with the knowledge of my stir plate’s capabilities, I designed an xBmt to test the impact of continuous agitation during fermentation.
| PURPOSE |
To evaluate the differences between two batches of the same recipe where was fermented under continuous agitation while the other was fermented with no agitation.
| METHODS |
Feeling a tinge of sadness due to not having an Amber Ale on tap, I selected this as the style for the current xBmt and based the recipe off of a NHC winning beer.
Amber Waves of Grain
Recipe Details
| Batch Size | Boil Time | IBU | SRM | Est. OG | Est. FG | ABV |
|---|---|---|---|---|---|---|
| 5 gal | 60 min | 55.3 IBUs | 18.6 SRM | 1.075 | 1.010 | 8.5 % |
| Actuals | 1.072 | 1.014 | 7.7 % | |||
Fermentables
| Name | Amount | % |
|---|---|---|
| ESB Pale Malt (Gambrinus) | 11 lbs | 78.22 |
| Caramel/Crystal Malt - 40L | 1 lbs | 7.11 |
| Munich Malt - 10L | 1 lbs | 7.11 |
| Victory Malt | 8 oz | 3.56 |
| Caramel/Crystal Malt -120L | 6 oz | 2.67 |
| Chocolate Malt | 3 oz | 1.33 |
Hops
| Name | Amount | Time | Use | Form | Alpha % |
|---|---|---|---|---|---|
| Magnum | 29 g | 60 min | Boil | Pellet | 8 |
| Cascade | 29 g | 5 min | Boil | Pellet | 5.5 |
| Centennial | 29 g | 5 min | Boil | Pellet | 10 |
| Mosaic (HBC 369) | 29 g | 5 min | Boil | Pellet | 12.3 |
Yeast
| Name | Lab | Attenuation | Temperature |
|---|---|---|---|
| San Diego Super Yeast (WLP090) | White Labs | 80% | 65°F - 68°F |
Download
| Download this recipe's BeerXML file |
I began my brew day by weighing out and milling the grains for a 10 gallon batch.
While I usually use a complicated eRIMS setup, I opted for a more simple approach for this xBmt and use my old cooler MLT. I added the proper volume of strike water to the cooler then used a heat stick to bring it to temperature, after which I stirred in the grains to achieve a mash temperature a bit lower than I planned.
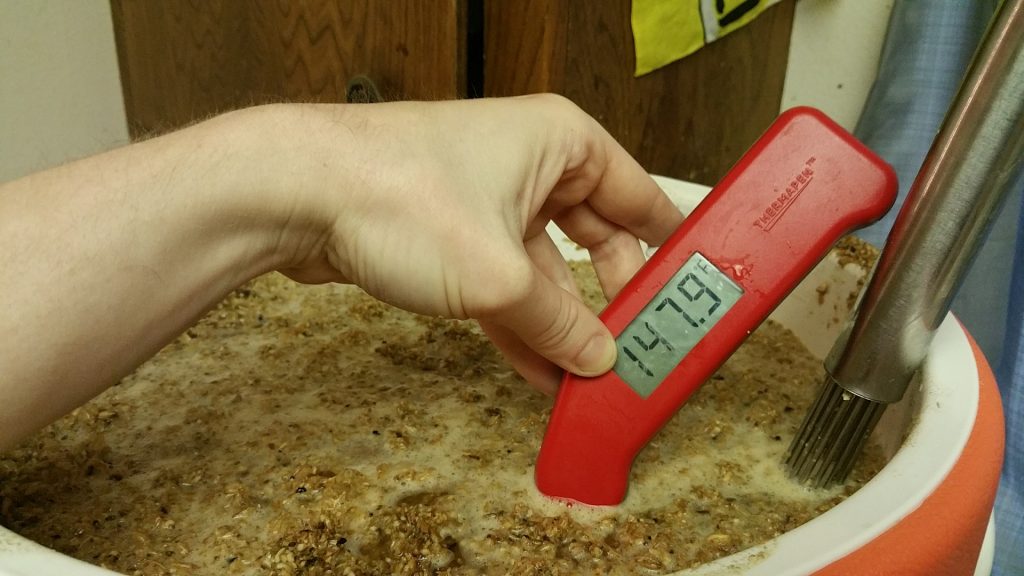
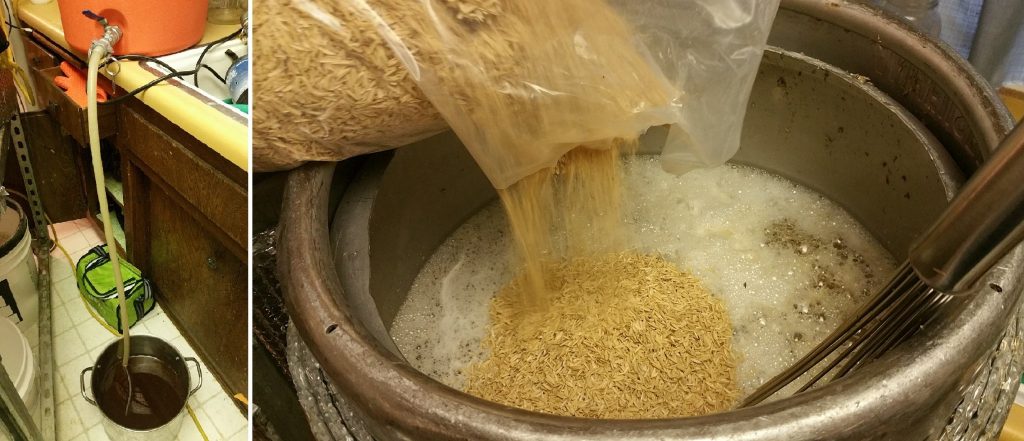
An hour later, I opened the valve to drain cooler, an effort that was tragically thwarted by an infuriatingly persistent stuck sparge, so I ditched the cooler in favor of the safe predictability of my stainless keggle. After transferring the entire mash, I stirred in some rice hulls and was quickly back in business.
Hops were added during a 1 hour boil, after which I rapidly chilled the wort to my target fermentation temperature.
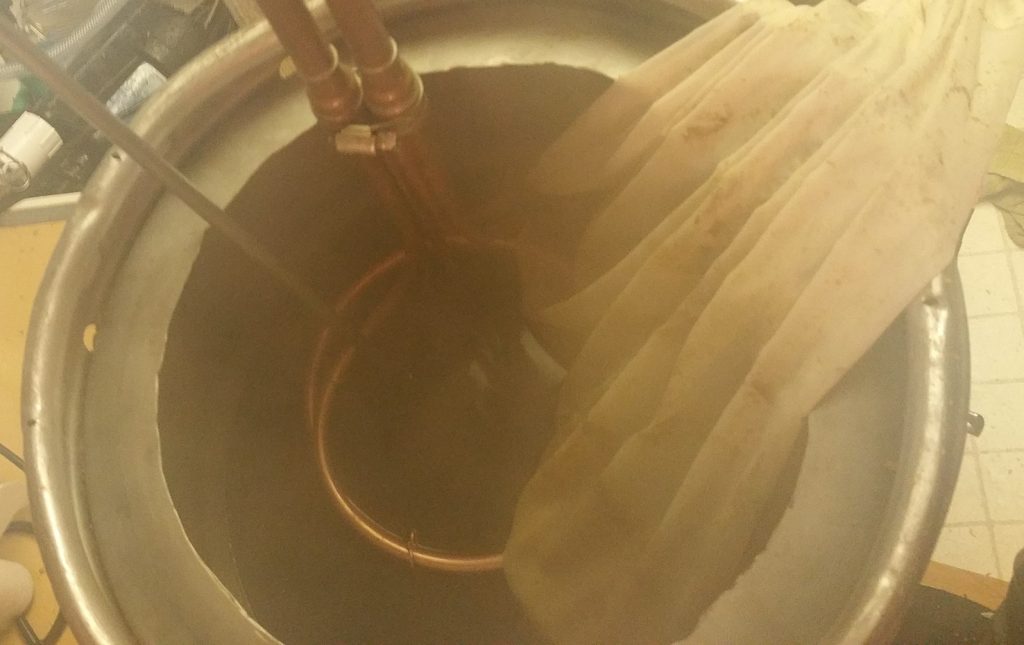
A preliminary hydrometer reading showed I’d achieved slightly better efficiency than I planned for, which was fine by me.
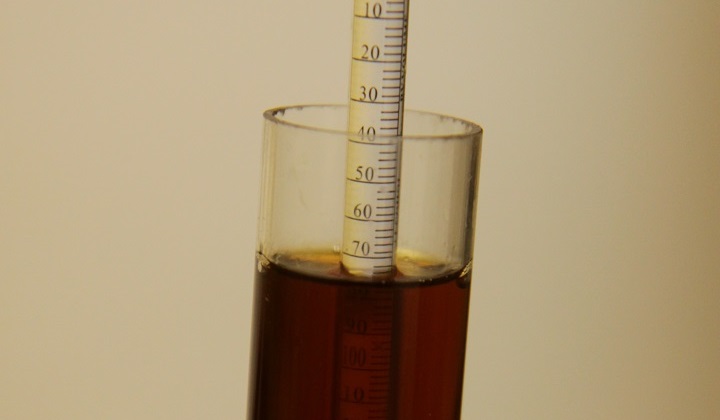
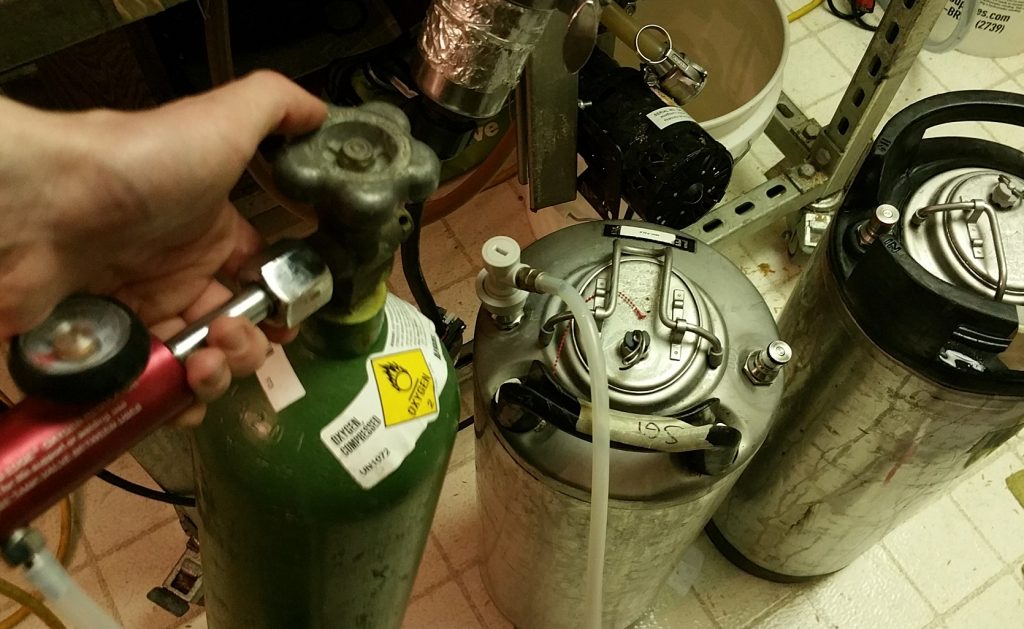
I equally divided the wort between two keg fermentors and hit both with a dose of pure oxygen before pitching the yeast.
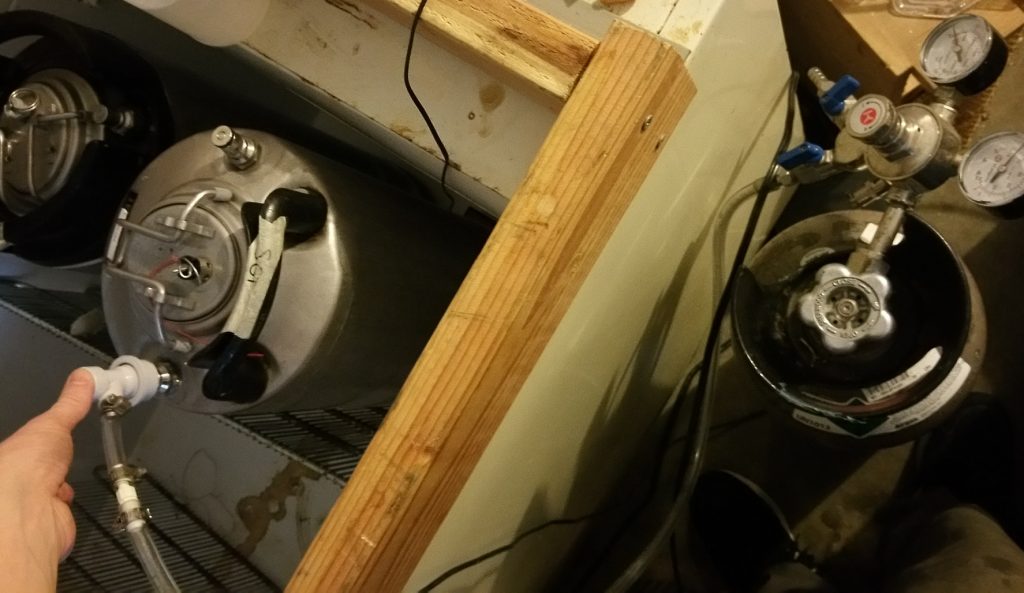
Both beers were fermented in the same chamber, one keg being placed on the floor while the other was placed on my stir plate, which was turned on to provide continuous agitation of the beer throughout fermentation. The purported purposes of using a stir plate to make yeast starters is to keep the yeast suspended in the beer as well as introduce a constant flow of oxygen, the latter of which was not a variable I was interested in looking at in this xBmt. While kegs are largely impermeable to oxygen, I used CO2 to purge the headspace of each fermentor 10 times just to be sure.
I turned the stir plate on and left the beers to ferment, returning 1 day later to check how they were progressing. While both beers were fermenting like crazy, the continuous agitation batch was winning the race by a margin of 9 points!
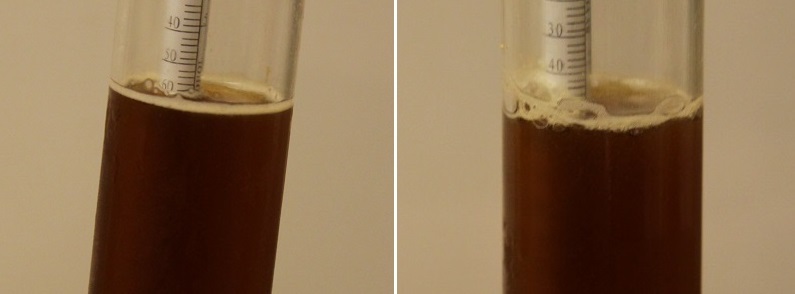
I came back for another SG check the following day to find the standard batch was still lagging a bit, though not by nearly as much.
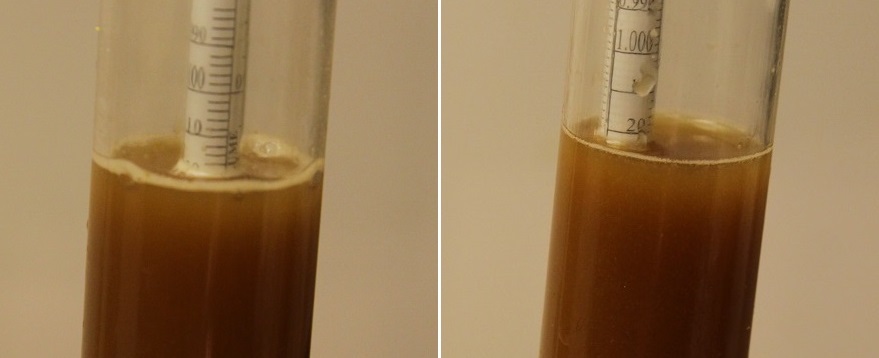
Three days after pitching the yeast, I noticed the airlock on the continuous agitation beer had stopped bubbling while the airlock on the standard batch continued to slowly bubble.
Seemingly finished fermenting, I turned the stir plate off and left the beers alone for another day before taking additional hydrometer measurements. Surprisingly, both were sitting at the same target FG.
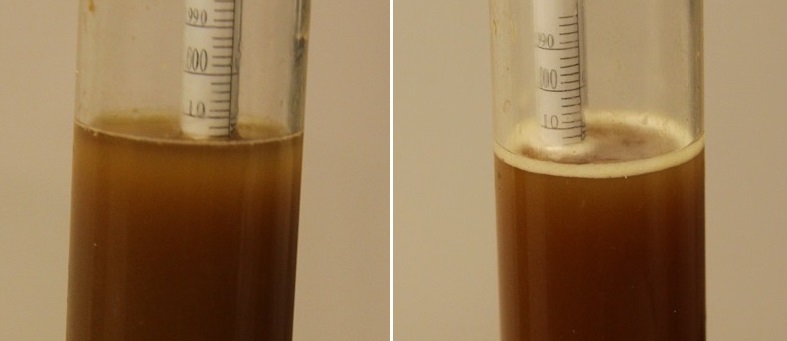
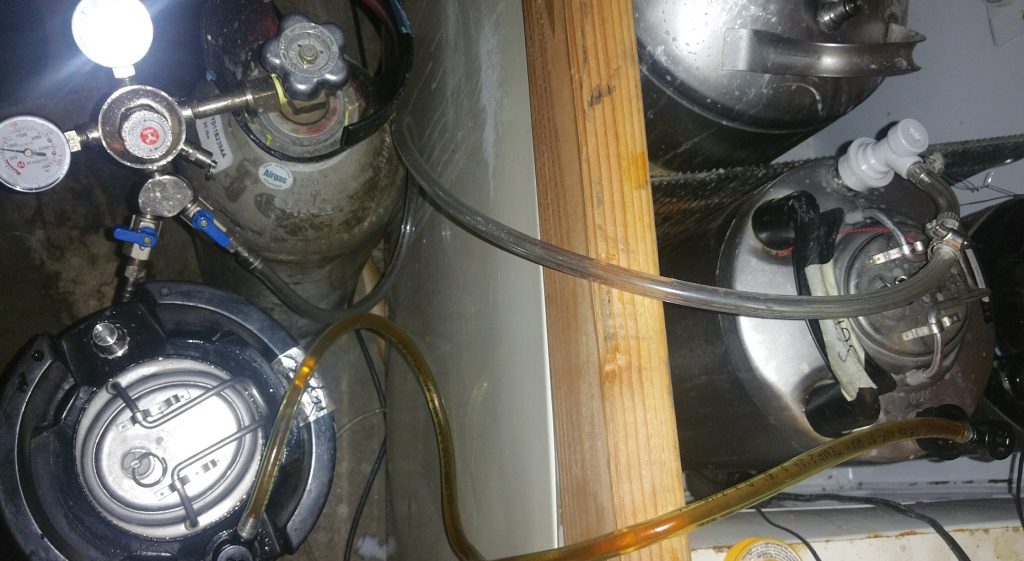
After another week at fermentation temperature and confirming no change in FG, I cold crashed overnight then pressure transferred the beers to their final serving kegs.
By the time the beers were fully carbonated a few days later, they’d both cleared to the point I was unable to distinguish them on appearance alone.

| RESULTS |
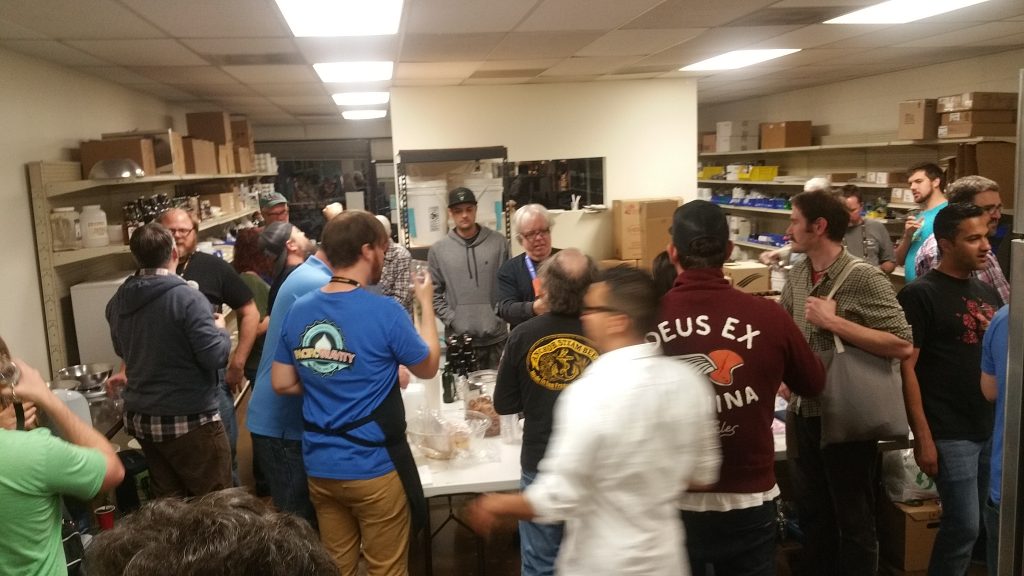
A panel of 15 awesome brewers with various levels of experience participated in this xBmt during a Pacific Gravity Homebrew Club meeting.
Each blind taster was served 2 samples of the beer fermented under standard conditions and 1 sample of the beer that was continuously agitated during fermentation in different colored opaque cups then were instructed to select the sample they perceived as being different. Given the sample size, 9 participants (p<0.05) would have had to identify the unique sample in order to achieve statistical significance. However, only 4 participants (p=0.79) made the accurate selection, suggesting participants were unable to reliably distinguish a beer that was continuously agitated during fermentation from one that fermented under more typical conditions.
My Impressions: I attempted multiple “blind” triangle tests and was unable to reliably detect the beer that was different. I carefully evaluated the aroma each sample, I closely monitored their taste and mouthfeel, I even tried to test myself using full sized glasses with normal pours. Alas, no matter what method I tried, I simply could not tell these beers apart.
| DISCUSSION |
I was warned before attempting this xBmt that fermenting a full-sized batch on a stir plate would likely lead to some nasty off flavors, so I have to admit I was quite pleased that the final beer turned out delicious. The results from this xBmt seem to imply continuous agitation may initially accelerate fermentation while having less of an effect toward the latter portion of the process, as both batches were sitting at the same FG just 4 days after yeast pitch. This along with the fact participants were unable to reliably distinguish the beers leads me to believe that continuous agitation during fermentation, for one, doesn’t replicate the proposed effect of microfluidics, and thus may be a futile endeavor.
I certainly didn’t expect anything like the 9 times faster fermentation the university students reported, but I was admittedly hoping for a little more. Of course, the implications of these results are limited by my use of the notably clean yeast WLP090 San Diego Super Yeast in an ale, which got me wondering how continuous agitation during fermentation might influence other styles such as cold fermented lager. I likely won’t be throwing stir bars into primary fermentors very often in the future because the risk and added complication wasn’t worth the reward.
If you have any experience fermenting beers under unconventional conditions such as continuous agitations, we’d love to hear from you in the comments section below!
Support Brülosophy In Style!
All designs are available in various colors and sizes on Amazon!
Follow Brülosophy on:
FACEBOOK | TWITTER | INSTAGRAM
If you enjoy this stuff and feel compelled to support Brulosophy.com, please check out the Support Us page for details on how you can very easily do so. Thanks!



18 thoughts on “exBEERiment | Impact Continuous Agitation During Fermentation Has On An American Amber Ale”
This would also be a good way to agitate dry hops without any concerns of introducing o2.
yes, sounds great for dry hopping!
I’m surprised the stirbar worked in the SS keg. I thought you would need an aluminum or plastic fermentor, as they are not ferromagnetic.
Austenitic stainless steel is non ferromagnetic.
Try to stick a magnet on stainless steel and you got the answer 😉
Yeah, I thought I had tried that a long time ago, and it didn’t work. Maybe it depends on the pot or thickness or something.
Interesting study and exbeeriment. I really enjoy your Pogs collection!
I thought only kids from Hawaii knew about POGS?
With microfluidics you can isolate single yeast cells and have the wort pass over them in a controlled manner, so continuous stirring of a regular fermentation is not even close to the same thing.
I’d guess that the initial difference in rate of fermentation was due to the stirred batch getting through the growth phase a little quicker, but who knows without actually doing cell counts throughout the process.
Just when I thought Brulosophy had nothing completely novel left to test… good job guys!
Cool experiment. I can maybe add a little insight into what that group of students did.
Microfluidics is a new-ish area of science, centred on the creation of devices for manipulating small amount of fluids. I’ve made a number of microfluidic devices in my lab for measuring things like cell migration and for mimicking small blood vessels like capillaries, which on the scale of things, are pretty primitive forms of microfluidics (some are effectively labs on a chip).
The chip designed by the fermento team accelerates fermentation in a manner different than what you did (assuming the news reports were accurate); their chip did agitate the wort to accelerate fermentation speed (agitation will accelerate fermentation, by speeding the rate of waste removal & new nutrient acquisition past what diffusion would deliver + by keeping yeast suspended in the wort). What this group did was design a chip that packaged beer into microscopic compartments, each compartment with its own yeast cell (or with a few yeast cells; the articles are not clear on that point). Because the yeast are contained they cannot settle out of the beer of flock to the surface, the chip ensures that they remain in contact with the wort until fermentation is complete – essentially, its a complicated way of keeping the idea cell numbers present throughout the fermentation. Depending on their design, there may also be an agitation factor as well – microdrop systems can, if designed correctly, incorporate fluid flow as well.
Cool tech – but not one I’m anxious to add to my home brewery!
Quick question on your setup – did you record the temperature of the fermenting beers themselves by any chance? I wonder if the higher fermentation rate in your stirred sample led to more fermentation-induced warming of the wort…I’ve toyed with the idea of using a similar setup to yours for high-gravity beers (to help keep the yeast from crashing), but was always worried about heat generation leading to off-flavours.
Interesting thought. My fermentation chamber was temperature controlled but I did not record individual fermentation temperatures of the fermenting beers.
I also wondered at first if the agitated fermenter might become warmer. But then, if the fermentation chamber had decent thermal intertia itself and kept a steady air temperature, the agitation would’ve done a better job transferring heat to the keg walls and out of the beer, maybe resulting in cooler fermentation than the stagnant batch.
I for one would be curious to see this approach repeated for a very high-gravity beer where you might get sluggish drunk yeast toward the end and maybe incomplete fermentation without agitation.
I would be interested in a repeat with the agitated batch being kegged several days sooner. Afterall isn’t the purpose to get beer faster? Then again the initial fermentation time is only a portion of the overall process, clearing being the one needing he most patience.
my method is a bit more primitive. any recipe over 1.080 gets an initial 1pk. pitch, then another in 3 days, all the while rocking, twisting, or kicking the bucket whenever I walk by it. 🙂
Shut Up About Barclay Perkins described a conditioning mechanism in some British breweries. After fermentation the beer would be placed in a warm conditioning tank were it was circulated by a propeller type mechanism called a rouser. A few weeks later the beer would then be passed on to a cold conditioning tank for filtering before bottling. I assume rousers had been around before bright bottling became commercial as a way of speeding up conditioning.
Reference here:
http://barclayperkins.blogspot.co.uk/2016/01/bottled-beer-in-1950s-bright-bottled.html
What was your target mash temp?
I was wondering if the stirring bar was still spinning after the growth phase since there will be more solid particules in suspension ? This could be more difficult to spin compare to a yeast starter. That could also explain why the continuous agitation fermentation slowed down a bit ?
I’m actually not surprised there was little if any difference. I am always amazed at the maelstrom of yeast swirling throughout my fermenters. It seems to me there already is a great deal of agitation and if the stir bar was going to do anything at all, it was going to help in the first 12-24 hours, when there isn’t yet the storm of circulation in the fermenter.
It’s a good exbeeriment, and I’m also a little disappointed there wasn’t something more tangible to come out of it. But that’s why we do the experiments.
I’d be curious to see how this would help with highly flocculant strains like London III or 002. If I can have the stir plate do my babysitting for me, even if it takes the same amount of time as 001 or 090, that would be a plus. Also, an improvement here might be a decent sized impeller with a magnetic axis on the bottom. That might be more useful in a wider fermenter as well as being able to keep agitation going as the mixture thickens up. I’ll look into trying it, but if anyone beats me to it, please share your results!