Listen to The Brülosophy Podcast about this variable:
[soundcloud url=”https://api.soundcloud.com/tracks/316335731″ params=”color=ff5500&inverse=false&auto_play=false&show_user=true” width=”100%” height=”20″ iframe=”true” /]
Author: Marshall Schott
I first heard of the no sparge brewing method a couple years ago and immediately found it appealing. As much as I enjoy brewing beer, and I truly do, I also get a sense of satisfaction from streamlining the process while maintaining a high quality end product. What I’d heard about no sparge is that it works great for low to moderate OG beers, it results in slightly lower efficiency compared to fly or batch sparge, it can reduce the risk of tannin extraction, and it tends to produce an at least slightly more malty beer. On top of all that, it shaves a good 30-45 minutes off of a typical brew day. I tried it out, it worked great, and now I find myself using the no sparge method for all the 5 gallon batches where I’m not using BIAB, which when traditionally performed is actually a type of no sparge method. While I’ve written more briefly about my process before, I thought I’d share a more detailed and photo-filled version of what a typical no sparge brew day looks like. I also included a BeerSmith tutorial video for those interested in setting up their equipment and mash profiles to work with this method.
One of the things that makes the no sparge method so simple is that you use the full volume of brewing liquor in the mash, which makes adding minerals and acids easier for those of us who tweak our water profiles, as you’re not calculating mash and sparge additions.
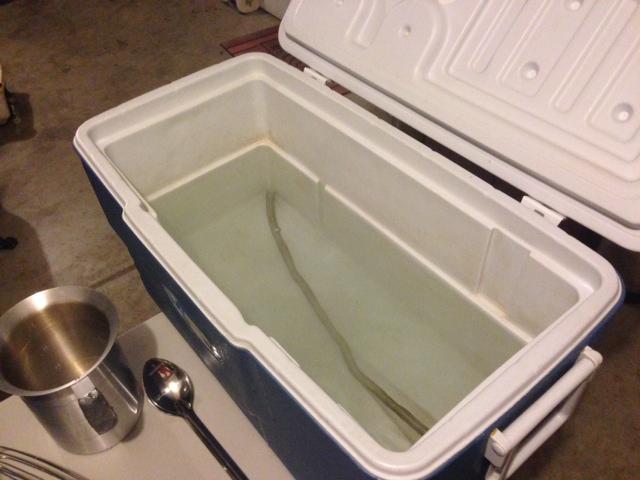
Once the water’s about 5˚F over my target strike temp, I transfer it all to my cooler MLT then close the lid for a few minutes to let it pre-heat.
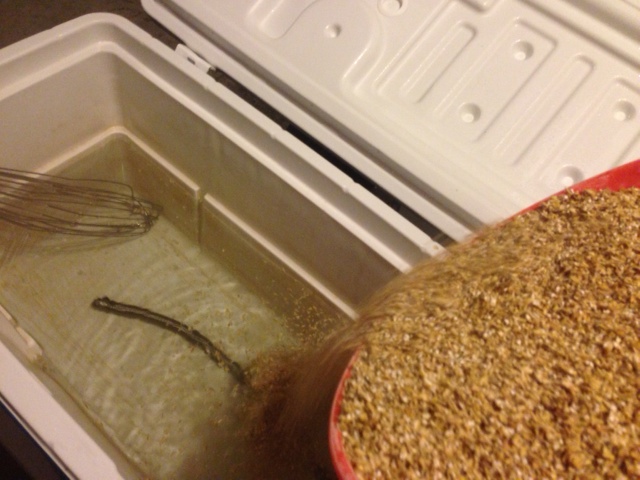
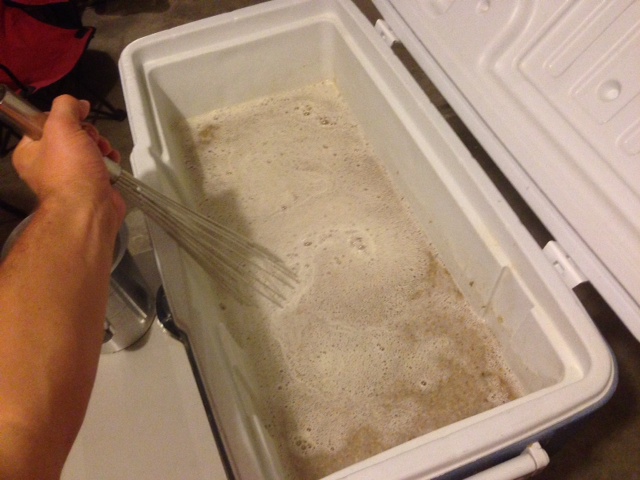
After a few minutes of pre-heating, I open the lid and stir until my target strike temp is reached then add my grains, stirring constantly with a huge whisk to avoid dough balls.
Really, the only difference at this point from batch sparge brewing is the water to grist ratio, no sparge mashes are noticeably thinner.
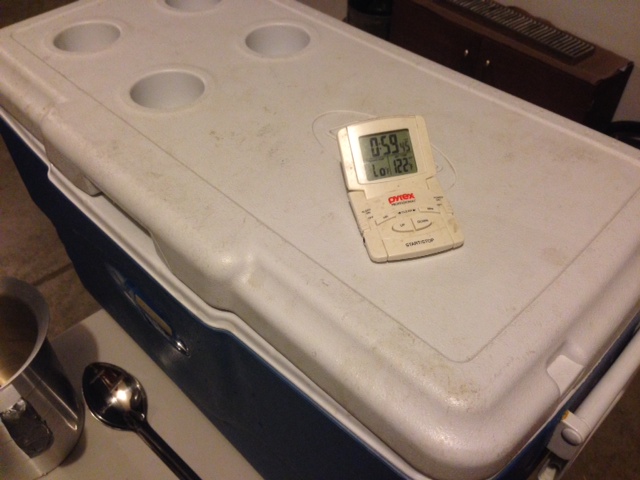
I stir until my target mash temp is reached, close the lid, and set a timer for 60 minutes.
Similar to what I do when batch sparge brewing, I stir the mash briefly every 20 minutes or so, which I’ve found has helped stabilize my efficiency to about 75% when using this method.
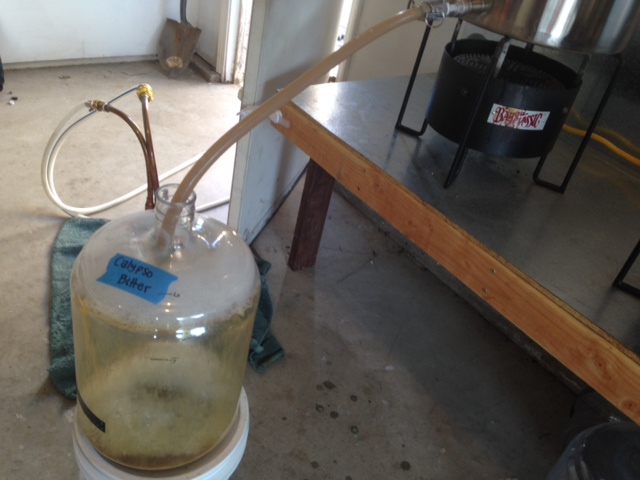
On this day, I was making a Bitter recipe I use often to test out hops I’m unfamiliar with or just want to emphasize, which in this case was Calypso.
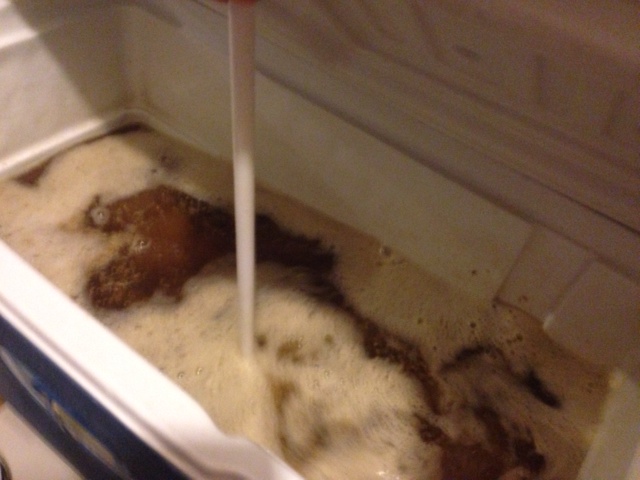
You get a good idea of the color of the beer when mashing with the full volume of water. Next, I collect the sweet wort.
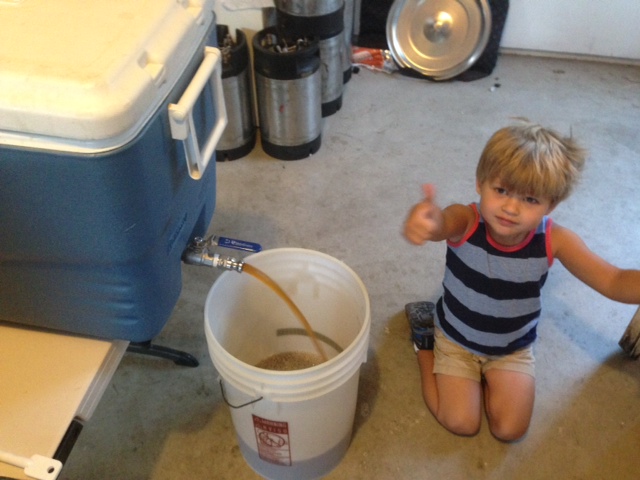
Since I collect my wort in a bucket then move it to the kettle, I have to make two trips since I’m running off the entire volume… hire a cute kiddo to watch over things, it makes the task a little easier. I always end up with the same amount of wort in the kettle as I do when using any other method.
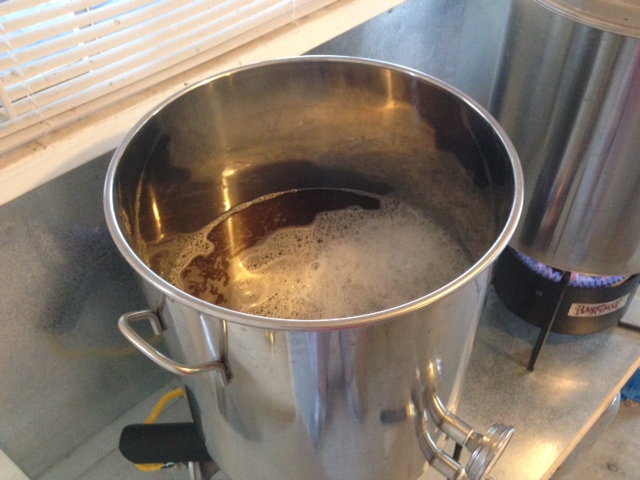
I then boil, add hops, and chill per my standard routine.
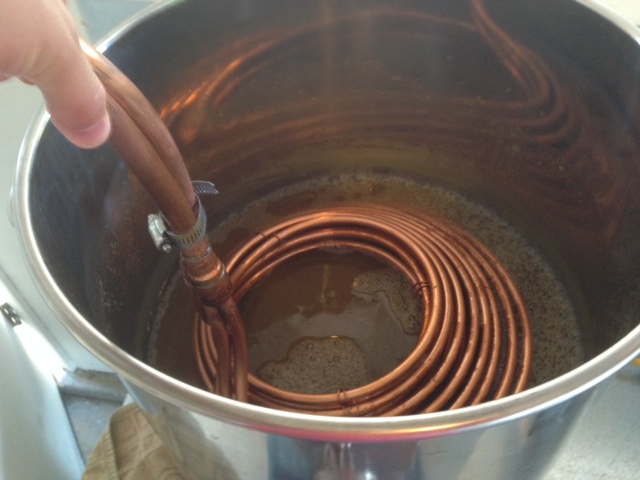
Once chilled, I rack to a fermentor, pitch yeast, and ferment as usual.
Start to finish (not including water collection and grain milling, which I did the night prior), this brew day took just under 3.5 hours.
After fermentation is complete, usually about 10 days, I keg the beer up, carb it over a few days, and enjoy!
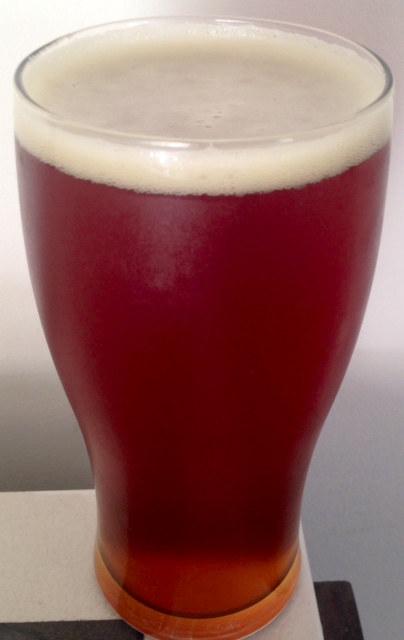
Malty, smooth, and delicious. I know a lot of folks prefer lighter beers to test out new hops, but I’ve found this recipe really does a great job. I have plans to swap the C120 with C60 and the C60 with C10, just for kicks, but that’s for another post.
If you haven’t tried the no sparge method and your MLT has the capacity to hold a full volume mash, I strongly encourage you to consider it! For those who are interested in this method and use BeerSmith, here’s my tutorial on how to set your system up for no sparge.
CORRECTIONS & CLARIFICATION:
– For the first part of the video, intended for those who never batch sparge, you’ll notice there is a Mash Out step in the mash profile. I meant to delete this, which you can do by highlighting that step and selecting delete. Sorry for any confusion.
Support Brülosophy In Style!
All designs are available in various colors and sizes on Amazon!
Follow Brülosophy on:
FACEBOOK | TWITTER | INSTAGRAM
If you enjoy this stuff and feel compelled to support Brulosophy.com, please check out the Support Us page for details on how you can very easily do so. Thanks!




39 thoughts on “No Sparge Brewing: How-To + BeerSmith Tutorial”
I’ve been missing my OG lately, and before I buy a grain mill or go to my LHBS screaming “Crush problem!” I want to give this a shot to make sure it isn’t my mashing/sparge process that’s the problem. Thanks for the tutorial! I just recently bought BeerSmith and it can be a pain to figure out.
No sparge tutorial in far fewer words: Mash in with all the water. Don’t sparge.
Done !
Funny guy…
I’ve always wondered why this isn’t done more often. The only real issue I can see it causing would be mash temp control from stirring. With a gas setup and a steel mashtun, you could probably just kick the flame on low when you stir. From what I understand, the majority of conversion happens within the first 20 mins anyhoo.
Aaaaaand, I’m gonna try this shit this weekend. Will report back.
And instead of stirring I’ll just kick on the pump for vorlaugh at the end and let it set the grain bed while the rest of the sugars are taken into the remaining soluable water. I shall call it the vorsparge!
What size are the corny’s behind your son? I have been looking for a good place to get small ones.
whats size are the small kegs behind your son/where did you get them>
3 gal, I link to them in my Gear page (sorry, on phone).
I tried my first no sparge on an English Mild this past weekend. Efficiency was not as low as I expected so I over shoot my OG slightly. Other then that the only difference I noticed was that my mash temp dropped from 153.5 to 148 over the 60 minute mash. Normally I only loose about 1 degree. Not sure if this was due to the thinner mash.
Hmm, that’s curious you lost so much heat because with greater thermal mass comes slower drops in temps. Did you stir before taking that last temp reading?
No, I don’t think I did. That might be it. Like I said before I normally only see 1-2 degrees difference if at all.
I was also using a new thermometer with a shorter probe.
Yeah, I bet you didn’t lose as much heat as you thought.
Thanks a bunch for the great how-to and the beersmith instructions. With a 15 month-old I’ve been looking for a way to expedite my brew day. I’ve been wanting to try this out, but with a 7 gallon kettle I really haven’t had the resources to heat the larger volume of mash water. My new 15 gallon megapot arrive this week, and decided what better way to christen the new kettle than heating up 10 gallons of water for a no-sparge batch.
I got my grains milled, water set out, and beersmith setup the night before. Woke up at 4am and had mash water heating by 4:10. Used a 60 minute boil and had the chiller running by 7am, just in time before the little man woke up. Nailed my numbers.
Can’t wait to see how this one turns out, I’m excided that I was able to get a full batch brewed in under 4 hours.
I’ve recently begun creating larger starters to bank yeast thanks to you, and used this batch to start a line of 090.
THANKS!!
Way to go!
Nice write up! I’m assuming with you hitting your OG that you do not experience any PH problems with thinner mash? I plan on going this route though figured I would mash for 60 minutes at a “typical” water to grist ratio then add the additional water at end to top off to full volume as well as using hotter water to perform mash out at same time. Ever try this? Thoughts on method? Thanks!
Ive never had ph problems, but i manipulate my water profile using Bru’n Water. I know a few people whomfo exactly as you suggest with no problems at all. Cheers!
So— fairly new about a dozen batches done with only a couple that were not so good, still drinkable. Im keeping notes in a note book but Im guessing its recommended to buy beersmith? +/- thanks!
It’s a great tool, for sure
Great article! I’ll go for that for my next batch, and party-gyle a session stout 🙂 I tried to follow your BeerSmith tutorial, but a 7:02 of the video, BeerSmith has a glitch and still shows me “Sparge: Batch sparge with 2 steps (drain mash tun, 12.75L)” although the sparge volume is well adjusted on the bottom of the screen. It may be worth reporting this bug if it appeared on the latest version! Thanks again, you helped me make sense of BrewSmith a little bit more 🙂
Cheers! I’ll take a look to see if that bug persists, I’ve never noticed it before.
Thanks! It may be specific to the Linux version, though, but please let me know if you experience the same. Brew day went great and exhaustingly, but thanks to your precious hints, it got sped up by a good hour all together. Cheers!
Nice Write up, I’ve been running BIAb for a couple of years now, and just actually bought a separate mash tun, and this is the best article I’ve come across to brew effectively with no sparge using a second vessel. I’ve always done a Mashoujt step with BIAB (Lift the bag off the bottom via Pulley and heat to mashout temp) Have you tried itthis way or when BIAB with mashout what is the fall in your efficiency between a mashout step and no mashout step?
I typically mashout while using a pulley to remove the grain bag, but I’ve skipped this stepped before and haven’t noticed a significant drop in efficiency. I think that’s what you were asking 🙂
Great post.
I decided to start trying this method after reading John Palmer’s article in BYO. I’ve done 3-4 no sparge brews and have found I achieve approx 65% efficiency. But I have never stirred during the mash. I’m going to employ your stirring technique the next time I brew and see how it effects my efficiency. One thing I’m curious about though — how much do you usually vorlauf? I know that often the case is to vorlauf until the runnings are clear. Is this your take? Also, can you vorlauf too much?
Thanks. Keep up the good work!
While I haven’t tested it (xBmt is planned), I’m not sure it’s necessary to vorlauf… that said, I still do it out of habit, I usually run about 2 quarts off and pour it back into the mash before collecting my sweet wort.
Nice. Looking forward to seeing the results of that xBmt.
I’m wanting to move to all grain, and this no sparge method is really appealing to me. Is a 48 quart cooler big enough provided I’m. Not doing any high gravity beers?
It should be. If that’s all you’ve got available, or if you want to make a bigger beer, you could always do a simple batch sparge, it only adds 15 or so minutes to the brew day. Cheers!
Hi Marshall – Do you remember what kind of efficiency numbers you were hitting prior to stirring during your no sparge mash?
Over my first three no sparge brews, I’m getting a paltry 50% brewhouse efficiency and am flummoxed as to why. I’ve got a brand new setup of BK, MLT, pump and plate chiller and am still dialing in my process. While the pump runs throughout the mash performing kind of a constant vorlauf, I have not been stirring the mash after dough in… hoping that doing so as you’ve suggested might help boost my efficiency. It’s really hard to dial a recipe when getting these kinds of numbers…
I want right around 65%, but recirculating ought to do the same thing. Are you killing your own grain? If not, that’d be my first guess.
I had my LHBS double mill grains for me last time and that didn’t make any difference. I wonder if I have more dead space in my tun + hoses + pump than I was accounting for in BeerSmith. Also, my recirculation port is returning all mash liquor back to the same general section of the 15gal MLT. Even though I see no channeling in the grain, I’m wondering if the lack of stirring is causing only partial extraction in the rest of the grain opposite from where the recirc is re-entering. Thanks for your reply.
So I’m trying to upgrade my system so I can do bigger (10 gallon) batches. I’ve just bought a 70qt cooler to use as my MLT and rectangular brew bag to use as my filter. It seems pretty similar to your setup (coincidence, I think not). I’m curious if you can no-sparge a 10 gallon batch in that setup? I’ve been fly sparging in round coolers so far, so I guess at the very least it is time to move to batch sparging. Also, when you use Bru’n Water, are there any issues with having no sparge water in the calcs? Love everything you do – you’ve been a huge inspiration throughout my first year of beer making!
It really depends on OG and efficiency. I know of a guy who is able to no sparge 10 gal batches in the same setup when the OG is 1.052 or less, but I’ve never tried.
Thanks for the kind words, glad to be of some help!
I do 9 gallon batches in my kettle full volume no sparge BIAB and average 78.5%. Only difference here is the mash tun vessel. I’ll add that once you get your fermentor volume, boil off, and trub loss figured out, the only variable to the water volume is the amount of water lost to absorption. If you use a bag and squeeze, there is no lost wort except about 7 oz that you can’t squeeze out of the grain.
I guess you can’t do a 5 gallon batch no sparge in a 10 gallons mash tun, as I usually use 10 gallon of water to reach my 28 liter of boil volume…
Hello,
I’ve been wanting to do a No Sparge for a stout I’m brewing on Saturday, but I’ve heard you want to increase the malt grist by 20%. The only problem is that i don’t have enough room in my 10 gallon mash tun to hold more grain. So i was wondering if it’s possible to add the extra grain in a muslin bag, and steep it in my strike water. Then when it’s time to mash, i remove the muslin bag, and add the malted strike water to my mash tun with the other unmashed grains. Is that possible, or am i missing something? Additional grains will soak up some of the strike water? Will i build up some DMS with the malted strike water?
I’m sure that’d work fine. The other option would be to withhold the specialty grains from the mash then steep them in the wort once you’ve lautered, similar to the way extract brewers steep character malts.
Zero concerns of DMS using any of the methods you mentioned 🙂
That’s a good idea as well. Thanks, Marshall! I love the show, and keep up the awesome work. Also, let me know when you start selling those Brulosophy taster glasses. I’ll be the first customer.