I recently shared the very simple 2 tap keezer build I did for a friend. What allowed me to keep that keezer so simple was my experience building a 5 tap keezer for myself. I had previously been using a 3 tap kegerator built into a refrigerator that worked great, I actually really liked having the freezer on top to store hops, but I brewed far too often to have only 3 faucets. I set my wife on the hunt to find me the best price on a large chest freezer and she certainly did not disappoint. With a combination of coupons and store discounts, we paid $356 for a 14.8 cu. ft. Frigidaire, originally priced at $530.
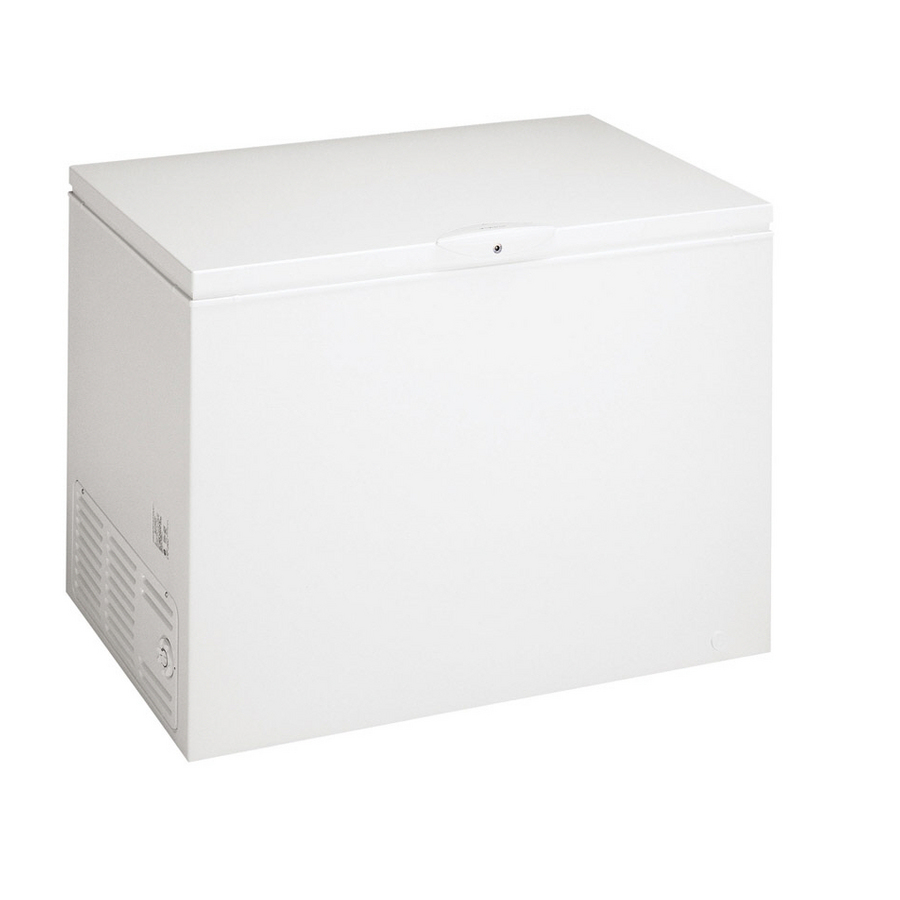
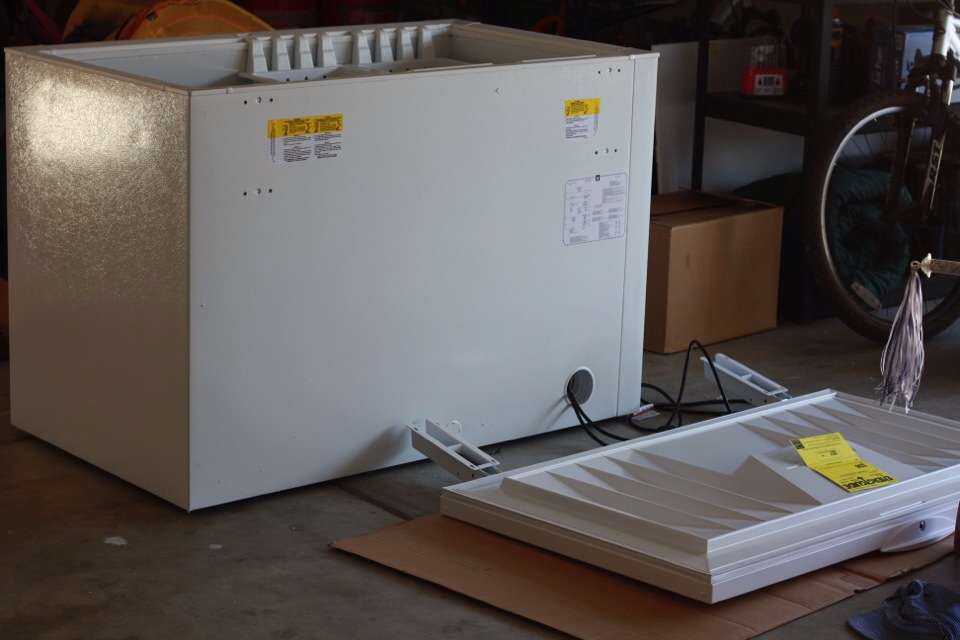
With the freezer on order, I purchased all of the other parts including angle brackets, bolts to hold the facade to the collar, faucets, CO2 tank, regulators, etc. Once the freezer was in my garage, we got to work. The first step was removing the lid.
Easy enough, just don’t forget about the springs in the hinges, they will absolutely bash your face in if you’re not careful. One option is to stick a long nail into the small hole in each hinge to hold them in place during removal. I just held the hinges in place while I removed the bolts and it worked fine. Still, be careful.
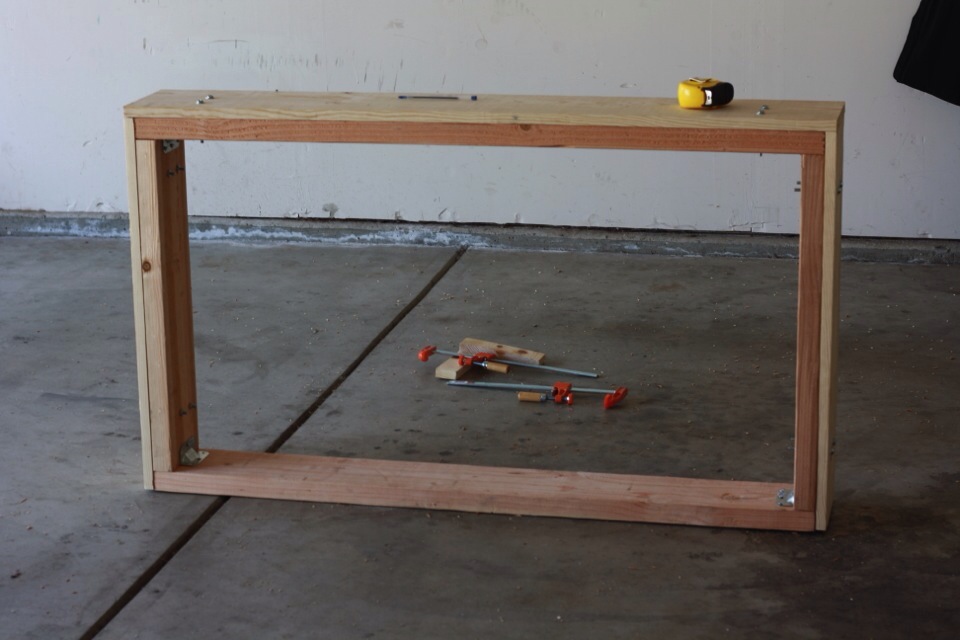
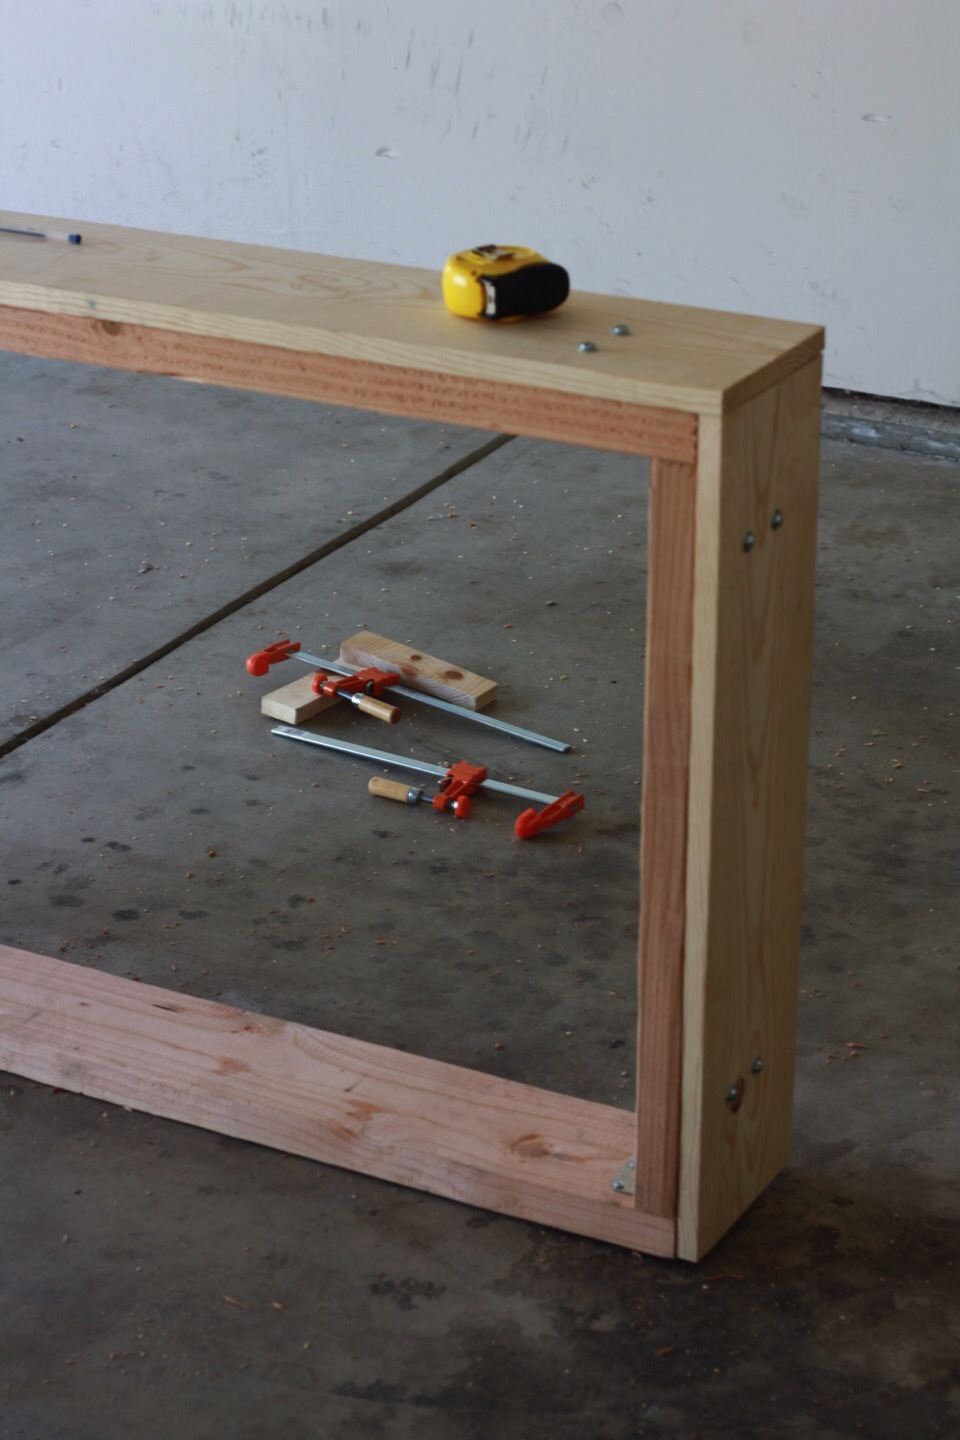
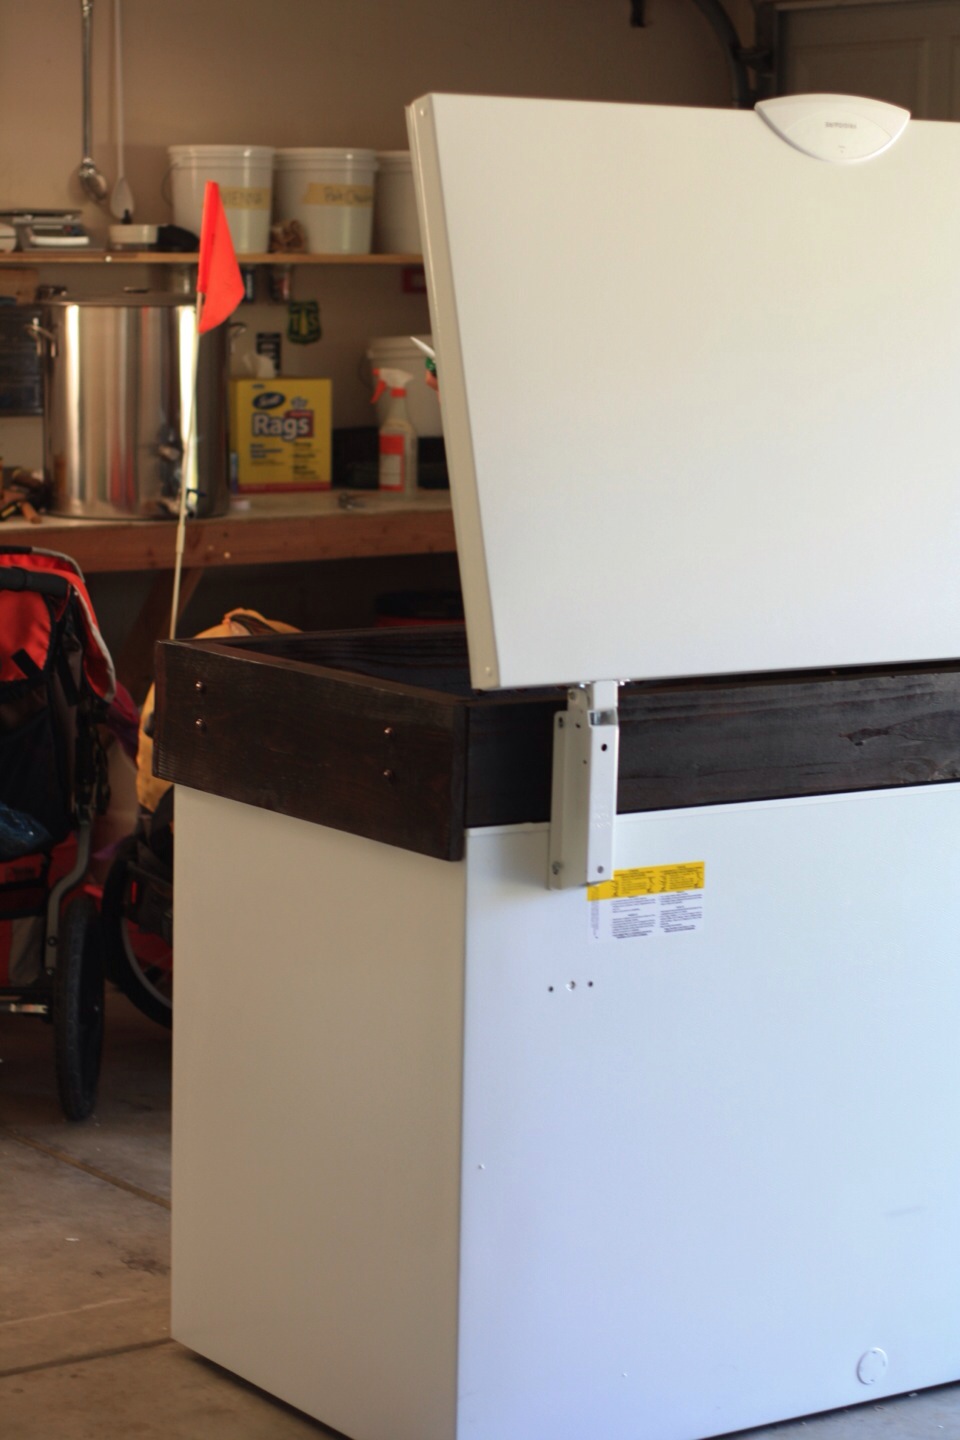
I decided I wanted my collar to have a facade that would help hold it in place on the freezer. We constructed the collar using 2 x 6 douglas fir then attached the 1 x 8 pine facade to the front and sides using 3″ bolts, which added a nice rustic touch.
Many people choose to use a hardwood for the facade, which I didn’t do mainly because of the significant difference in price. If I’m being totally honest, I was a little afraid I was going to fuck up, hence my choice to go with about the cheapest wood you can buy. The one problem with this is that pine boards are rarely ever totally straight. We made it work.
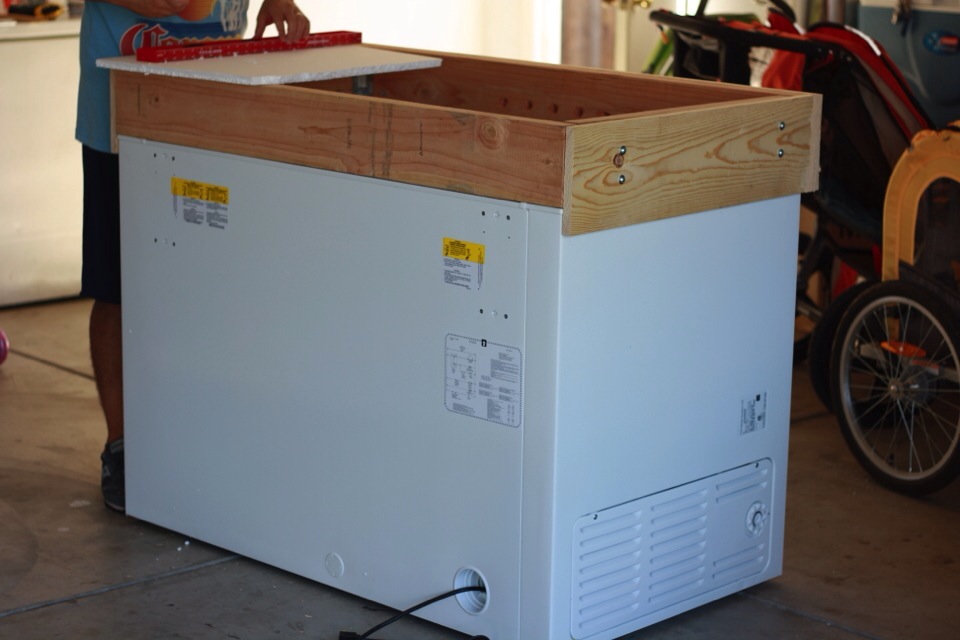
We also decided to connect the corners using butt joints because… have you ever tried to use a miter saw? Once the collar was all put together, we threw it on the freezer just to make sure it fit. Like a glove!
It actually took a little work to squeeze the collar onto the freezer, which gave me some security it wouldn’t be wiggling around during use. It was time to drill the holes for the faucet shanks.
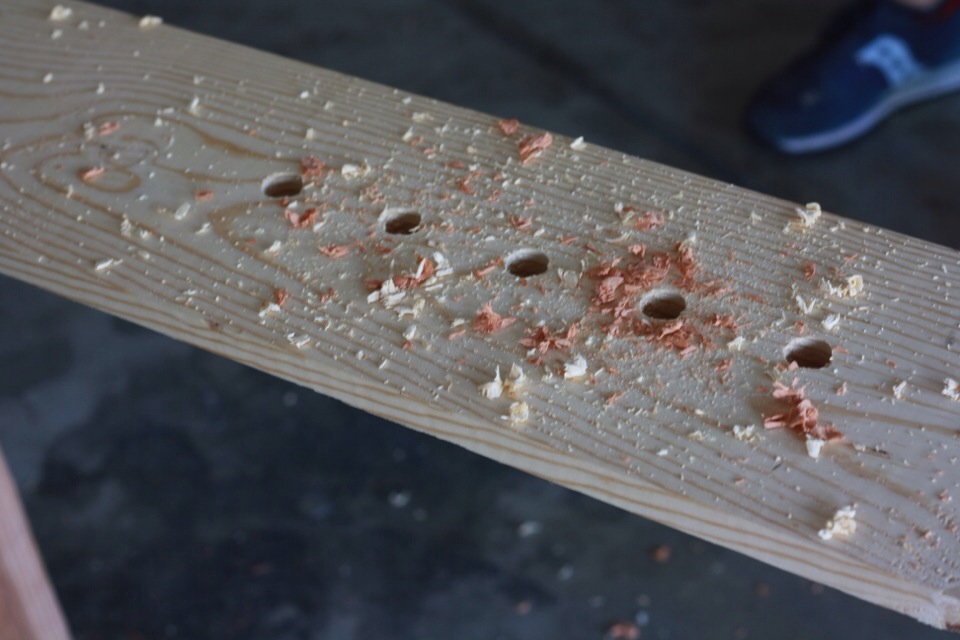
I fucked this up. For whatever reason, I grabbed by 1/2″ spade bit instead of my 15/16″ bit, you can imagine my disappointment when I tried to slide a shank through the first hole. Using a scrap piece of plywood with the proper hole as a guide and a couple clamps, I fixed the issue and all was well.
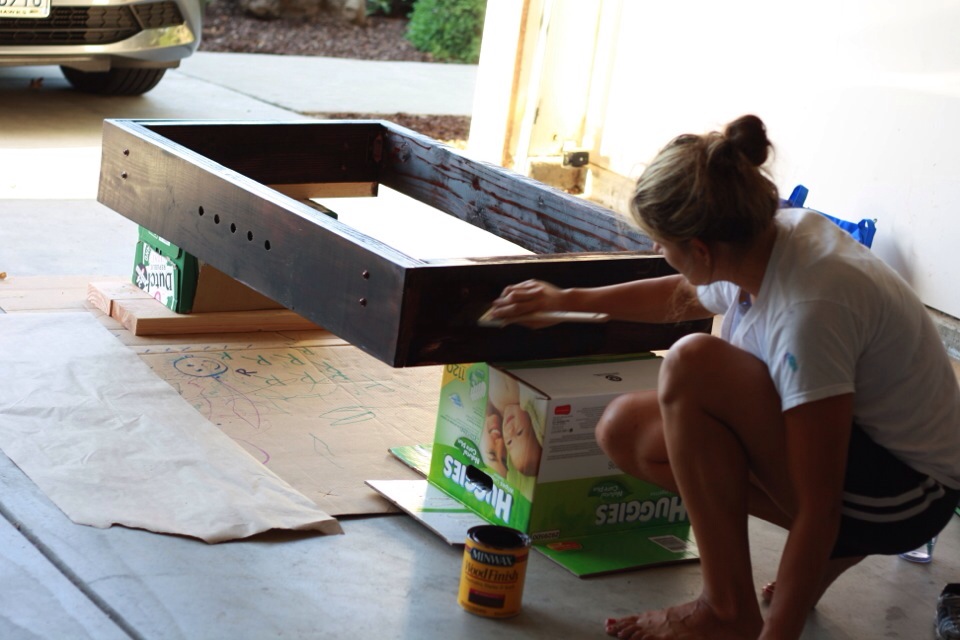
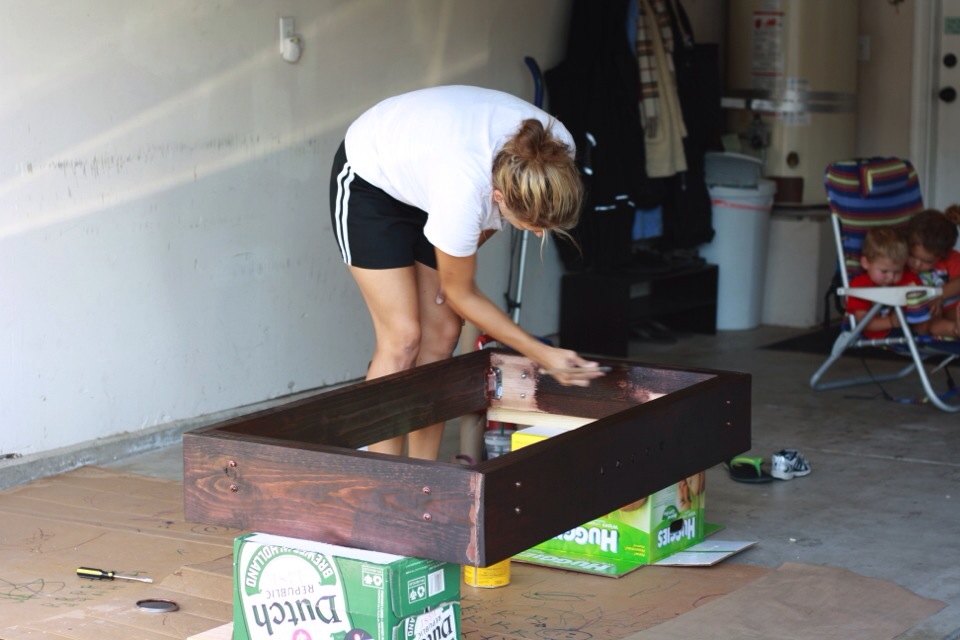
My helpful and incredibly beautiful wife offered to stain the collar. She did a great job.
You might notice a weird lighter area on the front corner. My neighbor convinced me to use wood filler to fill in the very small gap between the 2 pieces of the facade, swearing it stains “exactly like real wood.” He felt terrible when it didn’t and he’s lucky I don’t care much about stuff like that. We let the stain set overnight then applied 3 coats of varnish the next day and let it dry for a few hours before putting the collar in place on the freezer.
When attaching the lid, I was surprised to discover the lower holes in the hinges lined up perfectly with the top holes on the freezer. I attached the top part of each hinge to the collar using 1″ screws and used the original bolts for attaching the lower portion of each hinge to the freezer. It was really starting to come together! The next step was attaching the faucets and putting everything together.
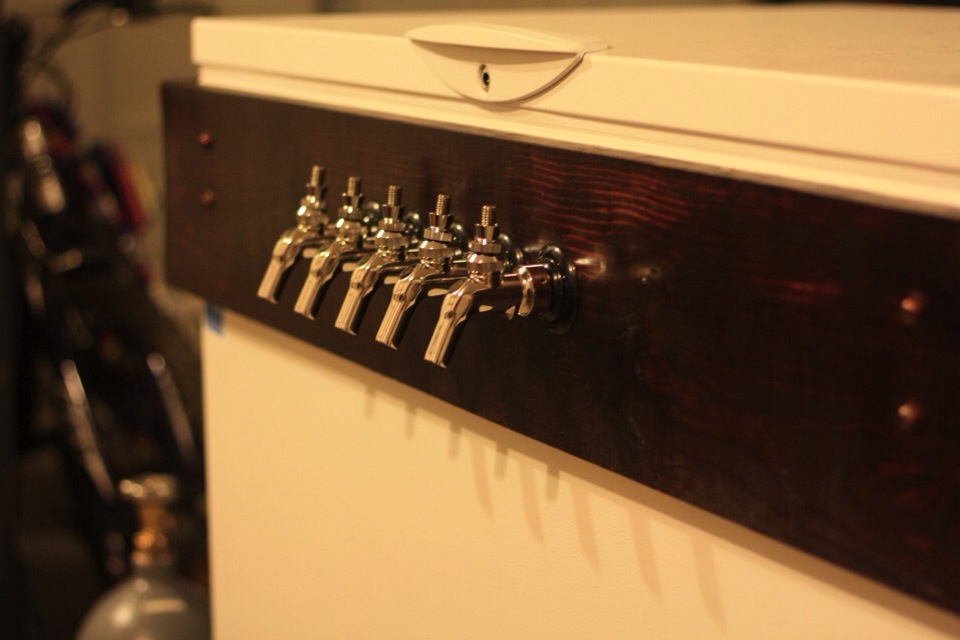
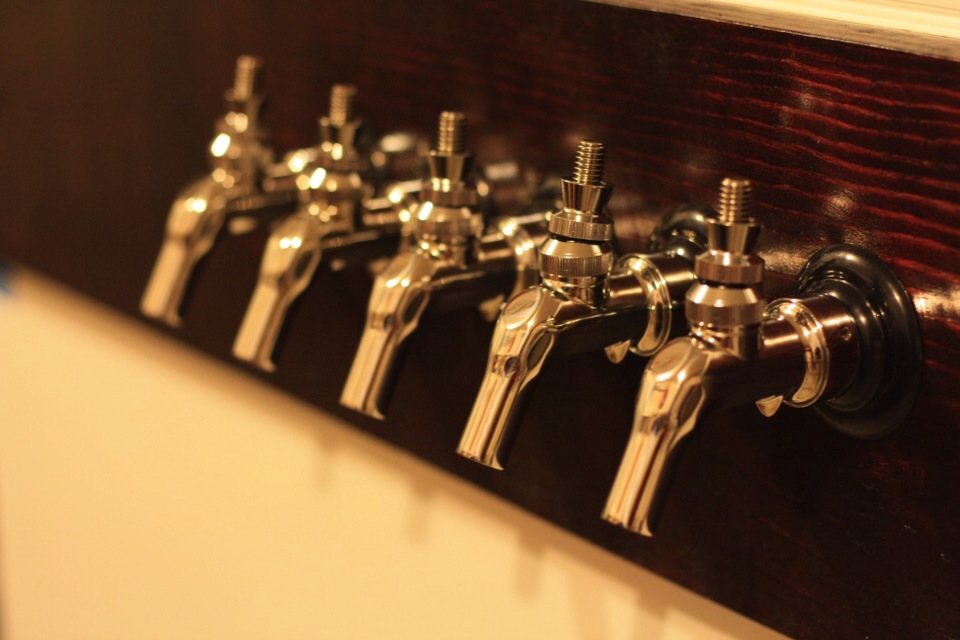
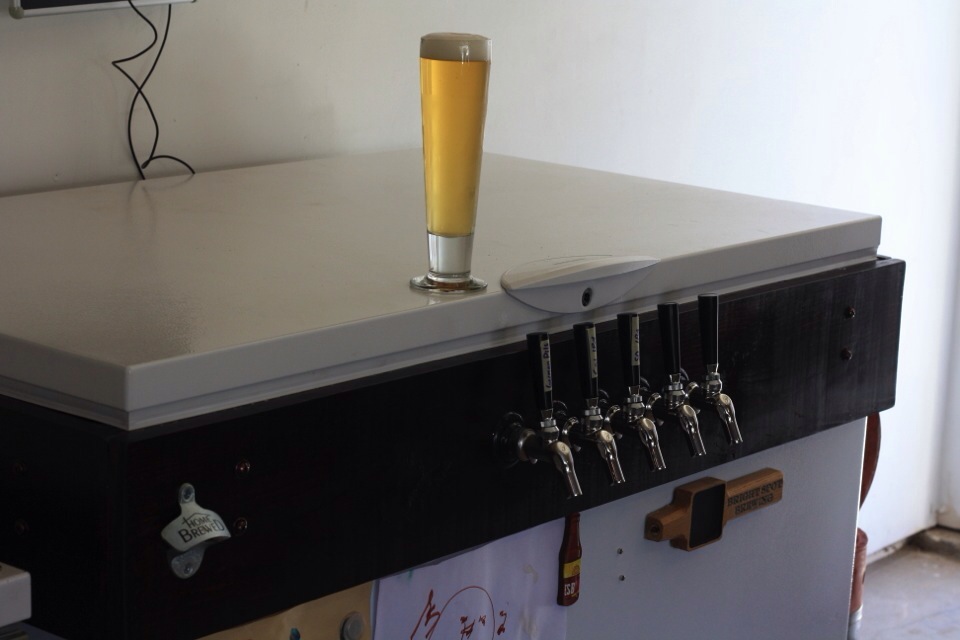
I attached 5 Perlick 525SS faucets. I highly recommend investing in quality faucets over the cheap non-forward sealing versions, it’s worth the extra money.
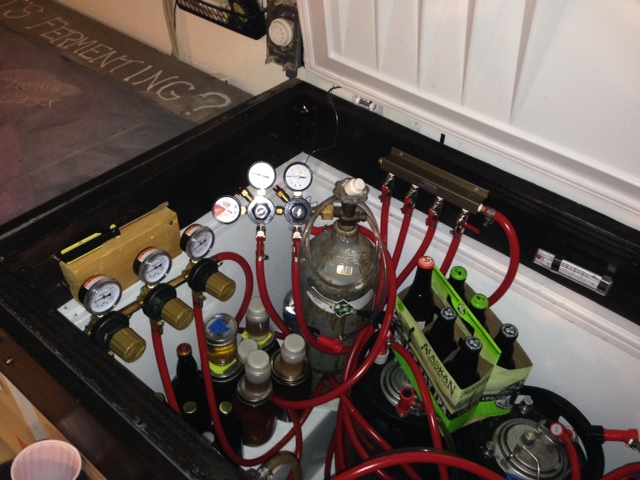
For the internal components, I went with a dual primary regulator split to a 3-body secondary regulator and a 4-way manifold. I plan to swap the 4-way manifold for 4-way secondary soon, they are super convenient. I serve 5 while carbonating 2 beers, it’s a nice system. I also have a 10# CO2 tank and a simple single-stage analog temp controller. Notice the Yeast Bay samples, ready to be beta tested!
I completely forgot to order tap handles, those arrived a few days later. The first beer poured was a very tasty German Pils.
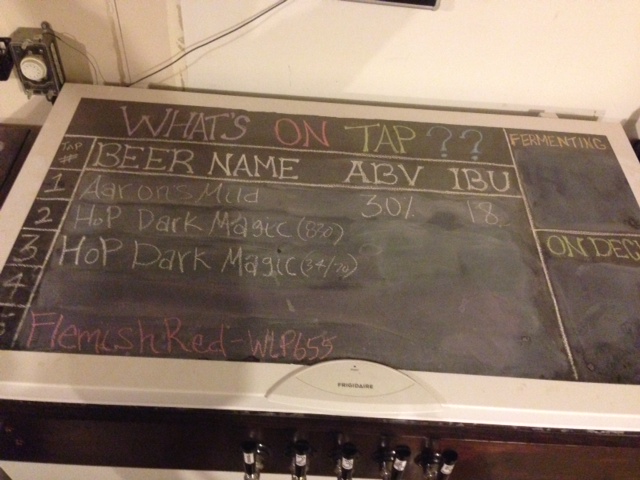
After about a week of use, I decided I wanted to add chalkboard paint to the top of the keezer.
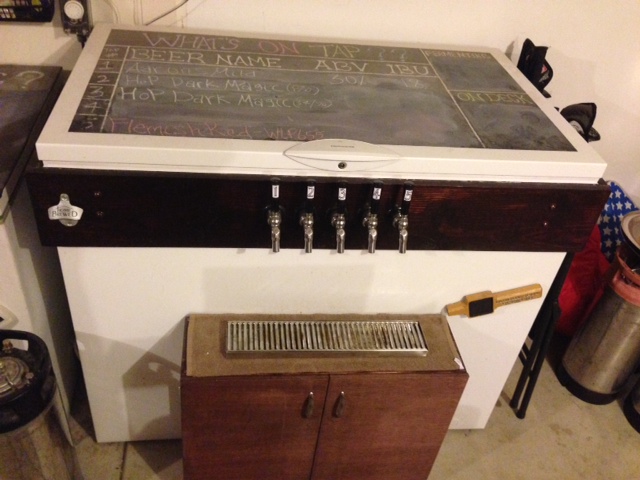
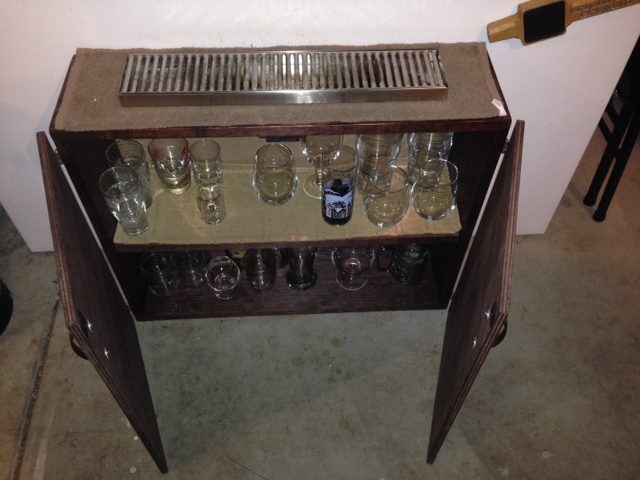
Everything was working great, the only problem I had was beer spots getting all over the ground beneath each faucet. I purchased a 19″ stainless drip tray, but couldn’t think of a good way to mount it. Then one morning I had the idea to build a cabinet for my beer glasses that I could also set the drip tray on. About $30 and 2 hours later, I was set!
I installed a shelf that gave me room to store a good amount of glasses.
I’ve been using this keezer for almost 2 years now and have no big complaints. While condensation can be a pain in the ass, my simple solution has been to shove a towel down in the corner by the drain hole, it works great.
:: General Parts List ::
5 Gallon Refurbished Pin Lock Kegs (10)
3 Gallon Refurbished Pin Lock Kegs (4)
Perlick 525SS Faucets
4″ Faucet Shanks
Barbed Pin Lock Gas-In Disconnects (7)
Barbed Pin Lock Beer-Our Disconnects (5)
8′ x 3/16″ SuperFlex Beverage Tubing (5)
3′ x 5/16″ Gas Tubing (7)
10 lb CO2 Tank
Dual-Body Three Gauge Primary CO2 Regulator
3-Way Secondary Regulator
4-Way CO2 Manifold
120 mmComputer Fan (air recirculation)
Universal AC Power Supply (for fan)
19″ stainless drip tray
If you have any questions about my build, feel free to ask!



34 thoughts on “A Slightly Less Simple Keezer Build”
I see from the pics of the lid install you moved the bottom holes on the hinges to the top, however and made holes for the top hinge holes in the wood. But when we built my 1st keezer we had an issue with lid not setting flat on the collar.
I’ve not had an issue with the lid sitting flat on either of my keezer builds. I think the key is to put the lid in place before securing the hinges to the collar.
I’m curious where you got the wood? I see that home depot has something similar but I”m not sure it’s the same.
I got all the wood from Home Depot, cut and stained it myself.
What did you do to change the freezer to a refrigerator, temperature adjustment?
We used a simple temp regulator to bypass the freezer’s thermostat, the STC-1000 is a very popular (and cheap) option.
Any advice on the chalkboard paint? Yours looks quite good but others I’ve seen look like shit.
Many coats, 5-7 worked for me.
Necro bump, here –
I’m about to jump into kegging myself, and was curious as to the 3 way regulator AND the 4 way manifold – do you carb off the 3way and serve off the manifold, or vice-versa? Does the dual body split A) to 3way and B) to manifold?
Well… I’ve since swapped my 4-way manifold to a 4-way secondary, so all of my faucets are independently controlled. But yeah, you had it right.
How many kegs can fit in a fridge this size?
I can fit 7 pin lock, they’re shorter and fatter than ball locks, so you might be able to squeeze 8 of those in.
Thanks Marshall. I’ll be building mine in January using this as a guide. The fridge you’re using is on sale at Home Depot right now for $400 so I feel that’s pretty fair. Looking forward to it!
That’s a steal! May have to consider one for another chamber.
I have a Frigidaire chest freezer almost identical to yours. When I measure the distance between the two holes of the lower part of the hinge, I get 7″. However, your collar is 6″ in height. Thus if you attach the bottom hole of the hinge to the upper hole, the bottom of the lid will be 1 inch higher than the top of the collar. How did you adjust for this?
Honestly, I didn’t adjust for anything, it just worked. You have to remember that American lumber measurements are .5″ less than stated, so 2×6 is really 1.5×5.5.
But that would make it even worse. The lid will then sit 1.5″ above the collar. I notice in the photo that the distance between the bottom hole on the freezer (empty) and the top hole of the freezer is far less than the distance between the top hole of the freezer and the top hole on the collar. Thus it appears as if the top hole on the freezer portion was re-drilled. Perhaps I should use 2×8 which would actually be 2×7.5. Then I could cut off a half inch and it should fit just right.
I say do what works for you. I didn’t drill any holes in the freezer, maybe I was lucky.
It’s possible that they have lengthened the hinges an inch or so on my model.
The currently linked fan and power adapter do not work together.
They must have changed something, that’s exactly what I’ve bought twice. Hmm.
See my comment below . . . not sure if you had to do any cutting last time around and it was just assumed.
Well, they do not plug directly in. You’ll need wire cutters and electrical tape. If you want to be to code you’ll need to either solder or put in a cap. . ..
Any issues with not using insulation on the inside? Or with condensation on the interior wood?
None whatsoever. The wood is insulative enough and I’ve never noticed condensation on it. I’ve made 5 of these things to date and they’re all working great.
Thanks for the quick reply, puts my mind at ease…
Rebuilding my keezer from a draft tower to a fully wooden bar top / collared keezer.
Did you glue the collar to the freezer? (like you did in the simple build)
Yes.
How are your regulators and manifold arranged from the tank?
Have you had any issues with the condition of the collar with it not being insulated?
None at all.
I agree that wood is an ok insulator, BUT despite building a solid and sealed keezer (including a 5.25″ fan to help air dispersion), I was still experiencing up to 8-9 degF temp differential inside the keezer from near bottom to near top. Ordinary 1″ foam insulation board (e.g. Rmax Thermosheath at HD) has about 4x the R factor as 1.5″ thick wood (6.1 vs. about 1.5), so why not slap on some 1″ foam boards on inside of the collar and get R-factor of 7.6 instead of 1.5?
One obvious issue is working around the sides having hardware and conduits (e.g. tap shanks, temp & power cords, gas headers and secondary banks, etc.) Those sides require some pumpkin carving of the boards (and/or splitting them so you can install a section under the items, and the other half installed from above). Pretty easy. Even if you can’t insulate a given side, it’s worth covering the other three. I found that I now have about 2 degF differential. So, yes, it was definitely worth it.
When attaching the collar, did you use adhesive or just lay it on top?
For this one, adhesive, but I’ve made numerous without and it’s not necessary.