Author: Marshall Schott
I brewed my first IPA in May of 2003, it was the third batch I made at home using extract and steeping grains. Since then, what I used to think of as typical IPA characteristics have evolved quite a bit. IPA used to be all about packing as much bitterness into a pint as possible, often relying on relatively massive bittering additions using pine-forward hops like Chinook and CTZ, and usually adding a hefty dose of Caramel malt. As craft beer began to grow, tastes swayed more toward the fruitier hops such as Simcoe, Centennial, and Amarillo, and brewers began using more hops later in the process while also moving toward simpler grists that produced a dryer beer. Using such novel techniques as hop-bursting and hop stands, some engaged in experimentation that ultimately led to various “new” styles of IPA including Black, Red, White, Belgian, Triple, Quadruple, Session… you get the idea.
And then, of course, there’s New England IPA (NEIPA), which by my recollection is the latest in the long line of this iterative evolution, a style that stands in near direct contrast to the IPA of my earlier days of brewing. Rather than bitter, piney, crisp, and clear, the best (or most popular) versions of NEIPA are characterized by their low bitterness, “juicy” fruit aromas and flavors, soft and creamy mouthfeel, and perhaps most notably, a hazy appearance. In order to make such a beer, brewers rely on a conglomeration of methods including the use of a good portion of flaked oats and biotransformation dry hopping. Furthermore, while the idea that oxidation expedites the loss of hop character in IPA is nothing new, many brewers of NEIPA also take somewhat extreme measures to reduce their beer’s contact with oxygen.
Over the last year, I’ve tried my hand at making NEIPA a few times, some of which were rather good and others that almost made me quit the style. The few I’ve liked pretty much mirrored the commercial examples I enjoy in that they maintained a light orange hue reminiscent of fruit juice and had a simple bready malt character. The homebrew and commercial versions of NEIPA I’ve been less than pleased with have all taken on a darker appearance that’s accompanied by an odd caramel-like character that leaves the beer tasting more like a piece of hard candy than a refreshing IPA. What causes this?
Most NEIPA recipes I’ve seen have grain bills absent of malts known to impart much color, and my personal experience proves this darkening can occur even with the simplest of grists. The go-to reason cited by many is oxidation, which I was skeptical of given the results of our xBmts on intentional oxidation at kegging. Following those xBmts, I received feedback from folks positing NEIPA is more sensitive to oxidation for various reasons and that a follow-up xBmt ought to investigate the effect of reducing oxygen exposure on the cold-side when making this style. Challenge accepted!
| PURPOSE |
To evaluate the differences between a NEIPA transferred to a CO2 purged keg and the same beer transferred to a non-purged keg.
| METHODS |
All out of Maris Otter, I concocted a blend of Pale and Munich malts that I hoped would be somewhat similar then used a rather large portion of flaked oats to make up the rest of the grist.
Hazel
Recipe Details
| Batch Size | Boil Time | IBU | SRM | Est. OG | Est. FG | ABV |
|---|---|---|---|---|---|---|
| 5.5 gal | 30 min | 52.7 IBUs | 4.7 SRM | 1.058 | 1.012 | 6.0 % |
| Actuals | 1.058 | 1.012 | 6.0 % | |||
Fermentables
| Name | Amount | % |
|---|---|---|
| Pale Malt (2 Row), Rahr | 9 lbs | 66.67 |
| Oats, Flaked (Briess) | 3 lbs | 22.22 |
| Munich I (Weyermann) | 1.5 lbs | 11.11 |
Hops
| Name | Amount | Time | Use | Form | Alpha % |
|---|---|---|---|---|---|
| Simcoe | 40 g | 15 min | Boil | Pellet | 13.1 |
| Citra | 30 g | 2 min | Boil | Pellet | 13.8 |
| Galaxy | 30 g | 2 min | Boil | Pellet | 18.1 |
| Simcoe | 30 g | 2 min | Boil | Pellet | 13.1 |
| Galaxy | 60 g | 5 days | Dry Hop | Pellet | 18.1 |
| Citra | 30 g | 5 days | Dry Hop | Pellet | 13.8 |
| Simcoe | 30 g | 5 days | Dry Hop | Pellet | 13.1 |
| Galaxy | 60 g | 1 day | Dry Hop | Pellet | 18.1 |
| Citra | 30 g | 1 day | Dry Hop | Pellet | 13.8 |
| Simcoe | 30 g | 1 day | Dry Hop | Pellet | 13.1 |
Yeast
| Name | Lab | Attenuation | Temperature |
|---|---|---|---|
| Juice (A38) | Imperial Organic | 74% | 62°F - 70°F |
Notes
| Water Profile: Ca 131 | Mg 1 | Na 10 | SO4 62 | Cl 186 |
Download
| Download this recipe's BeerXML file |
I prepared a starter of Imperial Organic Yeast A38 Juice 2 days ahead of time.
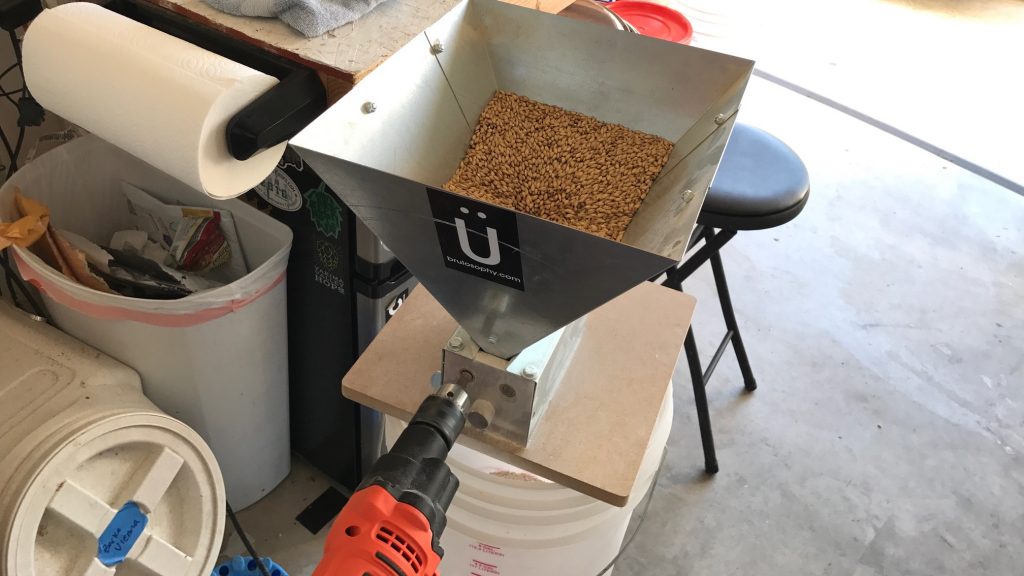
The day before brewing, I weighed out and milled the grains.
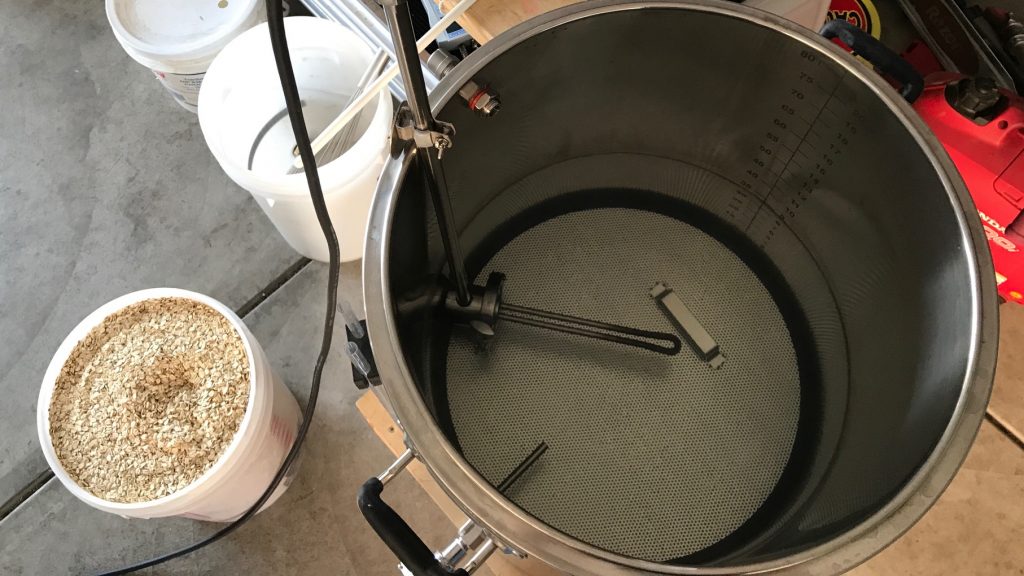
Since this would be a 10 gallon batch with a relatively hefty grain bill, I went with the batch sparge method and collected the strike water in my mash tun while the sparge water was placed in my kettle. After adjusting all of the water to my desired profile, I dropped my heatstick into the strike water, placed the cover on the mash tun, then set a timer for it to turn on 1.5 hours before I planned to wake up and brew. I awoke the next morning to required only 5 additional minutes to reach my target strike temperature.
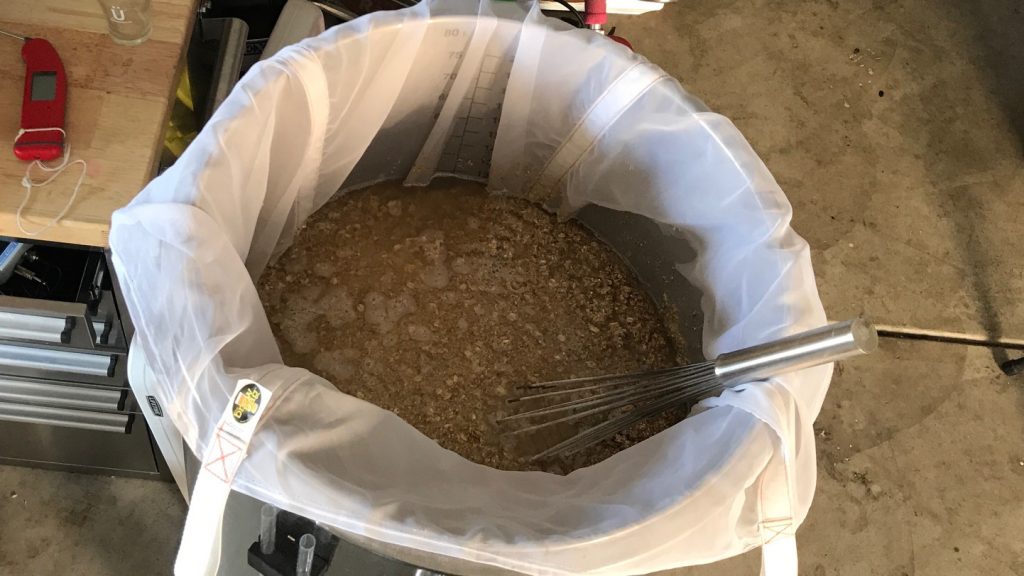
I proceeded to mash in and was quickly reminded of how much thicker the mash is when using the batch sparge method.
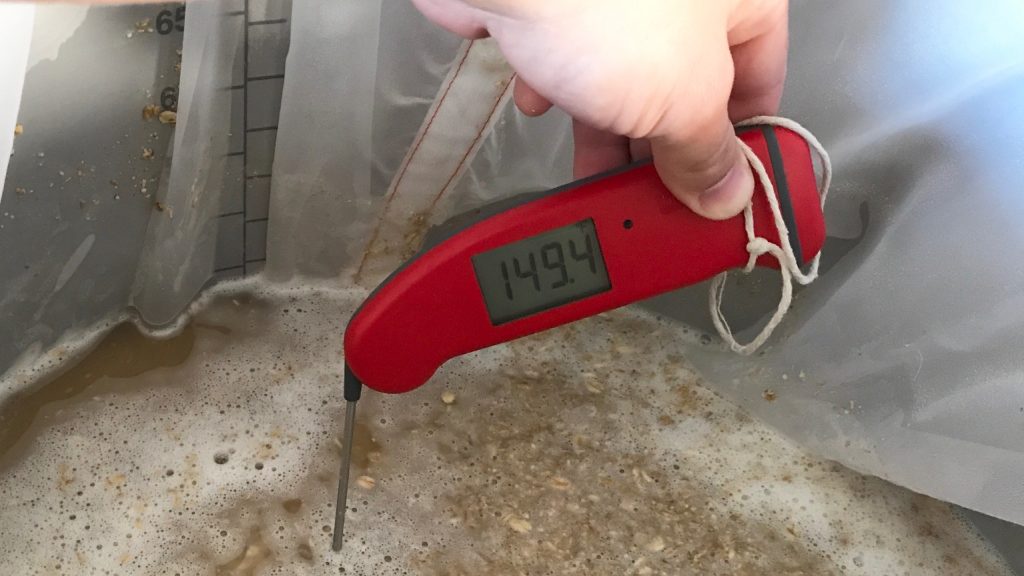
A check of the mash temperature showed I was right at my intended 149°F/65°C.
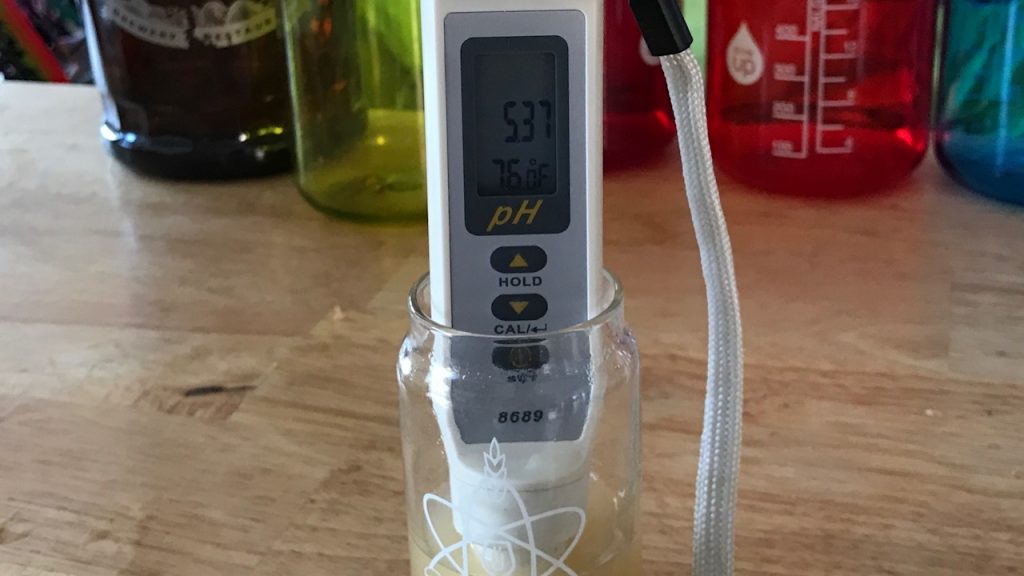
I stole a sample of sweet wort from the mash about 15 minutes in to check how close I was to hitting my 5.4 pH target.
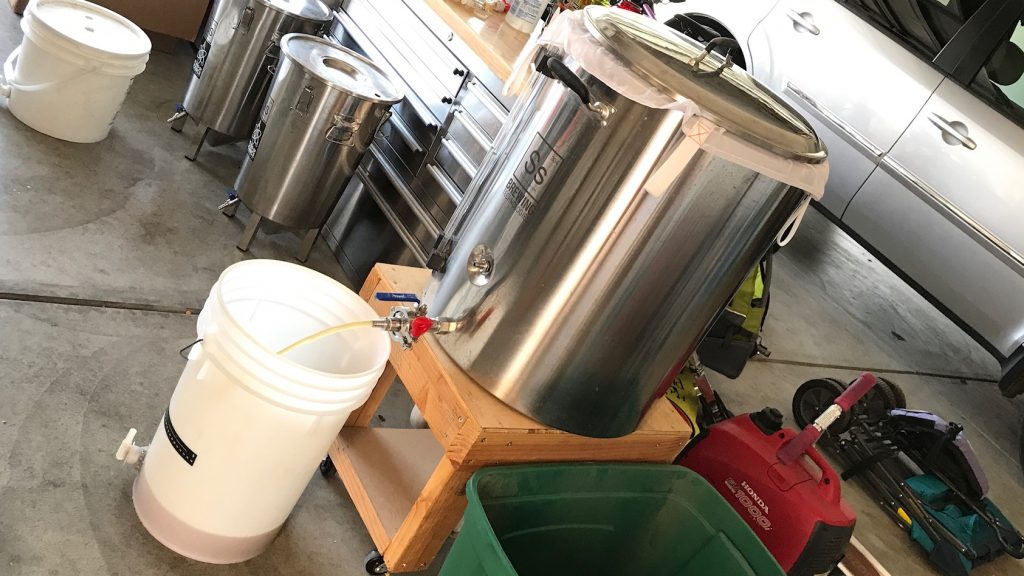
After a 60 minute mash rest, I collected the first runnings of sweet wort and poured it into my boil kettle.
Following a quick batch sparge, the wort was brought to a rolling boil and hops were added as stated in the recipe.
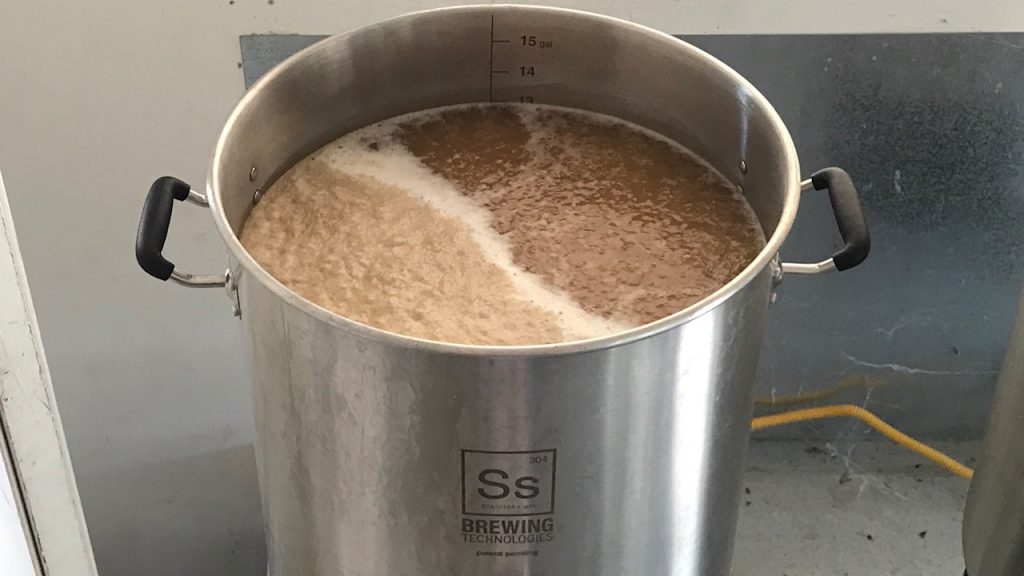
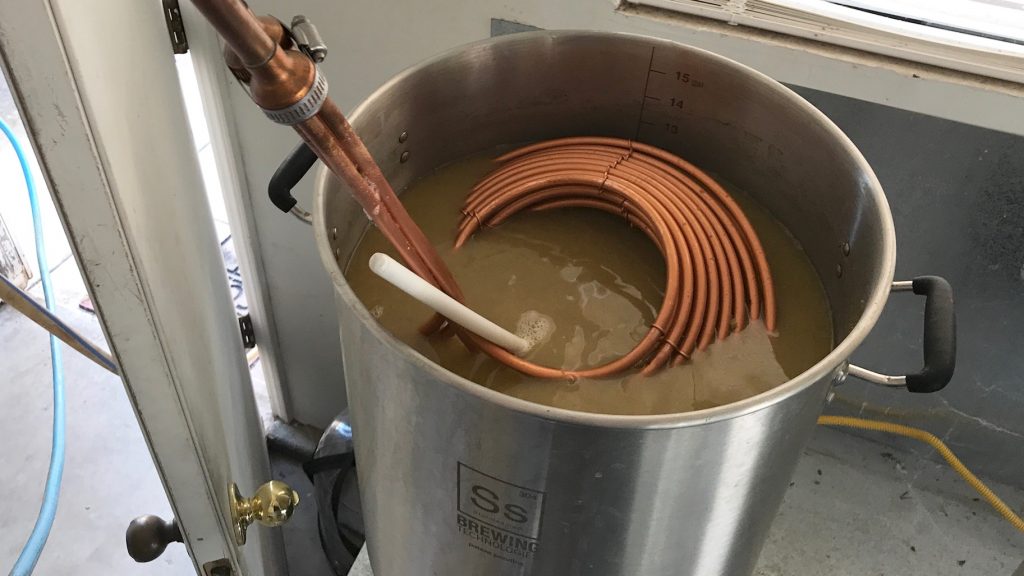
At the completion of the 30 minute boil, I quickly chilled the wort to slightly warmer than my groundwater temperature.
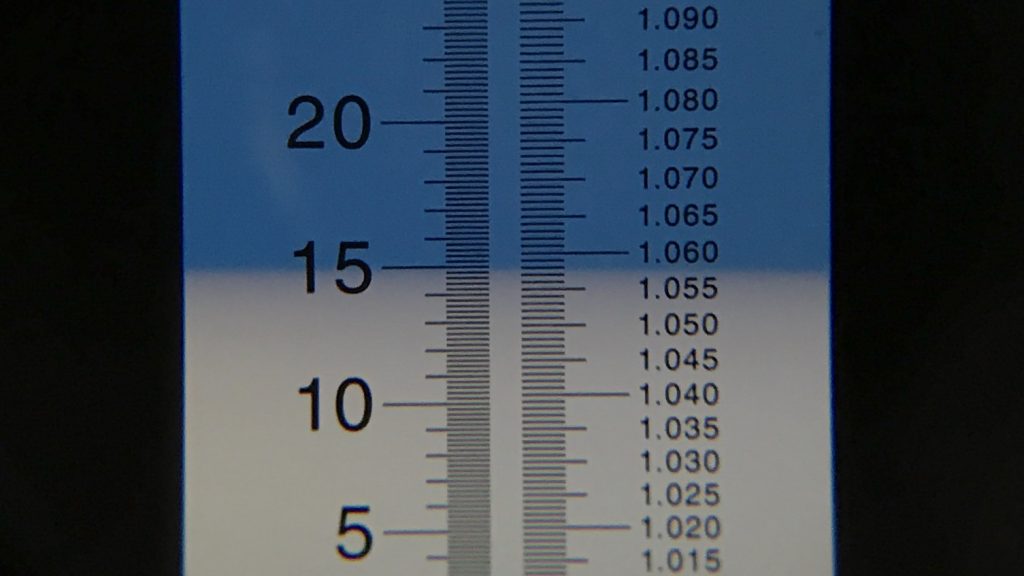
A refractometer reading showed the wort was sitting at my target OG.
Equal amounts of wort were racked to identical fermentors.
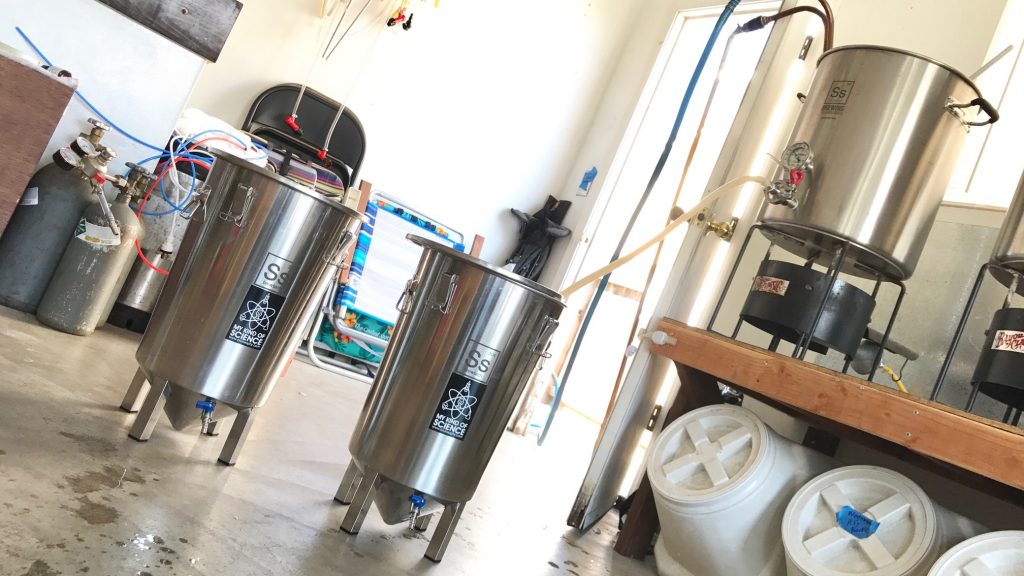
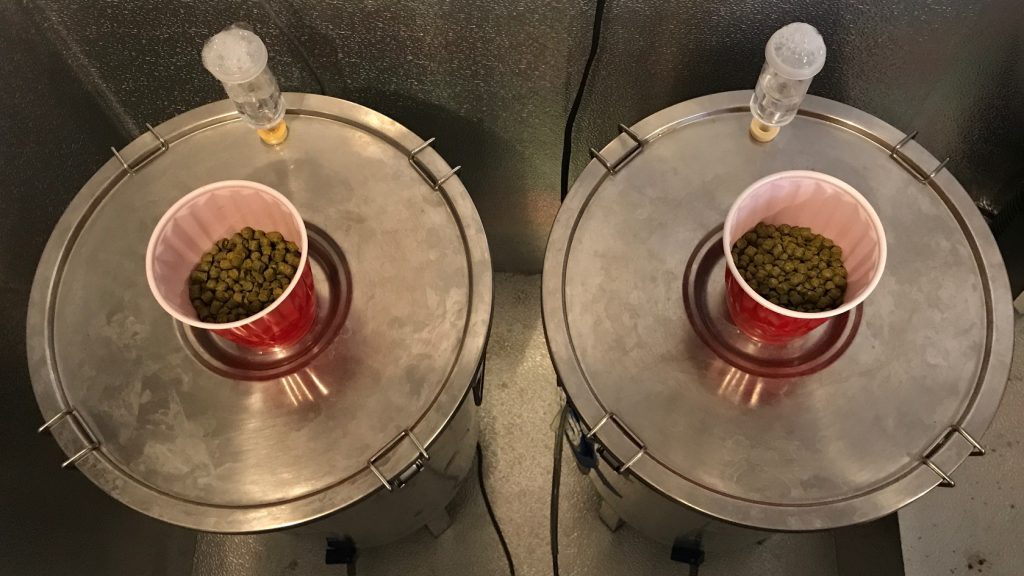
I placed the fermentors in my chamber and gave them a few hours to finish chilling to my desired fermentation temperature of 66°F/19°C before evenly splitting the yeast between them. As I’ve come to expect when using Imperial Organic Yeast, I noticed crazy airlock activity later that day but gave them a full 24 hours before hitting them with a biotransformation dry hop.
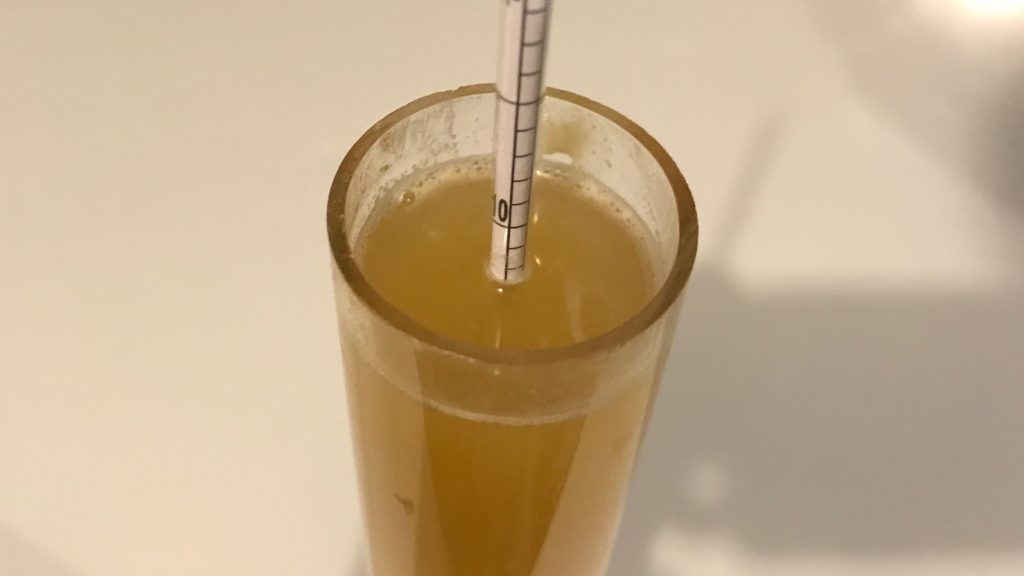
I let the beers ferment slightly longer than usual because I wanted to give the low oxygen beer enough time to fully attenuate, as I wouldn’t be taking a FG sample in order to keep oxygen ingress at a minimum. At 8 days post-pitch, I took a hydrometer measurement of the beer going into the non-purged keg that showed FG was hit.
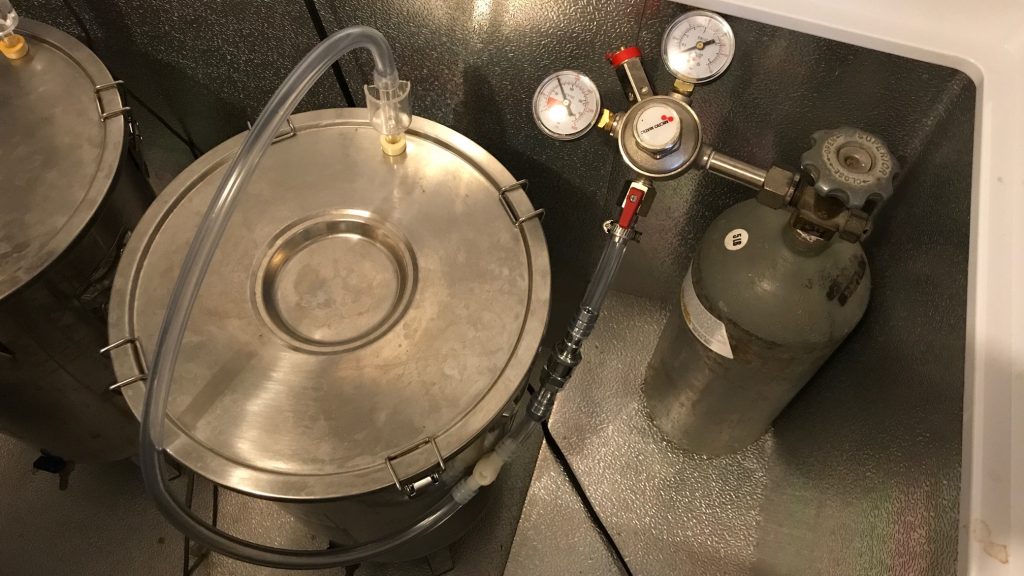
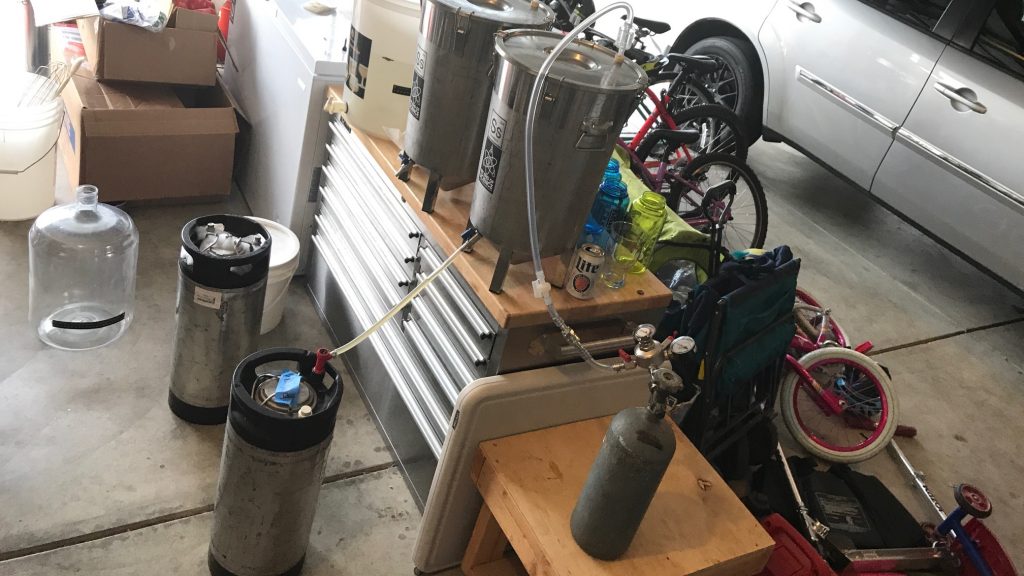
It was time to add the second dry hop charge, which was easy enough for the standard oxygen batch. For the low oxygen beer, I very quickly poured the hops through a small crack between the lid and the fermentor, flushed the headspace with CO2, replaced the lid, then put the fermentor under 1.5 psi of CO2 using something I rigged together specifically for this xBmt.
Side note: I do not recommend others do this unless their fermentor is rated to hold pressure. The Brew Buckets are not but I was okay taking the risk for this xBmt, which also resulted in quite a bit of CO2 loss due to leakage between the lid and fermentor.
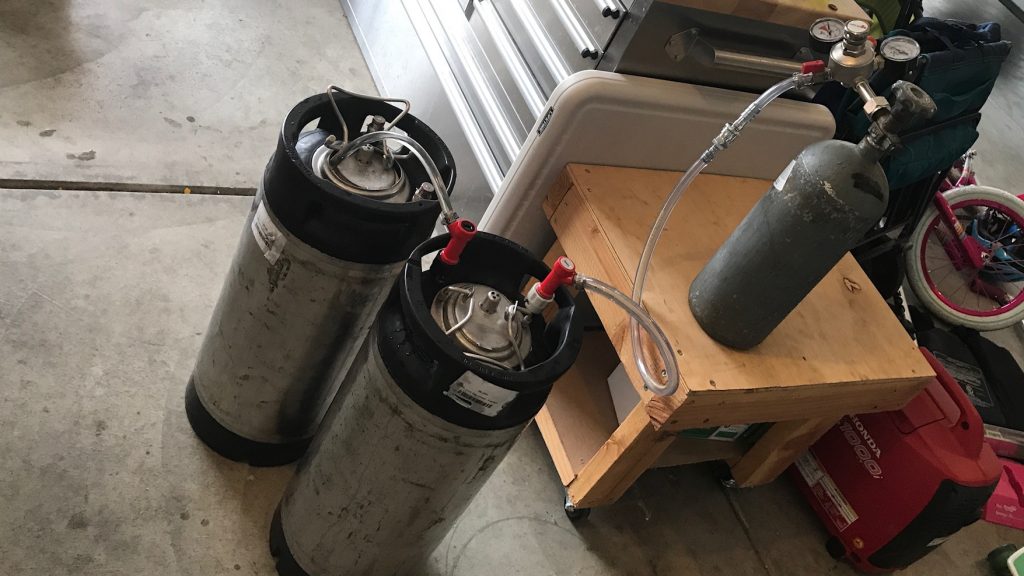
I immediately began cold crashing the beers and let them sit for 36 hours, the entire time hearing the faintest hiss of CO2 coming from the lip of the low oxygen Brew Bucket. When it came time to keg, I shut the plastic valve between the gas and the fermentor off to maintain positive pressure before disconnecting the quick-disconnect from the CO2 regulator; no hiss indicated my plan was working. I then connected another line via quick disconnect to the regulator that had a gas pin-lock disconnect attached to the other end. This got connected to a the gas post of a keg I’d previously filled to the brim with Star San sanitizer solution, which I pushed out of the keg using roughly 3 psi of CO2, the sanitizer leaving the liquid post and going into the non-purged keg.
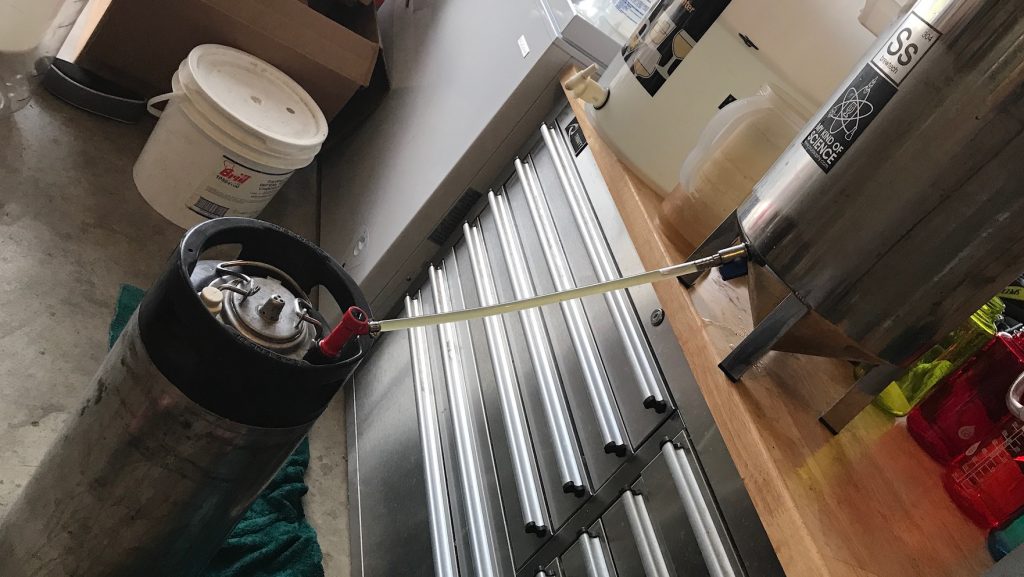
It only took a few minutes, all of which I spent gritting my teeth at what I believed was a waste of gas. I was curious how much sanitizer would be left in the keg using this method and was surprised to discover it wasn’t even enough to slosh around, likely because my diptubes aren’t cut. With the keg fully purged, I swapped the lines from the CO2 tank again, set the pressure to 1.5 psi, drained off enough beer to ensure it wasn’t trub laden, attached a sanitized tube with liquid disconnect to the keg, then opened the ball valve on the Brew Bucket to start the flow of beer into the purged keg; once the beer was flowing, I attached a pin lock gas poppet depressor to the gas post to relieve pressure and allow for consistent flow.
The standard oxygen batch was kegged using my normal non-purging routine that required quite a bit less preparation. I always presumed filling from the bottom of the keg pushed any oxygen up and out of the depressed gas post, hence my belief purging with CO2 was unnecessary.
The filled kegs were both placed in my cool keezer and bust carbonated with 30 psi of CO2 for 24 hours before I reduced the gas to serving pressure. I stole samples 5 days after kegging just to see how things were coming along and noticed what seemed to be a slight difference in appearance.
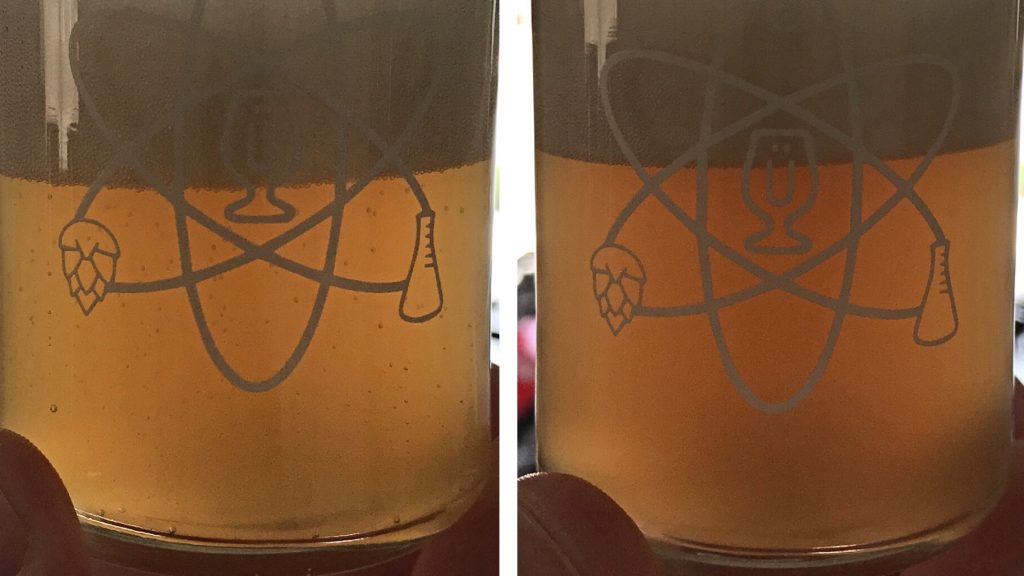
While NEIPA is known for being best consumed fresh, the crew thought it would best to let these beers age for a bit before collecting data to amplify any oxidative effects. I began collecting data 3 weeks after kegging, at which point the beers were evenly carbonated, nearly opaque, and noticeably dissimilar in color.
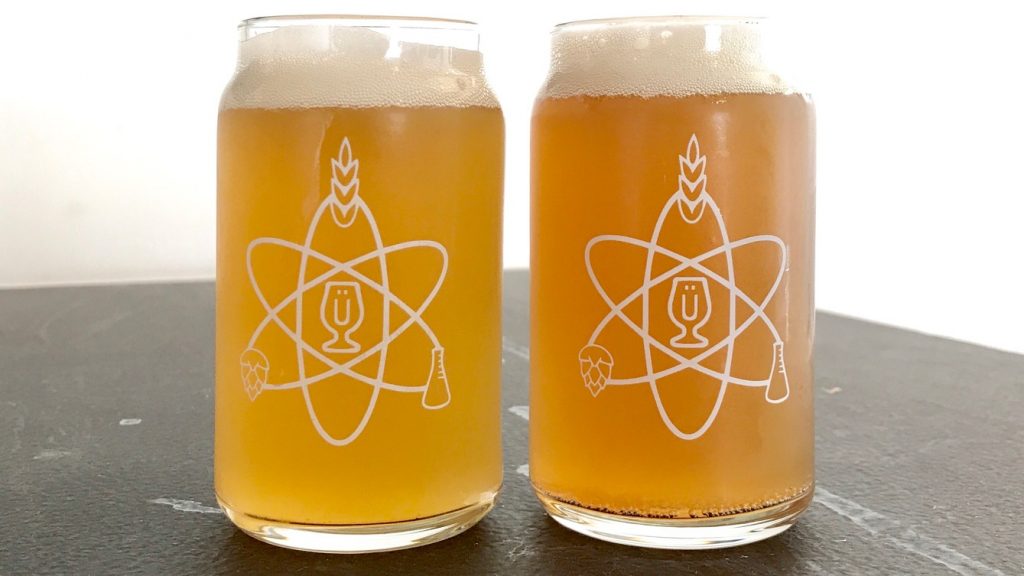
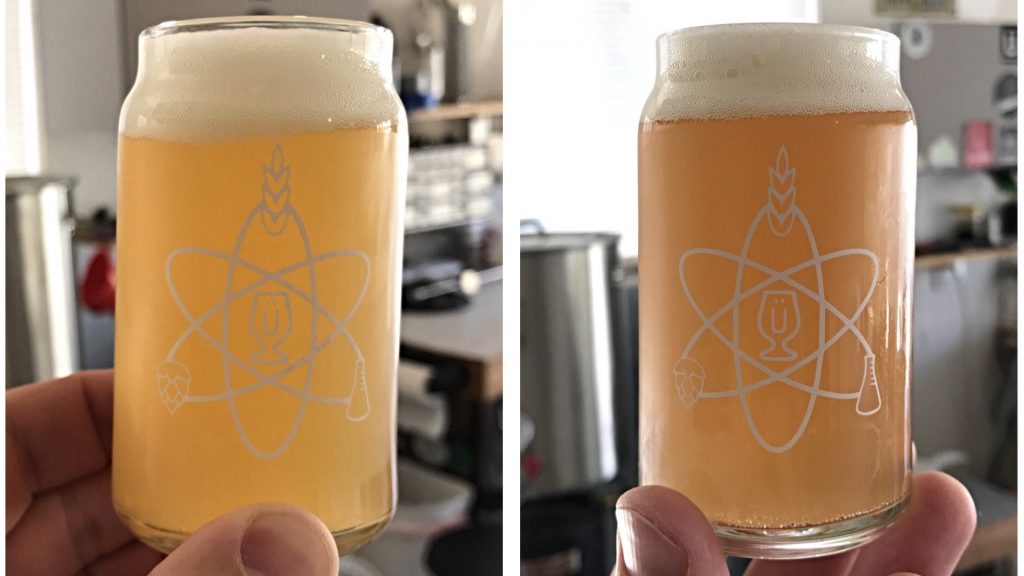
Just to make sure what I was observing wasn’t due to lighting or poor vision, I took pictures of each beer individually in the same general position, the difference in appearance becoming even more dramatic.
| RESULTS |
A total of 22 people of varying levels of experience participated in this xBmt. Each participant was served 2 samples of the oxidized beer and 1 sample of the non-oxidized beer in opaque colored cups then asked to identify the sample that was unique. Given the sample size, 13 tasters (p<0.05) would have had to select the unique sample to reach statistical significance. Ultimately, 14 people (p=0.003) correctly identified the odd-beer-out, suggesting participants were able to reliably distinguish a NEIPA treated in a way to reduce cold-side oxidation from the same beer treated with less concern for oxidation.
The participants who correctly selected the unique sample in the triangle test were instructed to complete a brief set of additional questions comparing only the two different beers, still blind to the nature of the xBmt. Of the 14 correct tasters, 9 chose the reduced oxygen beer as their most preferred, 4 endorsed the standard oxygen as their most preferred, and 1 person reported perceiving no difference between the beers.
My Impressions: With the amount of very expensive trendy hops I threw into this beer, I have to admit I was pretty anxious how it would turn out. Similar to my first attempt at this style, I was rather pleased with the results… of the reduced oxygen half. Given my skepticism about this variable, I performed 10 semi-blind triangles out of which I was able to identify the odd-beer-out 8 times; I blame my 2 incorrect attempts on my kids who had Bruno Mars’ Chunky playing loudly in the background– cuttin’ a rug during evaluation and all. To me, the reduced oxygen beer smelled like a glass of tropical fruit juice, which also came through in the flavor. It was crisp yet soft and maintained a very fresh character even after a month in the keg. The standard oxygen beer wasn’t bad, but compared to the reduced oxygen beer, it fell flat, just like so many of the commercial and homebrew versions of NEIPA I’ve tried that took on that darker appearance. While the hop character was still very strong, it was paired with a distinct candy-like sweetness that I’d rather not be in my beer.
| DISCUSSION |
Go browse any popular beer or brewing forum and you’re bound to see pics of people showing off a glass of murky NEIPA that looks more like adulterated coffee than fruit juice, which is usually what they’ll claim it tastes like. Given the typically simple grists used by brewers of this style, I’ve trouble accepting the color is a function of grains, meaning something else is the culprit. While I was skeptical oxidation was the answer based on prior experiences with other styles, just the objectively observable results of this xBmt alone have forced me to reconsider my conviction. What’s more is the fact tasters were able to reliably distinguish the reduced oxygen beer from the one treated with less care, indicating a relationship between color and flavor change.
It’d be easy to point the finger at oxygen and move along our merry way, but what really gets me is the fact NEIPA seems so much more susceptible to this type of oxidation than other styles, like there’s some sort of interaction between oxygen and some unique aspect of NEIPA. Personally, my eyes are on the high amount of flaked oats typically used when making this style, a variable we definitely plan to continue exploring.
It seems pretty clear that failing to take measures to reduce oxygen on the cold-side increases the risk of hastened shelf-life with NEIPA, but we can’t say for sure where this exposure matters most– is it suck-back during cold crashing, transferring the finished beer to a non-purged keg, or both? While I may not make this style often, based on these results as well as my anecdotal experiences, I absolutely plan to keep cold-side oxygen exposure to a minimum when I do from now on.
For those concerned about oxygen exposure that may not have all the gear I do, we came up with some methods that, in theory, ought to help (we plan to test them out at some point):
- Keg the beer before it’s completely done fermenting to not only give the yeast a chance to scrub the keg of oxygen, but eliminate the risk of suck-back during cold crashing.
- Ferment in a keg and use hop filters to avoid diptube clogs.
- Rack fermented beer into a recently kicked keg that’s already full of CO2; probably best that the prior beer be of similar style and not contaminated.
I recently discovered a neat device from NorCal Brewing Solutions designed to eliminate the suck-back issue when cold crashing called the CO2 Harvester Kit. We’ve got a couple on the way and will be sharing our thoughts on it soon.
If you have any thoughts about this xBmt, please do not hesitate to share in the comments section below!
Support Brülosophy In Style!
All designs are available in various colors and sizes on Amazon!
Follow Brülosophy on:
FACEBOOK | TWITTER | INSTAGRAM
If you enjoy this stuff and feel compelled to support Brulosophy.com, please check out the Support page for details on how you can very easily do so. Thanks!




73 thoughts on “exBEERiment | Cold-Side Oxidation: Impact Oxidative Packaging Methods Have On A Hazy IPA”
Type: “Rack fermented beer into a recently kicked keg that’s already full of oxygen” Should be CO2 filled by then, not oxygen 😉
meant typo, not type….
awesome. same phenomenon explains why bottled NEIPA is never as good as kegged for long.
I beg to differ. My bottle conditioned NEIPAs have held up mightily. I’m convinced it’s due to active yeast scavenging all O2. Natural carb over CO2 gas anyday. Why else does treehouse naturally carb their IPAs?
i’ve never tasted a bottled neipa that is as good as kegged. i haven’t done a side by side though. i just know that all of my friends who bottle always have darker versions of the exact same beer (from shared wort brews) and don’t taste as good
Very interesting article and very much what I suspected! Unfortunately, that exact thing happened to my first (and only) attempt at a NEIPA. I think I need to start kegging to get that problem under control. Also: There is a mistake in the last bullet point, it should be “already full of co2” not oxygen.
vienna or munich malt in grist? rack to a used keg that is free not full of oxygen in 3
I’ve been using a blow-off tube connected to a 1 gallon bucket with an air-lock on it (like the CO2 harvester but only one vessel) to “capture” excess co2 and then provide a buffer for suck back when chilling and kegging. https://www.instagram.com/p/BYthZIVnXeV/
The reason the NorCal solution uses two vessels (mason jars) is so that when CO2 gets sucked back into fermentor from mason jar #1, it is replaced with liquid – water or starsan – from mason jar #2, so that no oxygen gets back to jar #1. In your solution, which is also very elegant and simple I must say, there will be a slight suck in of oxygen during cold-crash, it’s a small effect for a large bucket like yours though, but if one was using a smaller vessel like mason jar, it would be more significant. I have also seen someone use a balloon instead of airlock in a solution similar to yours (so it provides extra volume to shrink as CO2 gets sucked back in), but the problem there is dialing it in so it doesn’t burst if more CO2 is coming out.
Definitively you need two vessels but the airlock in the second jar in the co2 harvester is completely unnecessary. You just need the first jar sealed and from there a regular blow off tube to an open jar.
The Cold Crash Guardian from BrewHardware.com solves this issue inexpensively with no risk of exploding the bladder. Any excess pressure is vented to the the blow off container.
Just saw this on your site the other day, will likely be replacing my BrüLoonLocks with them soon.
Also, I’ve done the recently kicked keg thing with good (and convenient) results. I’ve found that pushing in 1/2 gallon of star-san in, shaking it up to get the yeast and hop gunk stirred up and then pushing it out (never opening the lid) help to clean is out and remove the build up.
Great idea. Ill have to try this.
You referenced allowing the low oxygen beer more time to ferment. Does that mean you didn’t add oxygen prior to pitching?
I have never used oxygen prior to pitching yeast.
I smell a new exbeeriment!
What’s your current cold crash process? Do you take any measures to minimize oxidation due to suck back or just drop the temp and let it happen?
Thank you this XBMT! I’ve been wrestling with this issue as well and it’s great to see evidence showing that air in the head space can contribute to this effect. It makes sense as it only takes a small amount of air in the headspace of a bottle or keg to result in high levels of dissolved oxygen in the beer. For example, 20 mL of air is sufficient to saturate 750 mL of water at room temperature. In my most recent batch of NEIPA, I repeatedly purged the head space of the beer and added Vit C (1.7g per 5 gal keg) to react with any remaining oxygen. I have no idea if the oxygen will preferentially react with the Vit C or the hops, but since such a tiny amount of Vit C is (stoichiometrically) required, I thought I would give it a try.
I wonder how much the leafy matter from the pellet hops is contributing to the browning. Would an all hop oil or lupulin powder NEIPA still brown?
Also, I wonder how much the high salt content of the NEIPAs contributes to oxidation. The salts could facilitate electron transfer.
Did you eventually figure out if the VitC antioxidant had any effect?
Unfortunately, I did not run a control experiment with this batch and I changed several variables from my other NEIPAs (e.g., I used lupulin powder for the first time in this batch and more dry hops went into the keg). I brewed this NEIPA in mid August for an event in Sept thinking that it needs 2-3 weeks to calm down, but still be fresh. However, it was WAY too hoppy for that event. I was even on the fence about serving it at an event in November, which was 3 months after I brewed it. Everybody loved it, but there was still a bit too much hop bite for my liking. It finally calmed down to my hop threshold in December. It’s been 5 months since I brewed it and it is still very hazy, pale, and the hops continue to shine. This was my eighth NEIPA and my previous batches felt like they declined much more quickly with the haze clearing and losing the hop character after 3-4 months. I keep trying small samples, waiting to see when and to what extent it drops off. So far though, it tastes as fresh as any of my other NEIPAs did at 1 month of age. It could be due to many different things, but Vit C is going in my next NEIPA (with a lot less hops!).
Thanks for you full answer!
When in the process do you add the vitamin C? At bottling? Will Cut C degrade if boiled? I am thinking that I could add it to the priming sugar.
It seems like Vit C breaks down at ~190F, so I would not add it to the boil. The later in the process the better. I added it in with the priming sugar in the keg. Let me know what you find.
Even if oxygen gets sucked back during cold crashing, isn’t there a blanket of C02 still covering the beer and protecting it? Maybe you should try another exbeeriment where this is the only variable being tested on a NEIPA.
Also, another solution to fully purging the keg: You can fill it up all the way with starsan, only purging the tiny amount of headspace, then drain it with CO2 Pressure. Similar approach to using the recently kicked keg, but a bit cleaner.
That was always my assumption, and we definitely plan to isolate suckback and purged keg variables.
The CO2 blanket is a myth. Gases mix, otherwise the atmosphere you are breathing would be stratified and you’d pass out from all the CO2 covering the ground everywhere.
A persistent CO2 blanket is probably a myth, since oxygen will eventually diffuse evenly throughout the space. But a temporary CO2 blanket can absolutely occur, as the Lake Nyos disaster shows.
No, there is no such thing as a CO2 blanket. The space between CO2 molecules is so large that oxygen molecules have absolutely no problem getting to the beer. You need to purge the keg fully and also back fill your fermenter with CO2 as you transfer. I use the Cold Crash Guardian to protect the beer during cold crashing.
Awesome! Looking forward to it! This Xbmt was actually a bit of a shock to me.
Hi Marshall, thanks for this. What was the final pH of this beer? I’m guessing I’m not the only one who is curious. Thanks again.
That CO2 rig is pretty pricey for something that doesn’t even include the jars. Any thoughts on the comparison of MO and the pale/Munich mix?
Plan to make the malt comparison an xBmt. It was quite nice though!
So guess is it the oxidized poly-phenols from the hops that cause color change?? or combination with something else??
Poly phenol oxidase (PPO) causes the enzymatic browning of the finished product. There are two possible sources, hops and yeast. Most plants and fungi have multiple forms of PPO. The hops are exposed to 150 F temperatures for 8-10 hours while drying and 110-130 F temperatures when being pelletized. The amount of PPO contributed is minimal. There is evidence that fungal cultures express PPO in response to pathogens and stress. The yeast strains used in “juicy” beers probably express larger quantities of PPO.
I believe that Franz T is on to something. Of the three most prominent “juicy” yeasts cited in the giant NEIPA thread on HBT (Wy1318, Conan, WLP007) – WY1318 is the WORST for oxidation, Conan much less so, WL007 is the least. I have done several split batches between the three, the Wy1318 always starts showing oxidative flavors after two weeks in the keg. As a result, I have sworn off the use of Wy1318 and all of its derivatives (Juice A38).
I plan to run more yeast comparisons on NEIPA in the future, it’ll be interesting to see if oxidation occurs at different rates for different strains.
Hi there!
I’m curious what your thoughts are on flaked oats contributing to final color?
Thanks
Seems to have a lightening effect.
I see a Miller Lite there during the kegging step! Also my favorite beer to drink while outside.
🍻
Hi – Ever have issues with hops clogging up disconnects during the closed transfer? I can’t seem to solve this one so resorting to transferring to the bottom of an open keg which I’ve purged.
So what if instead of cold-crashing, you rack warm beer to a purged keg, then crash in the keg (and then do a keg-to-keg transfer off the sediment)? That should eliminate any chance of cold-side oxidation, and seems like a *much* simpler process.
This process can turn into a nightmare. Hops clog the QD. It can be done if you remove the poppet, but it can still clog.
Here’s a good solution for reducing O2/AIR suckback during cold crashing. Use a cask breather. Remove the airlock and hook up the cask breather to the hole in the bung. Problem solved.
Not sure what a cask breather is can you explain or attach a link
If you mean the $100 CO2 regulator style breathers I would agree it fixes the problem for $100. If you mean the $15 ones that are passive. No, that lets oxygen in.
I’ve randomly had issues with beers having a weird sweetness to them that I haven’t been able to pinpoint, and now I wonder if it hasn’t been oxidation issues.
Thanks for the work you guys do, this site has definitely helped me become a better brewer.
Really appreciate the tips on how to keep the oxygen out. Not all of us are super-Internet-famous homebrewers with fancy-pants equipment. 😉
I started using CO2 connected to a sterile siphon starter to close transfer my IPA’s and go to great lengths to purge my kegs… it made my NEIPA an order of magnitude better. Last brew i didn’t purge my fermentor during dry hop and i got the weird candied flavor you describe. One of the people at Trillium told me their beer never sees oxygen and it’s the key to fresh beer, glad to see further confirmation that my obsessive battle against CO2 is worth it. Cheers Marshall!
Instead of co2 in the fermentor maybe drop in some dry ice.
I loved the article. I have struggled with oxidation in IPA’s in general. After reading this article and looking at the $50 CO2 capture device had a different idea. I filled a party balloon with CO2 from my kegerator, wrapped the mouth of balloon around the center tube from a busted airlock and stuck that through a bung with witch I plugged the carboy. The balloon should act as a reservoir when the CO2 in the carboy contracts during cold crash. Took a pic but cant post it. Cold crash in progress, fingers crossed!
Please let us know how this works out for you, it’s something we’ve actually talked about.
Very interesting article. I’ve been battling the NE IPA oxidation issues for over a year now. This made me switch to kegging first, because I’ve tried every single possible way to bottle/condition a NE IPA and I concluded it’s simply impossible at a homebrewer level.
After starting to keg, I’ve also had issues with oxidation with siphoning and even simply cold crashing. So I stopped doing both and cold crash in the keg. And I think I’ve finally ended up having a non oxidized homebrewed NE IPA. I think most people who think are producing good beer when bottling are actually not tasting oxidation, but I do.
I even taste oxidation in some of the popular NE breweries. I’ve had oxidized Equilibrium, Other Half and even oxidized Tree House.
Instead of purging the serving keg, I naturally carb by using speisse and some dry yeast. As of three batches, it appears to work well. After cold crashing my corny fermenter, I figure that the fresh yeast in the speisse will consume any oxygen faster than it can do damage. My IPAs of pale and oats do not turn color
I recently rigged up an oxygen purging/ suck back prevention device for my carboy.
I do my normal ferm schedule and after my diacetyl rest, right before I cold crash, I hook up my homemade CO2 purging rig. It’s basically a solid stopper that I drilled two holes in and added barbed 1/4″ nipples to it. There are two hoses attached to it, one of them has a one way check valve which only allows me to blow in CO2 in and maintain a small amount of pressure, the other goes to a balloon. For good measure, before I fill the balloon with CO2, I leave that hose unhooked and purge the headspace of the carboy. I then attach the hose and blow CO2 until the balloon inflates. In order to maintain a perfect seal, I zip tie the stopper down firmly to the neck and add a small vacuum cap the the check valve, no oxygen! 🙂
After building this rig, I feel it’s pretty simple and effective to use. I’ll just do this with every beer now.
awesome idea.
^^^ Since this is a closed CO2 environment, I leave it hooked up as the beer warms until I’m going to rack to the keg. Being super careful about this NEIPA, instead of traditionally racking by pumping my racking cane, I took the middle part out, filled the hose up with sanitizer to a ball lock fitting on my keg dip tube and let the liquid drain to a bucket until it started pulling in beer. I also zip tied a hose the the racking cane that blows in a continuous stream of CO2 at the top of the beer as it empties, preventing any oxygen exposure. I also filled my keg up to the brim with sanitizer, purged and pushed it out with CO2 before I started filling. Crossing my fingers! This exbeeriment really got to me!
My girlfriend was looking at me like “WTF…” the whole time I was doing this haha.
Absolutely, and now I know why the best hazy ipas are the lightest in color! I found that out from drinking craft before brewing this style. All base malt, oats and hops… and now the oxidization experiment. Never did a side by side, but I take measures to limit oxygen. Poor mans version. Brew in a bottling bucket, transfer to a purged keg (hose to diptube) with awaiting bagged dry hops as airlock activity nears the end. With most NE IPA yeasts, they have a heavy CO2 laden krausen protecting the top of the beer at day 4 or 5ish so I don’t bother rigging up a way to transfer under pressure. Never went to the extreme of purging the short transfer tube either. Either serve from this keg expect a good amount of trub and hop matter or jump to clean keg after cold crashing. Either way, expect to lose a couple pints of beer from your typical batch size. Definitely lighter in color and fresher than one that sits in the fermenter for a couple weeks before transferring with a cane.
I also think 1318 produces a better example than Imperial, all else being equal.
I think you’ve got a copy/paste error in your results section — looks like a chunk of text has been copied over from another experiment.
“Each participant was served 2 samples of the Crystal 60 beer and 1 sample of the beer made with a blend of C100 and C20 then asked to identify the sample that was unique. Given the sample size, 13 tasters (p<0.05) would have had to select the unique sample to reach statistical significance."
Including that second sentence since I *think* the sample size calls for 12 tasters not 13.
Thanks, fixed.
Made my first NEIPA. Unfortunately I’m bottle conditioning so cold side oxidation is only something one strives to reduce as much as possible. I tried to think of a 1000 ways to possibly reduce the oxygen exposure, but in the end I had to say, “Embrace the suck.” There just aren’t practical ways to do this (that I am aware of). It’s a Grapefruit NEIPA, so there is some vitamin C in the mix to help out with oxidation issues (hopefully).
Excellent article, thank you for sharing!
Gas saving process suggestion: Closed loop transfer.
After purging the sanitizer from the keg with CO2, instead of hooking the CO2 tank back up to the fermenter and using more gas and at the same time venting the purged keg, recycle the gas in your freshly purged keg by connecting a hose to the top of the fermenter and then connect it to the gas-out of the purged keg with a gas disconnect on the other end.
As your beer flows into the keg, it will displace an equal volume of CO2 back into the top of the fermenter in a closed loop, keeping oxygen out and saving CO2. Purging the transfer line prior to start from the CO2 tank or with the excess pressure in the purged keg.
Simple and cheap solution at about $8 for parts.
For bottled Neipas I make a closed transfer from my primary to a purged keg containing a second dry hop charge, let it sit during two days, put a bit of pressure then cold crash for two days, then I make a closed transfer to another purged keg with 8g/20l of diluted corn sugar in it , burst carb it at 45 psi for 24h, then 14psi for 3 days, finally I beer gun it in bottles capping them on the foam, 8g of corn sugar per keg will compensate the loss of pressure by the beer gun, and will allow yeast to scavenge O2 from bottling, with this method I never had any oxidation problem with my bottled neipas, hops will start to fade after a month, but even after three month at cellar temp, no cardboard taste or change in color, but the beer is getting crystal clear.
Any update on the CO2 harvester?
Hi. An observation and a thought:
First, I stopped cold crashing years ago. For beers with a lot of floaty things (hops debris), I keg, carbonate, then increase pressure a bunch for the first pint and blow out any crap in the system.
Second, I noticed you did a 30-min boil. I know it’s all late addition hops; however, I thought a 60-min boil was also for other “background” flavors and concentrating sugars in a way that can’t be accommodated with the grist/mash.
The main purpose of extended boils is to drive off the compound that leads to DMS. Over multiple xBmts, we’ve found there doesn’t seem to be a noticeable difference when boil length is reduced, at least when using modern malts.
Very interesting reading, just got one question. Maby I missed it in the article, but was the headspace in the standard O2 keg purged (until minimal o2 was left)?
I can highly recommend using SaniClean instead of the foamy StarSan if you want to keg with low oxygen. The StarSan foam contains a lot of air bubbles that is going to burst during and after the keg is filled with beer. Doing the exact same method in the experiment with SaniClean instead means practically zero oxygen left.
Hi, I been reading about cold crash oxidation solutions in many forums. Why not to use the same sanitized and purged keg you will use after cold crash in the cold crash itself ? connecting the gas-in of the purged keg to airlock in fermenter…this way fermenter will suck the CO2 traces from the keg and not air. A 5 gallons empty (around 0 psi) keg has enough CO2 left for replace the head space of fermenter. After cold crash, we could replace the gas-in with CO2 tank for closed transfer…sounds crazy?
Hello, i involuntarily made a similar experience, but bottling. I splitted a saison batch in 3 jerry tanks for cold crashing 2 weeks. One was just ale, two dry hopped (3g/lt hops). Of the three, the ale had a big headspace, so big o2 exposure, and of the two ipas one had a loosened cap (sh**!), so also co2 lost and atmospheric contact.
At the end, after bottle conditioning i had: 1 bright yellow ipa (the sealed one), 1 gray oxidized ipa (the loosened cap), but the normal ale, in spite of big o2 exposure, did preserve a bright color.
So i deduct that when the beer darkens it’s supposedly due to some hop oils going oxidized, and the phenomenon should relate only to dry hopped beers
Thanks for a great article! I was just wondering about kegging the beer before it finishes fermenting and how effecftive that is. Is this something that you usually do and found that it helps with scrubbing the oxygen? At which point of the fermentation should i perform this? Thanks again!
That’s something I’ve heard of but never tried myself.
Now, what about the differences between this exBeeriment and previous cold side oxidation exBeeriments which seemed to have no effect?
I’m confused!