Author: Marshall Schott
There are many off-flavors beer can possess such as diacetyl and dimethyl sulfide (DMS), commonly described as imparting butter and cooked cabbage character, respectively. Through centuries of trial-and-error as well as scientific research, brewers have been able to hone in on what creates these undesirable characteristics, leading to the development of methods that help us to avoid them, for example raising the temperature at the tail end of fermentation for a diacetyl rest or boiling wort long enough to drive off DMS and its precursor, SMM.
Another off-flavor brewers try to avoid is astringency, which is arguably more of a mouthfeel thing than it is a flavor, often manifesting as a mouth-puckering sensation that is sometimes confused for intense bitterness. In addition to this harshness, I tend to experience a slight tightening in the jaw muscle just beneath my ear lobes and my tongue is left feeling sort of fuzzy. For those curious what I’m talking about, an easy way to experience astringency is to make a cup of black tea using a teabag per the instructions then remove the bag and squeeze the absorbed liquid into your mouth.
A high mash pH is said to be an obvious culprit of astringency in beer, as it is purported increase the extraction of tannins from grain husks. While malt is pretty magical stuff in its ability to correct for brewing water with out of whack pH, some brewers are forced to rely on manual acidification to ensure they their mash in the recommended pH range pH 5.2 to 5.8. Having judged many a beer I felt had an astringent character that I presumed stemmed from water chemistry issues, I was curious to see how I’d experience a beer mashed with an intentionally high pH and put it to the test!
| PURPOSE |
To evaluate the differences between a beer made with a notably high mash pH (6.39) and the same beer made with a mash pH accepted to be in the normal range (5.17).
| METHODS |
In planning out the recipe for this xBmt, I wanted to make sure there was enough malt so that the high pH water had more to extract tannins from, so I designed a fairly simple IPA using some leftover hops I had in my freezer.
A Stringent IPA
Recipe Details
| Batch Size | Boil Time | IBU | SRM | Est. OG | Est. FG | ABV |
|---|---|---|---|---|---|---|
| 5.5 gal | 60 min | 52.3 IBUs | 7.3 SRM | 1.059 | 1.015 | 5.8 % |
| Actuals | 1.059 | 1.012 | 6.2 % | |||
Fermentables
| Name | Amount | % |
|---|---|---|
| Pale Ale Malt (Rahr) | 13 lbs | 95.41 |
| Victory Malt | 10 oz | 4.59 |
Hops
| Name | Amount | Time | Use | Form | Alpha % |
|---|---|---|---|---|---|
| Columbus/Tomahawk/Zeus (CTZ) | 10 g | 60 min | First Wort | Pellet | 13.1 |
| Azacca | 15 g | 20 min | Boil | Pellet | 13.7 |
| Columbus/Tomahawk/Zeus (CTZ) | 10 g | 20 min | Boil | Pellet | 13.1 |
| Loral | 30 g | 2 min | Boil | Pellet | 9.2 |
| Simcoe | 30 g | 2 min | Boil | Pellet | 11.6 |
| Loral | 30 g | 3 days | Dry Hop | Pellet | 9.2 |
| Azacca | 20 g | 3 days | Dry Hop | Pellet | 13.7 |
| Simcoe | 15 g | 3 days | Dry Hop | Pellet | 11.6 |
Yeast
| Name | Lab | Attenuation | Temperature |
|---|---|---|---|
| Flagship (A07) | Imperial | 75% | 60°F - 72°F |
Notes
| Water Profile (Standard pH): Ca 95 | Mg 0 | Na 8 | SO4 104 | Cl 93 | pH 5.2 Water Profile (High pH): Ca 201 | Mg 0 | Na 8 | SO4 104 | Cl 93 | pH 6.4 |
Download
| Download this recipe's BeerXML file |
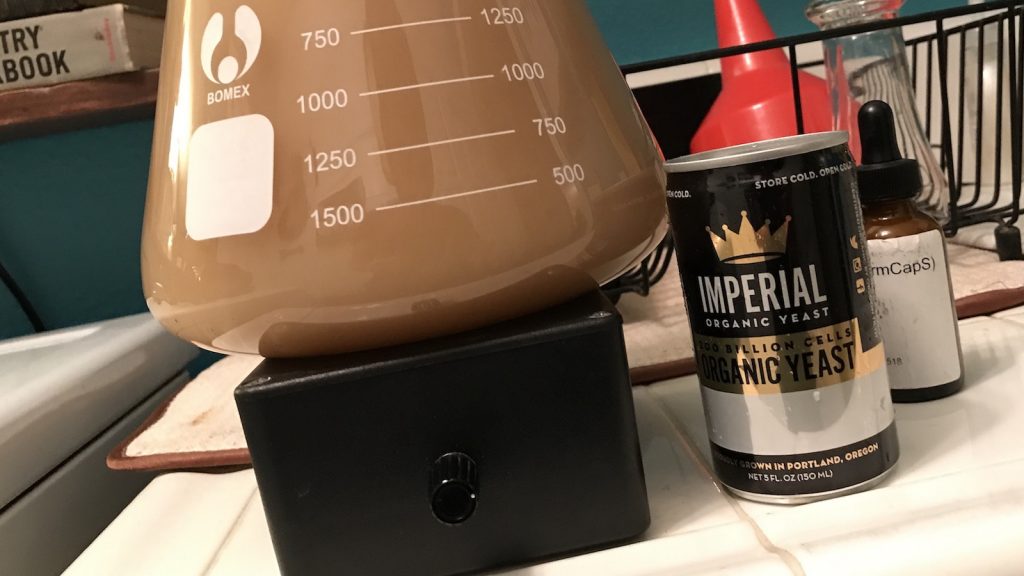
I whipped up a single starter of Imperial Organics A07 Flagship yeast a couple days ahead of time that would later be evenly split between batches.
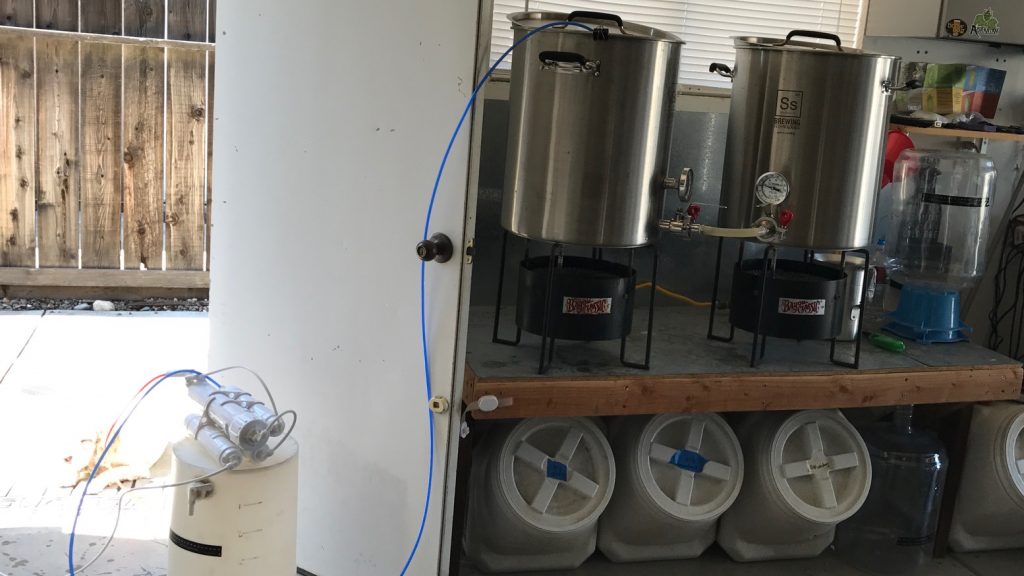
I started collecting RO water the afternoon before brew day, as the process takes a few hours.
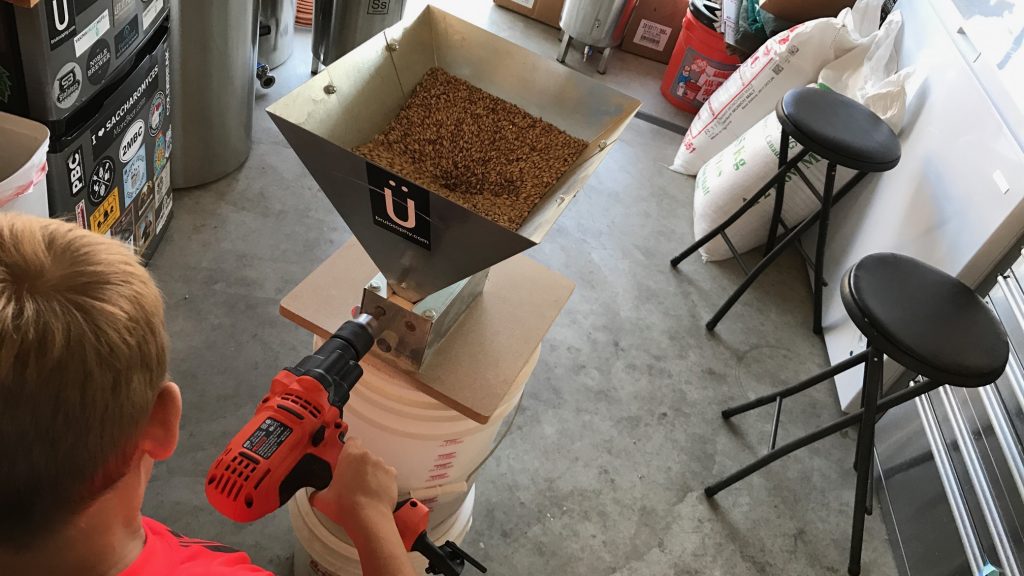
Later that evening, I continued my preparations by weighing out and milling the grains for each batch.
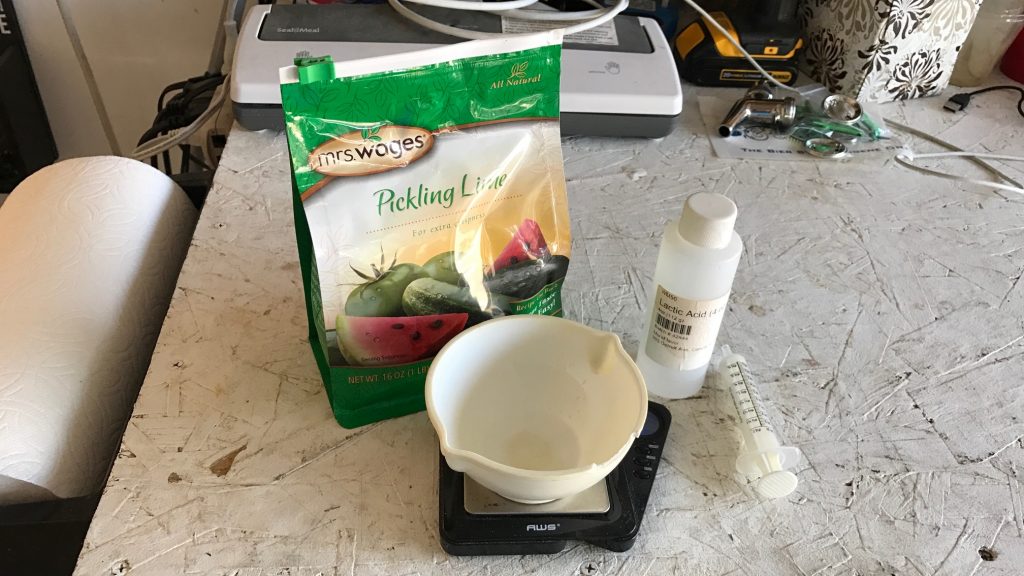
With equal amounts of brewing liquor in separate kettles, I adjusted each to have as similar of mineral profiles as possible while also producing the intended pH spread. This required the use of 7 grams of pickling lime for the high pH batch and 5 mL of 88% lactic acid for the standard pH batch.
Given the calcium content in pickling lime, that was the only other component besides pH that ended up being different.
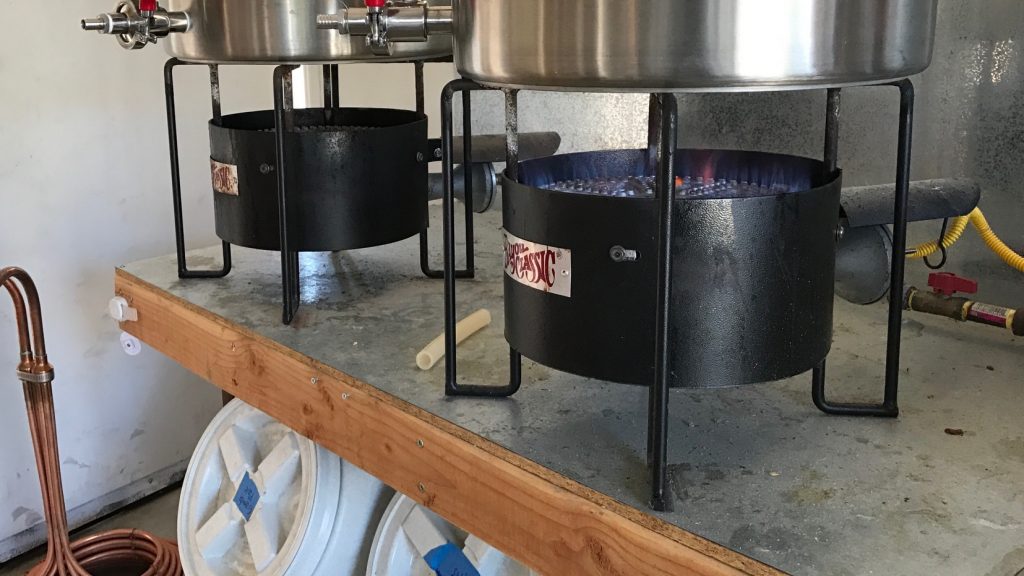
First thing the following morning, I hit the flame under the standard pH brewing liquor, staggering the start of the high pH batch by about 20 minutes.
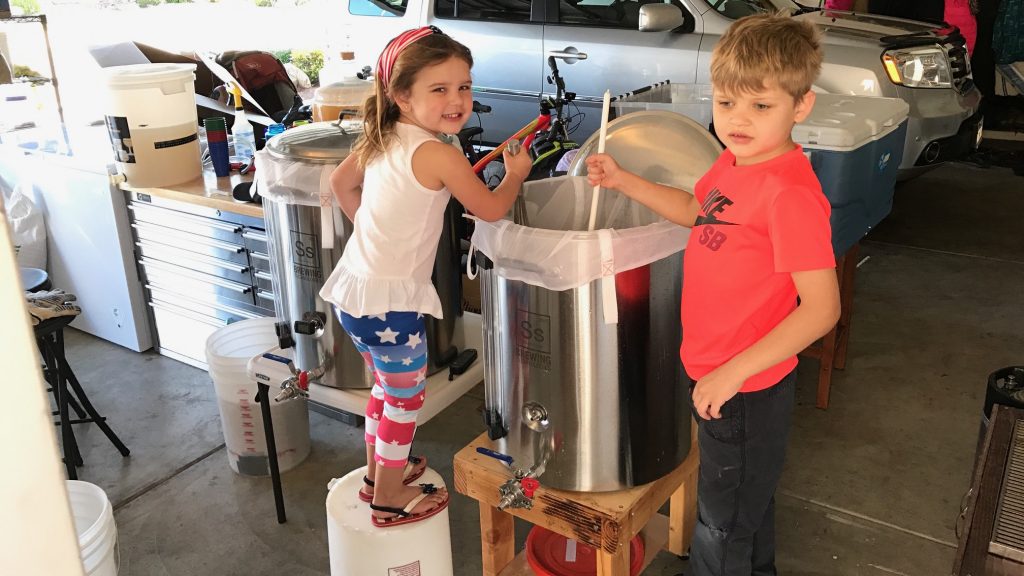
With the help of a couple cute brewing assistants, I mashed in the entire volume of water, performing my standard no sparge method.
Thanks to BeerSmith’s accuracy, both batches hit a similar mash temperature.

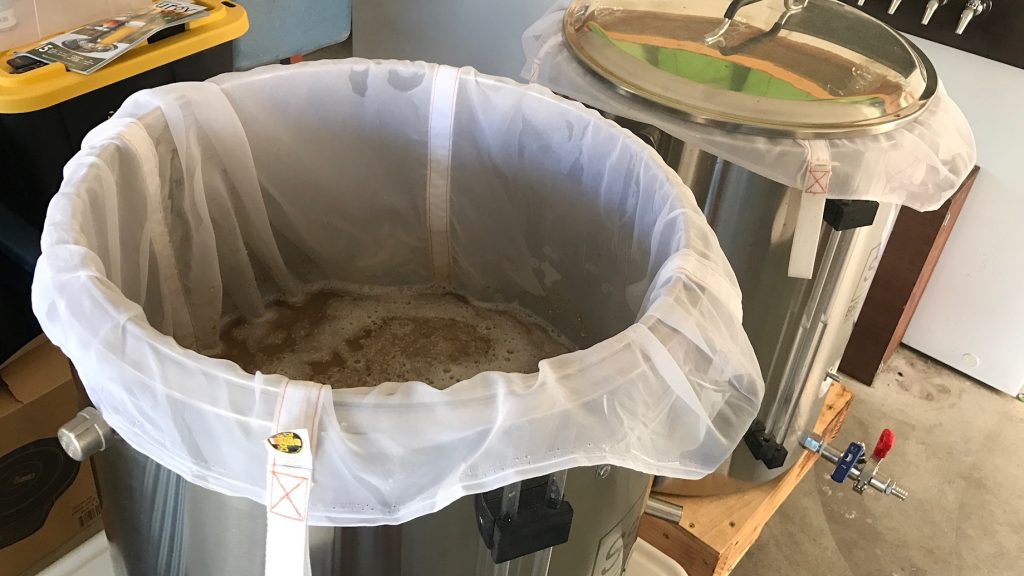
I let the mashes rest for 60 minutes, stirring each on every 20 minutes in the hopes of improving efficiency.
At 15 minutes into either mash rest, I pulled samples to measure the pH, which showed the adjustments I made did what they were supposed to do.
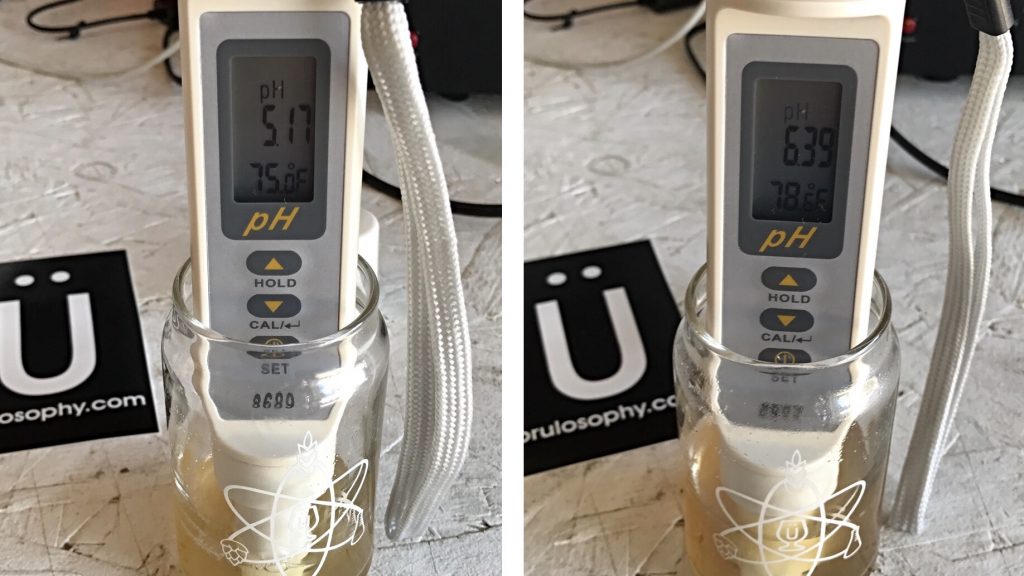
To say I was nervous would be an understatement.
At the conclusion of each mash rest, I collected the sweet wort and put it over the flame until a boil was reached.
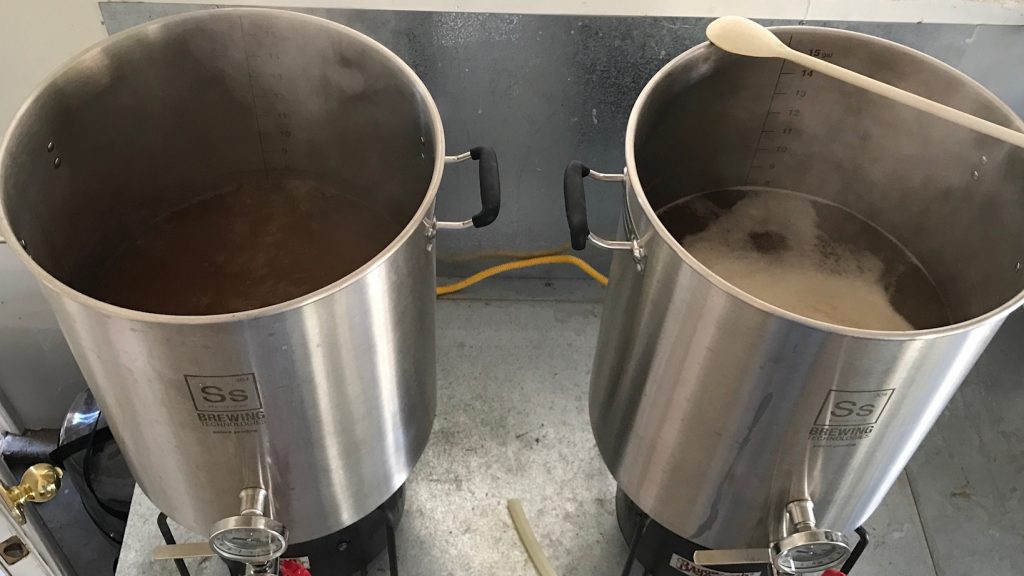
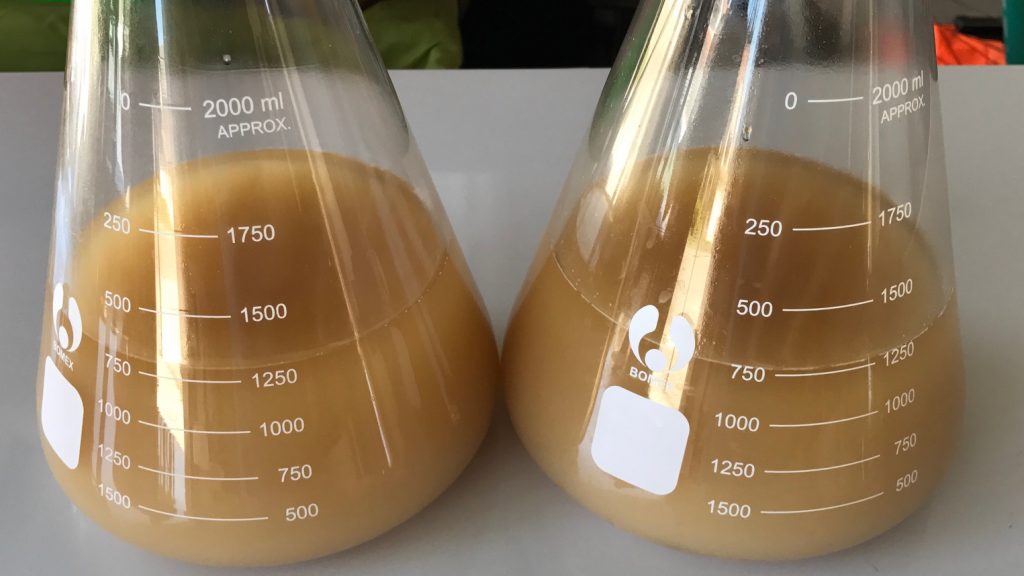
I noticed the high pH wort had much large protein chunks during the boil compared to the standard pH wort, which I thought was curious as I’d always read a better hot break was achieved when the wort was in the “correct pH range.” Once each wort boiled for 60 minutes, they were quickly chilled to a few degrees warmer than my tap water.
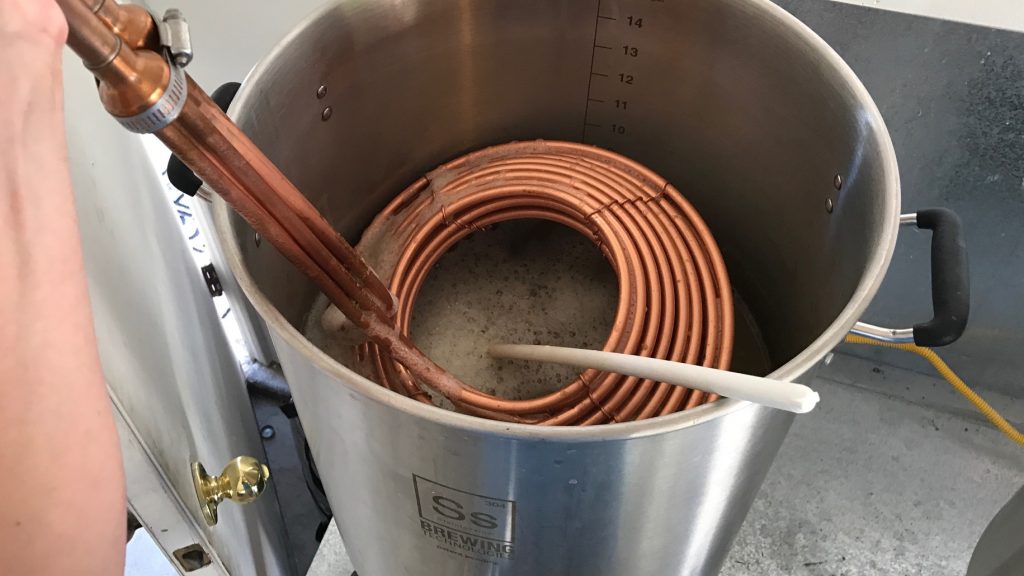
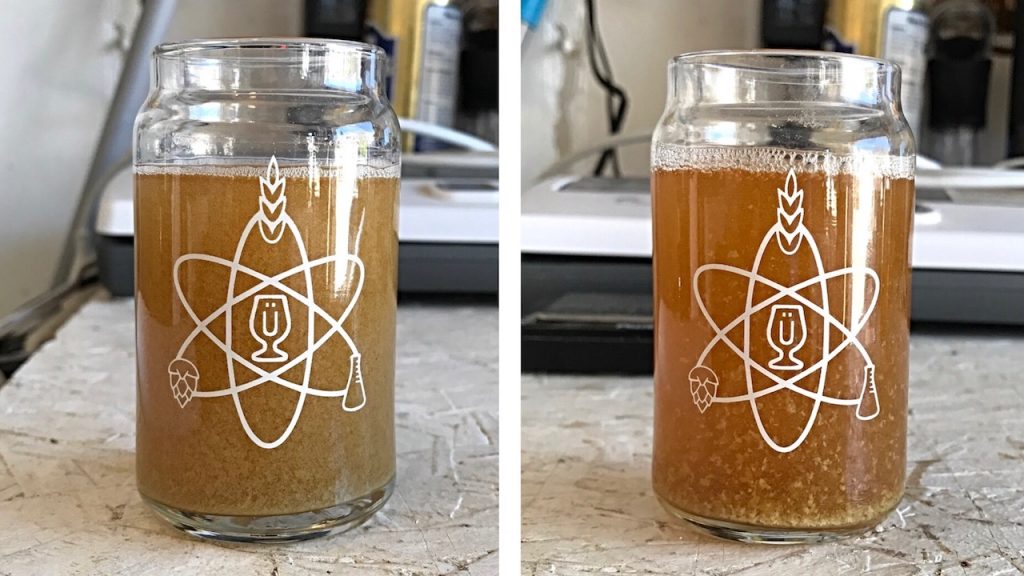
Wort samples at this point exemplified the previously mentioned observation regarding hot break. At first, I thought the high pH wort was slightly darker than the standard pH wort, but later realized the difference was a function of turbidity.
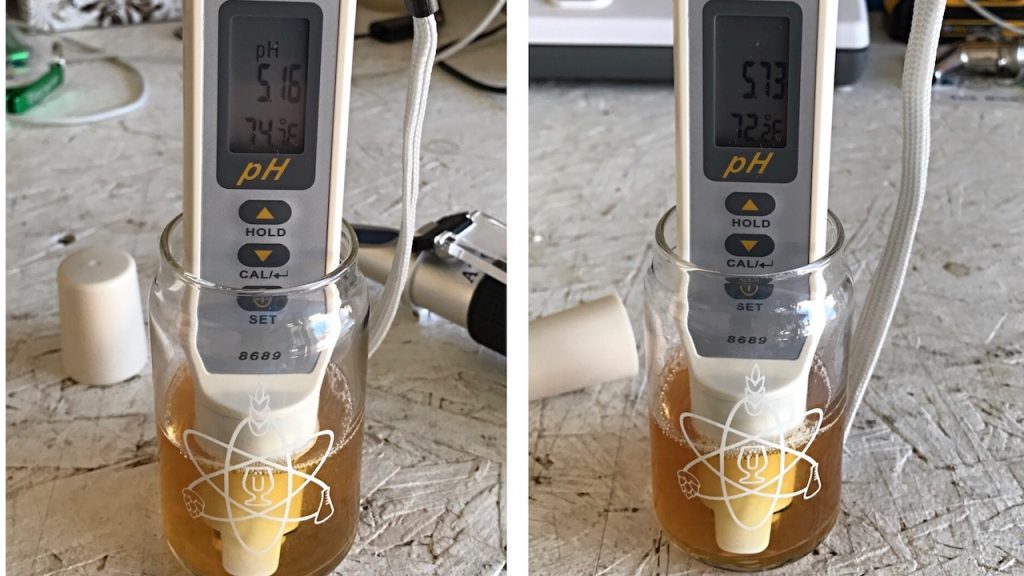
I took another measurement of the cooled wort that showed the high pH batch had dropped quite drastically since the mash.
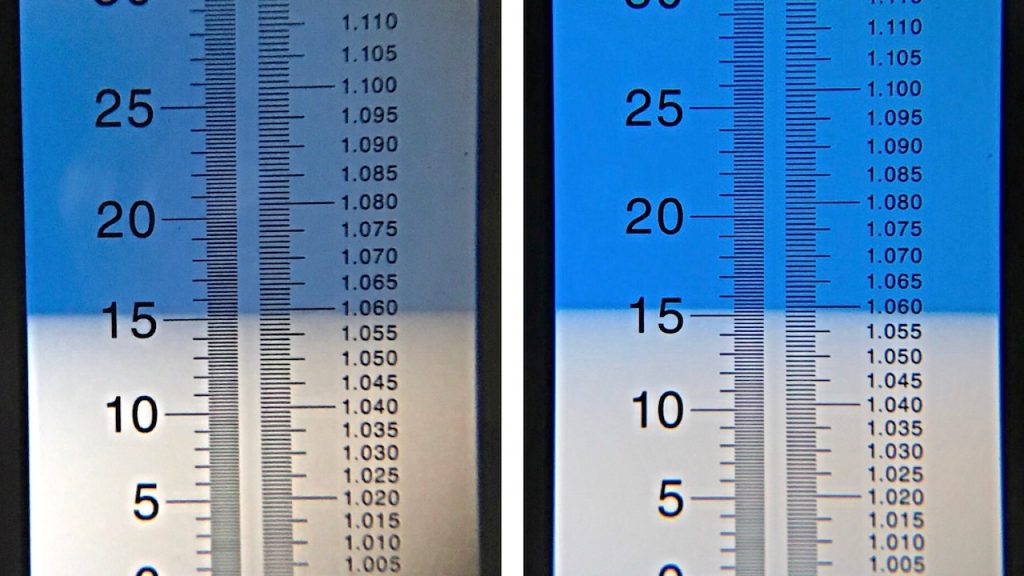
A refractometer reading revealed both batches had achieved the same exact OG, suggesting mash pH had no effect on efficiency. I did not expect this.
The same amount of chilled wort was racked from each batch into separate stainless Brew Buckets, which were placed in a temperature controlled chamber to finish chilling.
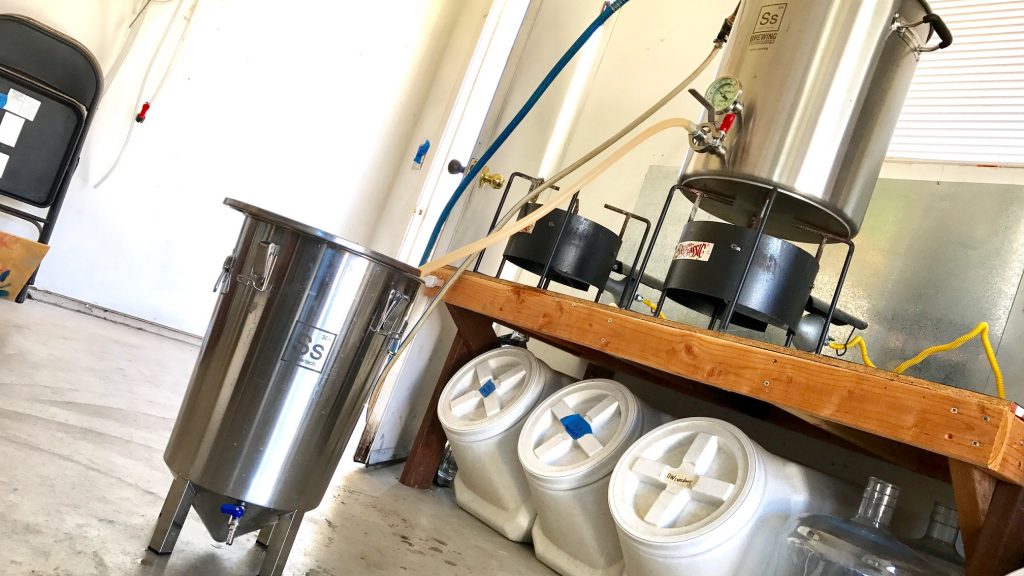
It took 4 hours for both worts to stabilize at my desired fermentation temperature of 66°F/19°C, at which point I evenly split the yeast starter between the batches.
I realized after pitching the yeast that I’d left the wort sample sitting on my workbench, the trub in both had settled out, but I decanted the clear portion from each for another comparison.
Within 12 hours of pitching yeast, both beers were showing signs of active fermentation, and they proceeded identically for the following 3 days, which is when I dry hopped and bumped the temperature up to 72°F/22°C. I returned 4 days later and noticed both beers appeared to be finished fermenting, which hydrometer measurements confirmed.
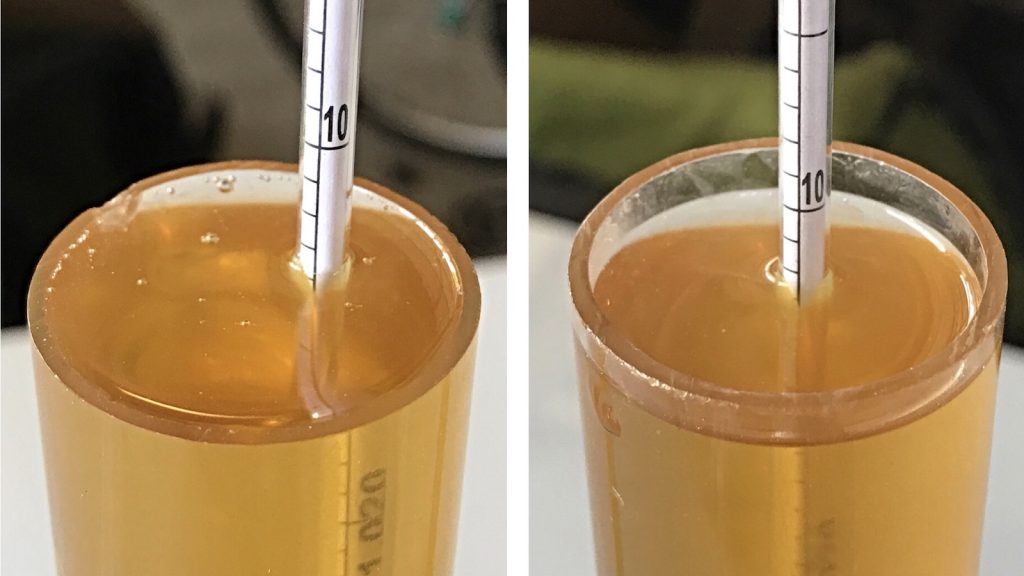
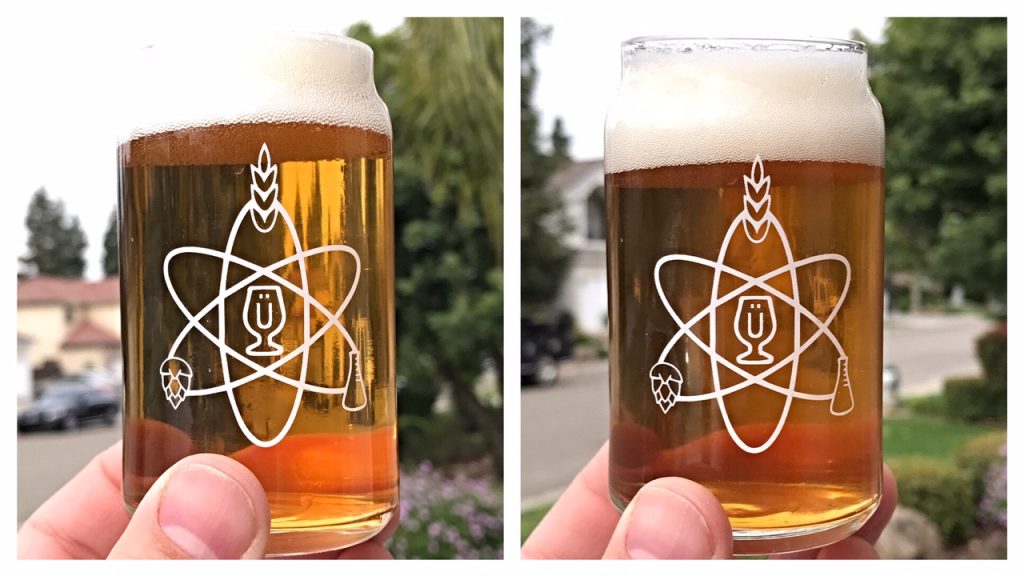
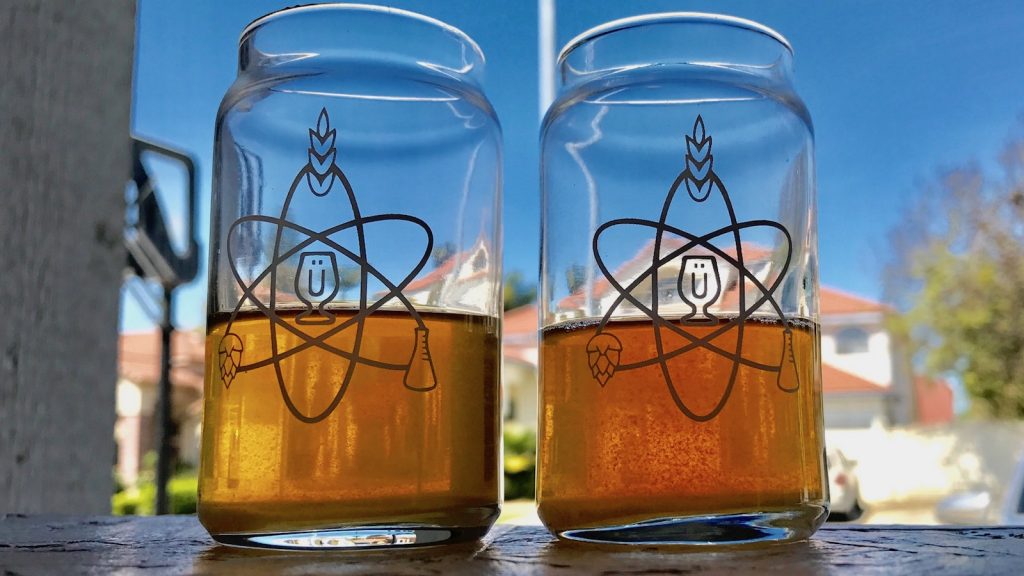
I reduced the temperature in the chamber to 32°F/0°C, fined with gelatin 20 hours later, then kegged the beers 2 days after that. I placed the cold beers in my keezer where they were hit with 45 psi of CO2 for 20 hours before I reduced the gas to serving pressure. They were allowed to condition for 3 more days before I collected data, at which point they maintained a very similar appearance.
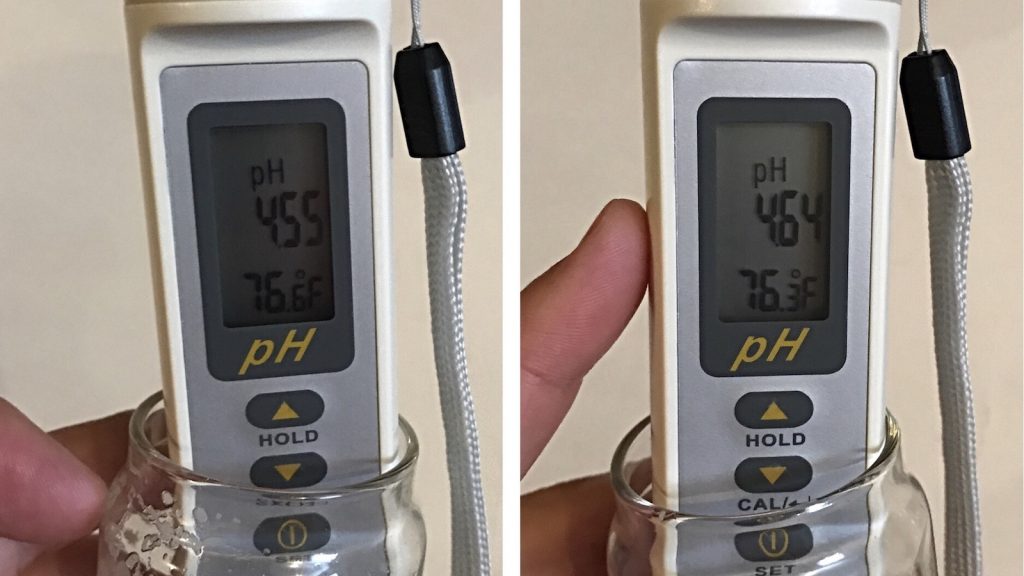
Out of curiosity, I took a final pH measurement of the finished beers to discover a difference did remain, though the beer were closer than I expected, a testament to the buffering ability of yeast during fermentation.
| RESULTS |
A panel of 20 people with varying degrees of experience participated in this xBmt. Each taster, blind to the variable being investigated, was served 2 samples of the normal pH beer and 1 sample of the high pH beer in different colored opaque cups then instructed to select the unique sample. With the given sample size, a total of 11 (p<0.05) correct selections would have been required to achieve statistical significance, though only 8 tasters (p=0.34) chose the different beer, indicating tasters were unable to reliably distinguish a beer produced with a higher than recommended mash pH from one produced with a normal mash pH.
My Impressions: I was convinced from the moment I agreed to brew this xBmt that the beers were going to be different, and sure enough, upon first non-blind sip of each, I was absolutely certain the high pH sample was more harsh. I held off on triangle testing myself until I started to notice participants routinely selecting the wrong sample. I had 3 different friends serve me 5 semi-blind triangles at various times, out of which I was correct only twice. No shit, I’m not sure I’ve ever focused so hard in my life on anything, and still my performance was not better than chance. After sharing my shock with one friend, he offered to pour me samples side by side to see if I could tell them apart that way, both in clear glasses. Knowing that I had a 50% chance of getting it right, I threw in the towel after a few minutes of focused evaluation, as I didn’t feel like pretending I detected a difference when I really just guessed.
As for the beer, meh, it was okay, certainly not a dumper. I’m not sure I’m as big of a fan of using Victory in IPA as I used to be, and that hop combo didn’t really seem too exciting either.
| DISCUSSION |
With over 10 years and hundreds of batches under my belt, I feel like I have a decent grasp of most aspects of brewing, and while I didn’t really start down the rabbit hole that is water chemistry until the last few years, I’ve done more reading on the subject than I ever did anything in grad school. It’s likely this that’s responsible for the confidence I had that this xBmt would return significant results, the high mash pH beer possessing an easily noticeable astringency not perceived in the beer mashed with a more acceptable pH. The first sign that my convictions might be wrong came when I poured myself a couple samples prior to collecting data and they looked exactly the same, an observation that went against my expectation of the high pH beer being darker than the standard pH beer via non-enzymatic browning. I figured this darkening effect might take some time and, based on a couple preliminary sips, was certain there was a difference between the beers.
As participants started taking the triangle test, it became obvious many struggled to distinguish the unique sample, with post-survey comments regarding how similar they were leaving me completely baffled. It was at this point I attempted multiple triangle tests and discovered they tasted like the same damn beer. You’d think I’d be immune to this phenomenon by now, but nope. Not only were participants unable to reliably distinguish the high pH sample from the standard pH beer, but I couldn’t either, which in addition to reminding me how strong bias is, caused me to reconsider what I thought I new about mash pH.
When looking at these results in light of those from the xBmt on the impact of low mash pH, it seems lower mash pH might slightly improve enzymatic activity while a higher pH has minimal effect based on OG readings, which could help to explain reports from homebrewers claiming to have experienced increased efficiency once they began adjusting their water profiles. I also thought about the boil pH xBmt that returned non-significant results and wondered if intentionally raising the pH even higher might have produced the expected astringency. Ultimately, I’m yet again left with more questions than answers and anticipate ongoing exploration of this fascinating variable.
If you have thoughts about this xBmt, please feel free to share in the comments section below!
Support Brülosophy In Style!
All designs are available in various colors and sizes on Amazon!
Follow Brülosophy on:
FACEBOOK | TWITTER | INSTAGRAM
If you enjoy this stuff and feel compelled to support Brulosophy.com, please check out the Support Us page for details on how you can very easily do so. Thanks!



47 thoughts on “exBEERiment | Water Chemistry: Impact High Mash pH Has On An American IPA”
Gelatin has a remarkable ability to remove tannins from beer. They are used extensively for this purpose in winemaking:
https://winemakermag.com/715-using-fining-agents-techniques
Gelatin
Gelatin, derived from animal tissues, is a good fining agent for red wines because of its affinity for binding with phenols in precipitating suspended particles and for reducing tannin content. For this reason, it is usually not recommended for fining white wines, as it will reduce the small amount of tannins — and, in fact, it may not fine adequately if the tannin content is too low. To avoid over-fining in white wines, tannin powder can be added before gelatin fining.
It could be interesting to repeat the experiment without the use of gelatin
Exactly. You went to the trouble of producing a tannic beer and then removed the tannins! I can tell you from experience that gelatin does an amazing job of removing tannin from beer!
In retrospect I’m starting to believe fining all the beers might not be the best idea. You might not remove a lot of flavour, but you still remove something. For a delicate (of)flavour the gelatine might remove just enough to make the difference indistinguable…
Fro those of us who stress over hitting 5.2 vs. a planned 5.3, this is comforting to know that the process is much more forgiving than some would have us believe. Great post!
Very interesting and surprising. It might be worth repeating this with a Koelsch, Helles, or Pils as well as some sort of lightly hopped stout or porter so that the tasters can focus more on the character of the maltiness.
That is what I was thinking, because it’s those types of beers that I play with acid the most.
Exactly. He should not have tried it with such a hoppy beer. And should not have used any finings like others have said.
Looks like I’ll be cutting back on my use of lactic acid ! Thanks for the great info Marshall .
My understanding is that tannin extraction is caused by faulty sparging – pH rising too high as buffering capacity of the diluted mash is overwhelmed, with agitation of the grain bed and high temp water aggravating the situation. Perhaps the risk of astringency is much lower with no-sparge brewing.
That’s one purported culprit, for sure.
Tannin extraction requires both high temperature and high pH. This experiment only tested mash pH which has more to do with the conversion efficiency than tannin extraction. To test tannin extraction, you would need to sparge with 180F water with a pH over 6.
And you OG did not suffer because your mash was sufficiently long to overcome the less vigorous amalyse enzyme activity and conversion was complete. If you had done a shorter mash I would bet there would have been a large difference in your OG’s
Very interesting you noticed the hot break looking super chunky in the high ph beer. I remember this used to happen to me all the time before I started adjusting my water to 5.2-5.4, now I don’t get the giant chunks anymore.
Yeah, likewise. Went to a buddy’s yesterday while he was brewing, same municipal water source as me but his hot and cold break were like egg drop soup. He told me he does nothing with his water (and he makes good beer).
Another good exbeeriments!
PS. Loral sucks.
May not be my first choice in an IPA, but I love what it does in lighter hopped styles.
I brew a lot of IPA and I’ve been looking forward to seeing the results of this specific experiment, thanks for putting it together! I think the fact that the final beer PH is so close might be the reason there’s not much of a difference in the final beer. And even the higher PH beer is just on the edge of the desirable range (under 4.6). I would be curious to see how a beer that finished at at PH of 4.4 vs one over 5.7 compared.
err 4.4 vs 4.7
I thought the pH of carbonated, ready to drink beer was more in the 4.1 to 4.3 range for typical IPAs. The higher pH of the test, as defined on the Hanna site as 4.6 to 4.9, “is a sign of autolysis”. How old was the yeast pitched, was it a new package?
I de-carbonated the beer before taking the final sample, also let it warm up a bit. The yeast was very fresh, only 2 weeks old when pitched into the starter, and the final pH reading was taken after maybe 3-4 weeks in the keg.
Is it condensation, or does the higher pH beer look a little hazier? It’s not a huge difference, but was just a little curious.
Condensation. They are identical.
I’d like to see this one repeated with a lighter, less hop forward style. Also, without the use of gelatin. There’s quite a few exbeeriments I’d love to see repeated without gelatin.
Do it!
Hm, this leaves me with more questions than answers. Your dry hopping rates of 0.81lb/barrel alongside of the choice of a heavily hopped IPA is not ideal for a causality experiment. IMO the more intense flavor from hops would cover up imperfections from the mash. Alongside of the fact that light malt will affect the mash pH to a lesser extent than darker malts. Have you thought of doing 1 gal batches with no adjustments other than pH
Thanks for sharing! Interesting stuff!
I think if you kept the high pH beer around for a couple months you would have an obvious taste difference. I think pH is critical for the preservation of beer. If your pH is high I think you get this grassy and vegetal taste after a couple months. Fresh beer IMO tastes good even when pH is off.
They were on tap for 2 months, I couldn’t tell a difference at the end.
I’ve seen it alluded to already but here’s a thought: You did this on an IPA, already quite bitter. Also, as mentioned, the gelatin would have stripped some of the tannins out with the protein. If I weren’t so damned lazy, I’d try the experiment on a blonde ale, as bland as possible, to make sure the tasters are getting astringency, not bitterness. I wouldn’t fine the beer, either. I have to admit, the results surprised me but I’m also having difficulty dismissing generations of brewing science on this one.
When we do off-flavor evaluations, we tend to start with as bland a beer as possible so I’m curious: What led you to use an IPA, a bitter beer, to evaluate astringency, often confused with bitterness?
I think there just wasn’t enough range in pH. Repeat the experiment with a beer with a mash pH of 5.2 and one with a mash pH of around 11. Then serve those beers as a blind triangle. Gelatin will not be an issue at that point.
That’s gotta be it!
A pH of 11 would be ridiculous and not something ever encountered in brewing (and I am sensing some sarcasm!). But some of the comments on this site are basically suggesting to intentionally make the beers taste different rather than test a hypothesis based on conventional wisdom.
Starting with RO is likely the issue here. You have basically no buffering power from the water, so your pH change in the mash while it is large is relatively insignificant, as you have very little actual ionic activity causing it.
This is born out by the beers finishing at basically the same pH.
If you had very high carbonate water causing that mash pH then I’d hazard that you may see different result.
Peter I think you are on the mark.
I think John Palmer said once that with PH you can have a gorilla on one end of scale and an elephant on the other, or a rabbit and a cat. PH is just a measure and we should not take this as the one all end all factors in doing what we do as brewers.
Nevertheless, the actual water chemistry is what is important.
PH is just one variable and we need to be looking into other aspects of this.
Other people have brought up this point, but the first thing that occurred to me (before I even got to the results) was “Why would you brew an IPA — and then dry-hop it — if you were trying to detect taste changes in the malt profile?”
Wouldn’t it just make more sense to brew something like a well-balanced, down-the-middle brown ale for this (and most of your other tests)?
Because most homebrewers make balanced Brown Ales? The 2 main reasons I went with IPA are (1) more malt and (2) applicability. I get that people think hop character hides defects, but we can’t only test this stuff out on Pilsner, Blonde, and Browns.
“I get that people think hop character hides defects, but we can’t only test this stuff out on Pilsner, Blonde, and Browns.”
Granted…but it’s not really my “opinion” that a really pronounced hop profile might overwhelm the malt nuances of an IPA. That’s pretty much how an IPA works — any given IPA might have more or less malt body, but its whole purpose is to showcase the hops, not the malt. All due respect, but it’s pretty counter-intuitive to use an IPA to discern fine distinctions a malt profile.
Replicate!
I’m slowly coming to the conclusion that the malt industry (seed companies, farmers, maltsters) has improved their product to the point that if you soak it in water between 130F and 170F for at least 15 minutes but probably no more than 24 hours, you’ll end up with decent beer.
I know you’ve done an experiment using gelatin vs. no gelatin, but that was done on a beer brewed under “ideal” conditions. It seems crazy to me that you do all of these experiments using what is considered “improper” techniques, and more times than not, there isn’t a significant difference statistically. Maybe gelatin is the key to hiding, or cleaning up, these beers. I know that using gelatin not only cleans up the appearance, but also removes staling agents which will have an effect on the stability of a beer over time…. but it seems to me that it might be doing even more than that. It might be interesting to repeat some of these experiments without using gelatin, especially since appearance is not used as an evaluation tool.
If they didn’t use gelatin, then the results wouldn’t be “applicable” to those of us that DO use it on a regular basis. If the purpose of these exBEERiments is to test variables in a typical homebrew setting, then I say keep using the gelatin. If you disagree, then follow the Brulosopher’s advice and “replicate!” And then tell us about it because that’s what makes this site great!
Like someone said already: it is the sparging that extracts the tannins, and it needs to be a combination of too high pH and too hot water. My first beer was like that because of the use of municipal water.
Also, an IPA or bitter beer does not mask astringency. It really is a feeling.
Now the good news: if your beer is astringent, then keep it cool for a month of six in a cellar. After that, the astringency will be gone.
Nice, as usual. I got past 6.0 pH on the last two batches(well water profile changed), and was worried. It was a BIAB, and tasted good. May not be for all cases, but it’s nice to know that a high mash pH is not necessarily a problem.
Stop using gelatin for all of your stuff! Just let them be! Who cares about clarity for the majority of these! Why throw another variable that you truly don’t know what it is doing to your beer besides making it look clear!!!!!
You should retry this with a higher pH. I finally started testing my water and my liquor is 8.8pH. What effect would sparing with that cause? I do notice all of my beers so far have noticeable astringency. I will adjust my water next time.
This was just too small of a pH difference to detect is all.
Since only 25% can taste tannins that would only need 5 out of 20 and since it was 8 I’d say the result was more than significant.
I can taste them, to me it tastes like a woody dry aftertaste that appears a few seconds after swallowing a sip. It’s very common here in Scotland because high hopping rates is not traditional and not taught at Herriot Watt. I just tasted one yesterday.