Author: Brian Hall
Dry hopping is a very popular method used by brewers to maximize hop aroma and flavor that involves adding a charge of hops to the beer at some point in the fermentation process. While often tossed in loose, some brewers prefer to encase their hops in a filter, which has numerous benefits including reducing the risk of clogged valves and diptubes as well well as allowing for harvesting of cleaner yeast. A common tool for dry hop filtration is the simple fabric bag, though likely due to the increased availability of wider mouthed fermentation vessels, stainless steel mesh filters are growing rapidly in popularity.
Despite the aforementioned benefits of dry hop filtration, it has its share of naysayers voicing concern about constrained hops not coming into contact with the beer or hop oils sticking to the filter, which ultimately reduces hop character. Interestingly, results from a prior xBmt on filtering dry hops with a fabric bag suggested it had little to no perceptible impact, and while this may have confirmed the suspicions of many a dry hop bagger, others were left wondering if similar results would be observed if the filter was made of stainless steel.
Having encountered the clogged keg problem numerous times, I’ve taken to using stainless mesh filters when dry hopping any beer that will be transferred with pressure in a closed system, and I haven’t really noticed any differences in quality. Interested to learn more, I decided to put it to the test.
| PURPOSE |
To evaluate the differences between beers that were either dry hopped with loose hops or hops contained in a stainless mesh filter.
| METHODS |
I’m a big fan of all things hoppy and figured a nice West Coast IPA would work well for this xBmt.
Flathead IPA
Recipe Details
| Batch Size | Boil Time | IBU | SRM | Est. OG | Est. FG | ABV |
|---|---|---|---|---|---|---|
| 5.5 gal | 60 min | 64.7 IBUs | 6.2 SRM | 1.070 | 1.013 | 7.6 % |
| Actuals | 1.07 | 1.012 | 7.7 % | |||
Fermentables
| Name | Amount | % |
|---|---|---|
| Pale Malt (2 Row) US | 13.375 lbs | 87.7 |
| Caramel/Crystal Malt - 10L | 1.875 lbs | 12.3 |
Hops
| Name | Amount | Time | Use | Form | Alpha % |
|---|---|---|---|---|---|
| Columbus (Tomahawk) | 9 g | 60 min | Boil | Pellet | 14 |
| Magnum | 9 g | 60 min | Boil | Pellet | 12 |
| Warrior | 9 g | 60 min | Boil | Pellet | 15 |
| Amarillo | 9 g | 30 min | Boil | Pellet | 9.2 |
| Centennial | 9 g | 30 min | Boil | Pellet | 10 |
| Simcoe | 9 g | 30 min | Boil | Pellet | 13 |
| Amarillo | 9 g | 5 min | Aroma | Pellet | 9.2 |
| Centennial | 9 g | 5 min | Aroma | Pellet | 10 |
| Simcoe | 9 g | 5 min | Aroma | Pellet | 13 |
| Amarillo | 113 g | 0 min | Dry Hop | Pellet | 9.2 |
| Simcoe | 113 g | 0 min | Dry Hop | Pellet | 13 |
Yeast
| Name | Lab | Attenuation | Temperature |
|---|---|---|---|
| San Diego Super Yeast (WLP090) | White Labs | 80% | 65°F - 68°F |
Notes
| Water Profile: Ca 117 | Mg 3 | Na 10 | SO4 84 | Cl 168 |
Download
| Download this recipe's BeerXML file |
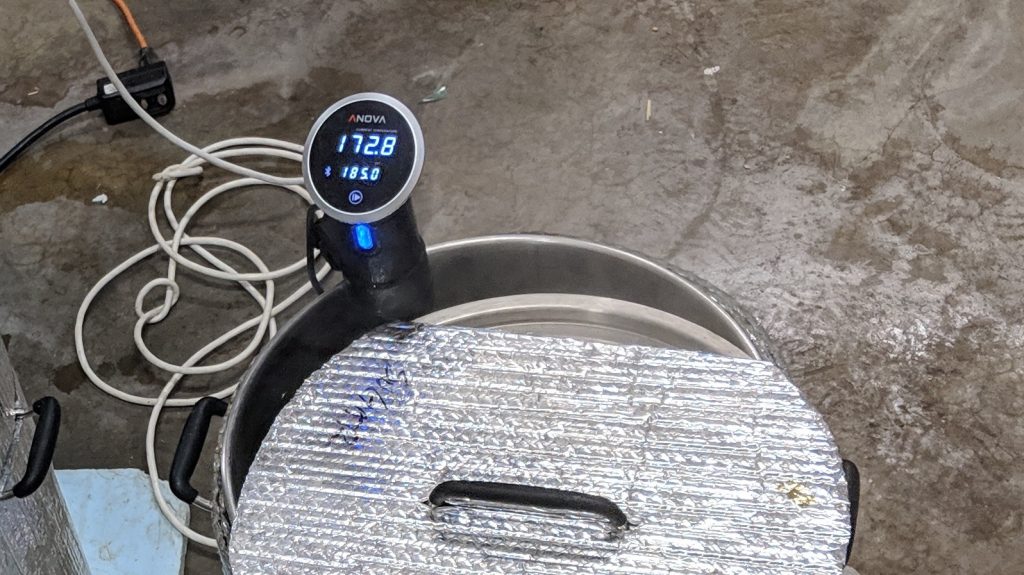
I began my brew day by collecting RO water and adjusting it to my desired profile before heating it with my sous vide machine.
Next, I weighed out and milled the grain.
When the water was slightly warmer than target, I transferred it to my 55 gallon/208 liter mash tun and incorporated the grains to achieve my desired mash temperature.
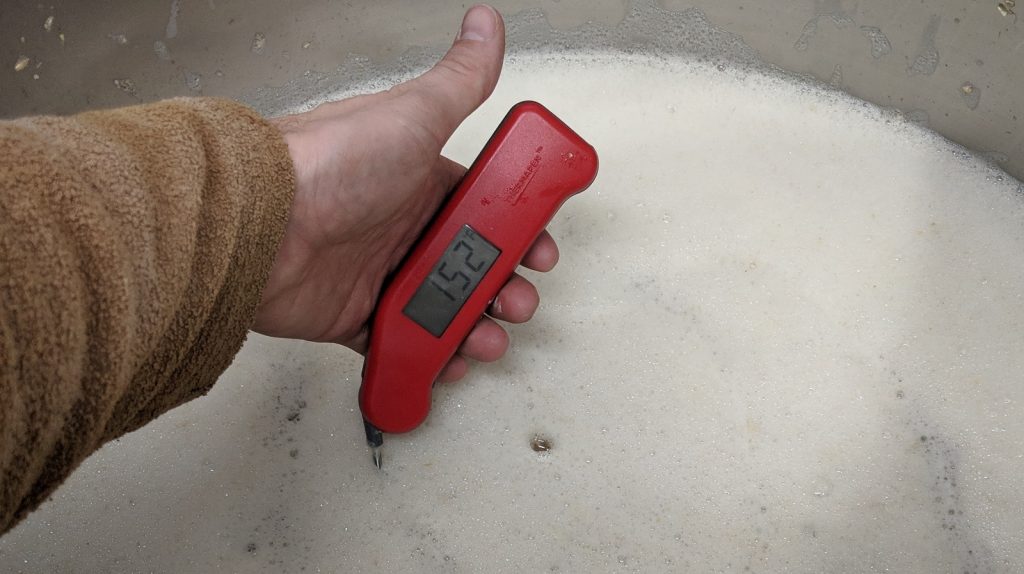
The full volume mash was left alone for a 60 minute saccharification rest.
When the mash was complete, I began collection of the sweet wort.
With the wort homogenized and split between a couple kettles, I began heating up then moved on to weighing out the kettle hops.
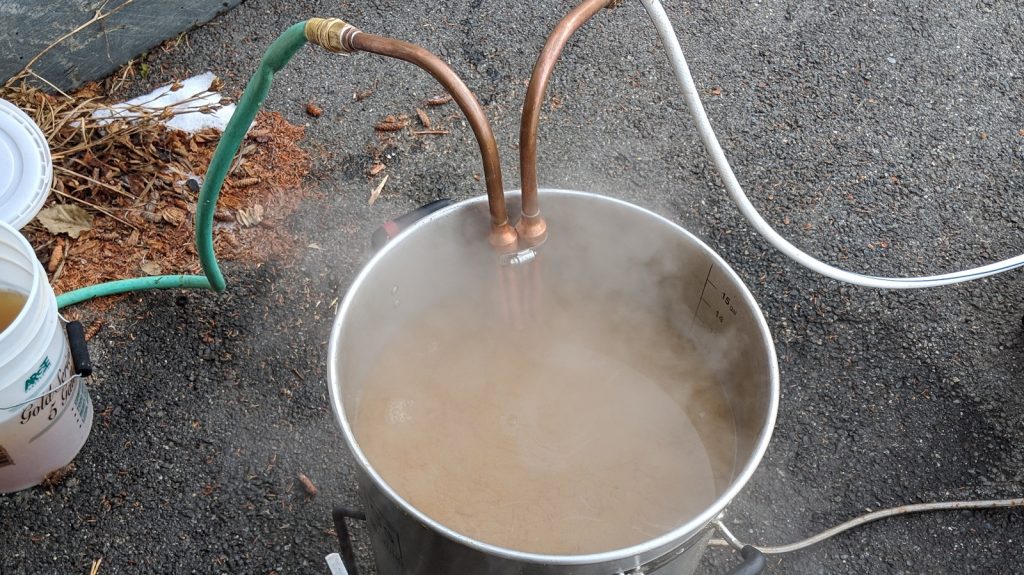
The wort was boiled for 60 minutes with hops added hops per the recipe, after which I quickly chilled it with my immersion chiller.
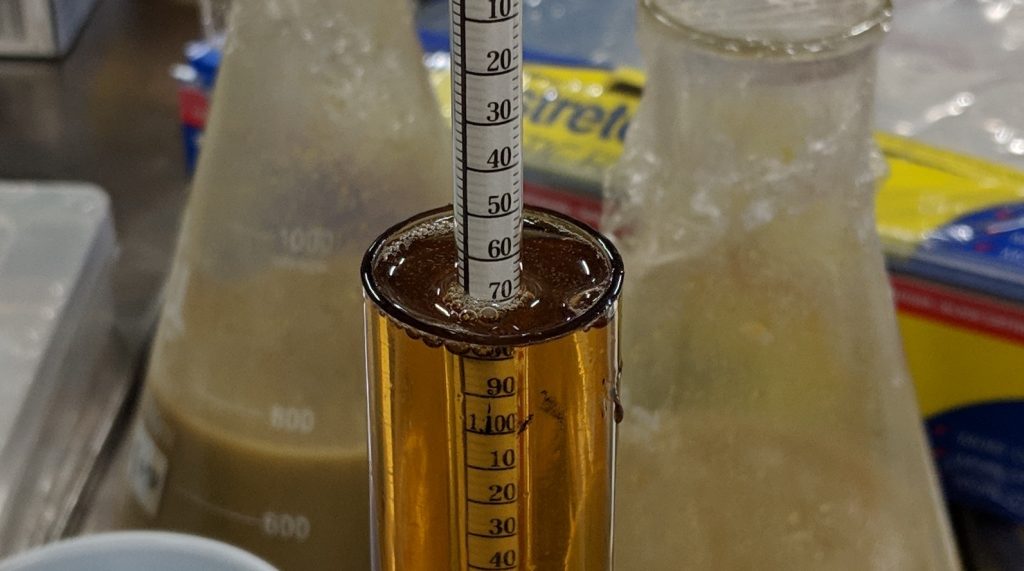
A hydrometer measurement revealed the OG of the wort was right on target.
I racked equal volumes of wort to identical Brew Buckets.

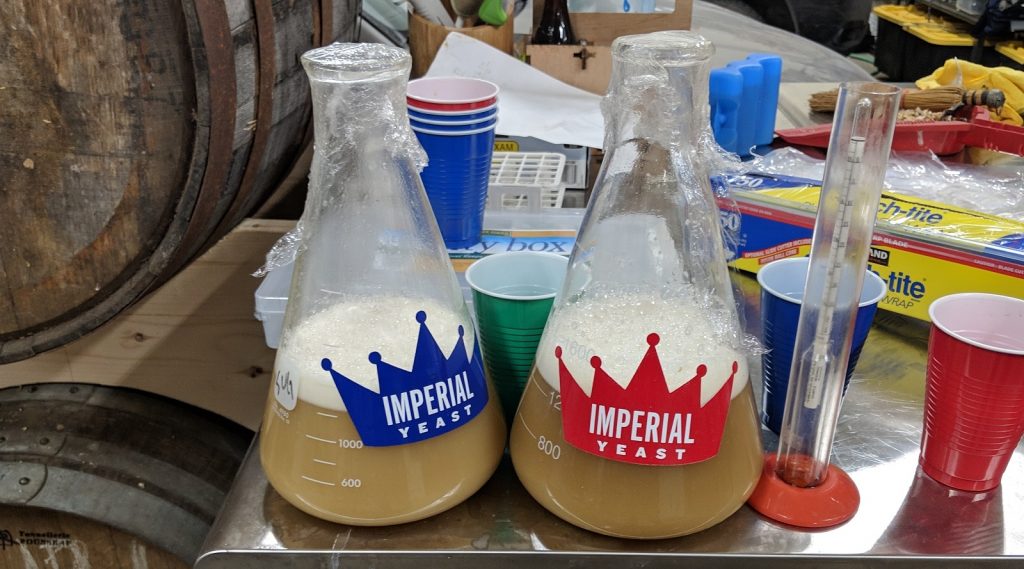
Using remnant wort, I made a couple starters with WLP090 San Diego Super Yeast that got pitched the following morning.
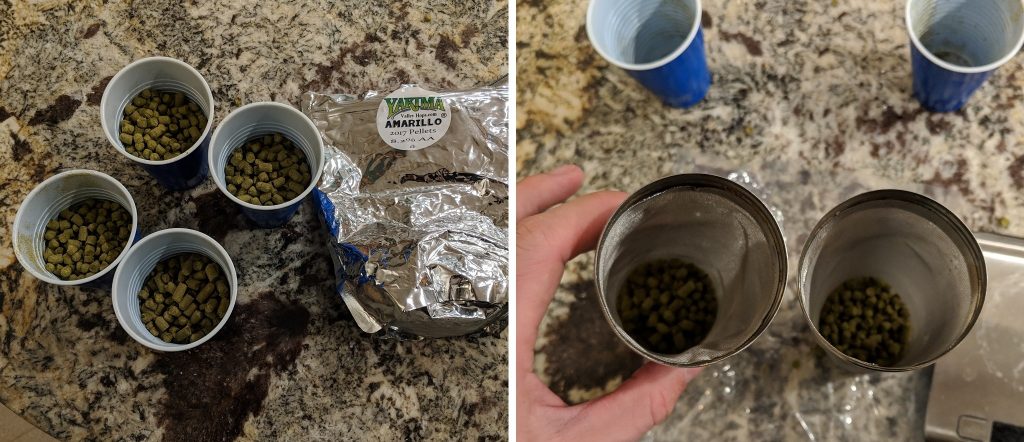
Both batches were chugging along a few hours after pitching the yeast. After a couple days of activity, I added the rather large dry hop additions to each batch, one unrestrained while the other was split between 2 stainless mesh filters.
With signs of fermentation waning after 2 weeks, I took hydrometer measurements confirming both beers were sitting at the same 1.014 FG.

I then racked the beers to CO2 purged kegs.
The beers were allowed to condition and carbonate in my keezer for a week before they were ready to serve to participants.

| RESULTS |
A total of 25 people of varying levels of experience participated in this xBmt. Each participant was served 2 samples of the beer dry hopped in a stainless mesh filter and 1 sample of the beer dry hopped loosely in different colored opaque cups then asked to identify the unique sample. A total of 13 tasters (p<0.05) would have had to accurately identify the unique sample in order to reach statistical significance, though only 5 did (p=0.95), indicating participants in this xBmt were unable to reliably distinguish an IPA where the dry hops were contained in a stainless mesh filter from one where the dry hop charge was added directly to the beer.
My Impressions: Despite sampling these beers multiple times side-by-side and knowing everything about the variable, I was unable to tell them apart at all in multiple triangle tests. They both were super hoppy, refreshing, and a nice change from the hazy IPAs I’d been drinking so much .
| DISCUSSION |
With the whole point of dry hopping being to increase hop aroma and flavor, brewers are wont to avoid anything that might impede this, even if doing so makes for a more complicated or messy process. Containing dry hops in a stainless mesh filter certainly has its pros, and seeing as tasters in this xBmt could not reliably tell apart a beer made using this method from one where the dry hops were added loose suggests it may not have the cons some presumed.
Given how huge the dry hop charge was for both beers, it’s possible a saturation point was reached, which could potentially explain these findings. However, considering the results from this xBmt corroborate those from the previous bagged dry hop xBmt, it may simply be that dry hop containment isn’t as much of an issue as some think.
One avenue I’m interested to explore in the future has to do with the amount of hops packed into the dry hop filter. In this xBmt, 2 stainless mesh filters were used to ensure there was ample room for the hop material to float around even after expansion due to absorption. It seems plausible that filling a filter to the brim could lead to less beer contacting those hops at the core of hop slug and thus reduced hop character.
I filter my dry hops simply because clogged keg disconnects are a pain in the ass. Even if hop aroma and flavor were noticeably less, I would happily increase my dry hop rates by whatever amount to not have to deal with that shit. I’ll definitely continue using stainless mesh filters for dry hop as well as fruit, spice, or any other additions that could lead to a clogged valve or diptube. Because clogging sucks. Fuck clogging.
If you have any thoughts about this xBmt, please do not hesitate to share in the comments section below!
Support Brülosophy In Style!
All designs are available in various colors and sizes on Amazon!
Follow Brülosophy on:
FACEBOOK | TWITTER | INSTAGRAM
If you enjoy this stuff and feel compelled to support Brulosophy.com, please check out the Support page for details on how you can very easily do so. Thanks!






35 thoughts on “exBEERiment | Impact Dry Hopping In A Stainless Mesh Filter Has On An American Amber Ale”
You heat your hot liquor with a Sous Vide machine? Does that take a long time when you’re working with 5 gallon batches? If it’s efficient enough, that seems like a nice savings on propane and more accurate mash temps.
I would love to hear about others who use a sous vide machine for heating mash water. My only concern is I have a 15 gallon pot that I do 5 gallon batches in and I’m not sure the sous vide machine would reach down far enough to reach the water. Also curious how long it would take to reach mash temp.
I use my Joule for heating my strike water, but I deal in small batch volumes of 2-2.5 gallons, which takes a good 20m when starting from 50F tap water. Sometimes, I cheat and use hot tap water to get to strike temps faster (which is just fine you worry-worts).
If you’re heating a larger amount of water, two sous vides would be ideal…
I started doing this after seeing a previous Brulosophy experiment where they were doing this. I have the same Anova machine. I typically do 5 gallon batches in my 10 gallon pot (I do BIAB). Depending on strike water volume, I sometime need to tilt the pot so the machine is submersed in enough water. I doubt it would work with a 15 gallon pot, unless you either come up with some special contraption or just heat up more water than you need. I’ve done it 3 times now, and it seems to take about 4-5 hours to heat 7-8 gallons to strike temp, depending on ground water temp.
I have the same machine, and fucking love it. Not only is it relatively quick and precise, its the perfect “set and forget” machine, saving time. I brew after work, and having my wife “turn it on and punch in 165” saves me half an hour.
Getting up to mash out temps, without some insulation, is a pain on 5+ gallons. though.
I’ve been using a sous vide machine as well to heat strike water for a few brews now. It works great but I do typically have to heat more water than I need (I use a 10 gallon round cooler mash tun and need about 8-8.5 gallons for the sous vide cooker to work). I just heat it and then drain off the excess, figuring its a head start on heating sparge water. The time is also a factor…it takes a solid 3-4 hours to heat all the way, so you definitely need to plan ahead. For me it is great to push a couple of buttons and then have my water at the right temp waiting for me when I’m ready to mash in.
Brian, it looks like your water profile for this beer is what I’d expect for a NEIPA (84 sulfate, 162 chloride). I would’ve expected this to be reversed for a west coast style IPA. Can you tell what kind of impact this had on the beer?
The results section suggests it actually is a neipa! Magic? Poor editing?
Great to know that it works, at least. That’s what I was curious about, how long it took. 3-4 hours. Hell, you could probably start it over night so it’s ready to mash in the next day. Standard size Sous Vide machine?
I use a 1300W sous vide to heat 5 gallons in about an hour. Also use it to maintain the temperature throughout the mash – works great and perfect for BIAB step mashing.
Mine is a 900w, and 5g starters done inside are ~ 1hr.
For my double batches (10+ gal) I tend to set it inside, and heat up the night beforehand. Even have a sealed wooden lid with a cutout for the sous vide machine.
The wooden lid sounds interesting! Funny how I saw that picture of the Sous Vide and thought how good of an idea it would be to speed up brew day. I too have a 15 gallon kettle for 5 gallon batches though as well. Thought about making a contraption that suspends the Sous Vide cooker lower in the kettle but keeps it from being submersed. Might be cheaper to just buy a 10 gallon stock pot though 🙂
Thanks for another helpful experiment! Quick question: You mention adding the dry hops after a “couple days of activity” – could you be more specific? Just wondering if there’s a time or attenuation level where the famous NEIPA “biotransformation” of the dry hops is no longer an issue and we’re just getting the dry hops in contact a bit earlier – juice free 😉
thanks for your thoughts.
This is a topic I’ve wondered about.
I use stainless hop spiders in the boil, and a hop canister in the keg ( I have articles on both subjects on my blog, shameless plug) , but I’ve never actually contained the hops during dry hop! Honestly I find myself doing less dry hopping and more keg hopping in general these days, but this is good info.
Also love the conclusion re: thoughts on clogging. Agreed.
Keep up the good work!
Great article! So, how did you go with filtering the loose hop batch, in the end? ’cause fuck clogging.
I would like to see this experiment but done with hop spiders in boil. Also taking into consideration the amount of the hop spider submerged.
Really cool article. Two questions: 1. Was there a noticeable difference in the two packaged volumes? 2. Do you think you could have harvested the yeast from the filtered batch without too much hop material coming over?
Brian, great timing on this one as I too have wondered if there was a difference.
I have two Brewbuckets and a few of those stainless steel mesh filters, but have stopped using them for dry hopping in the fermenter fearing the lack of hop utilization versus just throwing them in straight, which is what I have been doing lately.
The problem with the latter method is that once they are in, there is no way to retrieve them after a few days. Some recipes call for multiple dry-hopping (e.g. dry hop first group for three days, remove, then dry hop second group for three more days then rack to keg).
The last time I used my mesh filter, the pellets swelled up to the point that the entire filter was packed and clogged with some oozing from the holes in the filter’s lid. Some pellets at the bottom didn’t even get the chance to expand and were still in pellet form. Seems like a waste of hops.
I am currently 9 days into my first NEIPA of which I used a hop sock for the first group. Was pretty messy retrieving that out using sanitized tongs. Never gonna do that again.
Question: When you used the mesh filters, did you suspend them in the fermenter? If so, how? Fishing line? Because if you don’t, they will sink to the bottom and get buried in trub, yeast, etc.
Based on your experiment, I’m probably going back to using the mesh filters. Just gotta keep the amount of added pellets low (i.e. less than 1 oz. to start with).
Another option I’m playing with right now is a homemade hop rocket (with the hops in a bag, in the canister). Closed circuit, with a cheap peristaltic pump, and you get 3 days worth of dry-hopping in 3 hours—less contact with the green matter is just bonus. When I was using mesh filters, I always had some that would escape from the lid (what’s with them holes on the lid‽), clogging the disconnects (I ferment in kegs). Good luck with your stuff, Dave—the struggle is real.
Anyone seen a test where you regularly rock the fermentor to keep loose hops suspended?
Check this out: https://brulosophy.com/2016/10/17/the-impact-of-continuous-agitation-during-fermentation-exbeeriment-results/
Awesome. How about applying this technique to loose dry hopping? Specifically after fermentation is complete.
I haven’t been happy with my IPAs since I started using these. So I switched it around: the filter protects the diptube (I typically keg dry hop), by drilling a hole in the top to fit the tube, and small holes in the bottom. And I switched to a floating tube in the fermenter (kegmenter), both so the hops can be free. I’m happier so far.
#FreeTheHops ! 🙂
Did I see that right? A 55 gallon mash tun? Please tell me you’ve maxed that out for a 5 gallon batch of 30% abv barleywine!
wow. i cant believe how clear they are after such a massive dryhop!
Yea, Fuck Clogging! I also use a stainless filter for me hops that hangs on the side of the kettle during the boil. I do however lift it out and in of the liquid every ten minutes or so to insure the oils are becoming one with the wort.
What size mesh (microns (300, 400, etc), or whatever measurement unit type you’re using) and what dimensions were the 2 stainless steel canisters you used? Thanks for doing this!
300 micron.
Very interesting article. Actually I’ve always been dry hopping using stainless filter (similar to yours). I’m also kegging the beer so aiming to have no hop particle in the finished beer.
Having said that, I wonder whether a 3-4 days cold crash before kegging would leave any hop particle in my beer ? Avoiding another potential infection cause (the stainless container) is an important factor for me as well…
What’s your opinion regarding this option ?
I use the as mesh tubes. I attach fishing line to the top ring so I can easily pull them out if I have to.
I’ve experimented with hop spiders, bags, pellet, whole etc. I settled on free range pellet and whirlpooling years ago based on Jamil’s advice. My beer has improved since then but likely due to many factors, and potentially none relating to hop bags. I’m rethinking free range now as the trub loss and pump clogging are real issues with huge hop additions.
I put a couple of these things together 2 batches ago, have only used them for dry hopping so far but they seem to work great in the fermenter. I bought parts to make 2 more and potentially use all 4 together in the boil:
https://drive.google.com/file/d/1NQOnPBe9gE9pqzbIuCRoqQF-MWdrK1MF/view?usp=sharing
The float ball is 4″ dia and has female M6 threads on one end. The tea ball is 5.25″ dia. This type of tea ball comes with a flimsy clasp and chain clipped onto to the mesh that I removed and replaced with stainless M6 hardware that screws directly into the float. The float is rated to 225 deg F and all parts are stainless.
4 oz of dry pellet hops expand to fill about 2/3 of the tea ball and form a nice bundt cake looking clump upon removal. The float holds the tea ball about 3″ below the top of the liquid level at all times. If I can drain the kettle clean with little to no hop matter after a huge whirlpool addition and get the same flavor impact. You’d think hops suspended in the middle of the liquid will be better than settling on the bottom of floating on top…but who knows.
With recent trends toward shorter dry hop durations, I’d be curious to see this experiment repeated, but with say a 2 day dry hop at 60F as opposed to what sounds like around a couple of weeks. After a truly awful keg clogging experience I bought two of of these hop canisters, but during use I noticed that even with a moderate 3oz charge the hops expanded and became buoyant, resulting in the canister floating vertically with all the hops compacted into one end. Maybe a longer dry hop time allows the beer to penetrate this “hop cake” while a shorter dry hop time wouldn’t.