Author: Phil Rusher
When thinking about previous batches, brewers might ruminate about certain aspects of a beer that seemed to be lacking, and what can be done to enhance the overall character. Sometimes, the solution involves adding a little something extra to up the flavor game, for example, tossing some cacao nibs into a Porter or Stout to increase the impression of chocolate.
Cacao nibs are small chunks of cocoa bean that have been dried and fermented, and when used in beer, they’re known to impart a noticeable dark chocolate flavor. One consideration when using nibs in beer is sanitation, and a very common method for reducing the risk of contamination involves soaking the nibs in a neutral spirit prior to adding it to the beer, a process that some claim also helps with flavor extraction. After a few days of soaking, the boozy slurry is then added to the fermenting beer and left for anywhere between a day and a couple weeks to impart its rich flavors.
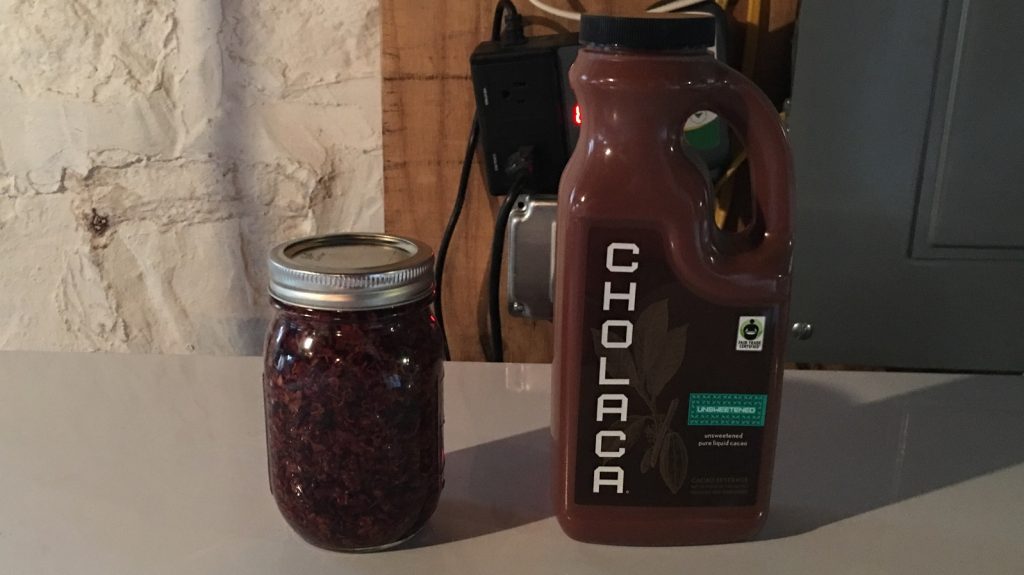
I’ve used cacao nibs many times over the years with great success, finding that extended contact with the beer lends a lush chocolate flavor to my beer. However, as good as the beers might be, I’m impatient and would love to not have to wait so long for these tasty treats to be ready. I recently learned of a product called Cholaca, a liquid cacao emulsion that can be added directly to the finished beer and promises to contribute the same luscious flavors as nibs without the wait or worry of sanitation. Curious to see for myself, I put it to the test!
| PURPOSE |
To evaluated the differences between beers made with either cacao nibs of Cholaca Liquid Cacao.
| METHODS |
Seeing as cacao is often used to accentuate the chocolate character of darker beers, I went with my standard Oatmeal Stout recipe for this xBmt.
Chocolate Rain
Recipe Details
| Batch Size | Boil Time | IBU | SRM | Est. OG | Est. FG | ABV |
|---|---|---|---|---|---|---|
| 5.5 gal | 60 min | 24.3 IBUs | 34.9 SRM | 1.053 | 1.012 | 5.3 % |
| Actuals | 1.053 | 1.011 | 5.5 % | |||
Fermentables
| Name | Amount | % |
|---|---|---|
| MFB Pilsen | 7.5 lbs | 68.18 |
| Oats, Flaked | 1.75 lbs | 15.91 |
| Midnight Wheat | 12 oz | 6.82 |
| Pale Chocolate Malt | 8 oz | 4.55 |
| Brown Malt (Crisp) | 4 oz | 2.27 |
| Chocolate (Briess) | 4 oz | 2.27 |
Hops
| Name | Amount | Time | Use | Form | Alpha % |
|---|---|---|---|---|---|
| Hallertau Magnum | 23 g | 60 min | Boil | Pellet | 10 |
Miscs
| Name | Amount | Time | Use | Type |
|---|---|---|---|---|
| Cacao Nibs (Batch 1) | 9.00 oz | 11 days | Secondary | Flavor |
| Cholaca (Batch 2) | 18.00 oz | 1 min | Bottling | Flavor |
Yeast
| Name | Lab | Attenuation | Temperature |
|---|---|---|---|
| Joystick (A18) | Imperial Yeast | 75% | 60°F - 70°F |
Notes
| Water Profile: Ca 34 | Mg 5 | Na 19 | SO4 18 | Cl 24 |
Download
| Download this recipe's BeerXML file |
A couple days prior to brewing, I made a single large starter of Imperial Yeast A18 Joystick.
I started my brew day by collecting the RO water.
Once the full volume of water was collected, I hit the flame then moved on to milling the grain.
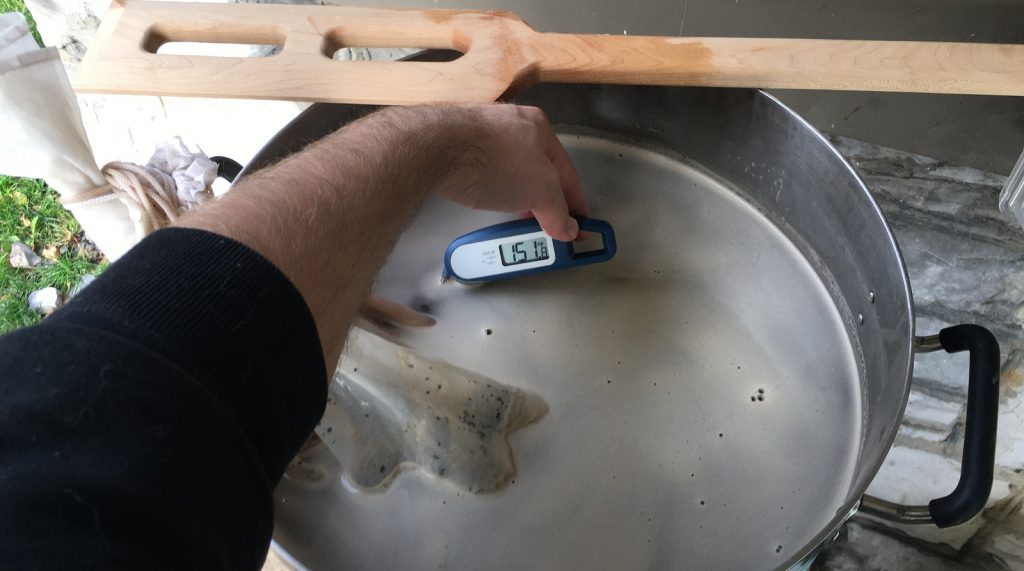
With the water at strike temperature, I added grains and stirred to incorporate before checking to ensure it was at my target mash temperature.
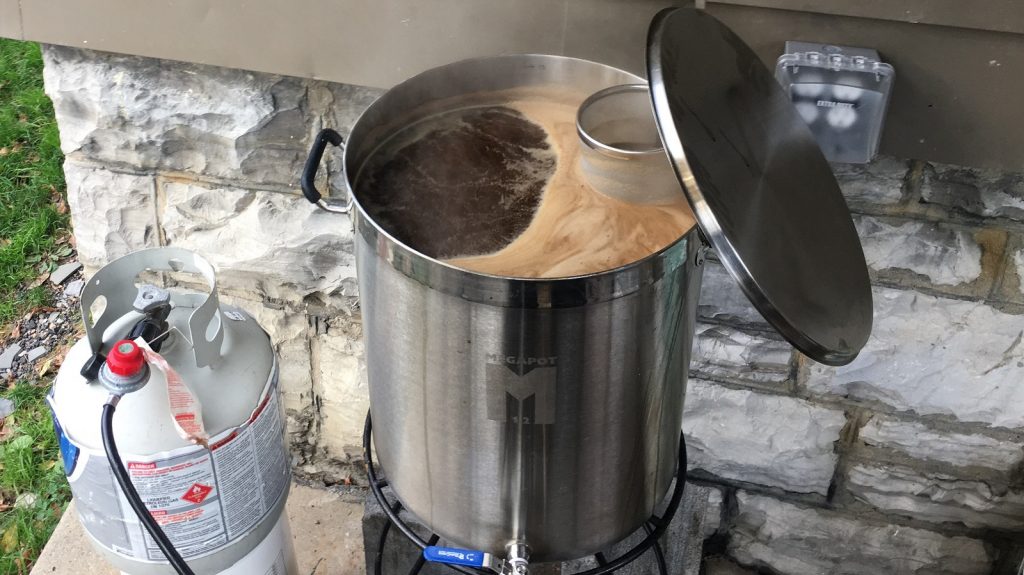
Following the 60 minute mash, the grains were removed and the wort was brought to a boil.
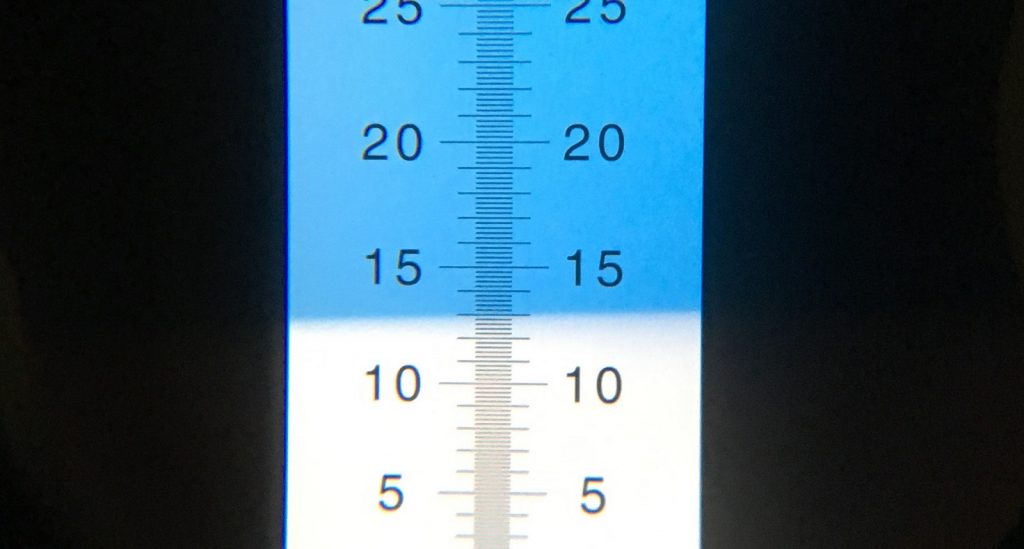
When the 60 minute boil was complete, I chilled the wort and took a refractometer reading confirming my target OG was reached.
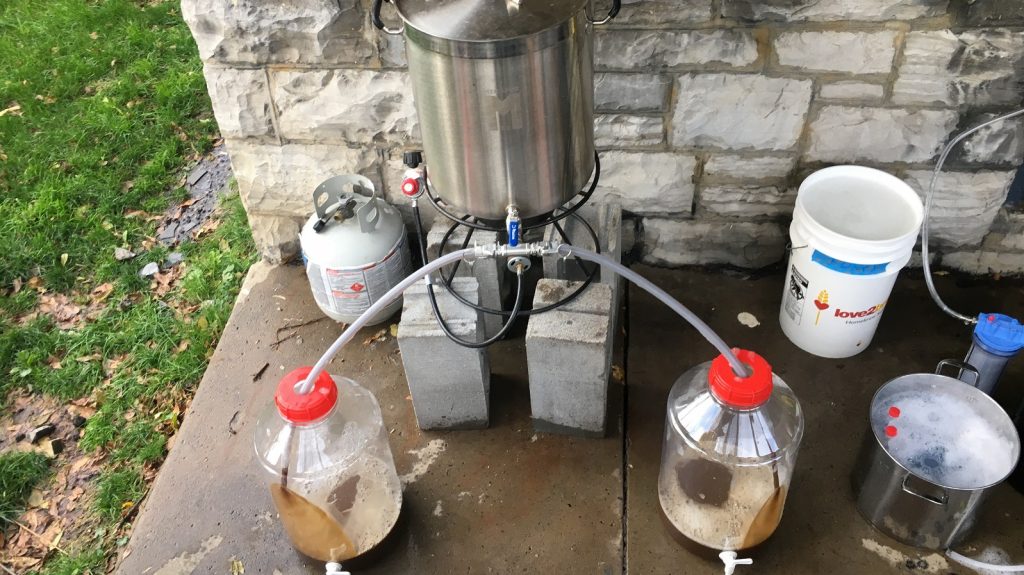
The chilled wort was then evenly split between identical fermentors.
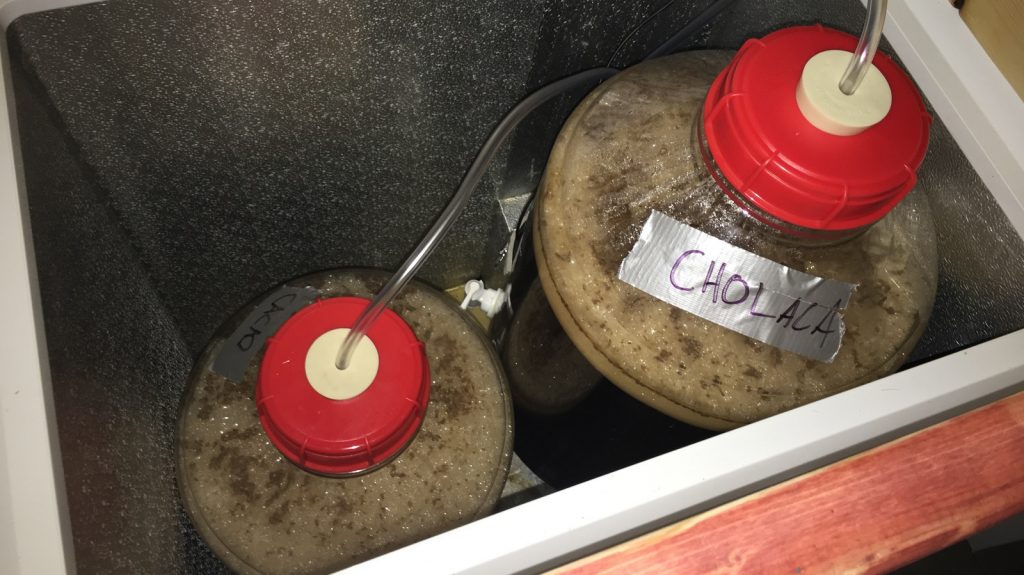
The carboys were placed in my chamber and left to finish chilling to my desired fermentation temperature of 67°F/18°C, at which point I poured equal amounts of the yeast starter into each batch. Both beers were kicking along the following day.
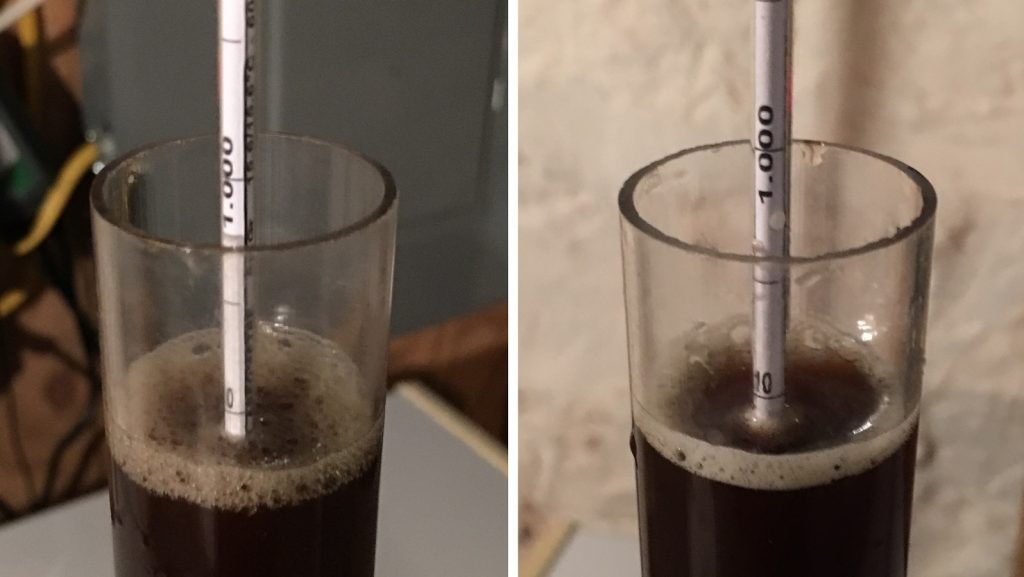
After 5 days of fermentation, activity was waning and I took hydrometer measurements showing FG had been reached.
At this point, I prepared 9 oz/255 g of cacao nibs by first roasting them at 250°F/121°C for 20 minutes then placing them in a mason jar with vodka.
With hydrometer measurements 24 hours later showing no change in FG, I added the entire contents of the mason jar to one batch while the other FV received no treatment.
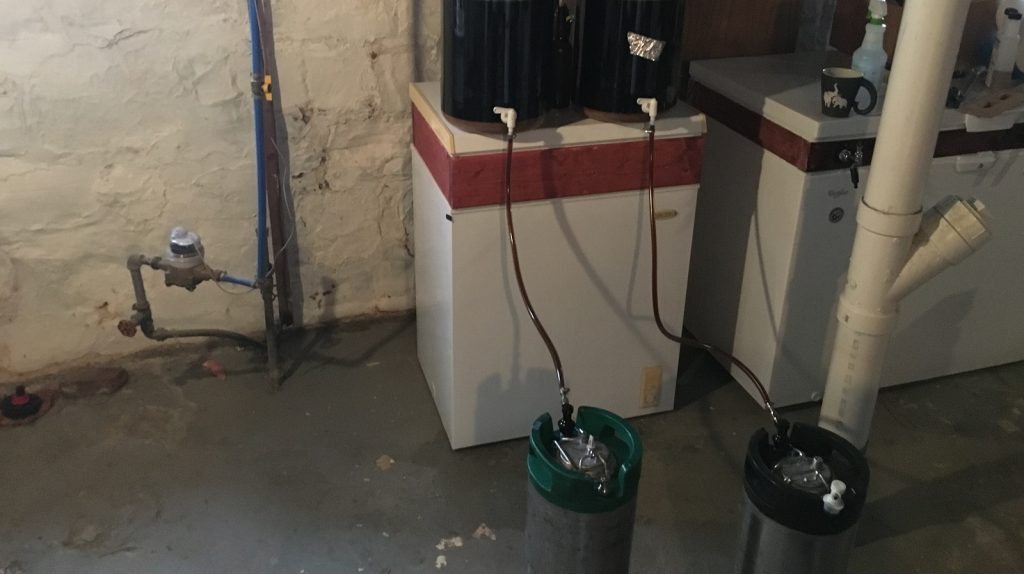
Given claims of Cholaca’s pungency, I left both beers alone for 11 days to extract as much chocolate character as possible. While the cacao nibs beer was kegged per my normal routine, the other batch was racked into a keg that contained 18 fl. oz./532 mL of Cholaca, and amount I’d seen commonly referenced on the internet. It should be noted that the manufacturer does not provide a nibs to Cholaca ratio.
The filled kegs were placed in my keezer a burst carbonated before the gas was reduced to serving pressure. After 13 days of cold conditioning, the beers were carbonated and ready to serve to participants.
| RESULTS |
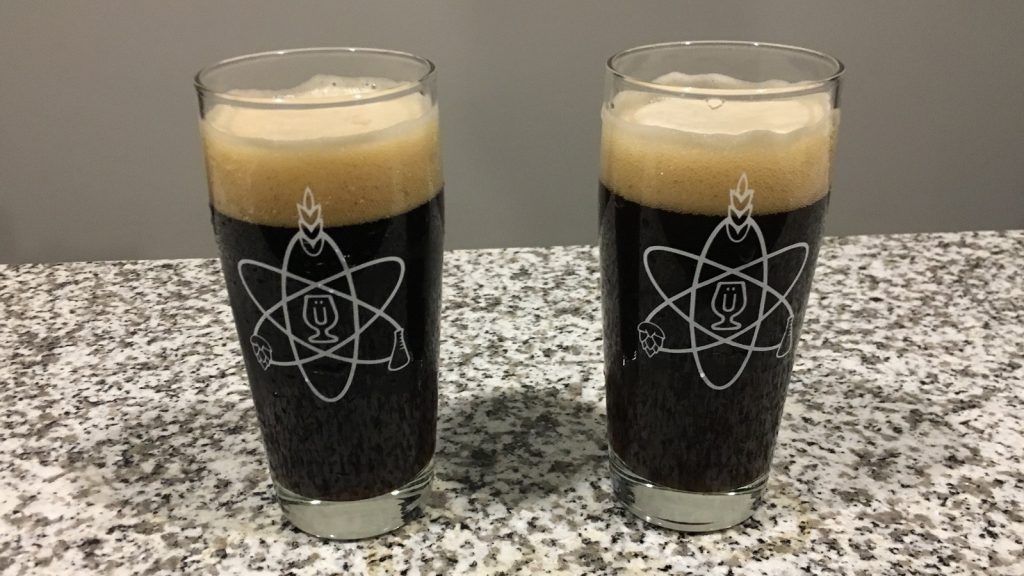
A total of 24 people of varying levels of experience participated in this xBmt. Each participant was served 1 sample of the beer made with cacao nibs and 2 samples of the beer made with Chocala Liquid Cacao in different colored opaque cups then asked to identify the unique sample. While 13 tasters (p<0.05) would have had to identify the unique sample in order to reach statistical significance, 16 (p=0.0009) made the accurate selection, indicating participants in this xBmt could reliably distinguish an Oatmeal Stout made with cacao nibs from one made with Chocala Liquid Cacao.
The 16 participants who made the accurate selection on the triangle test were instructed to complete a brief preference survey comparing only the beers that were different. A total of 5 tasters reported preferring the beer made with cacao nibs, 8 liked the beer made with Chocala more, 1 person had no preference despite noticing a difference, and 2 people reported perceiving no difference.
My Impressions: Out of the 5 blind triangle tests I attempted, I chose the odd-beer-out 4 times, just shy of a slam dunk. These beers were pretty noticeably different to me, with the cacao nibs version having less chocolate flavor and a perceptibly fuller body. While I perceived a stronger chocolate character in the Cholaca beer, it also seemed thinner and had a distinct grainy texture on the palate. Overall, my preference was for the beer made with cacao nibs.
| DISCUSSION |
Chocolate flavored beers are quite popular these days, with most craft breweries offering at least one version alongside other trendy styles. Historically, the most common methods for imparting chocolate character to beer has been to use either cacao nibs or cocoa powder, methods that are known to work well, though require various steps to ensure good results.
Marketed as imparting a stronger character to beer than cacao nibs in less time, Cholaca is a liquid product made form cacao, water, and coconut sugar that gets added to beer after fermentation. Clearly, making a Cholaca addition adds an element of simplicity to the chocolate beer brewing process– simply open the container and pour it in, no sanitation or waiting from flavor extraction. Despite being produced from the same product, the fact tasters in this xBmt were able to reliably tell apart a beer made with cacao nibs from one made with Cholaca suggests each ingredient contributes unique characteristics to beer.
There are a number of potential explanations for these results, for example, the roasting of the raw cacao nibs, the additional ingredients in Cholaca, or perhaps the nibs to liquid ratio I went with was off. But it could also be that Cholaca is just different than cacao nibs, which isn’t a bad thing, particularly when half of those who made the correct identification on the triangle test preferred the Cholaca dosed beer.
I’ve used cacao nibs many times and it’s possible my preference for the beer made with cacao nibs was influenced by the expectations built from these experiences. I definitely experienced stronger chocolate notes in the Cholaca beer, to the point of being out of proportion with everything else, though I can understand how others might like that. What I found really unappealing was the gritty, almost sandpaper-like texture of the Cholaca beer. While I definitely plan to experiment more with this unique product, I’ll be sticking to cacao nibs as my go-to method for chocolate beers, not only because I know what to expect, but they cost a bit less as well.
If you have any thoughts about this xBmt, please do not hesitate to share in the comments section below!
Support Brülosophy In Style!
All designs are available in various colors and sizes on Amazon!
Follow Brülosophy on:
FACEBOOK | TWITTER | INSTAGRAM
If you enjoy this stuff and feel compelled to support Brulosophy.com, please check out the Support page for details on how you can very easily do so. Thanks!






38 thoughts on “exBEERiment | Cacao Nibs vs. Cholaca Liquid Cacao In An Oatmeal Stout”
I usually put cacao nibs on the beginning of the boil, using half of the amount you have used, any thoughts on that? Which one would extract more flavors? Boiling or secondary?
I’m not certain which would produce “more” flavor but I do think these would be different. In my experience, introducing additives after fermentation is the best for getting the flavors that I want in the finished beer.
Did you strain the nibs out, or add the nibs and Vodka to the secondary?
I added nibs as well as the vodka to the fermentation vessel.
I wonder if you would have added the Cholaca to the fermenter and left it for a day or two before racking to the keg if that would have helped eliminate some of the grittiness. Possibly some of the solids would have fallen out of suspension and it would have been smoother. I had an Oskar Blues Death by Cocounut the other day, which is made with Cholaca, and do not remember any grittiness
That crossed my mind too but I’m not convinced that would have helped much. The beer sat in the keg untouched for 10 days or so before I started sampling it myself, so considering that it had time to sit and the fact that I was pulling samples before packaging for tasting, I’m inclined to believe that anything that was going to drop out of solution would have done so by then. I am curious to see how they are now because I haven’t had a chance to drink either of these beers since late last week but I suspect they’re going to be the same.
i have not experimented with, but would chocolate extract, such as https://www.bickfordflavors.com/collections/water-soluble-flavors/products/chocolate-flavor
be another option to provide the desired chocolate addition?
That page just says water soluble flavor and nothing else about ingredients so I’d be hesitant to use it.
Thank you for this timely EXBEERIMENT. I recently learned about Cholaca and plan to use it in an upcoming batch of chocolate coconut porter. In the past, I’ve struggled to get the chocolate flavor extraction I’m seeking from cacao nibs. As I researched this issue, I learned that the amazing brewers and Oscar Blues struggled with the same issue…until they found the solution, Cholaca. Now, it’s a standard ingredient in their award-winning Death By Coconut. https://www.oskarblues.com/press/oskar-blues-brewery-brings-death-by-coconut-irish-porter-back-for-2018/
I had an email exchange with Tim Matthews, Brewmaster at Oskar Blues Brewery and he provided the following advice: “We add sweetened cholaca at a 0.5 gallon per 31 gallon rate. We add it to chilled post secondary and recirculate it. We then filter and pasteurize.”
Cholaca has some information for homebrewers on their website. https://cholaca.com/wp-content/uploads/2016/10/Cholaca-CRAFT-BREW-Dosage-Guidlines-2017-.pdf
Cholaca Dosage rates
• For home brewers: add 18-32oz per 5-gallon batch, depending on how flavor forward you want your chocolate to be.
They also advise: introduce Cholaca cold into the secondary process and then let it sit for a couple hours to a few days. Then crash, the beer and whatever particulates are left seem to drop out of suspension at that time.
Then, I researched where to get Cholaca. I contacted several of my LHBSs in Southern California and none of them (yet) carries this product. Then, I contacted Cholaca for a list of local retailers in the LA area; none yet.
There is one retailer on Amazon. So I reached out to inquire about product refrigeration and shipping. They replied: “Hello. We are the only authorized seller of Cholaca on Amazon and we’re based a few blocks from their warehouse. We handle all of their national and international product fulfillment.
Yes, we ship it frozen, it won’t arrive cold, and it’ll still be OK when you receive it. As Cholaca mentioned, refrigerate when you get it.” Cholaca confirmed this information for me.
I hope this information is helpful for other homebrewers seeking to get a consistent chocolate flavor addition to their beers. Cheer! -BG
Having just used Cholaca for the first time it is great to see this comparison done. The manufacturer of Cholaca states to put in the fermenter at 21 oz/5 gall (1 gallon per barrel). It was too late for me and I pout 18 oz in the keg. I found the stuff settled and it was very grainy. The first couple sample pours we 1/3 chocolate sediment. Since my beer was 8.5% I bottled 3/4 to age. In the past I just dropped nibs in the keg. No sanitizing or baking. Given the cost of Cholaca vs. nibs I will probably stick with the nibs in the future and sanitize by baking or everclear. The reason I tried it is I read somewhere that the nibs can have salmonella. Overall I love the beer (Dark winter warmer that is not black IPA, RObust porter or American stout, just inbetween all) but would reduce the chocolate. Since I have about 14 oz left I will make another chocolate beer again.
Right on. To me, the roasting bit depends on how the nibs are packaged. I roasted mine primarily because they came in the raw, but I also appreciate the roasted flavor. And the smell in the kitchen is amazing!
I wonder if gelatin fining could have stripped out the grittiness.
My guess would be not so much. I think the amount of time spent in contact with the beer is more important.
That liquid stuff can be a real pain. I’ve been told even biofine has issues trying to remove that grittiness some times. As well, trying to run it through plate filters has yielded mostly wasted beer and sadness. Tastes pretty good, just have to accept it might be gritty and possibly look a bit murky with a light behind it.
Cholaca is best left for a few days, then racked through a filter. You perceived it to be more chocolatey because you were literally eating cacao powder. In order to remove this, most breweries filter their cholaca beers. It does, however, still impart a stronger chocolate character due to the greater surface area. And unfortunately, the only way to account for the thinning is to brew a separate batch that accounts for water (about 15 to 30 min longer boil) . FWIW, I prefer cholaca for it’s legit chocolate flavor, but accounting for water and particulates is a 100% requirement
Yep! Nail on the head with cacao powder. I did leave the Cholaca in the keg without disturbing it for almost 2 weeks, at which point I started pulling samples specifically to facilitate the removal of cacao particles before packaging for my participants. I’m looking forward to trying these beers again soon to see if/when all of the cacao drops out.
screen on the diptube. 4-8 ounces of cocoa nibs right in the keg after a quick dip in star-san solution. I have done it too many times to count. No grittiness and its easy.
Regarding your recipe, increasing your chlorides would push the malt character forward. You guys taught me that.
Why use nibs? I use regular chocolate powder of good quality and get a lot of character for a 1gr/L addition prior to packaging.
Yeah there are a number of people who report good success with powder. I’ve never tried it before, but I’d give it a go. I think some people like nibs because 1. dogma 2. perhaps easier to work with nibs and 3. there is an element of authenticity/romanticism when using “whole food” ingredients. The all grain vs extract argument is analogous to this.
Thank you Phil and Christian S.A. for sharing your thoughts. I am brewing a stout with chocolate soon and am pondering my options on 2 issues covered on this post / thread: 1- Using Nibs Vs Cocoa powder, and 2.-Adding Nibs and/or powder at flameout + transferring to fermentor until fermentation is done Vs. adding either/both later in the fermentation process. I haven’t found enough supporting information online that says adding nibs at flameout is a bad idea, but also no evidence to suggest that this is the ideal way to go. Do you recommend adding poder/nibs during the boil for good results? Or do you think it is best to stick to the proven method of adding these adjuncts to secondary? Thanks and kind regards,
I wouldn’t call much of any of this “proven”. The best advice I can give you is to try these things out for yourself and see what happens! The best learning, for me anyway, is always experiential.
What sized chest freezer is that you are using as your fermentation fridge? My fridge recently crapped out and I’m looking to replace it with something similar. I also use Fermonsters and want to get 2 in the chamber at once. Your setup looks pretty perfect for what I’m looking to do.
You need a minimum 5 CuFt freezer. One will go on the hump and one will sit on the bottom
Mine needed a collar to fit both of those Fermonsters, but as long as I’m being honest, I have no idea about the size of the freezer! I bought that thing on Craigslist for like $40 and the seller was not sure. If I were to guess I’d say 7 cu ft. Below is a link to a helpful HBT thread about keezers and what you can fit in them.
https://www.homebrewtalk.com/forum/threads/chest-freezer-specs-and-layouts.377518/
Coincidentally I just found 32 oz of pure cocoa powder at COSCTO for $10.49 THis is the most economical price for any form of cocoa ,nibs at $11 per lbs on Amazon and CHolaca is $1/oz for 32 oz.
I haven’t used it yet, just saved in my bookmarks for when I do a chocolate beer. $20 for a 5 pound bag and they list beer brewing as a use. They have multiple cacao powders but this seems to be the best for brewing (low fat content).
http://www.cocoasupply.com/bergenfield-cacao-powder-colonial-rosewood-natural-10-12-cacao/
This is only sort of on topic but I thought I’d add it anyway. I’ve used cocoa nibs once. I was planning a 10% coffee oatmeal stout and asked some friends if they thought cocoa nibs should be added, after some debate ov a few beers it was decided to make one batch with and one without to see if a difference could be detected. The nibs were added as a dry nib addition (if that’s a thing) in primary at the same time the coffee beans went in, for a week before cold crash from memory. The results are odd, no real chocolate flavour but the beer with the cocoa is significantly smoother than the one without. Consensus is that if the beer gets made again leave the cocoa in.
Right on. I agree with leaving the cacao nibs in for a longer period of time, but maybe you should consider limiting the amount of time the coffee beans spend in the beer. Those flavors can get overwhelming, even for big beers with a lot going on. Think about cold brewed coffee; all you need is like 12-18 hours of contact time for that.
Great article. Does anyone know if we can get a similar product in the UK?
I’m not sure! We link to the Amazon page through this post if you click on the picture with the nibs in the jar and the bottle of Cholaca, does that work for you?
I got a tremendous amount of chocolate flavor from just 4 oz of cocoa nibs (morebeer.com’s, $6) by soaking them in Tito’s vodka for 3 weeks in a mason jar. I would shake the jar everyday. I started to take small samples of the liquid extract after a few days and wasn’t initially too impressed. After 10 days the flavor was good. After 3 weeks it was amazing. I added it to 5 gallons of milk stout that also had other boozy extracts: 3 vanilla beans soaked in Bulleit Bourbon (s week soak), Vietnamese cinnamon sticks soaked in Titos (3 week soak, very powerful so used just about an ounce of this), and 1/4 cup of course ground coffee soaked in Titos (2 day soak). I poured all of these extracts through one of those stainless 300 micron mesh dry hop canisters and added them directly to the keg of finished beer. The beer has great depth and range of flavor but the chocolate definitely cuts right through. The long soak time of the nibs really helped draw out the flavors.
It may be better to evaluate this at the pint level. That way you can change additions, match water/alcohol added, etc. For example the Oskar recipe above seems to use 1/6 as much as you use. You can try out different pints with 1,2, 3… units of each til you find what tastes best.
I agree that it can be very effective to evaluate this (and most things) incrementally. Not sure where you’re getting 1/6 the amount of Cholaca from, though. Not to mention, I used the lowest amount recommended by the manufacturer. /shrug
I was wondering if the oils from cacao nibs affected the head retention and lacing with the stout?
I recently did a chocolate stout with steeped nibs (non roasted), and I thought maybe this affected the lacing down the glass..
Think next time I will give them a quick blast in the oven as per exbeeriment.
Cheers
James
It’s possible. I didn’t notice any significant difference in foam, though. And for what it’s worth, the only reason I roasted my nibs is that they come raw and need to be roasted.
Great experiment, as always very interesting!
I was wondering how many oz of neutral spirit did you use to sanitize your 9 oz of nibs?
Very interesting experiment as always, good Work!
How many oz of neutral Spirit for your 9 oz of nibs to soak in? Thanks
You should try their new coconut liquid. It’s really good in a stout. Smooth and I didn’t think it was overpowering.