This xBmt was completed by a member of The Brü Club as a part of The Brü Club xBmt Series in collaboration with Brülosophy. While members who choose to participate in this series generally take inspiration from Brülosophy, the bulk of design, writing, and editing is handled by members. Articles featured on Brulosophy.com are selected by The Brü Club leadership prior to being submitted for publication. Visit The Brü Club website for more information on this series.
Author: Scott Mendes
Time is everything when it comes to brewing beer. It can be the deciding factor for a great brew day or whether one transpires at all. The changing of time and process length to achieve different results is practiced across many, if not all, aspects of brewing. These methods can often be used to produce similar results to that of a standard brew day but in a shorter timeframe. Missed your target OG? Boil longer to achieve the target gravity. Is the set it and forget it method not working out for that party you promised to bring beer to? Speed up the process and force carbonate the keg. Want juicy flavor and aroma without the bitterness? Move boil additions to flame out and whirlpool.
But what about mashing? Can the same ideology be applied? A 60 minute mash is regularly considered to not only be the standard approach but also part of the brewing process that shouldn’t be deviated from too much. At least that’s what blogs, books, and forum post have led me to believe time and time again. What if there was another way? A time saving method with no adverse effects on the quality of beer produced. As part of the Bru Club Experiment series, I decided to conduct the 60 vs 20 minute mash experiment in hopes of answering some questions I wanted first-hand answers to.
| PURPOSE |
To assess the differences between a 20 minute mash rest and a 60 minute mash rest in beers that are otherwise treated identically.
| METHODS |
I chose to brew a Blonde Ale recipe of mine for its light and simple profile to allow any and all differences to be perceptible.
Blushh Blonde Ale
Recipe Details
| Batch Size | Boil Time | IBU | SRM | Est. OG | Est. FG | ABV |
|---|---|---|---|---|---|---|
| 4.8 gal | 60 min | 25.6 IBUs | 3.9 SRM | 1.047 | 1.008 | 5.1 % |
| Actuals | 1.047 | 1.007 | 5.3 % | |||
Fermentables
| Name | Amount | % |
|---|---|---|
| Pale Malt, 2-Row (Rahr) | 6.125 lbs | 81.67 |
| Great Western White Wheat Malt | 10 oz | 8.33 |
| Vienna Malt (Weyermann) | 8 oz | 6.67 |
| Honey Malt (Gambrinus) | 4 oz | 3.33 |
Hops
| Name | Amount | Time | Use | Form | Alpha % |
|---|---|---|---|---|---|
| Magnum | 6 g | 60 min | Boil | Pellet | 14.4 |
| Centennial | 6 g | 30 min | Boil | Pellet | 8 |
| Willamette | 11 g | 15 min | Boil | Pellet | 4.9 |
| Willamette | 11 g | 10 min | Boil | Pellet | 4.9 |
| Centennial | 11 g | 5 min | Boil | Pellet | 8 |
Miscs
| Name | Amount | Time | Use | Type |
|---|---|---|---|---|
| Whirlfloc Tablet | 1.00 Items | 10 min | Boil | Fining |
Yeast
| Name | Lab | Attenuation | Temperature |
|---|---|---|---|
| Safale American (US-05) | DCL/Fermentis | 77% | 59°F - 75°F |
Notes
| Water Profile: Ca 53 | Mg 7 | Na 5 | SO4 77 | Cl 64 |
Download
| Download this recipe's BeerXML file |
I started my brew morning by adding distilled water to my Grainfather and starting a session through the Grainfather Connect app. While water was heating, I added the required amount of brewing salts and acid in order to achieve my desired water profile.
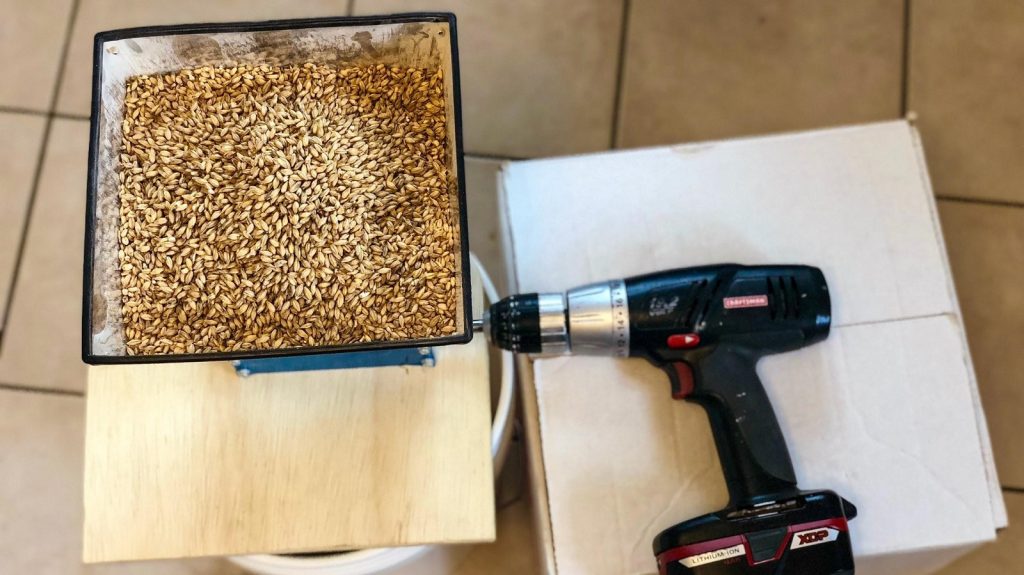
I weighed out the grains for both batches but only milled one set at a time since I would be brewing the batches consecutively.
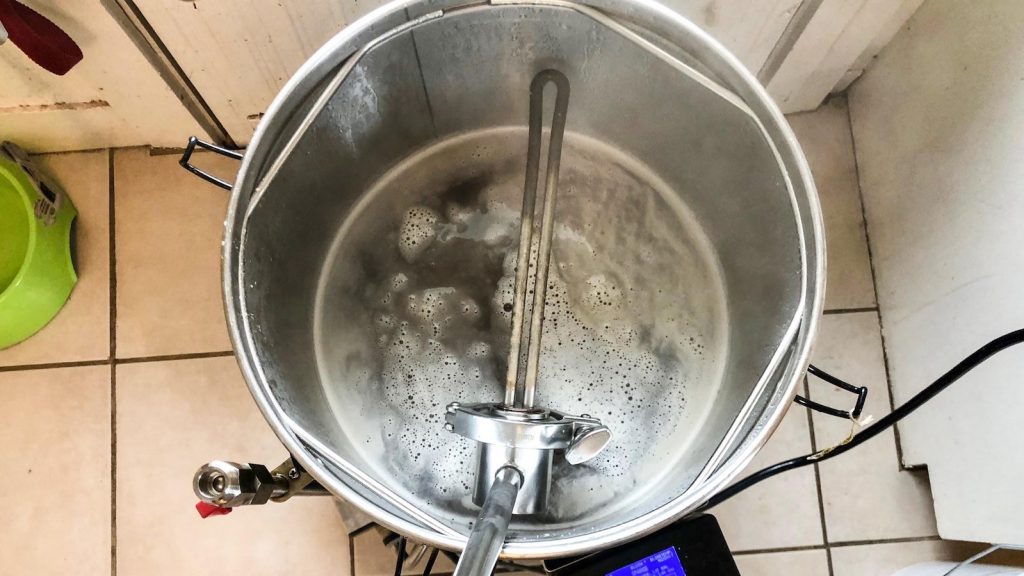
Once the mash water reached the programmed temperature of 149°F/65°C, I mashed in. About 30 later, I started heating sparge water on my kitchen stove and added the specified amount of brewing salts. When the 60 minute mash was done, I sparged then used my HotRod heat stick to assist in the boiling process.
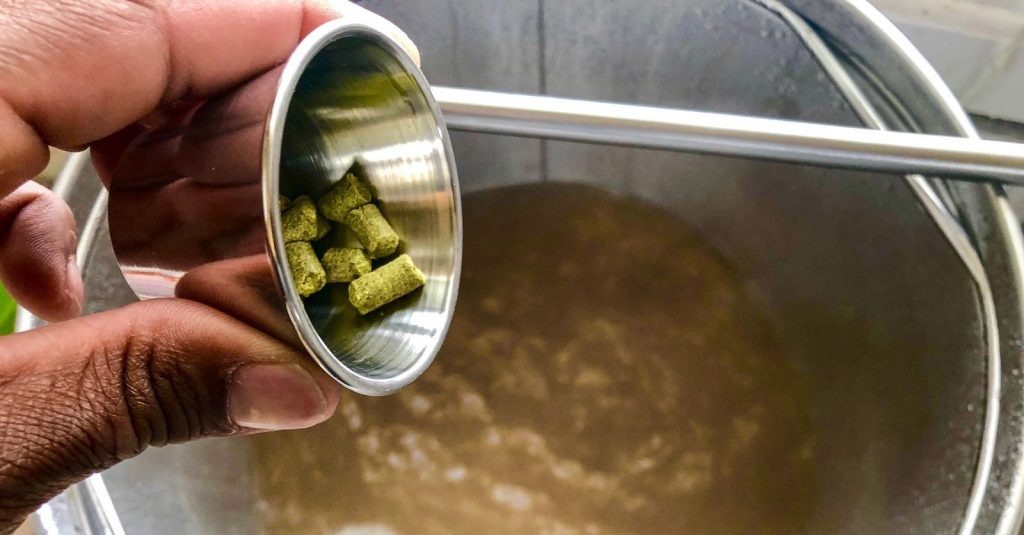
Over a 60 minute boil the hops were added per the recipe’s schedule.
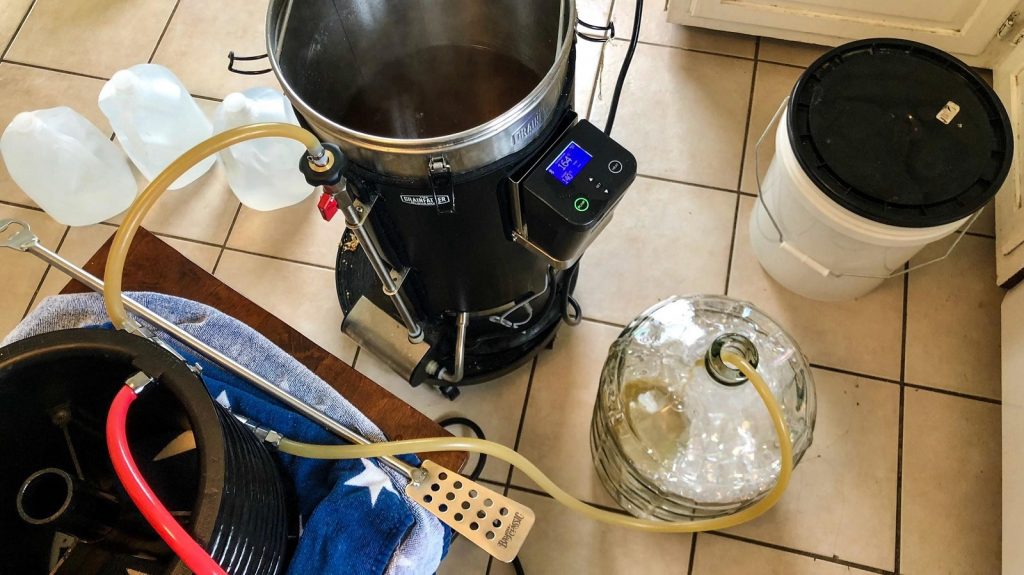
When the boil was finished, I ran through the Grainfather CFC into a sanitized 5 gallon glass carboy.
After sealing the carboy with a solid rubber stopper and putting it in my fermentation chamber, I gave my Grainfather a good cleaning in preparation for the next batch. Aside from mashing for only 20 minutes, the second batch was treated identically to the first. The time period that passed between batch being finished was just under 4.5 hours. Some differences were immediately noticeable.
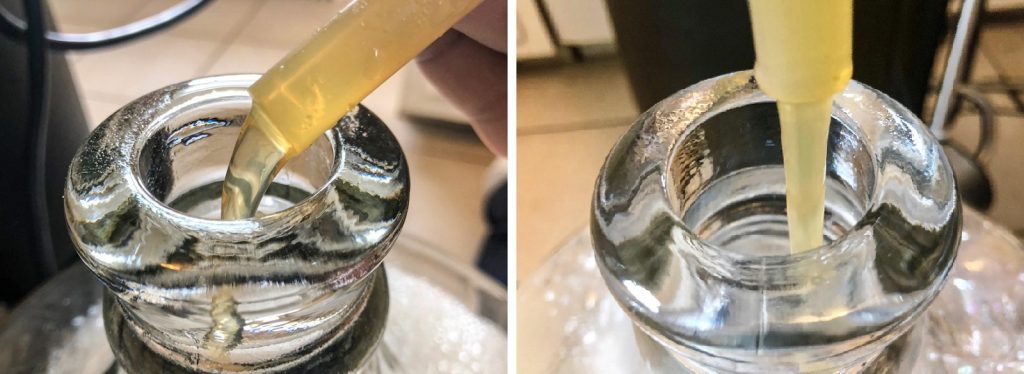
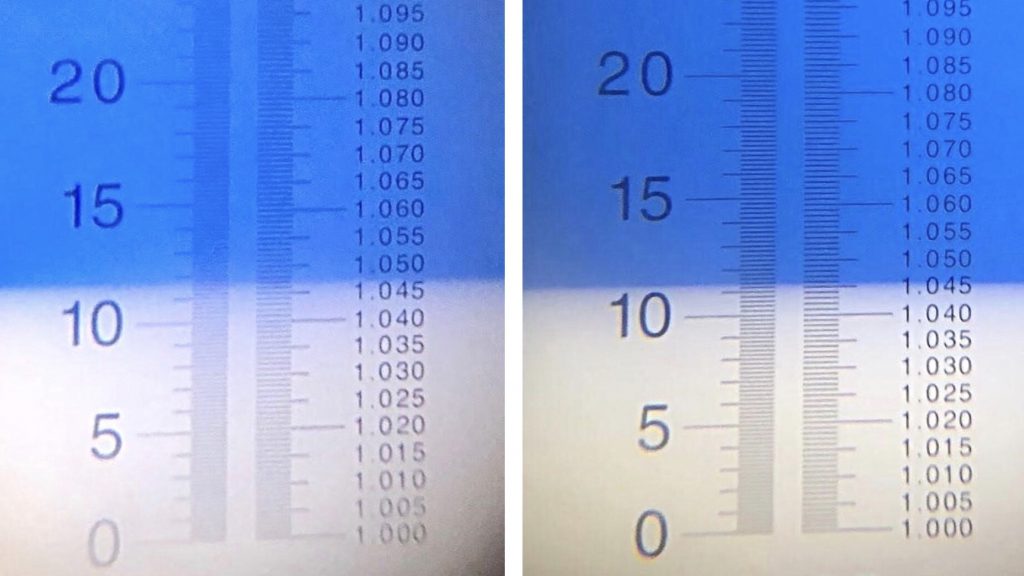
Refractometer readings showed a smaller difference in OG than I expected.
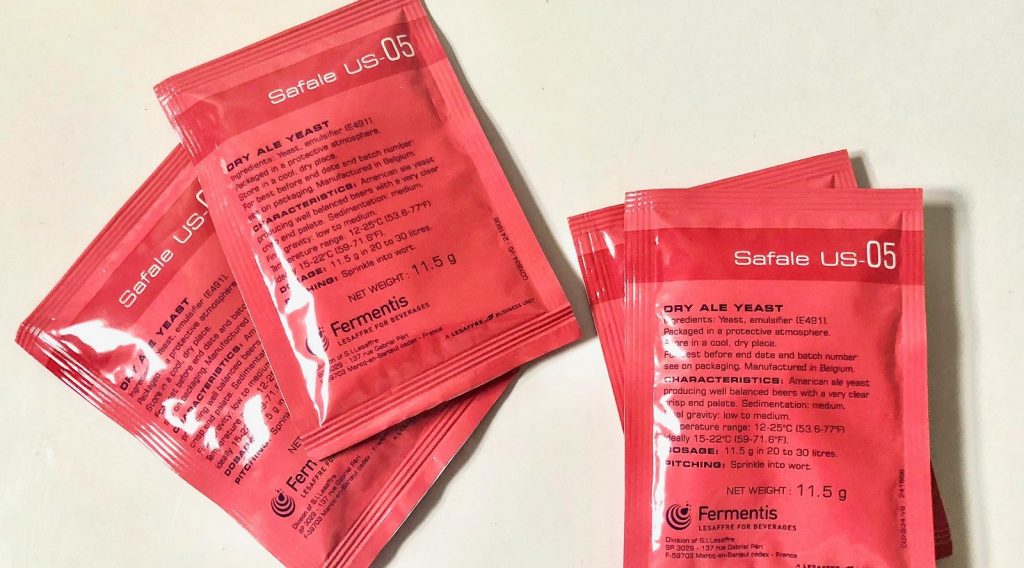
I let the worts sit in my chamber until both were stabilized at 65°F/18°C before pitching 2 packs of Safale US-05 into each one.
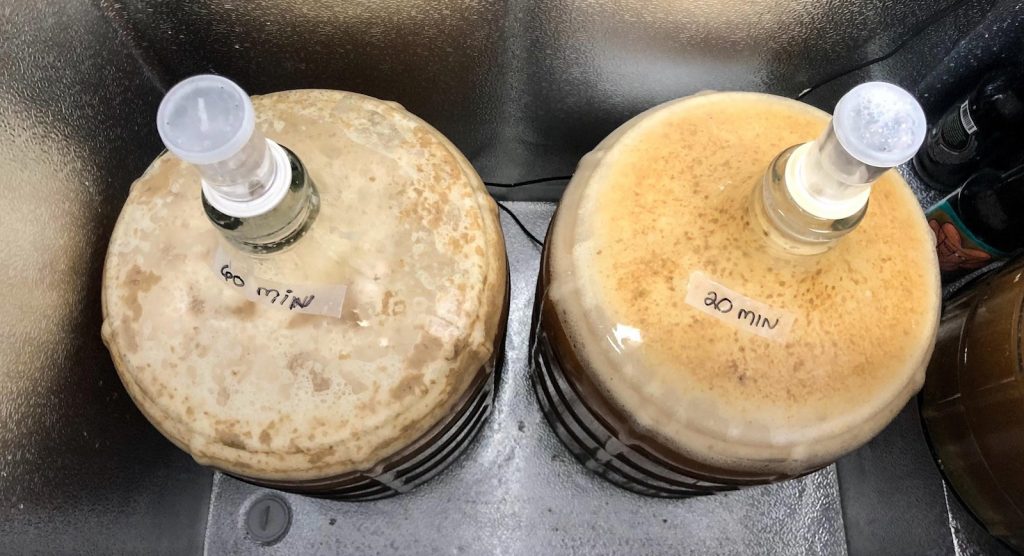
Observing the fermentation over the course of seven days was the single most fascinating aspect of this experiment. One could assume a shorter mash would equate to less robust fermentation, but that is not what I observed at all. Fermentation seemed to not only kick off a little faster in the 20 minute mash beer, it also appeared to be more active. Active to the point where I considered changing the airlock to a blow off hose. This made absolutely no sense to me, it still doesn’t. The kräusen developed and filled the headspace of the carboy to the very top. The 60 minute mash beer had plenty of kräusen development, it just wasn’t the same level of activity and always seemed to be a day behind the 20 minute mash batch.
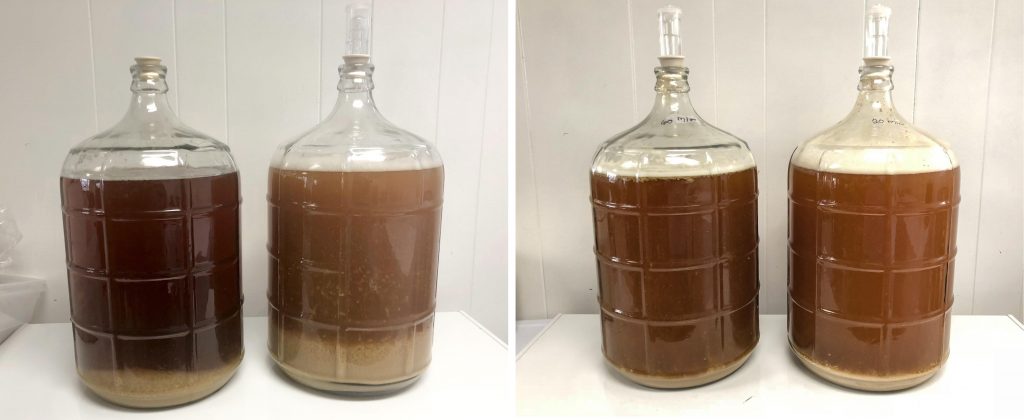
One area in which I was completely blindsided by was the shorter mashes effect on color. I had read about how long boils can produce darker wort, but have never heard of a longer mash doing the same. Assuming that was what happened in this instant case. The first apparent difference between the batches were noticed when I placed the carboys of wort side by side. At this point in time the 60 minute batch had been settling inside a fermentation chamber for about 4 1/2 hours and the 20 minute batch just finished being transferred; once fermentation kicked off, the difference in color between the batches was less stark, though I still noticed a difference toward the end of fermentation
By day 7, gravity readings had become static with the 60 minute mash beer at 0.003 SG points lower than the 20 minute mash beer.
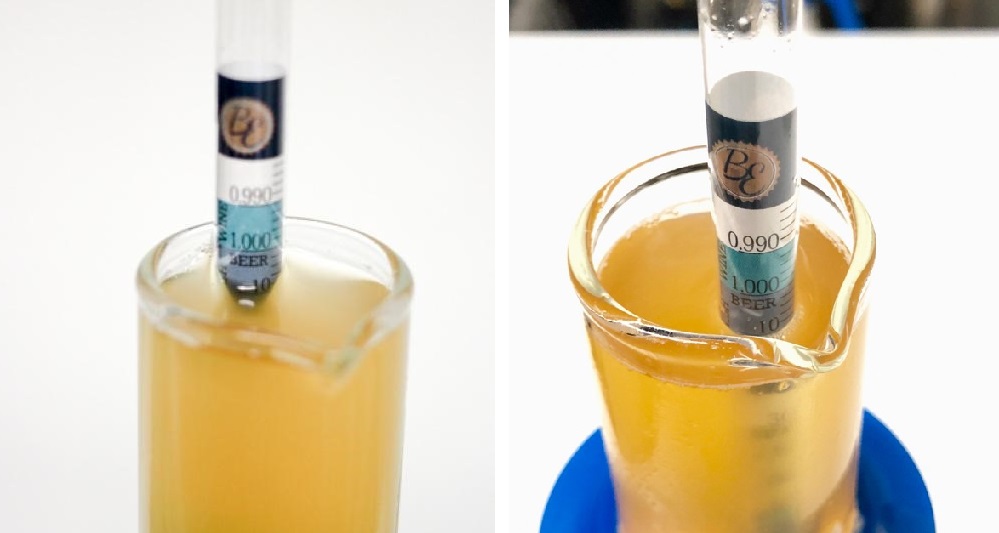
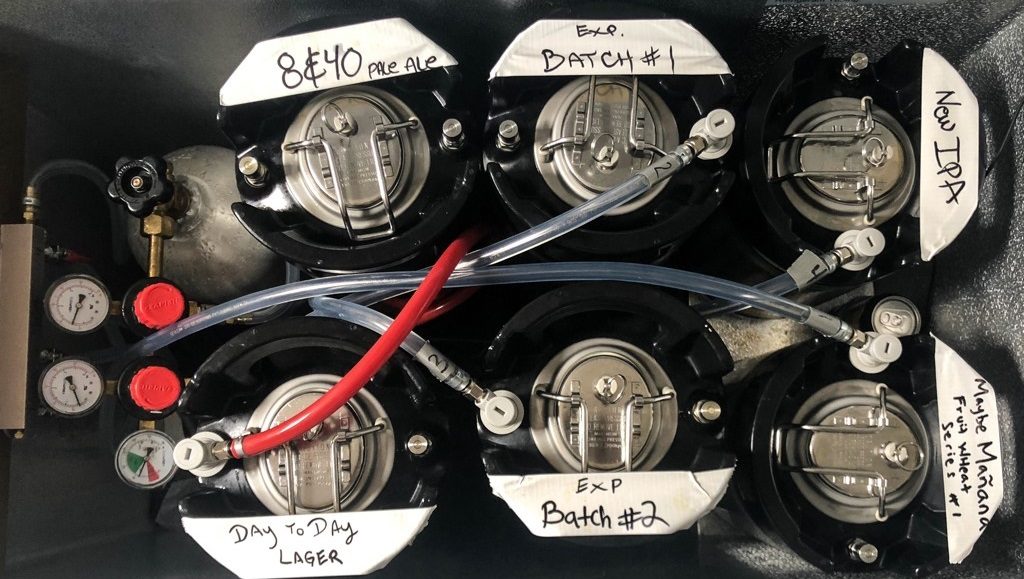
I swapped out the airlocks for solid stoppers and began cold crashing. Neither beer was fined with gelatin. A few days later, I pressure transferred the beers to sanitized and CO2 purged kegs that were then placed in my keezer.
The beers were conditioned on gas for a week before being served to participants.
| RESULTS |
A total of 20 people of varying levels of experience participated in this xBmt. Each participant was served 2 samples of the 60 minute mash beer and 1 sample of the 20 minute mash beer in different colored opaque cups then asked to identify the unique sample. At this sample size, 11 tasters (p<0.05) would have had to identify the unique sample in order to reach statistical significance, though only 9 (p=0.19) made the accurate selection, indicating participants in this xBmt were unable to reliably distinguish a Blonde Ale mashed for 60 minutes from one mashed for 20 minutes.
My Impressions: Fully aware of the variable, these beers tasted incredibly close to one another, though I was convinced I perceived slight nuances that differentiated them. I felt the 60 minute mash beer had slightly more body and left a lingering coating of flavor in my mouth after every sip. Despite finishing with a higher FG, I perceived the 20 minute mash beer as thinner and slightly dryer in the finish. Convinced I’d be able to distinguish these beers, I attempted 4 blind triangle test myself and picked the unique sample only once, and that honestly was a total guess on my part.
| DISCUSSION |
Mashing is said to have a noticeable impact on such areas as body, mouthfeel, head retention, flavor, and yeast attenuation. All pretty important areas that can easily make or break a beer. Going into this experiment, I totally expected the 60 minute mash beer to not only be easily distinguishable from the 20 minute mash beer for me, but anyone who tried them. In my mind, there was no way a 40 minute mash swing wouldn’t have repercussions for the end product. In the end, these beers turned out more alike than not, as tasters were unable to reliably tell them apart.
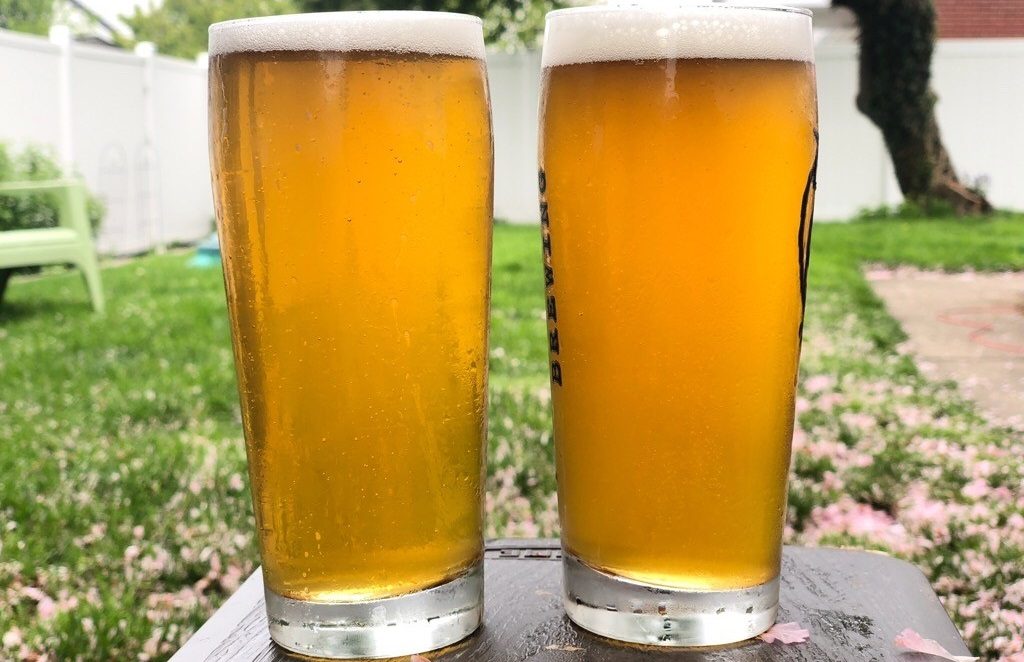
Appearance-wise, the 20 minute mash beer ended up being a tiny bit darker, which I attribute to the fact the it didn’t drop as clear as the 60 minute. Neither batch was brilliantly clear, but there was a noticeable difference when placed side by side.
Another area that was impacted by the 20 minute mash was attenuation. The 60 minute mash batch went from a 1.046 OG down to a 1.007 FG for an apparent attenuation of 85% while the 20 minute mash batch started at 1.045 OG and ended at 1.010 FG, putting it at 78% apparent attenuation.
I learned pretty quick when I started homebrewing that every homebrewer has their own methods. Methods they would often advocate as being the way to do something. I imagine this has been going on long before I got into the hobby. Unfortunately, one size does not fit all when it comes to brewing. What works for you may not work for me. What works at the commercial level, may not work the same when homebrewing. Because of this, the level of experimentation on the homebrew scale seems to be constantly evolving. Homebrewers are always asking themselves, “what if I do this with that?” and so on. Having this type of mentality is half the fun and what has kept me, and I’m sure others, interested in homebrewing.
If you step back and forget the 60 minute mash batch ever existed, I have doubts anyone would speculate about anything being done differently with the 20 minute mash batch, and the feedback from participants was high for both beers. I’m not sure this method can work for any given style, but I definitely plan on experimenting with it more to find out.
| About The Author |
 Scott is a homebrewer from New Bedford, MA who is passionate about learning, brewing, and discovering styles he’s never heard of before. His obsession with homebrewing began in June 2017 and somehow he has managed to not only remain married, but he’s also a great dad. While his favorite style of beer to drink and brew is the all divisive New England IPA, he’s in fact a lover of all things IPA, Pilsner, and Stout. In hopes of refining his brewing process, he’s always in search of new ingredients, equipment, and methods to put to the test.
Would you like to have your experiment featured on Brulosophy.com? Join The Brü Club today! The Brü Club is a growing community of curious homebrewers who regularly engage each other on topics important to us all. Membership is free and comes with all sorts of cool opportunities. Learn more at TheBruClub.com!
If you have any thoughts about this xBmt, please do not hesitate to share in the comments section below!
Support Brülosophy In Style!
All designs are available in various colors and sizes on Amazon!
Follow Brülosophy on:
FACEBOOK | TWITTER | INSTAGRAM
If you enjoy this stuff and feel compelled to support Brulosophy.com, please check out the Support page for details on how you can very easily do so. Thanks!




29 thoughts on “The Brü Club xBmt Series | Mash Length: 60 Minutes vs. 20 Minutes”
Scott – great article, thanks for posting. One thing I’d like to see in the future is a short mash on a bigger beer since I’ve always been told that a long mash is necessary for higher og brews.
Interested to learn that the longer mash resulted in clearer beer. Different in color in the carboys is I think a function of amount of sediment in suspension – the sediment makes the liquid milkier and paler.
Big thumbs up to getting two ebmts in a week!
I believe this was the case also. The 20 minute mash did eventually become as clear as the 60 minute mash. I had 2 gallons left over so I turned it into a raspberry blonde and prior to adding the raspberries I poured a pint and noticed the clarity.
The batches were actually brewed back to back. It was. A long rewarding brew day.
I used to use a three vessel system and I’d get crazy big krausen. I switched to an electric recirculating biab and krausen all but disappeared. I was missing my numbers in the three vessel system but hitting them w the biab. I was extremely confused what was going on. I thought I had taken a step backwards. But, the beer was better then ever. I can only guess w a shorter or less efficient mash there is more “material” for the yeast to attack?!?
The more all-grain brewing I do, the longer my mash times have gotten — my standard mash has grown to 90 minutes. That said, most of my brewing takes place on days where I don’t have anything else going on, so time spent really doesn’t concern me.
But the mash length experiments I’ve read about have me thinking it might be a variable worth playing with, if only to better control attenuation, especially when making beers that have a lower ABV but don’t necessarily taste like it.
Great article. I usually do a 30 min mash and have had great results. Off topic question: Do you just use duct tape on your kegs in your keezer or is it some other tape? Cheers!
Yes sir, just duct tape to identify the carboys in the fermentation chamber as well as the keezer.
I wonder if that darkening is hot side aeration from longer exposure…
I’d love to see how much the Grainfather’s recirculation contributed to the xbmt’s results, and how much a static mash from a BIAB or traditional mash would change the results.
I’m not completely sure what caused the darkening, but by the end of fermentation the two batches completely flip flopped. The 60 minute got lighter, the 20 minute became darker.
Great to see a Bru Club xBmt and I hope to see more of these in the future! One suggestion for xBmt areas to cover for Bru Club would be to explore having a large number of people make the same recipe except for either changing a single ingredient or having different amounts of the same ingredient.
For example – have a bunch of people brew the same beer but use a different yeast. This may be a little departure from the Brulosphy ethos of keeping super tight control, but it’s something I’d be really interested in that isn’t really possible with traditional xBmts.
Cheers!
These kinds of exbeeriments have led me to pay less strict attention to mash times. Though I do end up mashing for an hour+ most brew days because I use the mash as a break time to hang with my kids, eat lunch, etc. and lose track of time. Better than when I started brewing and would stress out about sticking to an exact mash length.
I wonder if the re-circulation has something to do with it? I wonder if you did the same experiment with regular cooler mashing if it would show a difference.
Scott, Great job on the xbrmt and the write up! Excellent work! To save me from trying to figure out the math, could you share your brewhouse efficiency for each batch? I’m curious to see how much of a difference there is between the two. It might help others set up there recipes to account for the loss. Cheers!
Thanks, brewhouse efficiency was set at 78% for both batches. Cheers
Interesting experiment, nicely done.
Isn’t cold crashing in a glass carboy with solid stoppers dangerous due to the negative pressure created?
Good question, I don’t know the answer but it’s the way I’ve been doing it for about a year now. So far no accidents. If there’s any articles out there on the subject I would love to read them.
Do you recall how much water you used to sparge the batches? I doubt it had any impact on the final outcome, just curious as to the details of the brewing process with the grainfather.
Using the Grainfather calculator at https://www.grainfather.com/brewing-calculators mash water is 3.35 us gal and sparge water is 3.22 us gal based on the weight of the grains in the recipe and a US 110V system.
I use BeerSmith for all my recipes. Based on the equipment profile I use ( has been tweaked from trial and error over many brew days early on ) it calculated 3.35 gal for the mash, 4.2 gal for the sparge. 78% brewhouse efficiency. The sparge process took about 30 minutes.
Great job on trying to quantify the difference (or lack of). Experience (not Experiment) with different mash lengths (for me) was that at lower temps like 149, I rarely got the mash to convert fully. At higher temps (which I don’t use as often) like 155, it is very possible. It seems your mash did not fully convert, leaving unfermentable starches… which might explain the higher finishing gravity and slight difference in flavor. If you have any challenges with sanitation, that might eventually give nonfriendly bugs something to chew on. Try the triangle test again after 3 months and see if there is a difference.
I would love to see a series on this. This and the Short and Shoddy series feel like they are just on the edge of figuring out the simplest way to do this hobby. I have been considering abandoning the boil altogether and just using FWH. I think it’s possible the whole homebrewing approach could be redefined and simplified at some point in the future, and that excites me a lot.
I like the way you think
Hi, great article! Will definitely try this method and reduce my brewing time! Just one question, did you stirred your mash once every 15 minutes or so? Thanks!
No stirring during the brew session. I brew with a grainfather and stirring would require removing the top perforated plate. I’ve always been afraid that too vigorous of a stir could knock the bottom plate loose and drop all the grain into the wort.
Kudos for a great article and for writing “differences to be perceptible” instead of “blah blah to shine through”. The latter is so indicative of conformance. Brew on!
Another tantalizing poke at convention. I love it! I was thinking that without the traditional mashout, the enzymes would continue their work throughout the lauter process. Don’t know if you (and the Brulosophy bunch) mashout, but with all the various ways of getting from grain to beer, things like grain crush, mash temperature, the diastatic power of the grist, water chemistry, and on and on all contribute to the starch conversion… or not. These experiments make us think, so thanks!
Any comment on using iodine to determine if starch to sugar conversion is complete? Seems to me you could mash for a given time, check conversion, continue on if conversion is not complete. Note I have never used iodine to check conversion, only saw it on an Australian BIAB youtube video. It inspired me to buy a bag and start all grain brewing.
I think I can offer a bit more explanation for the lack of difference between the 20 minute and 60 minute mash.
It was mashed at a relatively low 149°F/65°C and at this temperature very little (10% tops) of the alpha amylase is active which would give the wort its body.
The beta amylase which cleaves fermentable sugars are largely denatured after 15-20 minutes at this temperature and are completely denatured after roughly 30 minutes.
So between the 30-60 minute marks very little enzymes are actually active which results into very little difference in the resulting beer. I knew the theory, but I am glad to see the results from a practical experiment. Thanks!