Author: Malcolm Frazer
As a brewer who enters competitions a decent amount, keeping my beer away from oxygen is important to me, particularly when it comes to packaging it in bottles from my kegs. My fears that oxygen in the bottle prior to filling would negatively impact my beer was born out of years of research that left me concerned if the utmost care wasn’t taken to keep oxygen to a minimum, I’d end up wasting beer, an entry, and money. In my mind, oxidation could result in a great tasting beer bound for the medal circle ending up in that pitiful pile of bottles lingering around at the end of a competition, slated to be consumed by the often unfortunate volunteers.
And I’m not alone! Perhaps the most popular solution for bottling beer from kegs, the BeerGun by Blichmann Engineering is lauded by many for it’s ability to flush bottles with CO2 prior to filling, reducing both the risk of oxidation and the worries of many a competitive brewer. Then again, a Google search for “bottling from keg” produces a list of DIY solutions that are missing this component with users swearing it works just fine and often reporting positive competition results. As a believer in the havoc oxygen can wreak when introduced at packaging, I looked forward to putting it to the test in this xBmt!
| PURPOSE |
To evaluate the differences between a beer bottled from a keg using a method to reduce oxygen uptake and the same beer bottled from a keg with no effort to mitigate oxygen.
| METHODS |
In hopes of ensuring any impact caused by the variable would be easily noticed by tasters, I decided to brew a delicately flavored Cream Ale.
Cream Sha Boogie Bop
Recipe Details
| Batch Size | Boil Time | IBU | SRM | Est. OG | Est. FG | ABV |
|---|---|---|---|---|---|---|
| 5.5 gal | 60 min | 20.7 IBUs | 3.2 SRM | 1.050 | 1.010 | 5.3 % |
| Actuals | 1.05 | 1.01 | 5.2 % | |||
Fermentables
| Name | Amount | % |
|---|---|---|
| Pale Malt (2 Row) US | 4 lbs | 39.75 |
| Pilsner (2 Row) Ger | 3.25 lbs | 32.3 |
| Corn, Flaked | 1.375 lbs | 13.66 |
| Acid Malt | 12 oz | 7.45 |
| Cane (Beet) Sugar | 11 oz | 6.83 |
Hops
| Name | Amount | Time | Use | Form | Alpha % |
|---|---|---|---|---|---|
| Sterling | 16 g | 70 min | Boil | Pellet | 8 |
| Liberty | 18 g | 5 min | Boil | Pellet | 5 |
Yeast
| Name | Lab | Attenuation | Temperature |
|---|---|---|---|
| German Bock Lager (WLP833) | White Labs | 73% | 48°F - 55°F |
Notes
| Water Profile: Yellow Balanced in Bru’n Water Spreadsheet |
Download
| Download this recipe's BeerXML file |
A couple days before brewing, I made a starter of Omega Yeast Labs German Lager I from some slurry given to me by my friends at Helicon Brewing Company.
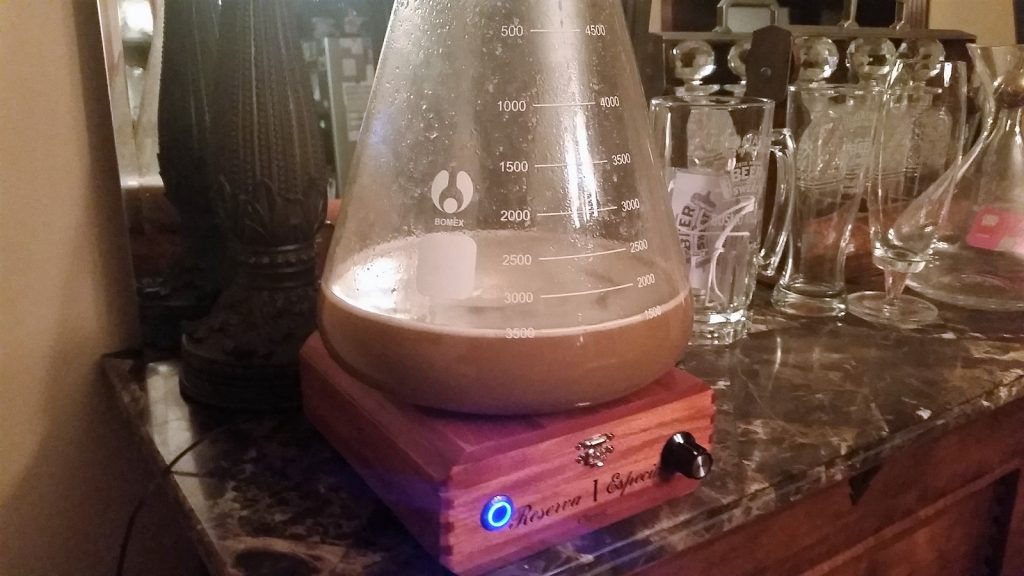
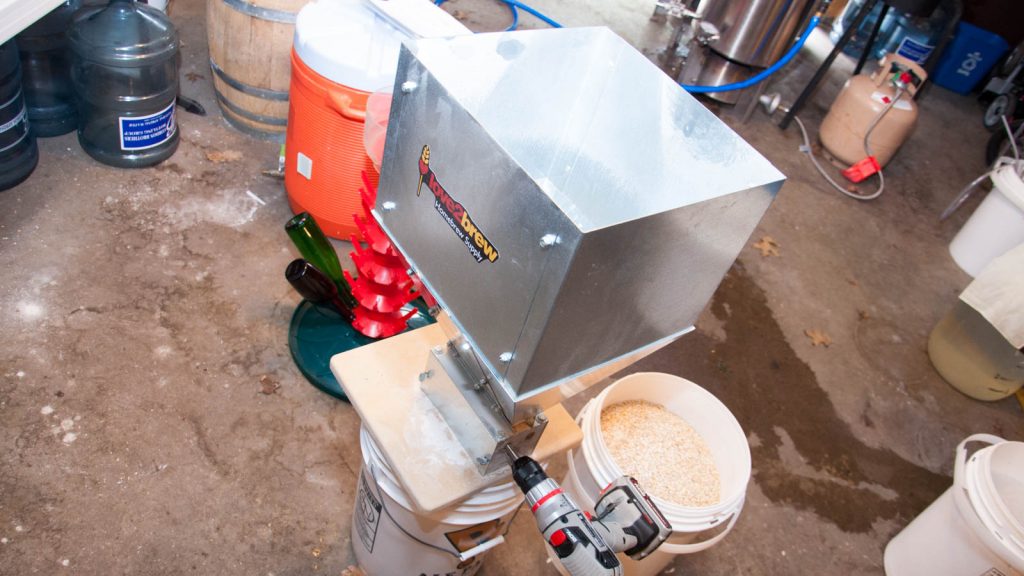
When brew day arrived, I weighed out and milled the grain while my strike water was heating up.
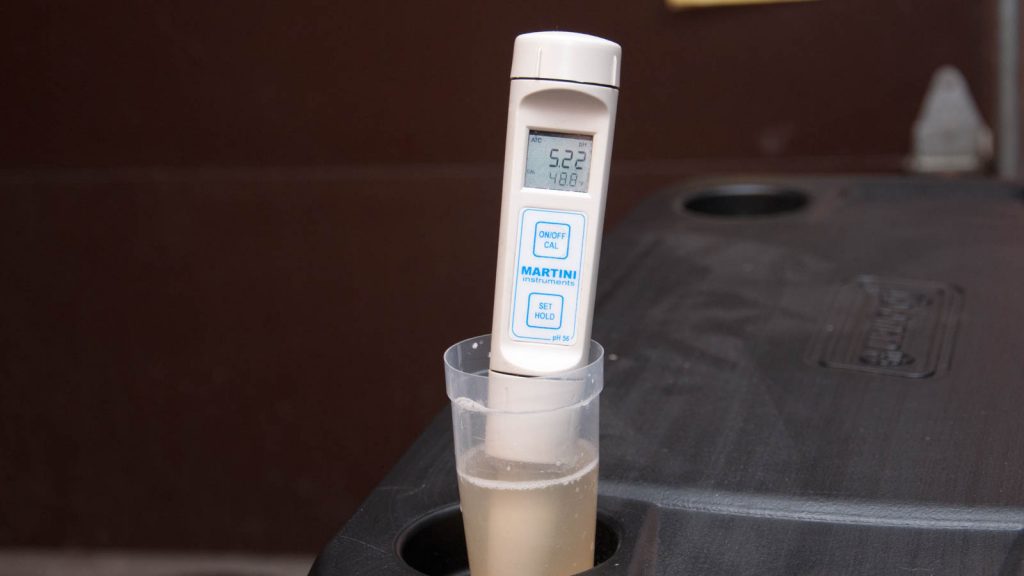
With the strike water ready, I mashed in to hit my target temperature then took a small sample of wort to about 15 minutes into the mash that confirmed I’d nailed the proper pH.
Once the 60 minute mash rest was complete, I collected the first runnings and performed a batch sparge to reach my preboil volume.
The wort was then boiled with hops added at the times laid out in the recipe.
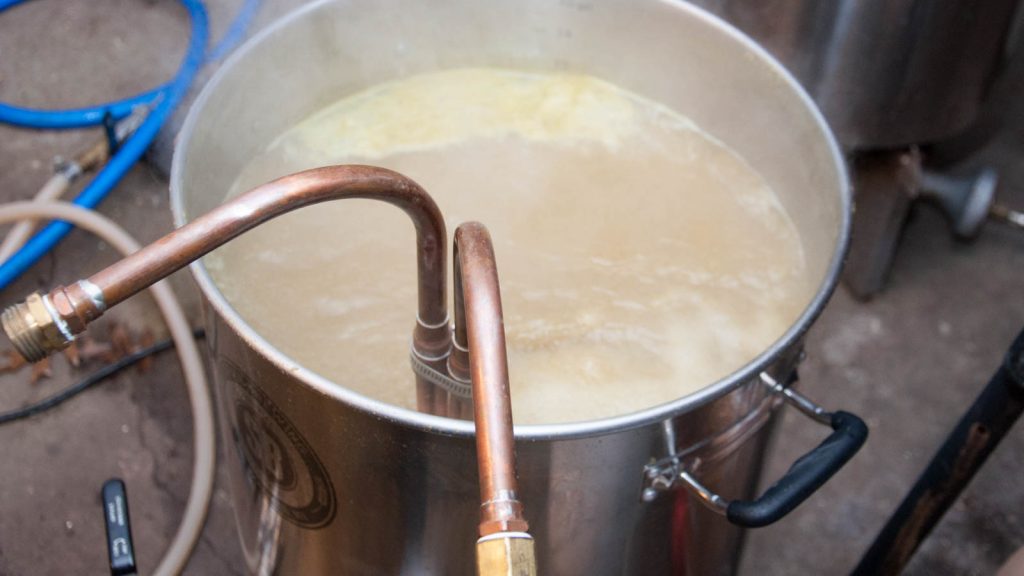
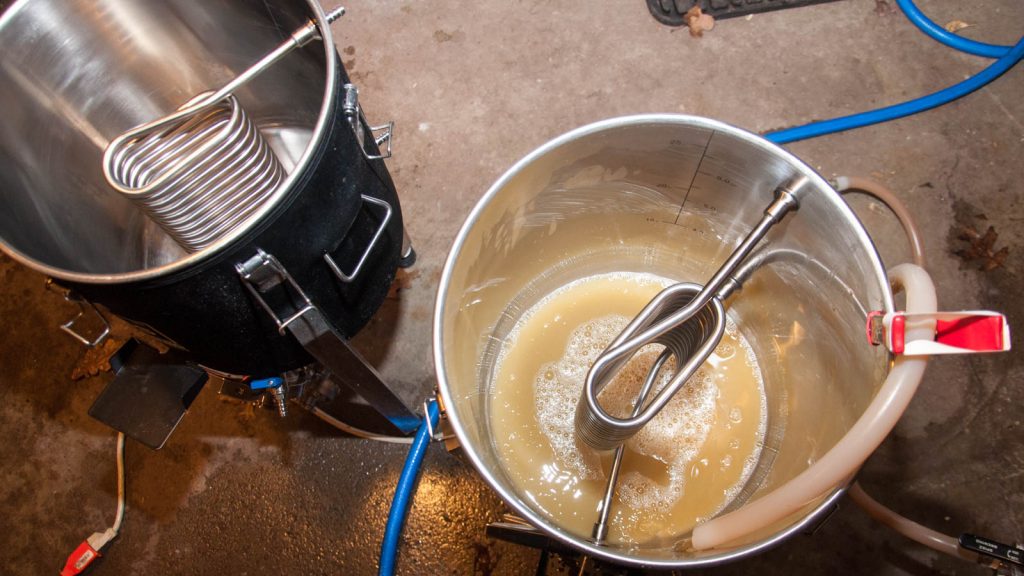
At the conclusion of the boil, I quickly chilled the wort to my desired fermentation temperature before racking it to a sanitized fermentor.
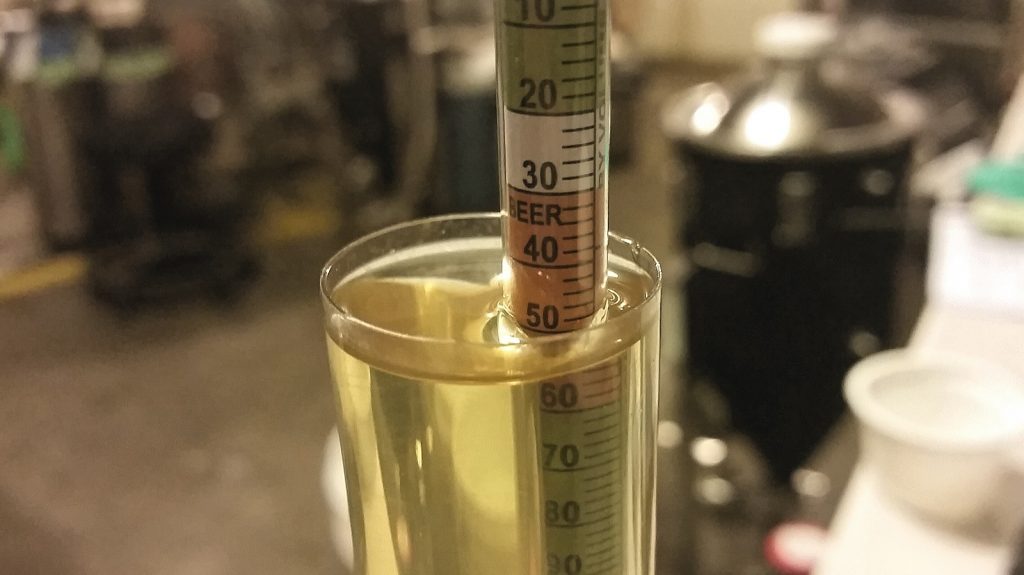
A hydrometer reading showed I hit my target OG spot on.
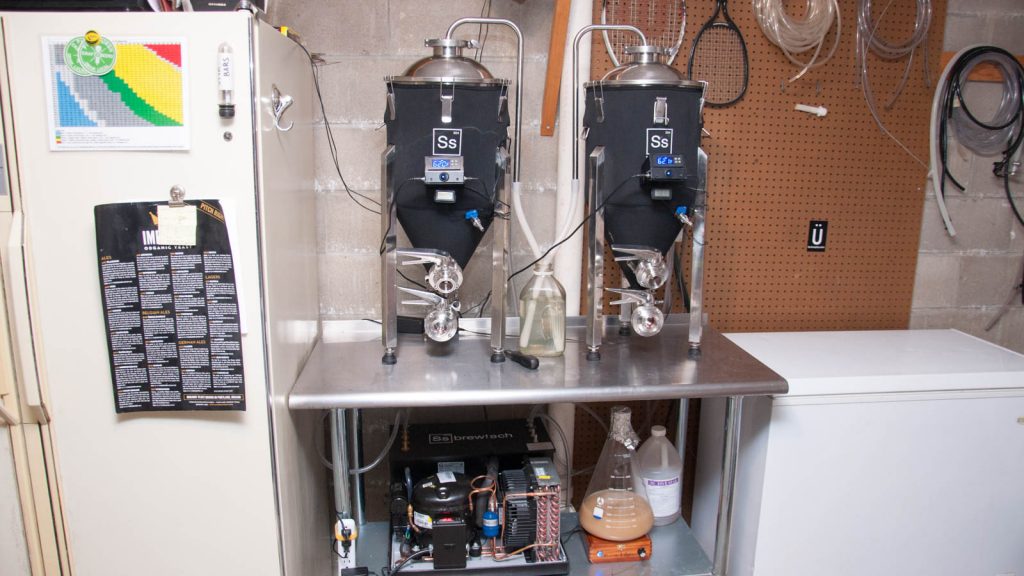
I pitched the yeast and held the beer at 62°F/17°C 3 days, which is when I noticed slowing activity, so I gently increased the fermentation temperature to 68°F/20°C over the next few days.
With activity absent a few days later, I took a hydrometer measurement confirming my target FG had be reached. I reduced the temperature of the beer for a cold crash, fined with gelatin, then racked to a keg. The beer was briefly burst carbonated in my keezer before being set to serving pressure and left alone for a week of cold conditioning. Once I determined the beer to be adequately clear and carbonated, it was time came to introduce the variable.
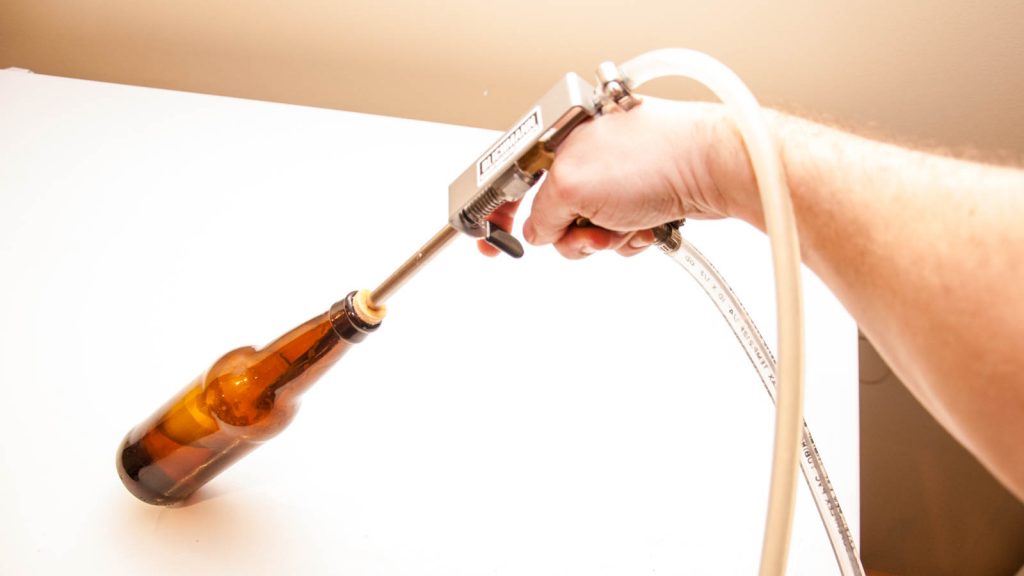
Utilizing the popular Blichmann BeerGun, one set of bottles received a 45 second dose of CO2 to purge them of oxygen before being filled with beer and capped.
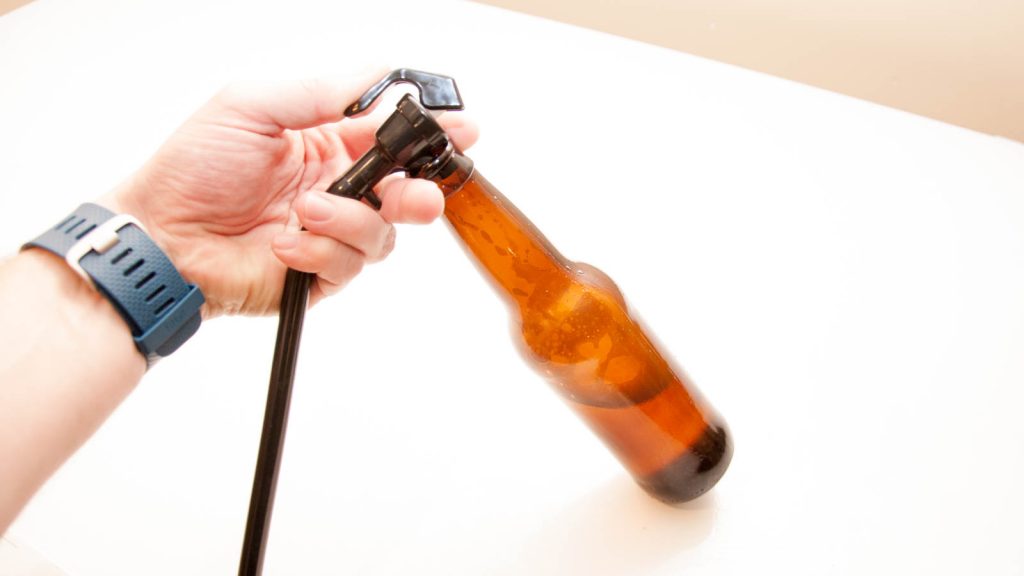
For the second set of bottles, I used the very simple picnic tap method without any attempt to reduce oxygen. While I know of brewers who have done well in competitions with beer bottled this way, the sloppiness of this approach made me cringe, as I didn’t even use a length of tubing to minimize splashing like it seems most people do.
Both sets of bottles were then marked and stored in my warm laundry room to somewhat simulate the conditions a beer might undergo when sent to a competition.
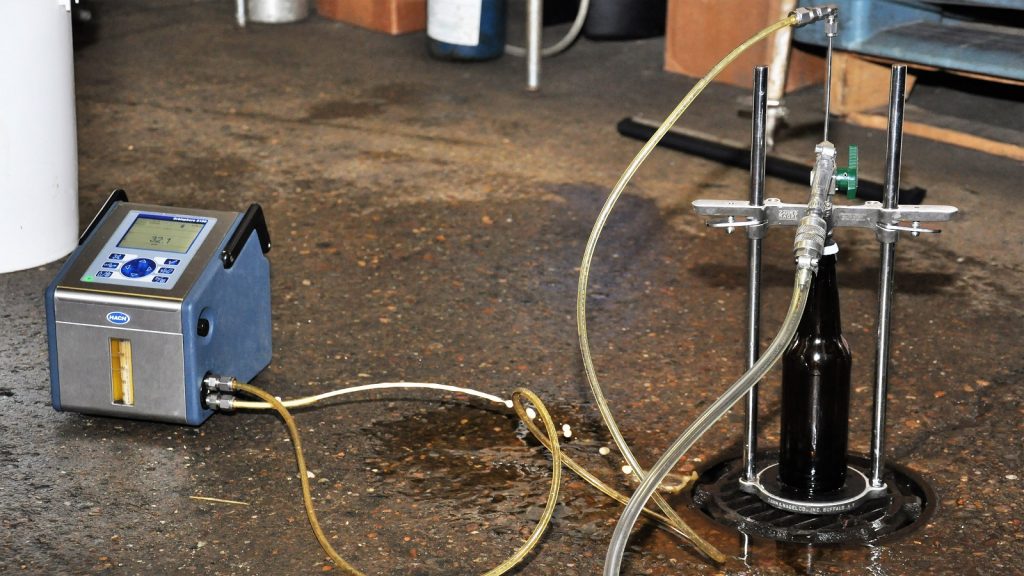
Having friends in the beer industry definitely has its perks, especially for a nerdy science guy like me. As a fun side xBmt, I ran some samples from both conditions to Roundabout Brewery immediately after bottling where co-owner Steve Sloan and his wife, Dyana, graciously helped me measure actual oxygen levels using their orbisphere.
It is suggested to take these measurements immediately after packaging in order to get an accurate oxygen level at that time, otherwise the amount of oxygen introduced when bottling is essentially “consumed by the beer.” Even the short drive between bottling and measurement had me a little concerned, but I figured something would be better than nothing. Over several trials, the beer bottled with the BeerGun averaged 26.5 ppb and 43 ppb of oxygen for non-shaken and shaken samples, respectively. As predicted, the beer bottled using the picnic tap averaged 250 ppb and 700 ppb of oxygen for the non-shaken and shaken samples, respectively. No question, these methods resulted in drastically different oxygen levels present in the packaged beer.
Purely to satiate my own curiosity, I also tested oxygen levels in beers bottled using a picnic tap attached to a length of tubing with a stopper to create back-pressure, similar to the Brü Bottler. The non-shaken sample clocked in at 45 ppb of oxygen while the shaken beer contained 117 ppb, still more than the beers bottles using the BeerGun, but quite a bit lower than those bottled without the tubing. This seems to support the notion that bottom filling may actually push oxygen out of bottles.
After 3 weeks in my laundry room, I moved all of the bottled beers to cold storage and let them hangout for a few days. Before collecting data, I opened bottles from both batches to see how they held up. Both were clear, carbonated, and identical in color, which went against my expectation since oxidation is said to have a darkening effect on beer.
| RESULTS |
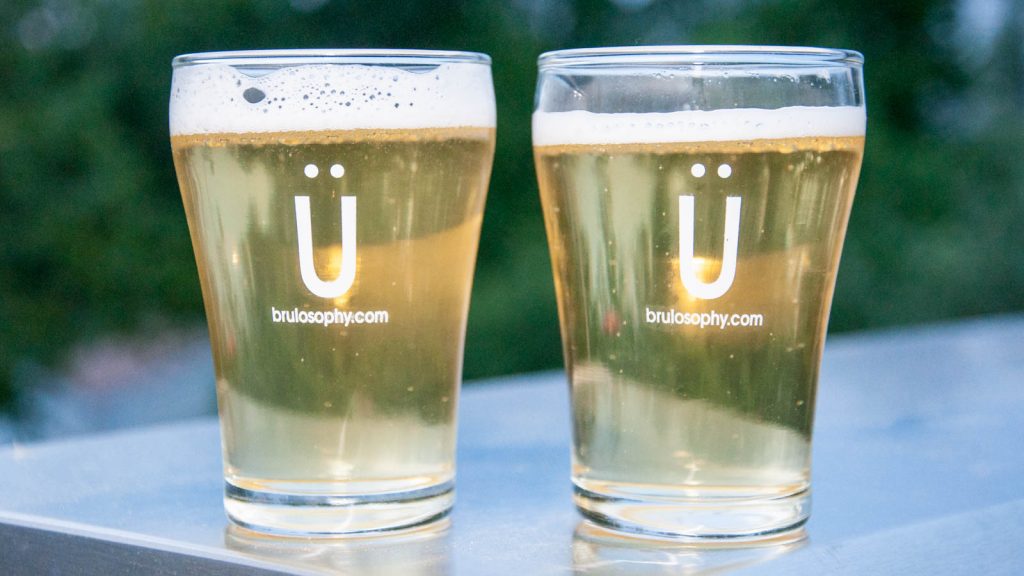
A total of 41 people with varying levels of experience participated in this xBmt while hanging at the Grist House. Each participant was served 1 sample of the beer bottled using the BeerGun and 2 samples of the beer bottled using the picnic tap then asked to identify the sample that was unique. Given the sample size, 19 tasters (p<0.05) would have had to correctly identify the beer as being different in order to reach statistical significance. In the end, only 15 participants (p=0.38) accurately identified the unique sample, indicating in inability to reliably distinguish a beer bottled from a keg using methods to reduce oxygen from the same beer bottled with no effort taken to reduce oxygen.
Arguably meaningless since the xBmt failed to achieve statistical significance, I figured I’d share the preference data to satisfy curious minds. Still blind to the variable in question, the 15 people who accurately selected the unique sample in the triangle test were further instructed to compare only the two different beers then asked about their preference. In all, 8 tasters reported preferring the beer bottled with the BeerGun, 3 said they liked the beer bottled with a picnic tap more, 2 had no preference despite noting a difference, and 2 reported noticing no difference between the beers.
My Impressions: I attempted 3 semi-blind triangle tests a few days after bottling out of which I selected the odd-beer-out twice, meaning the difference was not stark enough for me to nail it every time. To my palate, the beer bottled with the picnic tap seemed to take on a slight vinous note that I believe assisted my choice, and the fact my wife picked the unique sample the one time she tried was validating. Then, I tried again 3 weeks later in preparation for data collection and was unable to reliably differentiate the beers, to the point ended up guessing and was wrong 3 out of 4 times. The fresh corny sweetness I perceived when fresh had changed into a cooked honey character with the same vinous note I detected a few weeks earlier, only this time it was present in both beers.
| DISCUSSION |
Oxidation is a known phenomenon that is objectively measurable, there’s no arguing this fact. However, the extent to which its impact on beer is perceivable is, well…
Screw it, I’m just gonna come out and say it– I am truly perplexed by these results, they go against everything I know to be true about oxygen and packaging. And I’m not just relying on the data from the blind participants here, I couldn’t tell the damn beers apart myself, which has really got my head spinning! We know oxygen during packaging negatively impacts beer, it’s why commercial breweries spend oodles of money on equipment to keep it to a minimum. We also know, based on objective measurements with an orbisphere, the beer bottled using the BeerGun contained notably less oxygen than the beer bottled straight from a picnic tap. So why the hell didn’t they taste different enough for people to tell them apart?!
I’m so baffled, I’ve found myself inventing potential reasons for these results, for example, perhaps the period of warm storage led to a convergence of oxidation such that both beers were affected to the point of being indistinguishable. Then again, if this is true, what about the efforts made by many to reduce oxygen when bottling beers that then get placed in warm boxes and bumped around for days on their way to a competition? It’s also possible certain people aren’t as sensitive to oxidation character as others, which might help explain the data showing a rather strong general preference for the low oxygen beer among those who were correct on the triangle test. Or maybe the beer had some other fault that caused both to be equally oxidized regardless of packaging method. I really don’t know, but combined with findings from the recent oxidized kegging xBmt, I’ve found myself with far more questions than answers.
I absolutely plan to continue exploring oxidation during packaging, admittedly in hopes of confirming my own biases, though open to having them chipped away at as well. Has this xBmt inspired me start filling bottles from kegs with a teaspoon and funnel because it obviously doesn’t matter? Nope! I recently sent some beers to the National Homebrew Competition that were packaged with every effort made to eliminate oxygen pickup, and that’s what I’ll continue to do if only for the sake of insurance.
If you have any thoughts on this xBmt, please share them in the comments section below!
Support Brülosophy In Style!
All designs are available in various colors and sizes on Amazon!
Follow Brülosophy on:
FACEBOOK | TWITTER | INSTAGRAM
If you enjoy this stuff and feel compelled to support Brulosophy.com, please check out the Support Us page for details on how you can very easily do so. Thanks!



90 thoughts on “exBEERiment | Impact Flushing Bottles With CO2 Prior To Filling Has On A Cream Ale”
Would love to see this repeated with a hop heavy beer. From what I understand hops are destroyed by O2 levels.That fact has led breweries to date their cans and bottles with Enjoy by dates on Hoppy beers. I personally will not buy anything hoppy older than 90 days.
It is my perception also, that hop aroma is the victim here. I’m currently moving to using a beer gun for this reason, time will tell if this is justified. Saying that, I’m moving from secondary fermentation in the bottle to force carbonation then bottling, so that may have considerable bearing on the result.
I want to try this xBmt with several styles!
+1 !
my hoppy beers are the ones that suffer the most from oxidation at bottling. Very interesting experiment anyways 🙂
It would be interesting to see if you got similar results with a NE IPA, IME these are much more succeptible to the negative effects of oxidisation than beers with less rediculous hop levels!
I am brewing one tomorrow, so I will try to make it a point to run a bottling test on some of it.
Is it possible that you used “oxygen absorbing” caps, and they worked really well?
Or really badly…!? Because these beers tasted the same.
Surely three weeks isn’t long enough to see any kind of difference. Have you still got any left? You might want to redo the test in three months, six months, nine months to see if it becomes more pronounced over time.
I will say that when I naturally carbonate in the bottle it’s a full two weeks to have the whole batch reliably carbed, and three-to-five weeks is prime drinking condition before hop character begins to fade. So testing at three weeks seems rather at the early end, even with force carbing.
In my opinion 3 weeks with warm (68-74F) fluctuations was a good first run. 2-3 weeks delay is about average if you send beers in for a competition.
According to Charlie Bamforth, beer will last 3 months at 20°C, 1 month at 30°C, and 1 day at 60°C. Perhaps three weeks wasn’t long enough.
Fantastic exbeeriment! I hope you saved some of those bottles to test again in 3 months. The three greatest enemies of beer are oxygen, temperature and time. You addressed two of the three (although, your design was great for the time involved in shipping to a competition), as was mentioned above, commercial breweries are needing to address time periods greater than 3 weeks. Kudos!
Agreed. 3 weeks is not long enough. The significant difference would be dissolved co2 volume with the two bottling methods.
Same thoughts here. My Chemist girlfriend’s immediate reaction was: “that’s a very short period to see any oxidation”. I think time will be an important variable here.
Really interesting results. Makes me feel good about the entries I just submitted to my first comp w/ just a growler filler since I’m waiting on my beer gun.
Curious if the results would be different if you let the samples sit longer than 3 weeks? Bottles (at least w/ me personally) get squirreled away and forgotten about more often than not as I move on to the next keg. Maybe 3 months would have a more significant impact than 3 weeks?
Another though. I just finished re-reading the kegging oxidation test and something struck me. I wonder if your process, including fining/cold-crashing are having an impact on these results? Since CO2 stays in solution much better at cold temperatures I’d be curious to see O2 during packaging testing done again w/o temp control/cold crashing.
Not criticizing at all here, I think these additional questions just prove how cool and interesting these studies/results are!
I’ve always read that oxidation takes about 8-10 weeks to take hold, so I agree, 3 weeks isn’t going to show a difference.
Interesting stuff. I fill bottles and growlers from my Intertaps using a length of 3/8 OD Valspar beer line and an o-ring. I remove the nozzle feed the beerline through and slide on the o-ring above the nozzle to stop air ingress and reattach. I also drop the pressure way down before filling. It seems to work very well for me – but I don’t regularly keep the bottles longer than a month or two. Growlers are drunk within days. Beers I plan to keep / age I bottle condition.
Outstanding exbeeriment! Really awesome to have the dissolved oxygen data to confirm the bottling method did in fact matter in an objective measure. Certainly made me feel better about my beer gun purchase 🙂 Also appreciate your checking O2 levels against the tube and stopper method. Guess those we don’t need no stinking beer gun are on to something too.
I’m curious about your mention that it is important to measure quickly as the beer will eat the oxygen. It would be interesting to see oxygen levels at some later time points. Especially say 24 hours after packaging. Would this be different for filtered beer vs non-filtered beer? I’d always understood the oxygen scavenging activity of the yeast only occurred in refermented beer and should not be factor in your research. As I think about it perhaps you were mainly interested to see the difference between the shaken and non shaken bottles. Over time these would come together as the O2 in the beer reaches equilibrium with the O2 in the head space (shaking is supposed to get you to that point quickly).
My understanding is commercial brewers seek to achieve very low dissolved oxygen levels in order to reach a shelf life of 120 days room temperature storage for light american lagers. That time period may just not be relevant to most homebrewers.
Finally on the hoppy beers comment above…yes that is interesting question that would be interesting to see.
Hopefully you saved some and can try them after six months in the bottle. That would be worth hearing about…
I second this suggestion! I think you may see larger effects with longer ageing.
Very worthwhile experiment. I’m especially happy you had the third option of bottling with the picnic tap, tube, and back pressure plug tested. It was very interesting to see how much even that improved the amount of oxygen in the beer. Still very surprised by the perception results, but good data to have regardless.
It seems that most of the results of Brulosophy brews result in undectable differences. How many experiments have yielded perceivable results?
It would be interesting to combine a few of the non significant experiments and see if that would be detachable.
Over 30% have been significant. Stacked variable xBmts on the horizon 🙂
I had the exact same thoughts. I didn’t see your post before posting essentially the same thing.
I started tracking this to try and answer this question (which I see Marshall answered) but you may find some of the data interesting. Hasn’t been updated for the last 6 months but still interesting. https://docs.google.com/spreadsheets/d/12aP1PEdTf2EIhuer0n_ewOCRhvo4fhkWJNf1hEuGs_w/edit?usp=sharing
Thanks. I’ll look it over
in many cases it is because the samples are tasted so soon after brewing
I blame the yeast for O2 flavor leveling effect. I just tested my poor bottling habits by putting two bottles directly in the fridge after capping (primed, bottle conditioned for carbonation). Beer conditioned two weeks at 68 degrees then chilled is delicious, beer directly in the fridge is nasty. I figure its the yeast’s ability to “use up” the O2 that matters and the cold shut the yeast down.
Would love to hear if anyone else that bottle conditions for bubbles has a similar result.
Maybe O2 is much more important when the yeast if removed from the beer?
This is a very timely experiment. I got my results back yesterday for a competition in which I submitted a Hefeweizen bottled from the keg using the tube and stopper method. I bottled on Wednesday, submitted on Friday, and the beers were judged Sunday. I’ve had a lot of problems with foaming from this batch–I think it’s overcarbonated (I burst carbed and left it on high pressure for a little too long), but there may also be some issues with the fittings.
Anyway, my score sucked (24) and the comments noted significant oxidation. Straight from the keg, the beer is definitely better than that, and as of a week and a half or so ago I didn’t detect any oxidation. The wrinkle is that I’m dealing with a sinus infection and literally can’t smell or taste anything at the moment, so until I can share some with a friend I have no way to know if it was an issue with my bottling or if something bad is happening in the keg.
As some of the comments above have stated, what about time? I don’t think I have ever read anything on how fast a “high oxygen content” beer will spoil or how long does it take for oxygen to affect beer. I know a lot of us try and get the freshest beers we can, but could the impact of oxygen take too long for most homebrew to be affected? Could it be that most of us either store our fresh brew in kegs in a keezer or bottles in a beer fridge that the effect of oxygen is retarded? I would really like to see a potential timeline on when oxygen affects beers. I know most of my homebrew lasts 2 weeks to 6 months depending on what it is. I also second a test on a hoppy beer….
I agree more testing needs done.
Interesting. A couple of questions: First, why a 45 second purge for each bottle? I think my instruction sheet says something like 3-5 seconds and after filling, purge headspace with quick burst. Also, why a stopper in the bottle while using the BeerGun? I’ve only used a stopper when using the picnic tap method with a piece of bottle filler jammed in the end.
Because I wanted to! 😆
A quick 3 to 4 second burst may displacement some air, but I wanted to do all I could to get the 02 as low as possible for this xBmt.
The stopper helps reduce foaming when I do super high carb beers (Berliner, Belgians, American Light etc). And – I have been working a method to package via a deaerated water purge. Fill bottle with deaerated water, displaceme with CO2 or N2, then fill.
Always trying new things in my lab…. eeerrrr garage.
Good to know! Do you drop dispense pressure on keg when using the stopper and BeerGun?
Yes. I drop to as low as I can while maintaining seal. Say 2-3 psig. Then then see how the beer flows, sometimes I have increase the pressure to 3-5 psig, I use a 15 ft hose. Then I drink that beer! 😊 Purge the bottle then fill.
I noticed you added a rubber stopper to your beer gun. Any info on this? Do you find it beneficial this way compared to simply blasting with c02 and filling without the added rubber stopper?
Thanks
I don’t know if it’s better or not yet then using no stopper. However, I do notice on my highly carbonated beers, with a little bit of back pressure, it seems to help keep the foaming at bay. It’s only a tiny bit of back pressure because once the pressure gets high enough it’ll actually leak through the internals.
Initially started experimenting with the stopper because I was working on a method of doing a complete water purge of the bottle.
Is it possible that residual yeast ate up the added oxygen in the picnic tap samples? OR were both samples oxidized?
While I have never tried long term storage… the 1-3 months that I have left my keg filled beers (using the we don’t need no beer gun method) have all been fine by my taste and those I have served them to. Picnic tap with a bottling straw pushed in (removed the tip so it was really just a straw), a stopper and low pressure work for me, and to make it even better its basically free since most of what I used came with my original starter kit, or at least cheap for most. It’s also very easy to clean before and after.
I’ve made it over my schwarzbier, directly from my picnic to bottle, and still the beer comes out very tasty more days later.
You should go all Mythbusters – turn the dial to 11, and actually purge the bottles with O2 from an oxygen tank. If you can’t tell the difference between bottles purged with O2 and splash-filled, and those purged with CO2 it would make a bit of a statement.
Fun idea.
i can guarantee you wouldnt notice any difference until aging for a couple months
Really? Guarantee.
Do you think that the residual yeast bottled with both beers could have mitigated the effects of oxygenation by consuming the O2? I heard from a brewmaster that this was the original reason that Sierra Nevada bottle conditioned their beers. Supposedly they initially didn’t have a setup to do conterflow bottling. So I would propose that oxygenation at bottling matters most for filtered beers such as commercial brews, as there is no residual yeast to consume the O2.
I’ve noticed that my beers with even large amounts of late addition hops have almost no hop flavor after fermenting, which I am attributing to oxygenation in my brewing process.
This negative result is somewhat perplexing because of other experiments showing significant results with different fermentation chambers, which were ascribed to the oxygen permeability of the chambers. I would really like to see O2 levels measured after fermentations in different chambers (HDPE bucket, PET carboy, glass carboy).
Why not flush with CO2 before filling from the picnic tap? You’d get results similar to the Blinkman gun. http://farm5.staticflickr.com/4060/4523805214_31fd4f0969.jpg
I agree, Tasty. That is an option as well. This was an attempt to elicit a delta via more O2 vs less O2.
I would have used just one of the filling methods with and without CO2 flushing to take the variability of the methods out of the experiment.
i’ve been bottle carbing my all grain batches for 4 years now and fully agree with onesecondglance.
These experiments would be 100% better if they posted the experiment details on reddit BEFORE they brew it. The feedback would fix a lot of the oversights. good shit though. I’d rather have it than not, so props to the team regardless.
I kind of disagree on this point, I think the experiment was pretty well thought out. The main criticisms are length of time and style, which are frequent for a lot of these. If they went with 6 months and a highly hopped IPA, there’d be comments on how everyone knows you need to drink IPA’s in the first few months. The beauty of this experiment is it doesn’t require a special brew day-they can repeat this literally any time they brew (Not that I expect them to). The part I appreciate about this also is the focus on what homebrewers might actually do.
That being said, I’d love to see an experiment comparing bottle carbonation versus force carbonation & bottling. I’d like to see if it would make sense to bottle condition some beers if I know I’m going to enter them in a competition.
Bottle carb vs keg bottle fill is definitely a desire of mine as well!
“After 3 weeks in my laundry room…”
It’s likely there was a second fermentation during this period if the beer hadn’t fully attenuated. It’s not always true that a beer has attenuated after only a week or so. Getting the same hydrometer readings on two consecutive days doesn’t prove fermentation is over – it merely show that the fall in gravity over 24 hrs is too small to detect. As simple sugars are exhausted, yeast begin to metabolise higher molecular weight carbohydrates but with ever diminishing activity. This continues well after the first week or two.
A second fermentation would consume the O2 and result in two very similar beers.
Malcolm-
Did you have problems with proper head space in the picnic tap version?
That’s personal!
But no. I just figured out the right flow rate (pressure) and then throttled twd the end to foam.
The effects of oxygen in beer is a time factor. Low oxygen extends the shelf life. But you know that yourself. 3 weeks might be enough but at warm temperatures for premature aging. At what temp was it? How about real time aging.
68 ish to 74 ish. It was a laundry room so temp fluctuations.
Malcom, were the bottles that you filled chilled or at room temperature?
Room temp.
“Or maybe the beer had some other fault that caused both to be equally oxidized regardless of packaging method.”
Bingo- both were oxidized at packaging would be my guess.
Hi,
Noticed that O2 content units were ppb (1000 times less than ppm).
Quite low O2 content in both samples (less than 0.5ppm)!
Magic!
Would love to see this one done with more replications. Could also continue with various variables, such as continued warm storage time.
Sidenote, did you also take O2 measurements at the point of sampling?
Lastly, I would like to see a comparison between the beer gun and a true counter pressure filler.
Do you think the lack of oxidation off flavors might have anything to do with the relatively small volume of the beer’s surface actually exposed to oxygen?
Or could it be both beers were equally a oxidized?!
can you keep some bottles and report back after 1 month, 2 months, 6 months? the effects of oxidation on flavour take time.
Some commercial breweries are adding yeast to their beer before packaging to absorb any remaining oxygen and extend shelf life. Your beer may have enough active yeast going to absorb the oxygen in the bottle.
That is very possible and something I considered.
From my experience, I don’t think that the yeast absorbed the oxygen in the bottle. A couple months ago I split a batch of Azacca/Cascade Pale Ale with a friend. I poured the priming sugar into the bottom of a CO2 purged keg, racked on top of it through the dip tube, re-purged the remaining headspace, swirled the keg a bunch to mix the priming sugar up, and bottled 1/2 of the batch into 22oz bottles using a Blichmann beer gun (but w/o any CO2 purging–I figured the yeast would take care of the oxygen). I then let the keg and the bottles naturally condition for a couple weeks.
The beer from the bottles was noticeably oxidized and a couple SRM darker than the kegged beer. The bottled beer wasn’t bad, but in a head to head comparison you could clearly tell the difference between the keg, which had virtually no exposure to oxygen and the bottles, which had minimal exposure–but enough to make a difference.
It’s just my guess, but I think that this experiment would yield statistically significant results with a much hoppier beer.
A couple of thoughts:
Do you think no pre flush, fill with BeerGun then flush the headspace would be adequate? I ask because a brewing buddy has just bought a keg and BrewGun, and this seems to be working for him. Though his stock is all gone <6 weeks after brewing so maybe not long enough to gauge.
Also, if you can chill the bottles in a freezer before filling, there's no foaming so no need for back pressure.
I'm still on the fence about forced carbonation vs bottle conditioning; the former is far more convenient for serving but seems to take far longer.
For what it’s worth, at the brewery we ran some testing on a very common 6 spout gravity filler one day after bottling and found up to 1500 ppb in some bottles.
We never have any oxydation issues with non hoppy beers, but at best our IPA loose significant aroma and flavor the first 10 days after bottling. Past that point we don’t notice change in aroma until 12 weeks after bottling. While still being good beer, it’s frustrating to see that hoppyness fade!
At worst, in the past we’ve got massive stale hop flavor and a significant dark hue develop (in a 100% pils grist) in just 2 weeks.
After we began adding fresh dried yeast before bottling it diminished and standardized the oxydation effect across one batch’s bottles.
I agree with all the comments that this would be more interesting both with high-hop beer, and with longer aged beer.
Also, I wanted to rebut the ‘stored in my warm laundry room to somewhat simulate the conditions a beer might undergo when sent to a competition’ line. I’ve run several competitions, and we try SUPER hard to make sure beers are kept chilled. I believe most competition organizers do as well. I won’t run a competition unless there is sufficient cooler space to make sure everything goes right in as soon as received, and stays there until the competition. In fact I’ve had the opposite complaint: “I thought it would finish bottle conditioning in your storage”
Of course the conditions during shipping will not be great.
Rebut all you wish.
I am also involved in several local competitions to varying degrees. I know SOME are able to store cold, and yet many do not or cannot.
For example, when we help comps and a few local breweries, they acted as a drop off location. They were generous enough to hold entries in their chiller. Very cool.
Other times drop off locations are at a few spots around town, as such, people may have to pick them up and bring them to the bottle sort location. They do so maybe once a week, sometimes not until a few days before the comp. In the case of the later, if the beer arrived on day one of the drop off window, and was not picked up until a few days before deadline – 2 to 3 weeks warm.
They can be stored in a basement, in someone’s house, at a LHBS’ storage room, in a garage – you name it. I am certainly not fully aware of how everyone does it at all locations all over the country, but I’ve been involved in comps for several years now, to include 3 NHC first rounds. I know of at least three NHC First Round locations where the beer was not stored cold – for weeks!
So, my aim was to “somewhat simulate” conditions a beer MAY encounter and did do using an exaggerated worst case scenario.
Interesting! I also fill bottles like you do, but instead of tubing I use an old disassembled bottle filler wand with rubber stopper (in which I drilled a tiny hole to slowly release the pressure building up inside). It really works great. And this experiment made me trust my bottling process even more.
One question for you Malcolm though: when the O2 measurement showed a 45 ppb with this method – how exactly did you do it? Did you produce a layer of foam at the beer surface, and then capped on the foam? I think this is the cheapest and easiest way of protecting the beer from O2 without to much hassle.
Flushed/ voided with CO2, filled to near top, as the tip of the wand is leaving the beer I give a light tap of CO2 which causes foaming. I have the cap and capper at the ready. Cap on foam.
awesome XBMT, thanks for doing it. I guess I’ll stick with my picnic tap+plastic hose for now. I wonder if maybe the yeast were still active enough to consume the oxygen? or maybe it would be more noticeable on higher gravity beers? I would have thought you’d get a stronger reaction with just the picnic tap.
Me too! Maybe more time? Or higher temp? Or different beer?
Stick around and another trial should pop up!
I’ve worked packaging in a micro and now am working a bit with imported packed products and I think the obsessive attention to oxygen is because breweries need their beers (mostly hoppy) to stand up for months! I have bought local hop bombs that came out dark and flat due to packaging issues and the difference between draft and what I had was massive. But these had likely sat for over a month. It is in the imported beers that I really notice a difference. The king of hoppy beers that last is the can conditioned SN Pale to my mind. No light and live yeast seem to make a difference. You could compare bottle conditioned with picnic tap and after a month I’d suggest it would be an interesting comparison.
I have witnessed flavor degradation much more rapidly than that. Especially when shipped and stored warm. But I will certainly be doing more experiments.
Dude, you could have at least tried this Exbeeriment with a hoppy IPA. Hop oils are probably the best way to test this one
Hop oils in hoppy beer are ANOTHER way to test oxidation, not the BEST way.
A delicate beer such as cream ale (essentially a light or standard lager) is a perfectly good candidate.
Other tests – different beers, time duration, storage length – would also be nice to run as they would potentially test different aspects of O2 and aging as well as add to data.
A few days is not long enough to cause staling/oxidation. Give it a few weeks in warm temps to accelerate the process. Plus, try it on a hoppy ale. You’ll definitely notice a big difference. Really should have tried this one in a darker beer at least
Harrumph.
One – for every 10 degree C, most reaction rates occur at 2-3x faster. So, the duration for the experiment, and at those temps, we should have experienced rapid oxidation.
The next two statements contradict each other. Hoppy OR Dark? Which one?
In reality – both. Both are good, in fact, just as good as the beer used, but no better or worse. The beer used is a delicately flavored beer giving the variable a chance.
A hoppy beer could have (WOULD HAVE), if the result was also non-sig, been accused of “covering up any differences due to extreme hop character”. Had the hoppy beer been sig – then people would ask for a pale lager or pale mild ale (Blond, Cream, etc).
A dark beer is said to be more antioxidant – could be. But even if it isn’t, due to the increased flavor “noise” any small difference may have been potentially harder to discern. Lower chance of a significant result IMO. Had it been non-sig – people would have called for hoppy and or pale lager/ pale mild ale.
The beer chosen was perfect. It was perfect because it showed a result for THAT types of beer under THOSE conditions. That is all. No further claims were made. Other experiments ALSO should be run however. But that is almost always the case IMO, as it increases data points and tests the variable (and panelists) under different conditions.
Did you consider that any remaining yeast and unfermented sugars could be converting the o2 into co2 in the few weeks before tasting, in commercially fined beers with no yeast to do this the impact would be greater than homebrewed beer.
Just a thought
Perhaps I missed something. What do you mean by “shaken” versus “non-shaken” samples? I don’t think you mentioned this in the article.
Great question. Pardon the confusion.
It’s part of the TPO measuring process.
You take a few readings on a bottle’s headspace immediately after filling.
You also take a few readings, immediately after filling, AFTER you shake the bottle up for some predetermined amount of time.
https://tapintohach.com/2013/09/30/tpo-the-importance-of-shaking-packages-when-using-a-dissolved-oxygen-monitor/
This can be found in the right-hand margin of the above link as well.
https://tapintohach.com/2014/03/18/dissolved-oxygen-in-beer-how-it-compares-to-total-package-oxygen/
So few hops were used in this style I’m not surprised that you couldn’t taste the difference .The obvious choice would have been a NEIPA.
I have always been of the opinion that the kegged beer has CO2 in it already and also liquid. I then determined that liquid will disperse any gas since it has more density. The CO2 present in the keg just won’t make a difference. Since I now have a Cannular Canner, Kegged beer and Blichmann Gun, I could do a small experiment. Today I canned some 500ml beer cans with Irish Stout, Scottish Ale and Barley Wine. (6 of each). No purging was done and I am sending 4 cans of the beer to my sister in Idaho. That’s a week in shipping and handling. I bet she doesn’t get an oxidized beer. *Yes, I know this is not even close to scientific, but it could be one method to put in the books**
The Blichmann beer gun is a bad design
Unless this was filled to the brim and capped on foam there is O2 in the headspace in both bottles.
Both are probably equally oxidized