Author: Jake Huolihan
The most common way for new homebrewers to take their beer from flat to fizzy is bottle conditioning, a simple method that involves dosing fermented beer with sugar then leaving sealed bottles alone while the yeast convert the sugar into CO2, which then gets absorbed into the beer. This is how I started out, it was fine at first, but after the novelty of wore off, I began to loathe the packaging process. Messy, boring, labor intensive, time consuming, not to mention the horrible task of cleaning 50 bottles for every 5 gallon batch. It simply wasn’t for me and so, less than a year after I started homebrewing, I bought some kegging equipment, a move that made packaging a task I abhorred to a mere annoyance and is likely responsible for keeping me in the hobby. Immediately after making the switch, I noticed an improvement in the overall quality of my beer that included more consistent carbonation, clarity, and in my opinion, flavor.
Having all but sworn off bottle conditioning, I recently became intrigued by its extensive use for particular styles of beer by respected professional and homebrewers. Based on snippets from various interviews, I’ve learned these natural carbonation adherents believe bottle conditioning has a qualitatively positive impact on the character of the finished beer. I initially viewed this as absolute rubbish, then I thought about it. Perhaps there is some benefit, for example, from the active yeast in the bottle scavenging available oxygen and thus retarding the staling process. Still, as a core concept, I struggle with the idea the carbonation from bottle conditioning produces a perceptibly different character than force carbonation– CO2 is CO2 regardless of the source. With increased curiosity, I shelved my hatred of the bottling process for the sake of learning and decided it was time to put this to the test!
| PURPOSE |
To evaluate the differences between force carbonation and bottle conditioning in beers of the same recipe.
| METHODS |
A style commonly cited as benefiting from bottle conditioning is Saison, so I thought it most appropriate for this xBmt, and having entered our friends’ 2nd annual BrewUnited Challenge, this beer would end up serving two purposes.
BrewUnited Saison
Recipe Details
| Batch Size | Boil Time | IBU | SRM | Est. OG | Est. FG | ABV |
|---|---|---|---|---|---|---|
| 5.5 gal | 60 min | 29.2 IBUs | 4.9 SRM | 1.052 | 1.012 | 5.3 % |
| Actuals | 1.052 | 1.006 | 6.0 % | |||
Fermentables
| Name | Amount | % |
|---|---|---|
| Pilsner (Weyermann) | 3.5 lbs | 33.33 |
| Wheat - White Malt (Briess) | 3.5 lbs | 33.33 |
| Vienna Malt (Weyermann) | 3 lbs | 28.57 |
| Caravienne Malt | 8 oz | 4.76 |
Hops
| Name | Amount | Time | Use | Form | Alpha % |
|---|---|---|---|---|---|
| Hallertauer | 57 g | 60 min | Boil | Pellet | 2.7 |
| Hallertauer | 30 g | 30 min | Boil | Pellet | 2.7 |
| Hallertauer | 15 g | 5 min | Boil | Pellet | 2.7 |
Yeast
| Name | Lab | Attenuation | Temperature |
|---|---|---|---|
| Belgian Saison I Ale (WLP565) | White Labs | 70% | 68°F - 75°F |
Notes
| Water Profile: Ca 41 | Mg 5 | Na 8 | SO4 66 | Cl 42 |
Download
| Download this recipe's BeerXML file |
A few days before brewing, I prepared a traditional starter using my preferred yeast calculator at the ale pitch rate.
I collected my ingredients and water the evening prior to brew day, then woke up early the next morning and immediately began heating my strike water.
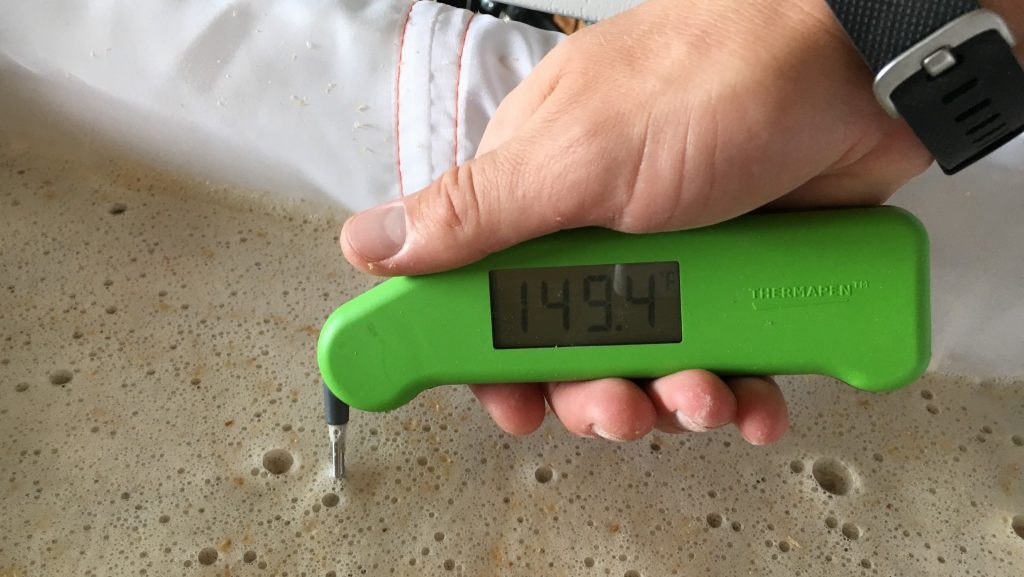
After water was to the appropriate temperature, I mashed in my crushed grains with the proper amounts of minerals and acid to achieve my desired water profile. A temperature check revealed I was right about where I wanted to be.
Following a 60 minute rest, I collected the first runnings and performed a simple batch sparge.
The wort was boiled for 60 minutes with hops added at the times listed in the recipe.
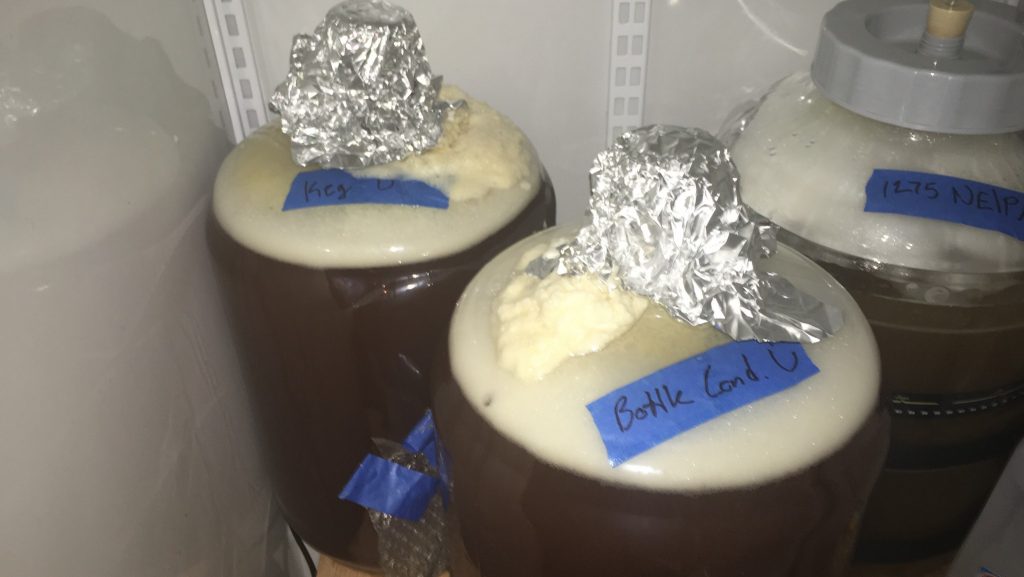
At the end of the boil, I quickly chilled the wort before splitting it evenly between a pair of 6 gallon PET carboys that were placed in my fermentation chamber to finish chilling to my preferred fermentation temperature.
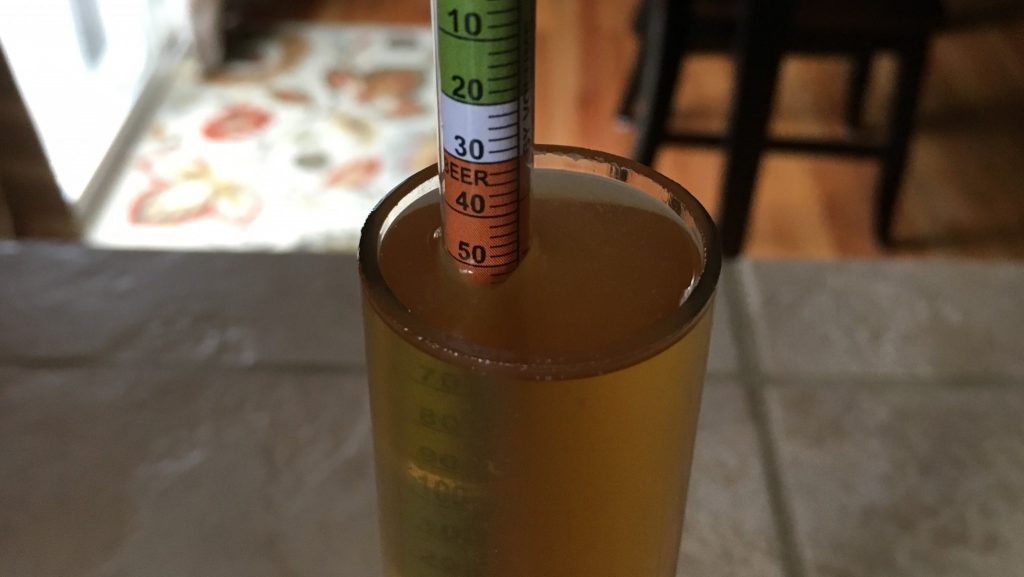
At this point, I took a hydrometer reading showing the wort had indeed hit the predicted OG.
The following morning, both batches of wort had stabilized at my set temperature, so I split the decanted start of yeast evenly between the carboys then hit each with a 60 second dose of pure oxygen.
At 12 hours post-pitch, both beers had taken off.
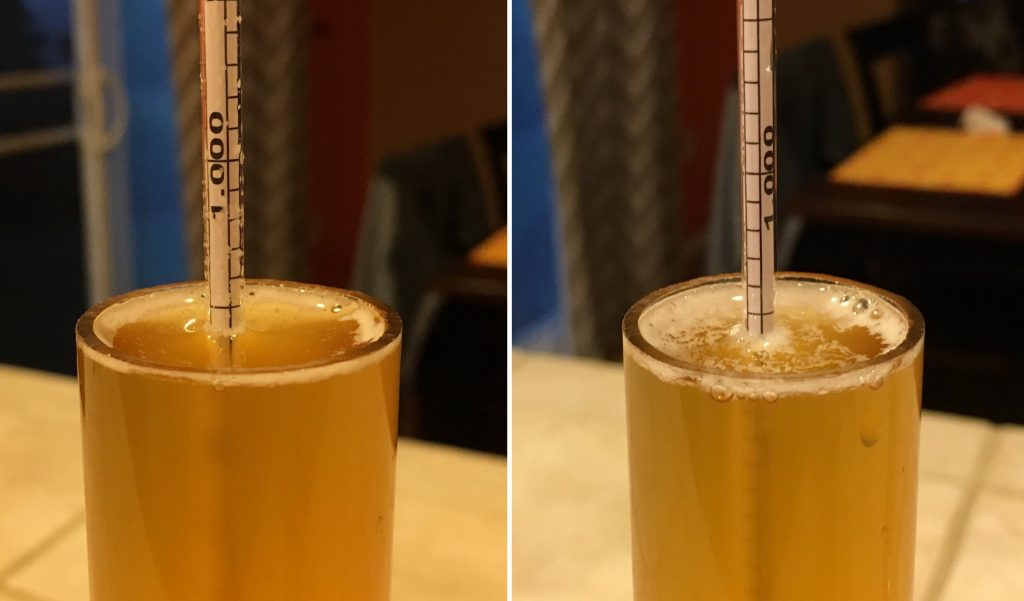
I began gently ramping the temperature up after 24 hours of active fermentation, ultimately reaching a peak of 72°F/22°C a few days later in hopes of encouraging complete attenuation. I took an initial hydrometer reading at 2 weeks and found both beers were sitting at the same 1.006 SG, a nice site to see since I used a strain known for stalling. I checked again a few days later and observed both batches to be at the same SG, indicating the beers were done fermenting.
Consulting with the crew, we decided against cold crashing and fining with gelatin since the style doesn’t necessarily call for it, plus I had an inkling judges for the BrewUnited Challenge might frown upon a crystal clear Saison anyway. Time for the fun part! I wasn’t interested in bottling 5 gallons of beer by myself, so I solicited the assistance of my friend, Dave, promising him beer in exchange for his help with this laborious task.
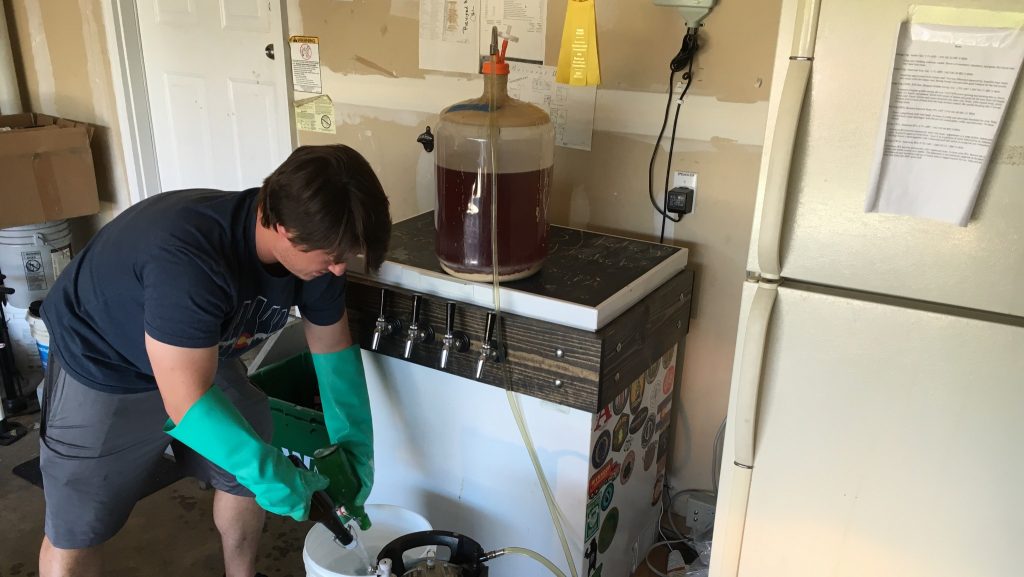
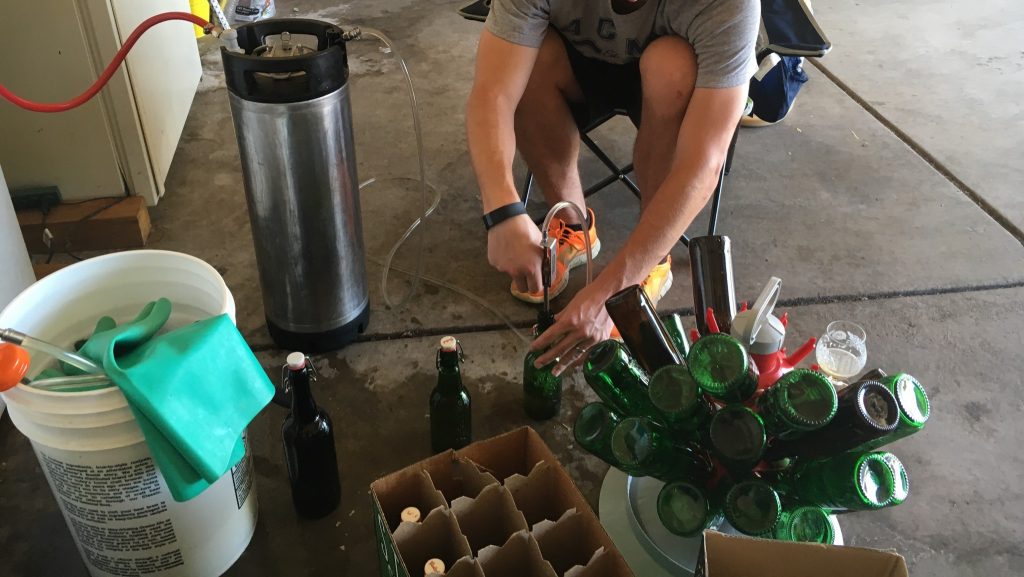
In order to minimize the impact of as many extraneous variables as possible, both beers were initially racked to kegs, which we reasoned might reduce the risk of contamination or oxidation of the bottle conditioned batch. The force carbonation keg was placed in my cool keezer where it was connected to CO2 and set to carbonate slowly; the other beer was racked on top of a priming sugar solution before being pressure transferred with 1 psi of pressure to sanitized flip-top bottles via my Blichmann BeerGun.
With 49 bottles of beer in the box, we were finished. I was quite impressed with how well it all went and would definitely recommend those who have the gear trying it out! The filled bottles were left in a dark area of a bedroom that maintains a consistent 74°F/23°C to carbonate for 2 weeks before being chilled.
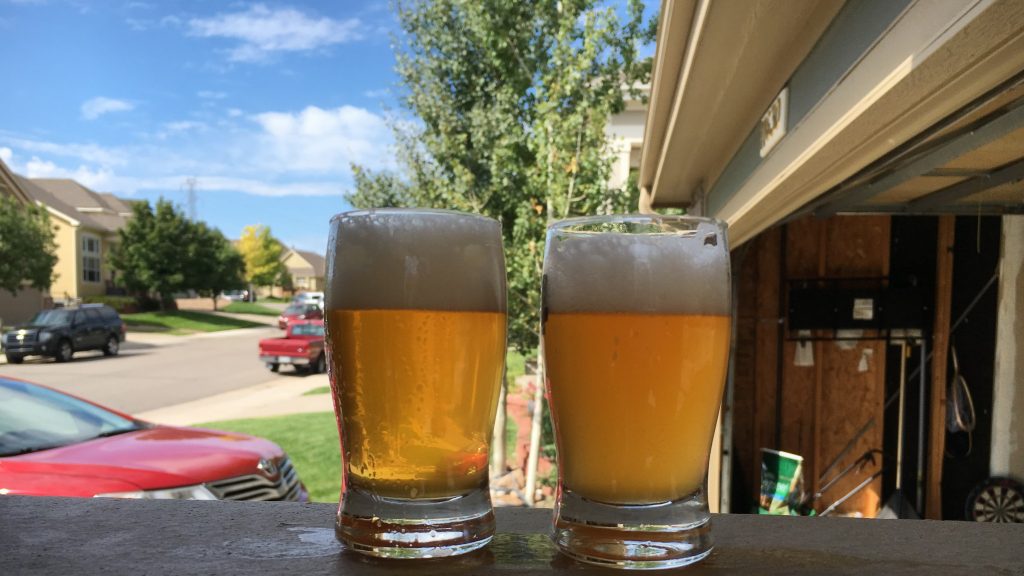
When it came time to have the beers evaluated by tasters, they were both well carbonated though didn’t share the same appearance.
| RESULTS |
A panel of 26 people with varying degrees of experience participated in this xBmt. Each taster, blind to the variable being investigated, was served 2 samples of the bottle conditioned beer and 1 sample of the keg conditioned beer in different colored opaque cups then instructed to select the unique sample. In order to keep things as equal as possible, the force carbonated samples were bottled prior to being served to participants, even those who completed the evaluation at my house. Given the sample size, a total of 14 correct selections (p<0.05) would have been required to achieve statistical significance, yet in this case only 12 tasters (p=0.12) chose the different beer, suggesting participants were unable to reliably distinguish a beer that was bottle conditioned from one that was force carbonated in the keg.
Since statistical significance was not achieved, the following data on taster preference ought to be interpreted with caution. The 12 tasters who were correct on the initial triangle test were instructed to select which sample they preferred, all still blind to the nature of the xBmt. The force carbonated sample took 6 votes while the bottle conditioned beer was preferred by 4 tasters and 2 people had no preference despite perceiving a difference.
My Impressions: I have to believe my knowledge of the variable combined with the fact I tasted these beers many times throughout the process is at least partially responsible for my ability to consistently tell them apart in “blind” triangles. However, it wasn’t as easy as I expected, particularly when left to warm up for a couple minutes. I perceived the bottle conditioned beer as being somewhat more gritty and rustic in flavor, which I actually enjoy in Saison. The force carbonated version tasted fresher and slightly brighter to my tongue, which certainly wasn’t bad, though I did have a slight preference for the bottle conditioned beer in this particular case. Regarding the beer, I’ll be the first to admit I’m not the biggest fan of Belgian styles, especially Saison, as the phenols and esters aren’t all too pleasing to my palate. That said, this one was really good! I’ll likely never make it again, but I found brewing to the constraints required for the BrewUnited Challenge was fun and refreshing. I look forward to seeing how this beer stacks up to others. Fingers crossed!
| DISCUSSION |
I’m equally as surprised this xBmt failed to achieve significance as I am by how similar the bottle conditioned and force carbonated beers truly were. Considering the fact the bottled beer sat at 74˚F/23˚C for two weeks while the force carbonated beer was in my 34˚F/1˚C keezer, I fully expected them to taste different enough for people to reliably tell them apart. These particular findings support the idea that a bottle conditioned beer, at least of the Saison style, can be equal in quality to one that is force carbonated, which corroborates the results from our recent xBmt comparing force carbonation to natural carbonation in the keg. Similar to that xBmt, the one obvious difference between the beers in this evaluation was in appearance with the bottle conditioned sample failing to reach the level of clarity the force carbonated batch did.
While I’ve no desire to start bottle conditioning more often, I find these results quite encouraging, particularly for those who may not have the means to get into kegging. I’m also left wondering at what point, if there even is a point, the beers would become more readily distinguishable, particularly whether age would bring them closer together or further apart. Finally, I’m curious the extent to which the impact of bottle conditioning is style dependent– would the results be similar for a Pale Ale, ESB, or German Pils? I look forward to exBEERimenting more with this variable in the future!
If you have any thoughts on the differences between bottle conditioning and force carbonation, please feel free to share them in the comments section below!
Support Brülosophy In Style!
All of our designs are available in various colors and sizes on Amazon!
Follow Brülosophy on:
FACEBOOK | TWITTER | INSTAGRAM
If you enjoy this stuff and feel compelled to support Brulosophy.com, please check out the Support Us page for details on how you can very easily do so. Thanks!




33 thoughts on “exBEERiment | Carbonation Methods: Force Carbonation vs. Bottle Conditioning In A Saison”
While I’ve never tested it in a controlled manner, I’ve always found my kegged and bottle conditioned beers to be indistinguishable from each other. I prefer kegging for obvious reasons, but sometimes I prime in the keg or prime and bottle, maybe if there is a space issue in my kegerator, and they always seem to turn out the same.
Great experiment!
I think certain styles definitely benefit more from keg ging and force carbonation (i.e hoppy beers) mainly becuase they are designed to be drunk fresh.
I brew less than a year. I only bottle condition, because I am from Belgium (:-P), kegging is too costly, and I only brew a maximum of 8l (about 2 gal). I have had three beers (of the twenty brewed) that were not clear, and I could trace it to process problems. The first one was my first all-grain brew, brewed with local tap water: high alkalinity level. This lead to astringency. However, after six months this beer was also clear. The second one was due to sparging with too hot water, the third was due to dry hopping, but! I also had two other dry-hopped beers which did clear, so I presume that in the third one I also used too hot sparge water.
What I also did notice is that moving to a secondary fermenter is not necessary, but it does help when a clear beer is wanted. I discovered this when brewing my own Leffe clone, I had to move from the primary to a secondary because of blow off problems.
Bottle conditioning needs its time, which can be long! I tasted a Chimay Reserve, which someone had found somewhere in the back of drink shop and which was over three years old. One of the best beers I tasted. When I bought the same one and drank it after a month, it really did not have the same taste.
I think the difference in clarity, might be due to the difference in time held at 1’C – two weeks for the kegged batch, and none for the bottled.
I wonder if the bottled batch would drop clear if you held them for two weeks at 1’C like the kegged batch.
I was thinking the same thing, can we get an small update on the clarity Jake?
The bottle conditioned beers were thrown in my fridge after two weeks. Had one yesterday, clear as if fined with gelatin. I have a hunch you’re correct
Cool, thanks man!
I bottle my belgian ales because my draft system won’t let me get the desired high carbonation I desire. Up until now, I always wondered about that adding something that made my saison one of my favorite recipes. Since it is basically the beer I want to drink from Memorial Day to Labor day, I am considering getting a flow control faucet to fix the problem.
just hook up a longer beer line
I love my flow control taps (Perlick 650SS). I only run about 3 feet of beverage line from each of my kegs to the tap, and adjust the flow to whatever resistance I need. Plus I can adjust on the fly, mid-pour if I need to. Takes slightly longer to pour a beer, but the results are immediately evident in the glass.
Interesting experiment. I didn’t find any change in the quality of my beer from bottling to kegging, but I didn’t start to keg until batch #37.
Since one of the possibilities is staling, it would be interesting to test the beers again after a suitable period, six months or a year. Perhaps bottle some from the keg and save for another test.
I prime my kegs if I have time (I slightly under prime, so the last 10% or so is force carbed), I like to scavenge off the O2 for stability, since it takes me often months to drink up a 5 gallon batch. They are cloudier at first but always clean up. I jury rigged a mason jar to inject gelatin through the gas post and that helps a lot. So does cold crashing in the primary and gelatin fining–it’s cheap–why not?– before sugar priming (I let it warm up before kegging and then prime). The process takes about three weeks though, so I obviously can’t always do it. I would have guessed correctly that the taste difference would be minor to indistinguishable, however. What you need to do is let a bottle of each sit 6-9 months and try it again.
Care to detail your gelatin injection setup?
Our contributor Greg Foster regularly uses a syringe filled with gelatin which is injected into the keg using a quick disconnect since he ferments in kegs.
If you look at some of his articles you should’ve able to see it from the pics. Looks like it works very well.
I’m actually pretty interested in this process. Spunding a batch is definitely something to be explored in the future.Thanks for reading!
How do you inject with a Mason jar? I’m also kind of interested in priming in the keg to minimize DO, do you notice much sediment in the keg? Have you shortened the dip tube to avoid picking up yeast?
I don’t keg my bottle conditioned beers. Last one is an old ale (sacc + brett) and it’s been sitting in bottles for six months. One to drink for Christmas. You could expect some difference from compounds left from the active fermentation inside the bottle.
Love to see this xbeeriment done with sour/funky beers conditioned with Brettanomyces and/or other non-Saccharomyces species. There is definitely a perception that bottle conditioning makes a big difference in that case (whether it’s pressure, oxygen ingress, or whatever).
Good exbeeriment + good comments. Bottled beers need chilling to drop out chill haze or they will always be cloudy when served cold.
Bottling is laborious but in some ways more convenient as you don’t have to cycle kegs and can therefore stock as many different beers as you like. It’s easier to ration your drinking as you’re never under pressure to free up a keg for another brew.
Some of the world’s best beers are bottle conditioned, including SNPA and Saison Dupont, so it obviously works. Not so great for hop monsters though as kegs preserve hop aroma better.
I agree.
I’m yet to find a difference, but have just completed my first bottling session of sours.
i have a force carbonated red, and have just bulk primed a bruin, so it’ll be interesting to see what sort of differences there would be. if any.
Maybe i should have used the bulk priming mathod in the exbeerimnet. its quite cleverto use a keg for bulk primingthen transferring to bottles using CO2 pressure.
where as i literally filed my keg with priming solution, and its been sitting for 2-3 weeks in my spare room.
Cool write-up but I gotta say this: No wonder you hate bottling. Your bottling methodology could use a little development. 😉
I triple rinse my bottles just after pouring so that there’s no reason to PBW them. On bottling day, I then simply wash them in the dishwasher on “sanitize.” This only gets my dishwasher up to about 160F so — not quite enough to properly sterilize. So I used to use a vinator to squirt some Starsan in them on bottling day. But one day I got lazy and skipped that. Now, after about 6 sessions of “dishwasher only,” I can confidently say that there is no need to go through the trouble of sterilization unless I’m doing something that’s gonna stay in the bottle for months/years.
I’ve been pondering doing an experiment to see if putting some starsan in the washer would make it into the bottles–just to give me extra piece of mind.
Then you sit on the floor to fill each bottle? Troglodyte! I simply place my bottling bucket over my dishwasher, grab each bottle, fill, and place the bottles on the counter for capping.
In all, bottling takes me about 35-40 minutes.
Yeah, you already have kegs so that’s even less of a PITA. But for those who still bottle, but find it horrible: It can be much less of a PITA if you can streamline the process and eliminate the shitty parts. 😉
Jim, I do just that – put Starsan in my dishwasher. Hit my rinse cycle for 15 minutes then bottle using the open dishwasher door as a bottling surface. I get about 75% coverage (determined by Starsan foam coming out of the bottles when filling). For the others, I have a spray bottle filled with solution. The key, like you said, is cleaning them right after usage. That being said, I only bottle beers that I feel benefit from a long cellering. I stopped bottling my hefe’s this past summer.
I do similarly but use a full (hot) wash cycle with chlorine bleach, nothing of note should survive that and the machine get deodorized as well 🙂
Ha, I guess instead of trying to find ways of making bottling easier I chose a way to make bottling non-existent for me. I personally triple rinse my bottles as well, though I still feel the need to clean them. Could be unnecessary, I’ll likely never know.
You might eventually get beer stone on in the bottom – hold up to light and check. When that happens they need washing with a brush.
Good point. I also never understood why some people hated bottling so much – one just assumes that everyone figures out systems that make it fairly easy. I keg now, but when I bottled I also rinsed and somewhat cleaned my bottles right after pouring. Then on bottling day I just submerged them in Star San and let the dry on the bottling tree. I then rack from the fermenter to a bottling bucket that has a wand. I set the bucket on the counter top, pull up a chair and bottle away. I also have the Ferrari Bench Top Bottle Capper which is super easy to use. All in all it’s pretty painless. FWIW, the two best batches of beer I (think) I ever made were back when I bottle conditioned (an IPA and a rye pale ale) – not sure if bottling had anything to do with it. So, yeah, bottling day doesn’t have to be shitty.
I do bottle prep the exact same way. No problems in 25 years. The one slight difference is on bottling day I sanitize the bottles using starsan, then turn them upside down in the clean, sanitized dish washer. Like you, I place the bottling bucket on the counter above the dishwasher, pull up a chair in front of the open dishwasher door, flip six bottles and rest them on the door, load the beers and set them to the side counter for capping.
How do you pronounce Saison?
Say-zon
S eye zon
Sezon?
I personally say “say-zon” but I’m from Wisconsin originally, so that’s likely wrong, like many things we say.
Sa (as on said) – son
If this is ever up for a repeat, I think it would be interesting to see what happens with English ale yeasts.
There have been a lot of stories about some English ale yeasts doing weird things when bottled, especially 1968. There have even been people who say they’ve taken a single batch, kegged some and bottled some, and within a few weeks noticed the bottles have a thin taste, sometimes with gushers, as though the bottled versions were seeing major new fermentation.
The reports suggest that it’s not an infection — repeatedly, the users see 1968 and some other English yeasts going nuts when bottled but not when kegged, and don’t see similar behavior with other yeasts when bottled. The beer reaches a stable, low FG before bottling, so if it’s incompletely fermented then it doesn’t show the standard signs of it.
I wouldn’t be surprised if the yeast does conk out early only to be revived by something — sugar/oxygen/remixing into solution, but it would be interesting to see if this shows up under controlled and well documented circumstances.
I don’t have a keg therefore bottle condition all my beer. Having said this when I am in a bar I almost always choose bottled beers (and usually bottle conditioned beers as I live Belgian beers) over kegged and definitely cask ales. I find legged beers (and even moreso cask) flatter, warmer, more oxidised and less fresh. This is exactly what a lot of ale drinkers go for. Maybe it’s a case of taste. Also how well did you pour out your bottle conditioned beers? Giving them two weeks at 0 degrees (like your kegged beer had) may have had the lagering / clarifying effect your kegged beer looked like it had
I found that when leaving a bottle at 1°C for a week or two, the cloudiness also drops out. So that might explain the difference in cloudiness between the two samples.
Very interesting experiments man!! Love to read them!