Author: Ray Found
Traditionally, hops were added at three main points during the boil, the timing of which served a clear purpose– bitterness, flavor, and aroma. However, these days, IPA brewers have begun employing various techniques in an attempt to maximize hop character without overwhelming their beer with bitterness. Chief among these is the hop stand, referred to by some as a whirlpool addition, which involves hops being added to the wort at flameout and left to steep for an extended period of time. As most new brewers learn, the amount of time hops spend in the boil is positively correlated with bitterness and negatively correlated with final hop character. Given the amount of time it takes for large commercial batches to chill, it seems logical that desirable volatile compounds could be lost and bitterness gained from large additions made during the boil, hence adding those hops at flameout would allow for more control of these characteristics in hoppy styles.
But I don’t brew on a commercial system. It takes me just a few minutes to chill my wort to 120°F/49°C, and still I, like many homebrewers, have taken to utilizing the hop stand method, faithful to the promise it yields more hop flavor and aroma without excessive bitterness compared to boil additions. This despite claims that whirlpool additions made on a commercial scale are equivalent to 20 minute boil additions on the homebrew scale.
So what gives? Is there actually something to the hop stand method or can similar results be achieved using a less time consuming boil addition? Only one way to find out!
| PURPOSE |
To evaluate the differences between the same beer where one had hops added at 20 minutes left in the boil and the other received the same amount of hops for a 20 minute hop stand.
| METHOD |
I hadn’t had my favorite MACC IPA on tap for a couple months and figured it would be a great recipe for this variable.
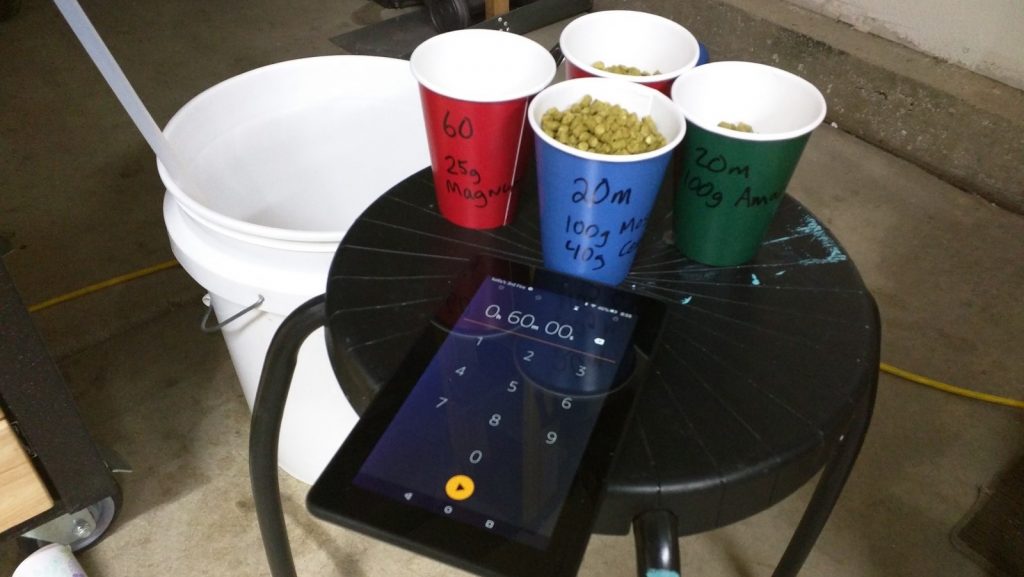
For the sake of this particular xBmt, I made a small change to my recipe by eliminating the small 20 minute dose of Citra I usually toss in, which meant that aside from minor bittering charges of Magnum, all of the hops for each beer would be added at either 20 minutes left in the boil or flameout with a 20 minute hop stand– 340 grams of the same hops were added to each 11 gallon batch.
I started this brew a couple days ahead of time with the making of a couple starters.
I began filtering water through a reverse osmosis system the night before brewing, as it processes at a rate of approximately 3 gallons per hour.
I then moved on to weighing out and milling enough grain for 20 gallons of MACC IPA.
The following afternoon, I began heating strike water for both batches at the same time, as I would be able to chill the boil hop batch while the hop stand batch was steeping. I mashed in consecutively and hit my target temperature for both batches.
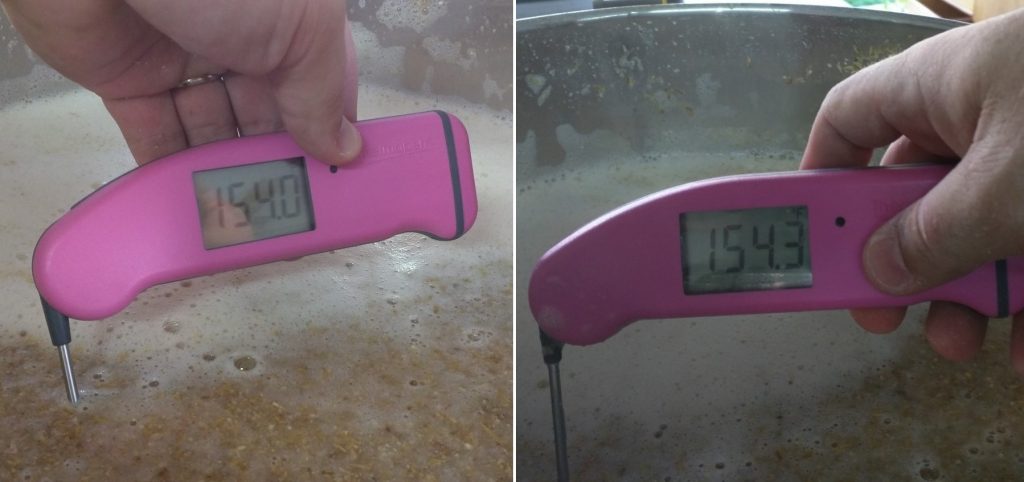
Everything was set just as it was time to leave for my daughter’s T-ball practice, so for the first time ever, I let the beers mash for an extended period of time– 3.5 hours. It actually worked out quite nicely, thanks to the great insulation on my ThermoBarrel’s, I only lost 3°F/1.7°C.
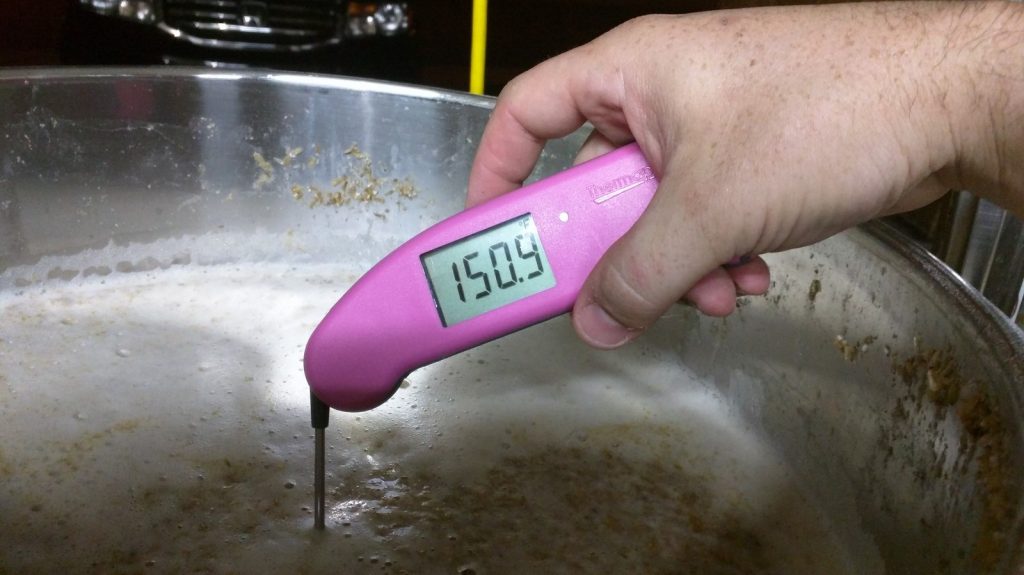
A minor adjustment to my standard batch sparge routine resulted in the collection of a tad more wort than usual…
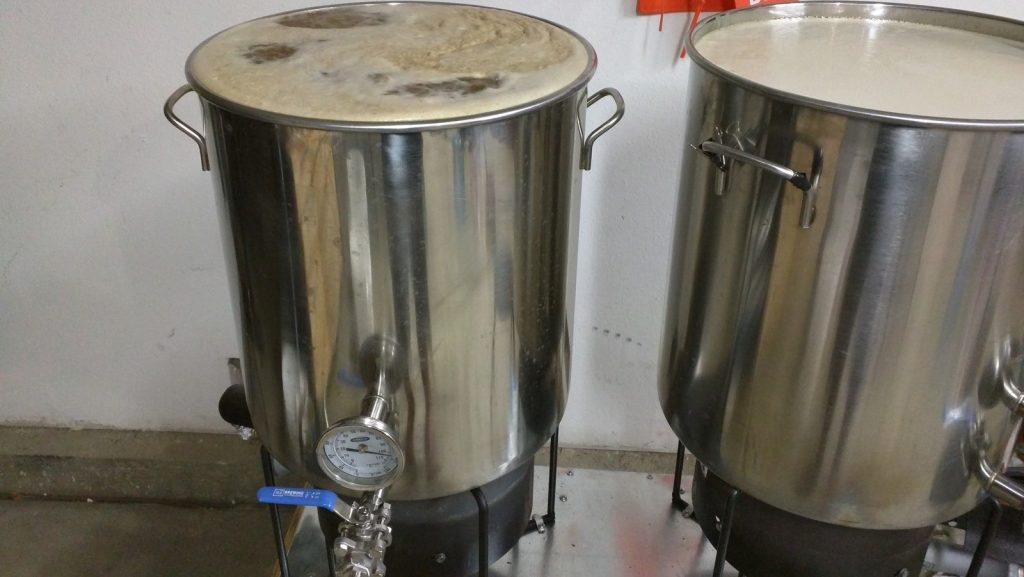
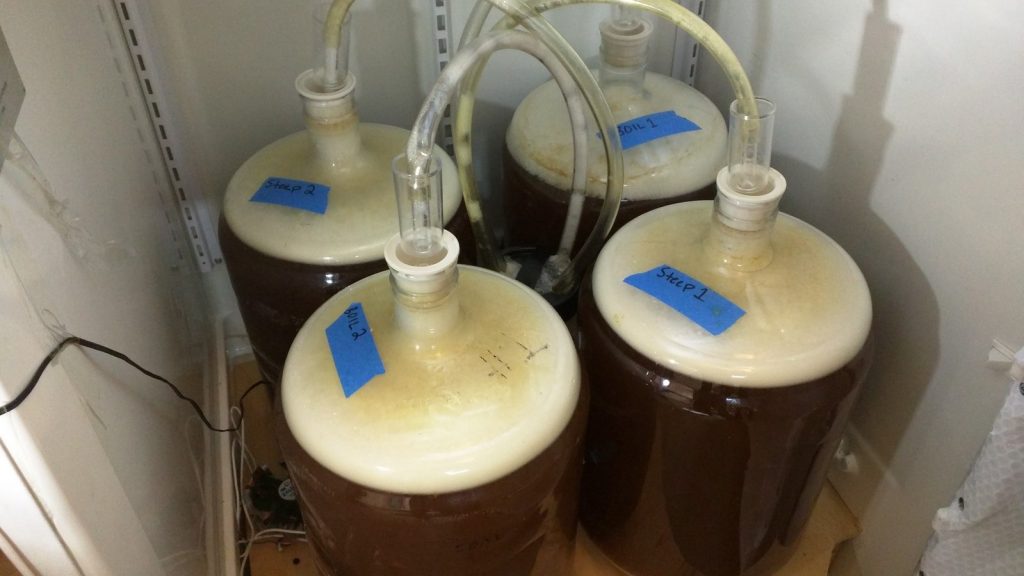
Even FermCap-S couldn’t prevent minor boilovers from occurring in a kettle so full, but it did avert certain calamity. Each batch received a small dose of Magnum up front for bittering and the boiled hops batch was hit with a large dose of hops 40 minutes later.
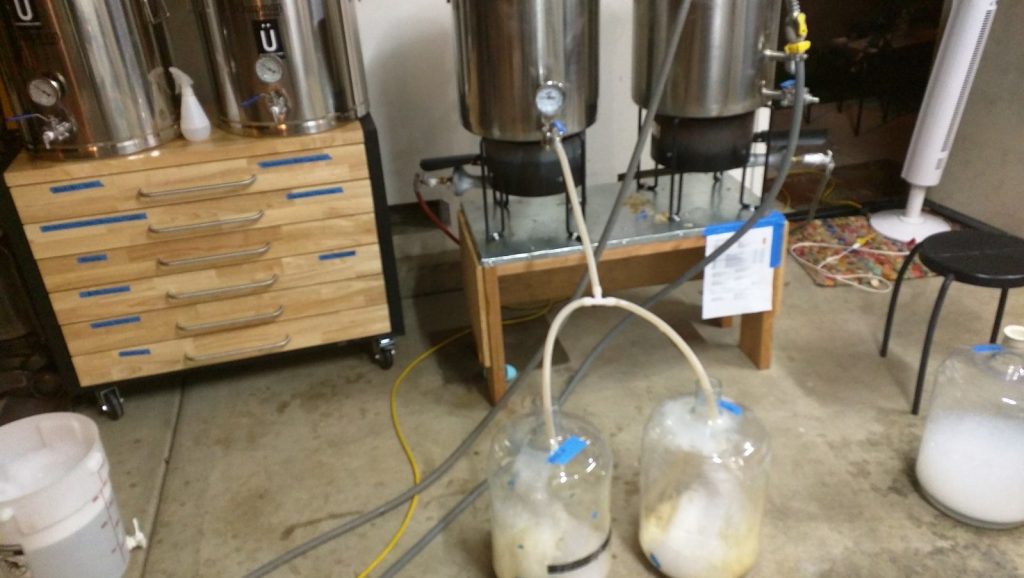
I rapidly chilled the boiled hops wort at the conclusion of its 1 hour boil, finishing a few minutes before the hop stand batch’s boil was complete. Once the timer went off, I hit the flame and added an identical amount of the same hops to the hop stand wort then reset my timer for 20 minutes. During the hop stand, I collected equal amounts of wort in separate carboys from the boiled hops batch.
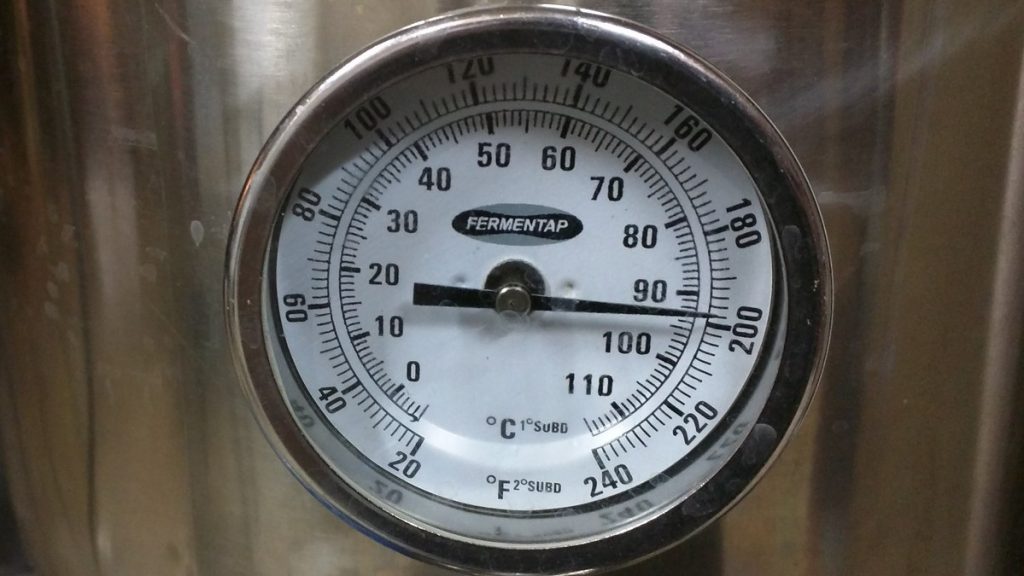
At the end of the 20 minute hop stand, I noted the temperature of the wort was just shy of 200°F/93°C.
I proceeded with the same chilling and carboy filling process as the hop stand batch then took hydrometer readings to discover both worts achieved an identical 1.069 OG.
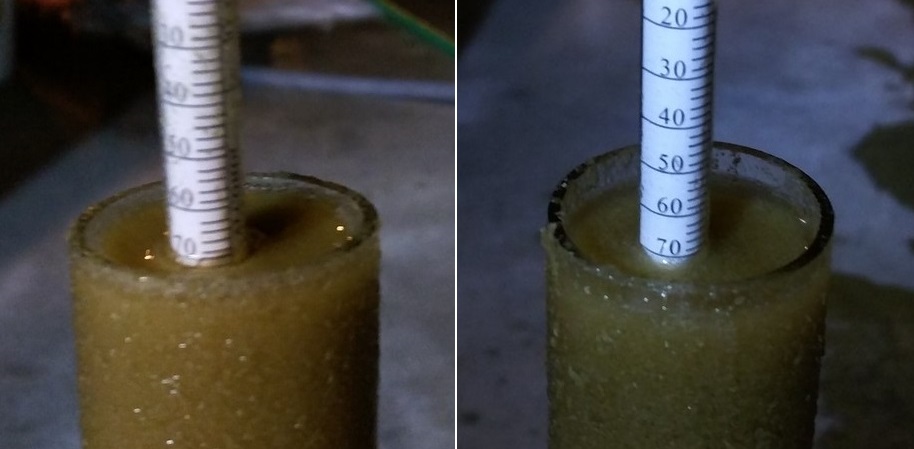
I let my chamber finish chilling the worts to my target fermentation temperature of 66°F/19°C before pitching equal amounts of yeast into each. All of the beers were actively fermenting just 12 hours later.
I returned home after a 3 day work trip to find the fridge I ferment in died at some point during my absence and my fermenting beers were approaching 79°F/26°C. I took some solace in the knowledge they began their journey at my cooler target temperature and was hopeful the excessive heat wouldn’t have much impact. We haven’t put WLP090 San Diego Super Yeast through a fermentation temperature xBmt yet! Hydrometer measurements taken a couple days later revealed both batches had finished at a respectable 1.011 FG.
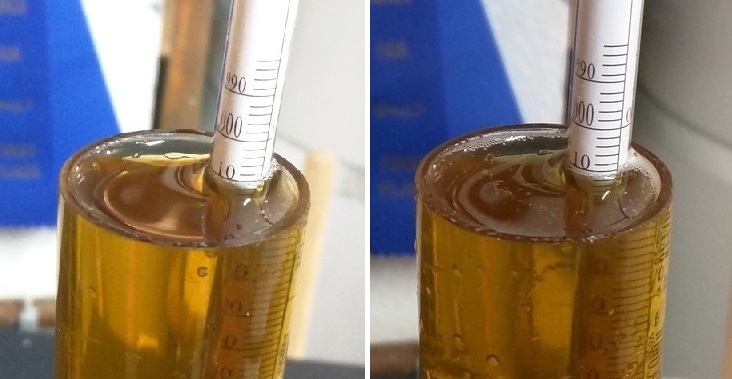
Since my fridge was broken, I lugged my carboys to my brother-in-law’s house where they were cold crashed and fined with gelatin. I returned later to keg the beers, bringing three home with me while leaving one behind for the toddler’s birthday party. After a few days on CO2 in my cool keezer, the beers were carbonated and ready to serve, though one difference was readily apparent.
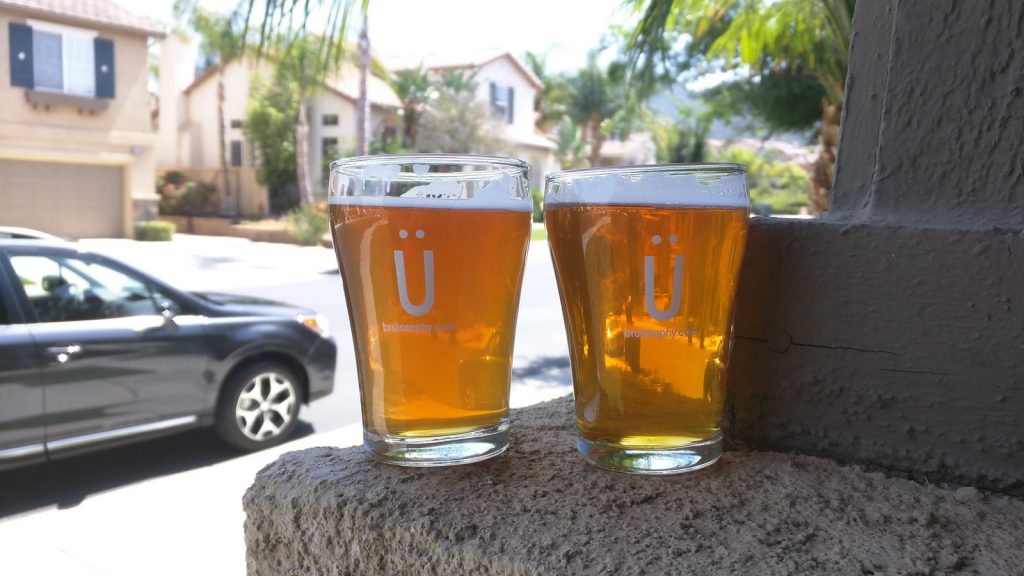
The hop stand beer maintained a slight haze the entire time it was on tap while the boiled hops batch was brilliantly clear from the day after it was packaged.
| RESULTS |
A total of 19 people participated in this xBmt, all blind to the variable being investigated. Each taster was served 2 samples of the boiled hops beer and 1 sample of the hop stand beer in different colored opaque cups then asked to select the one they perceived as being different. Given the sample size, 11 correct responses (p<0.05) would be required to reach the threshold for statistical significance. In this case, only 9 participants (p=0.19) correctly identified the odd-beer-out. Of these 9 panelists, 4 endorsed the boiled hops beer as their most preferred, 2 liked the the hop stand beer better, and 3 indicated no preference.
In addition to the standard sensory evaluation, samples of these beers were sent to our friends at Oregon Brew Lab for IBU testing in order to glean more information on isomerization differences between a 20 minute boil addition and a 20 minute hop stand. The boiled hops beer came it at 58 IBU (±1) and the hop stand beer measured 60 IBU (±1), for a final difference of 2 IBU. I’m calling this a wash.
My Impressions: During initial non-blind tastings, I confidently perceived the hop stand beer to be slightly softer with a slightly sweet (I don’t dare say juicy) hop character, while the boiled hops version was crisper and cleaner without being obviously more bitter. However, over the course of tastings, I took the time to complete 3 “blind” triangle tests and correctly identified the unique sample only a single time, which is entirely congruent with chance. Following this performance, I’ve reluctantly admitted to myself the two beers are a very good approximation of each other and any difference is exceedingly slim. To my personal surprise, I have actually formed a preference between the two, despite my inability to distinguish between them by flavor alone, and the winner is– the boiled hops beer. As one who tastes with my eyes, the clarity difference is what swayed my opinion.
| DISCUSSION |
Hop stands have been an integral part of my IPA brewing repertoire for awhile, but I’m faced with data and experience suggesting it may have been for naught, as boiling hops for 20 minutes produced a beer that was largely indistinguishable from a beer made with a 20 minute hop stand. The only noticeable difference, interestingly enough, was in the appearance with the hop stand beer maintaining a slight haze while the boiled hops beer was brilliant. With all of this, as well as the fact that hop stands require time, I find myself considering changing my brewing practice for hoppy beers, something I’ve never done after just a single test.
In regards to the clarity difference, which left me scratching my head, I can’t help but wonder if kettle finings are the culprit, the extended time in hot wort perhaps contributing to some sort of denaturing and poorer performance. I generally add Whirlfloc with about 5 minutes remaining in the boil, maybe it’d be better to add it later when doing an extended hop stand.
These results also leave me curious about IBU formulas. The boiled hops batch was projected to be at 115 IBU compared to just 84 IBU for the hop stand beer. However, lab testing proved that not only were the beers nearly similar, but that the hop stand beer was actually slightly more bitter (by 2 IBU) than the boiled hops batch. I’ve long believed that IBU formulas are useful only for comparisons within a given brewing system, but now I’m beginning to wonder if they’re even that useful. Obviously, the way hops were added in this case dramatically changed the way the IBUs were calculated yet had little to no impact on the finished product and no appreciable impact on actual IBUs.
| BONUS DATA |
Since this was a 20 gallon batch, I dry hopped the extra boiled hops carboy with nearly 4 oz of Cascade, which I then had BeerMe Brew Club members compare side by side with the boiled hops xBmt beer dry hopped with the usual Mosaic, Amarillo, and Citra. The near universal response was shock at how different the flavor of the beers were. Although I preferred the intense fruit-punch character of the Mosaic/Amarillo/Citra version, others liked the more classic character of the Cascade version. This less-than-scientific experience confirms my personal belief that dry hopping has a substantial impact on flavor, not just aroma as is generally cited. In fact, I perceived the aroma difference to be less pronounced than the flavor difference.
Furthermore, the Cascade dry hopped sample was also sent to Oregon Brew Lab for IBU testing and it ended up with a measured 62 IBU (±1), the highest of the three and 4 IBU more than the boiled hops xBmt batch that came from the same kettle.
Indeed, this is nearly within the margin of error, but in light of Scott Janish’s recent post indicating dry hopping contributes to bitterness, my mind is swirling– the technically most bitter batch was dry hopped with a lower quantity of lower AA% hops. Could some idiosyncratic property of Cascade be the culprit or are we too close to call? Again, I’m left with more questions than answers…
If you have any thoughts about this xBmt, please do not hesitate to share in the comments section below!
New Brülosophy Merch Available Now!
Follow Brülosophy on:
FACEBOOK | TWITTER | INSTAGRAM
If you enjoy this stuff and feel compelled to support Brulosophy.com, please check out the Support page for details on how you can very easily do so. Thanks!




80 thoughts on “exBEERiment | Hop Stand vs. Boil Addition In An American IPA”
Is that means that my huge whirlpool additions could have bumped up my IBUs too high and if i want to make less bitter but more fruity IPAs i should use most of my whirlpool hops as dryhops?
I don’t think I am qualified to answer. But do note, even 114IBU per rager formula isn’t particularly bitter, and netted just 58IBU in the lab.
Very interesting. I can’t say it’s too surprising though, that 20 mins at boiling is very similar to 20 mins at 100-93C. I think it would be more interesting to compare with a 20 mins stand at something like 75 or 80C, which seems to be popular for exactly the reasons you wanted to test, but I’m not convinced you did: it is below the isomerisation temperature and would be even less likely to drive off aromatics.
However, it does support my scepticiscm of the benefit of multiple hop additons during the boil- those recipes that add hops every 10 mins or so. I’d be very surprised if they were any different to a simple 2 or 3 addition schedule.
I find the whole idea of dry hop additons adding bitterness interesting; I’d always assumed (as per the flawed IBU calculators) that it was nill. Your results do seem to show it is pretty minimal and not something to really worry about.
I second that! I have used hop stands at 80 deg C for this reason and like Ray I questioned whether it made much difference. Until I tried removing it and then going back to it and I was struck by the particular hop character that the stand created in a non-dry hopped wort. Dry hopping on top of it might decrease the effect, but I couldn’t escape the fact that I enjoyed that character. Of course this is totally unscientific-bring on the xbmt with different stand temps.
Couldn’t agree more
Another great post! Gives me some clue as to why my IPA’s have not been super clear the last 10 batches. I chill to 180 and hop stand there for 30 min.
With all the new oils and compounds being discovered in hops it might be time to start using other units of measure when considering bitterness and aromas.
Especially if using a brand new hop with no recipe or instructions.
I learned this the hard way with pacific gem years ago during a shortage,
Not all AA are created equal.
I think Cohumulone and Mycene levels may be worth measuring along w AA with recipes.
You may have missed a key part of the hop stand…..cooling your wort. I always bring my wort down to 165-170 degrees before adding the hops. This cooler temperature allows more of the things we love about hops to come forward – aroma and taste while reducing the bittering effects. I also literally whirlpool for the 20-30 minutes by stirring the wort very 10 minutes…..and maintain the temperature by intermittently turning on the burner as it cools over time.
Well, it wasn’t “missed” so much as “not tested in this trial”. We have looked at that before. Will be interesting to see how the two may combine.
Sorry, missed that one……damn now I’m really confused, and wondering about all the extra time I’ve spent cool whirlpooling?!?
The hopstand-at-flameout is probably way less likely than a hopstand-at-165F to produce a difference, right? The hop oils all boil off at 200F or higher, which is where your hopstand was performed at. I would have thought that the best way to test for a difference would have been to hopstand low. Anyway, awesome stuff, brew on!
The theoretical rationale for long/low hop stands is not one that I buy. It just seems like people made it up without any evidence. The physical properties change at temp x which means that they will do y… Why y at temp x? It’s never really explained. For all we know, volatilized hops oils are more capable of forming new, beneficial flavor compounds at these temperatures, or they bind to wort compounds and then unbind during fermentation, etc.
Hop Stand temperature
Great information! I have wondered about this too as I do a 5 minute whirlpool at the end of the boil followed by a 20 minute rest to let everything settle out. Based on this I may even move more of my hops closer to the end because along these same lines a normal 20 minute addition is likely more like a 40-45 minute addition.
Considering new technology like the Picobrew doesn’t even actually boil the wort, it makes sense that it’s really just about the time at elevated or near-boiling temperatures that matters as far as hop utilization goes.
The “minor bittering charges of Magnum” is probably contributing with more IBU’s in the hop stand sample than in the boil sample, since your first wort hops get about 20 min more “boil” time. If we expect this to add more IBU’s, maybe it’s off setting the minor smaller IBU contribution the Citra is adding from being in lower temperature wort in the hop stand version?
Sorry for some confusion, it isn’t a minor late addition 0 it is a 340g huge whack – a blend of Citra, Mosaic, Amarillo, Centennial. (MACC)
He meant that the FWH is contributing more IBUs to the batch that had the whirlpool, which is a good point.
Great article, as always.
I’ve been following the discussion about hopstands for a few years now, and I’m no closer to complete understanding.
If, to get the effect of a commercial hopstand, we back the flameout addition to 20 minutes, should we just be adding 20 minutes to every late hop addition? Should we also back our 15 minute “flavor” additions to 35 minutes because those hops would be in contact with hight-temp wort for longer in a professional brewhouse?
I suspect there are not hard/fast answers.
I always do a hop stand at flameout for my hoppy beers rather than boil additions, mostly for the sake of simplicity (a full hour boil with nothing to do gives me more time to relax!). But I also prefer clarity. It hadn’t even crossed my mind the hop stand might introduce haze. I think I might try this xBmt for myself to see if the results are similar to yours.
Also, I literally laughed out loud when I saw that picture of your kettle filled to the brim. I just picture that moment you realize there’s probably too much wort.
“Welp… this doesn’t look like it can end well”
Mind = Blown…….
“I’m left with more questions than answers”
And this is how scientific progress is made!
Awesome results but I would also question the temp of your hop stand. I personally have never don a hop stand at near boiling Temps. Usually chill to at least 175 before adding. Would love to see another one with a lower hop stand temp. Also, the extra bitter in your hop stand batch was likely due to the fact that you also had the magnum in there from the 60 min addition for an additional 20 min maybe?
Great xbmt! Love it. Thanks for the info.
Lower hop stand temp you say?
According to the calculators, which are obviously dubious, 60 vs 80 minutes of that magnum does is only 0.2IBU difference.
Are hop stands/ late additions even necessary? Why not hit target bitterness in boil and get all flavour/aroma from dry hop?
I have done this and it works nicely.
I often taste my beer before dry hopping and I would say that there are noticable hop flavors and aroma before dry hopping, so you’re probably dealing with more and possibly different hop character when you do both. Additionally, I have made some beers where there were a lot of losses due to hops and I tend to think that 1 unit of hops causes less than 1/3 the loss of 3 units because my fermenters and kettle were meant for a certain amount beyond which I encounter (minor) problems.
YES! I hate waiting for my hops to sit around!
Also, here’s a history of the hop stand method that people praise:
Guy Seeking Advice: “Guys, I have been brewing IPAs with 1 oz. of hops at 20 and again at 5 minutes and 2 oz. dry hops. My IPAs aren’t hoppy enough.”
Advisor: “Well, try moving double those hops (4 oz.) to a whirlpool addition and make sure you’re using the same amount of hops (4oz.) or MORE in your dry hop addition.”
Guy Seeking Advice: “Wow, that was hoppier. Go hop stands!”
Ain’t that the truth. I may be guilty of that very thing.
To be fair, my history is a little incomplete. This process is repeated over and over, and there’s no one but 17 advisors now days. And few people have tried to get evidence (Thanks for that, by the way) about whether this really is working, so the annecdotes mount and it starts to seem like this must be the way.
I’m calling my next IPA “Hoppool” and I’m dumping all the non-dry hops in for 30 minutes.
Hopstand is a term that gets tossed around and interchanged with other techniques a lot. To me what you’ve done in this experiment is a flameout addition with a steep, not a hopstand. A hopstand should be below 180F, below the isomerisation temp of the hop oils.
Great article BTW, one of the more interesting ones to me in a while.
OP came off a bit critical.
Hahaha, we had a big discussion internally on this before publishing the last one on Hop stands, and it seems that while some groups of people have strong feelings about how they personally use the terms, the terms are NOT well defined, and are all essentially interchangeable in most everything we could find.
In regards to the clarity difference, proteins and polyphenols contribute to beer haze. With the hop stand beer you effectively have the bittering hops in the kettle for longer and this could lead to the extraction of additional polyphenols from the vegetative parts of the hops. Also, not having a vigorous rolling boil with the hop stand beer whilst hoping (else it wouldn’t be a hop stand) can decrease the level of coagulation of polyphenols and proteins that otherwise occurred during the vigorous boil on the non-stand sample whilst hops were in the kettle, also potentially leading to more beer haze.
Great article as always and another super fascinating result. Keep it up!
The effects on bitterness are endlessly confusing…
I understand these exbeeriments are designed to test at what we think may be the threshold of perception of these factors. But changing a 20 g addition out of 190 g of flavor hops may have been too little. On a lower hopped recipe would this difference have been detectable? Or if all flame out was switched to 20 minute, would it show up? Endless questions…
I’d really like to see the whirlpool get tested. 0 min addition vs 30 min whirlpool. Like Ray mentioned in the comments above, I too am guilty of throwing the kitchen sink at my IPAs to bring them up to commercial quality. But I remember John Kimmich saying he wished he could cool his wort faster. Wah? Don’t you need that whirlpool to make heady so delicious?
It seems there is some confusion on this point… Both batches got 340g of exactly the same blend of late-addition hops. The only change regarding the 20g, is that the recipe NORMALLY gets 20g of Citra in addition to a hopstand, in this case I deleted that on both, so each beer got exactly the same hops all as a single huge end addition (besides small magnum dose)
Wow. My bad. Mind blown!
Let me get this correct; the flavor was perceived the same? In other words I could dump all of my FO additions that I would let stand at 20 minutes and instead boil them for the last 20 minutes and come up with the same beer? Seems like we’ve almost been mislead to believe that more flavor comes from later additions.
At this point, I am dropping hop-stands altogether. They add extra time when apparently not necessary – and yes, my last three IPAs I went heavy on the hops during whirlpooling and every one was hazy AF, even the one I fined with gelatin.
Same here, i usually end with a 5 min addition now. I’ve played around a lot and haven’t saw a huge difference. So why waste time?
Great exbeeriment and interesting results! I only boil for 30mins these days and have been finding the addition of hopstand has been adding more time to brew day. Now wondering if I can get away with a 20min boil with all hops thrown in as FWH and dry hops. Love it when new knowledge helps save time, cheers.
You echoed my thoughts exactly, Matt. If we could figure out how to get the same flavor from only a 20 minute boil, that would be a game changer. I think this exbeeriment seems to have really moved the ball forward, but like you Ray, it definitely sparks a ton of questions. I like where this is going though.
Maybe I missed it, but I couldn’t find whether the kettle was open or covered during the hop stand. It could make a lot of difference.
My kettles are always covered when the flame is off. Hop stand and chilling done with lid on.
Two impressions from this. 1. Ibu calculations are way off. Universally lower when tested than predicted by software. Regardless of methodology of prediction. Tinseth, raeger, etc doesn’t matter, is lower. 2. High temp Hop stands don’t matter, you might as well do a 20m addition. We have seen a huge difference if we chill to 180 or under, then stand for 20 minutes.
We have also experienced haze with hoppy beers.
What are you using to predict your IBU? Are you using beersmith? I’m wondering how close the predictions of recipe building programs are to the actual IBUs.
Beersmith with Rager formula.
Why do prefer Rager over Tinseth? Have you done any comparisons of predicted vs actual IBU readings between the two formulas?
Honestly, I started listening to BrewStrong a lot, and Jamil et al were using Rager at the time, so for the sake of building recipes based on some of their suggestions, I used the same. And I basically use it now because it is what my personal experience is calibrated to… I know how I want a beer to taste in terms of the Rager formula, regardless of “Real” measured IBU.
That being said, Rager was closest, for late hops in a years-ago Basic Brewing Radio comparison, however, the formulas they compared were consistenly, inconsistent.
In this xBmt’s case:
tinseth: 78 Steep / 140 Boil
Garetz: 76 Steep / 58 Boil
Rager: 85 Steep/ 114 Boil
Note that these also include whatever “futzing” of the formulas that beersmith includes.
It would be interesting to see the result of omitting the Whirlfloc entirely.
Irish Moss Effect
Ray, Fantastic experiment as always. Can I just suggest one thing? There was a bit of confusion in terms of process with this experiment (some others, eg. I had trouble working out in the dry hop quantity experiment whether you made 2 x 10 gallon batches or separated 10 gallons of wort into 2 x 5 gallon batches). Often there is a clear methods sections describing how each batch was treated, clearing showing the difference in the one variable being tested. This is handy to help understand exactly what was being tested AND to see how your process was similar different to mine (and others). This helped with making an assessment about how your results could be translated to other systems / brewing processes. For e.g.. in this experiment some readers correctly realized that it they hop stand at a lower temp, this experiment didn’t directly answer whether that hop stand method affects flavour etc.
In the future you could add a simple table showing the 2 brews, their IBUs, fermentation temp etc and the difference in the variable being tested. For example in this experiment the table could have clearly outlined the 2 hop schedules and thus made it obvious what the difference was.
Just a suggestion, keep up the good work! It is fantastic to hear “objectively” tested methods in the brewing world!
I wonder if all of the blame for the calculated IBU difference you saw can go to the calculators or if we can put some blame on any degradation of the hops. Although, I suppose if the hop degradation was even over the 2 batches, (which it should be if the hops were stored the exact same way and were from the exact same batch), then you should have seen the same difference from the calculators at the same ratios for both batches, if that makes sense.
I want to see one with the hop stand below isomerization temperature. That’s what, 140f? I’ve spent a lot of time trying out late boil additions, at flame out, and at 140f. The first two are not so different. The third seems to be quite different.
How did the toddlers enjoy the fourth keg?
The toddlers’ parents enjoyed it greatly.
Of course. Just kidding. I just love playing with words and can’t resist. Ever read “Eats, shoots and leaves”? Anyway, off topic and hope I didn’t come across as snarky. Fantastic blog, and it has really changed my brewing (for the better).
All the best.
have you asked for comment from beer smith as to why there calculator is so off?
I’m suspicious that the variance caused by weather conditions and location (Oregon vs Wisconsin) while grain and hops are growing has a drastic impact on the accuracy of on-line calculators for IBUs etc. As an avid gardener, what comes out of my backyard every year varies wildly – one year a million green beans, next year anemic tomatoes – why wouldn’t hops and barley vary wildly as well?
They do I guess, but bought hops always has the measured IBU stated on it, which you use to update the calculator default, whcih may be a few units out. Despite this, they are way off the measured IBUs. It is complicated by instability of alpha acids over time, which is different in different hops. I think the best we can do is use calculated IBUs as a rough guide for ourselves and what level of bitterness we like in our process, and use experiences like this to, for instance, NOT put a large amount of flameouit hops into a recipe calculator as 0 minutes (if this does not calculate any additional IBUs), but enter the steep time as boil time instead. As for the amount of bitterness added by dry hops, that’s yet another varaiable. Scott Janish’s recent article that was referred to at the end is very interesting.
I suspect that this innacuracy is true for many commercial beers too, unless they actually measure the IBUs of the bottled beer each time.
I think everyone agrees that the whole purpose of the cooler hopstand is to get as much flavor as possible without the bitterness. Therefore, I am able to triple the hop addition without tripling the bitterness.
Now, if i am told that the cooler hopstand does in fact generate as much bitterness. Than the whole point of the hopstand is equal to 0
Still a lot to learn here
Not saying one xbmt tells everything…
Being new to brewing and not understanding a lot of what the Xbeeriments do, I enjoy them ALOT. Being a fan of the KISS method, I am going to try on my next batch, which will be a mash in a bag, to put all hops in at mash, can’t see any difference between adding then and first wort addition. But then again, I don’t know much, and am just trying for a decent drinkable beer which has the desired effect of getting me tipsy. Kind and gentle comments would be appreciated, snarky and smart ass will be ignored.
Mash hopping is a thing people do. It is apparently a very inefficient use of hops, which makes some sense, because you’re hopping a bunch of material that’s going to be removed (grist).
Was Jamil Z the inspiration for this XBMT? He talked about the 20 min addition recently on his show which got me thinking about it and wondering, then to my surprise you do a XBMT about it. He talks about a fast chill locking in the flavour. I would love to skip the hop stand and shave 30 min off my brewday so might try this next.
Thanks.
No, I haven’t heard that. Which episode?
Brew Strong – Whitlpool -02-29-16
20-24 min mark
The 20 minute hop stand in this exbeeriment is on the low end of typical durations. As far as I know, most range from 20 60 minutes. A longer hop stand might still offer advantages.
One thing to consider with protofloc is “it’s said” here in lil’old England that its only effective for around 20 minutes and after this point, if the wort is still hot (whatever hot means…) that the break starts to break down again. Could be just another quote from the big book of dogma but its something to think about.
This was a very helpful xBmt for me. I have always wondered if humans can detect differences in 30, 20, 10 and flameout additions of hops and if I have just been wasting my time with several hop additions.
For a future xBmt, I would love to see you test the theory that adding all hops at the 20 minute addition leads to a smoother bitter flavor than a 60 minute only addition given a consistent IBU level.
I have tried all late hop additions but not side by side with a 60 minute only beer. I cannot say for sure that it makes a difference. I have also avoided boiling hops for over 60 minutes because I have always read that it would create an acrid bitterness.
Great xBmt – very thought provoking.
I hope you do this one again some time, exactly the same, to get further confirmation.
I also agree with other posters that you might see more of a difference if you did the hop stand at a cooler temperature, but that leads me further to think what the difference would be between two brews done the same except for:
Beer A: all hop stand hops added at a lower temp – say 160F
Beer B: chill immediately after flameout and add the same amount of hops immediately into the fermenter
Is there a term for adding hops at the beginning of fermentation? First ferment hops?
I was just thinking about how early I can add dry hops. I think the benefit is lots of yeast-hop interaction. The drawback is that more of the hop flavor will be pulled down by the yeast as it falls out. I think I’m going to try adding a couple ounces to my primary as soon as I see fermentation start and see what I think
So if 20 minute additions = 20 minute hopstand additions, and 212F hopstands = 170F hopstands, then by the transitive property, 20 minute additions = 170F hopstands!
Hi Ray, I don’t know if you still check back to comments on this article, but I was curious: now that this xbmt is about 8 months behind you, have you in fact removed hop stands from your own practices and solidified your conviction that they don’t add anything an equivalent boil addition would add?
Yes, generally I have. IPA has taken a bit of a backseat in recent months, brewing more Lagers, pales, Blondes, and Amber ales – but in general, I have dropped hopstanding as a rule, as I think the results are very similar, if not identical, to boil late boil additions.
If I was picking up a new recipe and it said to hopstand, I’d be tempted to try it first with, then change on subsequent batches.
Personally, it seems to me that hopstanding was something we homebrewers picked up from commercial whirlpool additions – but since homebrewers can chill much more quickly than the commercial brewery, it isn’t likely a practice we need to worry about.
That said, if I got a recipe from XYZ commercial brewery that had say a 30m, 20M, 10m boil addition, then a 20m whirlpool addition(ohopstand), my personal inclination would be to move the boil additions back to 50/40/30 and the whirlpool to 20… or perhaps just do the recipe as-is for the sake of not reinventing the wheel.
Hi, nice experimenting.
Lately I experienced my batches turning hazy after late hops additions. Is there any scientific explanation for this? I boil for 75m, adding hops for 60m, 20m, 10m, and WH. The 60m addition makes only 20% of all hops amount (appart from DH). Any ideas? I also get this efect when after flame off I put a part of wort aside to cool it down (cool stand) and add WH hops in it. I do this to enhance flavor and aroma while not adding any more bitternes.
Cheers
Petr
I try not to speculate beyond the evidence I have, but I actually wonder though, if the duration of a hot-whirlpool is enough to denature and eliminate any clarity benefit from kettle finings.
I never was keen on using kettle finings for I never had beer clarity problems.
Here are my last too batches notes.
The grist bill (10% of rye malt) and the volumes were the same.
The first batch was brightly clear, the second was hazy.
Here are the differences in brewing process.
1st was very hoppy and the bitternes was nice but quite lingering (there were people loving it and people hating it).
So in 2nd batch I left only Simcoe as bittering hops due to the lower level of co-humolene and striped the recipe from Colubus as a second bittering hop. I added more Columbus for last 10m. I also added another 10-20% to 30m, 20m and WH additions (Simcoe/Chinook/Columbus) .The bitternes profile changed completely. It is very melow, fruity-resiny and yummy. However, it turned hazy. The 2nd batch tastes less bitter.
Anotther very important poit is that in my 2nd batch mashing I completely omited protein rest and lower sachar.temperatures in order to maintain enough body. Also the kettle was closed during the boil, while the 1st batch was boiled open.
I guess the method of boiling and mashing had a great influence on clarity of wort. There were propably too many large/long proteins left and the hop oils reacted with them. Also maybe the ratio of bittering hops to late hops makes the difference.
The important point is that the hazynes occured after the last 10m hops addition. Till then the wort was quite bright. In earlier batches my wort turned cloudy at WH in two cases. What is confusing for me is that one of the earlier cases occured during the lager batch where the hops addition was not that agressive…
I will give the beer time and see if the haze drops off.
Cheers
Petr
I’ve never understood the obsession with clarity on this blog. Otherwise, good readings.
And I don’t understand for the life of me why people want to drink cloudy beer. Two sides of every issue
I’d bet money that if you gave them the beers in clear glasses, your results would have been very different. Just saying.